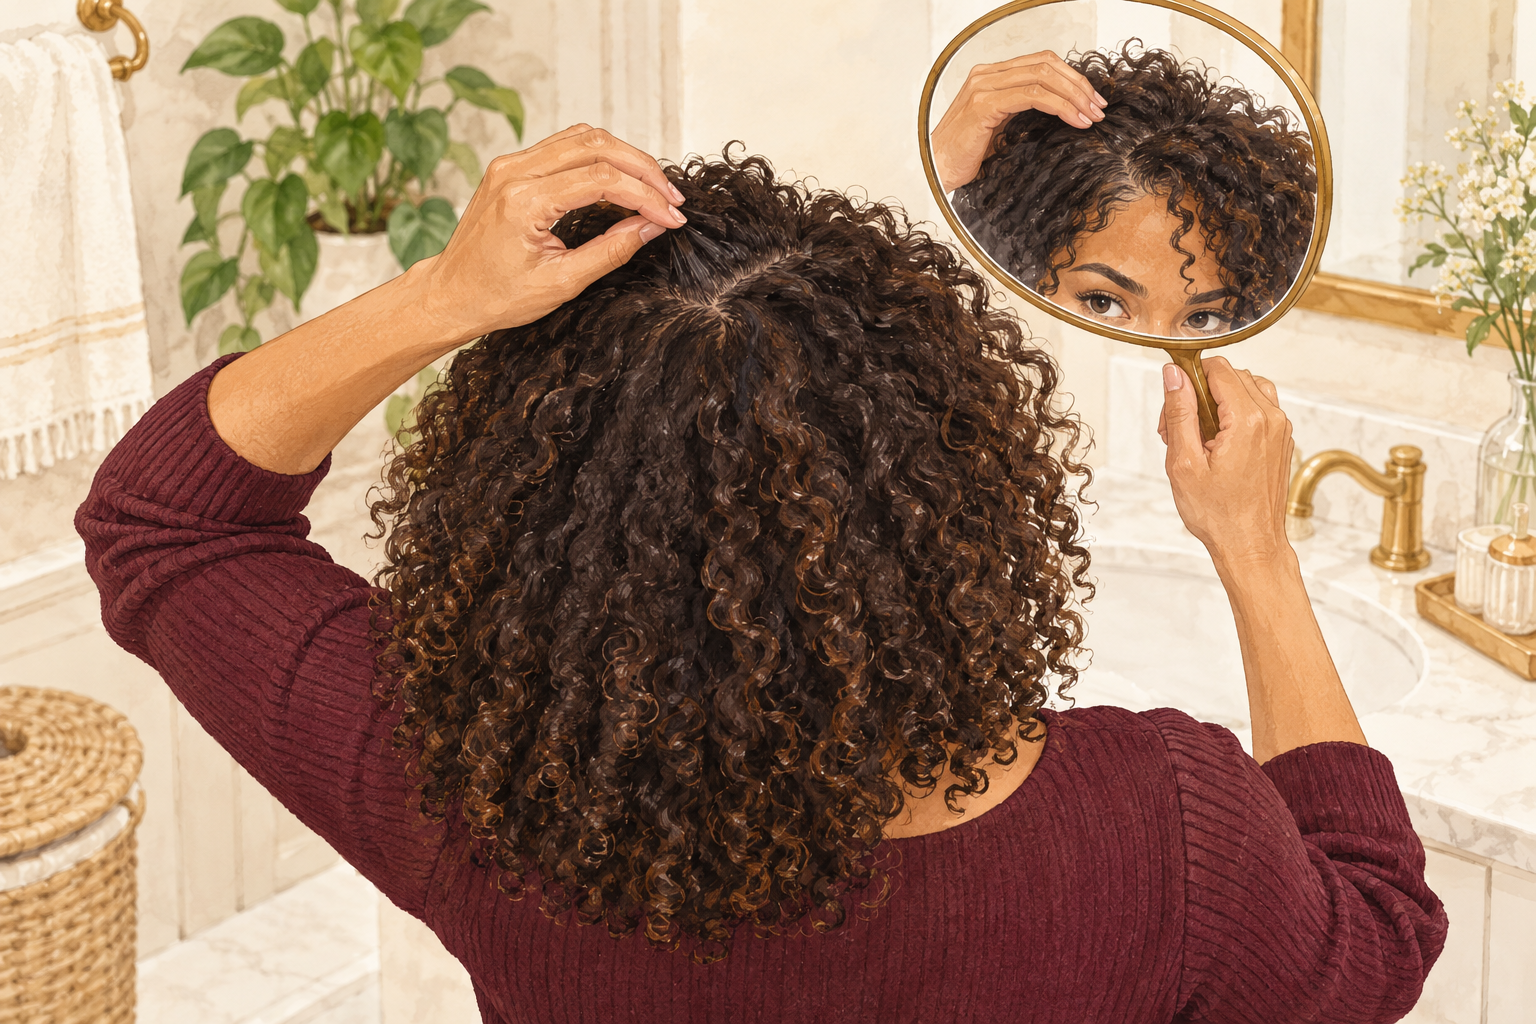
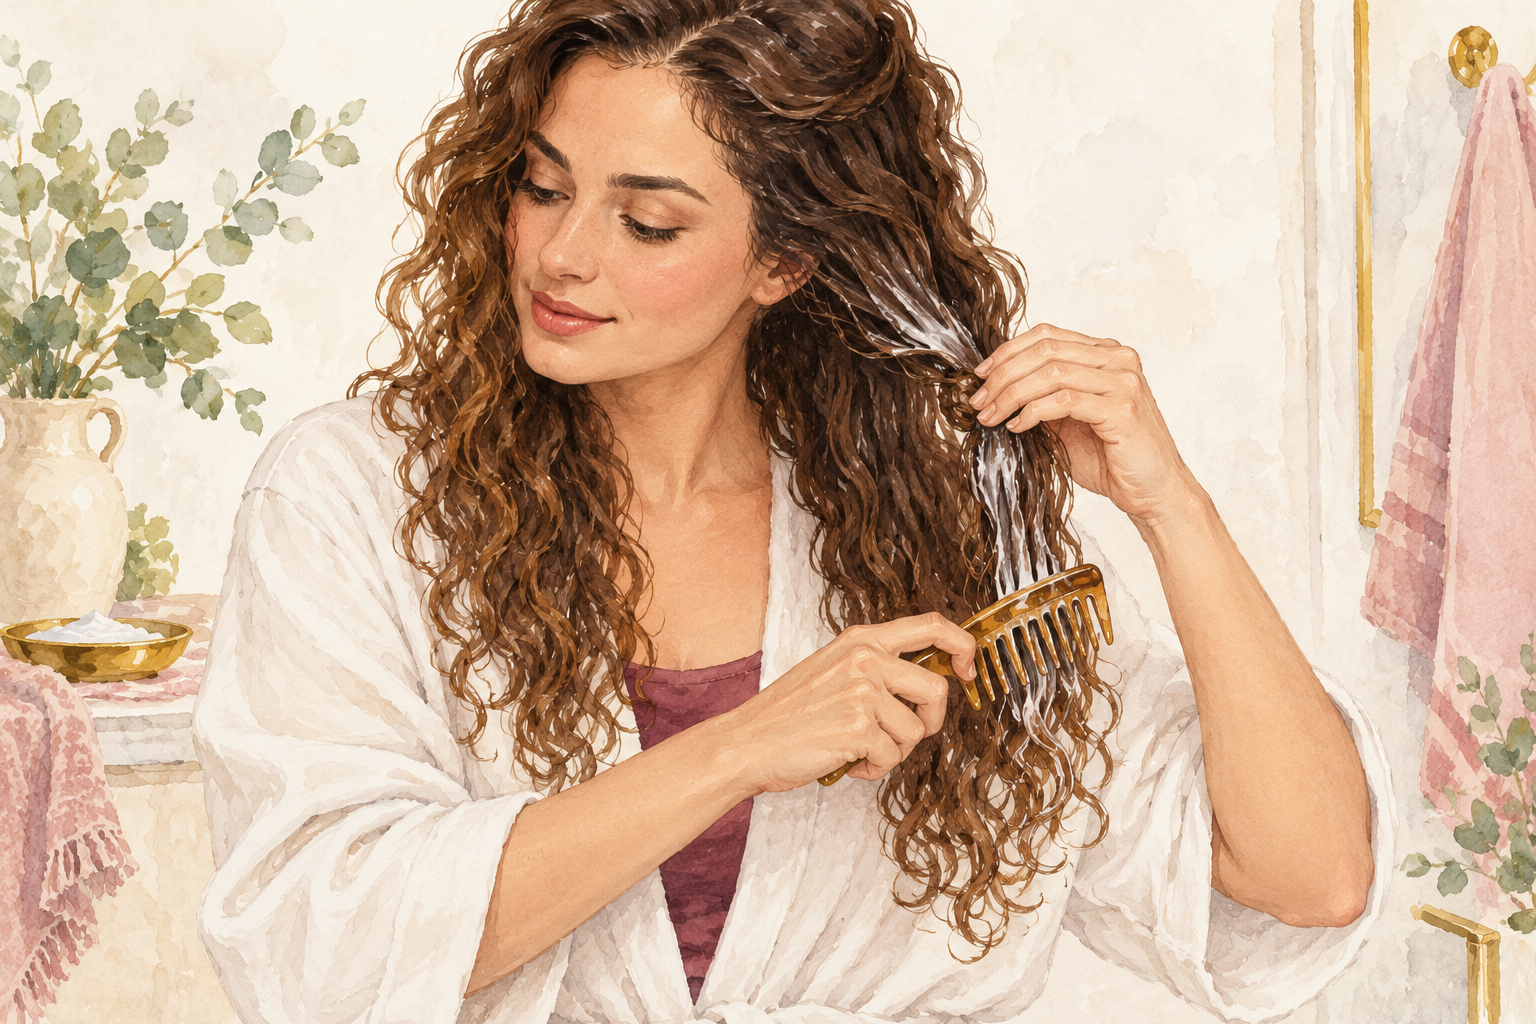
You style your waves in the morning, and by lunchtime the roots are flat, the ends are stretched out and the S shape has gone. Waves are light, and a heavy routine pulls them straight. This 2c curly hair routine uses less product, applied better. Here are 12 steps in the order you do them, so start at number one tonight.
1. Gather a short list of tools
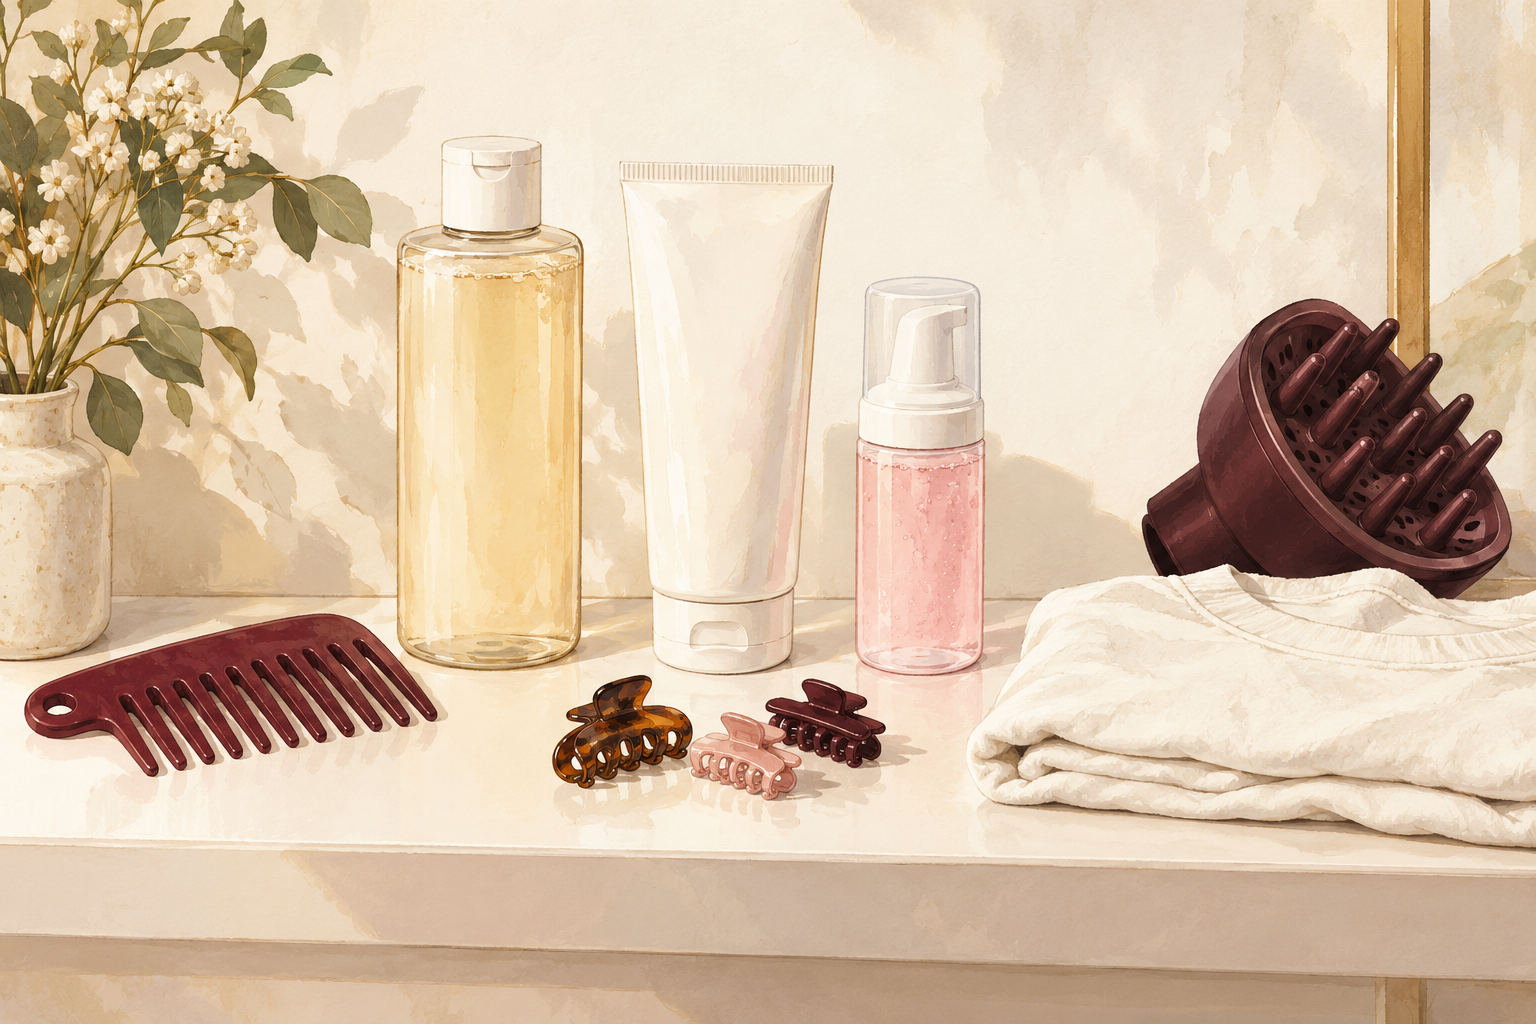
Set out a wide tooth comb, a clarifying shampoo, a light conditioner, a mousse or light gel, a few clips and an old cotton t shirt. A diffuser is a bonus, not a must. That is the whole kit, and a small shelf keeps you from layering six products on a bad day. Keep the heavy butters, thick creams and rich oils out of reach for the next month. Your shelf will feel emptier and your mornings shorter. Waves forgive a quick routine far better than they forgive a crowded one. This light shelf is what keeps a 2c curly hair routine simple enough to repeat.
2. Find your starting point
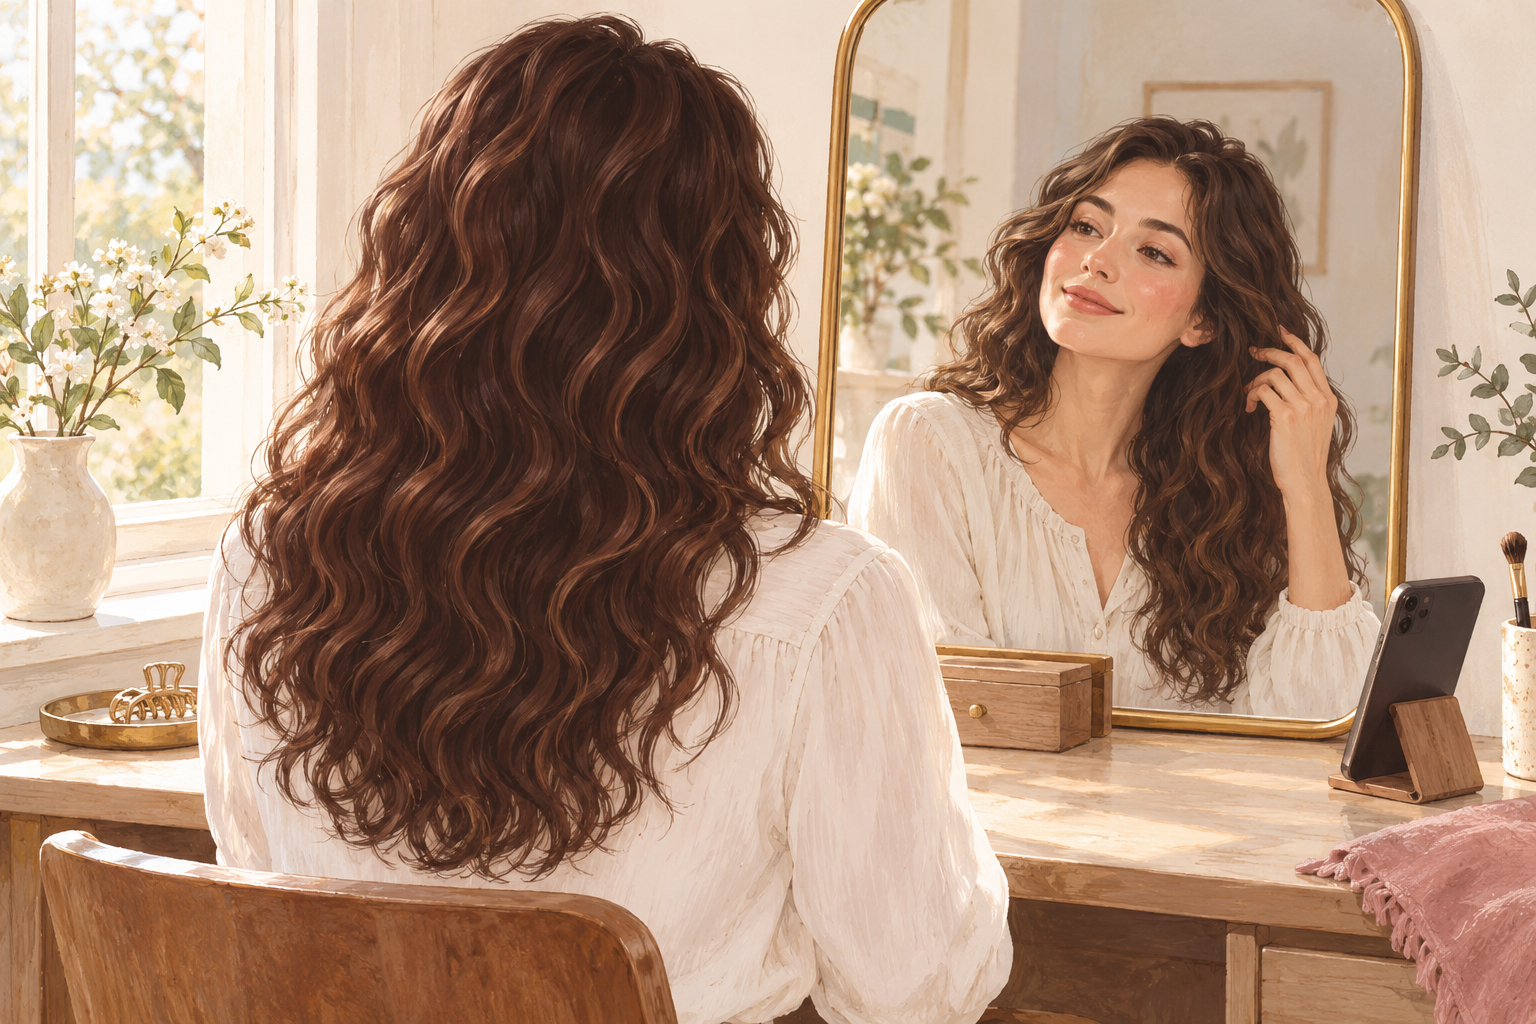
Wash one small section with no product, let it dry on its own and check it in daylight. Hair that makes loose S shapes, with more curl near the crown and flatter ends, is often called 2c. Treat the label as a rough guide, because most heads carry more than one pattern. What matters more is how thick each strand feels and how fast your hair gets heavy. Take a photo in the same light now, so you can compare in a few weeks. Note which part of your head goes flat first. Write the date on the photo so the changes are easy to follow.
3. Spot the signs of product weight

Look for flat roots, hair that looks greasy by day two, or waves that stretch out within an hour of styling. If your hair is limp and a little sticky at the ends, you probably have build up rather than dryness. Run a clean finger through a dry section and notice whether it feels coated. If it does, wash once with a clarifying shampoo and watch what happens to your waves. Fine hair shows the weight sooner than thick hair does. Do this check before you buy a single new product. If your waves bounce back after that wash, you have found your culprit.
4. Shampoo the roots only

Put the shampoo on your scalp and massage with your fingertips for about a minute. The suds that run down will clean the lengths, so you do not need to scrub them. If your hair feels coated afterwards, wash a second time with a smaller amount. Use warm water, because hot water strips the ends and makes them frizz. A quick wash does more for waves than a long hard scrub. Clarify once a month if you use styling products often, and wash this way two or three times a week. Rinse for longer than feels needed, because leftover suds weigh waves down too.
5. Keep conditioner off the roots
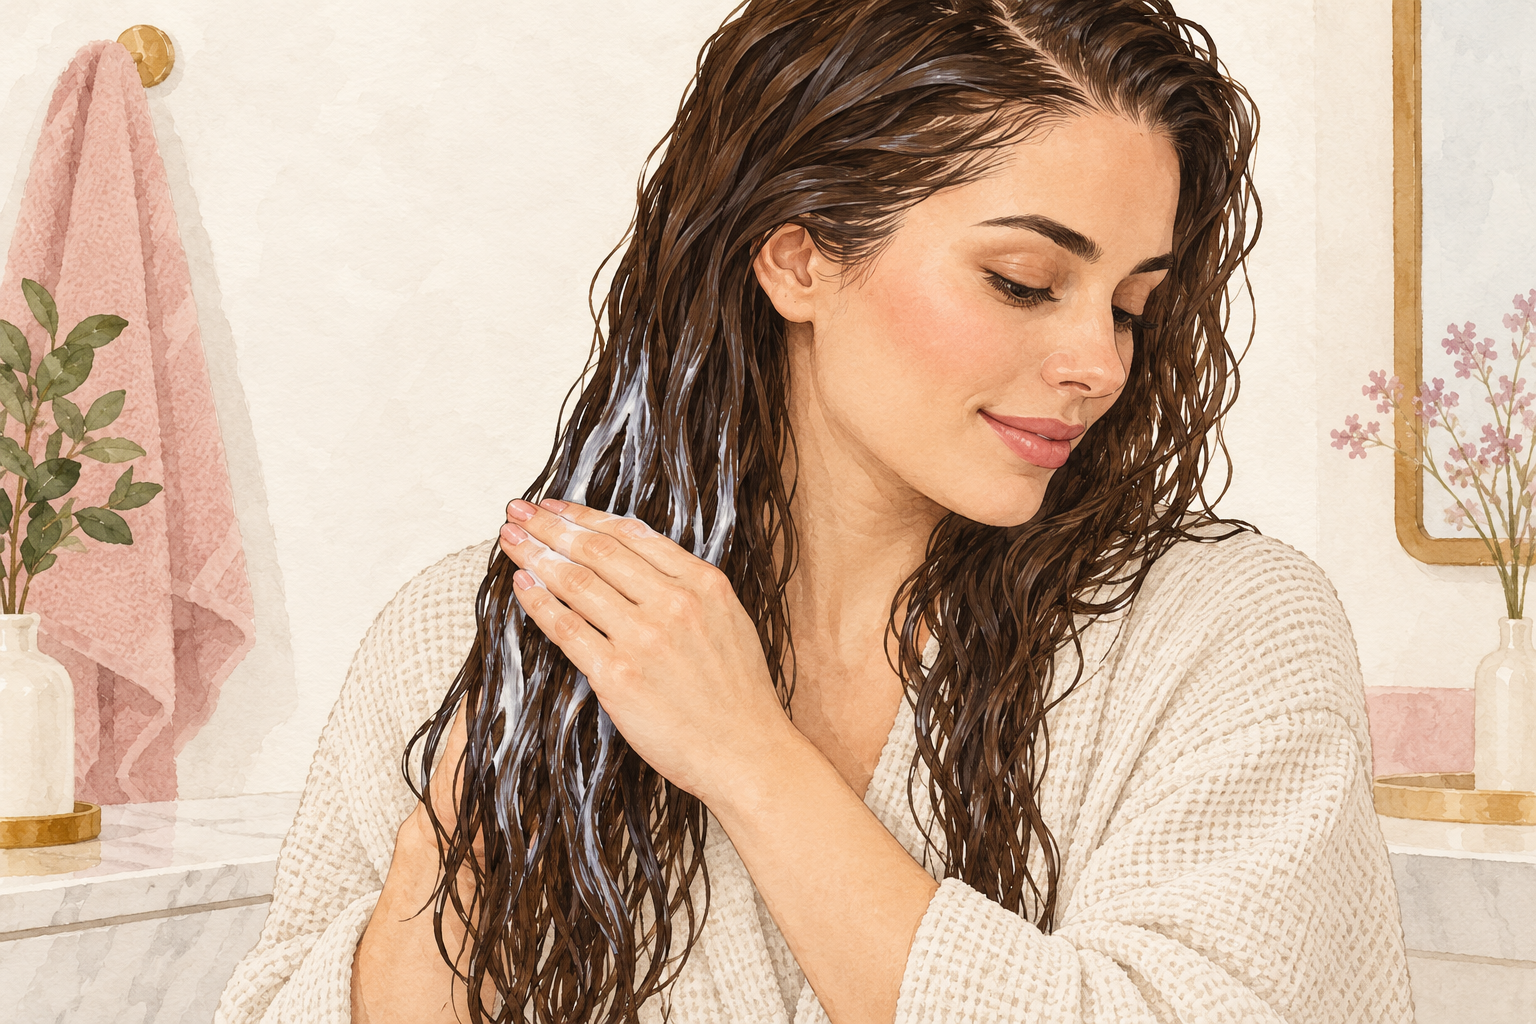
Start the conditioner at ear level and work it down through the ends. The roots rarely need it, and putting it there is a quick way to lose lift. Leave it on for two or three minutes while you wash your body. If the ends still feel rough, add a little more only to the ends. Fine waves often need less conditioner than you expect, and thick waves often need more. Choose a light, creamy formula that feels like milk and not like butter, and use a coin sized amount. Rinse your hands afterwards so you do not wipe leftover conditioner onto the roots.
6. Detangle in the shower
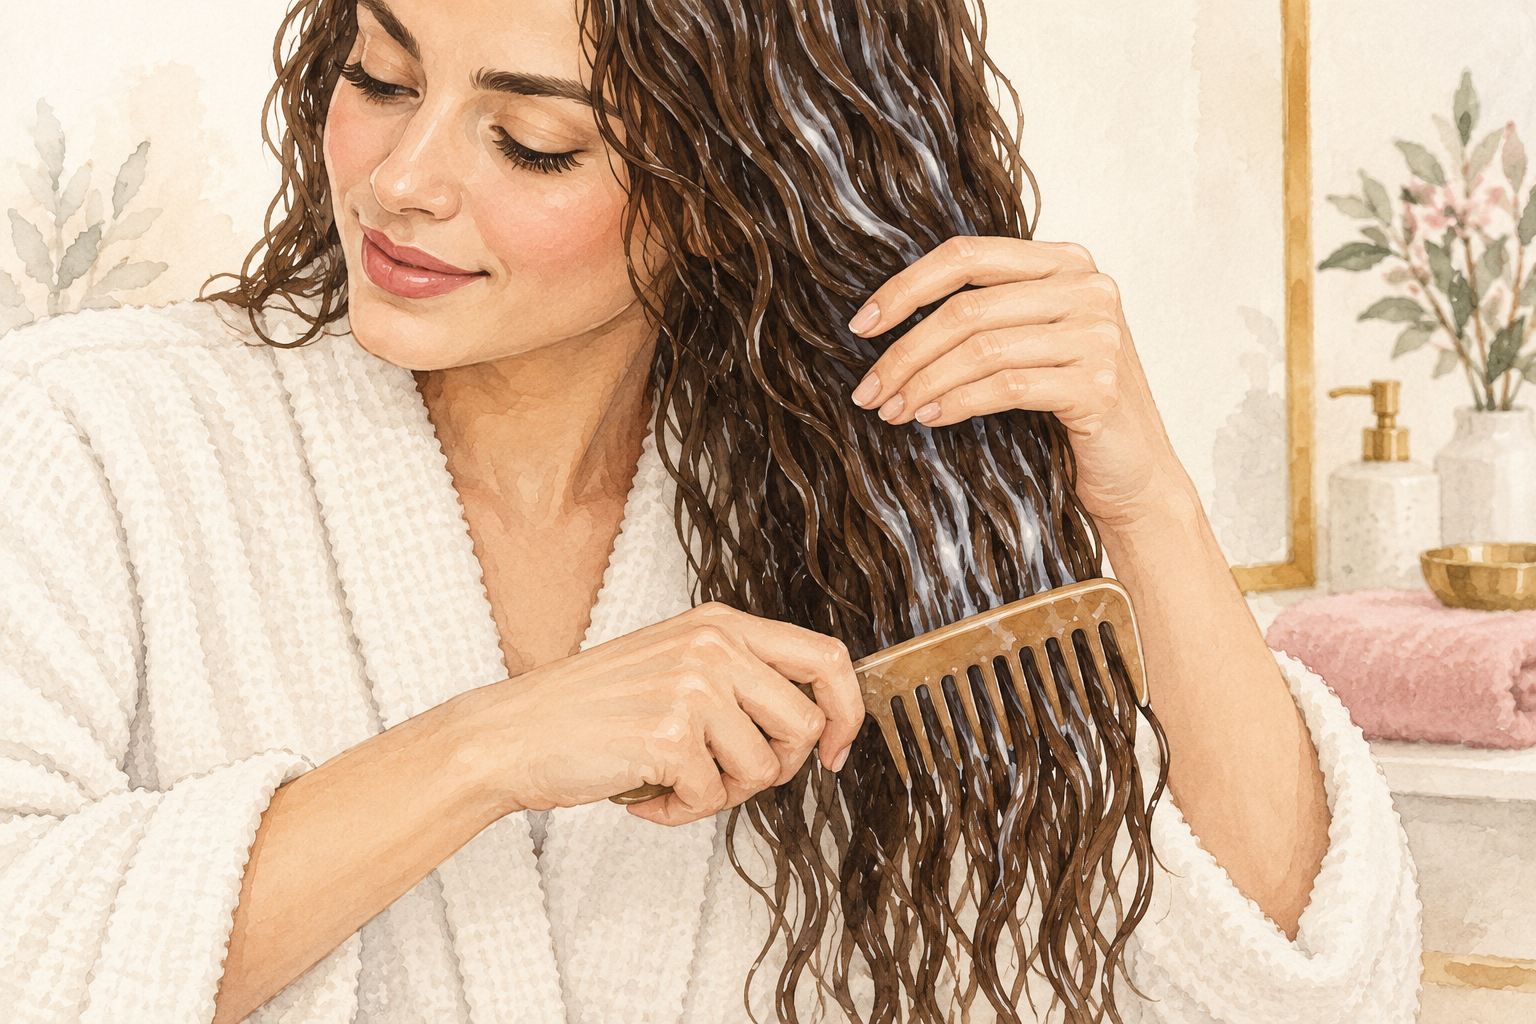
Comb gently from the ends up while the conditioner is still in your hair. Wet hair is more fragile than dry hair, so go slowly and hold the section above each knot. Then rinse most of the conditioner out, leaving a trace in the ends. Rinsing every bit away leaves waves frizzy, and leaving a thick layer makes them flat, so aim for the middle. Work in three or four small steps, from the ends up to the mid lengths and then higher. A slippery feel under your fingers means you are done. Never tug, because wet waves stretch and snap before they bounce back.
7. Style on soaking wet hair
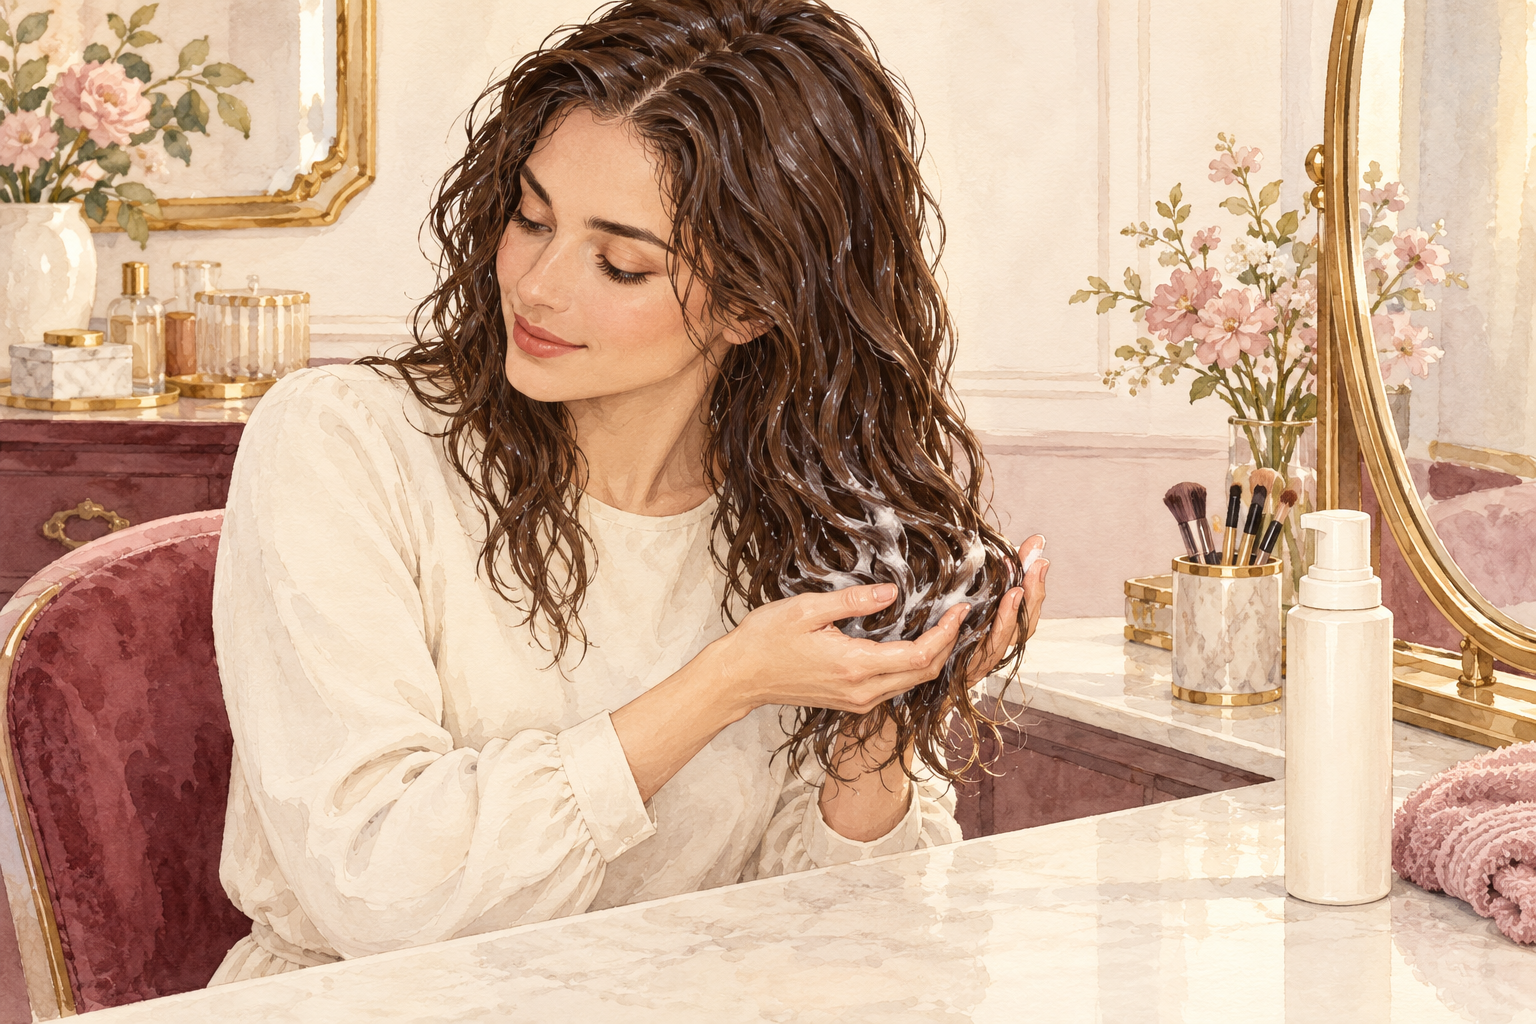
Skip the towel and style while your hair still drips, using a small amount of mousse or light gel. Smooth it over the lengths with your palms, then scrunch upward toward the roots. Water helps the product spread thinly, which is what waves want. Keep the first layer small, about a golf ball of mousse for shoulder length hair, and add more only if your waves look frizzy after drying. Hair that is already half dry will not take product evenly. Think of it as watering a plant, not painting a wall. Wavy hair that is styled while dry often looks puffy and uneven.
8. Lift the roots before you walk away
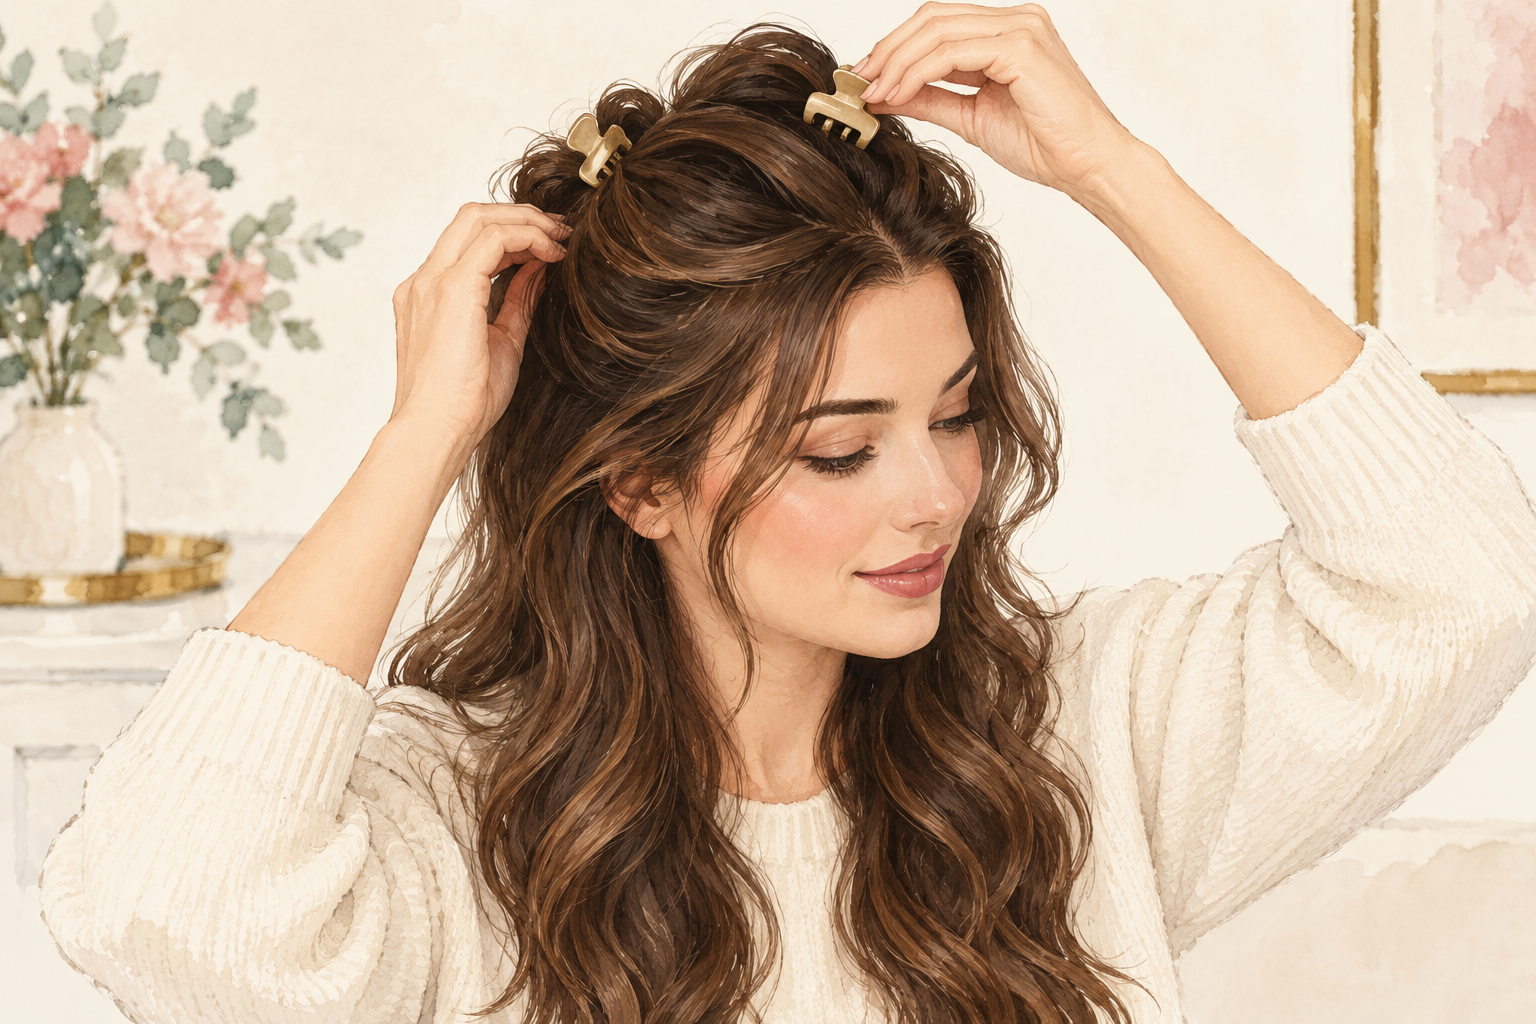
Flip your head, scrunch once or twice, then clip the top sections up and away from the scalp. Roots dry in the shape you leave them, so a clip at the crown gives you volume without spray. Plain clips or a couple of pins do the job. Do not keep fussing once the product is in, because every extra touch breaks up the wave and brings frizz. Leave the clips in until your hair is mostly dry, then take them out gently with a flat hand. A clip placed too close to the front can leave a dent, so test one first.
9. Squeeze with a t shirt
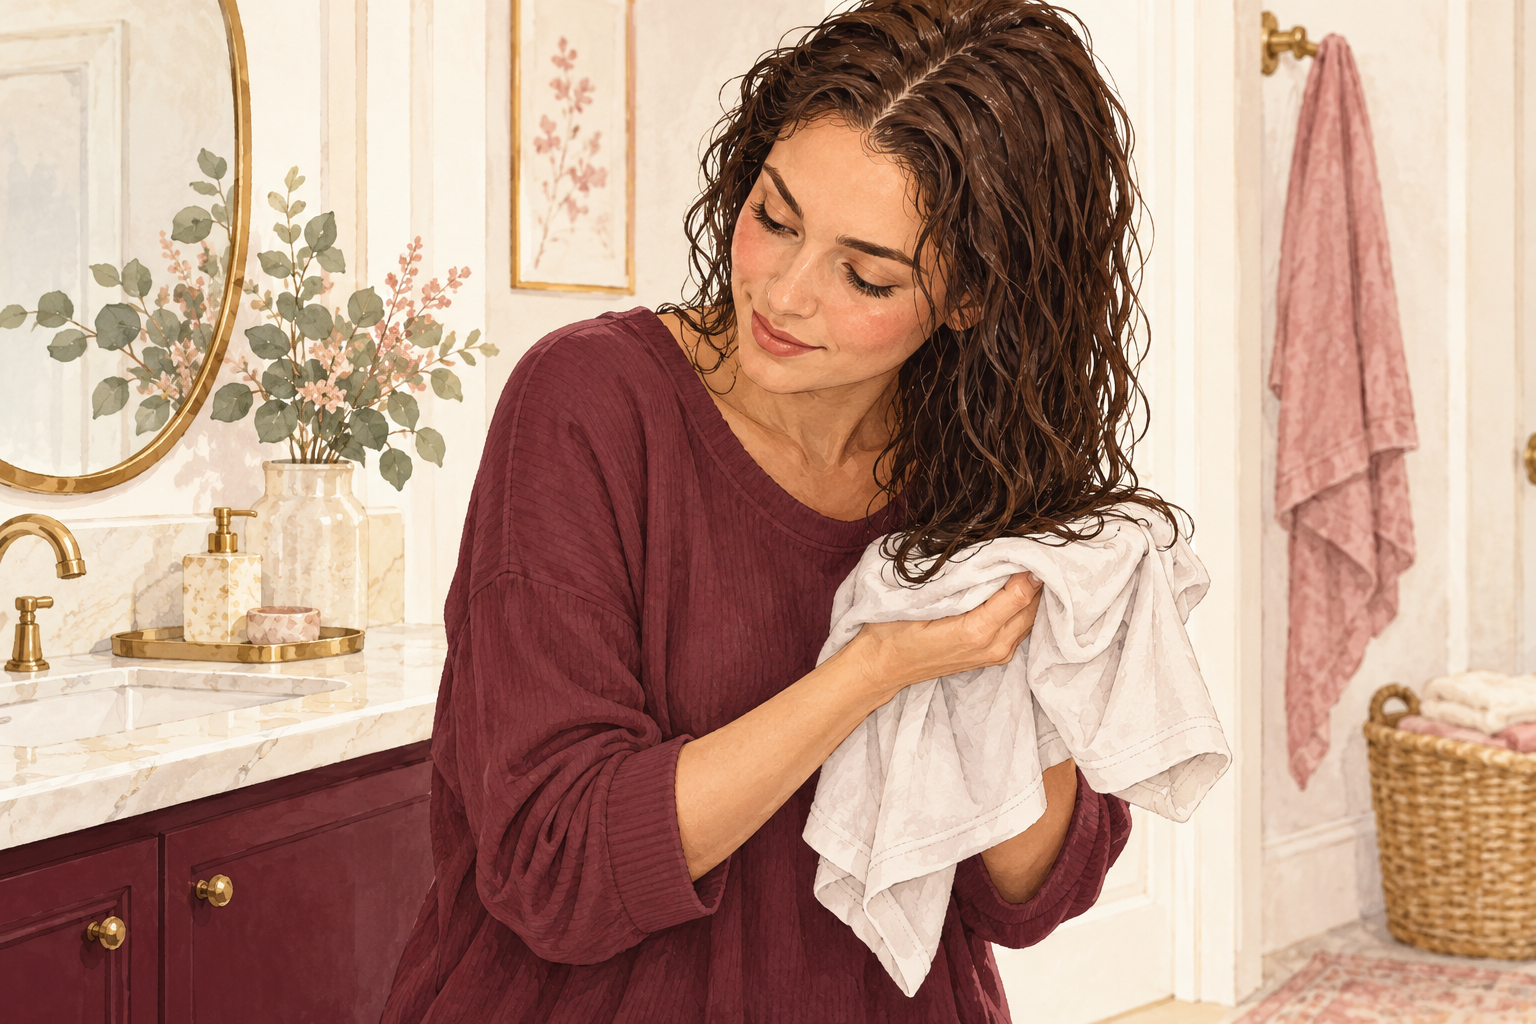
Press the extra water out of your hair with an old cotton t shirt, pushing up from the ends instead of rubbing. A rough towel breaks the wave pattern and raises frizz. Squeeze gently for a few seconds on each section, then stop. Washing a soft shirt is easier than buying anything new, and it costs nothing. Keep one by the shower so it becomes the habit. Do not twist or wring the hair, since waves are delicate while they are wet. If you only have a towel, press it on gently and never drag it down.
10. Dry on low and then leave it alone
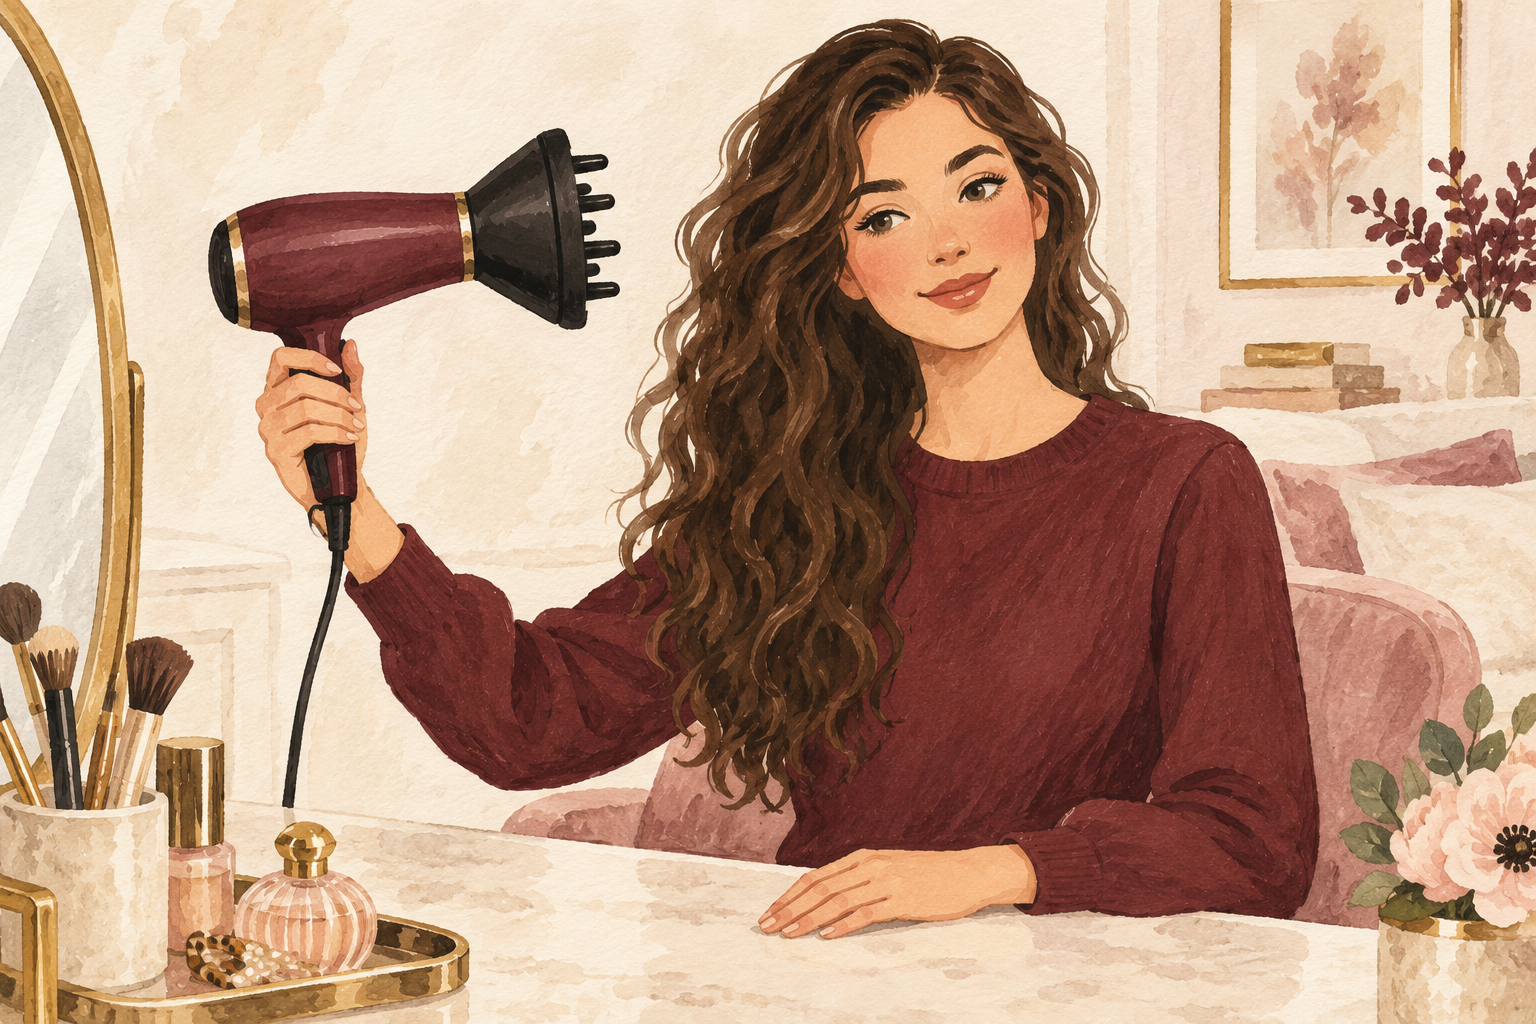
Let your hair air dry, or use a diffuser on low heat and low airflow, a hand’s width away. A diffuser helps with root lift, but keep the dryer moving and the heat gentle. Once your hair is mostly dry, stop touching it, even if it looks messy at that point. Waves set best when you ignore them. If you want a soft finish, scrunch out any crunch only when your hair is fully dry, using a little warm oil between your palms. Never brush dry waves, as it breaks the pattern into frizz. Switch to the cool setting for the last minute, which helps lock the shape in.
11. Refresh with water on day two
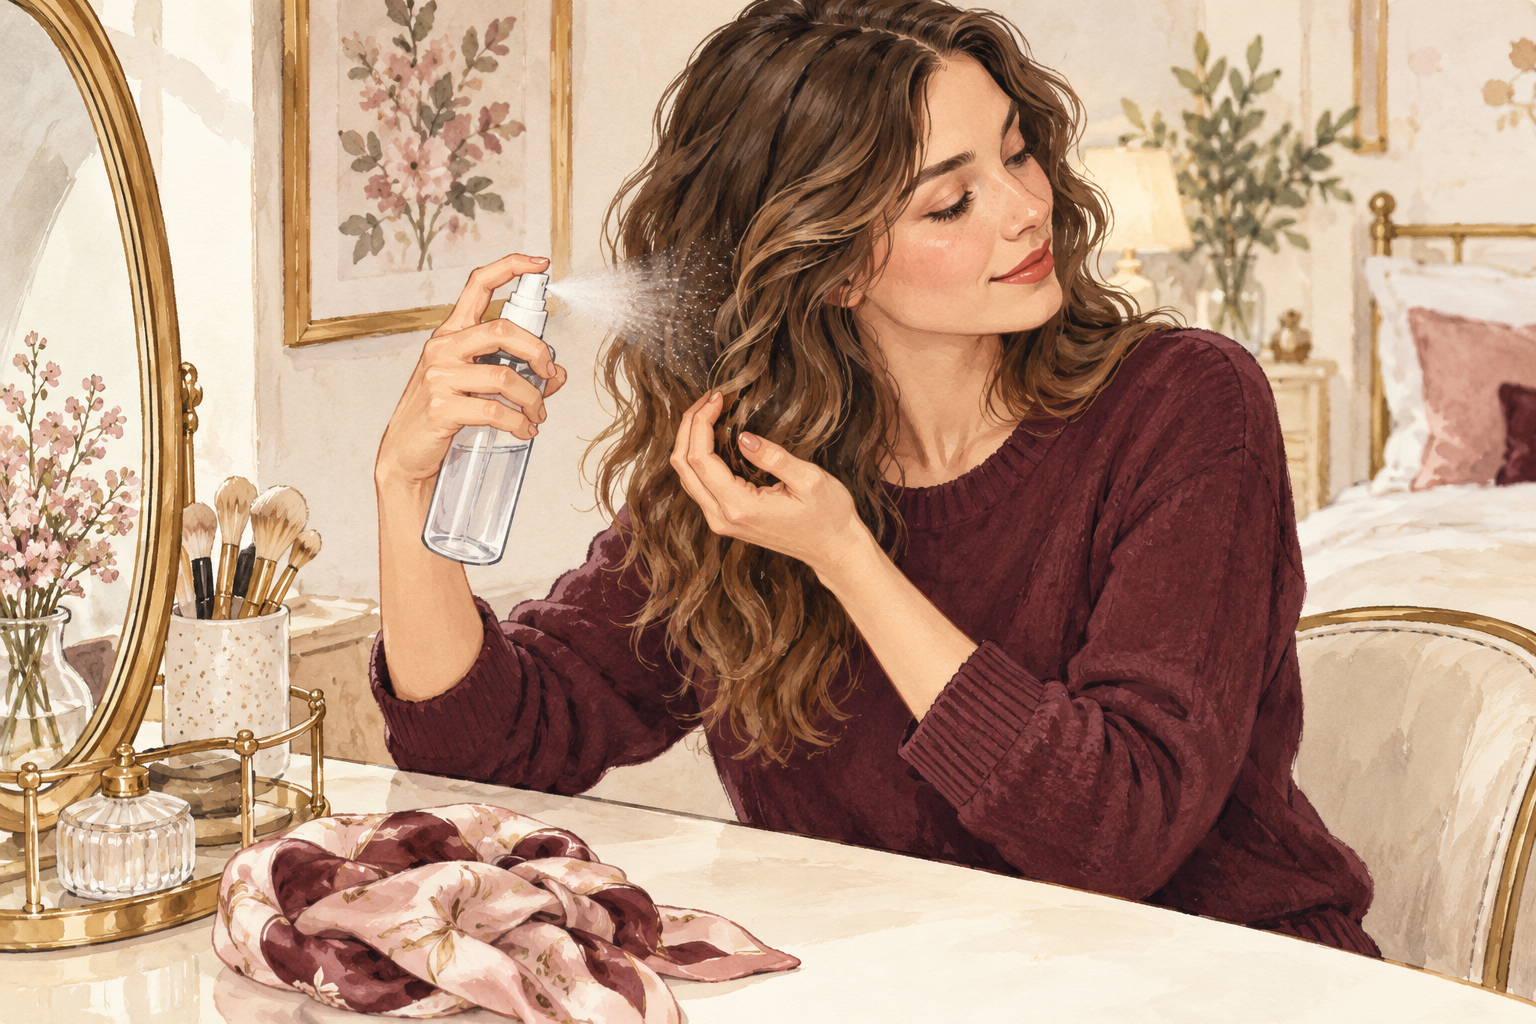
Mist your hair with plain water, scrunch and let it dry. A damp hand also tames flyaways. Adding another layer of cream on top of old product is the quickest way to flatten your waves. If your hair still looks tired, a tiny amount of mousse on the damp section is usually enough. Once every two weeks, swap one regular conditioner for a light mask on the ends, never the roots. Sleep on a satin pillowcase or in a loose scarf to cut friction while you rest. Mist lightly, because soaking your hair undoes the day before.
12. Expect small changes by week eight

In week one, your hair may feel different as the build up leaves and you adjust the amounts. By week four the waves should hold their shape longer and the roots should stay lifted for most of the day. By week eight you know your exact amounts and which day needs a refresh. If your hair is still flat then, look at how often you wash. Change one thing at a time, so you can tell what helped. Take one photo a week in the same spot. Be kind to yourself, as waves change with the weather.
Complete the Routine: Keep the 2c Curly Hair Routine Going
Tonight, wash once with less product and scrunch up from the ends on dripping hair, then leave it alone until dry. For more on loose texture, read about easy curly hair routine and curly hair routine for volume.