
Nails
I made a version of pumpkin pie nails two Novembers ago, mostly cream and cinnamon tones with one tiny whipped-cream tip, and caught myself staring at my own hand through an entire dinner. Warm and creamy beats cartoonish every time. One or two small details, a slice, a dollop, a dusting of cocoa, are all it takes to make the reference land without shouting it.
These 12 move from quiet pumpkin tones to the fuller dessert details, so you can decide how obvious you want the sweetest part of the table to be.
Soft Pumpkin Pie Accents
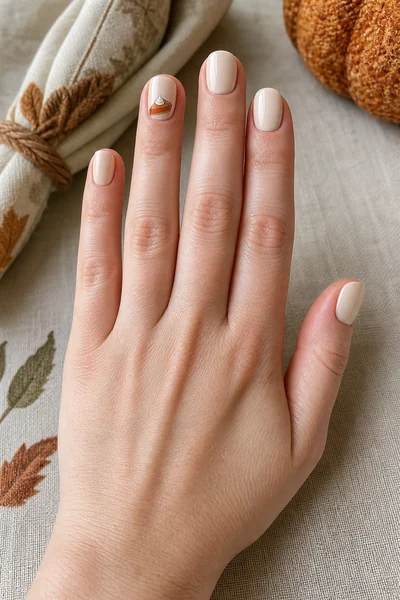
Cream Pie Accent
A creamy base with one pumpkin pie accent is where I would begin if you want the theme to feel polished before it feels seasonal. Keep the nails short and oval, paint most fingers a warm cream, and place a small pie slice on the ring nail with a cinnamon crust and orange filling. The soft background gives the illustration room to read, while the rounded shape keeps the hand delicate. Use a glossy topcoat over the whole set, but let the art dry fully first so the tiny crust line stays sharp.
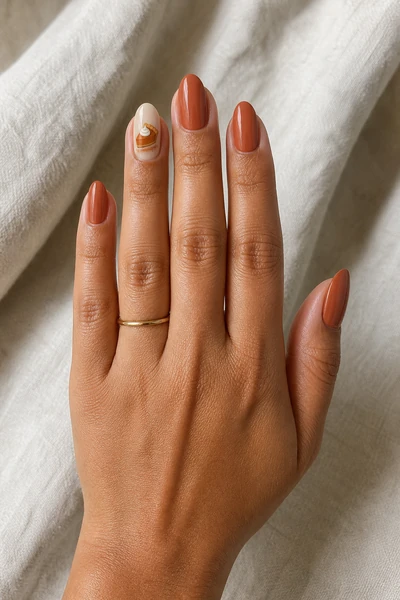
Terracotta Slice
Terracotta is the color that makes this manicure feel warm rather than sugary. Use medium almond nails, paint two fingers in terracotta, and place a neat pie slice on a pale accent nail. The almond shape gives the slice a graceful diagonal line, which is more flattering than forcing the drawing into a tiny square. Keep the crust a muted brown and the filling a little brighter. One thin coat of glossy topcoat protects the detail and makes the warm colors glow in natural light.
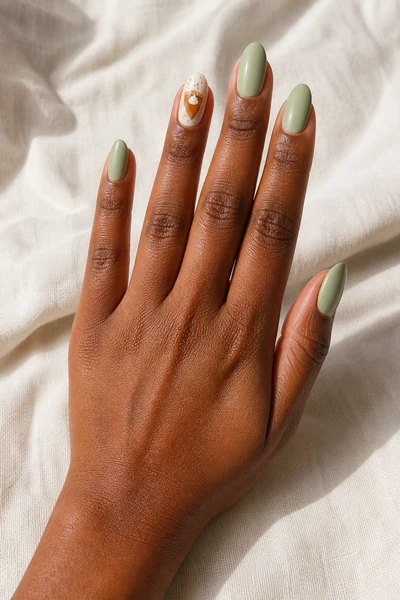
Sage and Spice
Sage beside pumpkin orange gives the pie idea a fresh little twist, and I love it when traditional orange feels too predictable. Use short square nails with sage on two fingers, creamy beige on two more, and one pumpkin accent with a small pie detail. The straight edges make the color blocks look crisp, while the low contrast between sage and beige keeps the hand calm. Ask for thin coats rather than one thick layer because muted shades can pool at the edges and make the manicure look heavier than intended.
Pie Slices and Whipped Cream
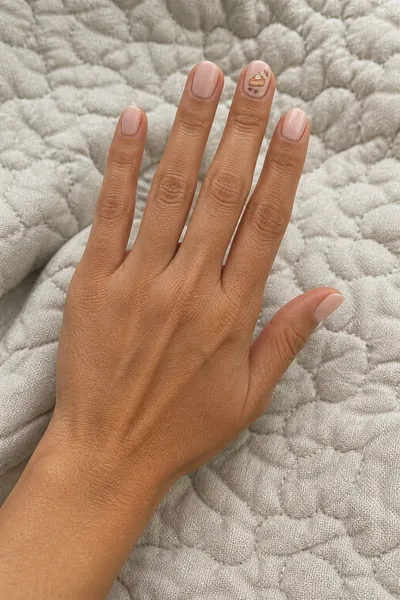
Blush Pie Illustration
Blush makes a pumpkin pie illustration unexpectedly feminine, especially when the slice sits on only one accent nail. Choose medium oval nails, keep the other fingers blush, and use cream and cinnamon for the little dessert. The gentle background flatters medium skin and lets the warm art show without shouting. A dotting tool makes the whipped cream easier to place in small rounded peaks. Keep the peaks low and close together, then cover the set with a clear glossy finish so the accent remains smooth to the touch.
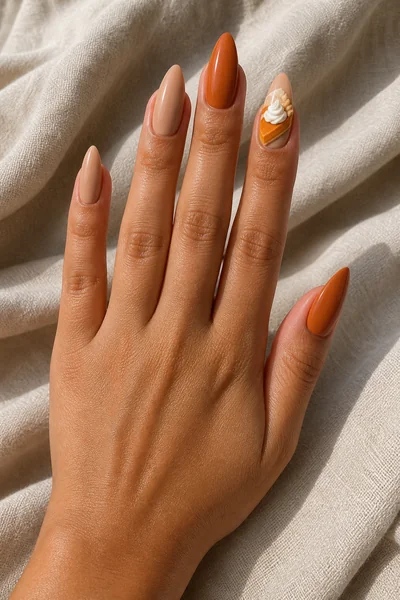
Whipped Cream Detail
The whipped cream detail is the part that makes me grin, because it turns a normal pumpkin set into a tiny dessert scene. Paint medium almond nails in pumpkin and cream, then place one pie slice with a little white swirl on the accent finger. The almond tip gives the artwork a soft frame and looks especially pretty against tan skin. Use a small amount of white polish for the cream so it stays raised only in appearance. Too much product will spread under the topcoat and soften the lines.
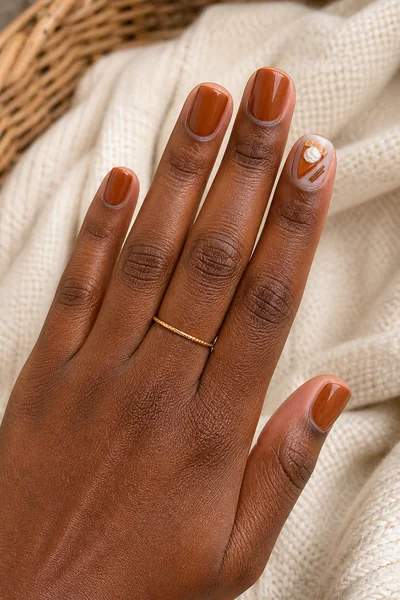
Caramel Pie Slice
Caramel and dark brown make a pumpkin pie slice look almost good enough to eat, and this is the richer version to choose for evening plans. Use almond nails in glossy cocoa, then paint one caramel slice on a cream accent. The deeper background creates contrast and looks beautiful against deep brown skin without needing glitter. Keep the crust line slightly darker than the filling, and finish the solid nails with the same shine as the art. Matching the finish is what makes the different colors feel like one set.
Autumn Pie Nail Art
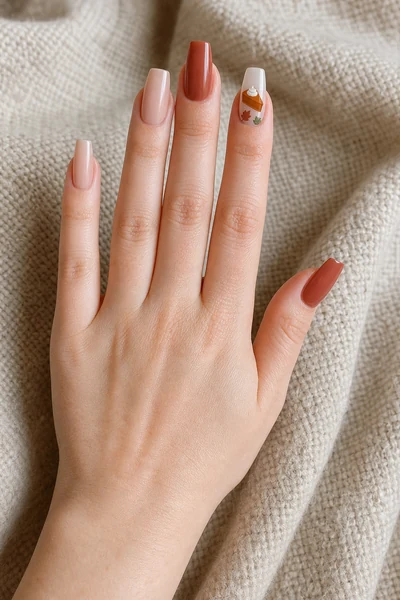
Pie and Falling Leaf
A tiny leaf beside the pie slice gives this manicure more of an autumn story while keeping the dessert as the star. Use medium oval nails, a creamy base, and one accent with a pumpkin slice framed by a rust leaf. The oval shape softens the little scene, and the warm colors flatter rich dark brown skin beautifully. Paint the leaf with one confident stroke instead of adding many veins. The simpler mark reads better at a normal distance and is less likely to blur beneath a glossy finish.
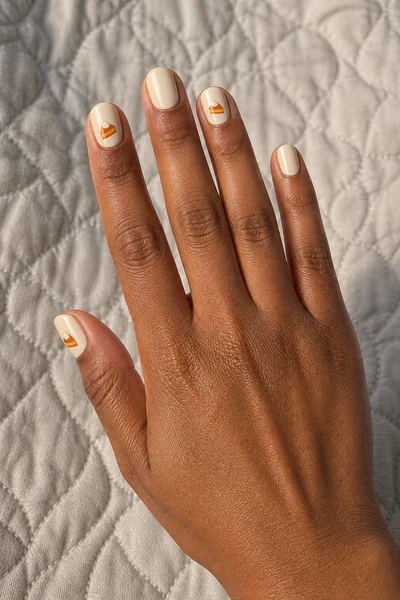
Mini Pie Squares
Mini pie illustrations on short square nails are playful, but the short length keeps them from feeling like a novelty costume. Use a warm cream base and place tiny orange triangles on two accent fingers, leaving enough space between them to see each slice. The square tips give the little shapes tidy borders and make the manicure easy to wear while typing or cooking. Use a glossy topcoat and add hand cream around the cuticles after washing. Smooth skin makes small art look cleaner in every close view.
Cocoa Pie Drama
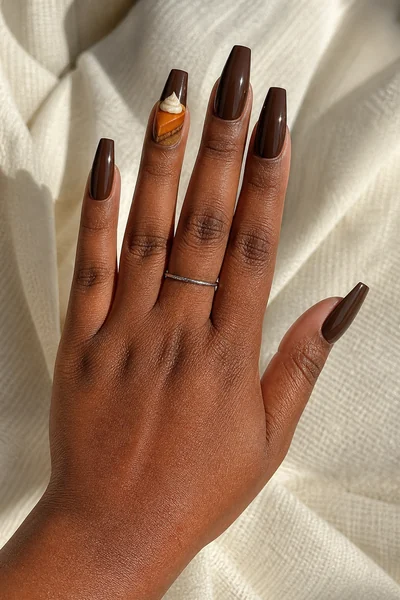
Deep cocoa nails are for the woman who wants the seasonal mood without a bright orange manicure. On moderate coffin nails, I would paint most fingers cocoa and use one cream nail for a pumpkin pie slice with a rust edge. The flat tip makes the accent look graphic, while the dark color gives the hand a dressed up feeling against light olive skin. Keep the length moderate if you are working with your hands. A little drama is lovely, but a nail that catches on everything stops being fun very quickly.
Minimal Pumpkin Pie Finishes
Minimal Pie Lines
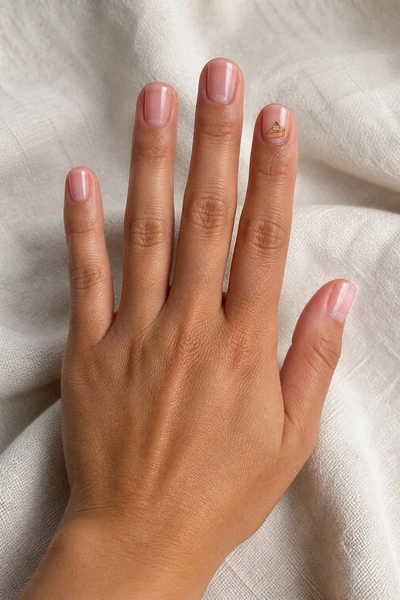
Minimal pie line art is the neatest choice when you want the reference to stay almost private. Start with short square nails in warm nude, then draw one cinnamon outline of a slice on the middle finger. The open space keeps the manicure flattering and lets your natural hand shape show through, while the square edge makes the tiny triangle easy to place. I prefer a soft gloss here rather than a mirror finish because it keeps the drawing visible. Reapply cuticle oil during the week to keep the nude base fresh.
Framed Sage Pie
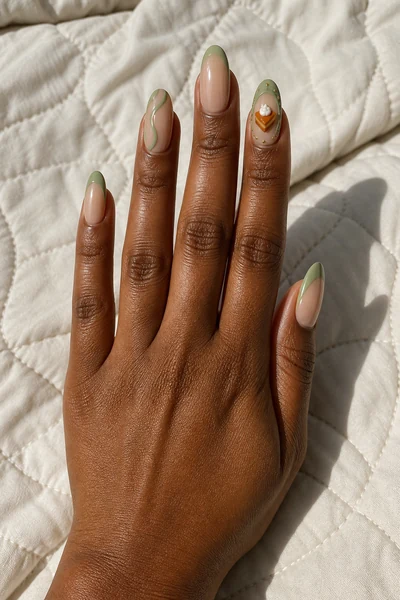
A sage frame around a tiny pie slice makes the dessert detail feel like a little vintage label. Keep medium almond nails mostly sheer beige, paint sage on the thumb and index, and place the framed accent on the ring finger. The frame gives the design structure against deep brown skin, while the almond shape keeps it graceful. Use a thin brush for the border and stop before it reaches the cuticle. Leaving a small margin is the secret to making miniature art look deliberate.
Chocolate Dessert Set
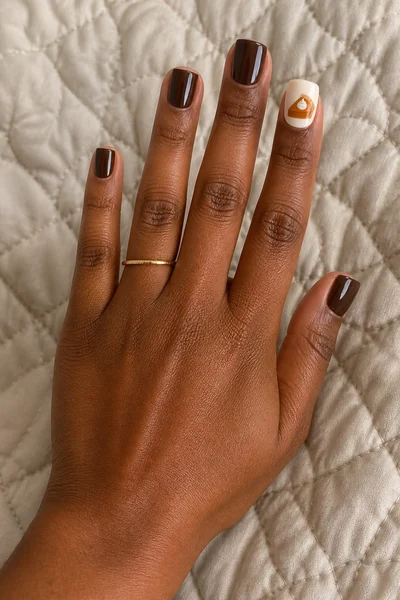
Chocolate, cream, and one pumpkin pie accent create the manicure to choose for a busy Thanksgiving week. Short square nails make it easy to live with, while the dark brown shade gives the hands a finished look even when the artwork is only on one finger. The warm palette suits deep skin and looks lovely beside gold jewelry or a cinnamon cardigan. Use two thin coats of chocolate, then add one smooth topcoat across every nail. Consistent shine makes the simple set feel thoughtfully styled.
I think the best pumpkin pie manicure keeps one detail delicious and lets the rest of the hand breathe. Choose the tiny slice if you like a private joke, or let the warm palette carry the season when you want something that lasts beyond the first serving.
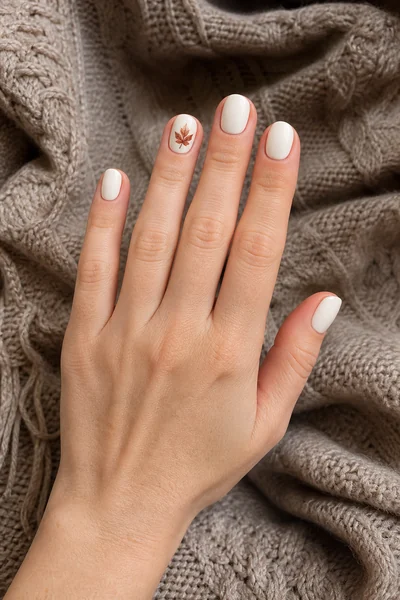
harvest nails that capture
12 Harvest Nails That Capture the Whole Season
Harvest nails are where I go when I want autumn to feel rich and romantic rather than overly themed. Think of the colors outside the farm stand, the…
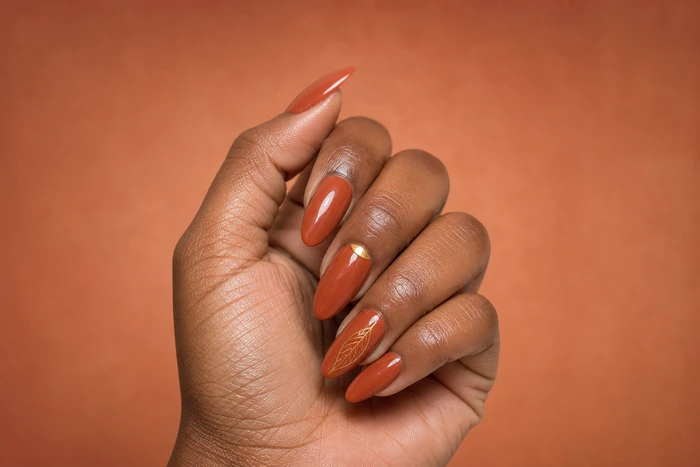
thanksgiving acrylic nails built
12 Thanksgiving Acrylic Nails Built for the Whole Week
Thanksgiving week is hard on hands, babe. Between cooking, travelling, setting tables, and washing up after everyone, you want a set that will actually hold its shape. That…
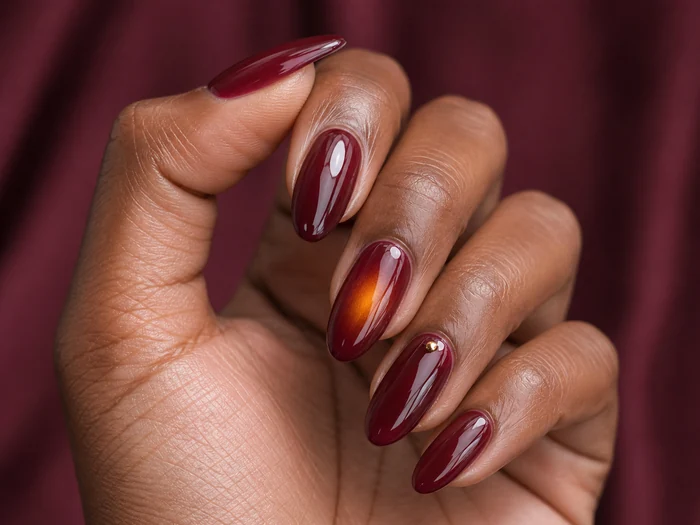
thanksgiving gel
12 Thanksgiving Gel Nails for Long-Lasting Shine
Gel has a way of making a warm Thanksgiving colour look almost lit from inside, and that glassy finish is why I keep coming back to it for…
Meet the Writer

Hey, I’m Elma!
Fashion girl at heart, just like you. Nails and hair are how I like to finish every look. So glad you’re here! Read my story
