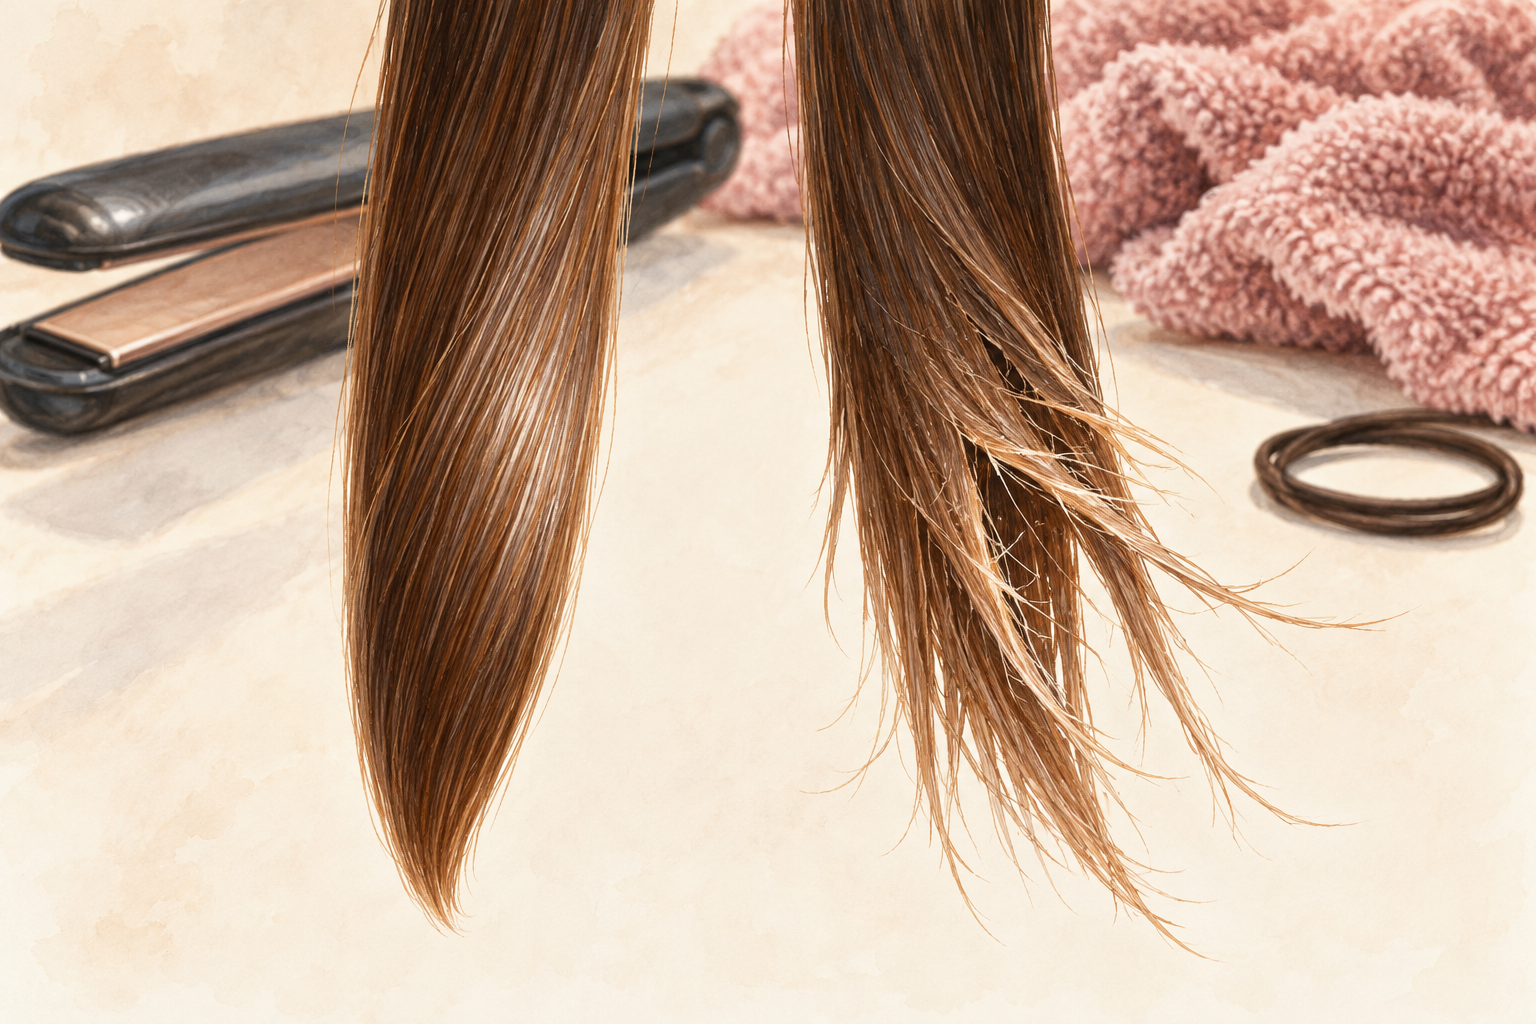
You twist a section of hair around your finger, and the last inch is a frayed little fork. Split ends make long hair look thin and tired, but they are fixable. These 12 ways to stop split ends start with spotting them and end with keeping new ones away, so start at number one tonight.
1. Look at your ends in bright light
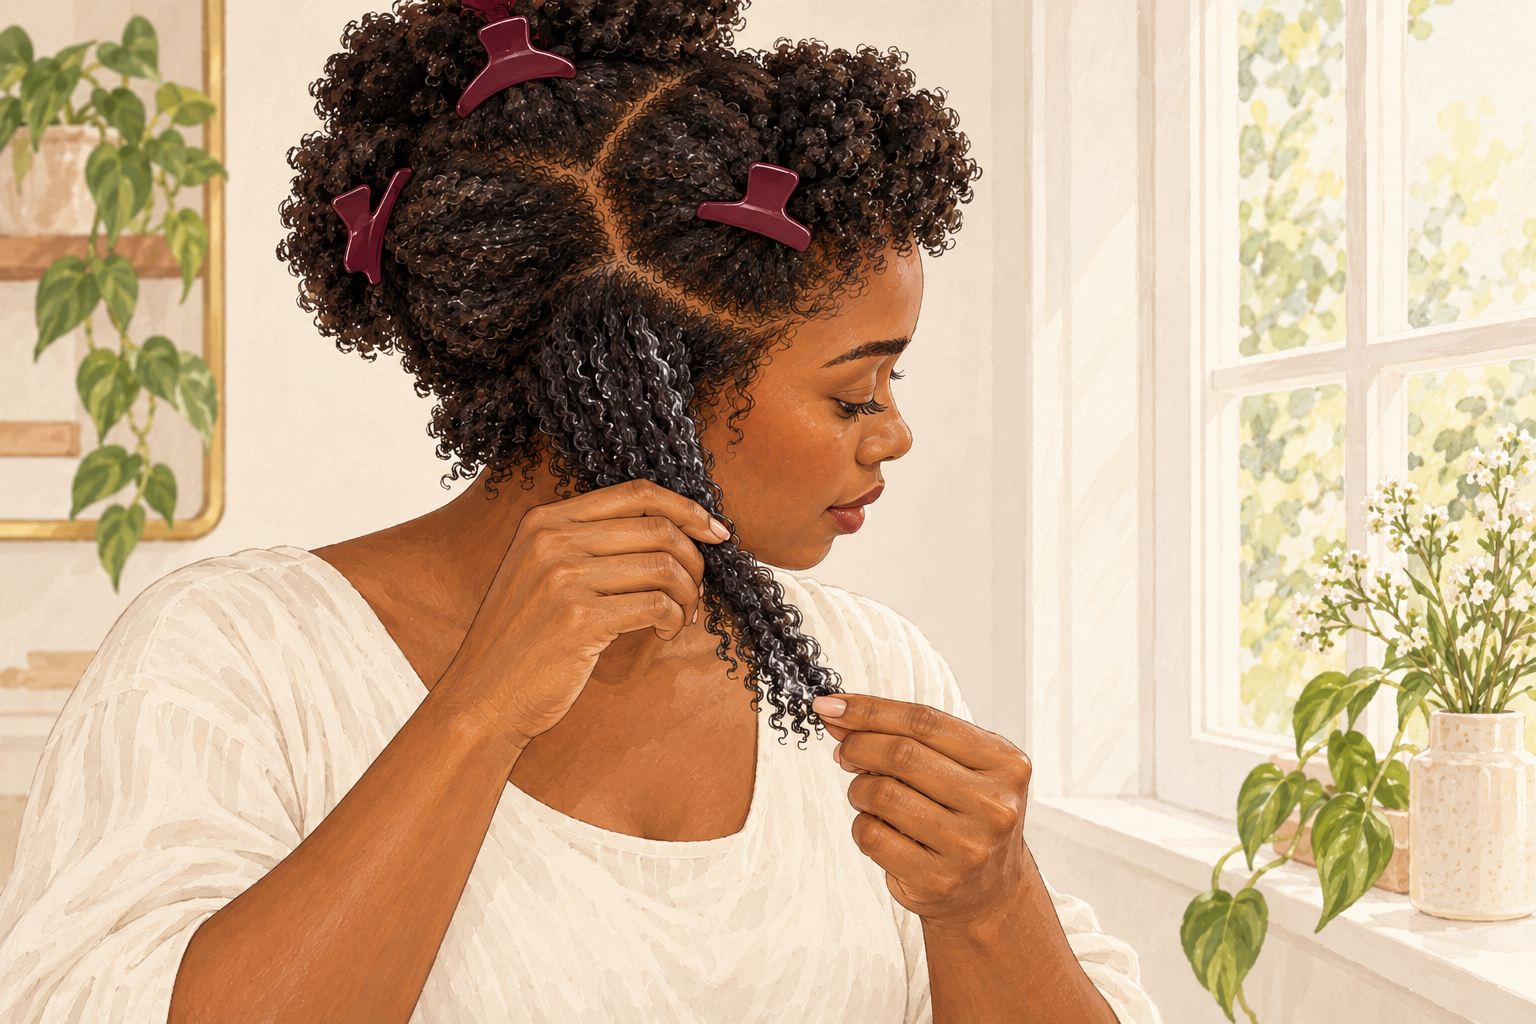
Hold a small section of hair up to a window and look at the last two inches. Split ends catch the light and show up as little forks, white dots or fuzzy tips. Do this on dry hair, because wet hair hides them. Lay a strand on a dark towel if you struggle to see them clearly. Take a photo so you can compare in a month. Most of us only notice splits when they are already bad, so a quick weekly check keeps you honest and takes less time than brushing. Check the ends at the back too, where hair rubs against your collar.
2. Learn the three kinds
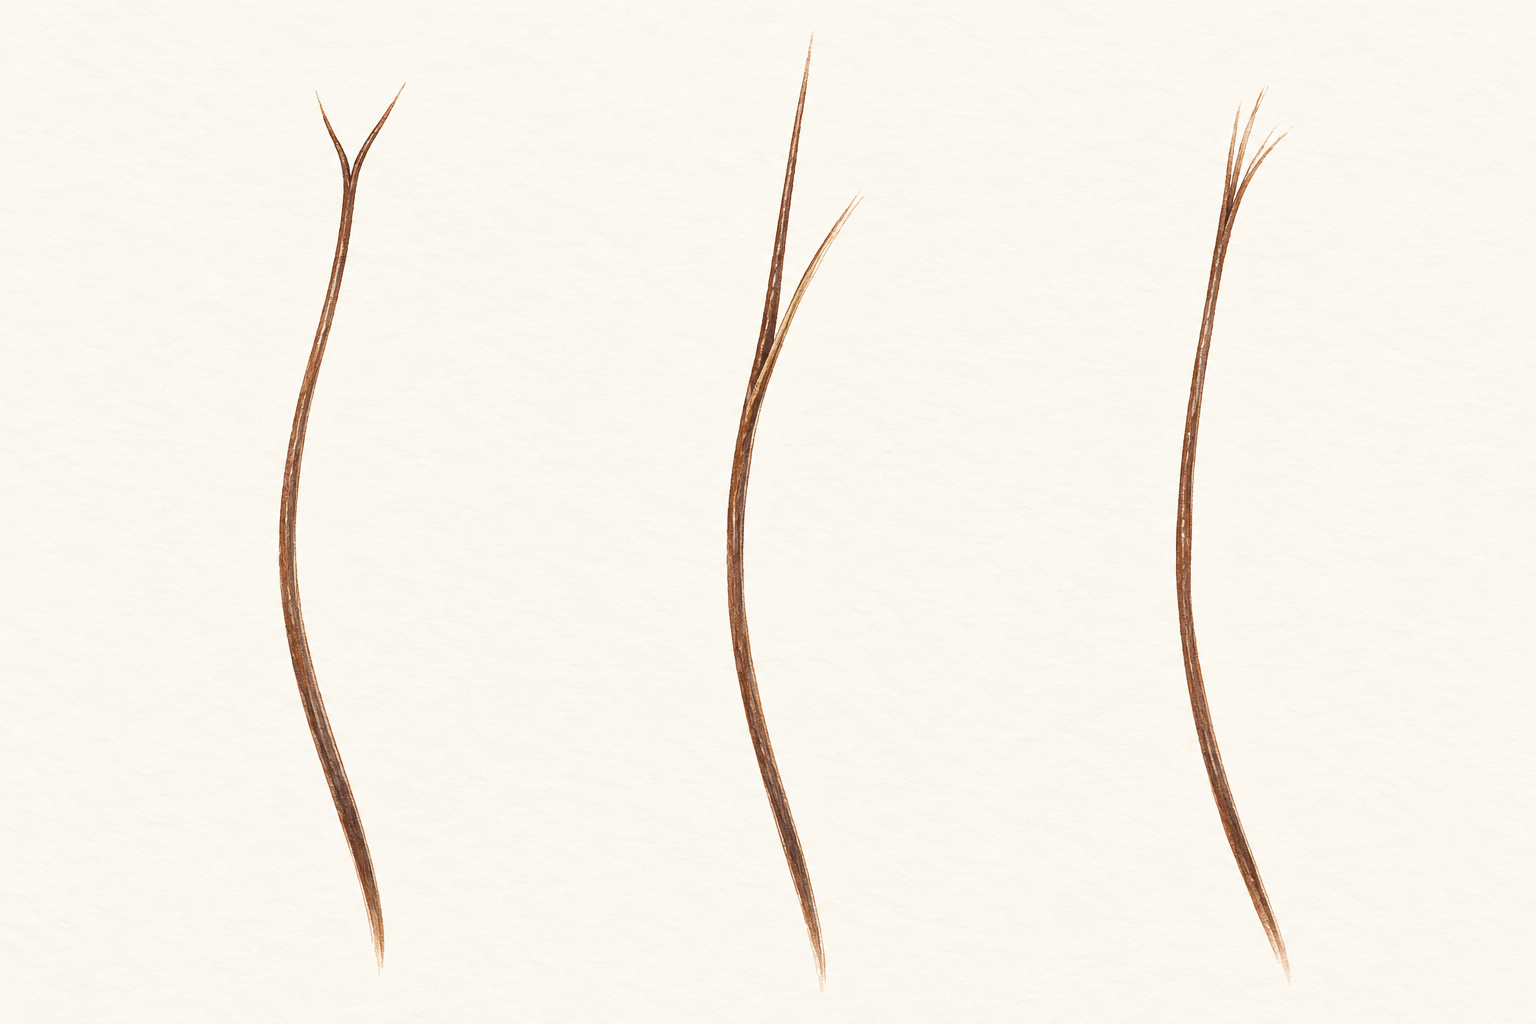
Check whether you have a simple fork, a split further up the strand or a brush like frayed end. A fork is the usual one, caused by dryness. A split higher up the strand comes from rough brushing and breakage. A frayed tip shows damage from heat or chemical treatments. Knowing which type you have tells you which habit to change first. Most women have a mix, so do not worry if more than one sounds like you. Write down your main type, because it tells you which of the next steps to start with. Knowing the type stops you buying products for the wrong problem.
3. Cool down your heat habit
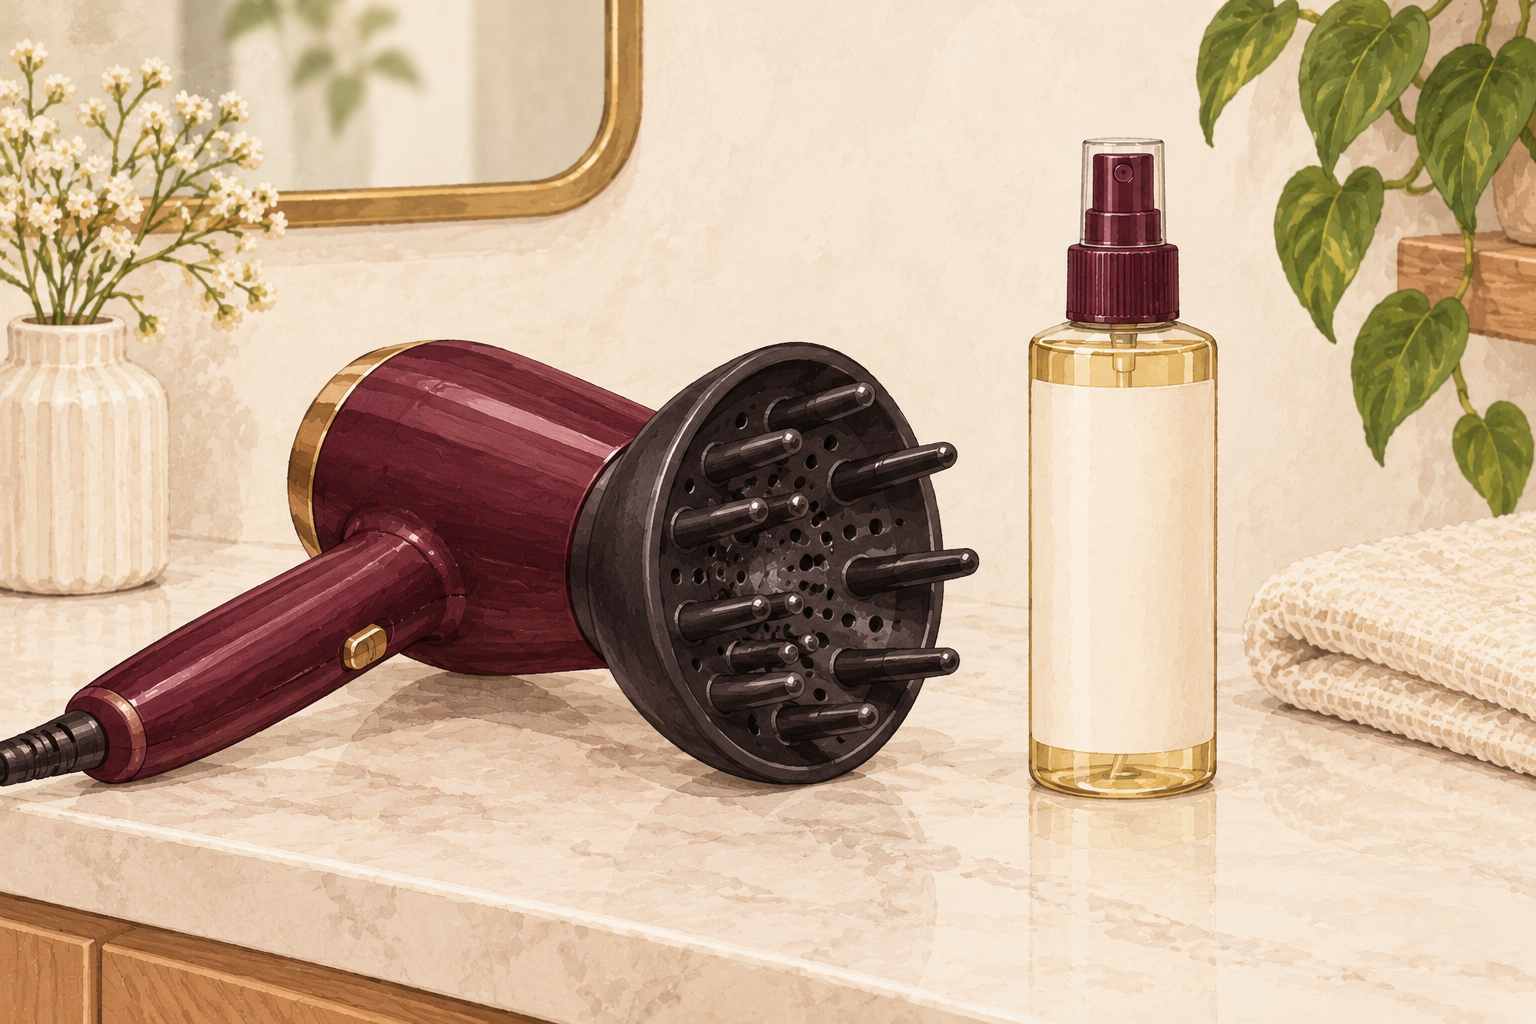
Turn your styling tool down a notch and use it a day or two less each week. Hot tools are the quickest way to turn dry ends into split ends. If you can air dry your hair most days and heat style only for special plans, you will notice the difference by next month. Always use a heat protectant spray first, and let it dry before the tool touches your hair. Sizzling is the sound of damage, so if you hear it, lower the heat. A quick pass on a medium setting beats three slow passes on a hot one. If you must straighten, do one pass per section and let it cool before you touch it.
4. Seal your ends with a little oil
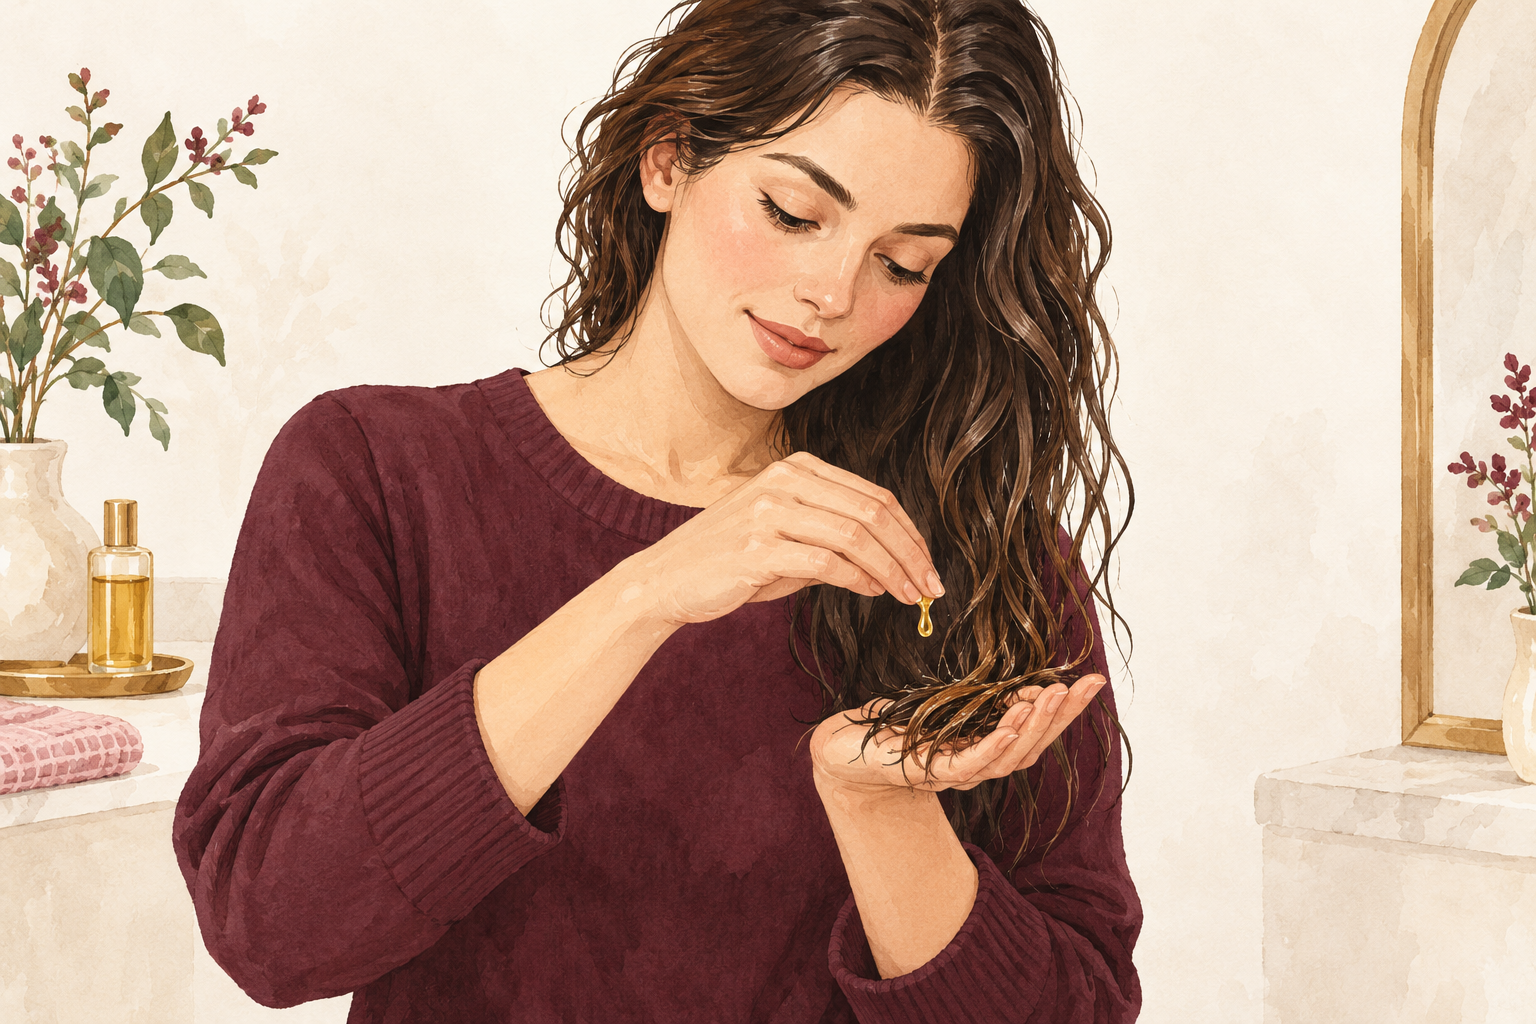
Warm two drops of oil between your palms and smooth them over the last few inches only. Oil cannot heal a split, but it holds the end together and stops it fraying further. Use light oil on fine hair and richer oil on thick hair, and keep it away from your roots so your scalp does not feel heavy. Do it on damp hair after washing for the best result. Too much oil makes ends look greasy, so start with less than you think and add a touch more if needed. Smooth the oil down the strands rather than scrunching it in, so every end gets a thin coat.
5. Do a weekly deep conditioning mask

Leave a rich conditioner on your ends for twenty minutes once a week. Dry hair splits easily because the outer layer is rough, and a mask smooths it down for a while. Wrap your hair in a warm towel to help it sink in, and sit with a face mask on if you like making an evening of it. Rinse with cool water and your ends will feel softer straight away. If your hair is fine, use the mask on the lower half only so the roots do not go flat. Do it on wash day so it fits into a routine you already have.
6. Detangle from the ends upward
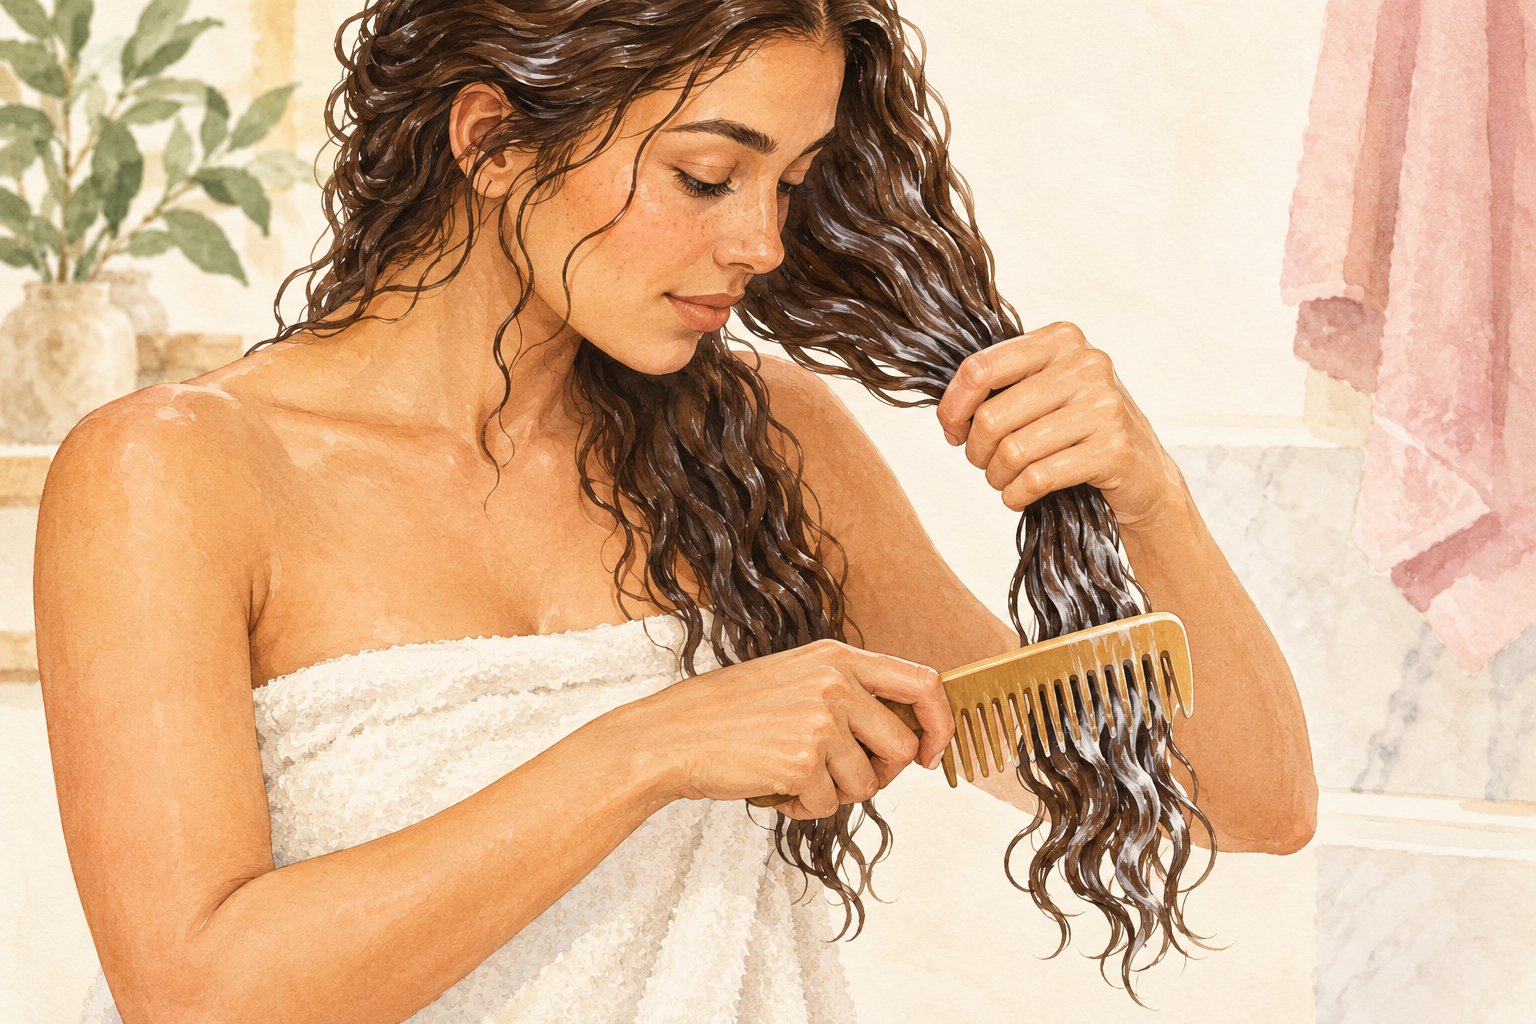
Start combing at the very ends and work up toward the roots in small stages. Pulling a brush straight from the top drags every knot through your ends. Use a wide tooth comb on wet hair, and stop if you feel resistance. If a knot will not budge, hold the hair above it so you do not tug the root, and work it loose with your fingers. Patience here saves you from a new split every single wash. Put a little conditioner on the knot first and it will slide apart much more easily. Detangle in the shower with conditioner in, then rinse, and the knots come out in half the time.
7. Snip off the worst ones with sharp scissors
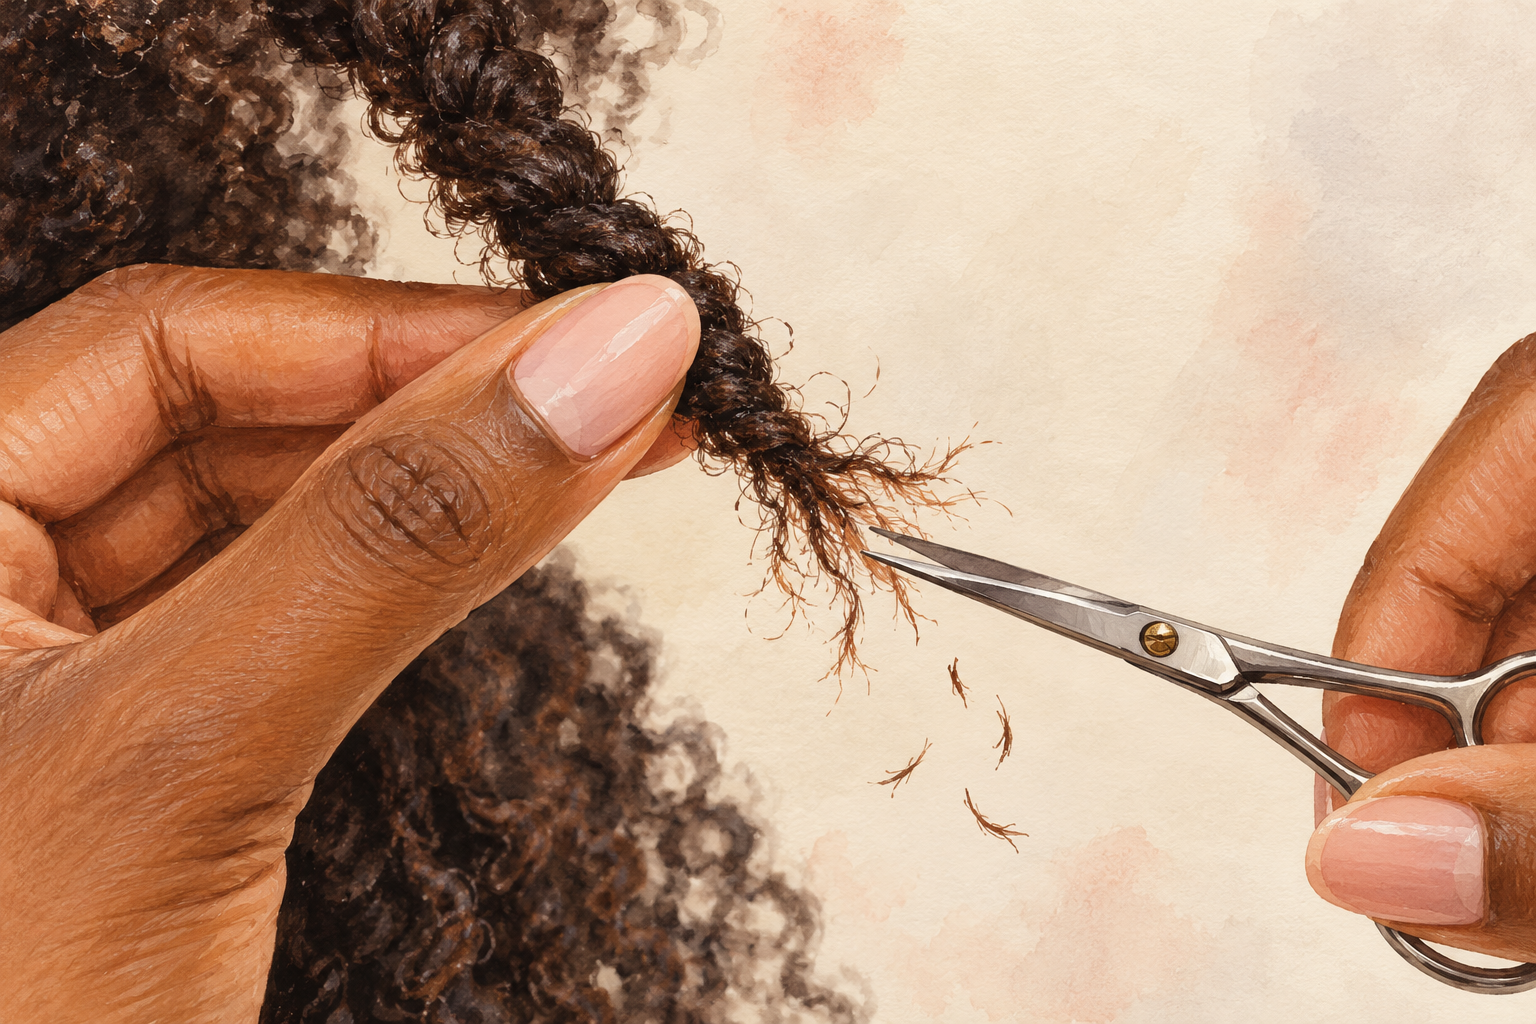
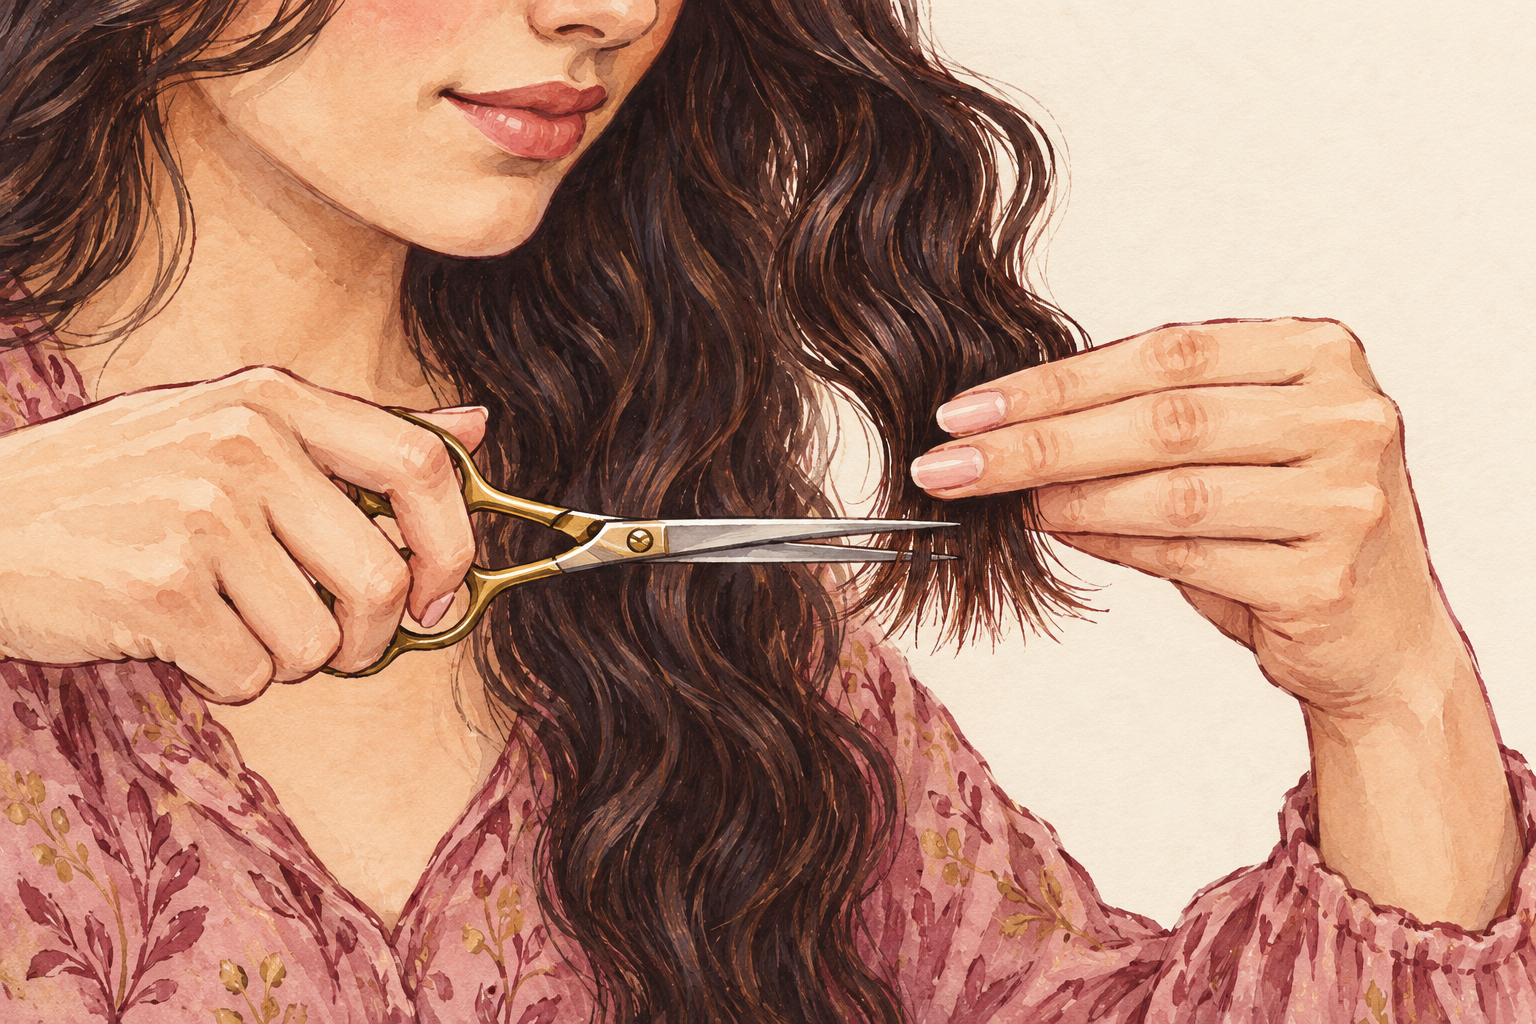
Twist a small section, find the frayed bits sticking out and snip just those. Cut just above each split so it cannot travel up the strand. Use sharp hair scissors, never kitchen ones, because dull blades fray the hair again and you end up with the same problem next week. It is slow work, so do it for twenty minutes while you watch something. You will not lose length and you will feel the difference. Work in good light and only cut what is already frayed, because snipping healthy hair defeats the purpose. Keep a small pair of scissors only for hair so they stay sharp.
8. Book a trim every ten weeks
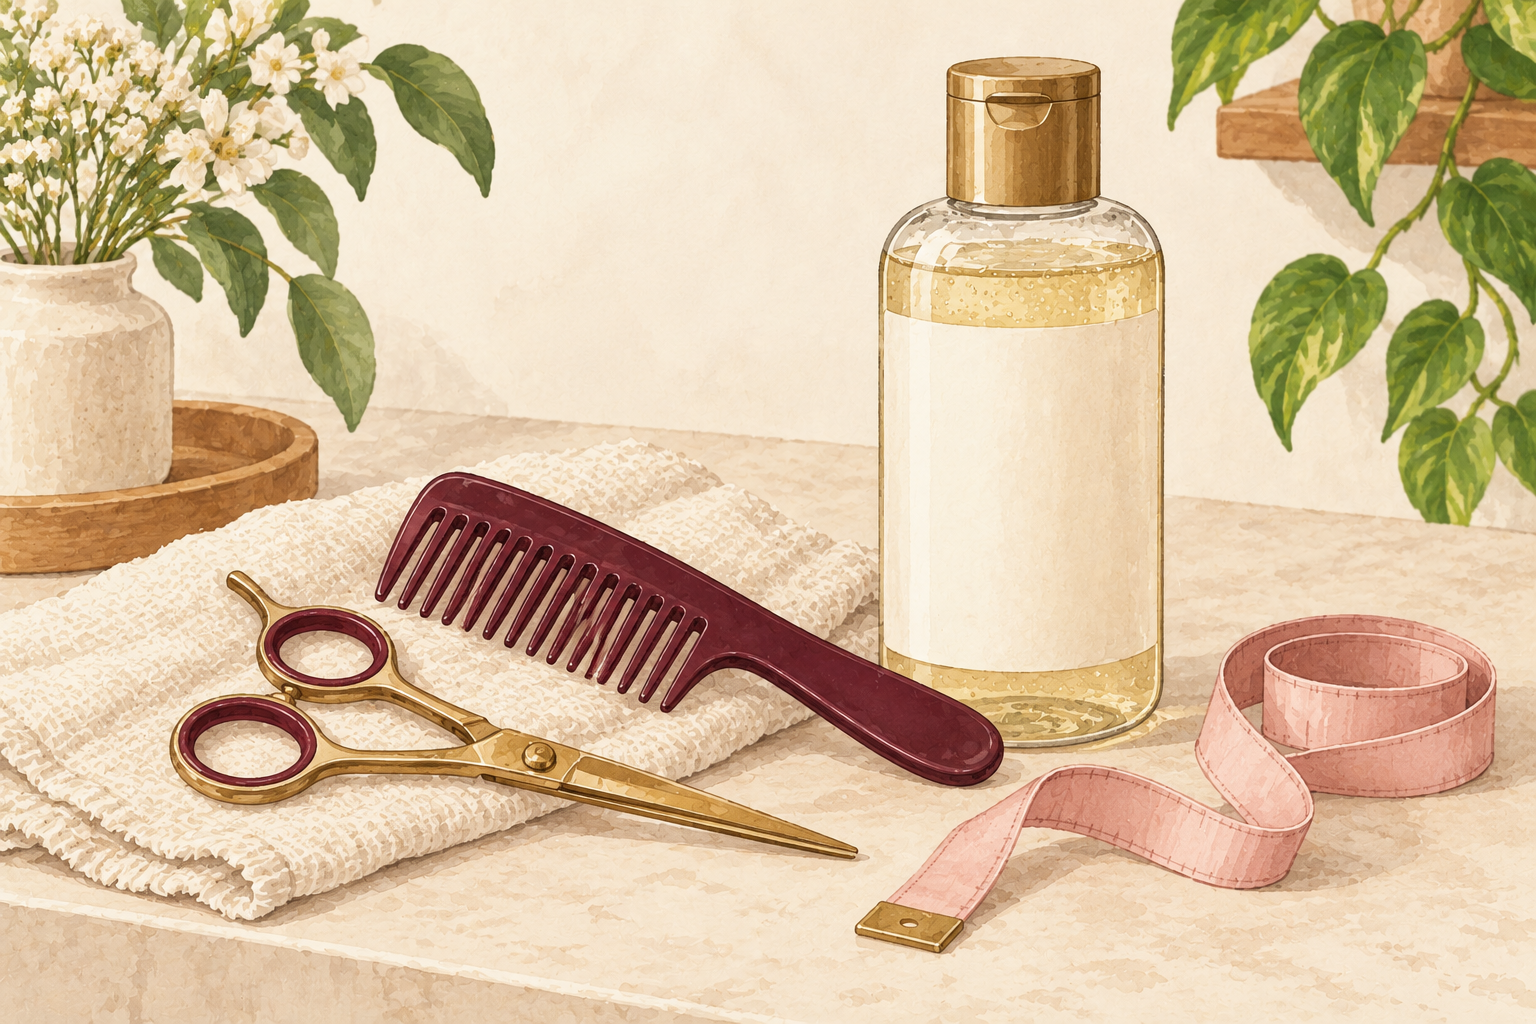
Trim half an inch off every eight to twelve weeks, even when you are growing your hair. Cutting a little often keeps splits from climbing upward. Waiting a year means losing much more later, and it also means living with the frayed look in between. Ask for a dusting, which takes only the damaged ends and keeps the length. Tell the stylist you want to keep every bit of healthy hair, and they will understand exactly what you mean. Put the next date in your phone before you leave the chair. A tidy trim also makes hair look thicker, which is half the reason to do it.
9. Protect your ends while you sleep

Sleep on a silk or satin pillowcase, or tie your hair in a loose bun on top. Cotton grabs at the strands and rubs the ends rough all night. A soft covering lets hair glide instead. Split ends often start overnight, so this one is easy to overlook. Avoid tight bands, and use a scrunchie or a clip. If your hair is long, a loose braid is great, since it keeps the ends tucked away from your pillow. You will wake up with less frizz and fewer tangles to brush out. Satin pillowcases are easy to find and last for years, so the swap pays for itself.
10. Swap tight bands for gentle ones
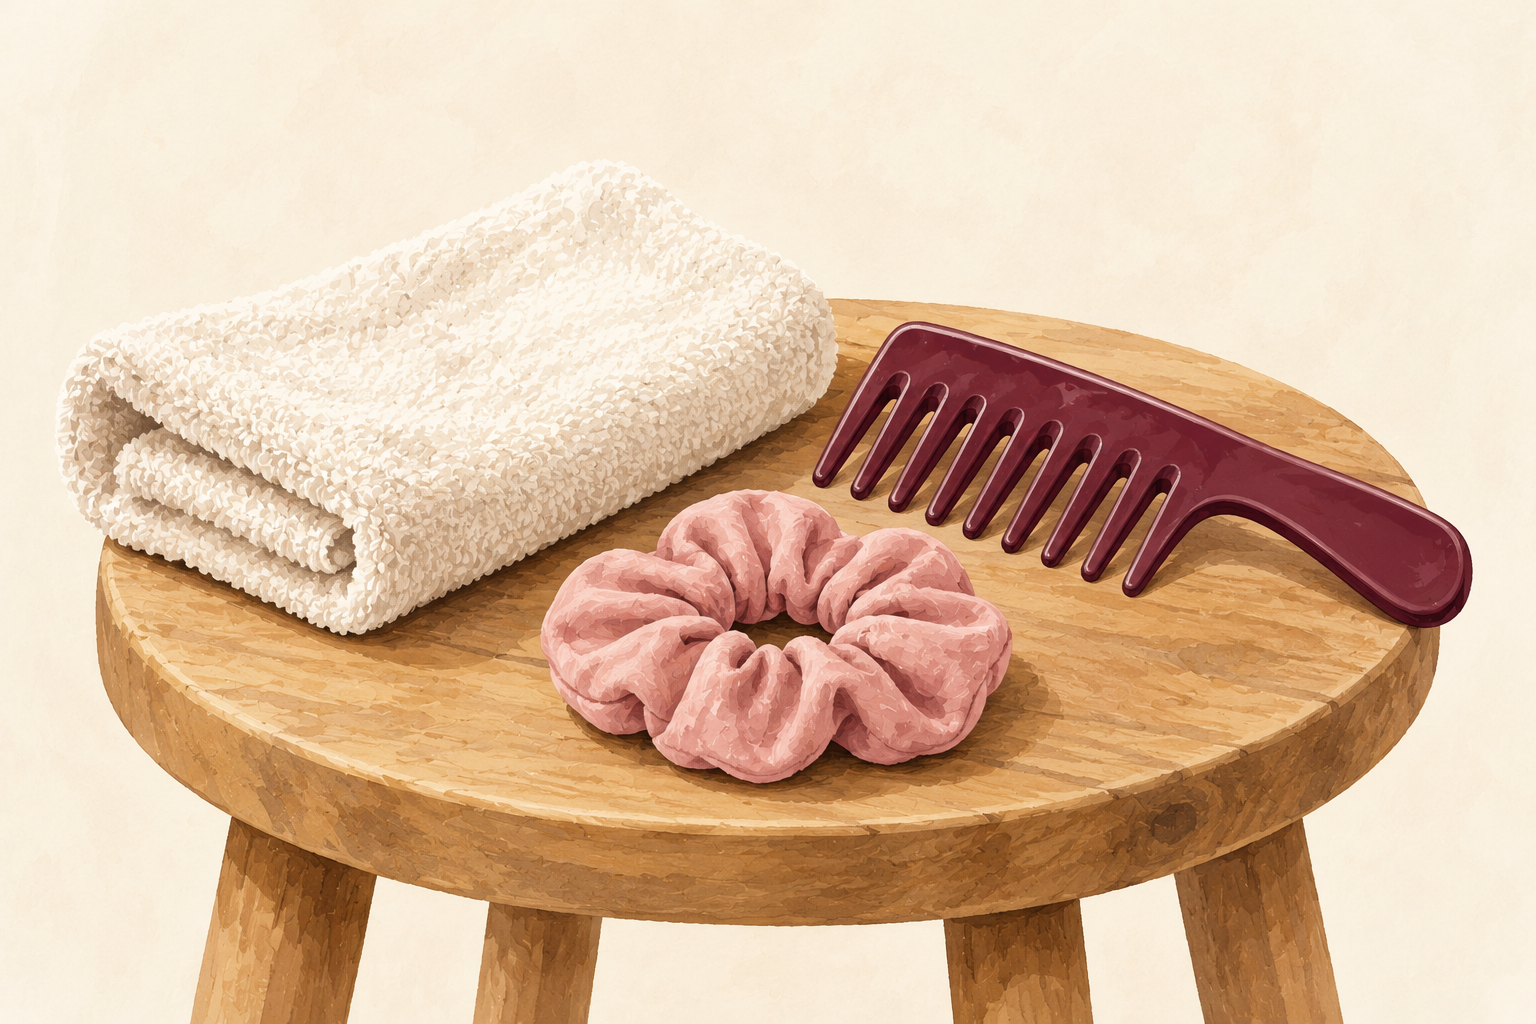
Use fabric scrunchies or spiral ties and change where you put them each day. Thin elastics snag and snap your hair at the same spot over and over. Moving the ponytail up or down a little spreads the stress. Pull your hair up while it is dry, not wet, because wet hair stretches and snaps. Gentle habits matter as much as products when you are dealing with split ends. Never pull a band out of your hair, slide it down and unwind it instead, and your ends will thank you. Keep a few soft ties in your bag so you never reach for a thin elastic.
11. Skip the repair serums that promise a fix
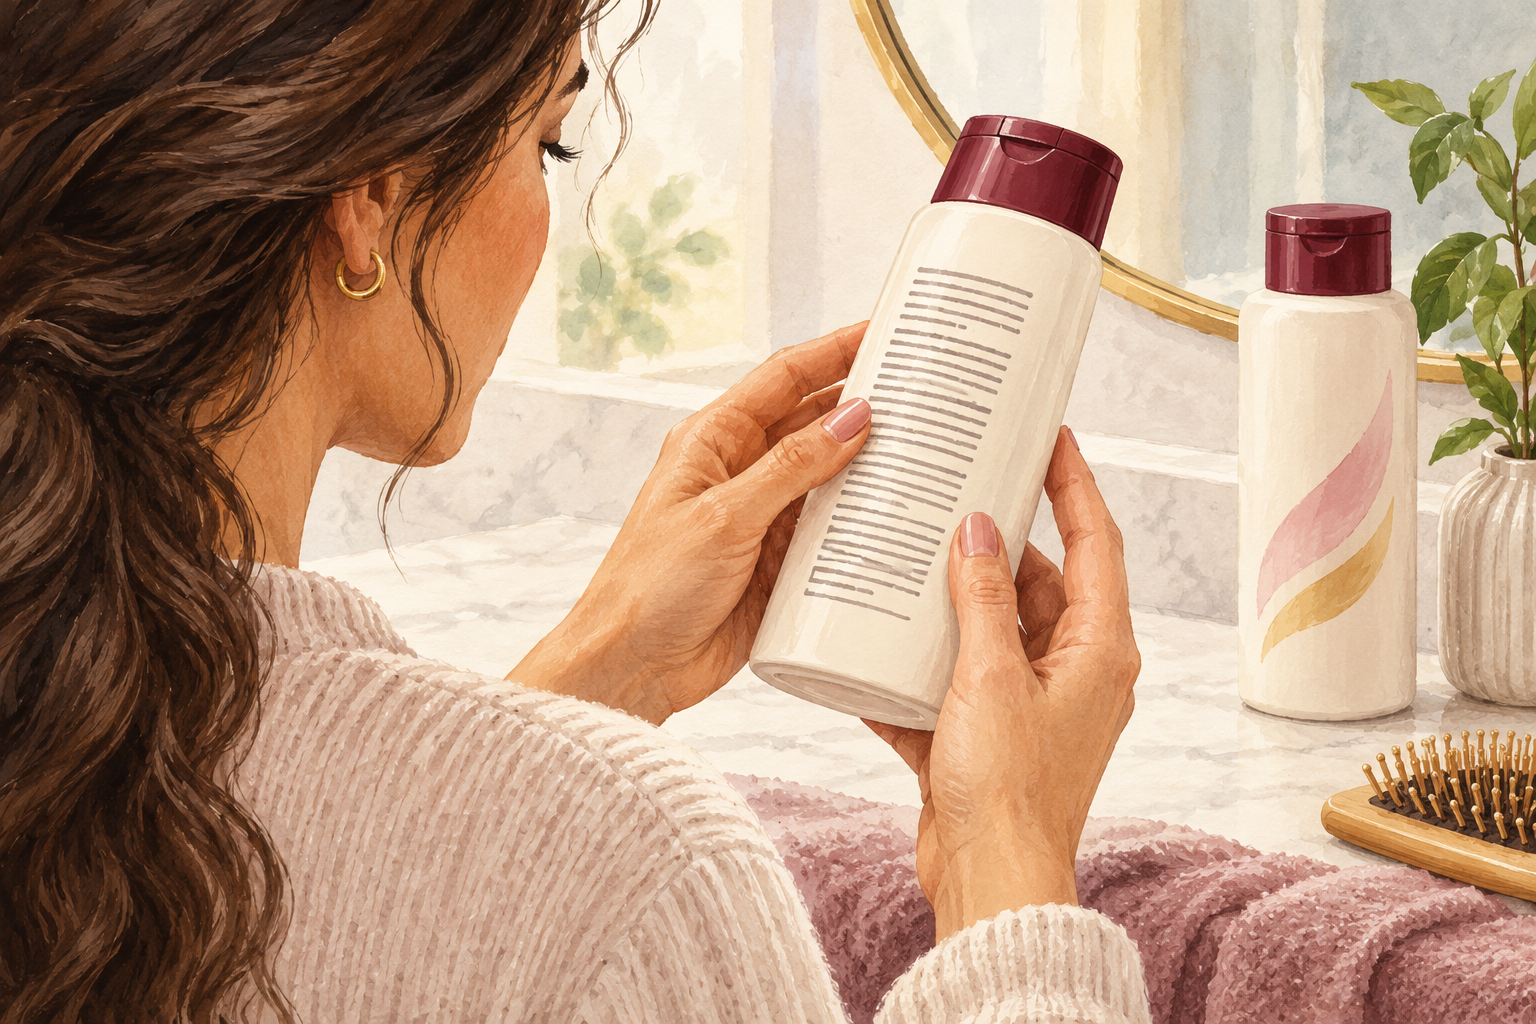
Treat sealing serums as a temporary shine, not a cure. They coat the end and hide the split until your next wash. They are nice for the day but they do not repair anything, so enjoy the shine and keep your expectations calm. Spend your effort on the trim and the habits above, because a bottle can be a lovely treat on top but cannot stand in for the real work. If a product promises to glue split ends together for good, put it back on the shelf. A little shine serum on the very tips can still be lovely for a special evening.
12. Give it four weeks and look again
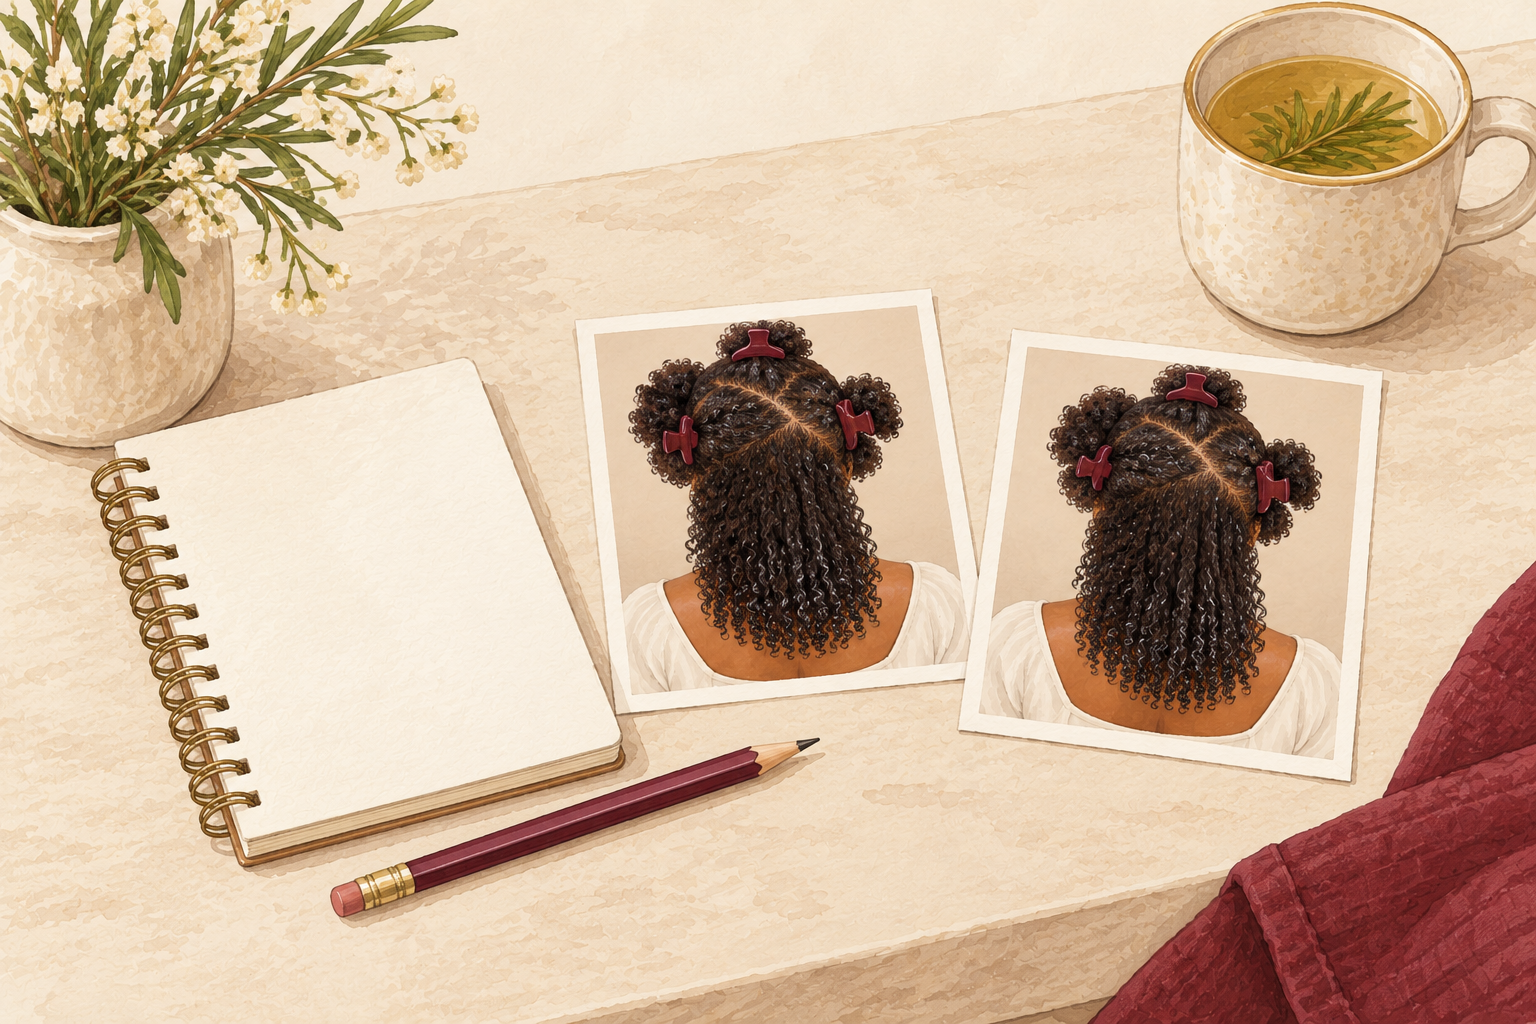
Compare today’s photo with one from a month later in the same light. You should see fewer frayed tips, softer ends and less tangling. New splits can still appear as the old damage grows out, which is normal. If your hair keeps breaking badly, stop and see your doctor, and otherwise keep going. Hair repairs slowly and kindly, so be gentle with yourself while it does. Stick with the habits that felt easiest first, and add one more each week until the whole list feels like second nature. Look at your first photo again, because the progress is easy to forget.
Complete the Routine: Stop Split Ends for Good
Tonight, pick two habits from the list, like heat protection and a weekly mask. Then read about how to get rid of split ends and how to prevent split ends to keep going.