You pull a strand through your fingers, spot the tiny fork at the bottom, and then find six more. Standing at the bathroom mirror wondering how to cut split ends at home without ending up with a chopped line is a very common evening. Here are 12 steps covering two methods, the right tools and the slips to avoid, so start at number one tonight.
1. Get sharp scissors made for hair
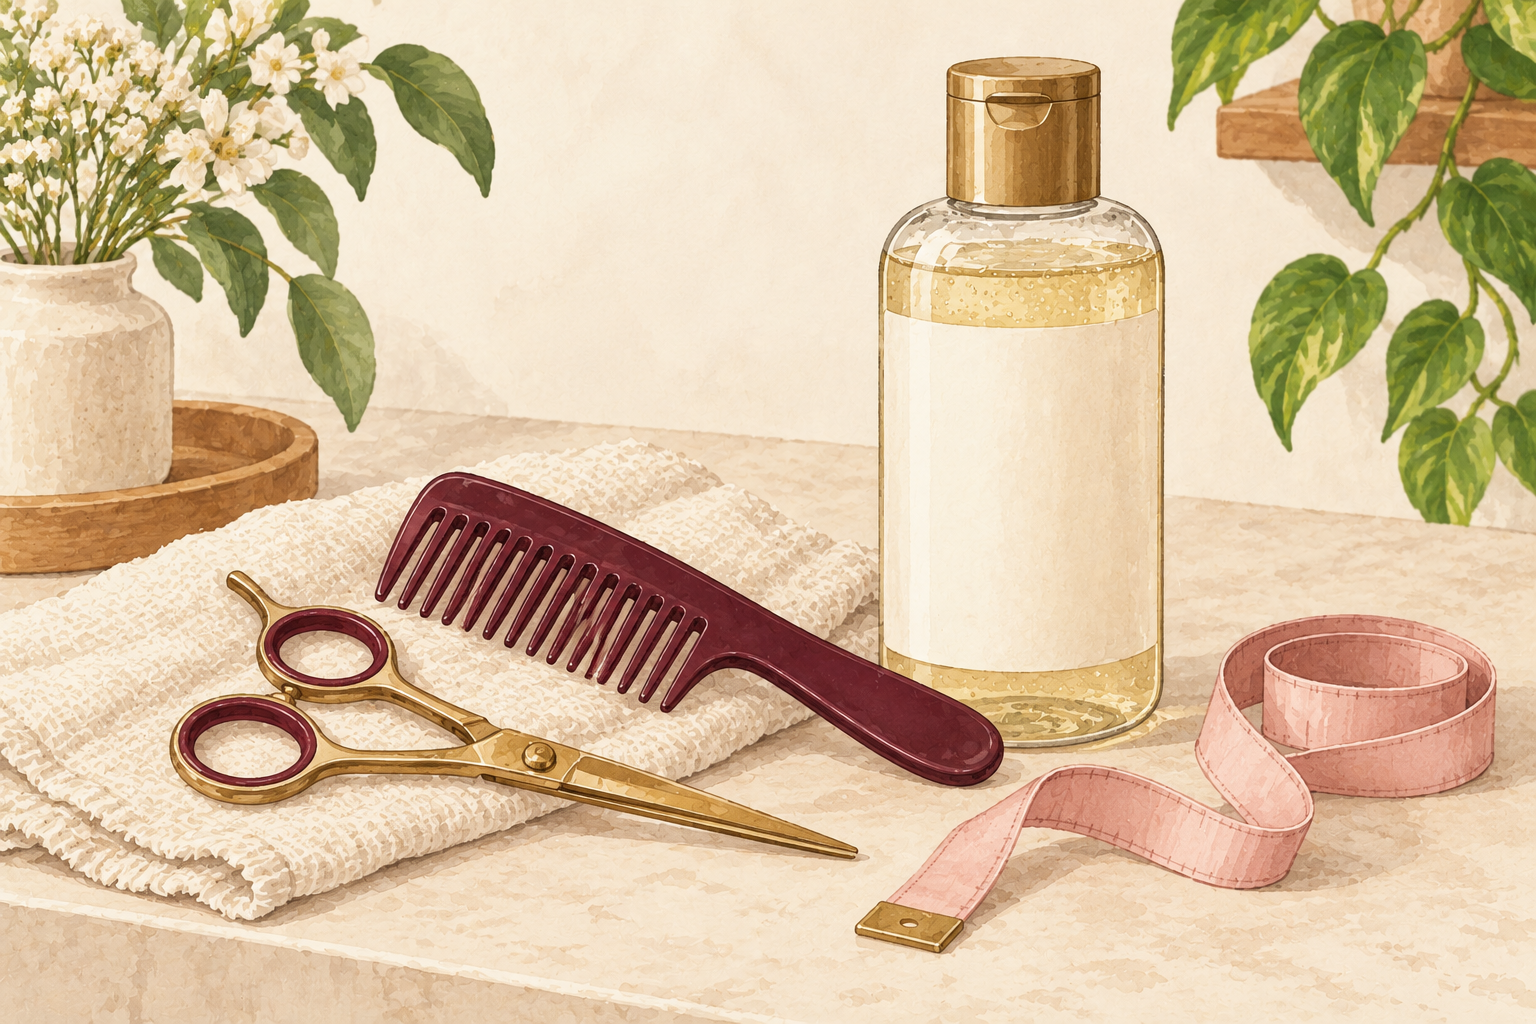
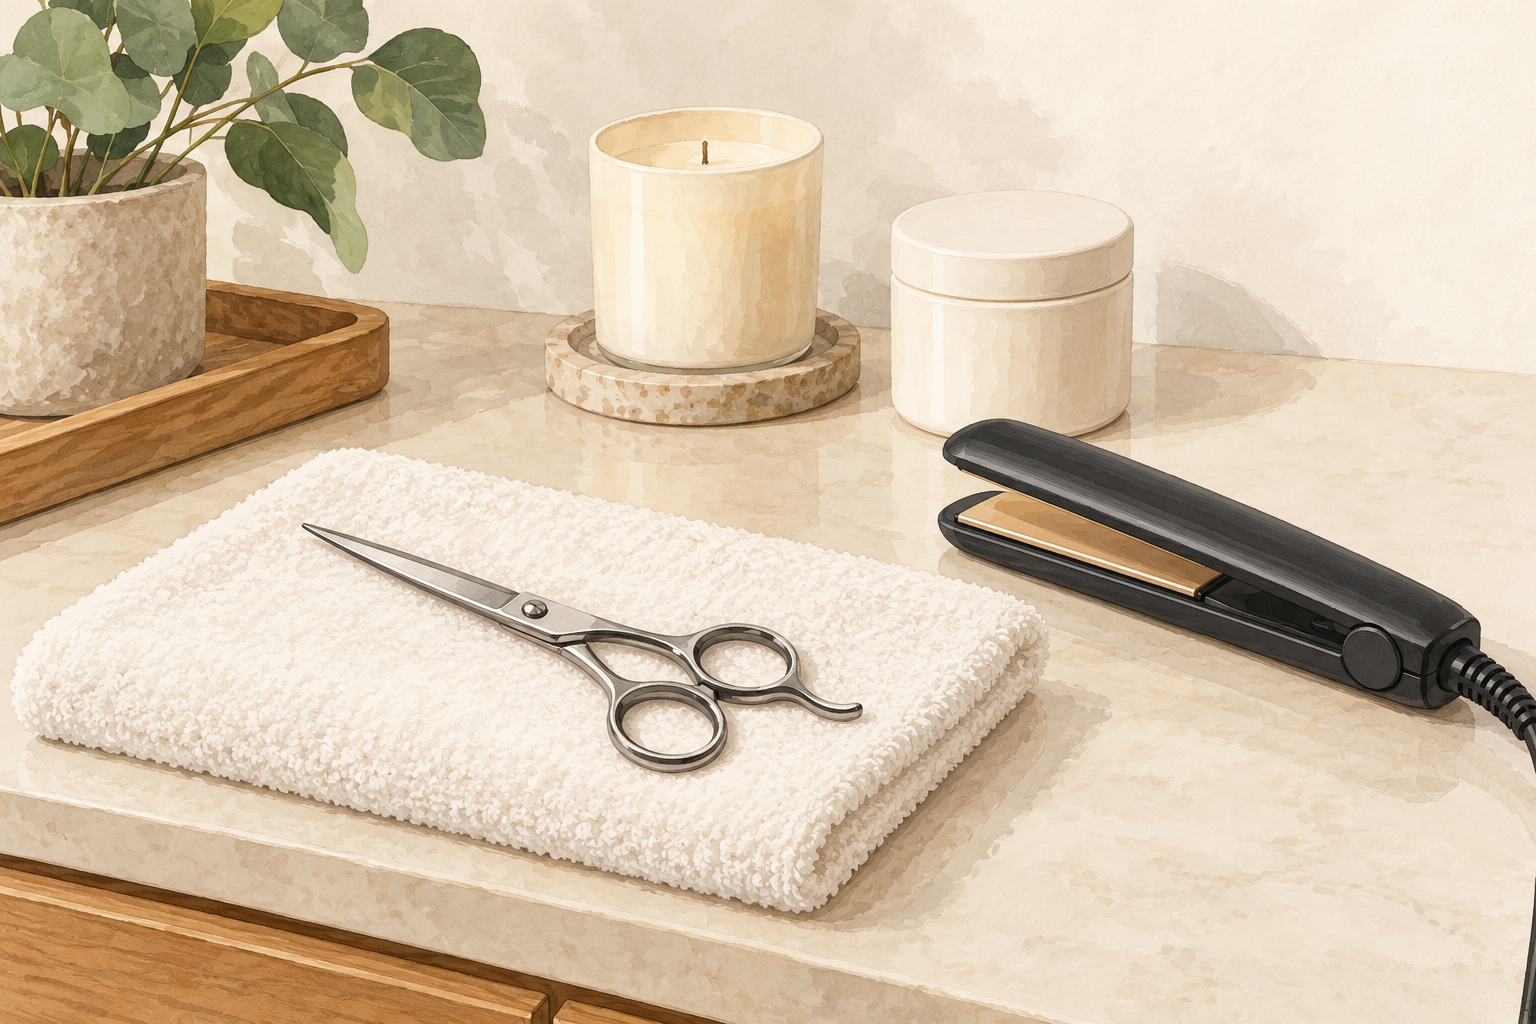
Use a small pair of hair scissors, or at least a pair you keep only for hair. Dull blades fold and crush a strand instead of slicing it, and a crushed tip splits again within days. Test them on one loose strand first, and you should hear a clean snip with no chewing. Keep them away from paper, tape and the kitchen drawer, which dull the edge fast. Wipe the blades with a pinch of rubbing alcohol on a cotton pad before you start. Good scissors are the one thing worth getting before your first home trim, and they last for years if you store them dry.
2. Prep your hair, your light and your floor
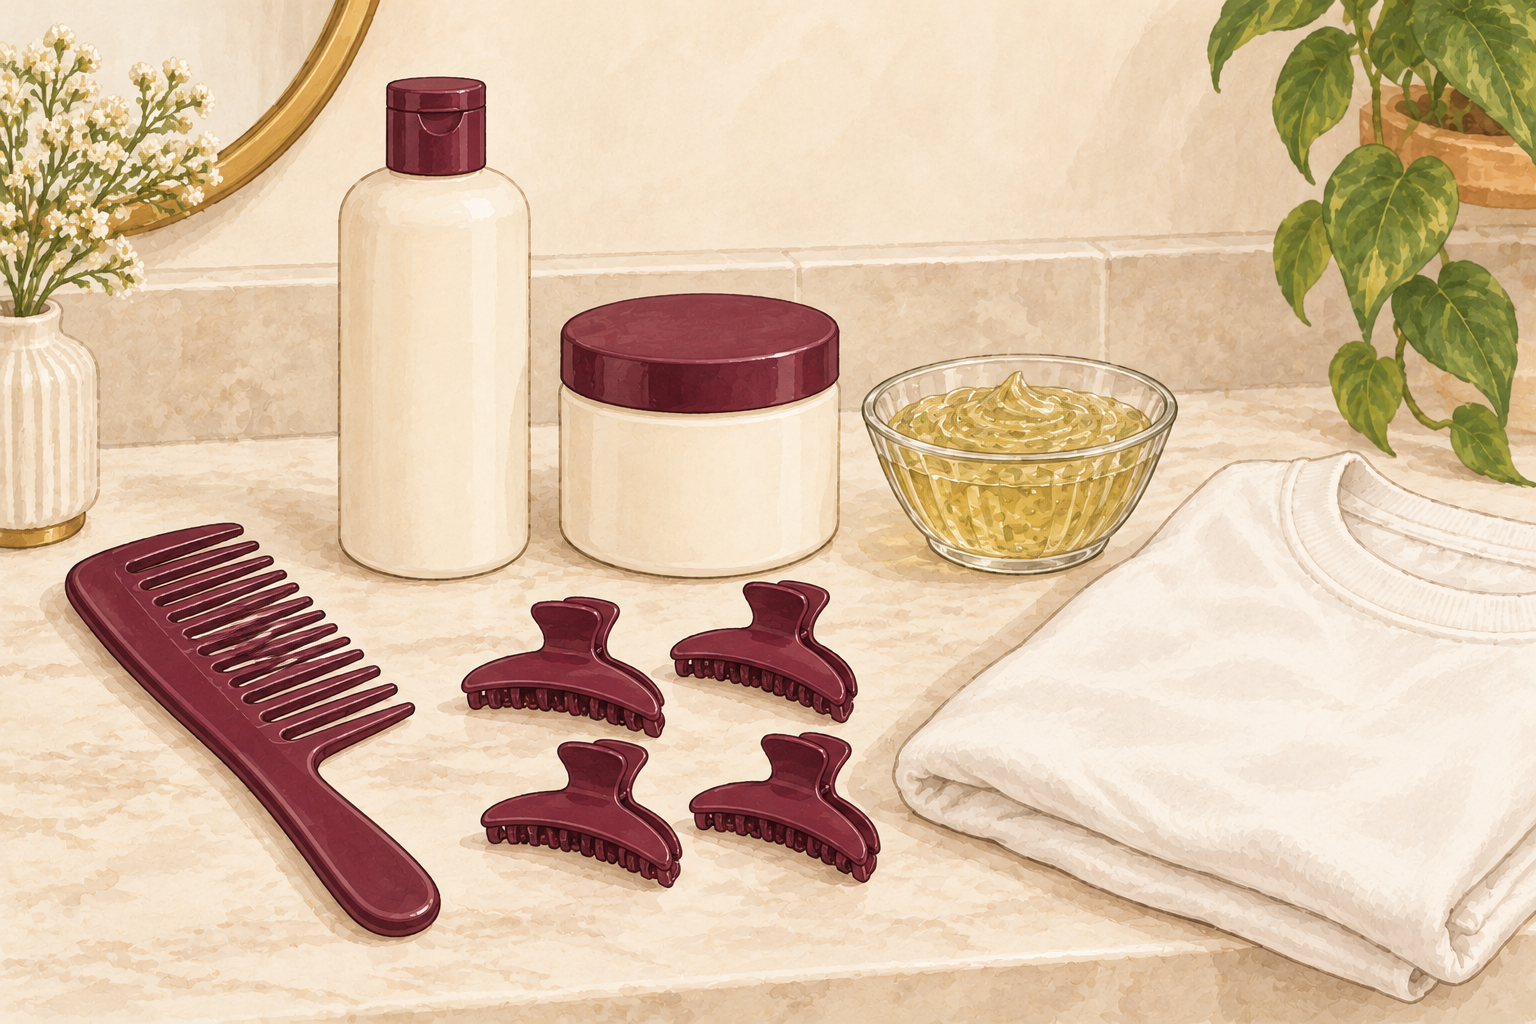
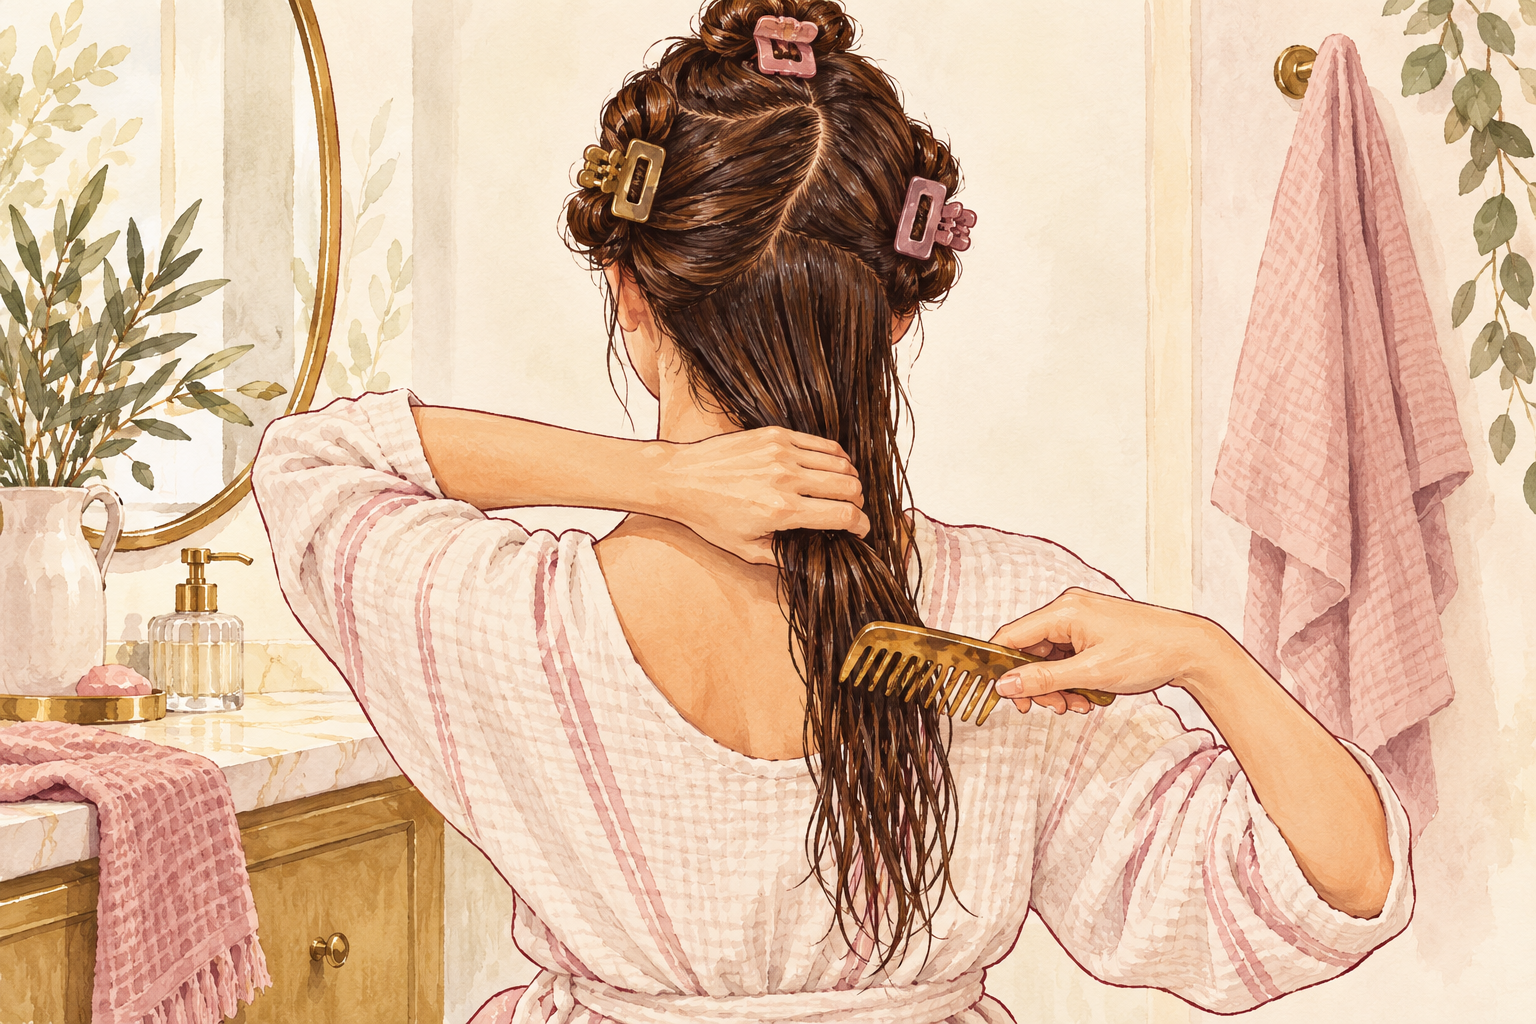
Wash and fully dry your hair first, because wet hair stretches and springs back shorter than you planned. Detangle with a wide tooth comb until nothing catches. Stand by a window with a hand mirror so you can see the back. Lay a towel on the floor to catch the clippings, which also lets you see how much you took off. A bright room matters more than anything here, since splits hide in dim light. Wear an old shirt, because tiny hairs itch for hours. Tie a scarf around your neck to keep them off your skin.
3. Divide your hair into four sections
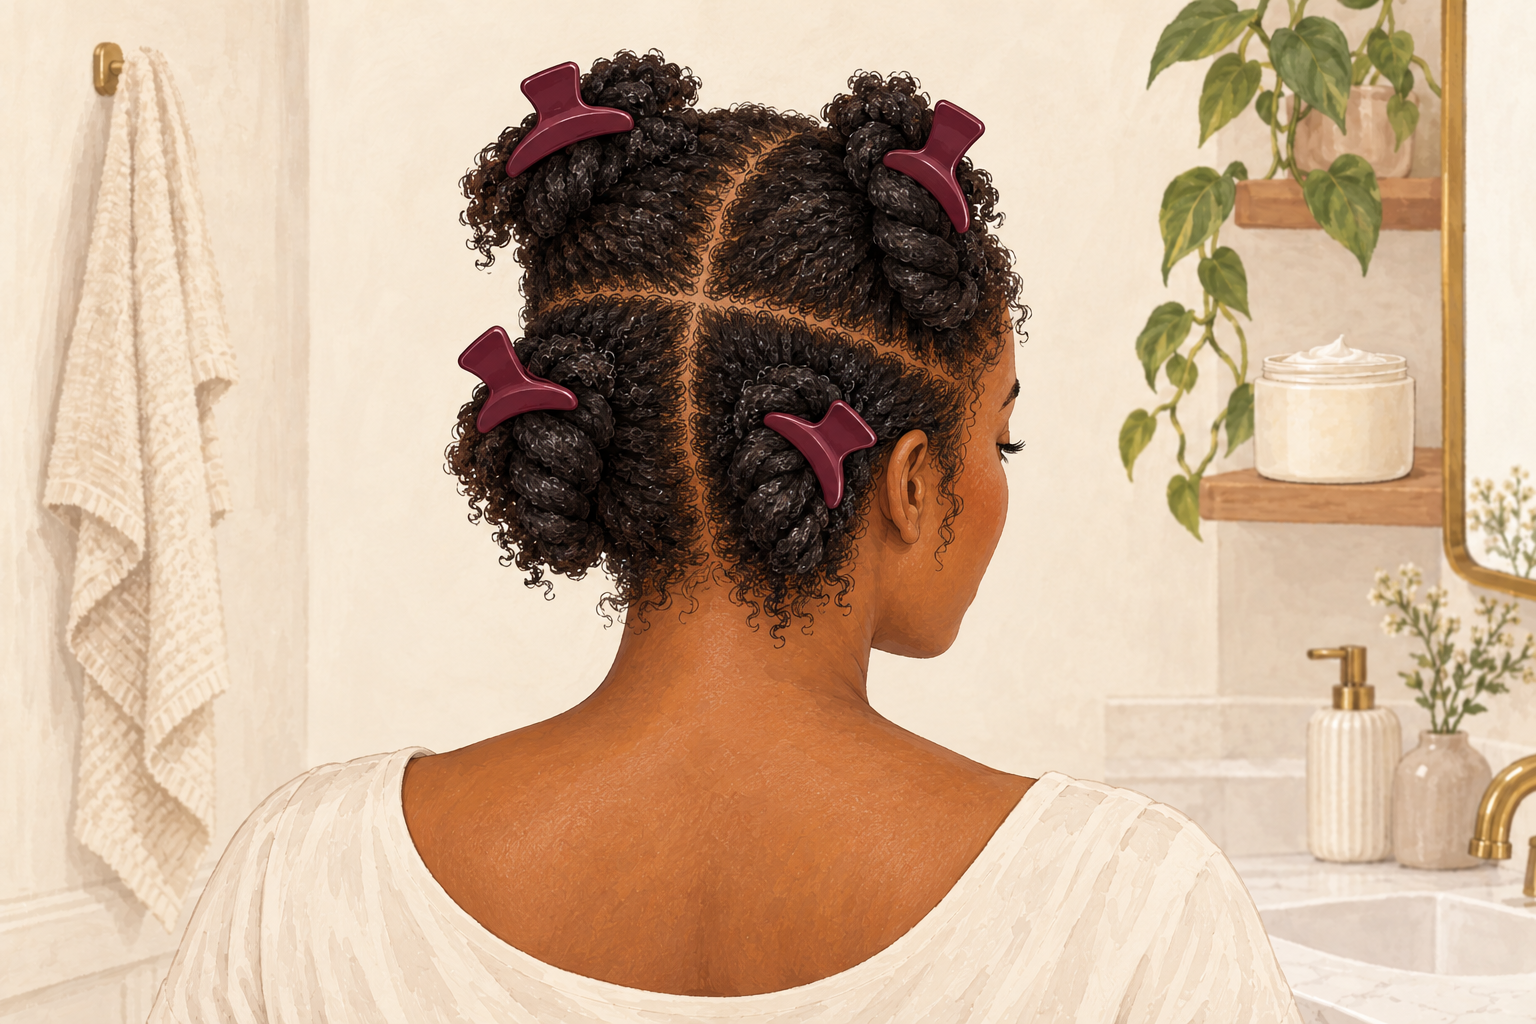
Split your hair into four equal parts and clip three of them out of the way. Work on one section at a time and finish it before you open the next. Start at the nape, where hair rubs against collars and scarves and the splits are usually worst. Plan about an hour for long hair, and take a break if your arms get tired. Stop the moment you get careless, because tired hands are how a small trim turns into a bigger one. Put the clips back whenever a section is done, so you never trim the same hair twice.
4. Search and destroy: find the split first
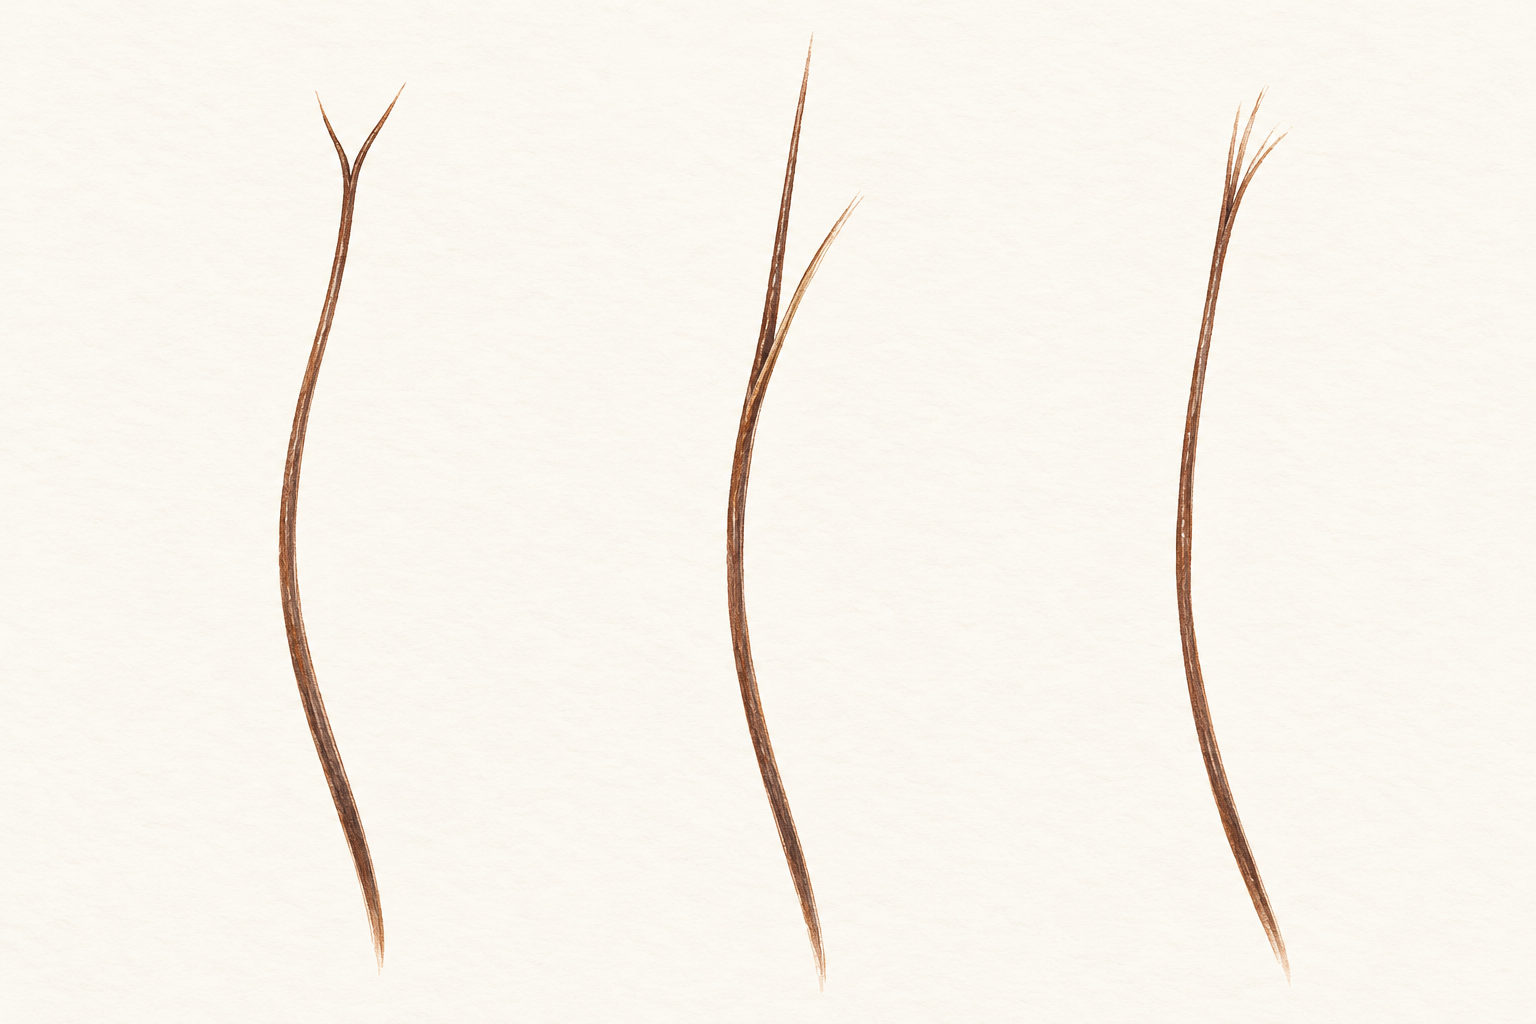
Take a section about as wide as a pencil and hold it taut between two fingers. Slide down slowly and look for a tip that has branched into a Y or frayed like a tiny brush. Some splits sit higher up the strand, and those are the ones people miss. Spend about a minute on each section. If you cannot find any, that section is probably fine, so move on. Fine hair needs less time, while thick hair deserves a slower look. This is the slowest way to cut split ends at home, and the one that costs you the least length.
5. Snip a quarter inch above the fork
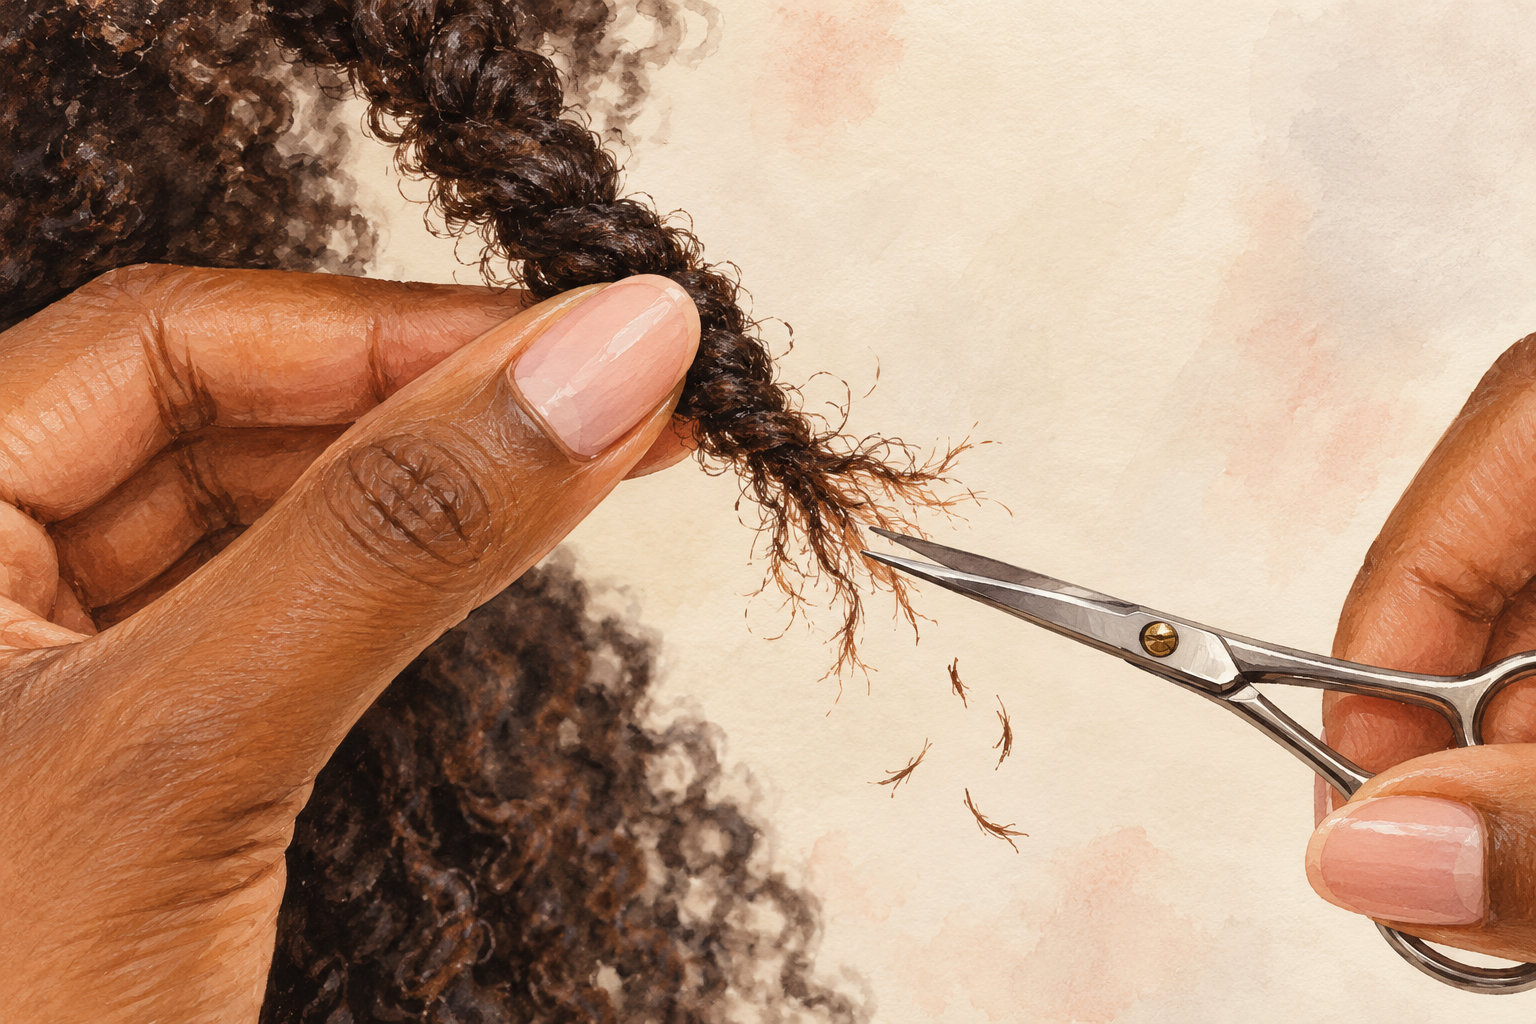
Cut straight across about a quarter of an inch above where the split begins. Go a touch higher if the fork looks long. A snip inside the split leaves a ragged edge that forks again. Move the strand into the blades rather than waving the blades around, and keep your free fingers well clear. Cut only one strand or one small bunch at a time. The cut end should look blunt and clean, and a tiny pile of clippings on the towel is exactly what you want. If you find yourself cutting a lot at once, slow down and take less.
6. Twist method: coil a slim section
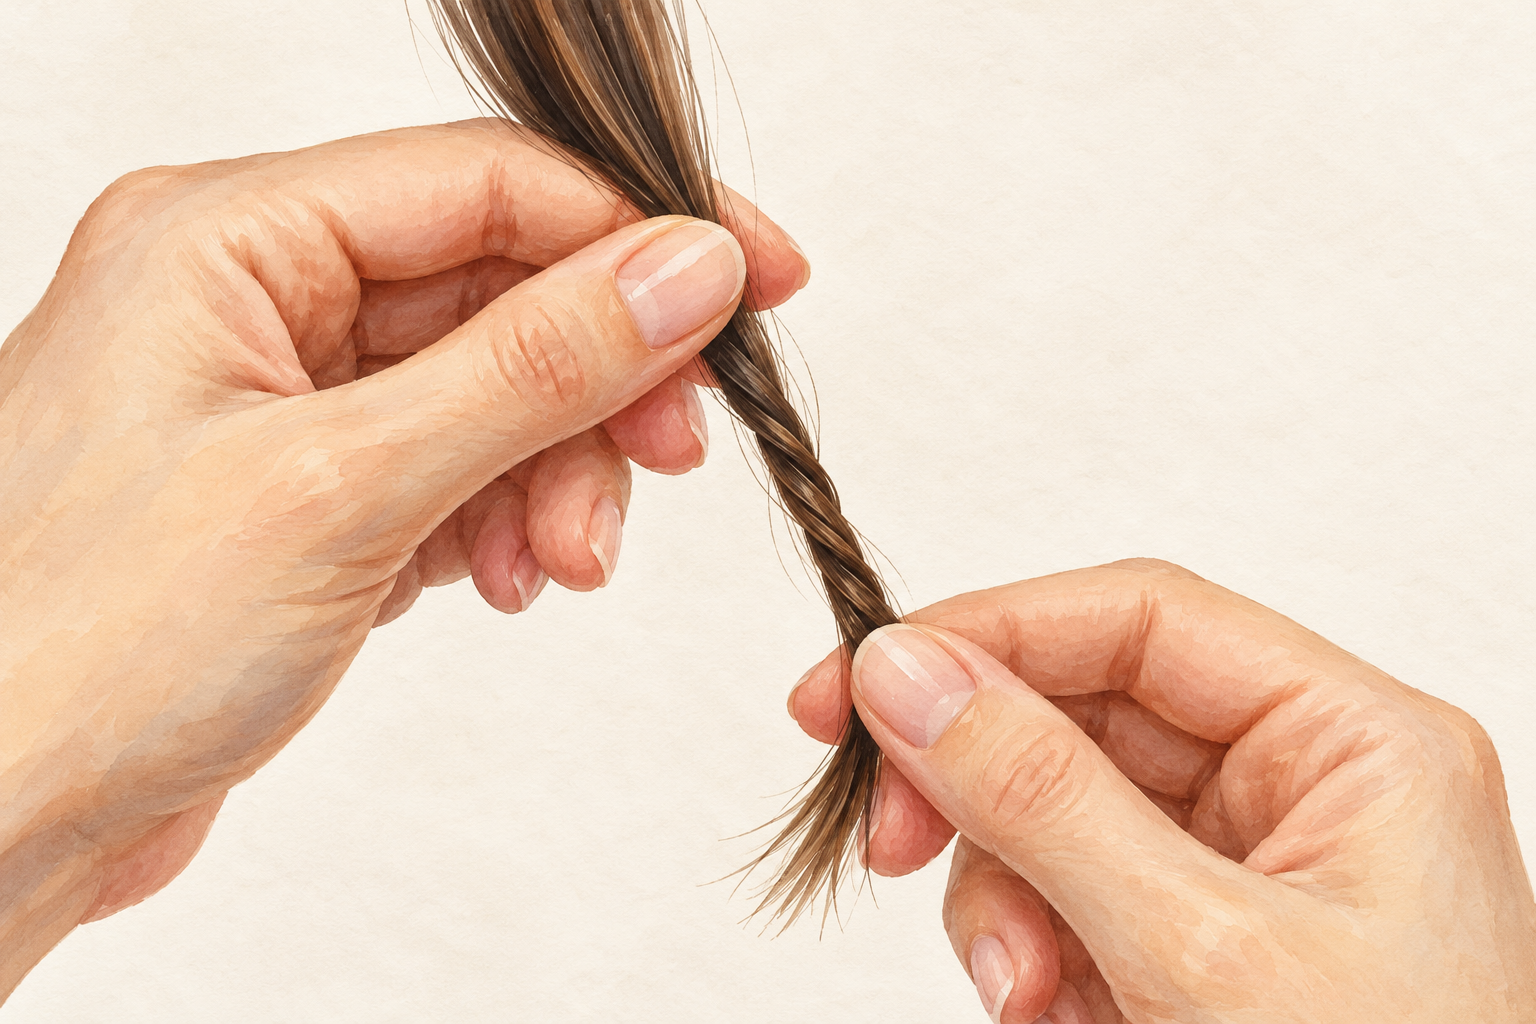
Twist a section no wider than a finger in one direction until it coils into a rope. Strands with splits poke out along the rope, because their tips are rougher. Hold the rope with the loose ends facing you. Keep the section slim, since a thick one hides splits inside the twist. A fine mist of water helps the coil stay put. This method is quicker than searching strand by strand, and it suits long, fine or straight hair where splits seem to be everywhere. Practice once on a section at the back, where mistakes hide.
7. Trim only the ends that poke out
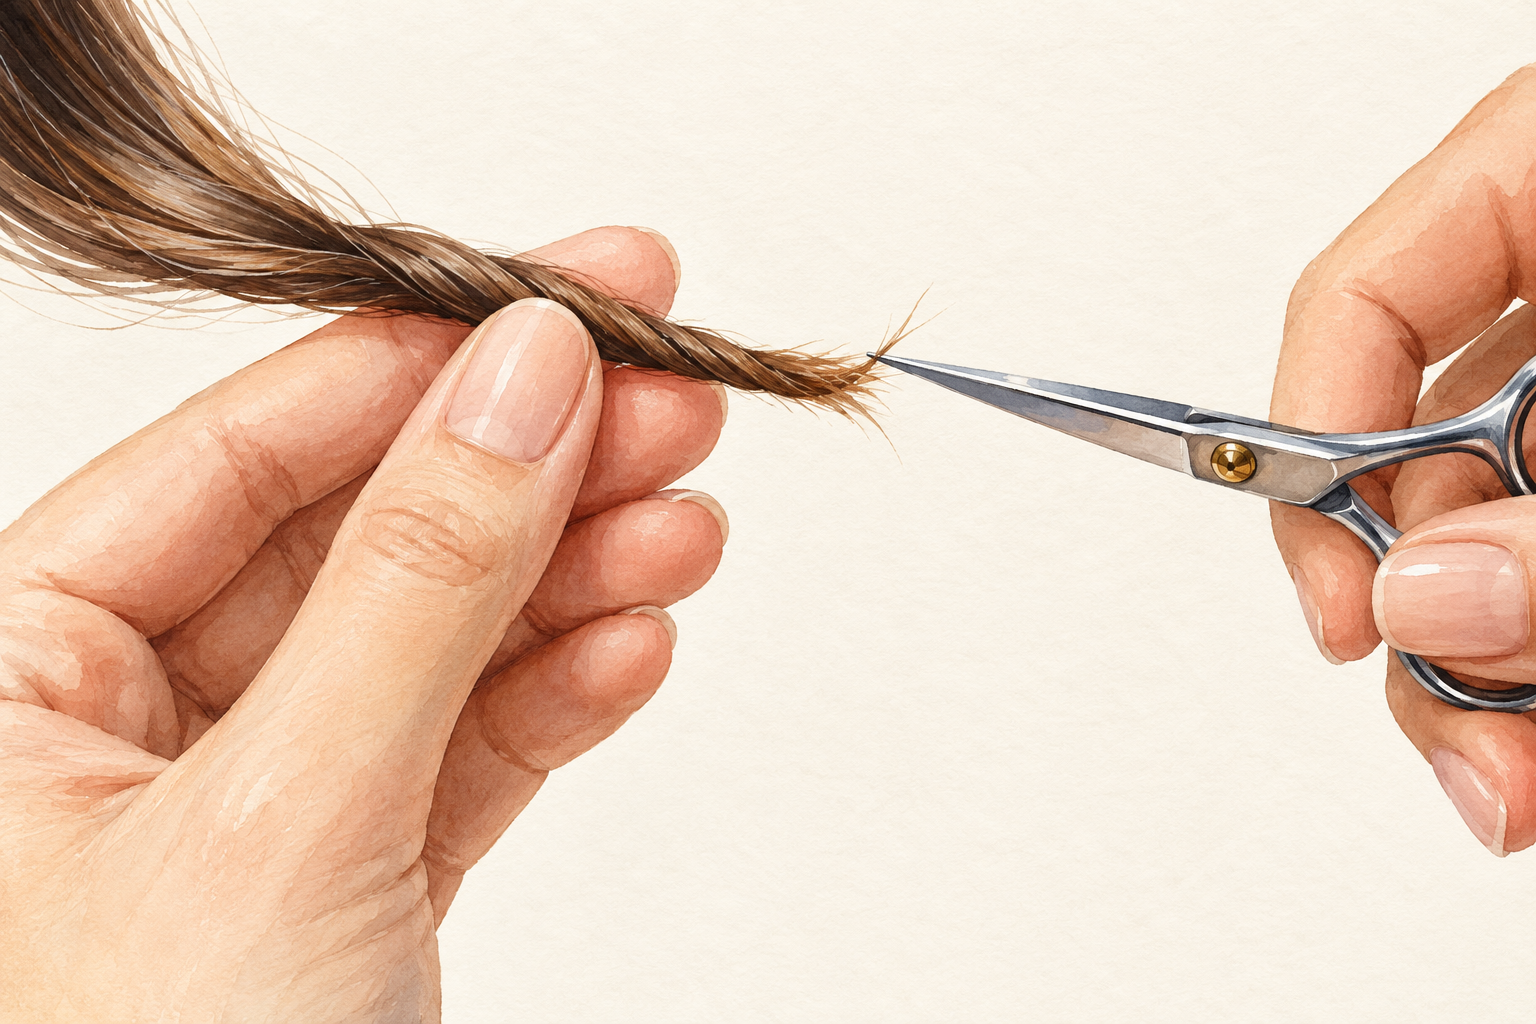
Snip just the fuzzy ends sticking out of the rope, taking the smallest bit you can. Slide your fingers down an inch, let the twist loosen, and twist the next stretch again. Do the whole section, then twist it the opposite way, because the first direction misses some strands. Keep your cuts tiny, no more than a few millimeters at a time. The twist method catches the obvious splits but not hidden ones, so many people finish with a quick search and destroy pass on the worst spots. Run your fingers down afterwards, and any rough bit is worth a second look.
8. Pick the method that suits your hair

Fine, straight hair shows splits clearly, so the twist method goes quickly. Curly and coily hair hides forks inside the curl, and twisting can tangle it, so search and destroy on dry, stretched sections works better there. Thick hair needs thinner sections whichever way you go. If you are unsure, try both on small hidden sections underneath and see which one leaves smoother ends. The best answer to how to cut split ends at home depends entirely on your texture, so trust what you see. Write down which method gave you the smoother ends and use it next time.
9. Take off less than you think
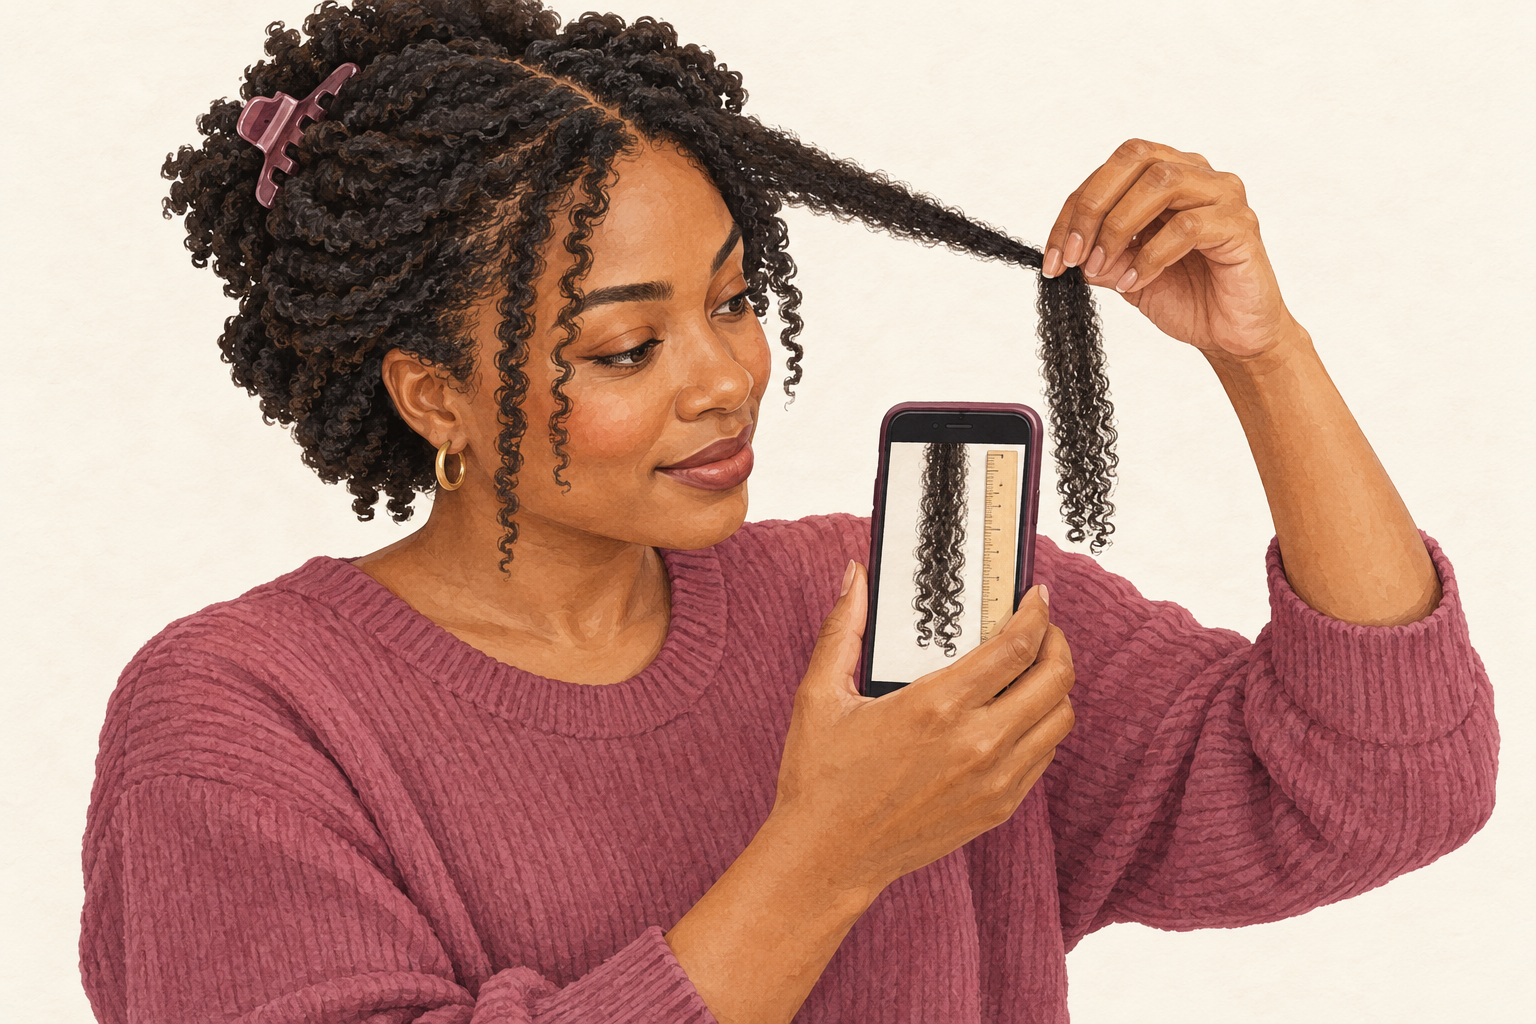
Aim for about half an inch in total, and look again before cutting more. You can always snip more, but you cannot glue any back. Check the length of each side against the other at the end, holding two matching sections together in front of you. A small loss now is better than a big one later. If your splits climb past three inches, plan a second session in a month and not one big chop. Hair that looks a little thicker at the ends means the trim is working. Take a quick photo of the back before and after, so you can compare.
10. Skip the candle, the craft scissors and the wet cut
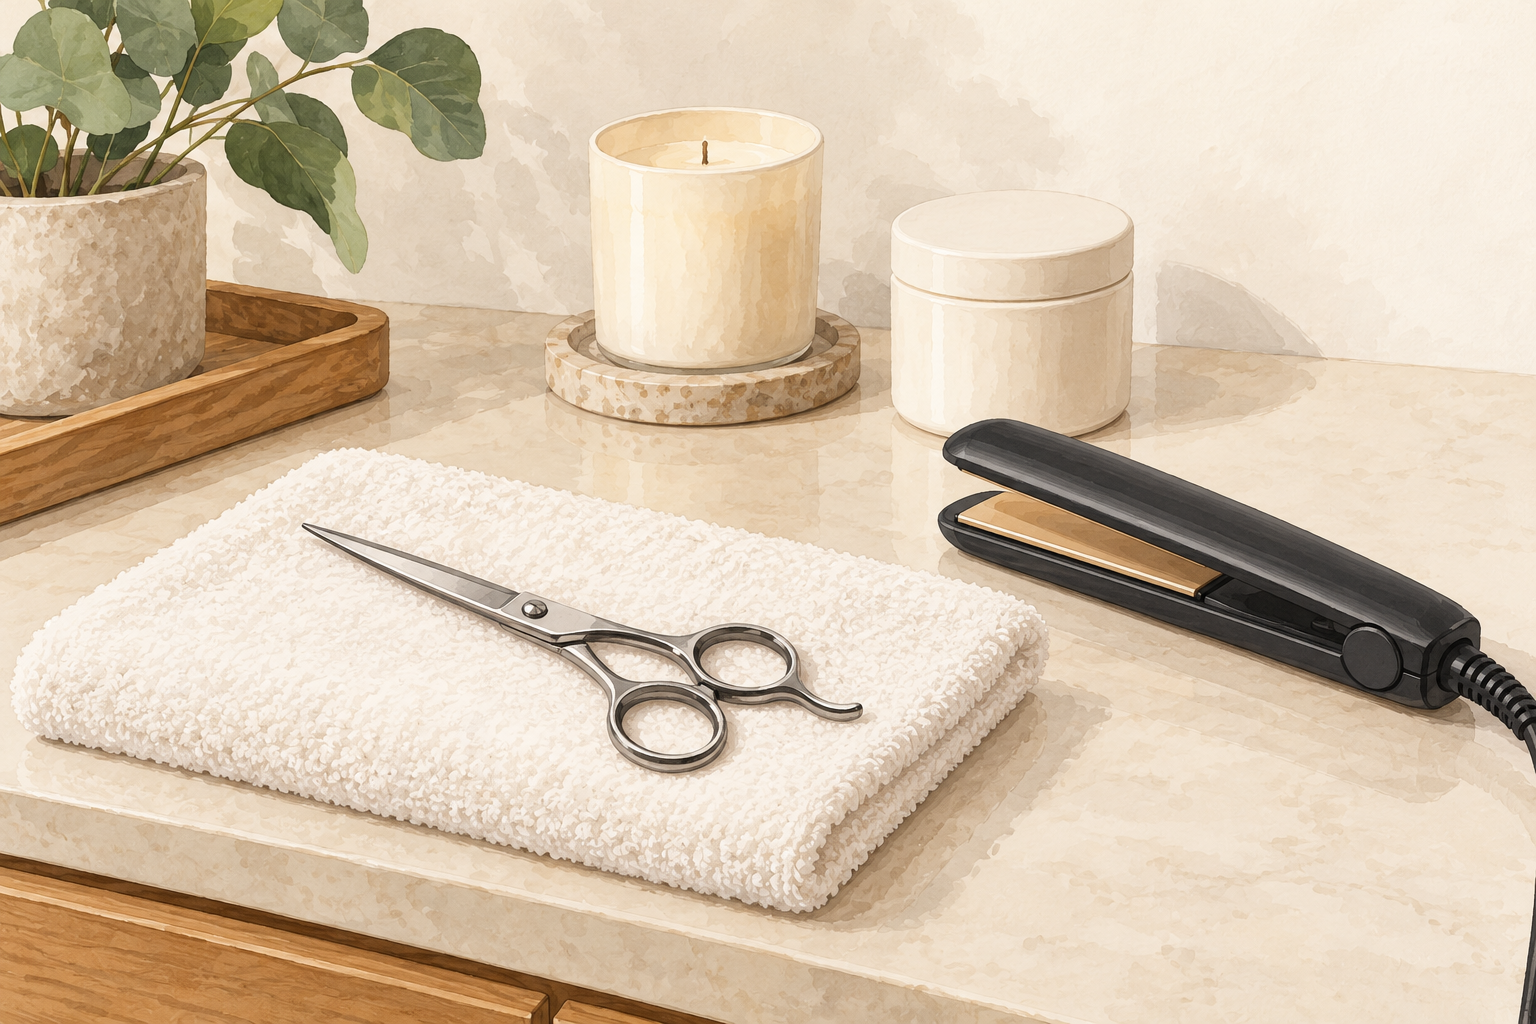
Burning split ends with a candle is a popular idea, but it can burn your hair or your skin. Leave it alone. Craft scissors and kitchen shears crush strands, and cutting soaking wet hair gives uneven results once it dries. Taking far more than a quarter inch above each fork also costs length you did not need to lose. Slow, sharp and dry beats every shortcut. If a video makes it look easy, remember it only shows the best few seconds. Taking your time will always give you a better result than copying a quick trick.
11. Fix an uneven trim
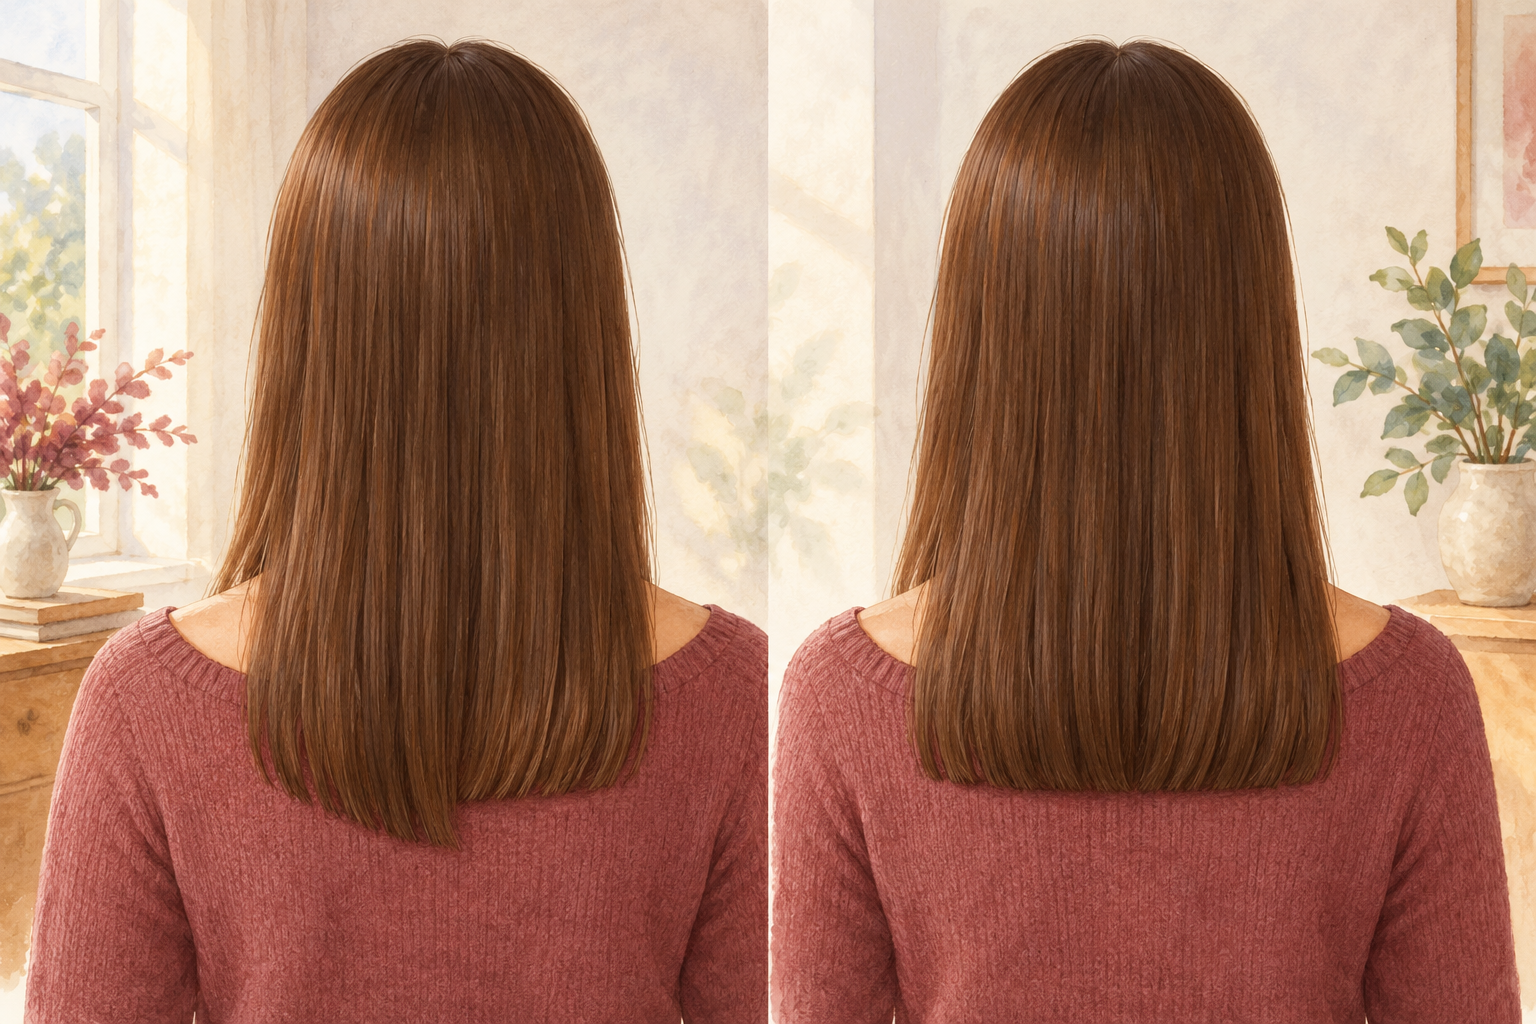
If one side looks shorter, comb both sides forward and cut tiny matching amounts. Hold two sections at the same height before you snip, and remember that tension changes the length. Check in the mirror, then shake your hair out and look again. A slight unevenness usually settles after a wash and a day of wear. Resist cutting more straight away, because that is how people lose an inch they did not mean to. Leave it for a day, check it again in fresh light, and then decide. Most small unevenness blends away as the hair grows and moves.
12. Protect the fresh ends
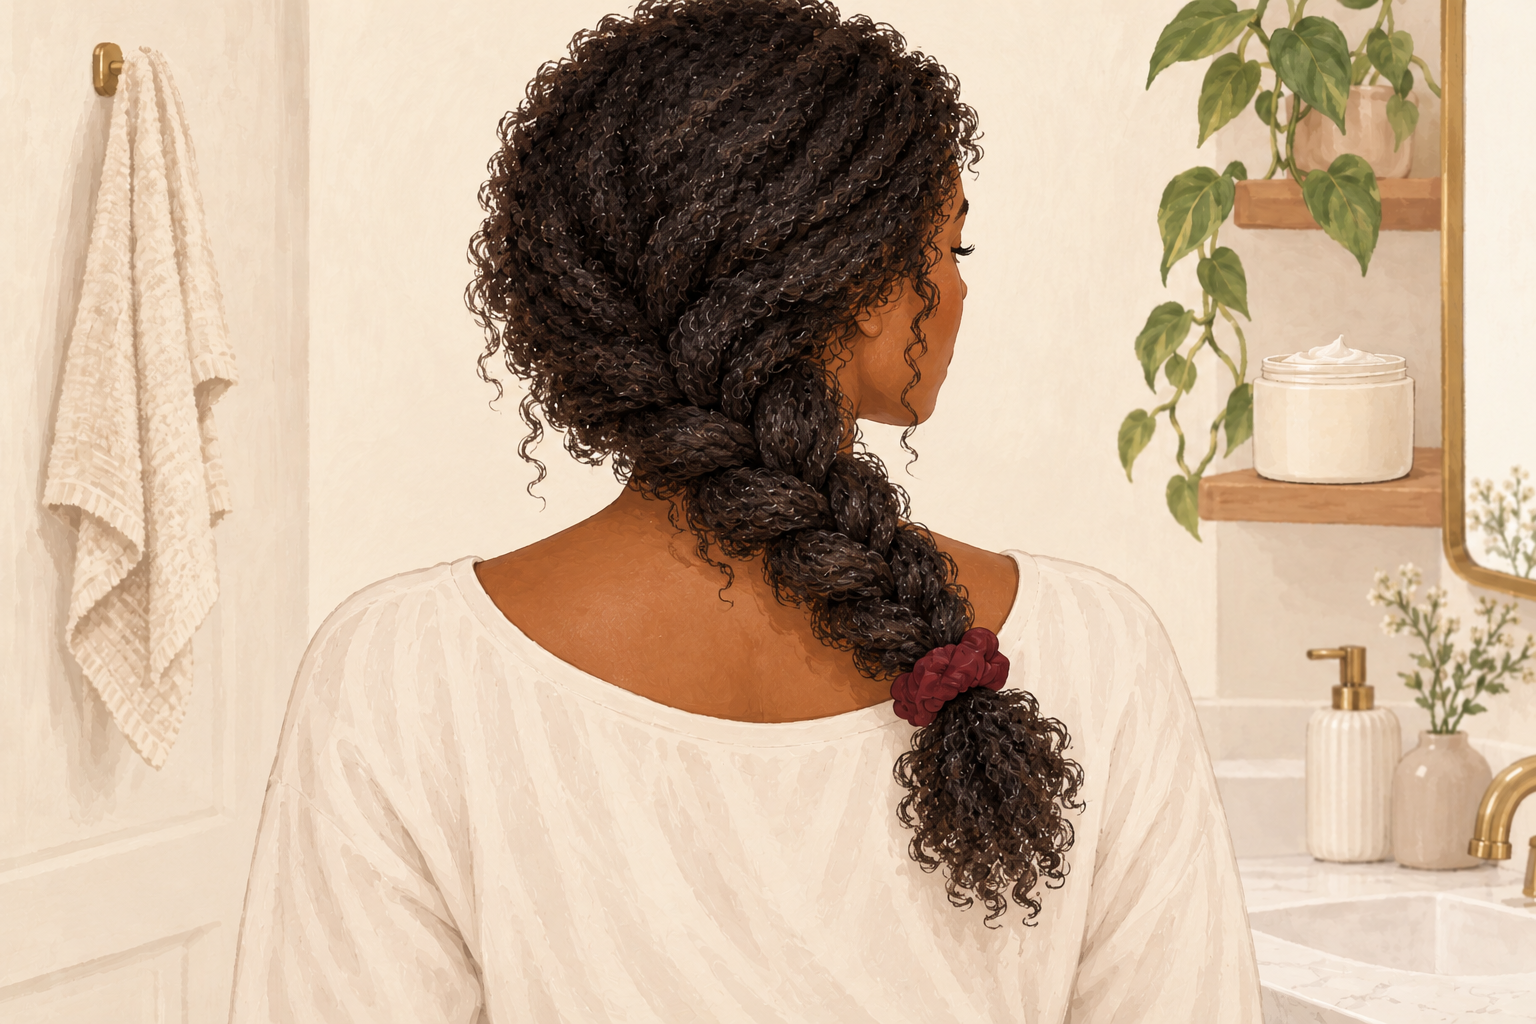
Detangle from the ends upward with a wide tooth comb, and sleep with your hair in a satin cover or a loose braid. Turn heat tools down, or skip them for a week or two. A little oil or leave in conditioner on damp ends makes them look smoother, but it only seals and never fuses. In week one your ends feel blunter and thicker, and by week four a few new splits appear where hair rubs. By week eight, expect to want another light pass. That is normal and not a failure, since hair that rubs on collars will always fray a little. Notice which spots keep splitting, and protect those first.
Complete the Routine: Your Next Step After Learning How to Cut Split Ends at Home
Put the date of your next light trim in your phone, about six weeks from now. Then keep new splits away with how to prevent split ends, and see split ends trimming for how little to take off.