You trim your nails over the bin, and a minute later one corner catches on your sleeve while a toenail corner feels tender. You have been cutting your nails your whole life, but the edges still come out uneven. This is how to cut nails in 12 simple steps, from the soak to the aftercare, so start at number one.
1. Use clippers that are clean and sharp
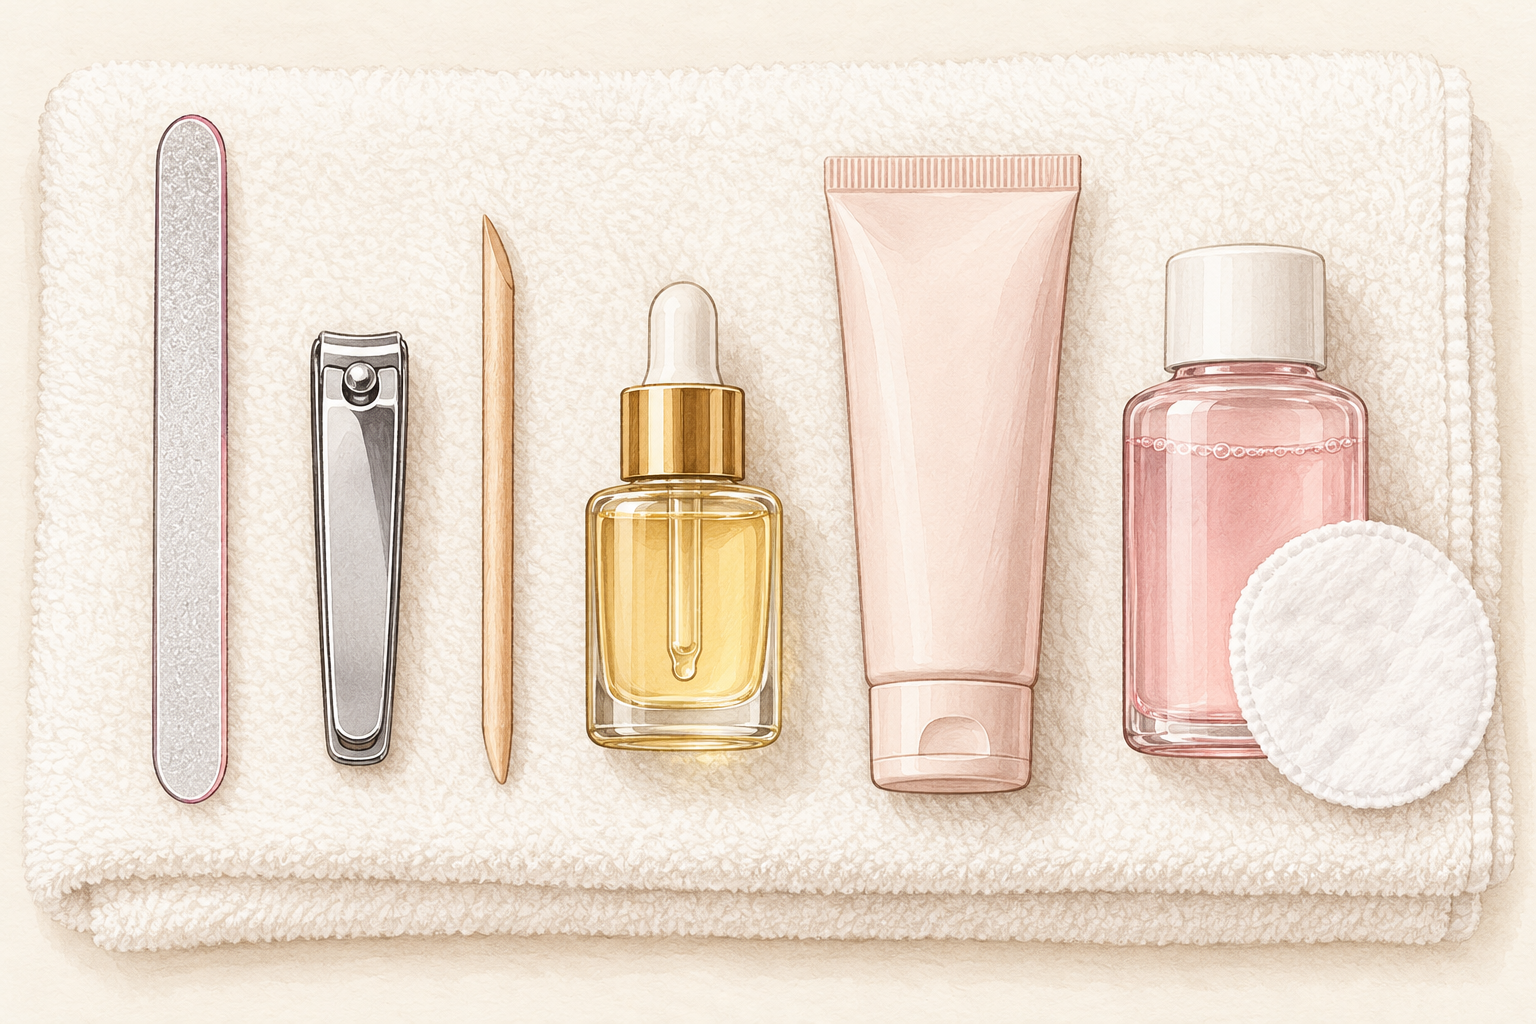
Wipe the blades with rubbing alcohol before you start, and swap blunt clippers for sharp ones. Dull blades squash the nail instead of slicing it, which causes tiny splits and a ragged edge. If your clippers make a crunching sound or leave the cut slightly rough, it is time for a new pair. A clean blade also keeps germs away from the skin around your nail. Fingernail clippers are smaller and toenail clippers are straighter and wider, so use the right pair for each. Knowing how to cut nails starts with a tool that actually cuts. Keep them in a dry pouch, because damp blades rust and go dull faster.
2. Soften the nails first
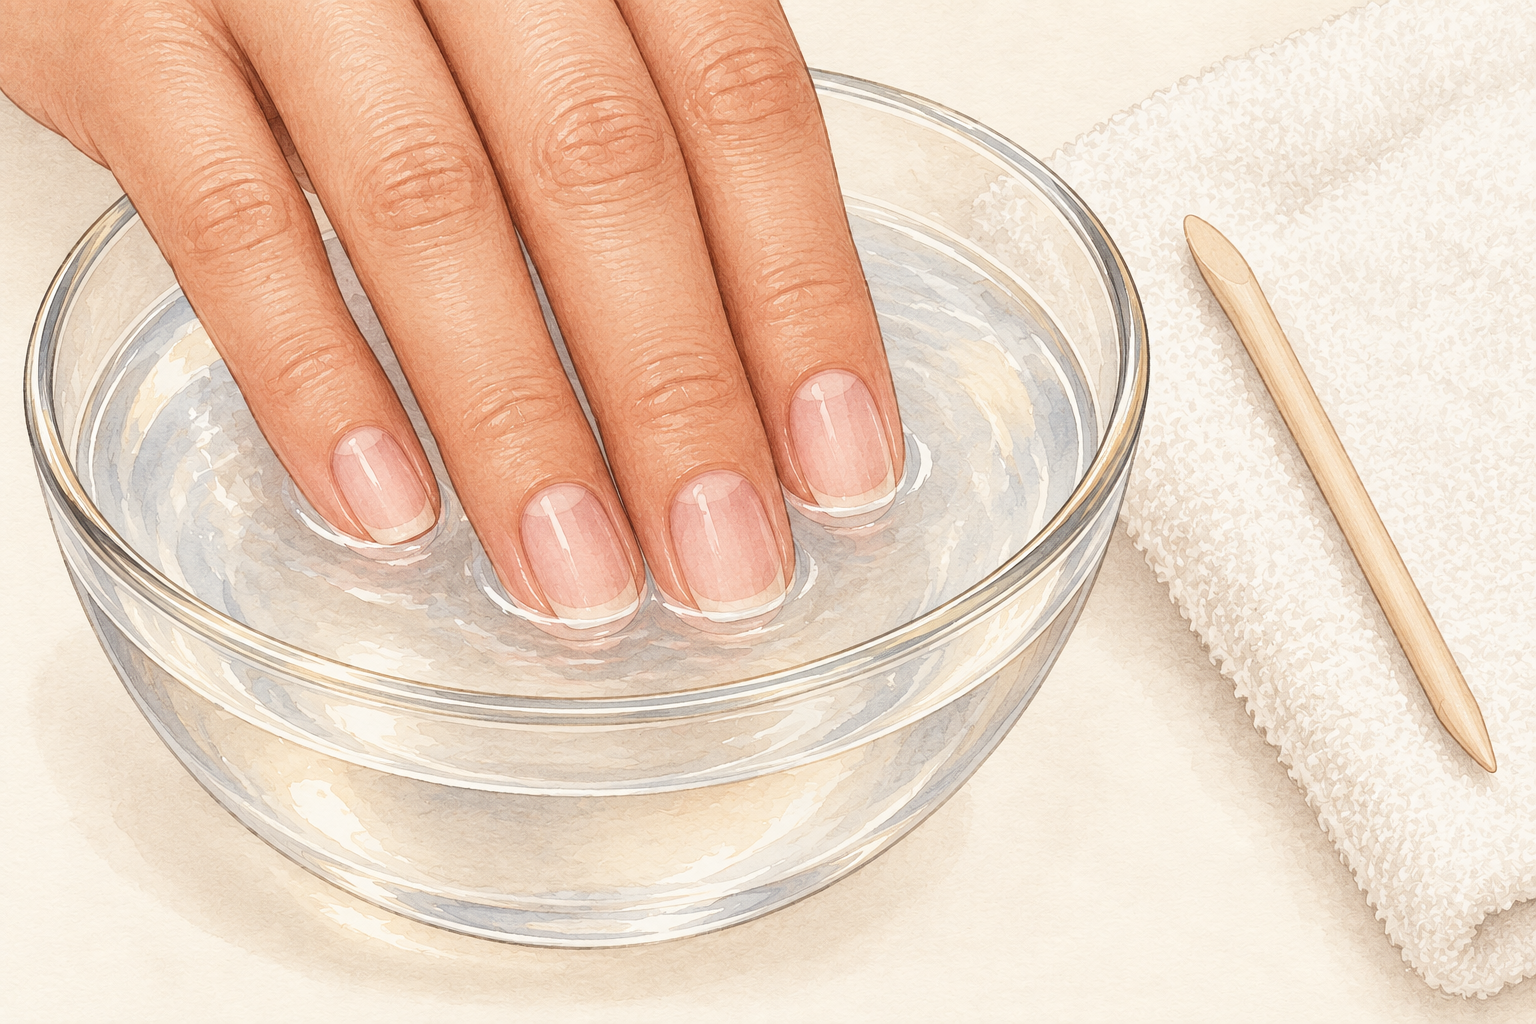
Soak your fingers or toes in warm water for about five minutes, or cut right after a shower. Dry nails are brittle and crack under the clippers. Soft nails slice cleanly. Pat them dry afterwards so they do not slip in your grip. Do not leave them soaking for twenty minutes though, since over soft nails tear instead of slicing and look uneven. Five minutes is the sweet spot. If you cut after a shower, wait until your hands have dried a little, because slippery fingers make the clippers slide. Warm water with a drop of gentle soap works beautifully, and your skin feels softer afterwards.
3. Decide your length before you start
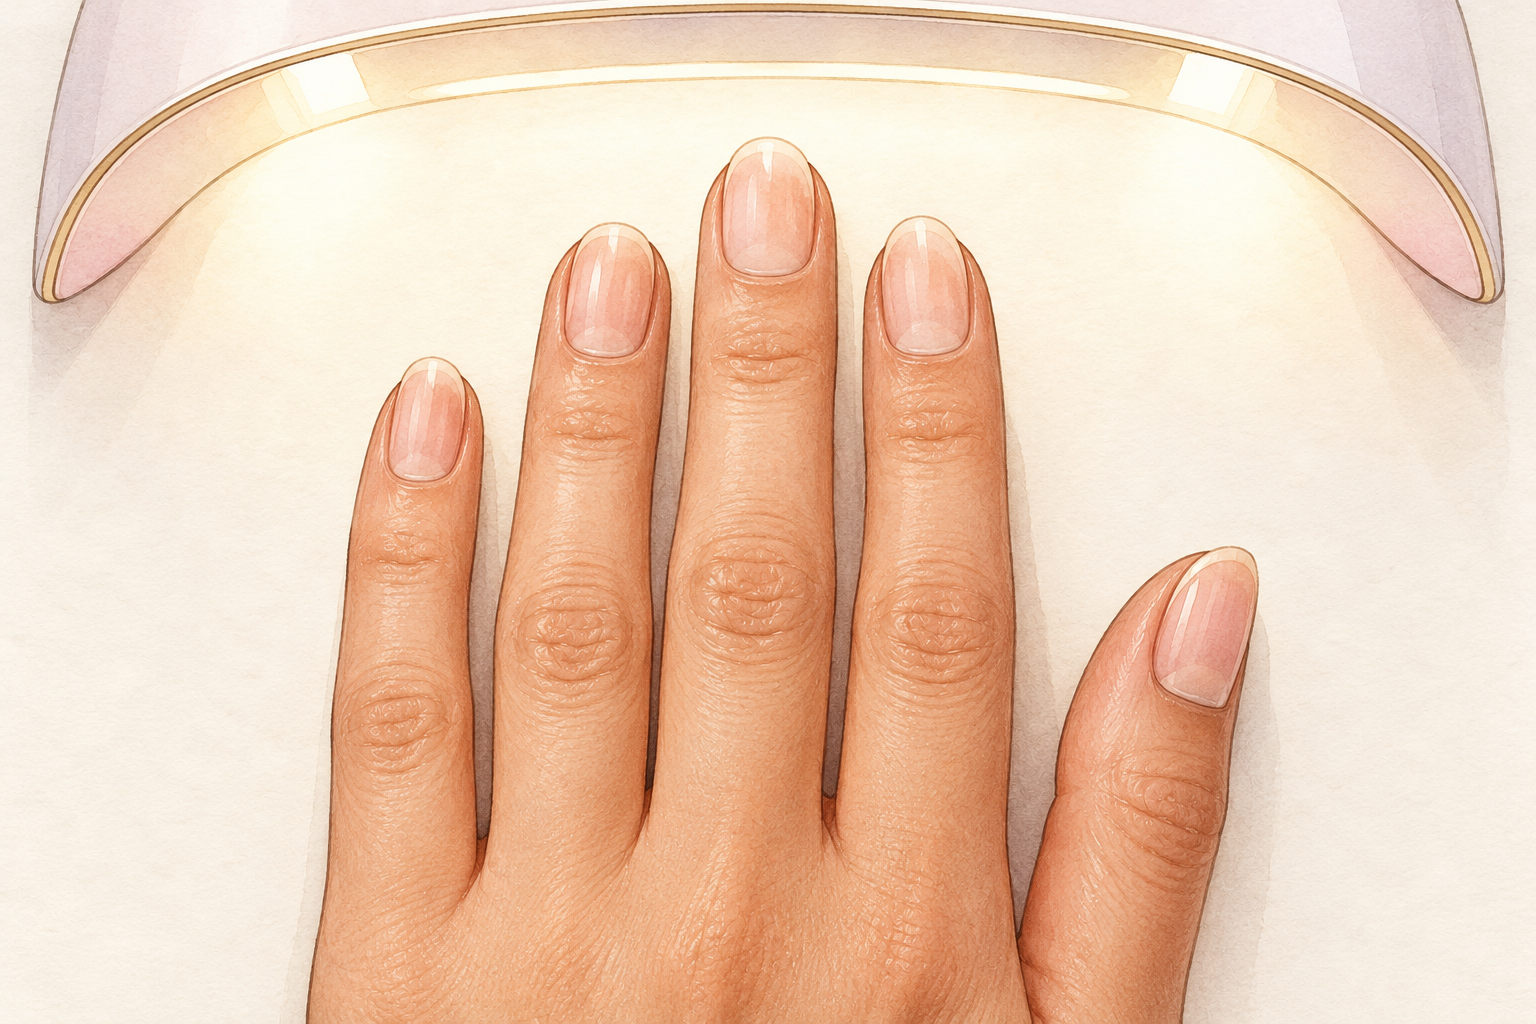
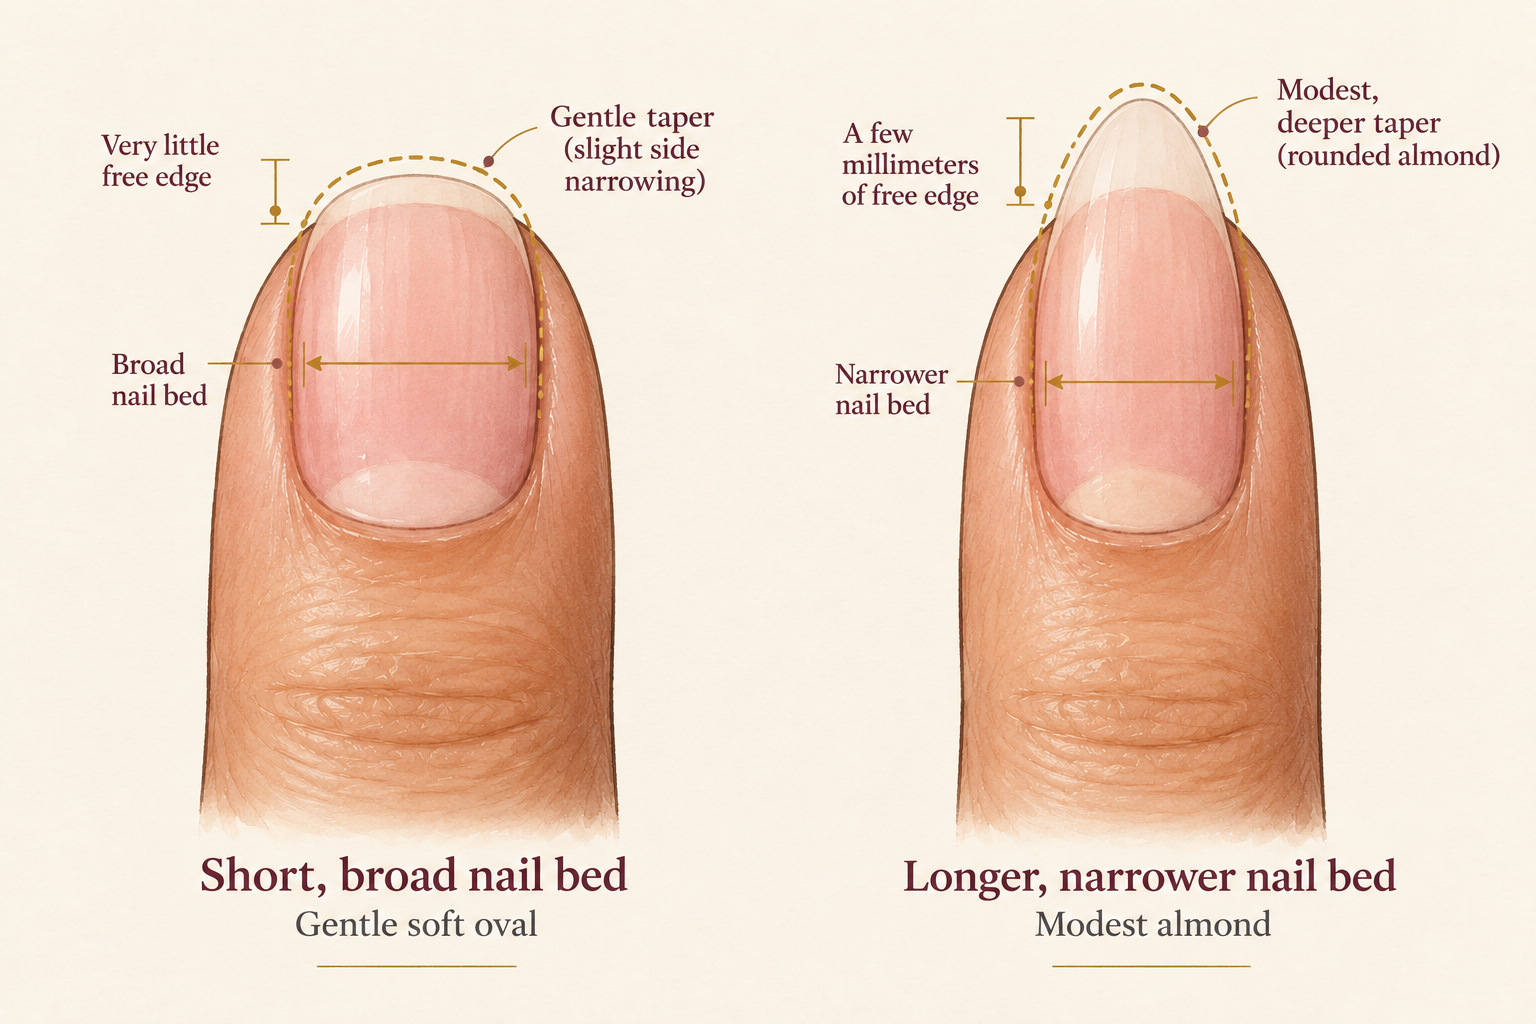
Choose a length you will keep, and cut toward it little by little. For fingers, leaving a thin white edge past the fingertip is enough. For toes, the nail should end level with the skin at the tip. Picking the target first stops you from cutting too short. Look at the pink part of the nail, called the nail bed, and keep the cut well away from it. If you are growing your nails, trim only the snags and keep the shape neat. A little planning is the heart of how to cut nails safely. Take a quick photo of a length you love, so you can match it at your next trim.
4. Cut straight across in small snips
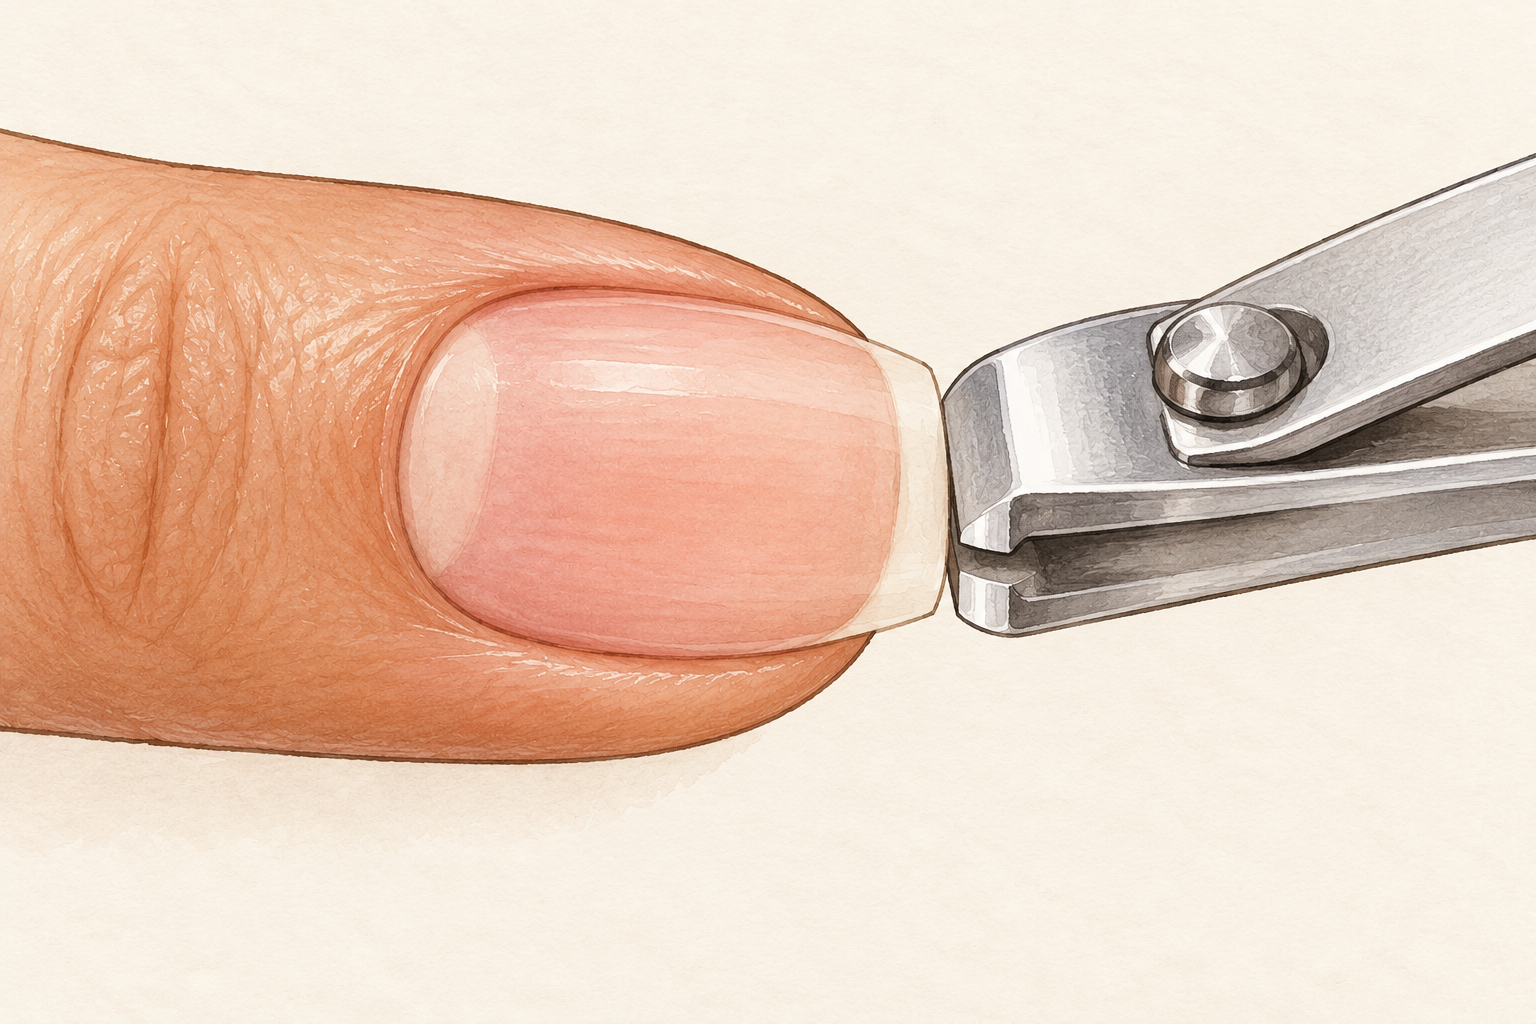
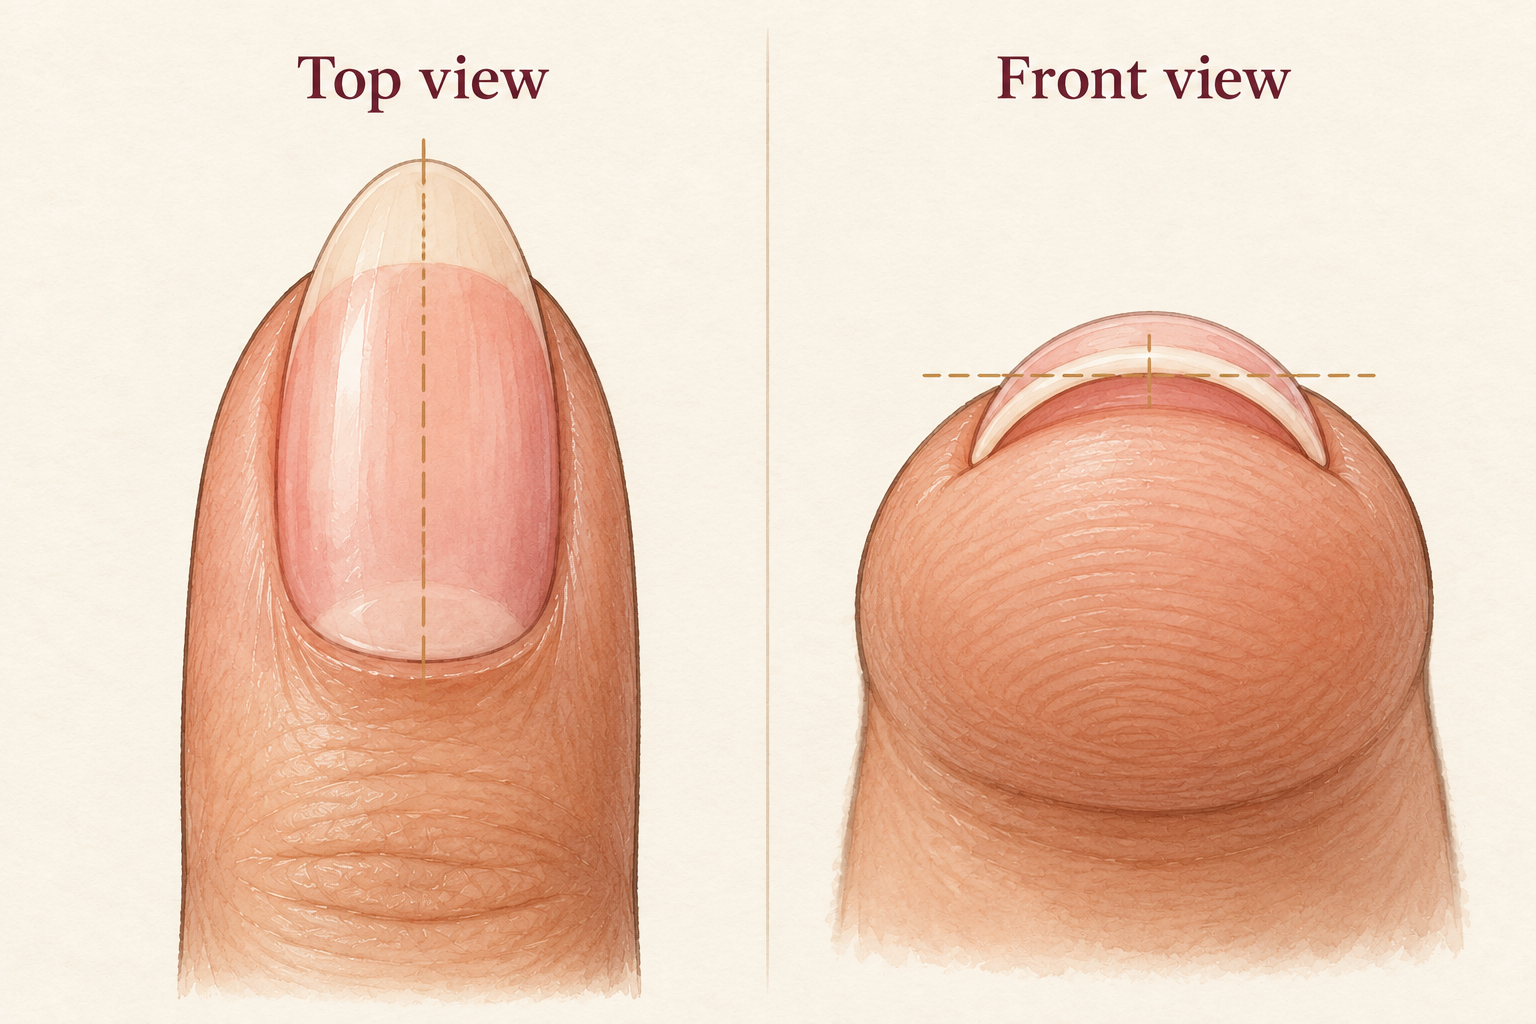
Start at one side and work across in three or four small snips. One big bite can split the nail or leave a jagged edge. Keep the clippers flat to the nail. Straight is the safest shape for toenails especially. Hold the clippers at a right angle to the nail and let the blades do the work without twisting. Every small snip leaves a clean edge, and a clean edge is strong. Catch the clippings in a tissue or over a sheet of paper so they do not fly across the room. Look at the nail from above as you cut, so the line stays straight and even.
5. Round the corners only slightly
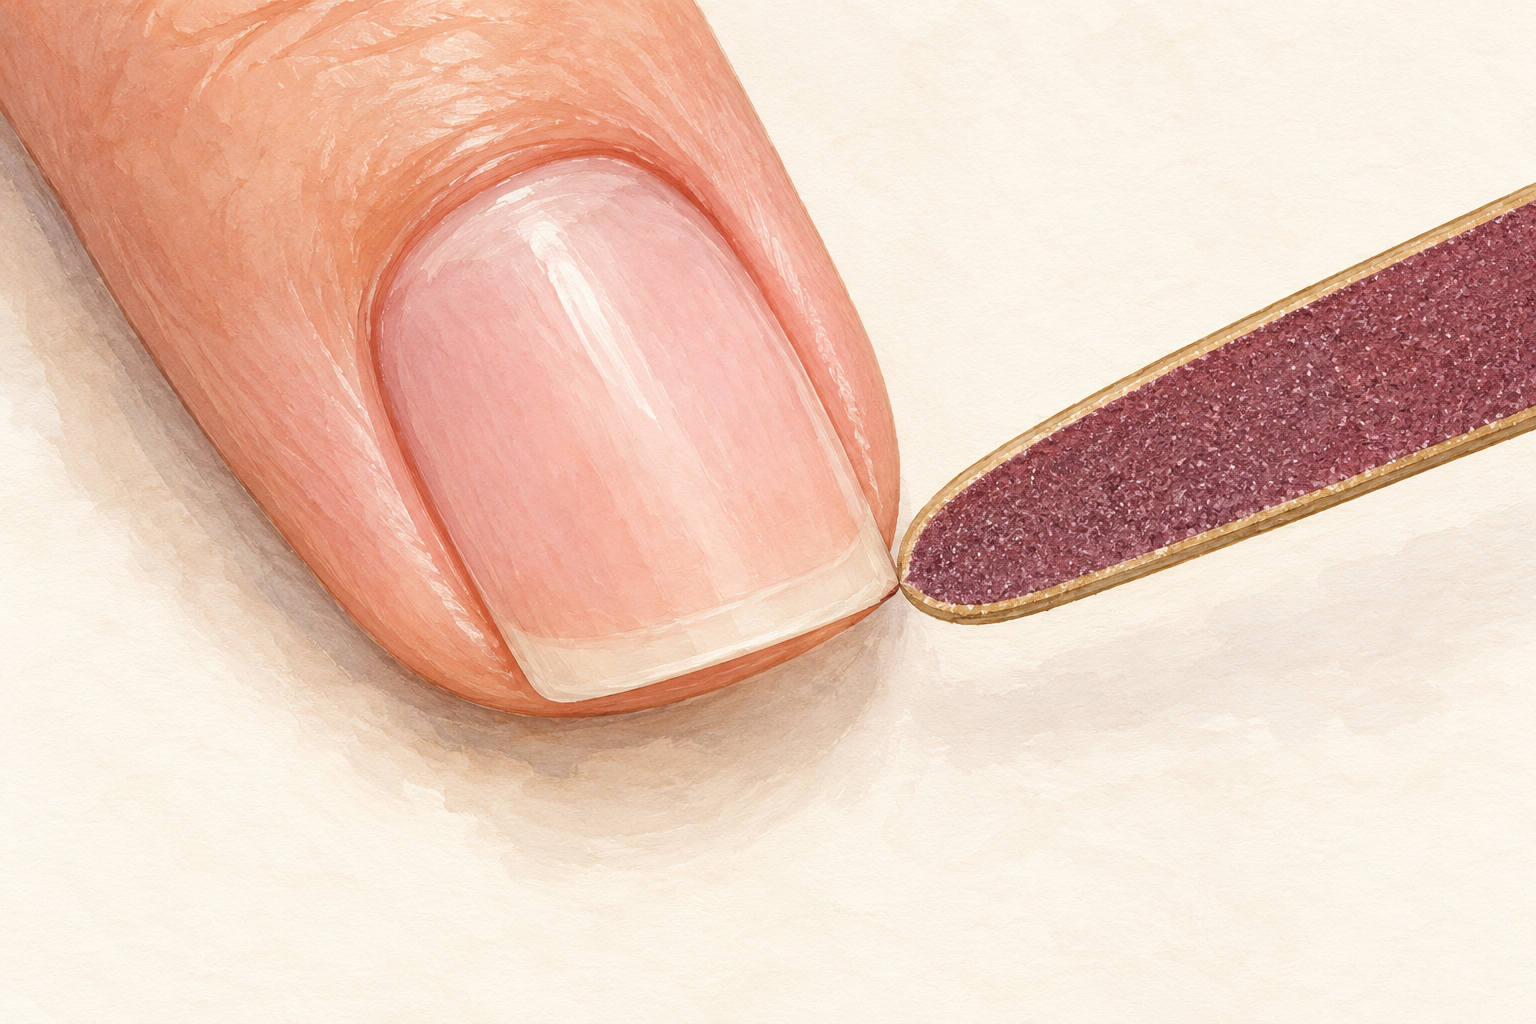
Trim just the sharp point of each corner, and leave the sides alone. Cutting down deep into the corner is how ingrown nails begin. For fingers, a soft curve is fine. For toes, keep the corners almost square. Use the tip of your file for the little curve rather than the clippers, since the file is much more forgiving. If you can see the corner has been cut too deep, stop and let it grow. A corner that is too round can dig into the skin as the nail grows out. Check both hands in the mirror when you finish, because corners are easier to see side by side.
6. Take your time with the thumbs and big toes
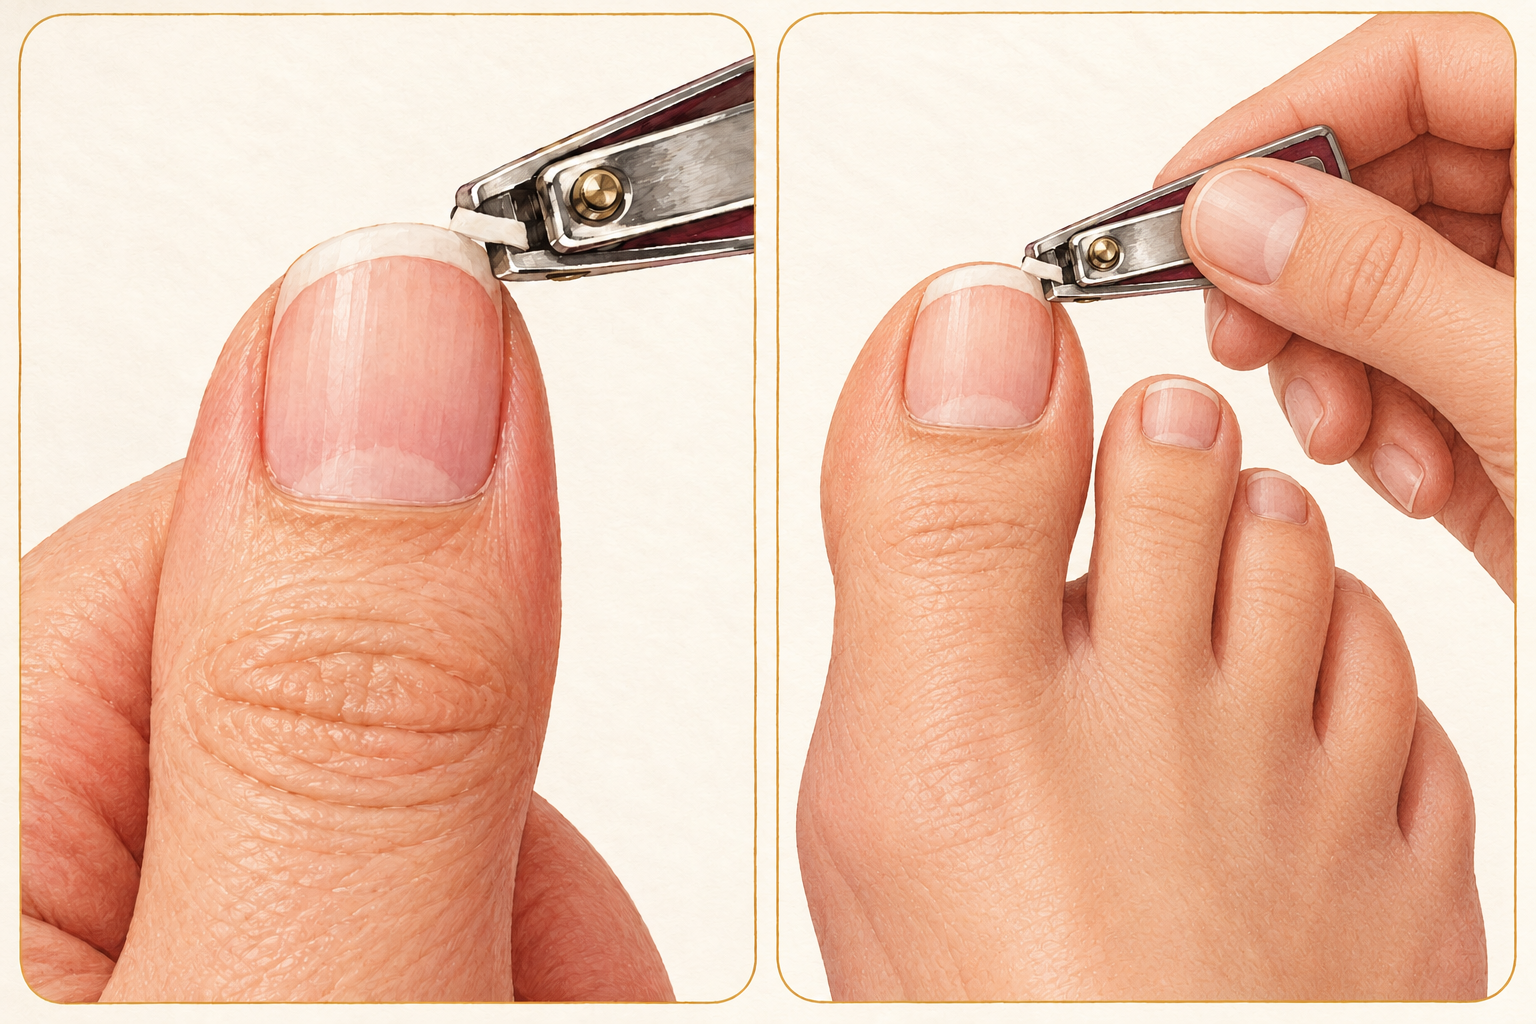
Cut the thumb and big toe in even smaller snips because they are thicker. These nails are the hardest and the most likely to crack. Steady the finger with your other hand and cut slowly. If the nail is very thick, soak a little longer. A thick toenail can also be done in two halves, working from each side toward the middle. Never force the clippers through, because a sudden crack runs down into the nail bed. Slow and steady is faster than a cracked nail. Do these two last, once your hands know the rhythm of the other nails.
7. Smooth the edge in one direction
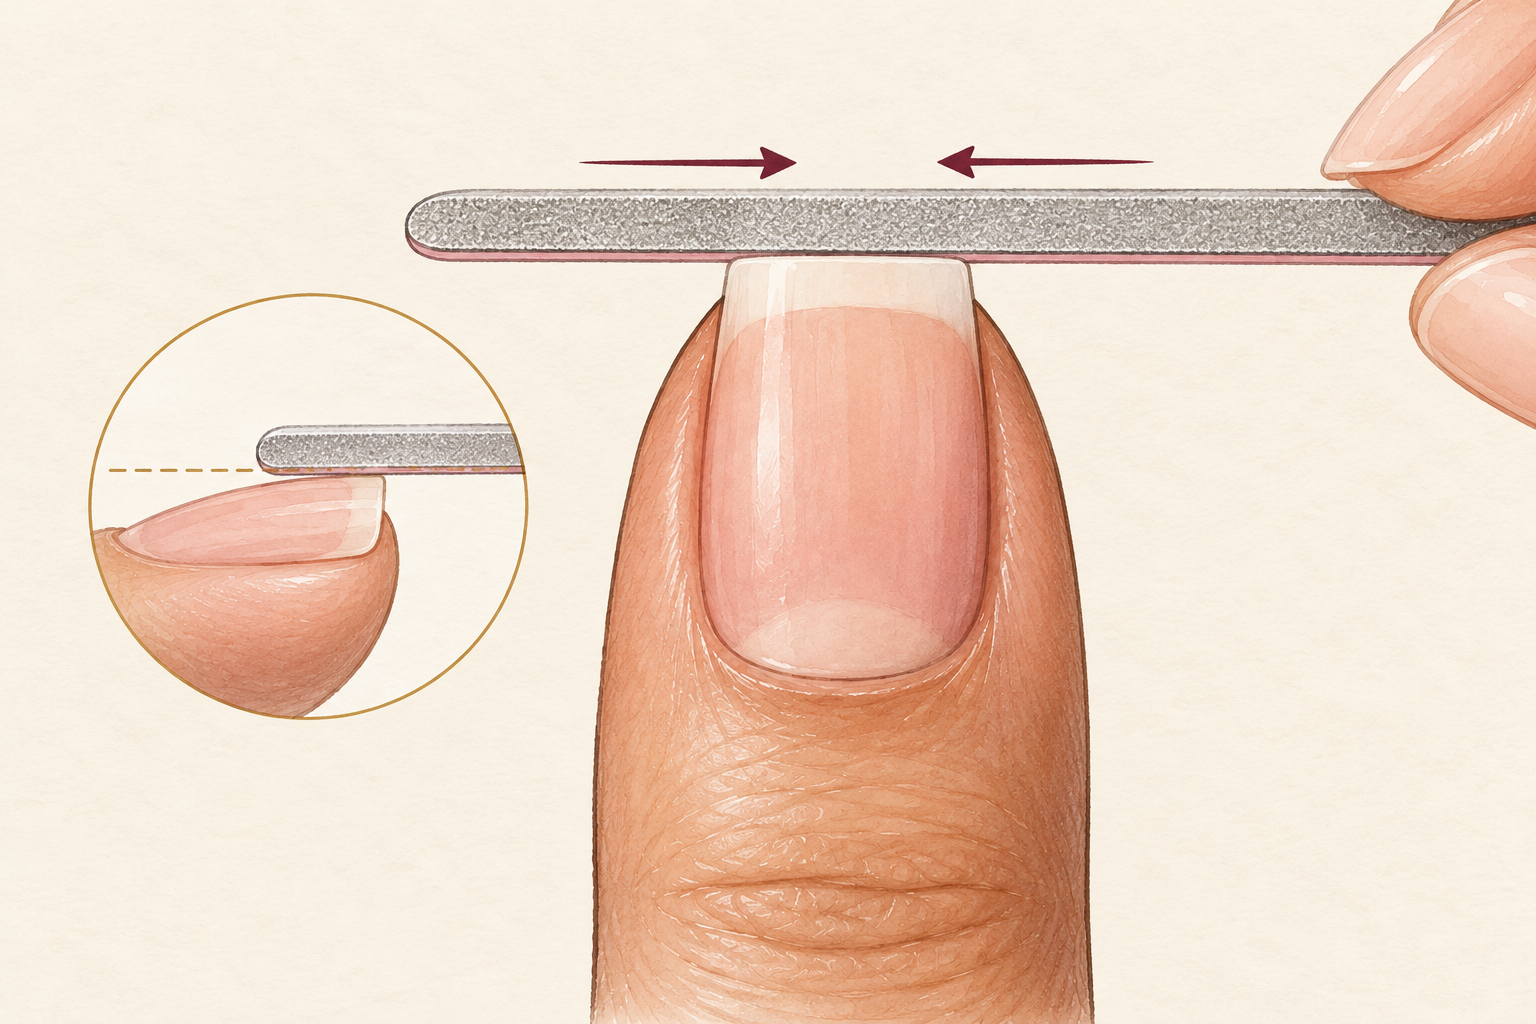
File from the outer edge toward the center, never back and forth. Sawing frays the nail layers and leaves them ready to peel. Use a fine file and keep it almost flat. Two or three light passes are plenty. Hold the file almost flat against the tip, and tilt it just a touch so you take off the sharp edge underneath. The goal is a smooth tip, not a new shape. A glass file is gentle and rinses clean under the tap, which is why many people prefer it to emery boards. Brush off the dust with a soft cloth before you apply oil or polish. Smooth edges make the next step easier, so try how to shape nails when you are ready.
8. Run a finger over the edge to check
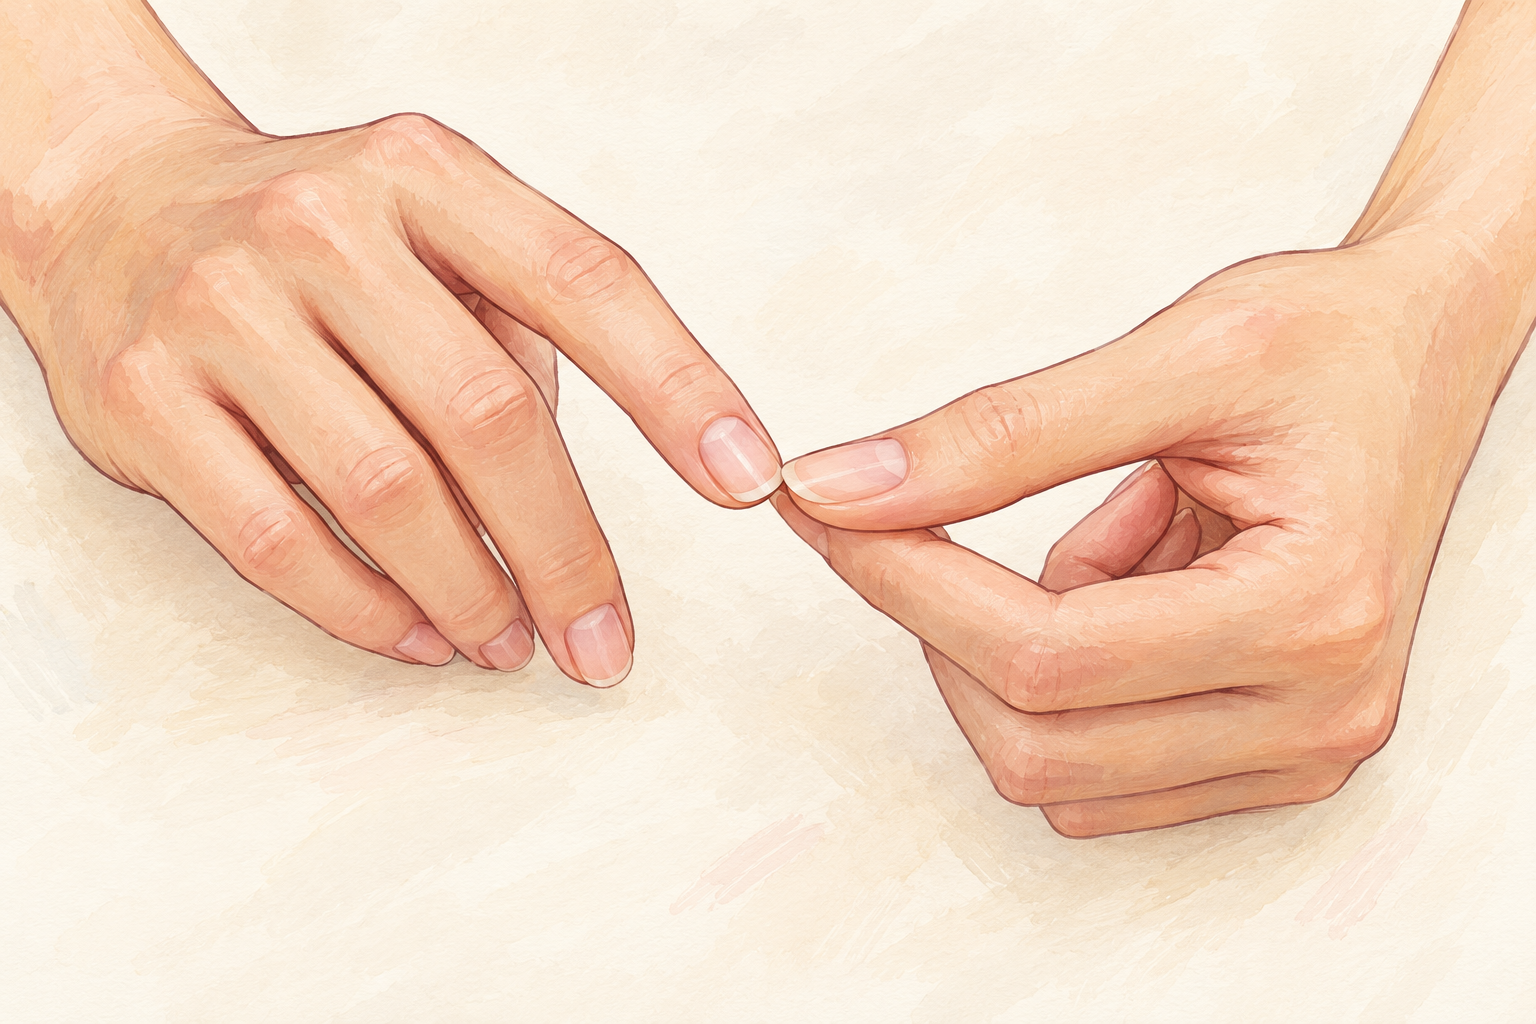
Glide your fingertip over each edge, and re-file anything that catches. A snag means a rough spot that will tear later. This takes ten seconds and prevents the sleeve catch you started with. Do the check on your toes by running a sock across them, and if it snags, file again. Tidy edges are the quiet reward of learning how to cut nails the gentle way. Your tights and sheets will thank you too, since a rough nail catches on fabric all day. A snagged nail is a tiny fix now and a torn nail later, so never skip this step.
9. Never curve your toenails deep
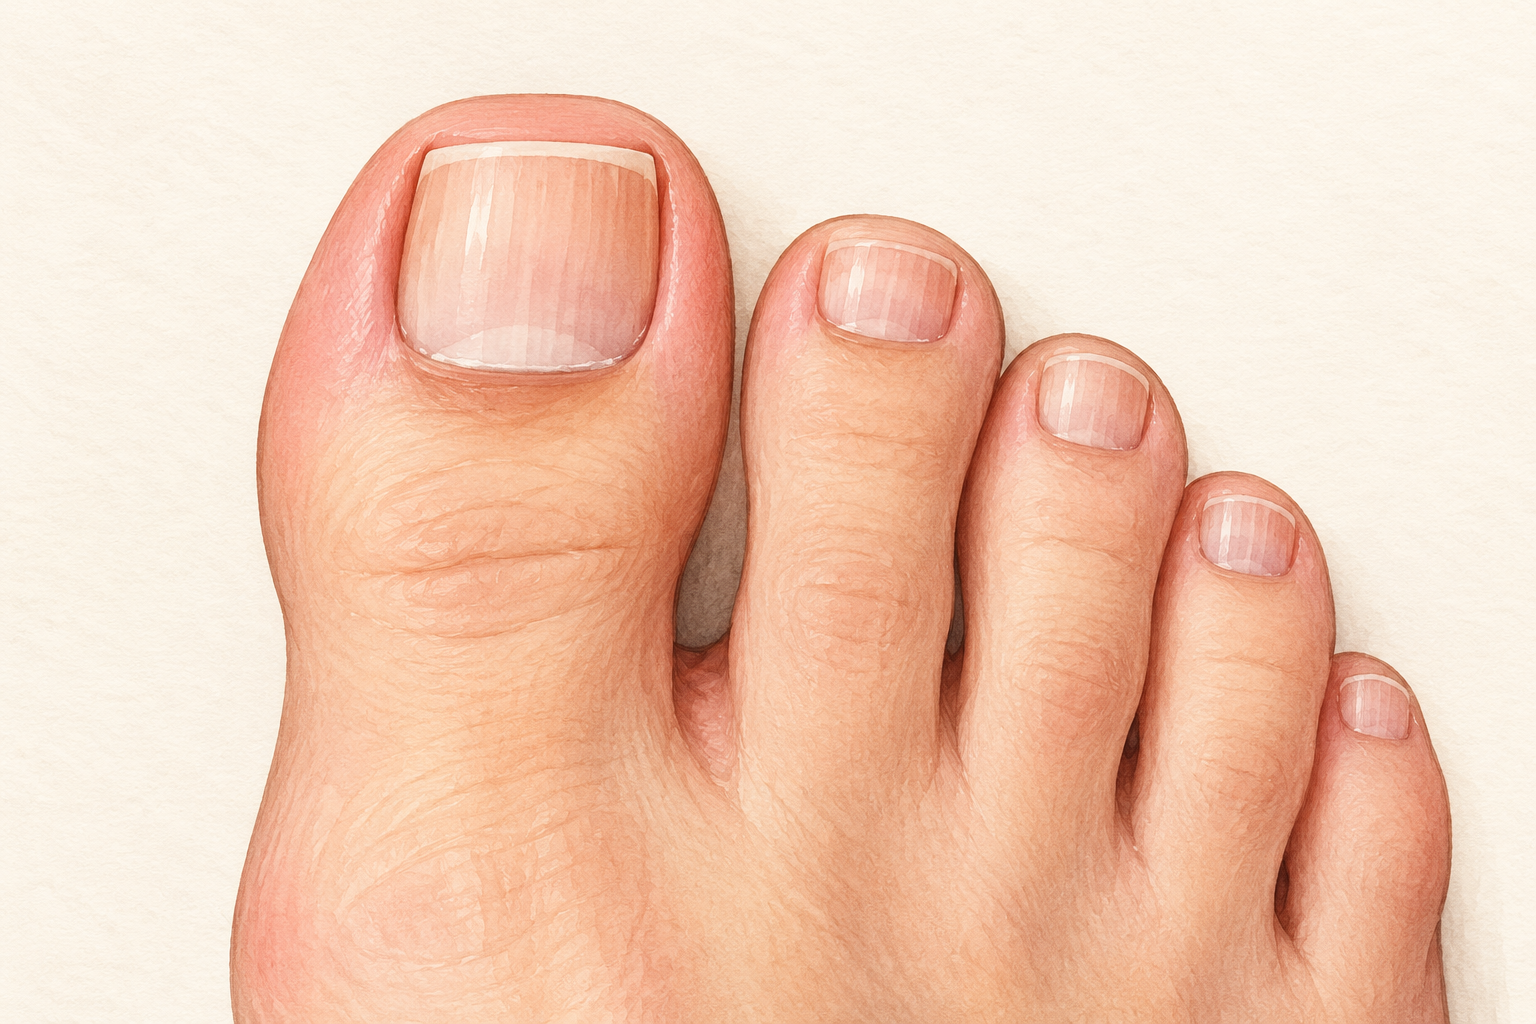
Cut toenails straight across, even when it looks odd. A deep curve encourages the corners to grow into the skin. If the edges feel sore, leave the corners a touch longer and let them grow past the skin. The pain usually settles in a few days. Soak your toes in warm water for ten minutes a day to ease the tenderness, and wear roomy shoes so the nail has space. Pressure from a tight shoe is what makes the corner dig in. If a corner already feels tender, leave it alone for a few days instead of digging at it.
10. Fix a split before it spreads
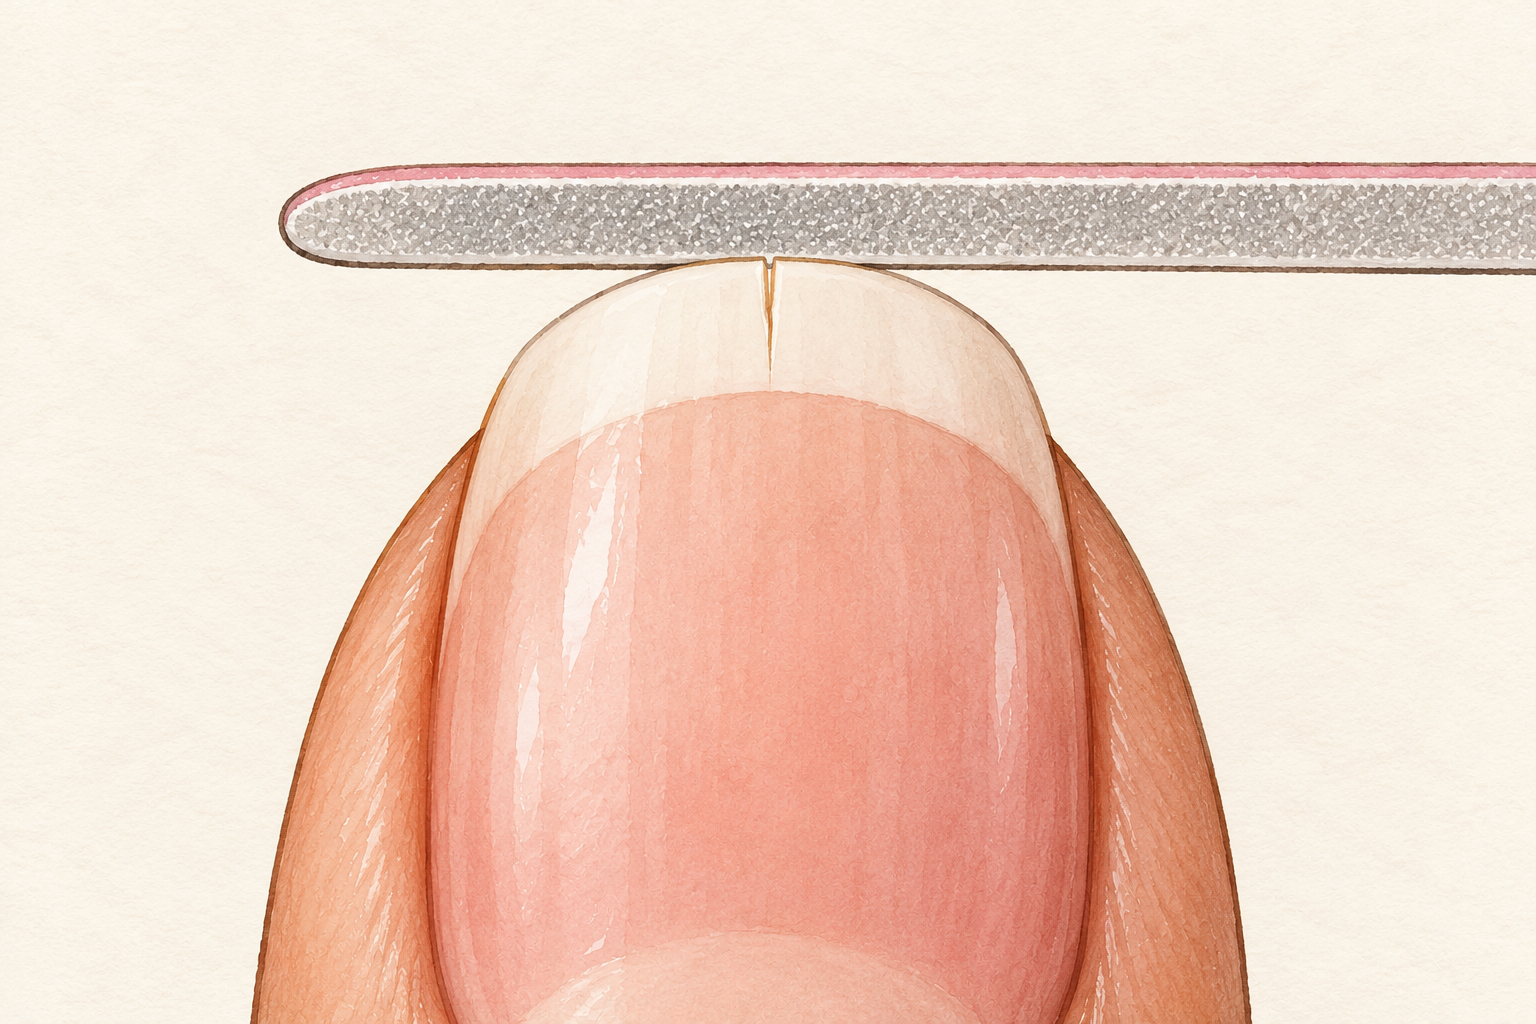
File the split smooth and seal it with a thin coat of clear polish. Do not pick at it or pull the loose bit. Trim only what is already lifting. Keep the nail short until it grows out, and a clear coat on top adds a little strength while it does. A short nail has less leverage to catch and tear further. If it keeps splitting in the same spot, protect it with a plaster for a couple of days while you type or wash up. Seal it, and then leave it alone, because every pick makes the split deeper.
11. Oil and moisturize afterwards
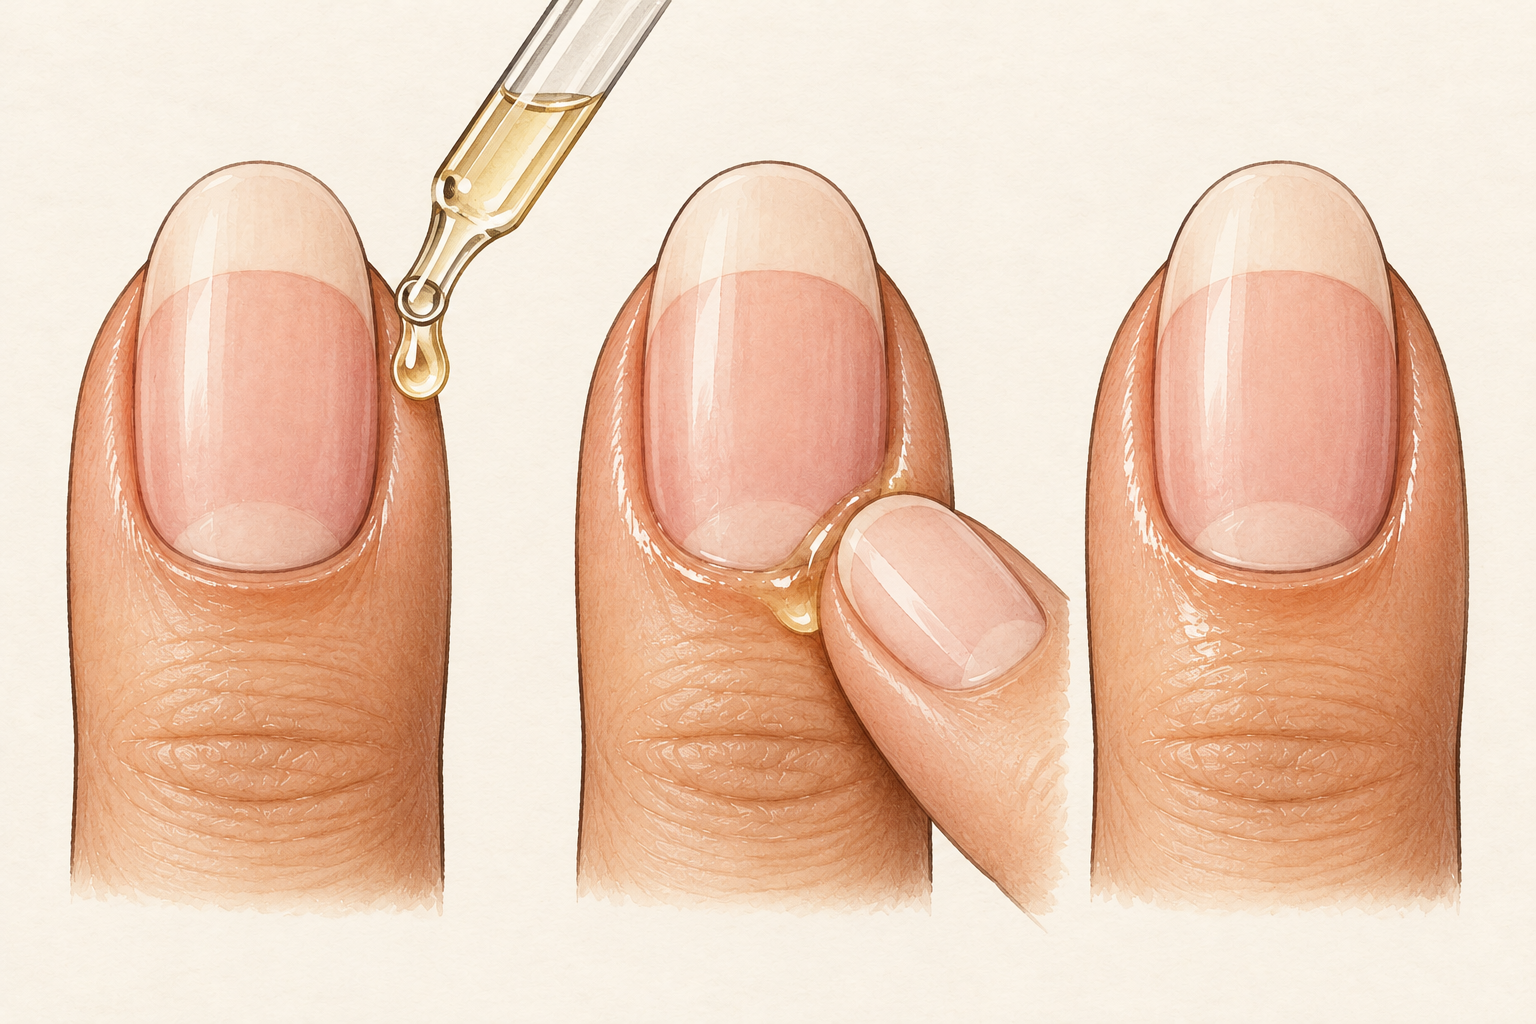
Rub a drop of oil into the skin around each nail and finish with hand or foot cream. Fresh cuts leave edges a little dry. The oil softens the skin and keeps it from lifting into hangnails. It takes under a minute. Do it at night so the oil can work while you sleep, and wear cotton socks over your feet if you want an extra boost. A habit this small is the easiest one you will ever keep, and it makes every trim look better. A pea sized amount of cream is plenty for both hands, so there is no need to overdo it.
12. Trim on a regular schedule
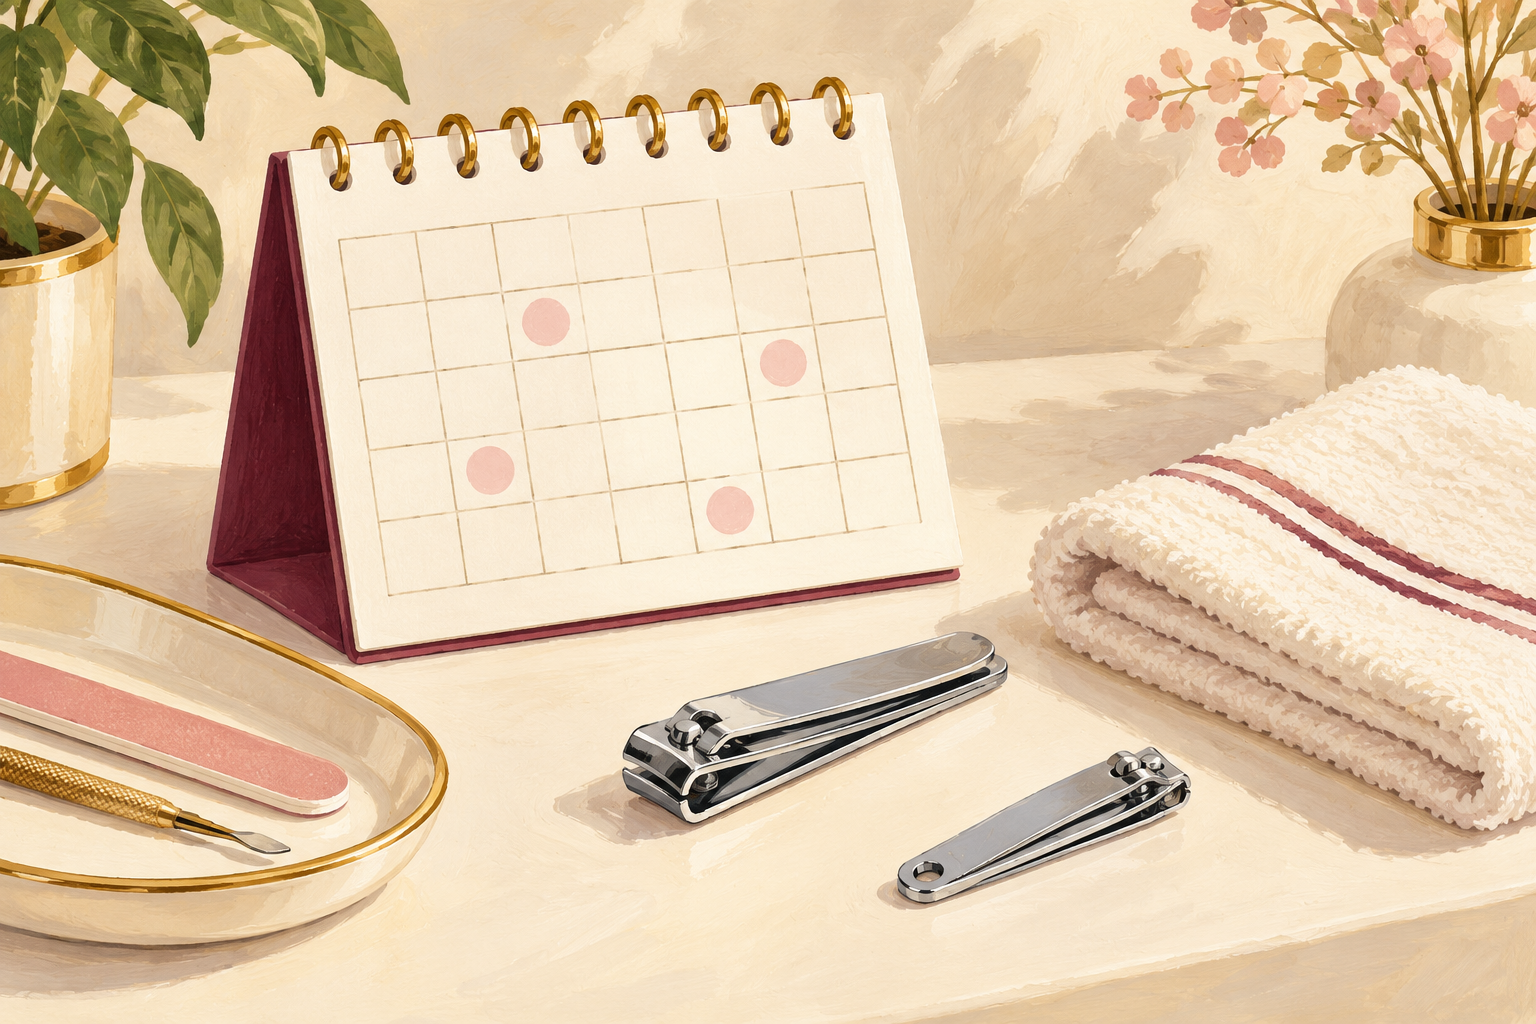
Trim fingernails every week or two and toenails every three to four weeks. Little and often beats long gaps and big chops. If a nail ever looks thick, yellow or very sore, see your doctor. Wipe your tools and keep them dry between uses. Making it a Sunday habit means you never have to think about it, and your hands never get a chance to snag, crack or catch on anything. Put a reminder in your phone for the first week, and by the third it will feel automatic. Mark your trim days on a calendar if you like to see the pattern. Calendar marks help a routine stick, and once that clicks, nail care tips is handy.
Complete the Routine: How to Cut Nails Safely Every Time
Pick one step from numbers 1 to 3 and one from the aftercare in numbers 11 and 12, and try them at your next trim. Edges get cleaner over many trims, so the first attempt does not have to be perfect. When you feel ready for more, the guides below have the next piece waiting.