Your curls look perfect on wash day, then by the afternoon they are frizzy at the crown, limp at the roots and dry at the ends. That is the 3B puzzle: springy ringlets that need moisture but get weighed down quickly. This 3b curly hair routine gives you 12 steps in order, from your kit to refresh days, so start at number one tonight.
1. Gather a small curl kit
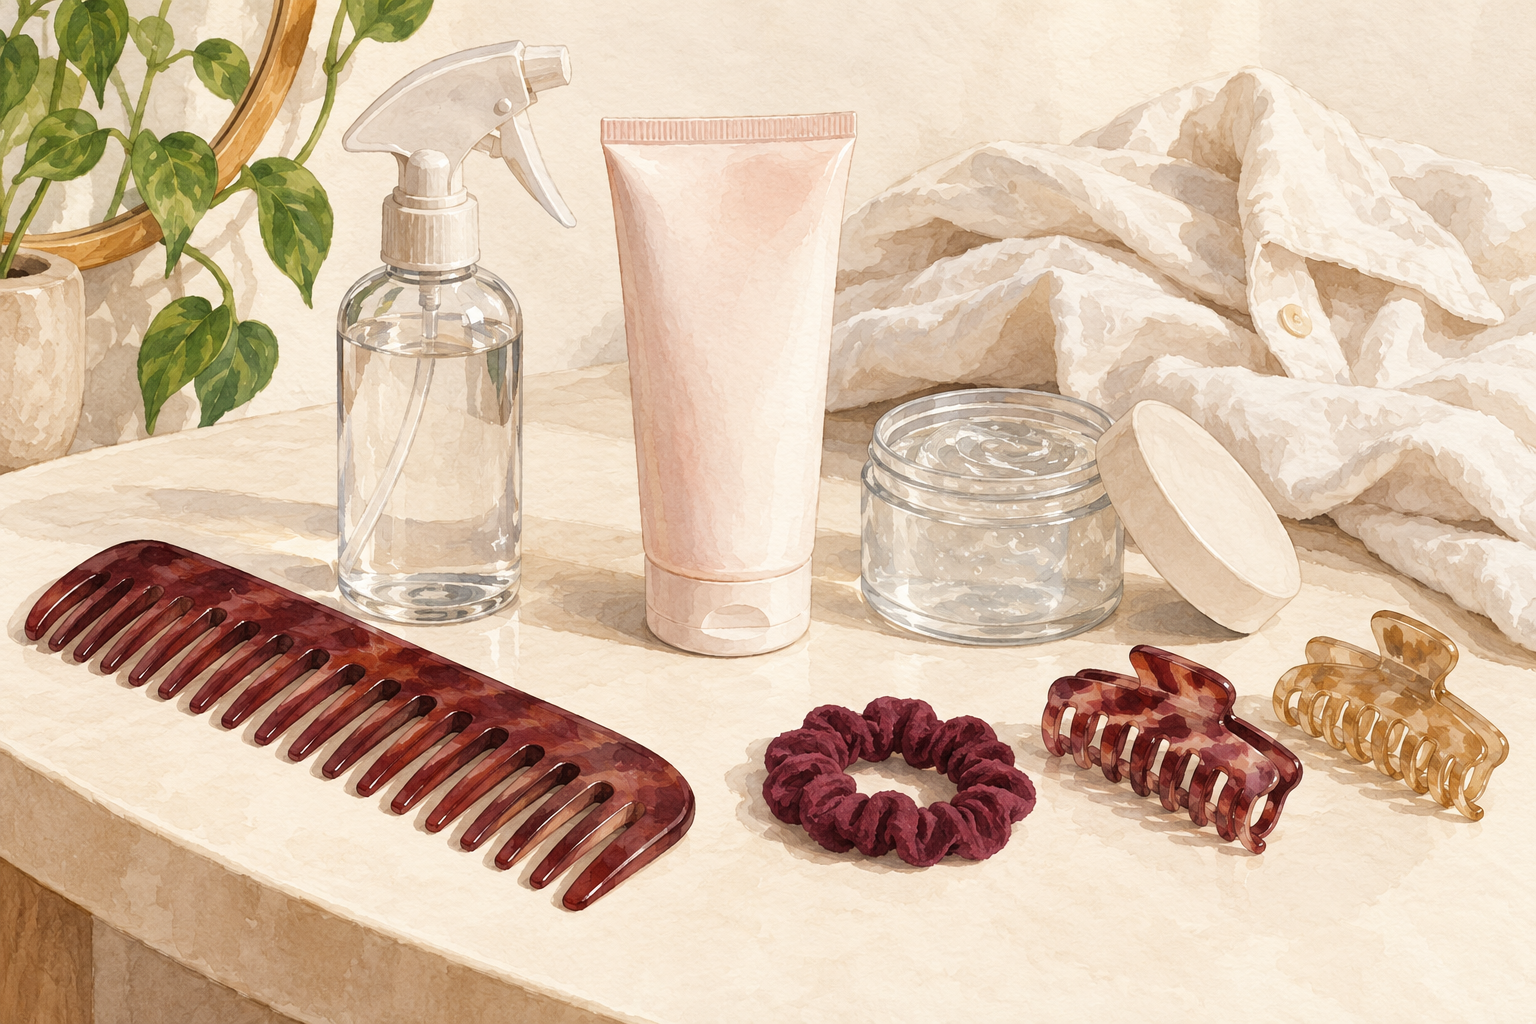
Put a wide tooth comb, a spray bottle, a light leave in, a gel and a soft cotton shirt or microfiber cloth in one place. Having everything ready stops you from standing with dripping hair, hunting for a clip. Choose products that feel light and watery, because 3B curls get heavy quickly. A soft shirt dries curls without roughing them up, unlike a thick terry towel. Fill the spray bottle with plain water. Keep the kit near the bathroom so wash day feels easy rather than a project you dread. Two clips and a hair tie in the kit help too, for when you need to section quickly.
2. Read your curls before you change anything
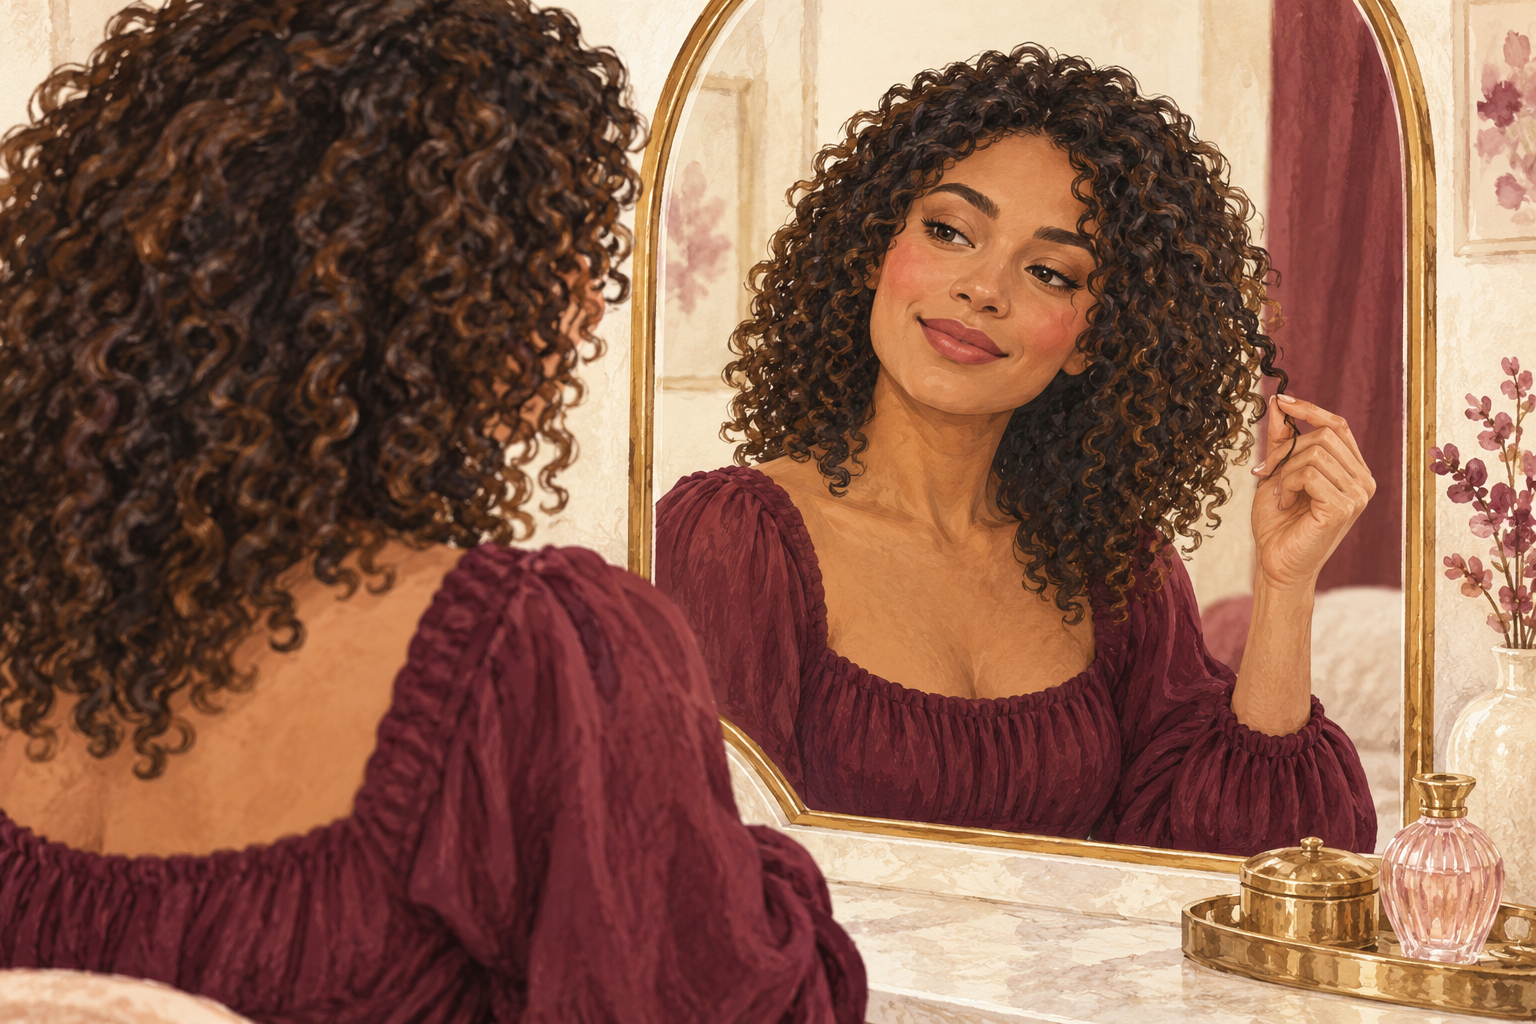
Look at your curls on a day with no product, and notice the shape, the frizz and the dry spots. 3B hair forms tight, springy ringlets about the width of a marker. It often has a dry, frizzy crown and ends, with roots that turn oily and flat. Pull a ringlet gently and see if it bounces back. If it stays stretched or feels brittle, your hair wants more moisture. If it feels limp and slick, you probably have too much product. Take a photo to compare in eight weeks. Check three spots, the crown, the sides and the nape, because 3B curls often differ in each place.
3. Wash two or three times a week, scalp only
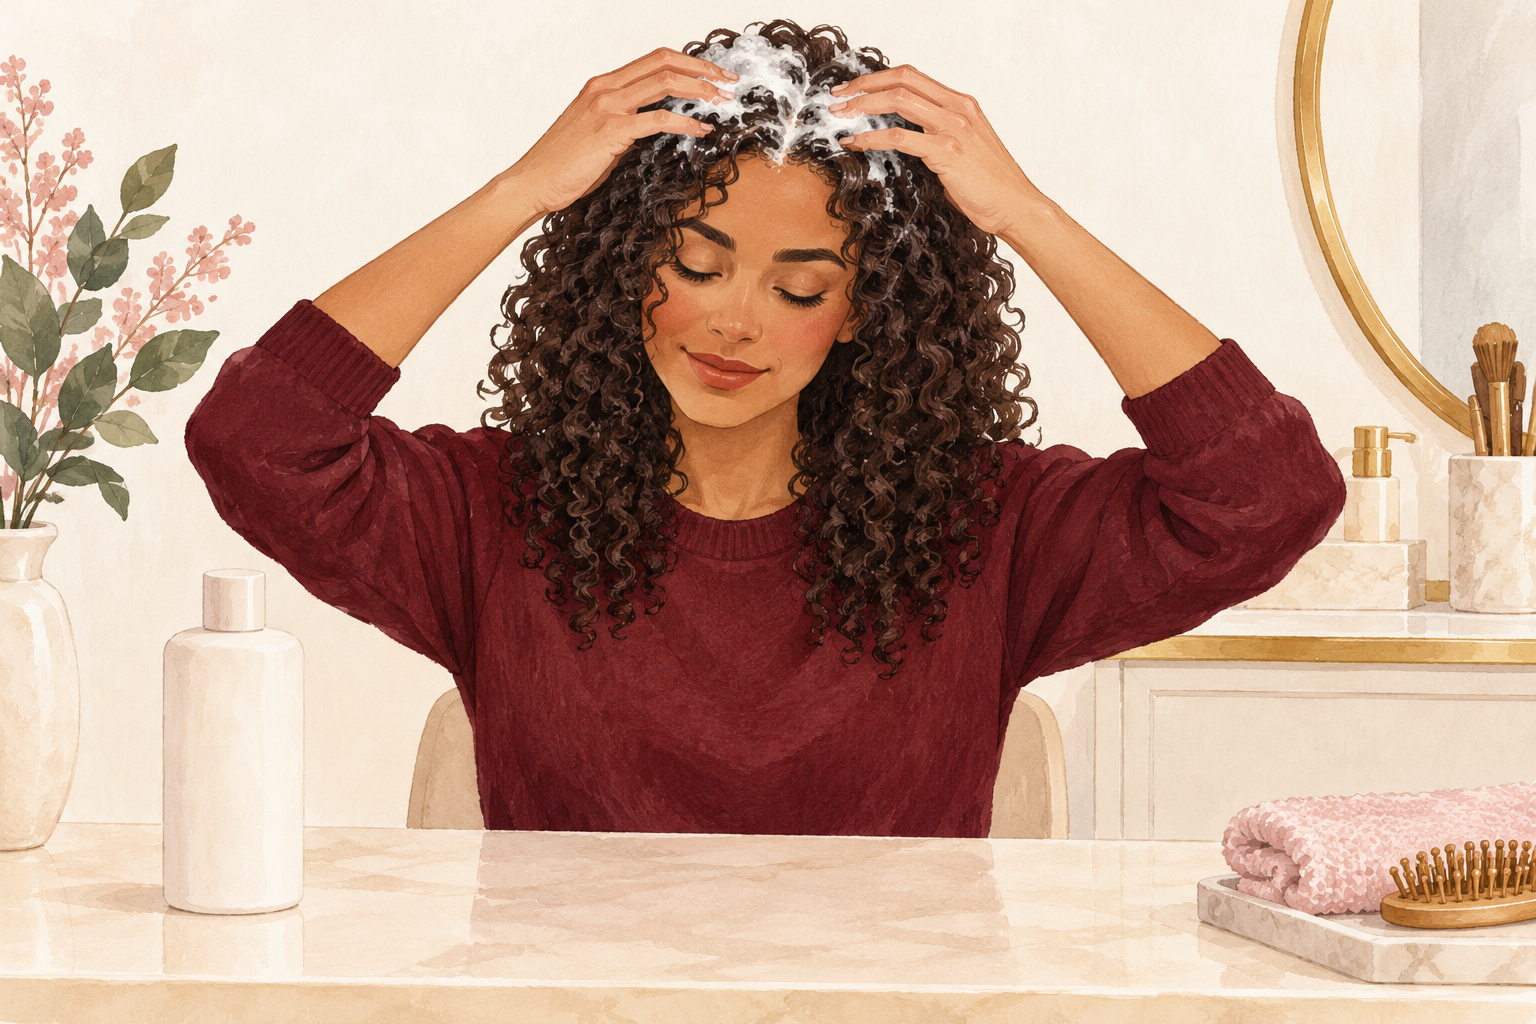
Shampoo only your scalp with the pads of your fingers, and let the suds rinse down through the curls. Washing two or three times a week keeps the roots from going flat without stripping the lengths. Skip dry shampoo, because it clogs the roots and dulls the curls. Do not pile your hair on top of your head while you scrub, since that tangles it. Rinse for a full minute longer than feels needed. If your scalp feels tight, wash less often and use a gentler shampoo. Use a coin sized amount of shampoo and add a splash of water in your palm so it spreads.
4. Condition in sections and detangle with fingers first
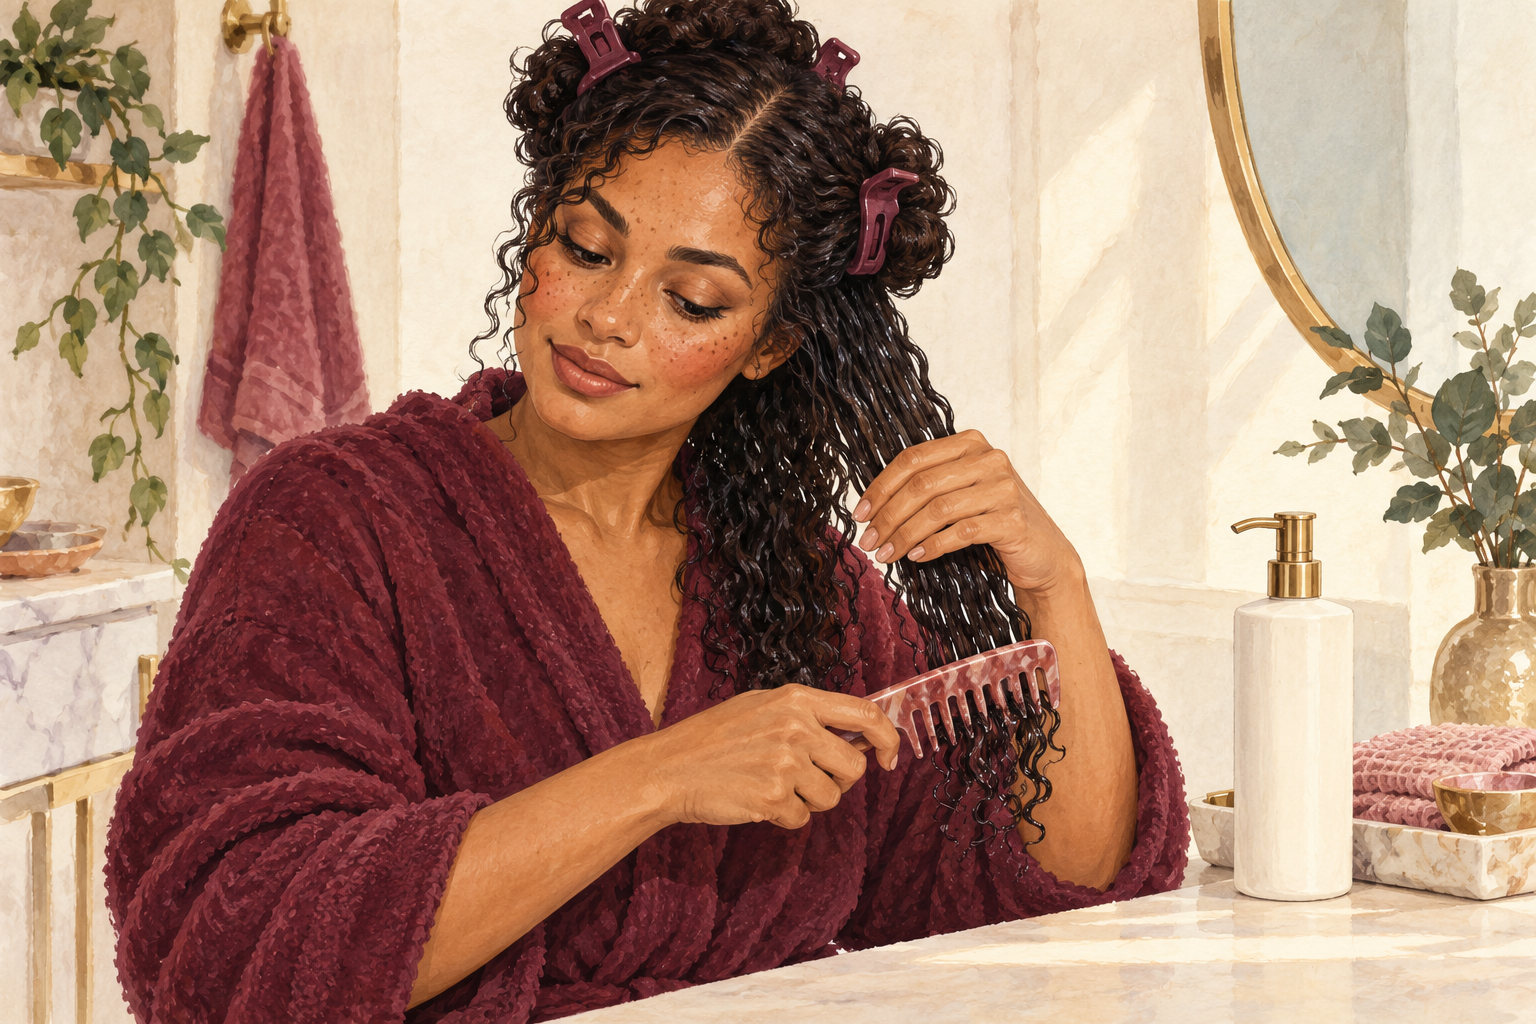
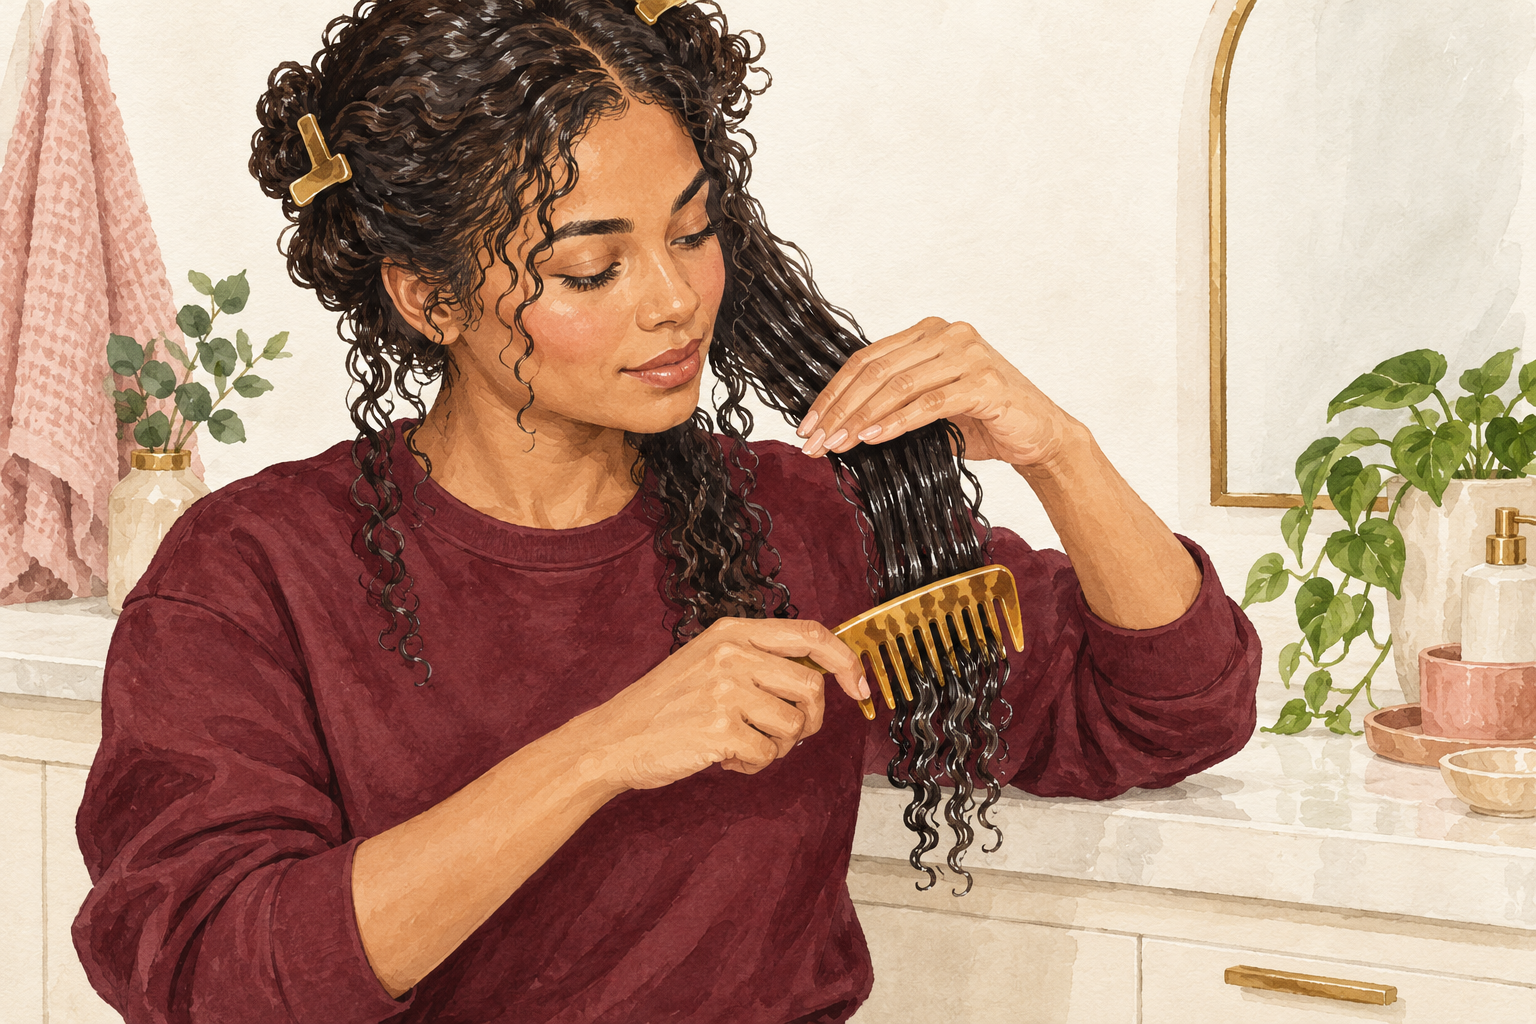
Smooth a generous amount of conditioner through each section, then gently pull knots apart with your fingers. After that, glide a wide tooth comb from the ends upward. Never comb dry curls, because it breaks the ringlets apart and creates frizz. Work in four sections so every curl gets covered. Rinse most of it out, but leave a thin film on the ends if they feel dry. Smooth, slippery hair at this stage means less frizz when it dries. Give each section about a minute, and expect the conditioner to feel slippery like wet soap when you are ready.
5. Squish water into the curls

Cup a handful of dripping wet curls and squeeze them upward toward your scalp until you hear a squish. This pushes water into each ringlet and helps the curls clump together. Do it two or three times per section, with your head tilted forward. Keep the water on, because the more wet your hair is, the easier the curls form. Do not wring the hair out. When you see ringlets forming and bouncing back, you are doing it right, and you can move to styling. Your hair should feel cool and heavy with water, and the curls should look glossy before you add anything.
6. Deep condition every one to two weeks
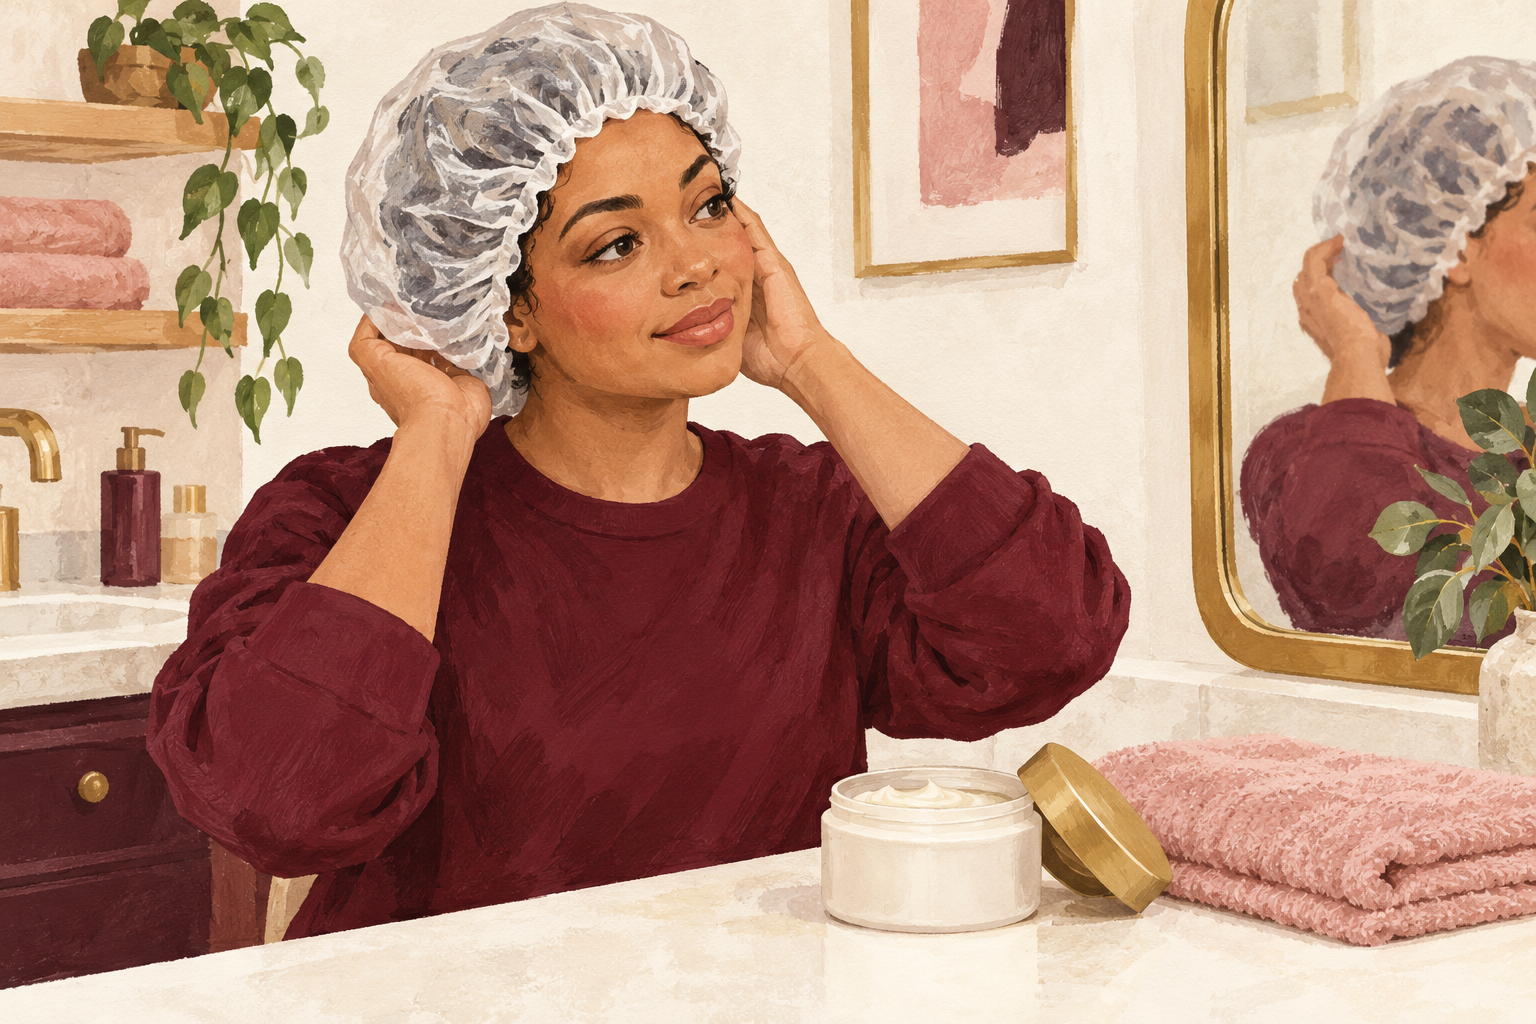
Smooth a moisturizing mask through damp curls, cover with a shower cap and leave it for twenty minutes. Rinse well. Once a fortnight is enough for most 3B hair, and weekly if your curls feel dry or look dull. Do not skip the rinse, because leftover mask makes curls limp. If your hair feels mushy or too soft, use a lighter mask. Hair that stays soft and springs back is hair that is getting the right amount of moisture. A spoon of honey or a few drops of oil stirred into your mask adds extra softness to dry ends.
7. Layer a light cream and gel on soaking wet hair
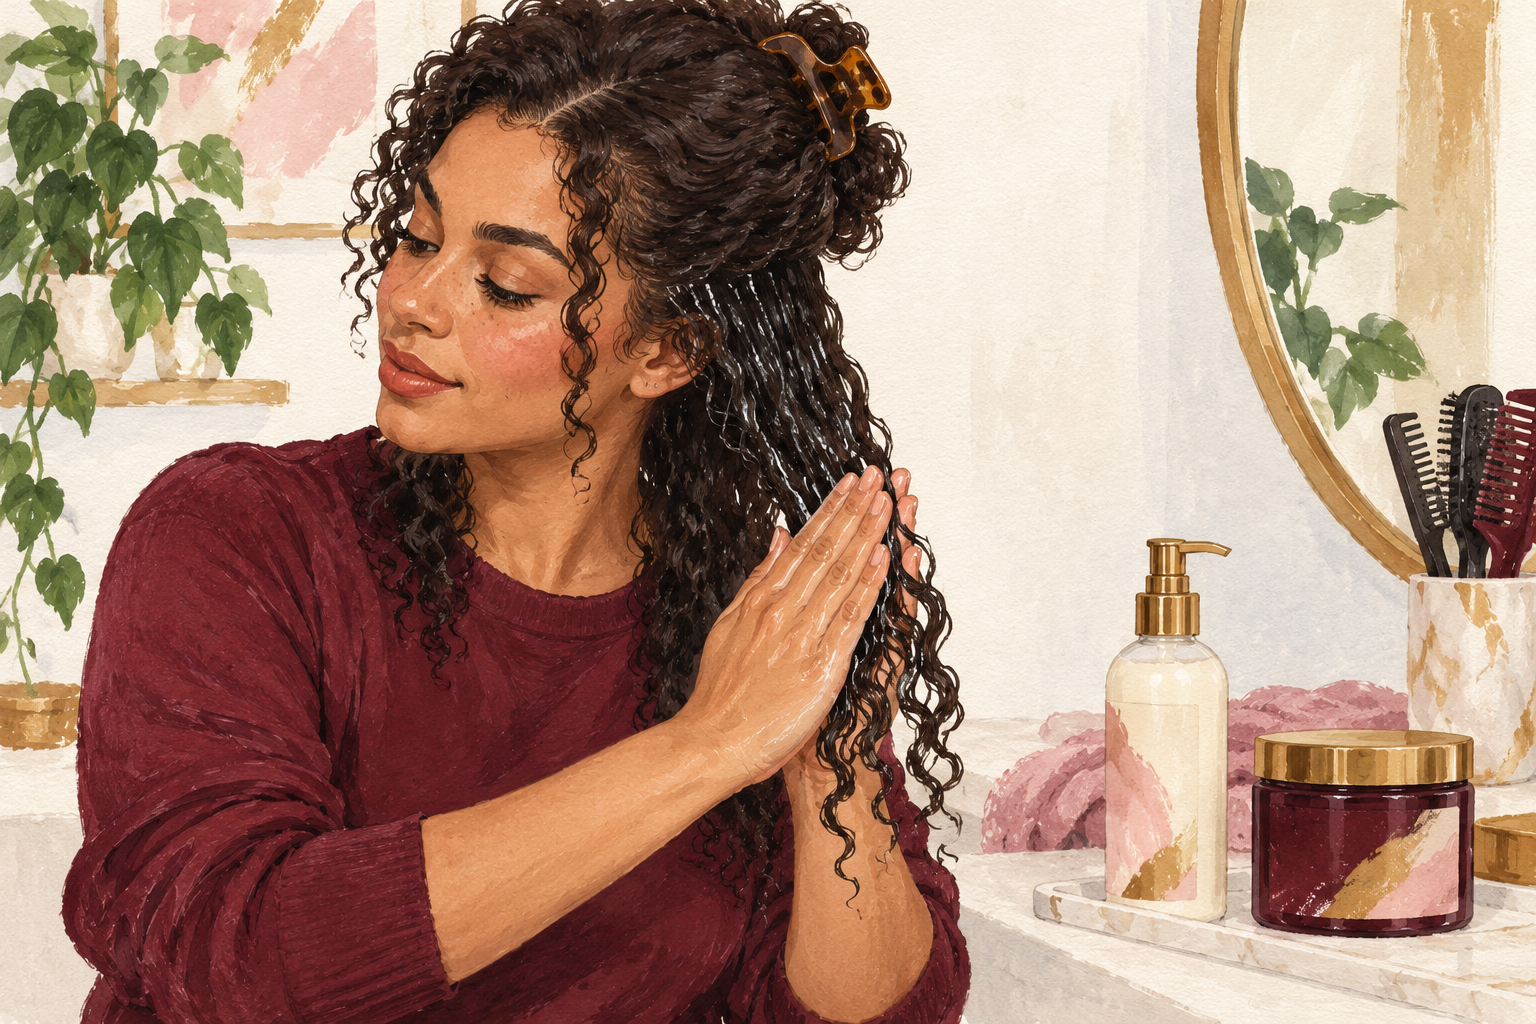
Rake a coin sized amount of leave in through each section, then glide a gel over the top while the hair is still dripping. Wet hair holds the product better and lets the curls form on their own. Press the gel on with praying hands, palms together, from the ends up. Use enough that you feel a slight slip between your fingers, since the gel dries to a crunchy cast that you will scrunch out later. If your curls look stiff or flaky, you used too much. Work from the ends up to the roots, and apply the gel last so it sits on the outside of each curl.
8. Scrunch upward in small sections, then stop

Cup a section in your palm and squeeze it upward toward your roots, three or four times. Scrunching builds the spring, and the gel holds it. Then stop. Touching curls while they dry breaks the clumps and creates frizz, so resist the urge to fluff. If a clump looks stringy, scrunch a little more gel into it. Flip your head upside down for ten seconds to add volume at the roots. Pin any flat top section with a clip until it dries. Wrap any loose strand around your finger once for a tighter curl.
9. Dry without touching, then scrunch out the crunch
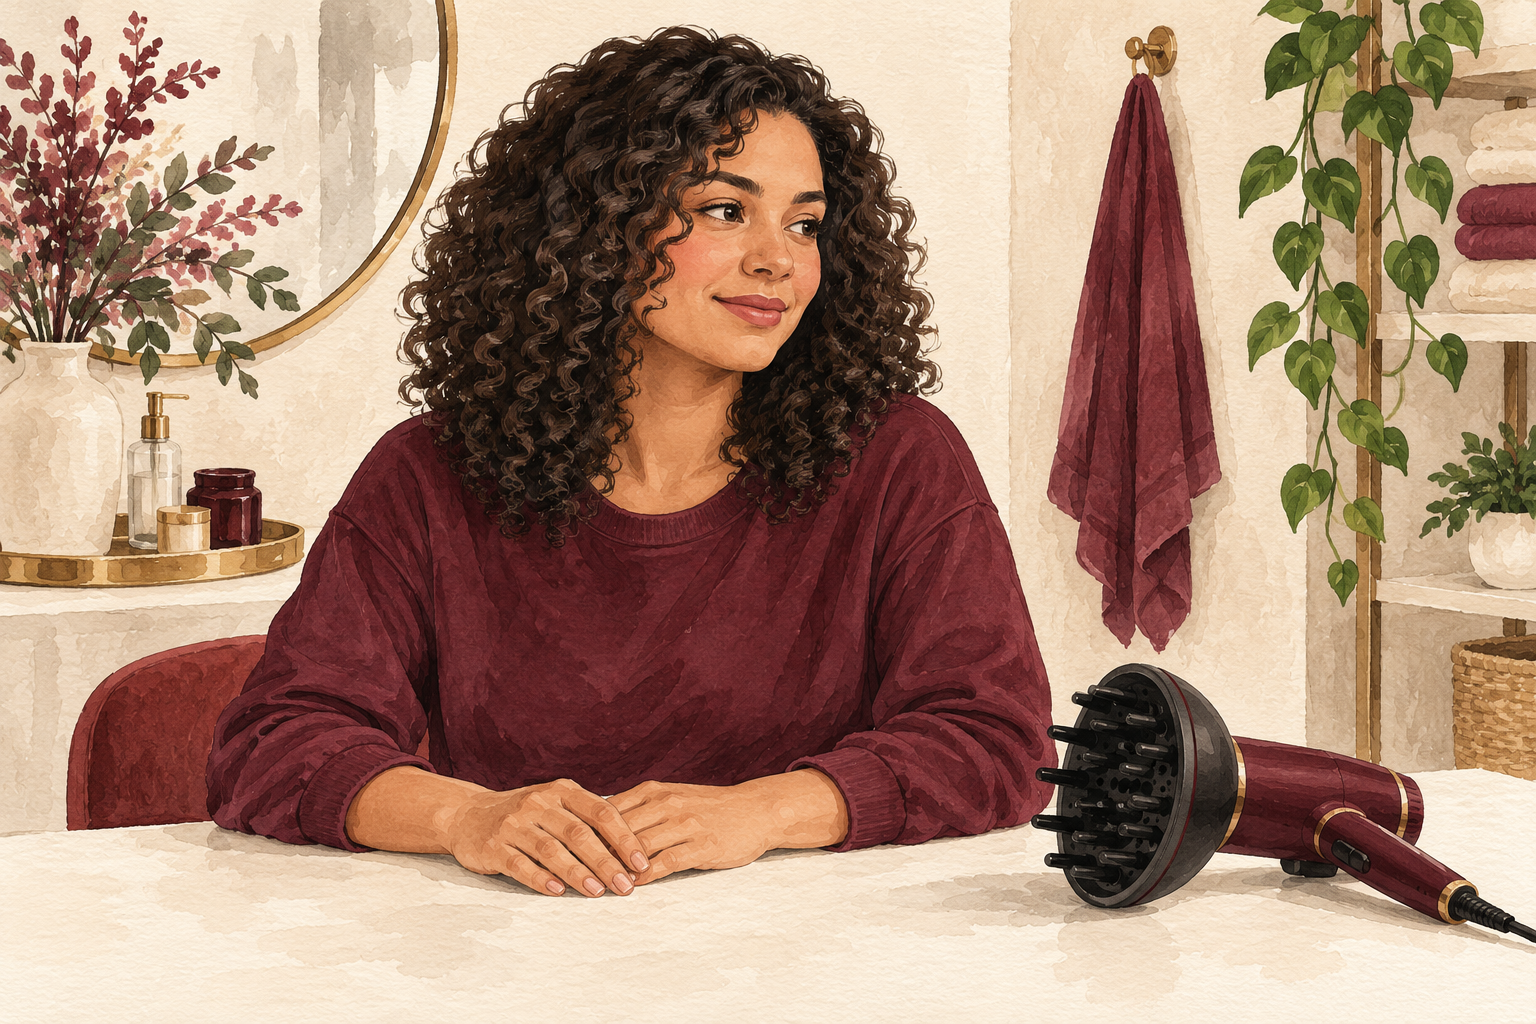
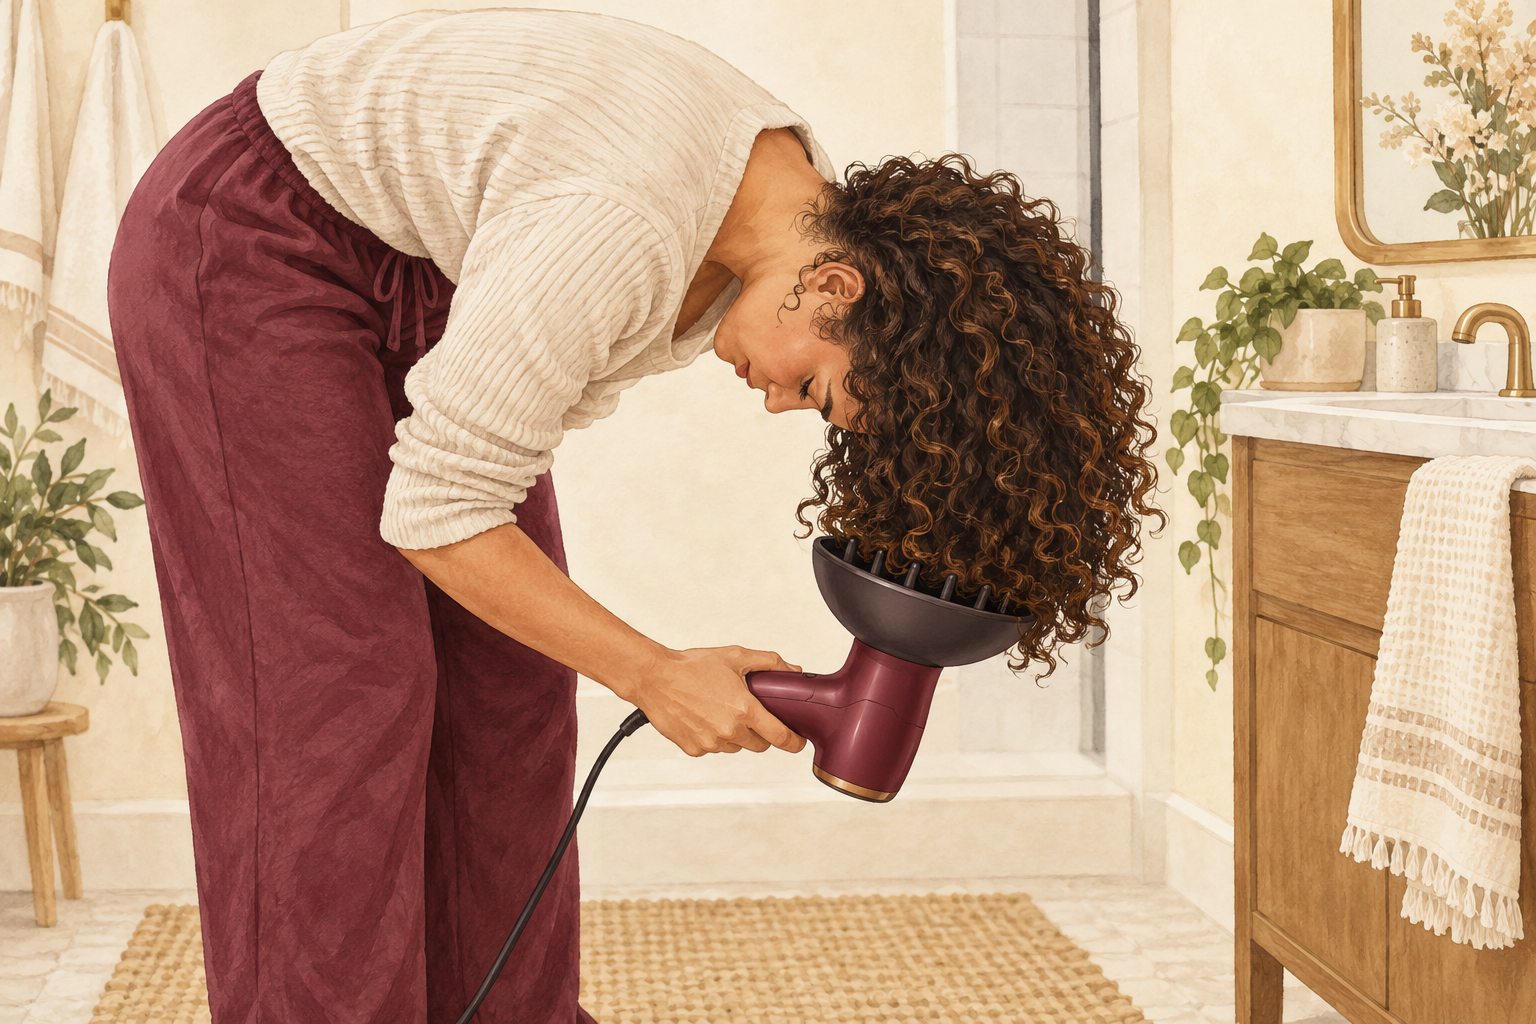
Let your curls air dry, or use a diffuser on low heat and low speed, and leave them alone until fully dry. Hands off while the cast sets. When the hair is completely dry, flip your head and scrunch gently upward, so the gel cast breaks into soft, shiny curls. A drop of oil on your palms helps if they feel stiff. Damp curls scrunched too early turn fluffy, so wait. Air drying takes a few hours, so start before bed or while you do chores. Diffuse for only five to ten minutes, then let the rest dry naturally so the roots do not puff up.
10. Refresh with water and sleep on satin

Mist day old curls lightly with water, scrunch in a pea sized amount of leave in and let them dry again. This wakes up the spring without a full wash. At night, gather your curls loosely on top of your head in a pineapple, or wear a satin bonnet. Cotton drinks moisture and flattens the curls. Skip the refresh if your curls still look good, because extra product only weighs them down. Mornings should then need a gentle fluff and nothing more. Do this on day two and day three, and by day four most 3B heads are ready for a proper wash.
11. Swap the habits that tip the balance
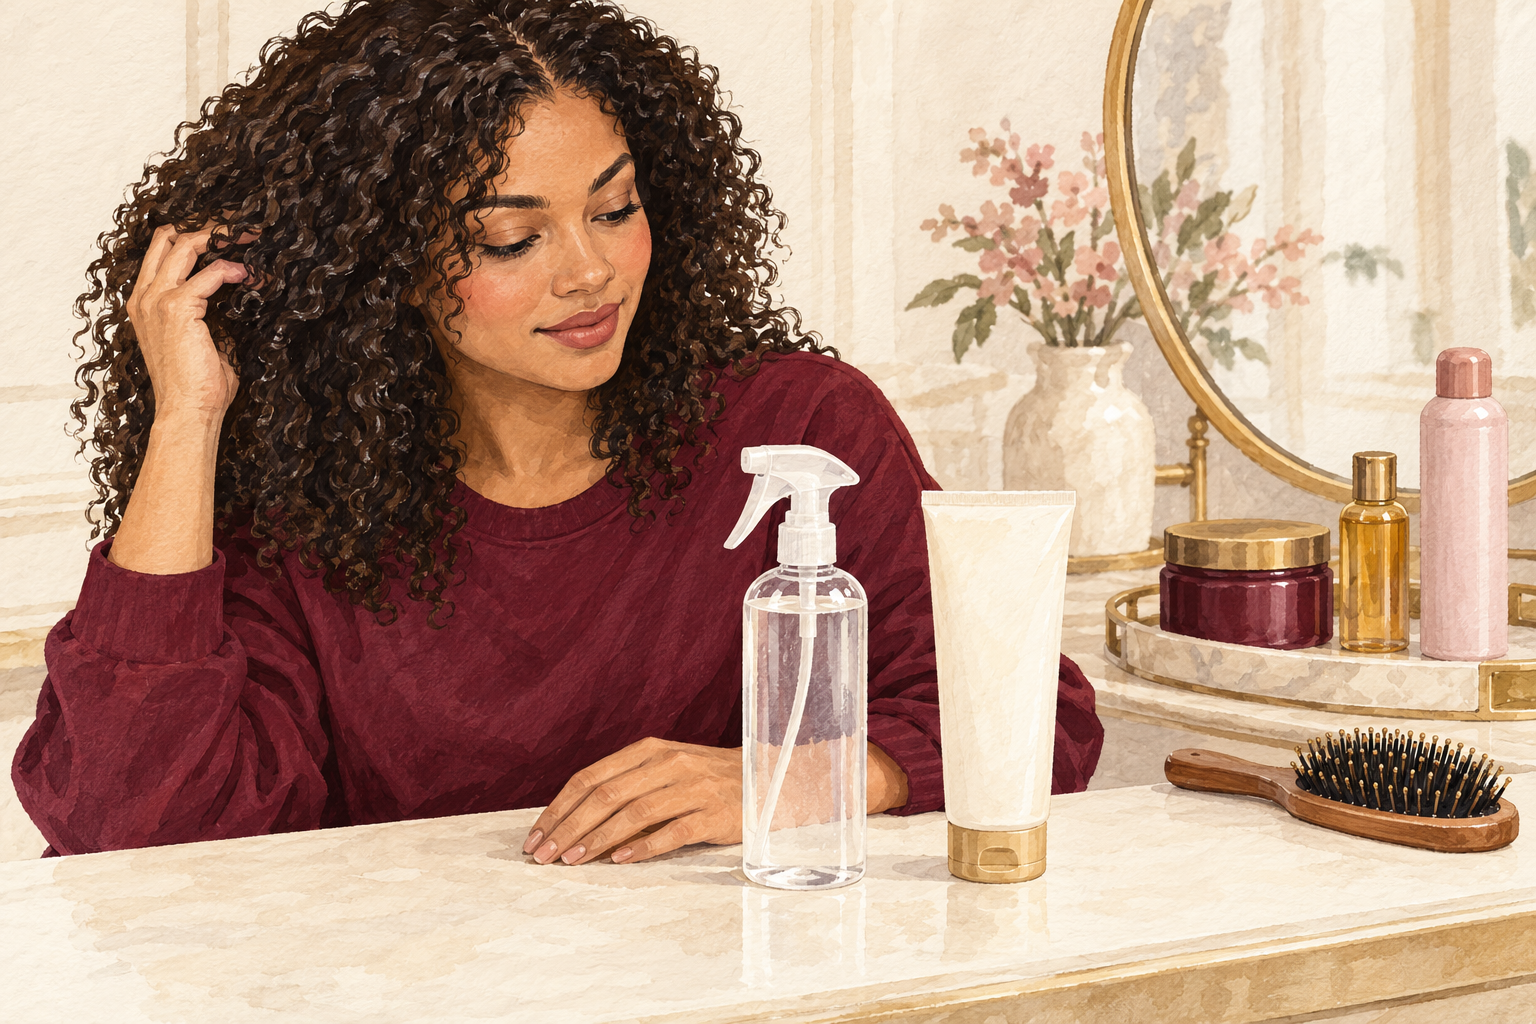
Cut back on heavy butters, thick oils and dry shampoo, which are what usually weigh 3B curls down. Frizz means the curls need moisture, so add water and a light cream. Limp curls mean there is too much product, so wash and start lighter. Build up shows as dullness, so rinse your hair with a clarifying shampoo once a month. Do not brush your curls dry. Change one habit at a time, and watch for two weeks before changing the next. Test one new product at a time for two washes so you can tell which one helped or hurt.
12. Expect better definition, then know when to look closer
Look for softer curls, fewer frizz days and better clumping over eight weeks. In week one your curls should feel lighter. By week four the clumps should hold longer, and by week eight your photo should show more defined, bouncy ringlets. If your scalp stays itchy or flaky even though you wash it properly, see your doctor. Otherwise keep going, because a steady routine matters more than any one product. Trim split ends every few months to keep the ringlets neat. Give this 3b curly hair routine at least eight weeks before you judge it, because curls change slowly.
Complete the Routine: 3B Curly Hair Routine This Wash Day
This wash day, squish water in, layer a light cream and gel and then do not touch your hair until it is dry. For more ideas, read about 3a curly hair routine and no frizz curly hair routine.