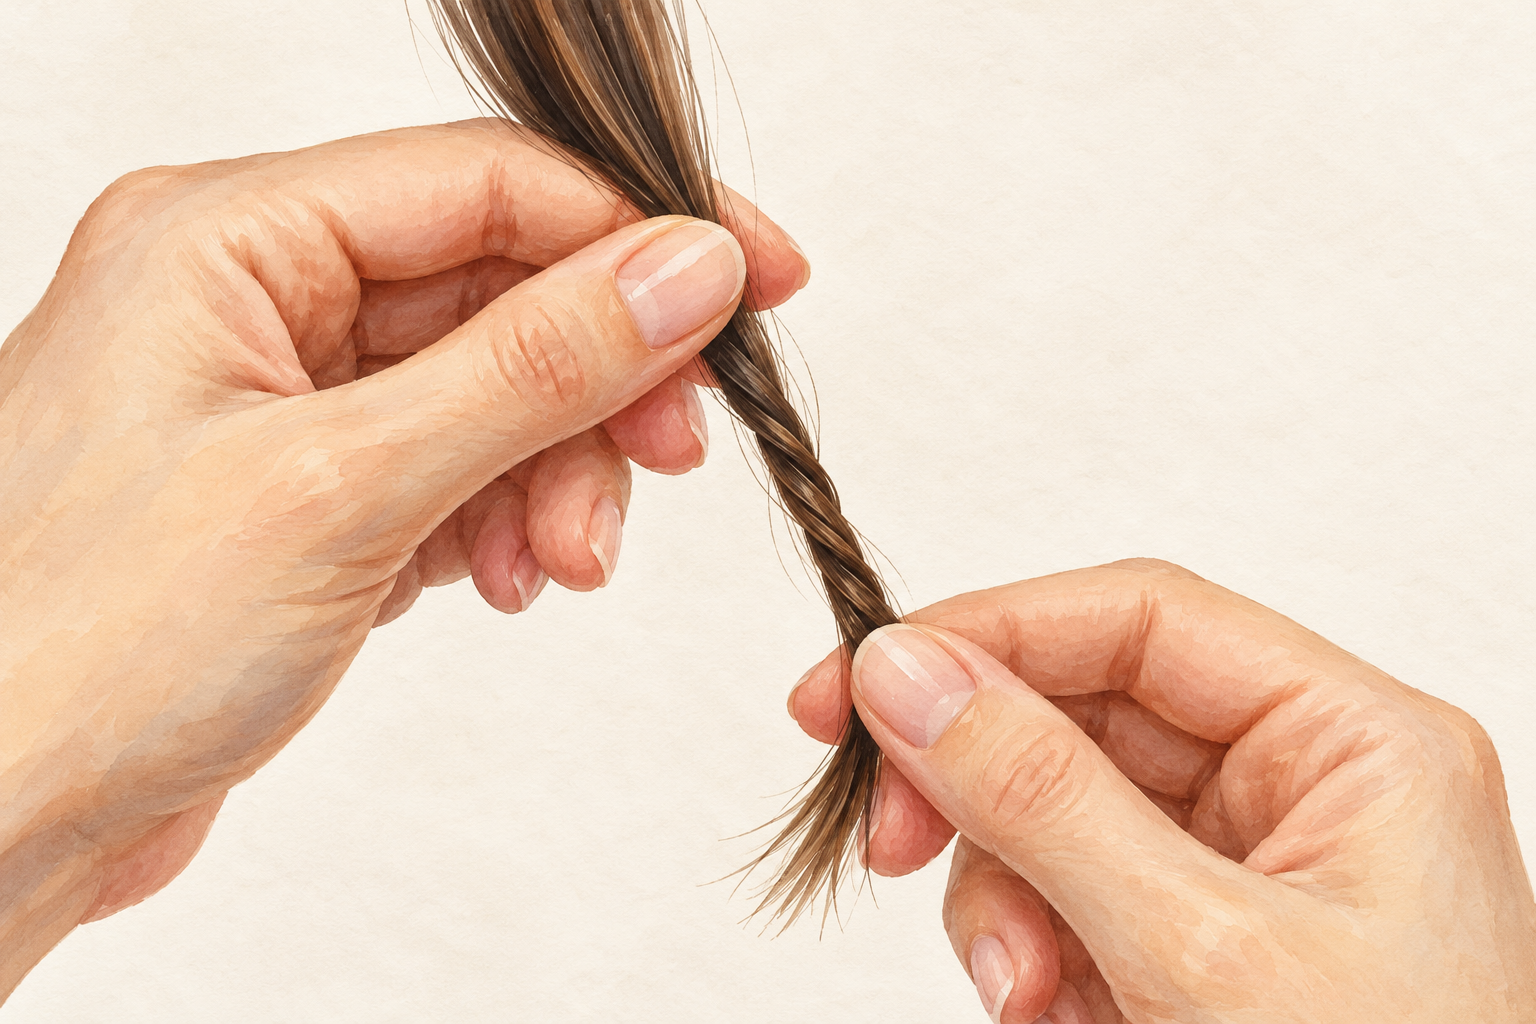
You twist a piece of hair around your finger in the bathroom light, spot the ends fraying into little Ys, and start doing sums about how much length you are about to lose. Split ends trimming does not have to cost you inches. Here are 12 rules for how often to cut and how little to take, so start at number one tonight.
1. Accept that only a cut removes a split
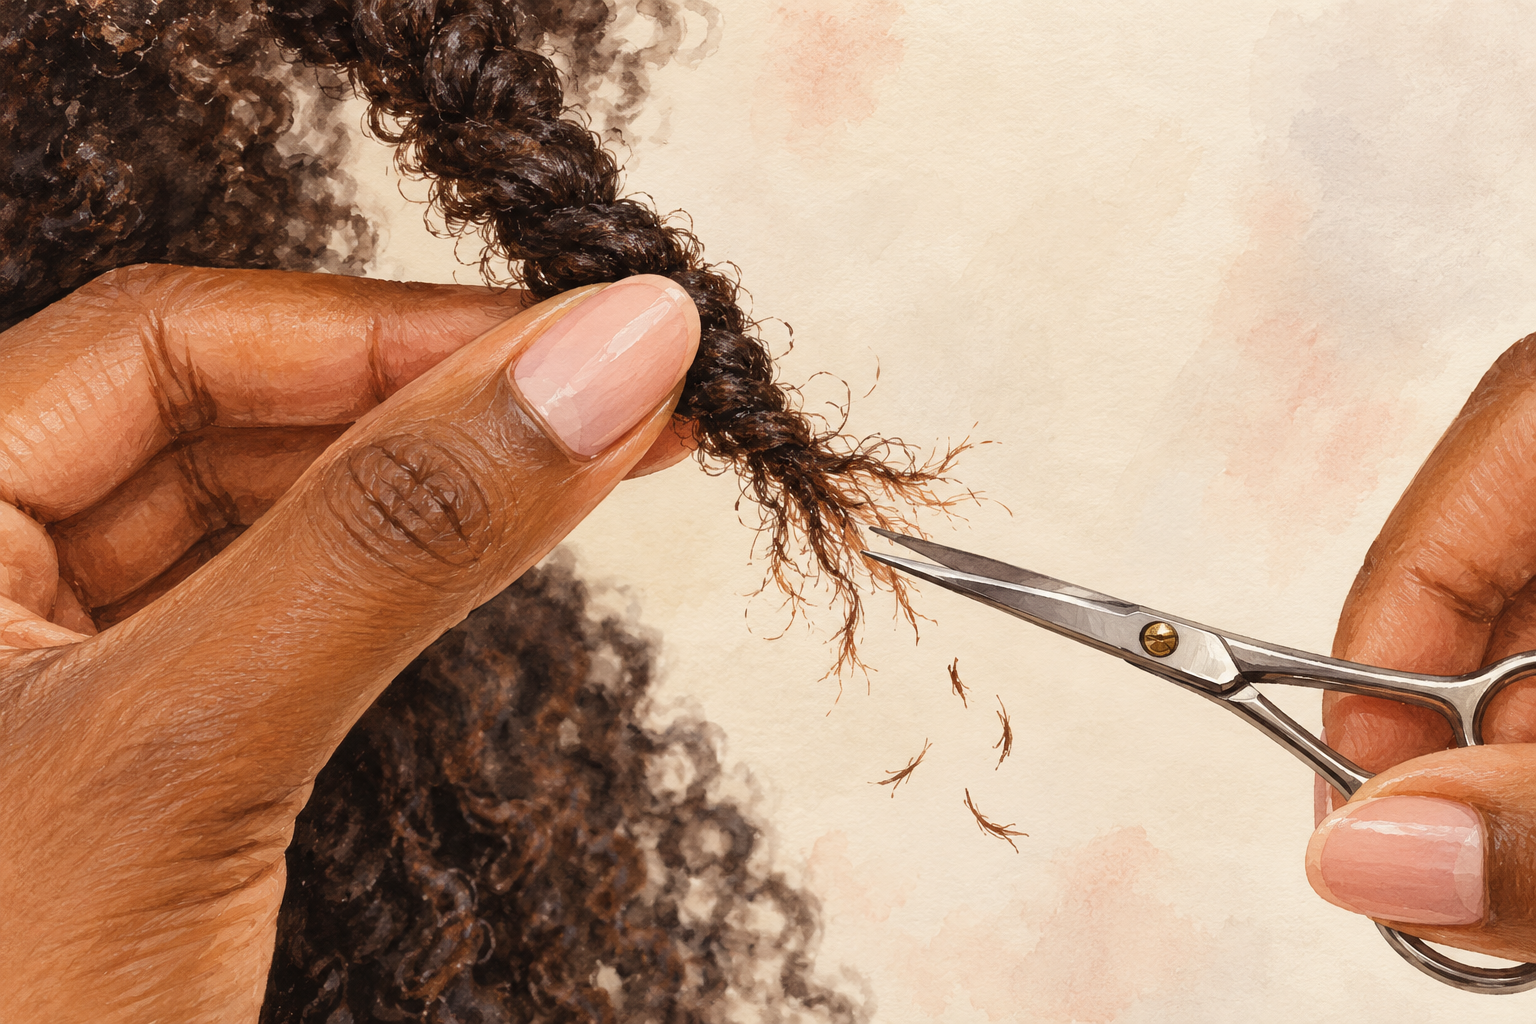
Use masks and oils to make ends feel softer, but never expect them to close a split. They smooth the look for a day or two, and they cannot rejoin a strand that has opened. A split only travels one way. Every brush and every hair tie makes the fray climb a little higher up the hair. A small cut now stops that climb. Wait, and you lose far more length later. Hold on to this idea, because the rest of these rules grow from it. Think of a split like a ladder in tights, which only runs further the more you wear them.
2. Look for real splits before you cut
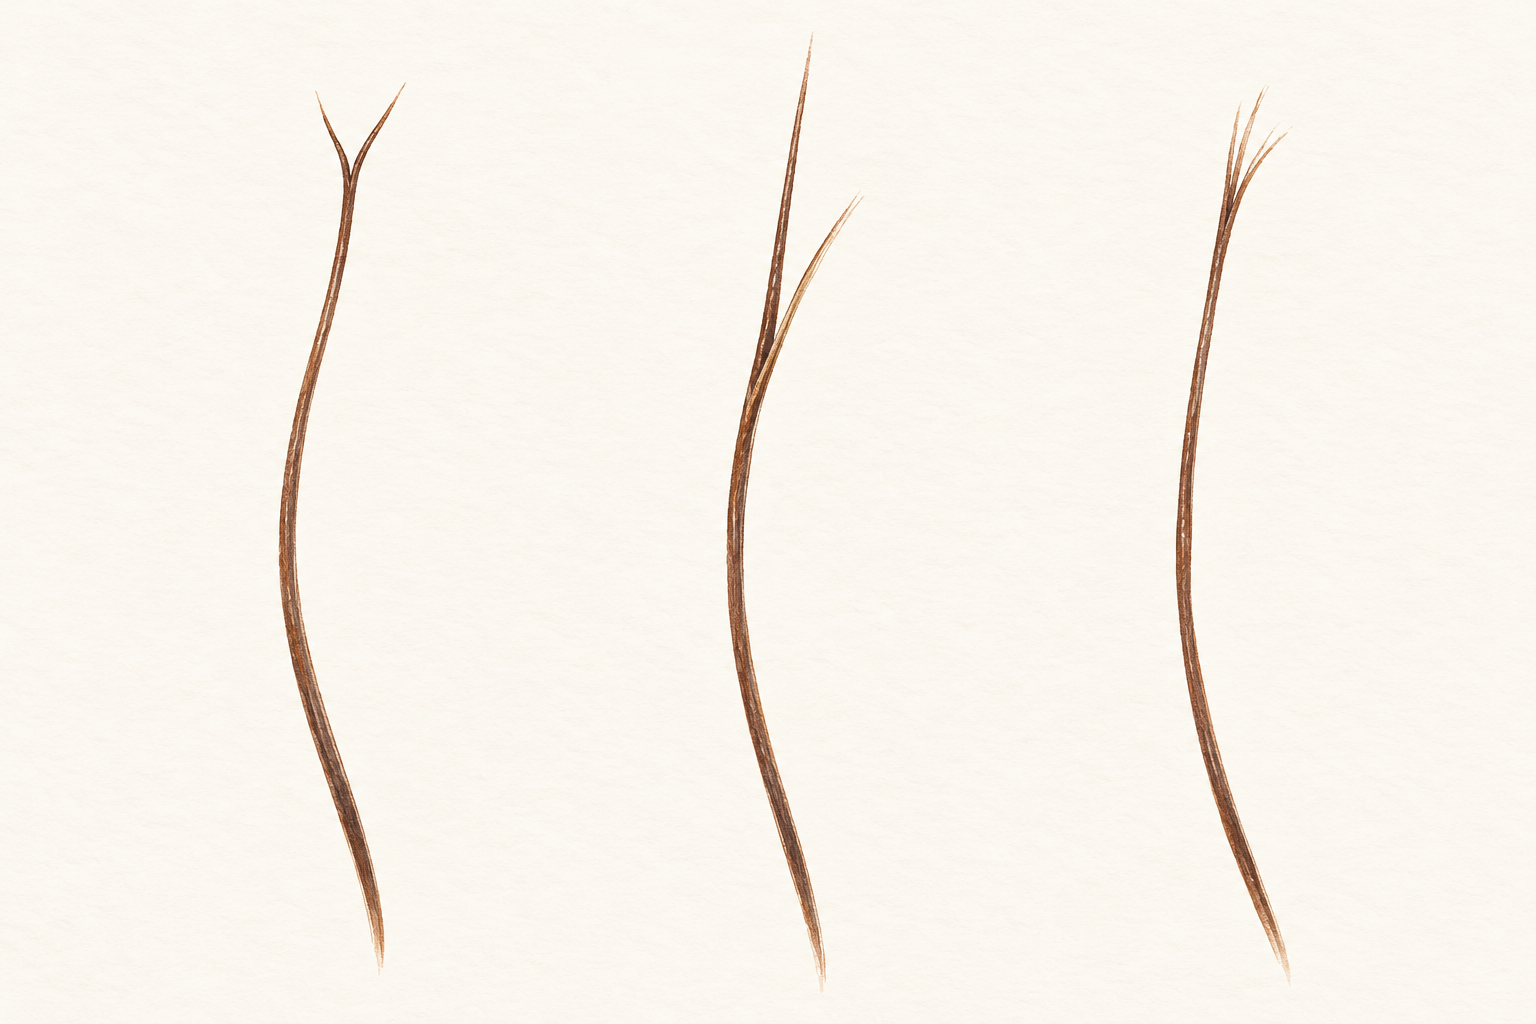
Hold a section up to a window, slide your fingers down it, and look for white dots or forks. Dry ends and split ends are not the same thing. Dry ends feel rough but stay in one piece, while a true split shows two or three little branches on a single strand. If you only find a few scattered through the hair, a light trim or a snip at each fork is enough. Check the hair at the back too, since it frays first from rubbing on your clothes and your pillow. Look at the ends of the front pieces too, since they get handled all day.
3. Choose a dusting or a proper trim
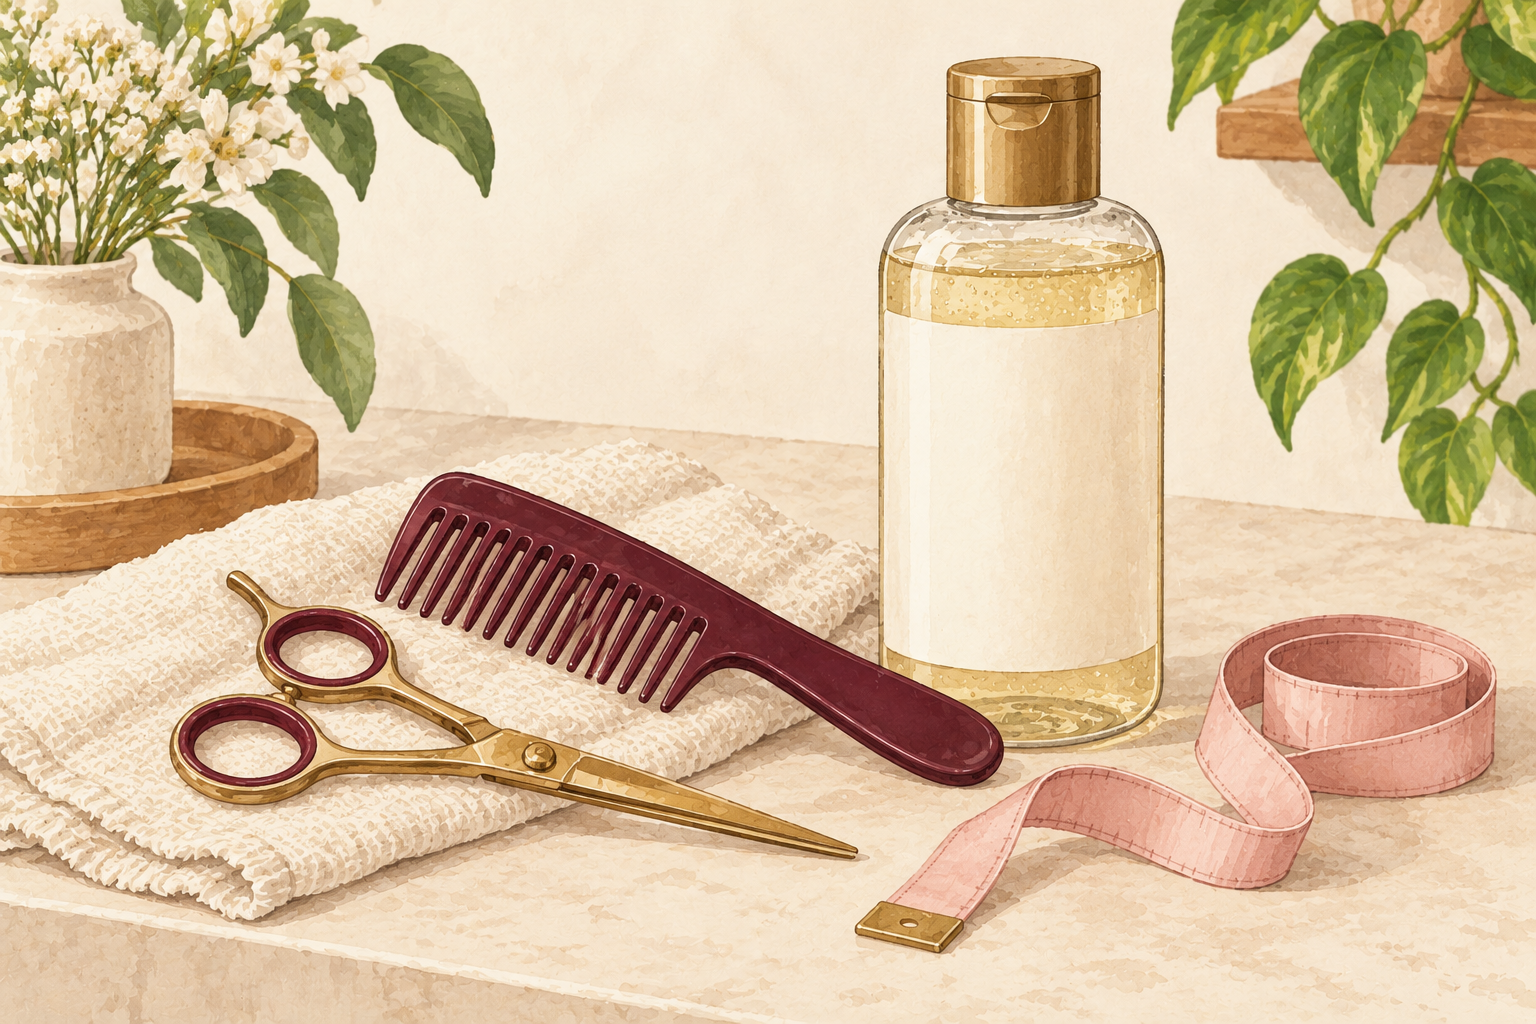
Decide whether you need a dusting, which takes off less than a quarter inch, or a trim of a quarter to half an inch. A dusting removes only the frayed tips and suits ends that are mostly healthy with a few forks. A trim suits you when splits have climbed past an inch. If they have climbed several inches, a dusting only buys a few weeks, and you may be happier taking more off once. Tell yourself the number before the scissors come out, and write it on your calendar so the next cut stays small.
4. Straight and wavy hair: every ten to twelve weeks
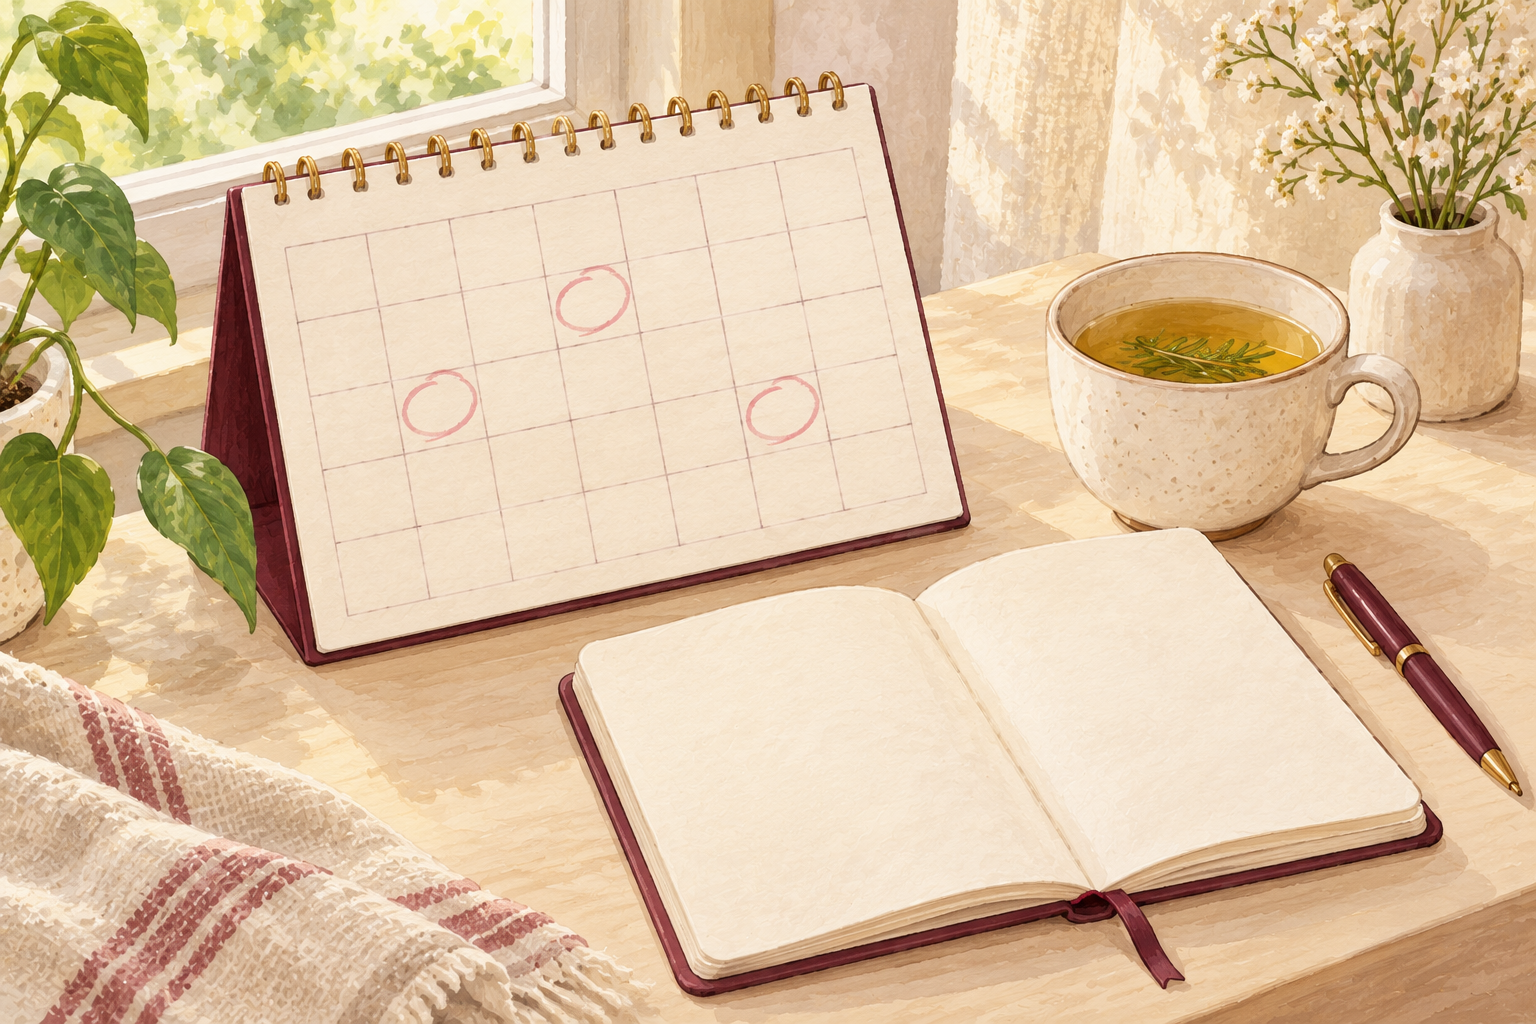
Mark a cut roughly every ten to twelve weeks in your phone and treat it like a dentist date. Straight and wavy hair shows splits early, because the ends are exposed and the natural oils slide straight down. Very fine strands may need it a couple of weeks sooner. A short gap is not a licence to take more off each time. Aim to take the same small amount, and the hair slowly stays tidy. Put a reminder in your phone the day you cut. Hair grows about half an inch a month, so a quarter inch cut every ten weeks leaves you gaining length.
5. Curly and coily hair: stretch the gap, check the dryness

Check curls and coils every few weeks by gently stretching a section out, then trim every three to six months. The ends hide inside the curl, so guessing does not work. Coily hair shrinks a lot once it is cut, so take less than you think you need. If your ends feel brittle before the date arrives, bring the trim forward, because dryness splits curls faster than the calendar does. Stretching a section also shows you where the thin ends are. Do it on freshly washed, conditioned hair when it is soft and easy to handle.
6. Heat styled or colored hair: shorten the gap

Plan a small trim every six to eight weeks if you straighten, curl or color often. Heat and color weaken the tips, so they fray sooner. Small and frequent beats big and rare, because you are removing the tips before they climb. Cutting back on heat days stretches the gap, and two or three hot styling days a week is a kind limit. Use the lowest setting that works. On the other days, wear the hair in a loose style that does not rub the ends. A satin pillowcase or a loose bun at night also keeps colored ends from fraying.
7. Start with a quarter inch and check
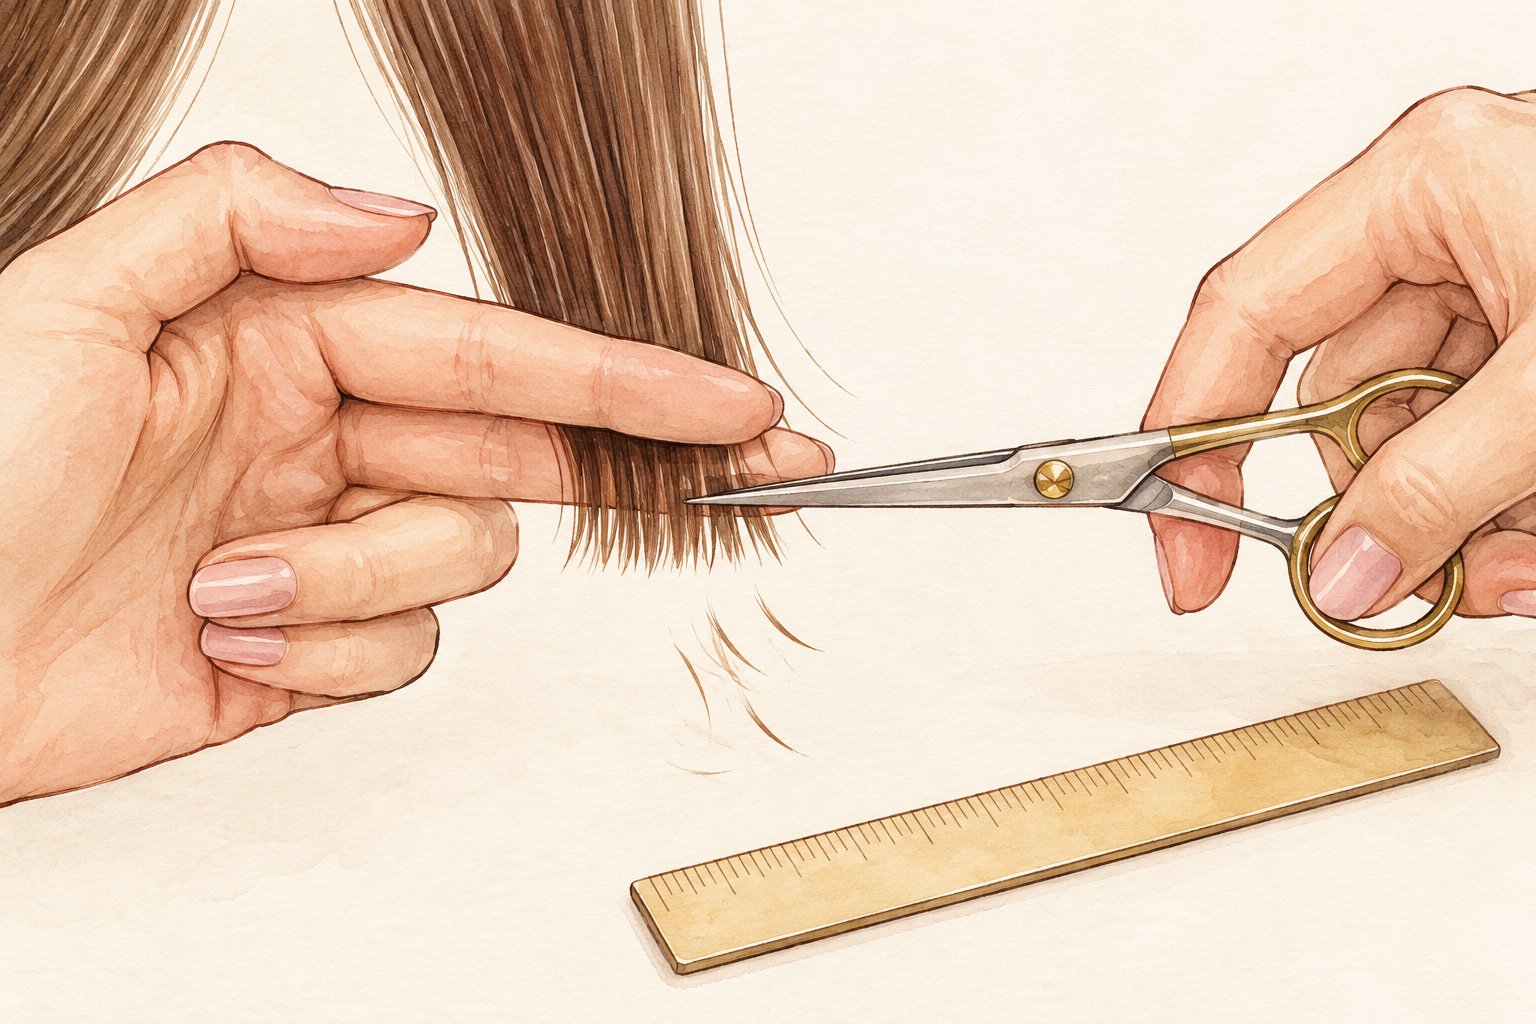
Measure a quarter inch on one small section, cut straight across, and look again in good light. If you still see forks, take another small amount instead of one big chop. Starting small is how split ends trimming keeps your length, because you can always cut more and you can never put it back. Use a ruler for the first cut so your eye learns what a quarter inch looks like. Then repeat the same amount on the other sections. Stand with your head level so the line comes out straight.
8. Work in sections with sharp scissors
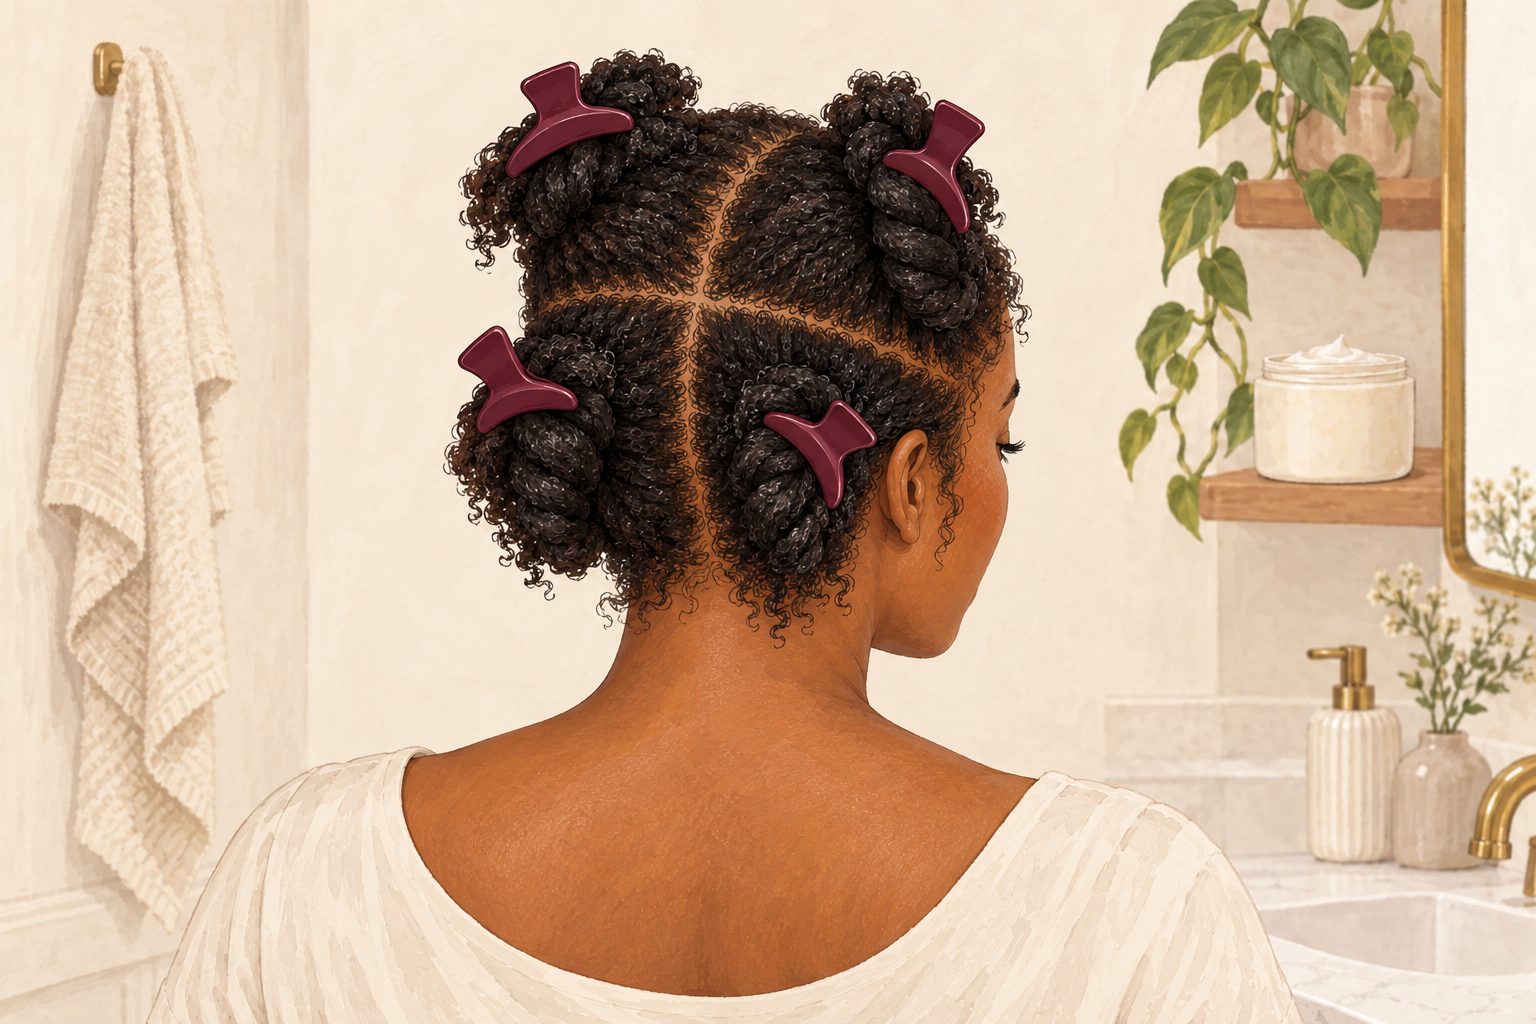
Clip your hair into four sections and trim one at a time, with good light and a mirror behind you. Use scissors made for hair, since kitchen scissors crush the end and cause new splits. Curly and coily hair is best checked dry or stretched so you can see the true length. A shaky snip is the usual way to lose more than you meant, so go slowly. Take your time over the sides, because they show uneven lengths first. Stop after each section and run your fingers down to feel for any forks you missed.
9. Know what weeks four, eight and twelve look like
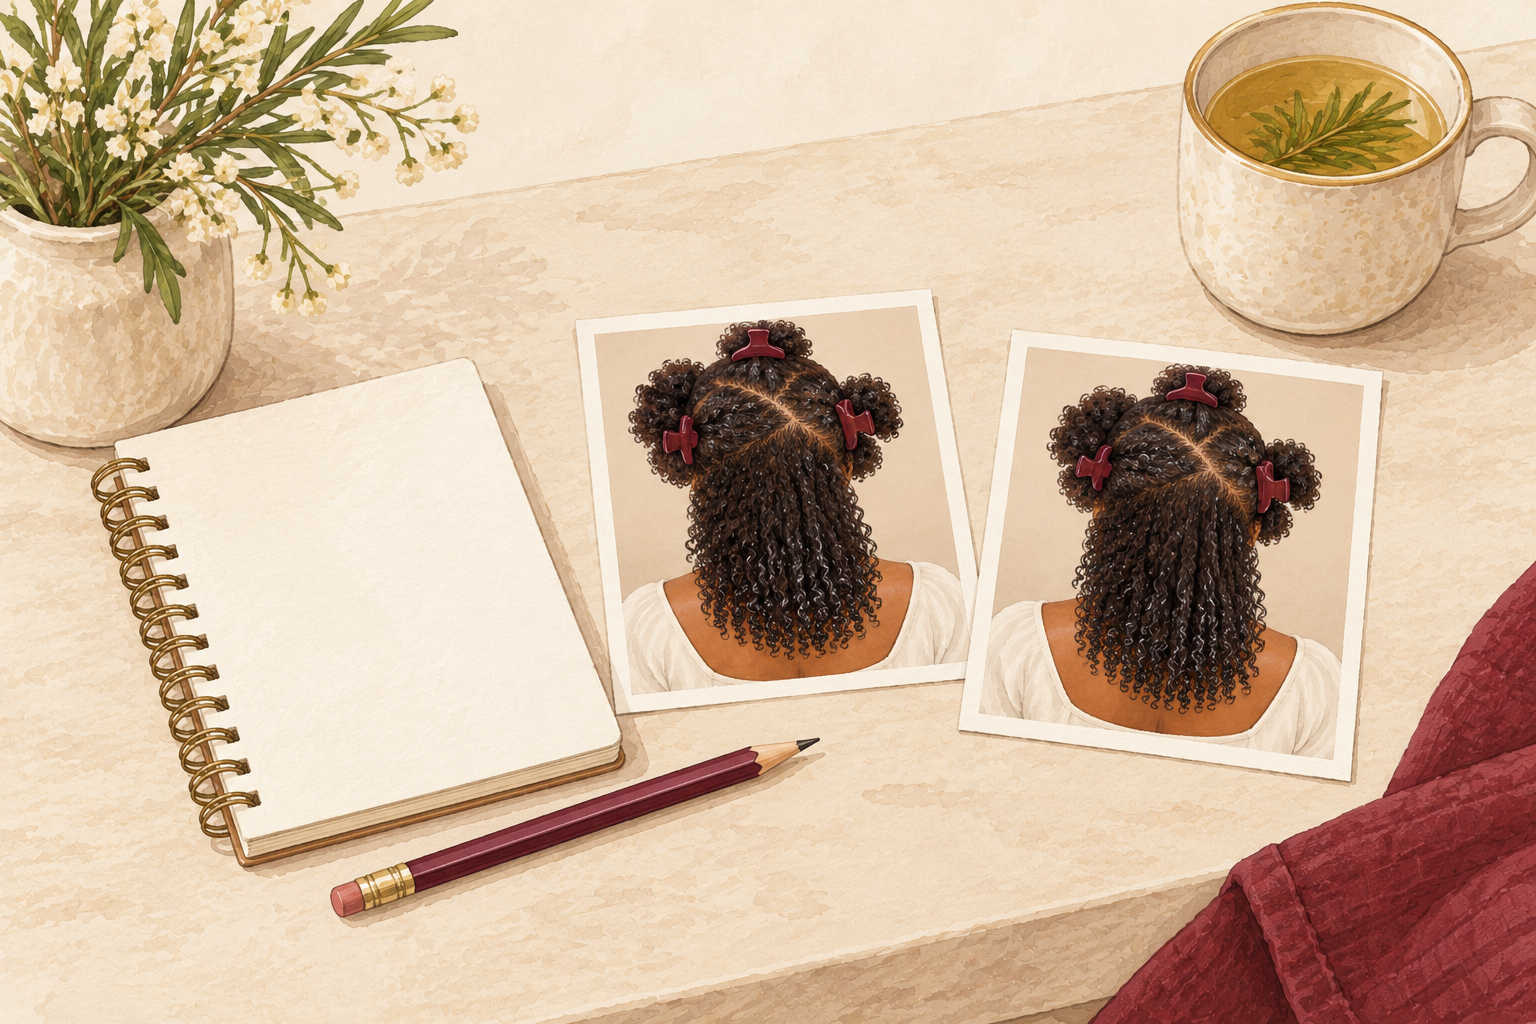
Expect your ends to feel smooth at week four and to hold their shape. By week eight a few forks may appear, and tangles can start to feel rougher at the bottom. Around week twelve, splits are often back and climbing, which is your signal for the next cut. This repeat is normal, and it does not mean the last trim failed. Split ends trimming on a steady cycle is just hair doing what hair does. Take a photo of your ends on cut day so you can compare. You will see how slowly the fray comes back when you cut little and cut often.
10. Swap the mistakes that cost you length
Swap cutting too much in one go for a quarter inch, waiting until the hair hurts for a calendar date, and blunt scissors for a proper pair. Skip burning off splits with a flame at home, because you cannot control where the heat goes. Skip the habit of snipping a single strand here and there on a whim. Those little snips make the hair uneven, and uneven hair frays faster. One steady trim every few months is quicker, and far kinder to your length. Keep the good scissors in a drawer for hair only, and never lend them out.
11. Protect your ends on ordinary days

Detangle wet hair with a wide tooth comb from the bottom up, and tie it with a soft scrunchie instead of a tight elastic. Tuck the ends away at night, under a satin pillowcase or inside a loose braid. These cost almost nothing and slow the fray down. Keep heat on a low setting, and give the ends a rest on days you do not need styling. These habits delay splits, they do not erase them, so keep your trim date as well. Wash with lukewarm water, which is gentler on the lengths than hot.
12. Know when trimming is not the answer
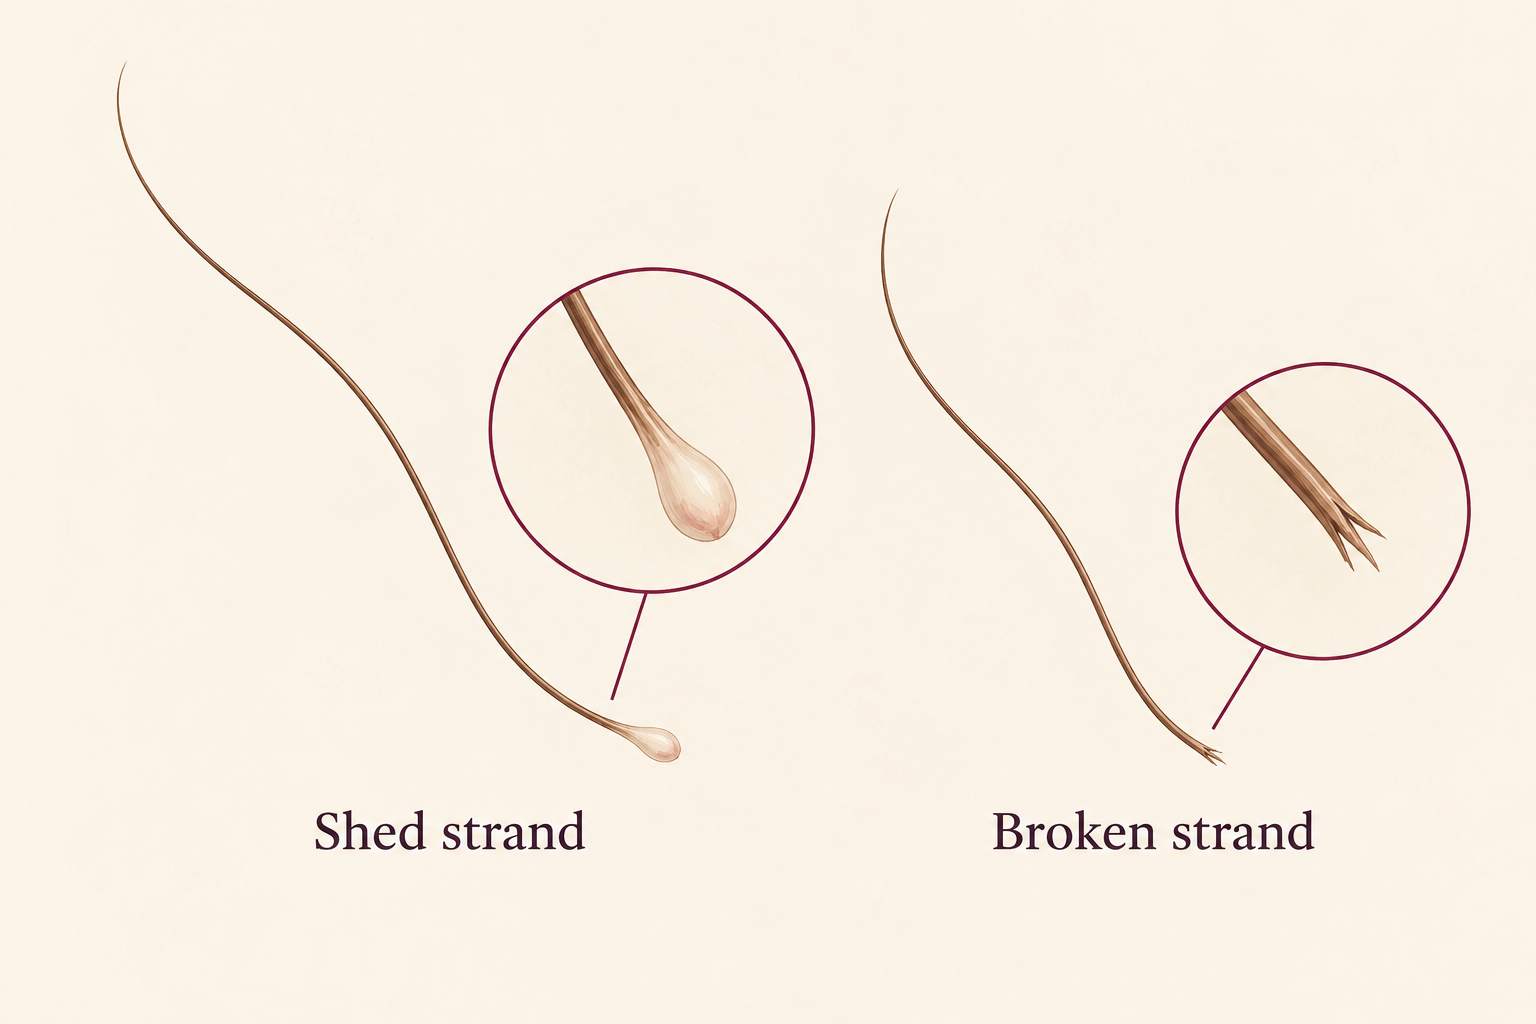
If your hair is snapping partway up the strand, trimming the tips will not stop it. The weak spot is higher. Look at what happens at that point, such as a tight tie, a brush snag or a hot tool. Go back to gentle washing, thick conditioner and soft handling for a few months before you cut more. Split ends trimming only fixes damage at the tips, so it works best once the habits above are in place. If it keeps breaking, take less off each time. Trim only what looks frayed, and let the stronger hair above grow.
Complete the Routine: Split Ends Trimming You Can Keep Up
Tonight, check your ends under bright light and put a trim date in your phone for ten to twelve weeks from now. When that day arrives, how to cut split ends at home shows the snip method, and how to prevent split ends covers the daily habits.