Your cousin’s wedding is next Saturday, your nails keep snapping at the tips, and you wish you could press fast forward. Here is how to grow nails faster in a week: you cannot truly speed up the root, but you can stop the breaks that eat your length. These 12 tips make seven days count, so start at number one tonight.
1. Do the math on one week
Know that nails grow about three millimetres a month, which is less than a millimetre in a week. That is the thickness of a coin edge, and no mask, vitamin or oil changes it. Say this to yourself on day one so you do not feel cheated on day seven. What you can change is how much of that new growth you keep. Protect every little bit and your nails will look noticeably longer and neater by the weekend. Keep the goal sweet and small, and the week will feel like a win. Anyone searching for how to grow nails faster in a week is really asking how to keep what she already has.
2. Aim for looking longer, not growing longer

Tidy shape, smooth edges and healthy skin make short nails read as longer ones. A neat oval or squoval shape makes the fingers look slim. Pushing back loose cuticle skin gently, once, shows more of the nail bed and adds a quick visible gain. A pale pink or nude polish stretches the line from the cuticle to the tip. Dark colors and wide square tips do the opposite, so keep those for another week. If you do paint, one thin coat is plenty. People notice the polished look first and the exact length second.
3. Day one: trim, file and even everything out
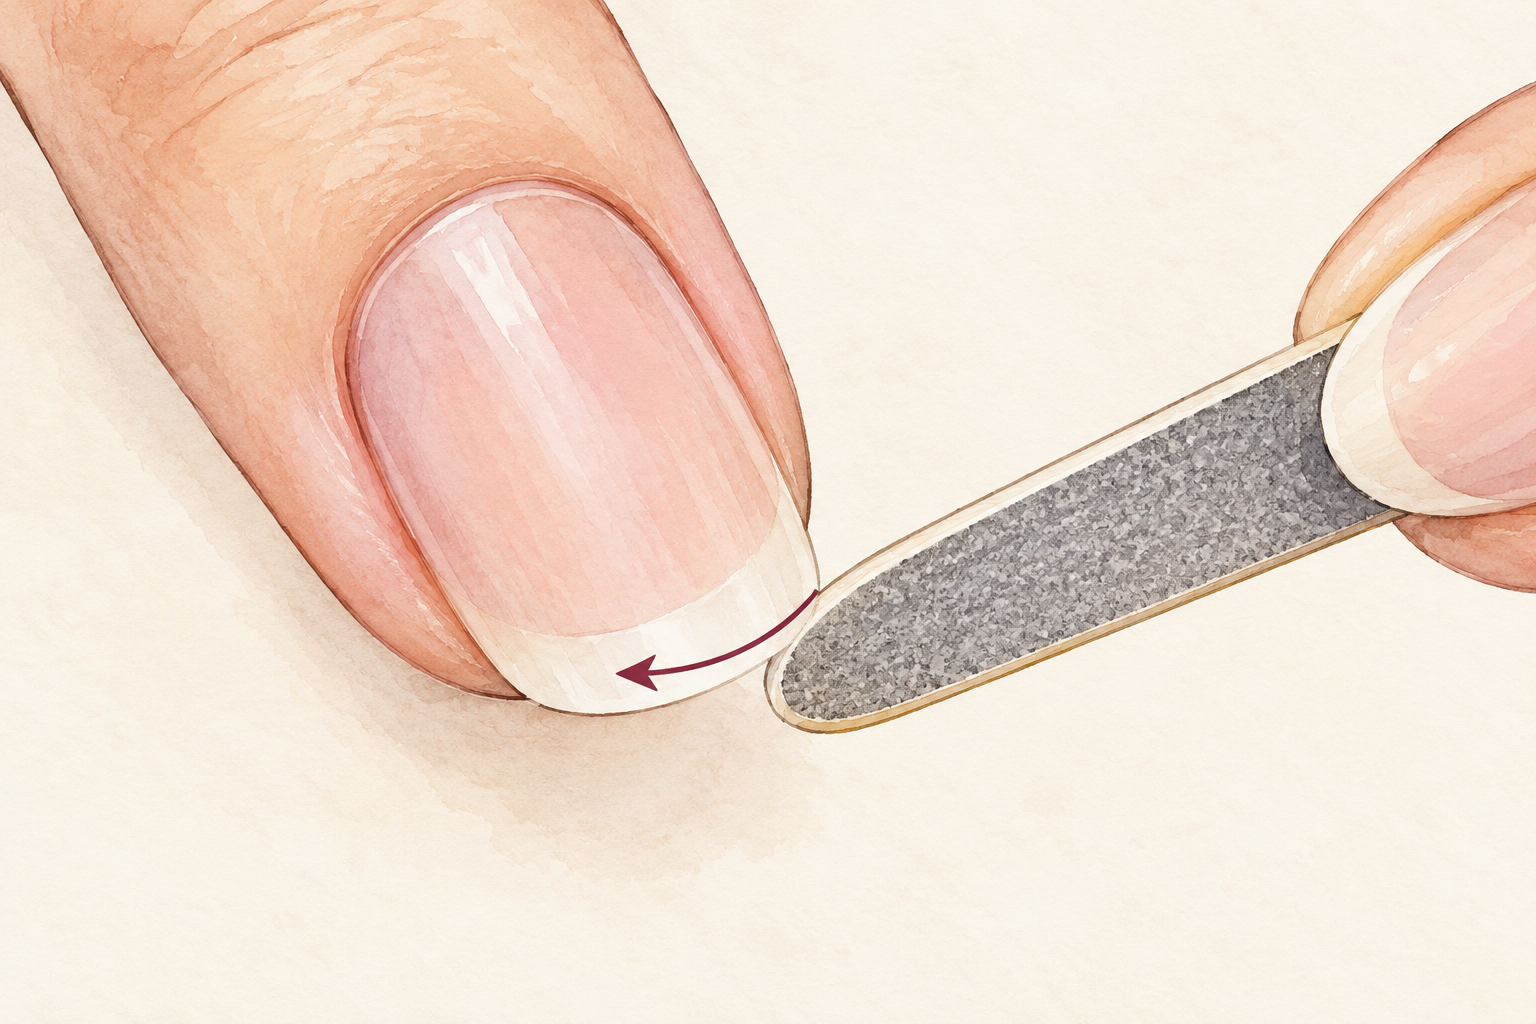
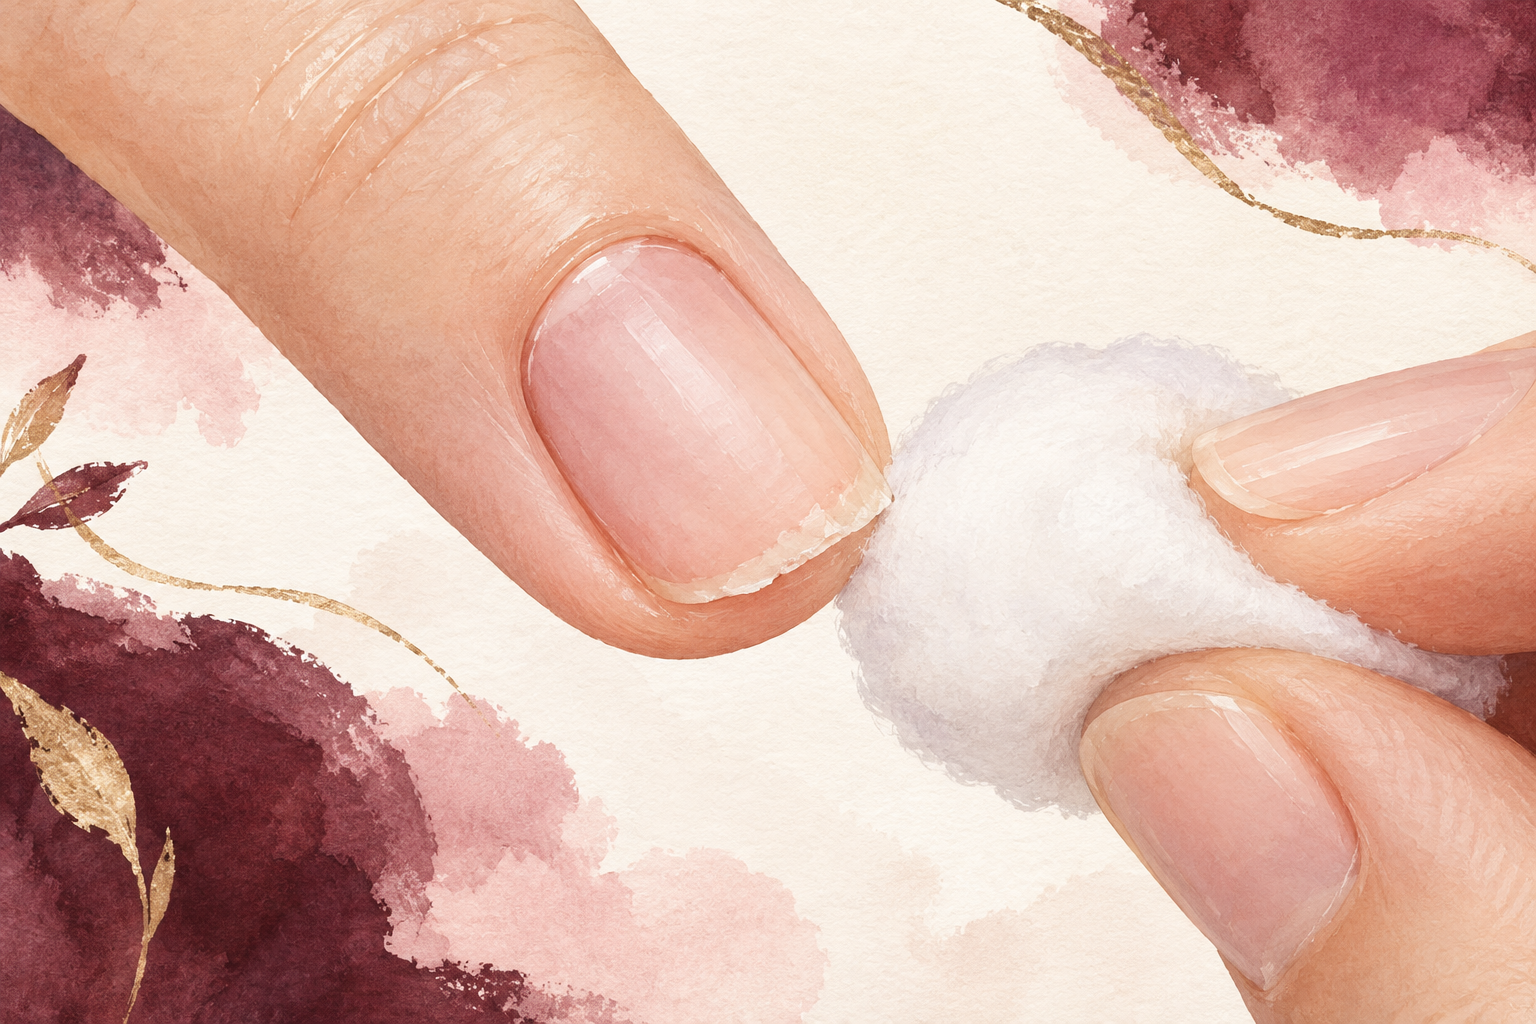
Cut away every snag and file all ten nails to the same gentle shape. One torn nail will keep tearing, and a hook at the edge catches on your hair and sleeves. Use a fine file and move it in one direction, from the outer edge toward the middle. Do it when the nails are soft after a wash, as dry ones crack. You may lose a hair of length today, but it saves you from losing a whole nail on day four. Think of it as clearing the ground before you build. Run a fingertip over each edge afterward, and if anything catches, give it one more light pass.
4. Days one and two: stop the damage
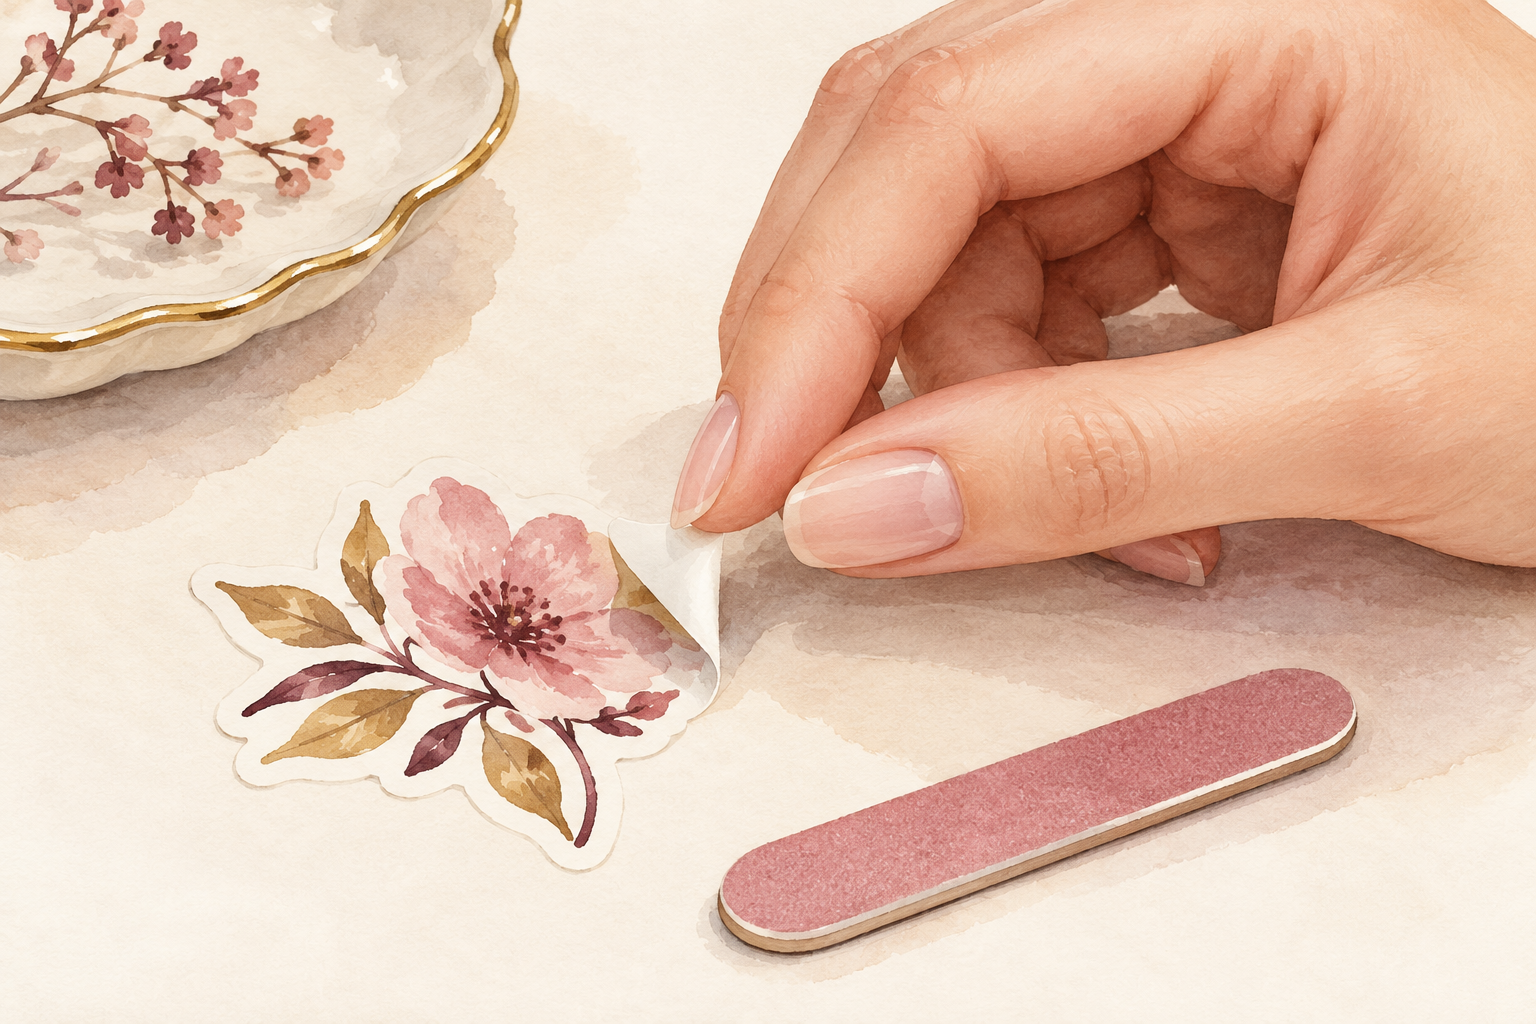
Stop biting, picking and prying for forty eight hours, and notice every time you reach. Your nail is not a screwdriver, a can opener or a sticker lifter. Keep a nail file in your bag and file a snag instead of tearing it. Pick up coins and zips with your finger pad. Most of us do these things without thinking, which is why the first two days feel hardest. By day three, the reaching slows, and the edges stop looking frayed. This one habit saves more length than any bottle. If you bite your nails when you are nervous, chew gum or hold a smooth stone instead.
5. Wear gloves for water and cleaning
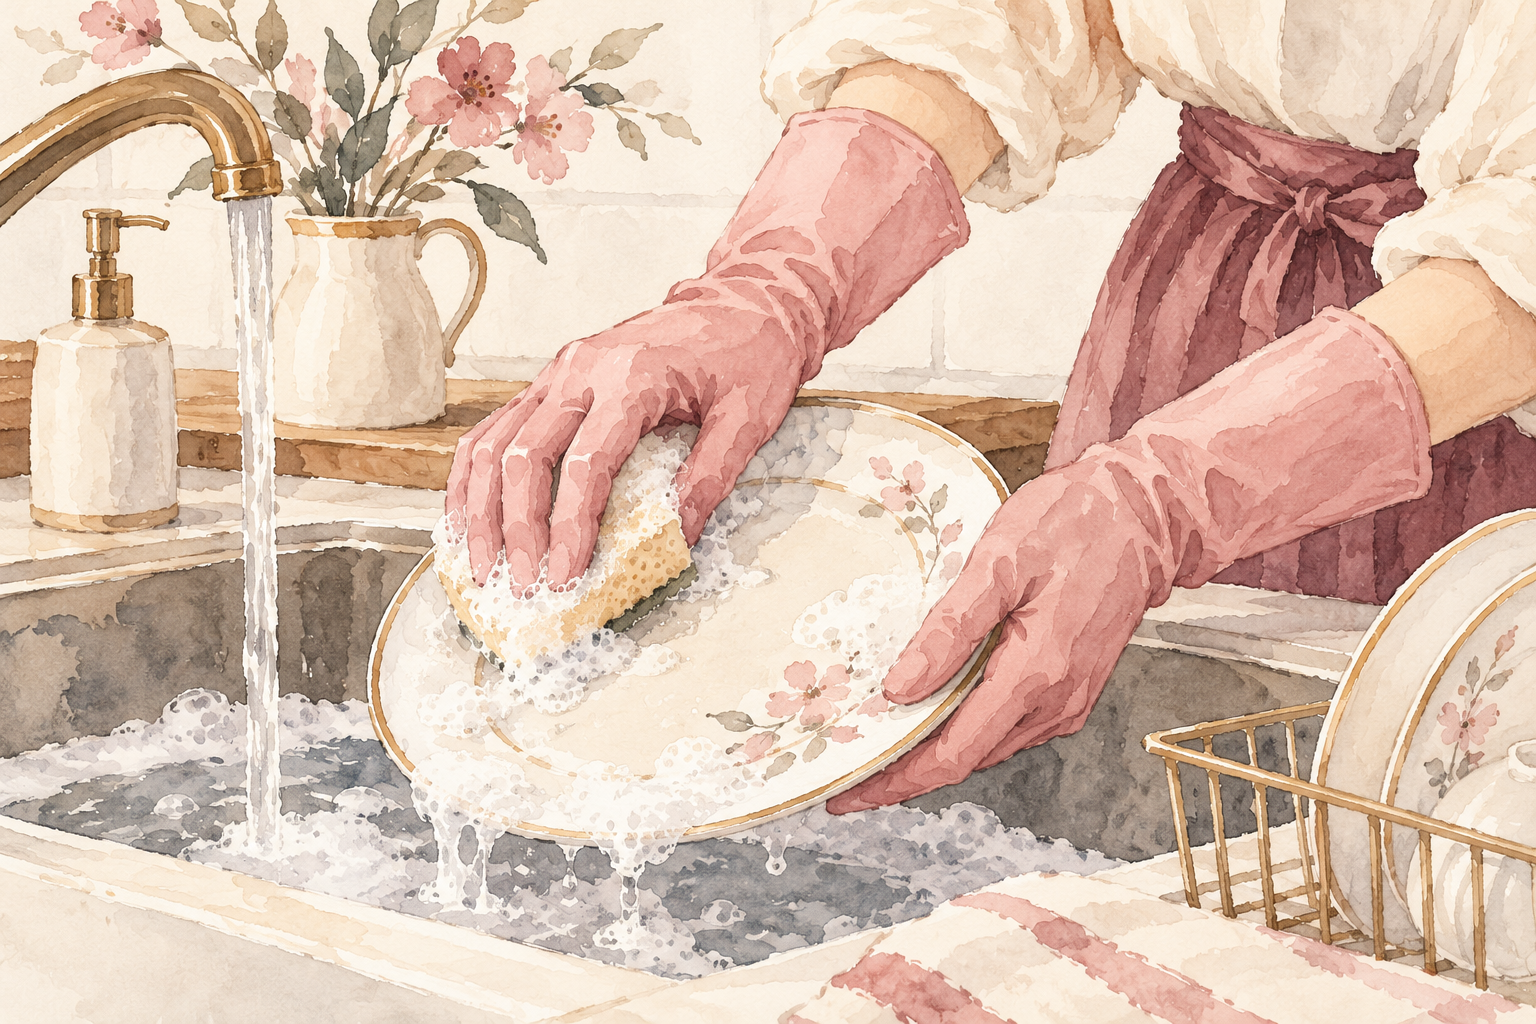
Put on rubber gloves for dishes, laundry and cleaning, every single time this week. Water swells the nail and then lets it shrink as it dries, and that cycle is what makes tips peel. Strong cleaners dry them out further. If your gloves smell, sprinkle a little baby powder inside. Slip a cotton glove under the rubber if your hands sweat. Keep the pair hanging by the sink so they are the first thing you grab. Seven days of this and you will already see fewer white peeling edges. Hot water is the biggest troublemaker, so keep it lukewarm even without gloves.
6. Days three and four: moisturize twice a day
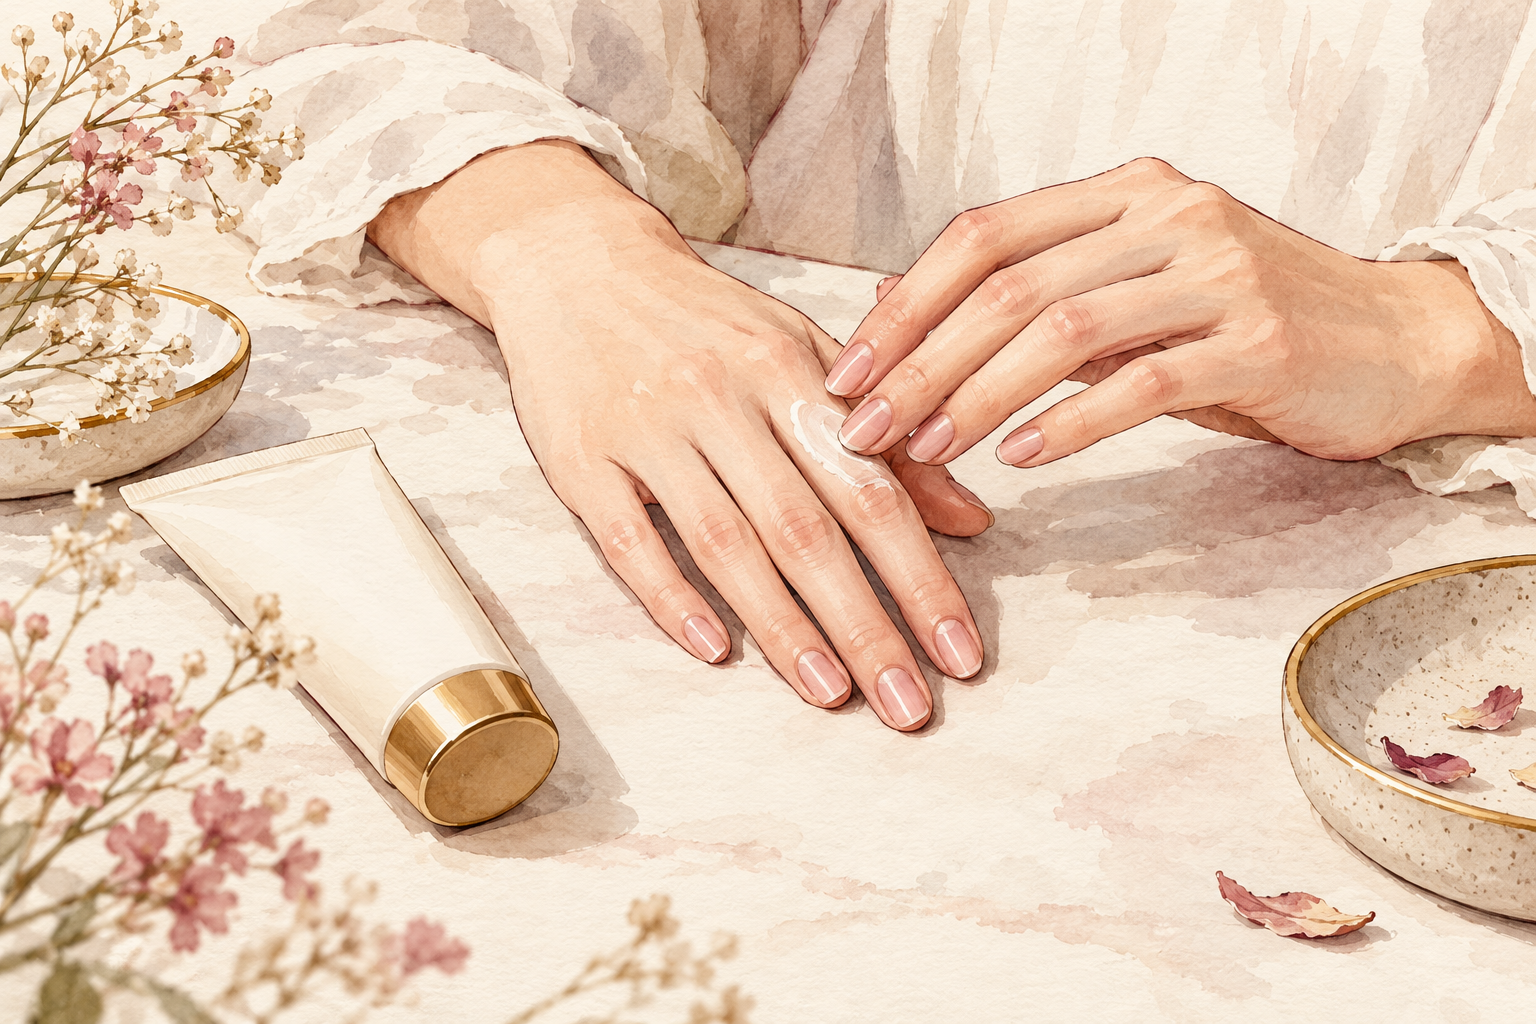
Rub hand cream into your nails and cuticles after every wash, and again before bed. Dry nails snap like twigs, while nails with moisture bend a little and survive. Choose a cream you enjoy, so you actually use it, and keep a small tube in your bag. Massage each fingertip for a few seconds, pressing the cream toward the cuticle. The skin around your nails will look softer within two days. That soft, healthy frame also makes short nails look better cared for. Do not forget your thumbs, since they take the most knocks all day long.
7. Press in cuticle oil every night
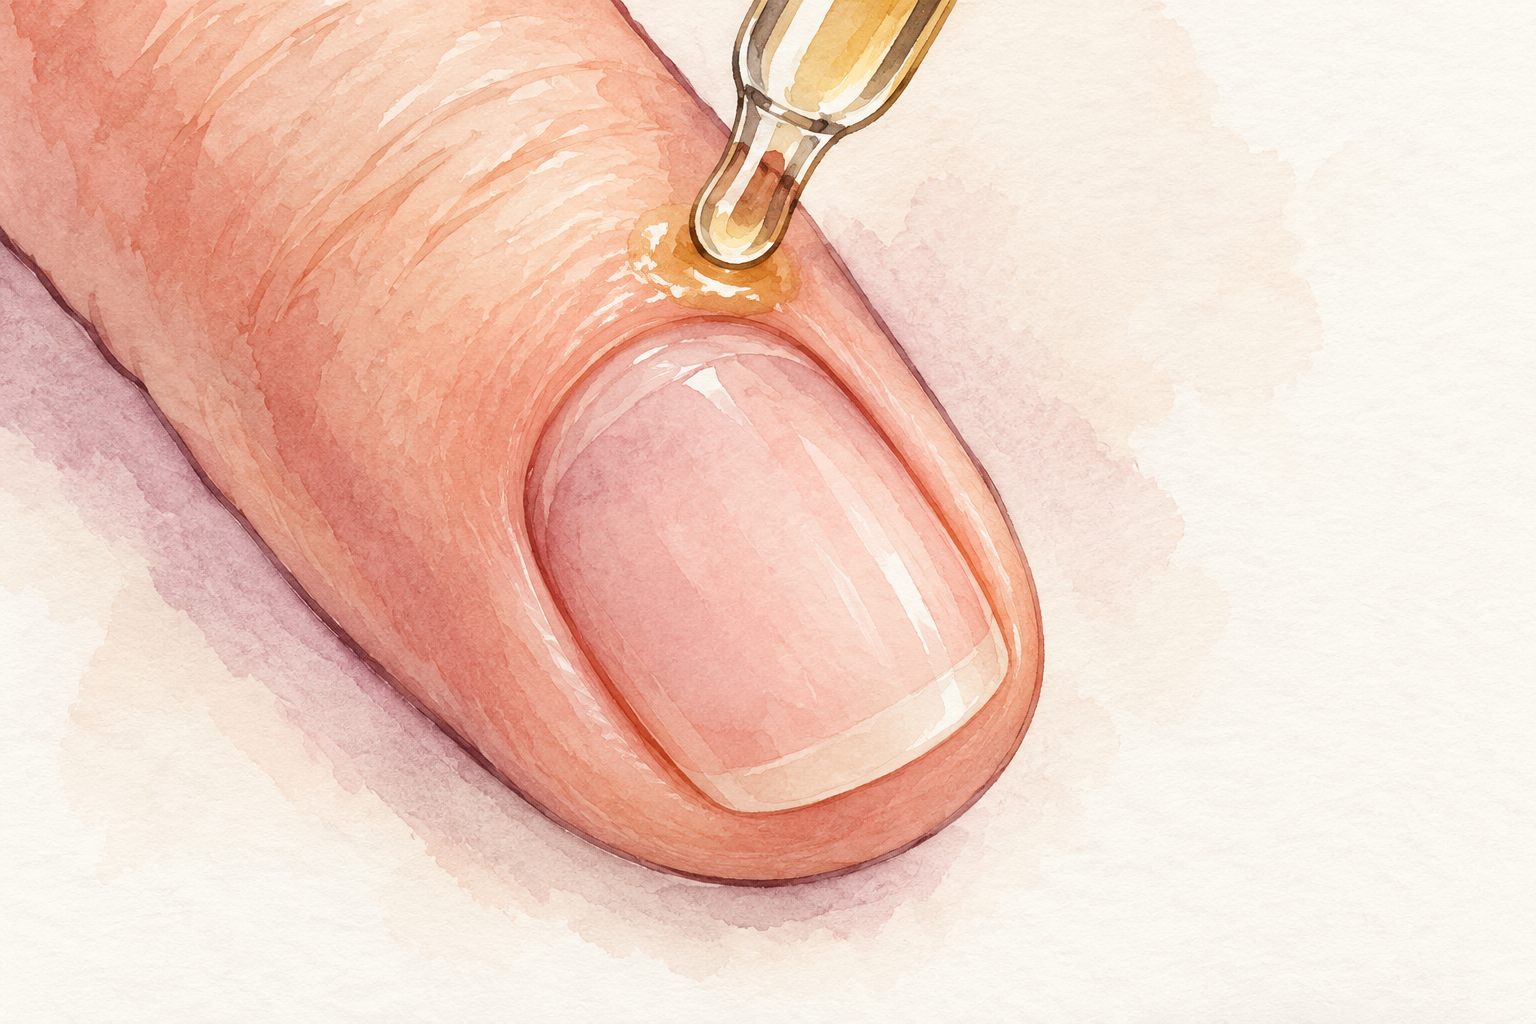
Put a drop of plain oil on each nail at bedtime and rub it in for ten seconds. Almond, jojoba or olive all work. Oil keeps the cuticle from cracking, and a healthy cuticle protects the spot where the new nail is born. Never cut or rip the cuticle, even if it looks ragged, because the skin seals the root. Wear light cotton gloves over the oil if you want an extra treat. After a few nights, your nails will look glossy even with nothing on them. This is the simplest and calmest habit on the list, and the one you will miss most if you skip it.
8. Use a clear coat as a shield
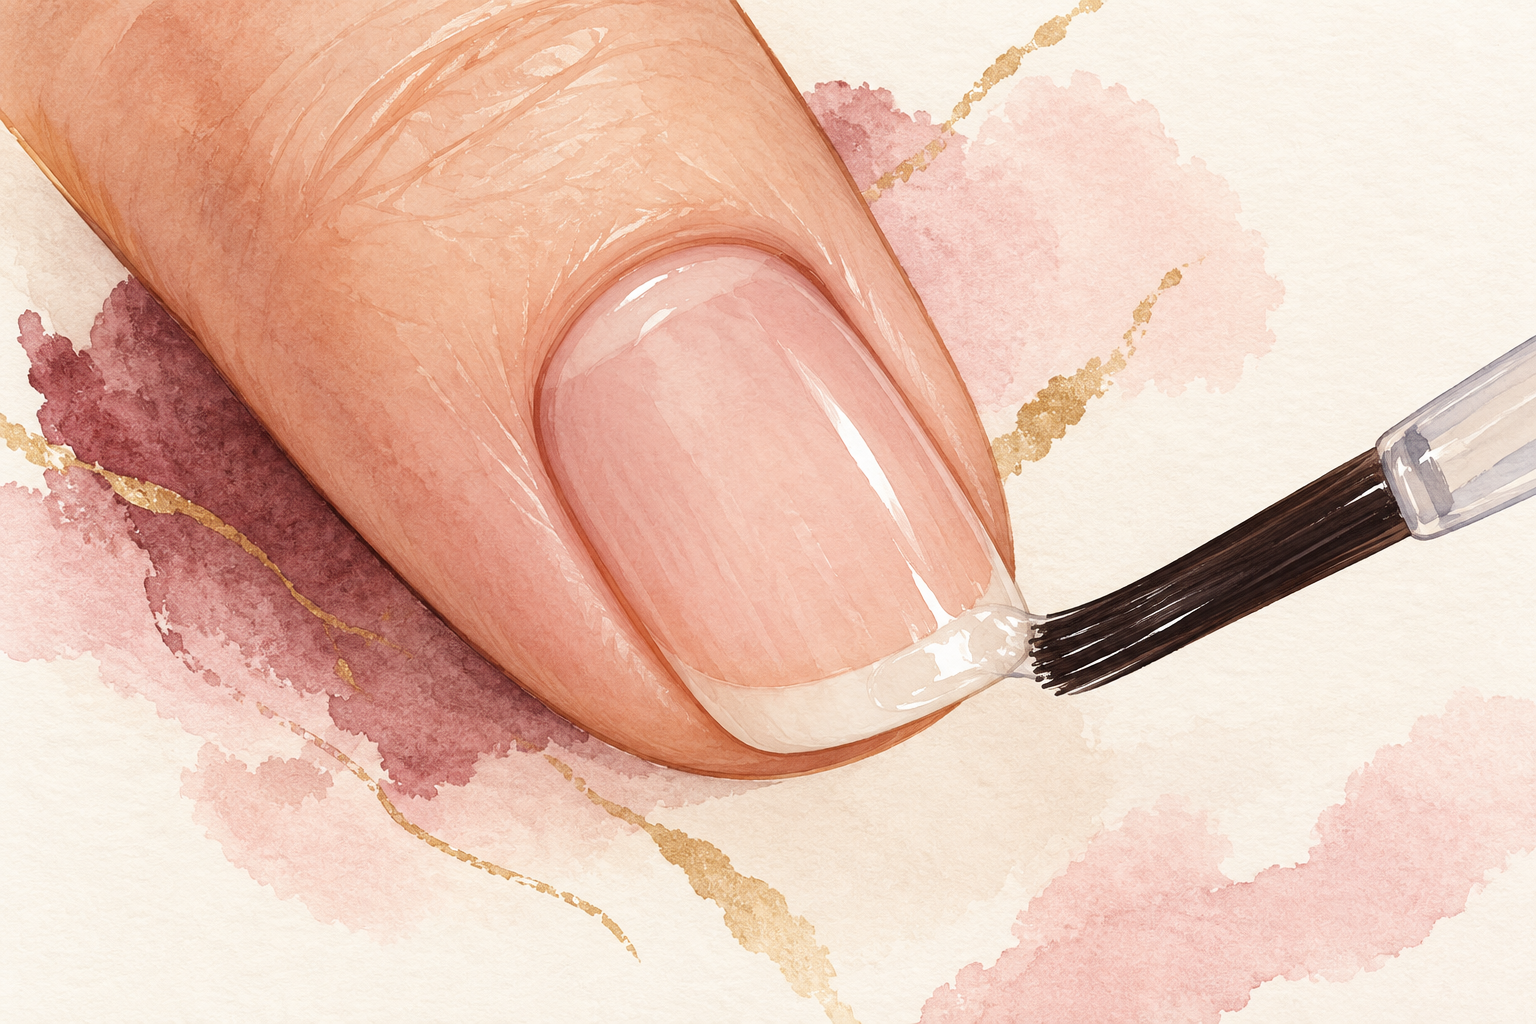
Brush on one thin layer of clear or sheer polish and renew it on day four. It acts like a raincoat for the nail, taking the knocks so the nail underneath does not. Avoid thick, rubbery formulas that peel off in strips, as they pull the top layer of your nail with them. Cap the tip by running the brush along the edge. When you take it off, use a gentle remover and press a soaked cotton pad down for ten seconds before wiping once, so nothing is scraped. A nail that comes out of polish smooth is a nail that keeps its length.
9. Days five to seven: eat and drink for nails
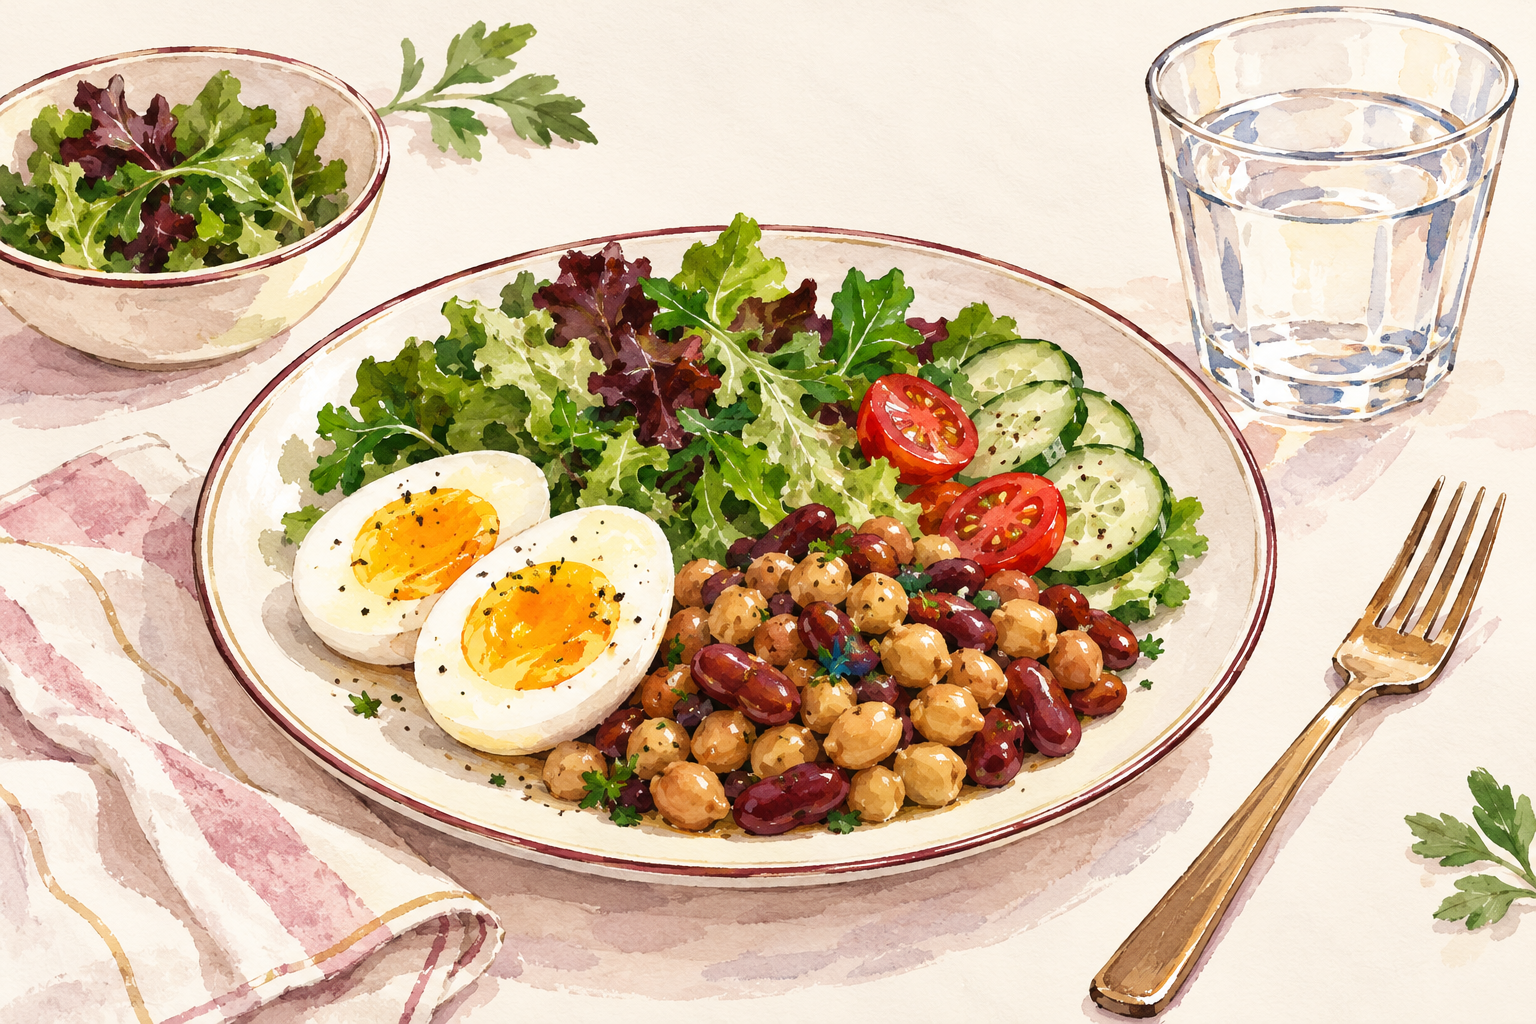
Add protein to most meals this week, with eggs, beans, fish or nuts, and drink water through the day. Nails are made mostly of protein, so a diet that is low in it can slow things down. A glass of water with each meal is an easy rhythm to keep. Do not expect a dramatic change in seven days. Think of food as the quiet support that keeps next month’s nails strong. Keep a bottle on your desk and refill it twice. You will notice the difference in your skin and lips first, and the nails follow slowly. A boiled egg for breakfast is an easy place to begin. Food is only one part of the picture, and reading about natural nail growth fits well after this week.
10. Be realistic about biotin

Do not bet your week on a biotin pill. Biotin is the famous nail vitamin, and it may help people who are short of it, but it will not make a normal nail sprint. If you want to try it, give it months, not days. Check with the pharmacist before you start anything new, especially if you take other tablets. Spend the week on the simple habits instead: gloves, oil and a gentle file. Those show results by Saturday. If you are still tempted, ask yourself what the pill is meant to fix that a glove and a drop of oil cannot.
11. Avoid the slow down mistakes
Skip long hot soaks, daily acetone, hard buffing and gel pulled off with your teeth. Each one thins or dries the nail, and thin nails break. Wait two or three days between polish changes if you can. Never peel polish off in sheets. Buff with a very soft block once, not every day. File only in one direction. If you wear a set of acrylics or gel, book a proper removal, because a rushed removal costs more nail than the week could ever give back. Do the whole list gently and the new growth gets a fair chance to stay. Holding back on these habits is half the battle, so read nail growth tips alongside it.
12. Measure at day seven and keep going
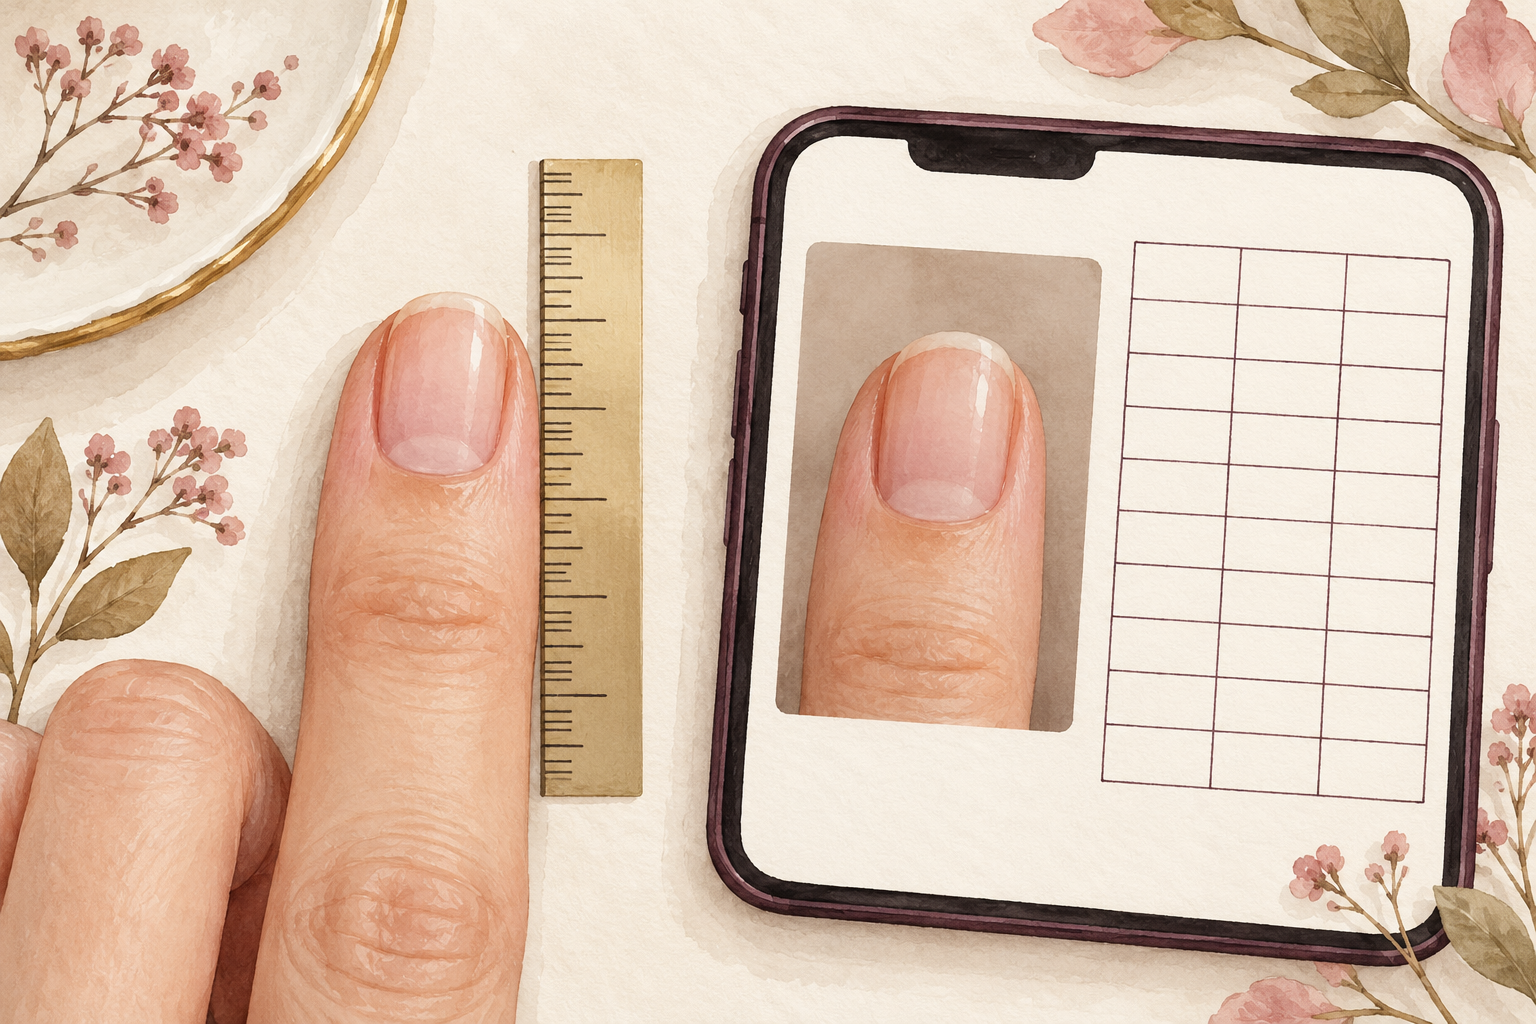
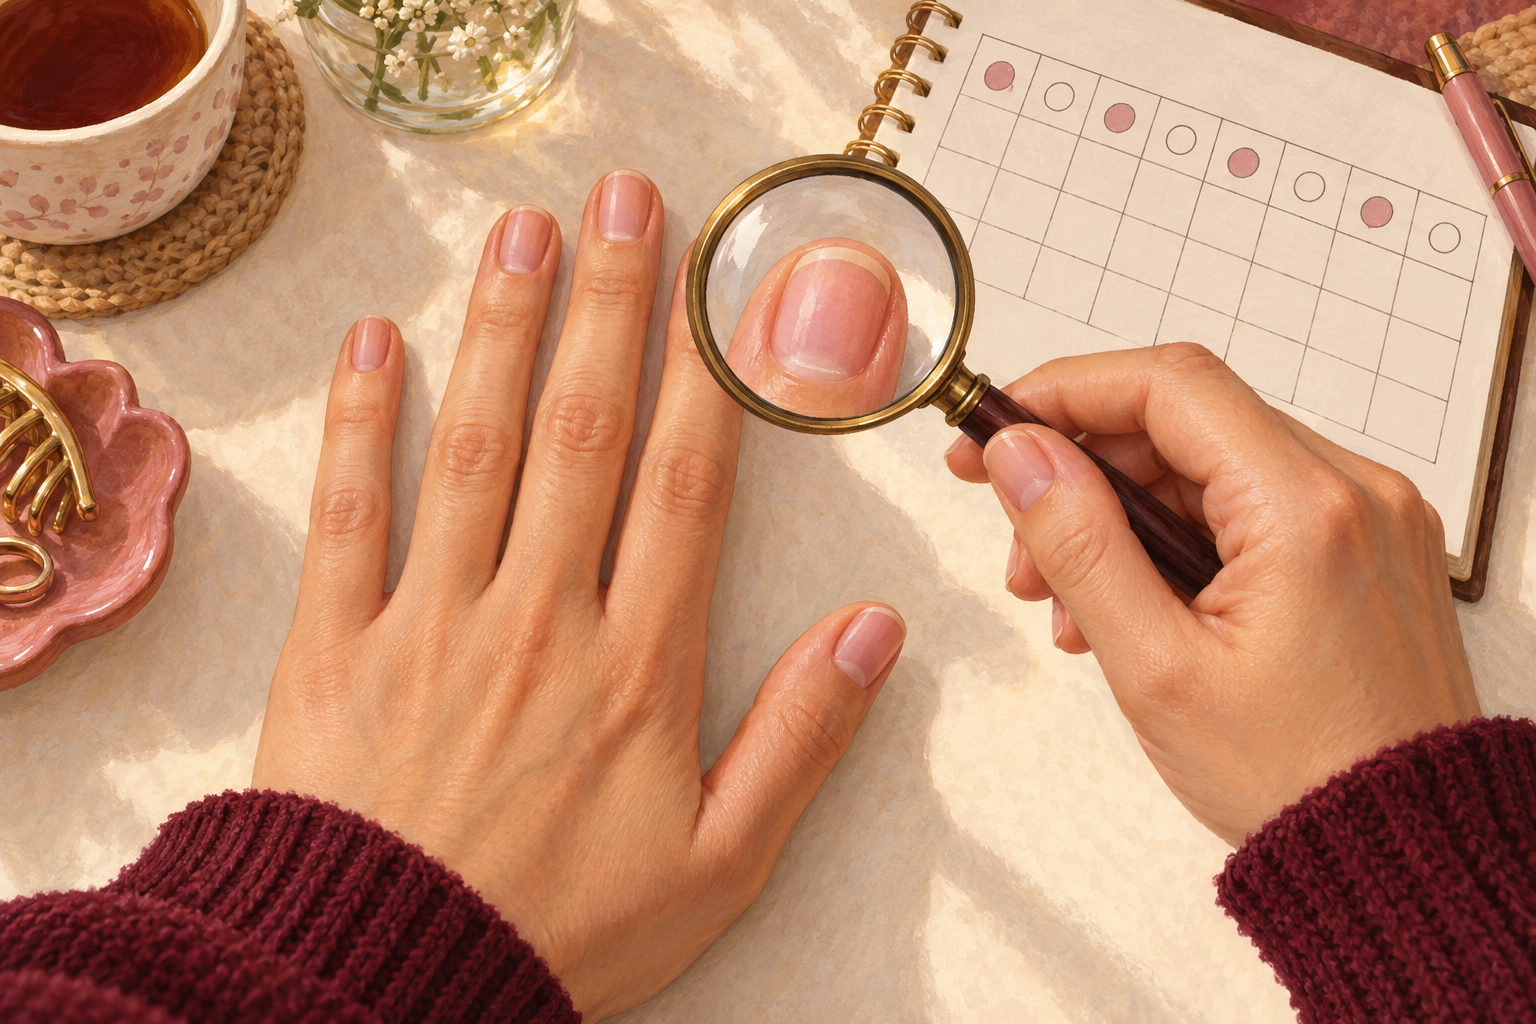
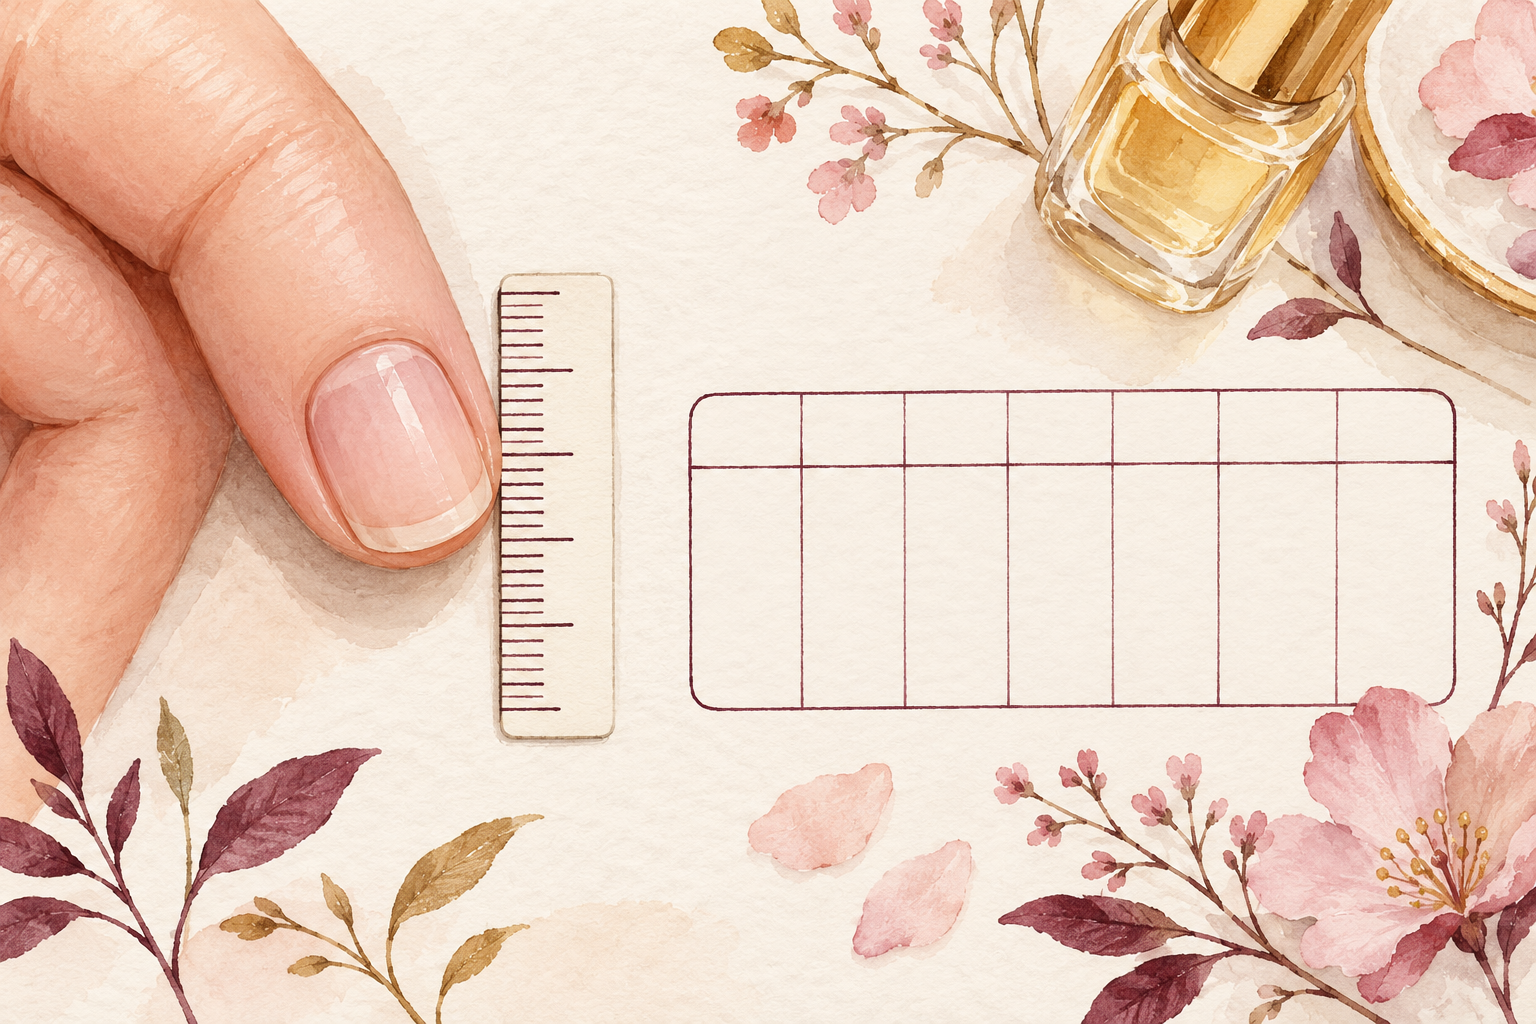
Measure one nail with a ruler, take a photo, and compare it with day one. You will probably see a smoother shape, fewer snags and softer skin, and maybe a hair of length. That is a real result. Keep the habits going for four weeks to see the bigger change, and an eight week photo is where it gets exciting. If one nail keeps growing slowly or looks strange, watch it for a few more weeks before you worry. Take the same photo in the same light every Sunday, because small gains are easy to miss when you see your hands all day. Be proud of the seven days, even if the ruler only moved a hair.
Complete the Routine: How to Grow Nails Faster in a Week and Beyond
Tonight, file out any snags and put on cuticle oil, then take your day one photo. Tomorrow, add one guide from below to this week’s plan, and let your nails do their slow work while the routine stays steady.