You keep deep conditioning your ends, and the little forks are still there. A hair mask for split ends can leave them soft, shiny and slower to split again, but it cannot weld a split back together. These 12 steps show what to look for and how to use one, so start at number one tonight.
1. Know a split stays until it is cut
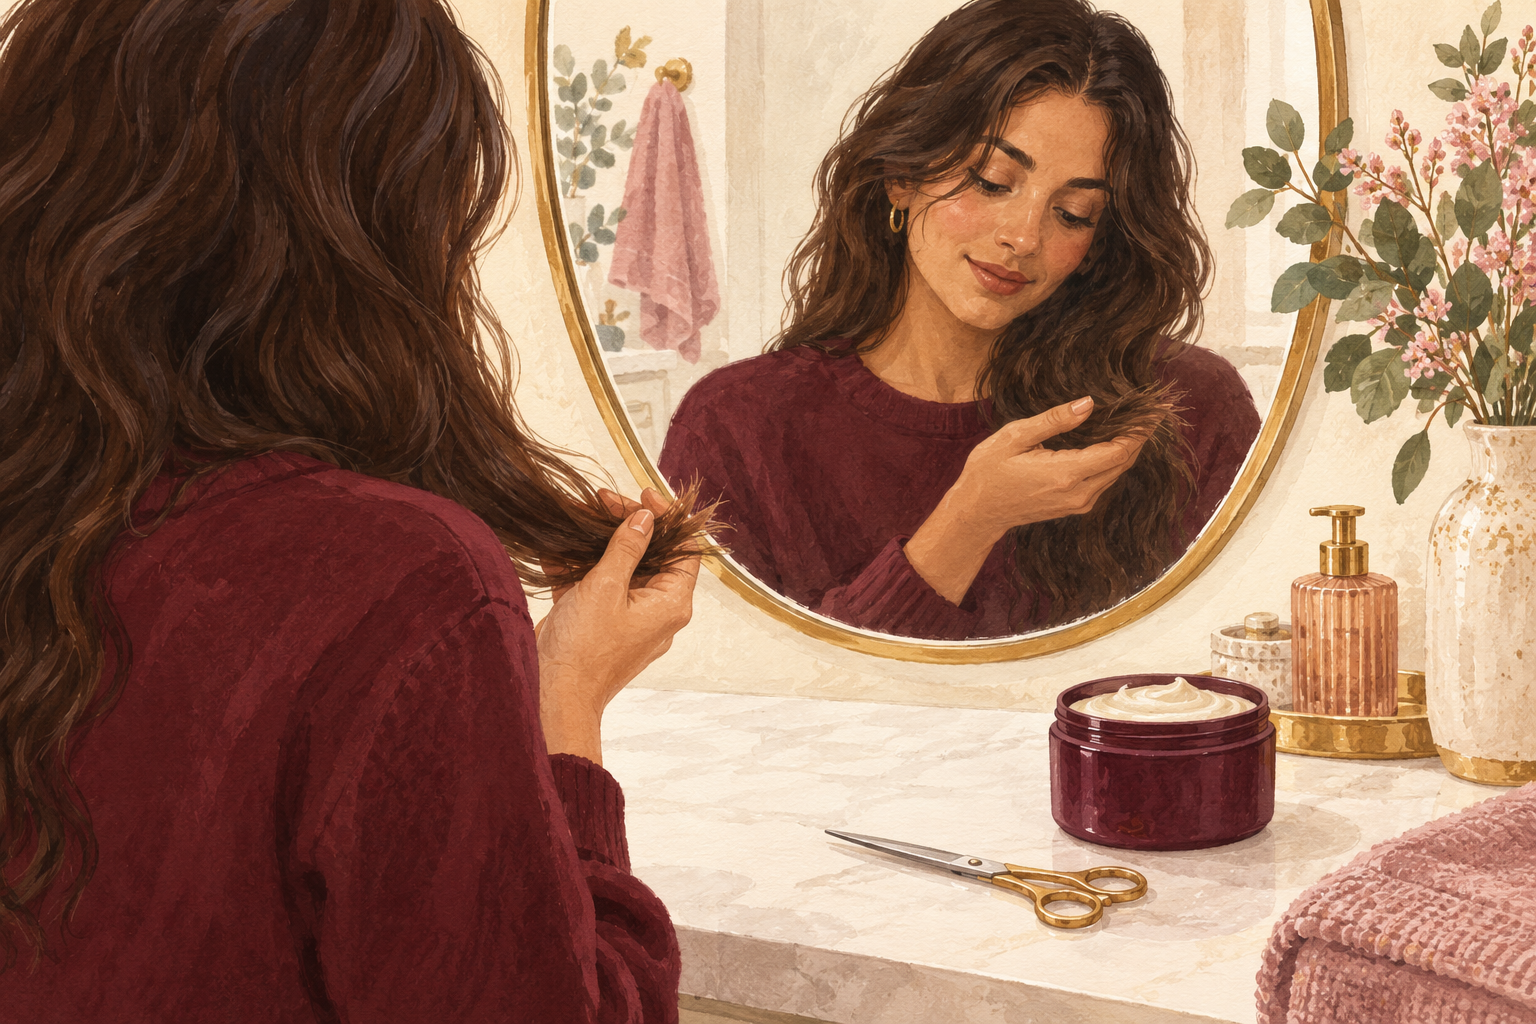
Accept that no mask glues a fork back together. A split is a break in the strand, and creams only coat the outside. What a mask does well is smooth the rough edges so the fork looks tidier and the strands stop catching on each other. It also adds slip, so the next comb through does not snap more ends. That is a real win, just a smaller one than the jar promises. Once you know this, you stop chasing miracle jars and start using the mask for the job it can do. Every mask on this list works best alongside a trim.
2. Use a mask to soften and slow the next split
Treat the mask as a weekly softener that protects the ends you still have. Dry ends are brittle, and brittle ends split at the slightest rub. A mask fills in rough spots, adds moisture and makes the hair bend instead of break. Think of it like oiling a hinge, because a smooth hinge lasts longer. You will notice ends that feel silkier and tangle less within two or three uses. The split ones will still be there, so keep your scissors planned. A mask plus a trim every couple of months beats either one alone, and your length lasts longer.
3. Check splits versus plain dry ends

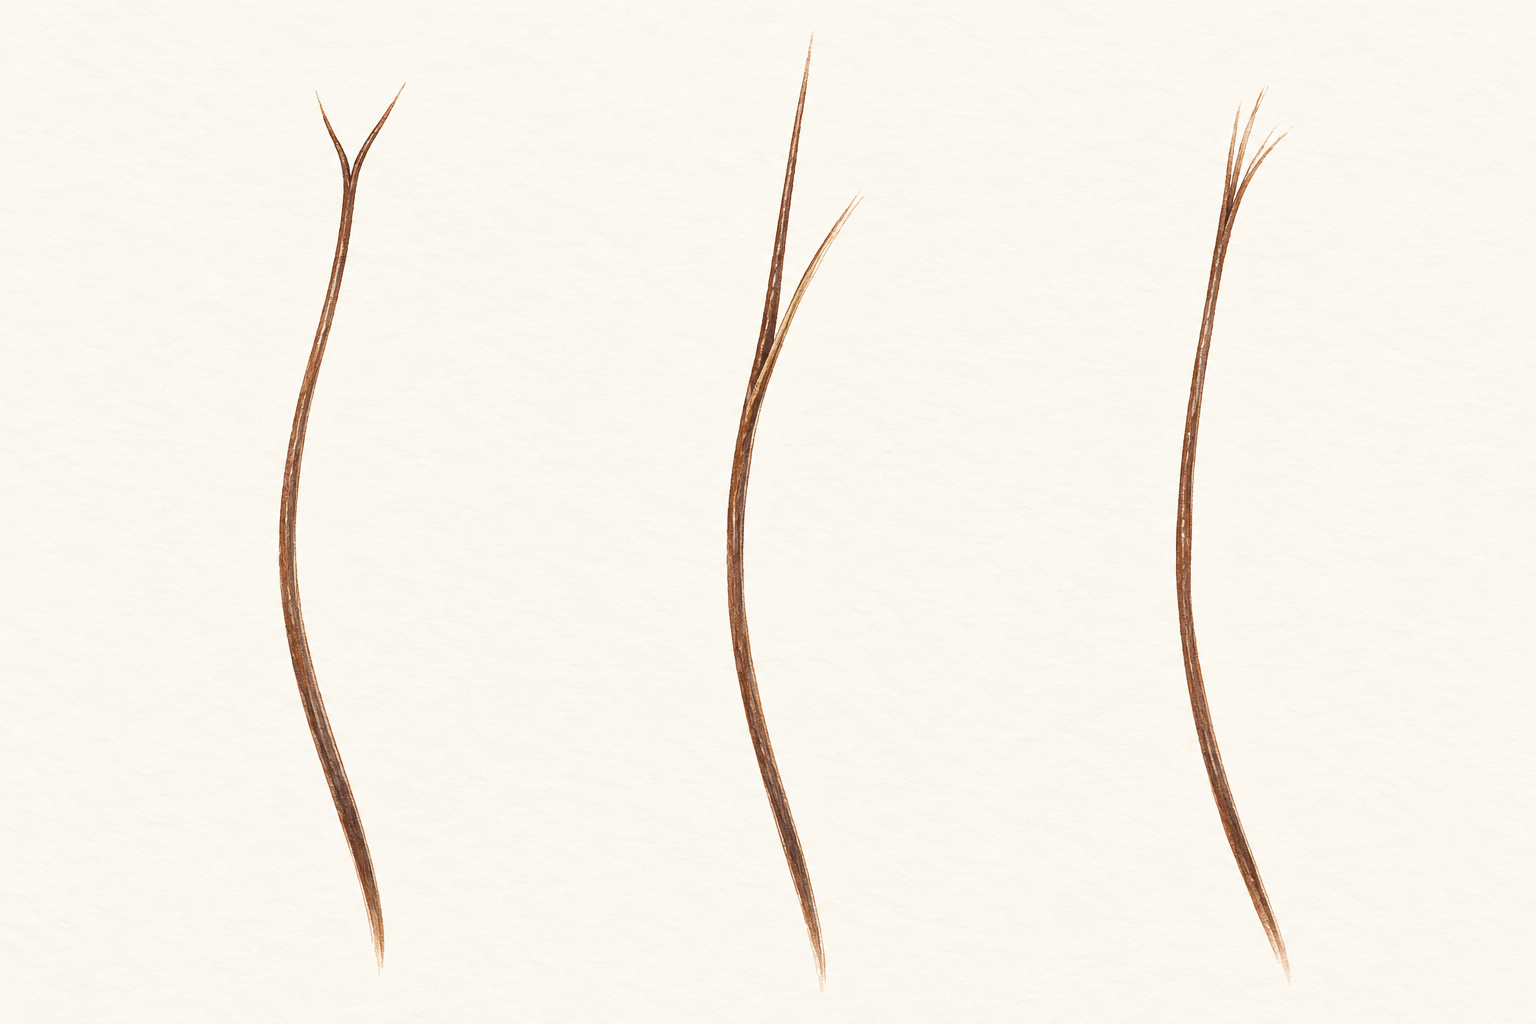
Hold a few ends up to the light and roll each between your fingers. A split end shows a clear fork, two thin tips where there should be one. A dry end looks fuzzy and rough but stays in one piece. Some strands also develop small white dots partway up, which are weak spots about to break. Masks help dry ends the most, and splits the least. If most of what you see is a fork, you need a trim first, and the mask second. Check the back too, because it splits the most from rubbing on your clothes.
4. Look for oils, butters and slip
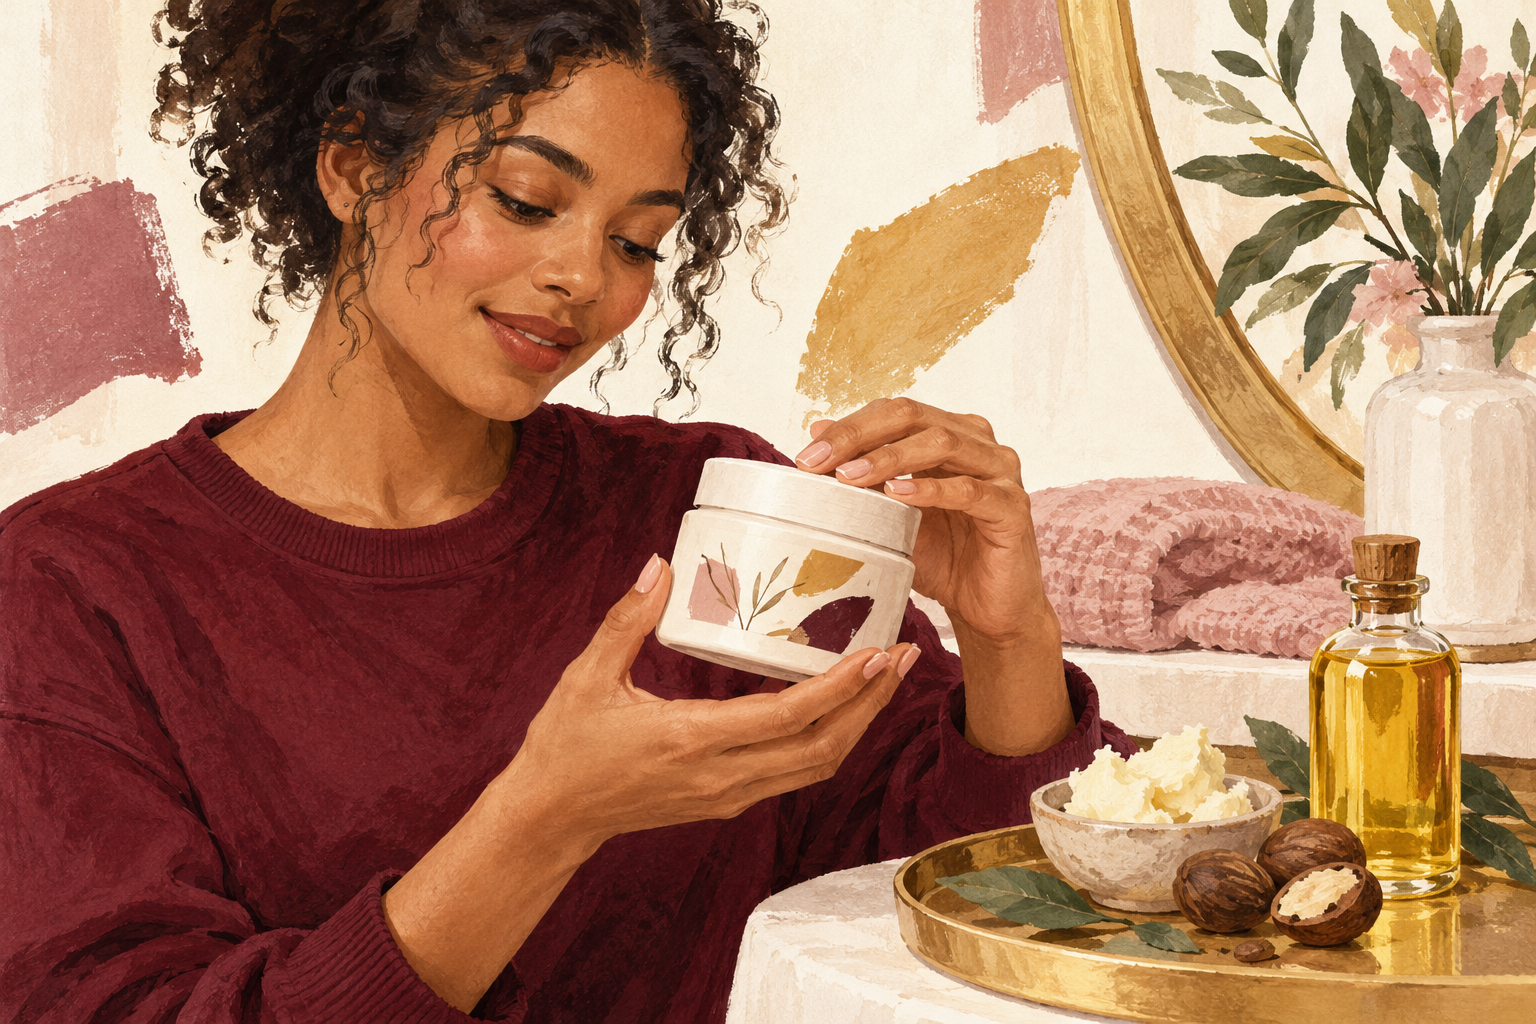
Pick a mask that lists oils such as argan or jojoba, a butter like shea, and something that slips, such as panthenol or glycerin. These ingredients coat the ends, hold moisture in and make the hair easy to comb. A little mild protein, such as silk or rice, can help hair that feels limp or stretchy. Check the first five ingredients, because that is most of the jar. Skip masks that smell strongly of perfume or alcohol, which can dry your ends. A thick, creamy texture that feels slippery between your fingers is a good sign, and so is a mild, clean smell.
5. Match the richness to your hair type
Choose a lightweight, creamy mask for fine or straight hair, and a thick, buttery one for coily or very thick hair. Fine hair gets limp from heavy butters, so use a smaller amount and keep it off the roots. Thick or tightly curled hair drinks richness and needs it. Wavy and medium hair sit in the middle. If your hair feels greasy after rinsing, the mask was too heavy for you. If it still feels rough, move up one level. Try one for three uses before you judge it, because hair needs time to settle into a new product.
6. Try a plain kitchen mask if you like
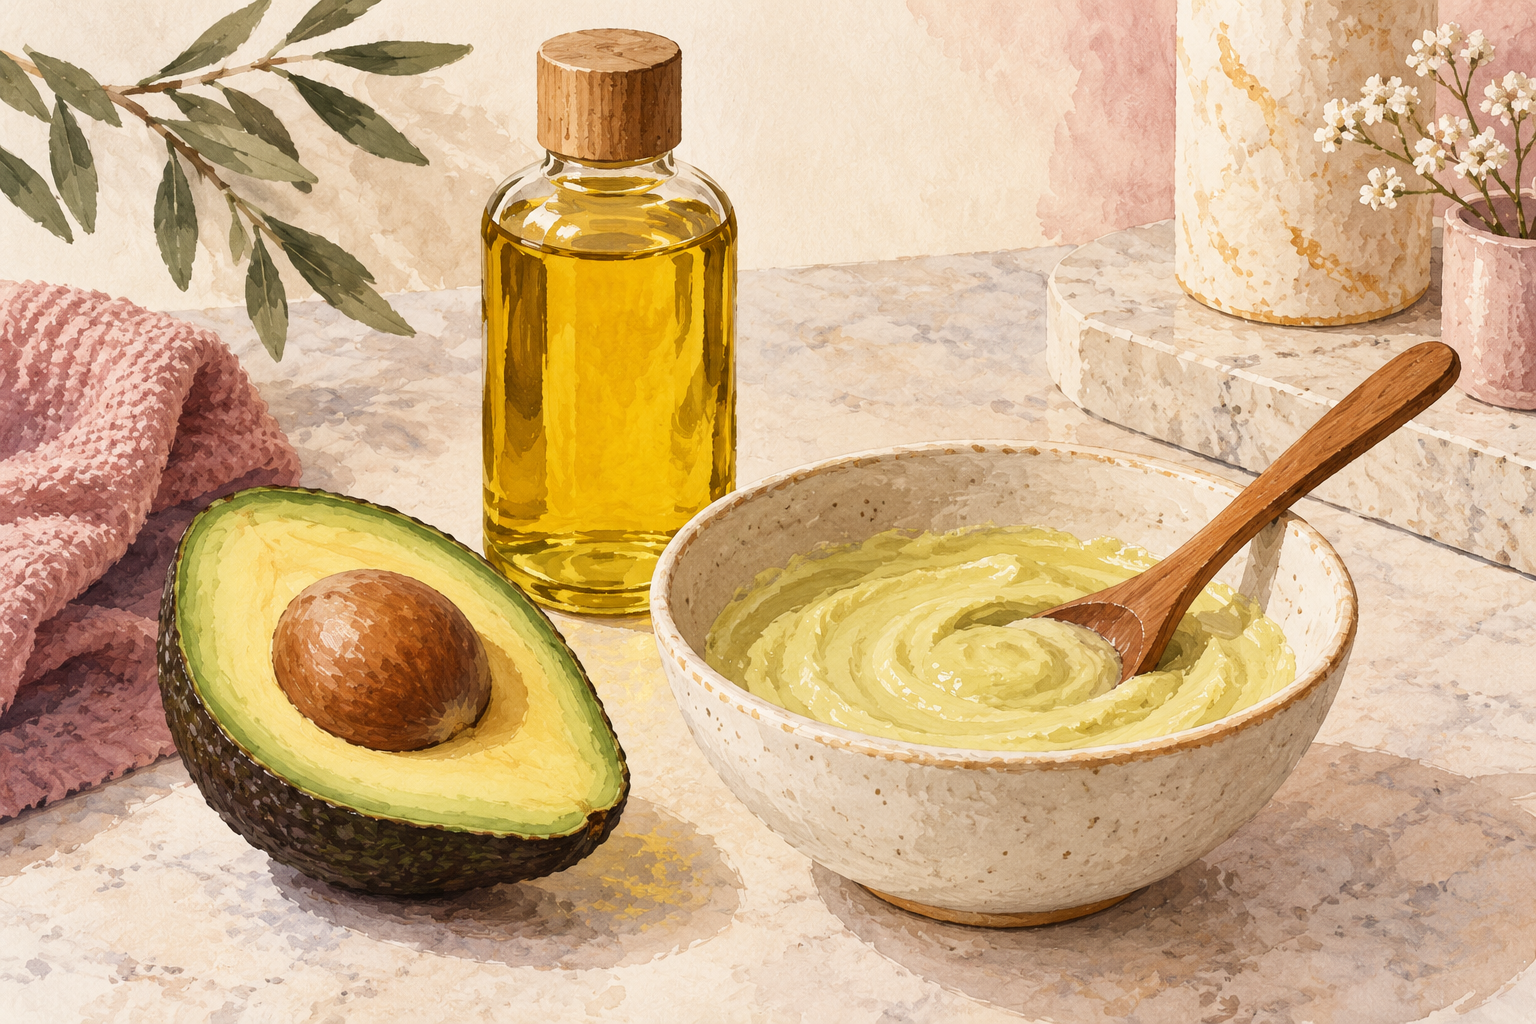
Mash half a ripe avocado with a tablespoon of olive oil until smooth and comb it through your ends. Leave it on for twenty minutes under a shower cap, then shampoo it out well. It is soft, simple and smells like a salad. Patch test it on your inner arm first if you are new to it. Any leftover mask can go in the fridge for a day. It will not repair splits, but it makes ends feel soft and flexible. Use ripe fruit with no brown patches, and mash it until there are no lumps, or they stay in your hair.
7. Put it on clean, towel dried hair, ends first

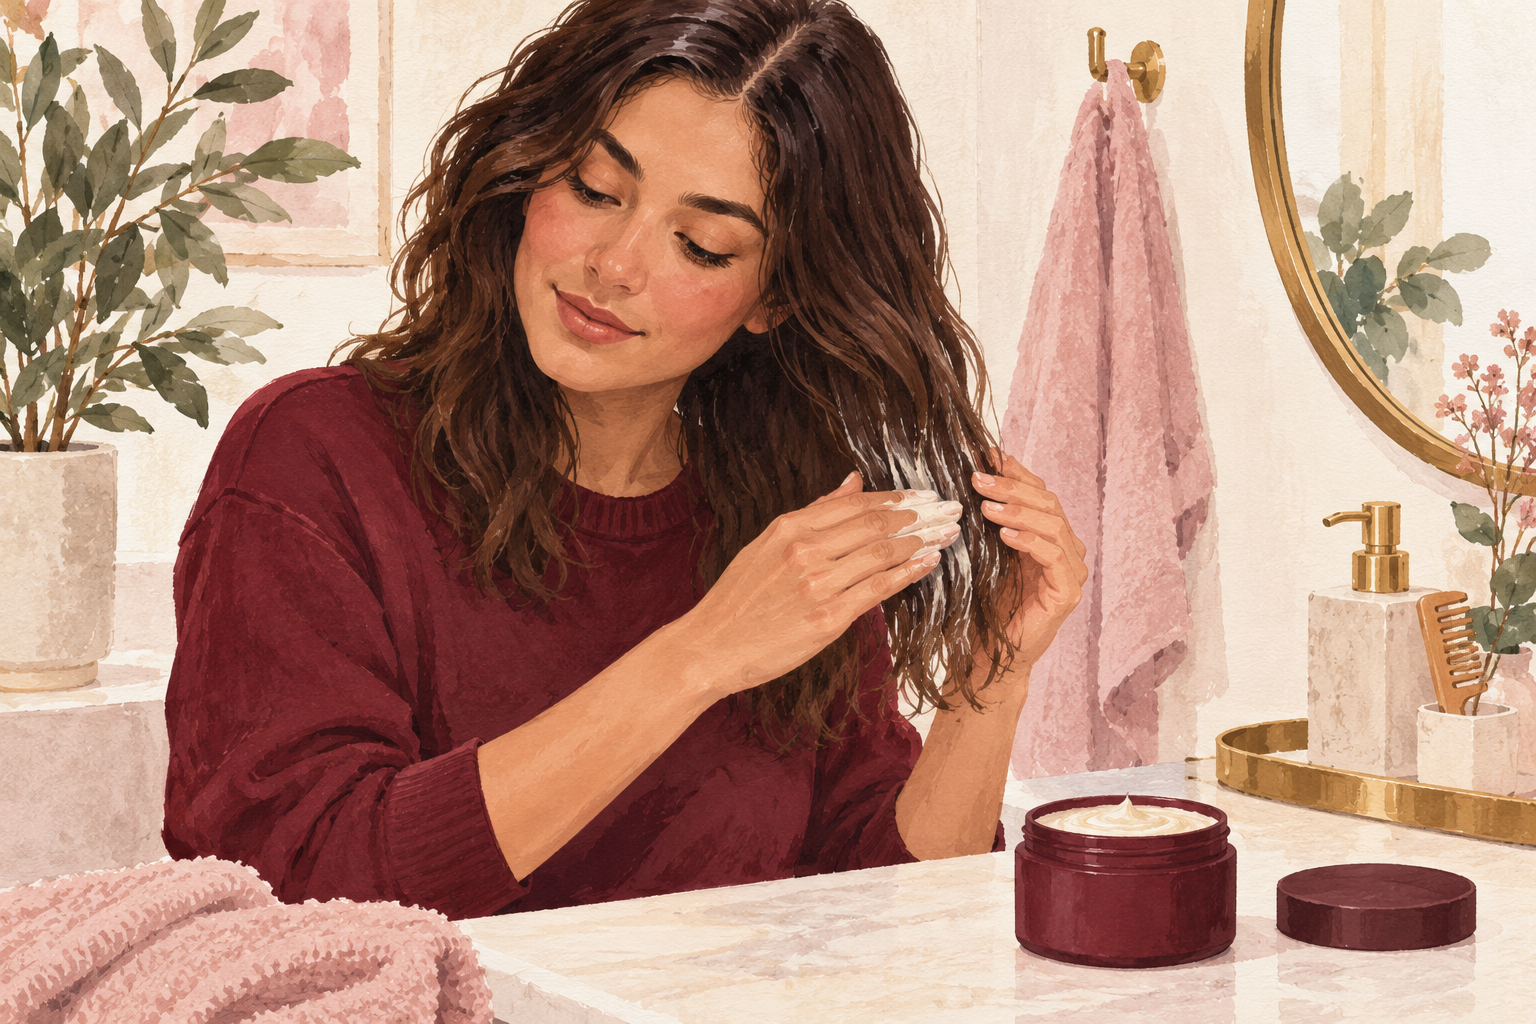
Wash your hair, squeeze out the water until it stops dripping, then smooth the mask over the ends first. Wet dripping hair dilutes the mask, while bone dry hair does not soak it in. Use about a palm full for shoulder length hair and more for long hair. Comb it through with a wide tooth comb, working from the ends up to the mid lengths. Keep it two inches from your scalp. Twist the hair up and clip it. Spend longer on the oldest ends, since they are the driest and the most worn. Press the mask into the hair with your palms instead of rubbing, so it coats the surface evenly.
8. Leave it on for the label time, then rinse well

Cover your hair with a shower cap and leave the mask on for the time on the jar, usually ten to twenty minutes. The cap holds in your warmth so the mask works better. Rinse with lukewarm water until your hair feels slippery but not coated, then finish with a splash of cool water. Leftover mask makes ends heavy and flat, so be thorough. Use it once a week, or twice if your hair is very dry. More than that can leave fine hair limp. Do it on wash day, when you are not in a rush, and keep the time the same each week so you can compare the results.
9. Trim on a schedule and cut above the split
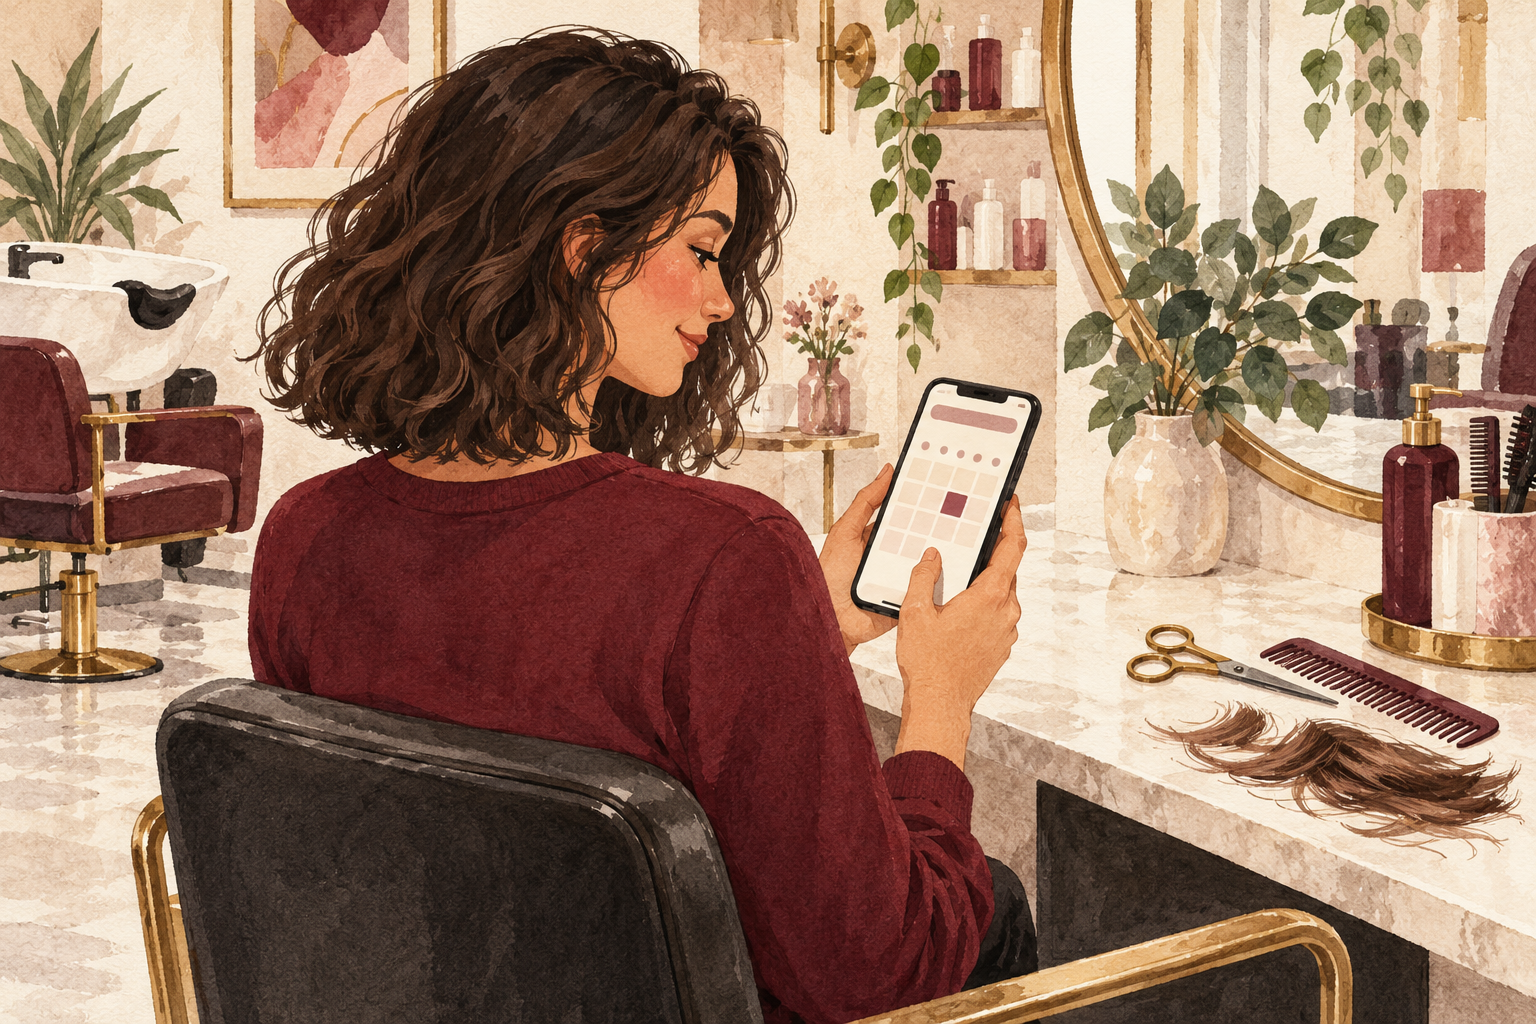
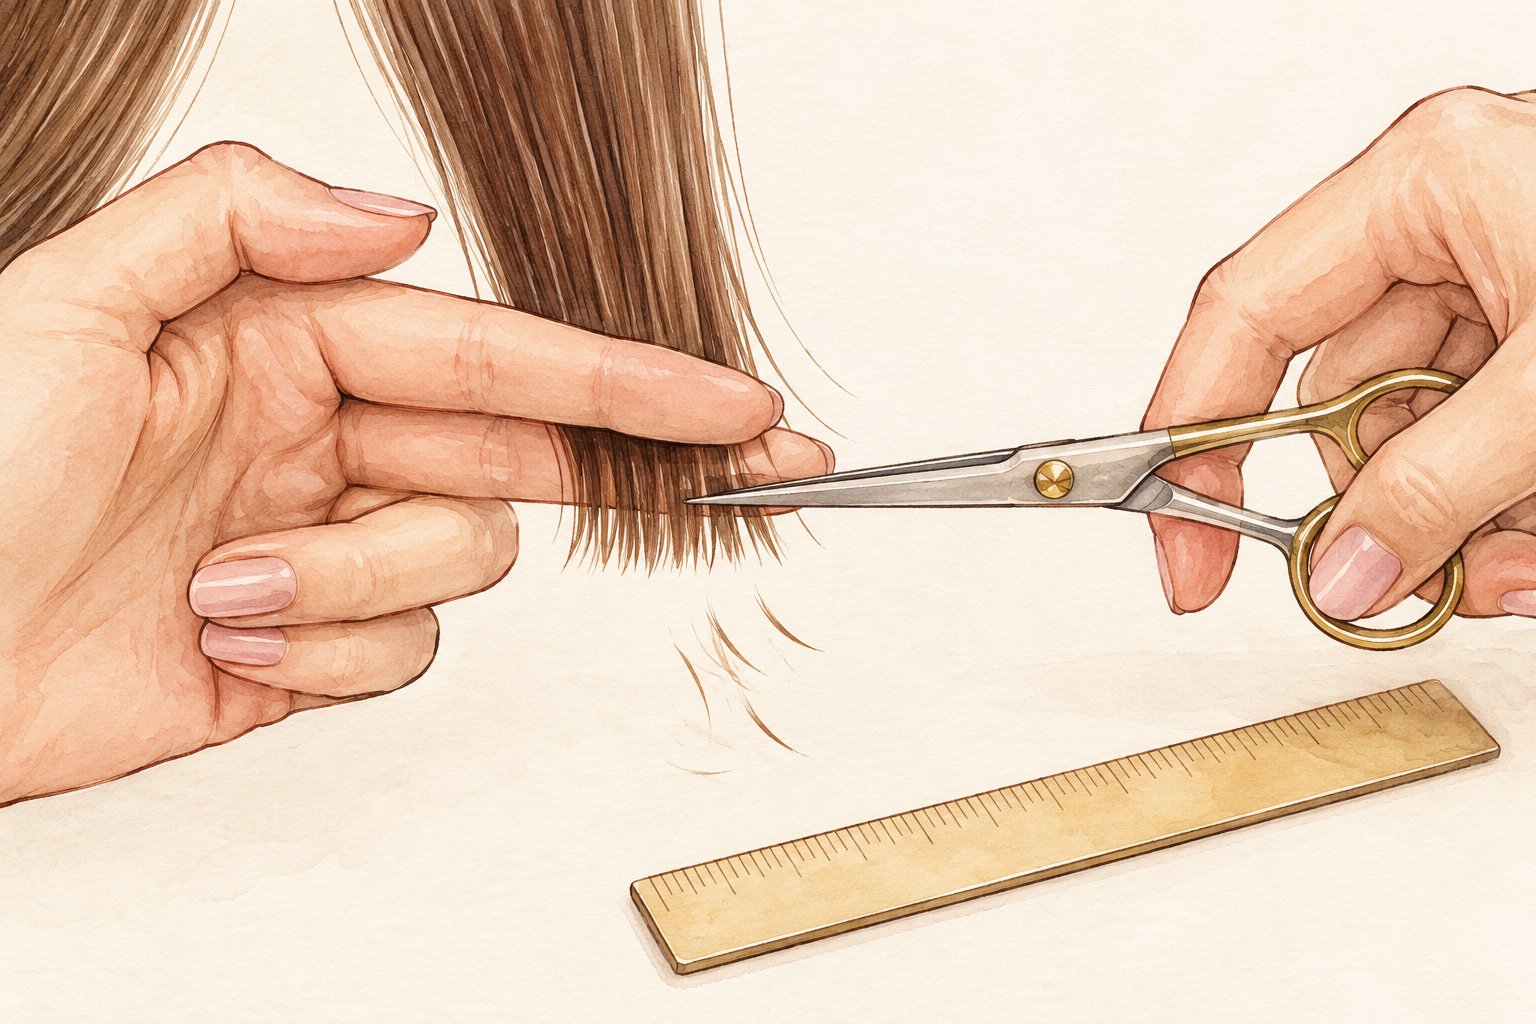
Book a trim every eight to twelve weeks, and cut half an inch above the highest split. If you wait too long, a fork can travel up the strand and take more length with it. Small regular trims keep your length longer in the end, since you lose less each time. Ask for a dusting, which means just the ends, if you are growing your hair. Do the mask a day or two before the trim, and the cut ends come out cleaner. Combine the two and the mask has fresh, healthy ends to protect. Sweep up the trimmed bits straight away, as they stick to socks.
10. Cut down on what causes the next split
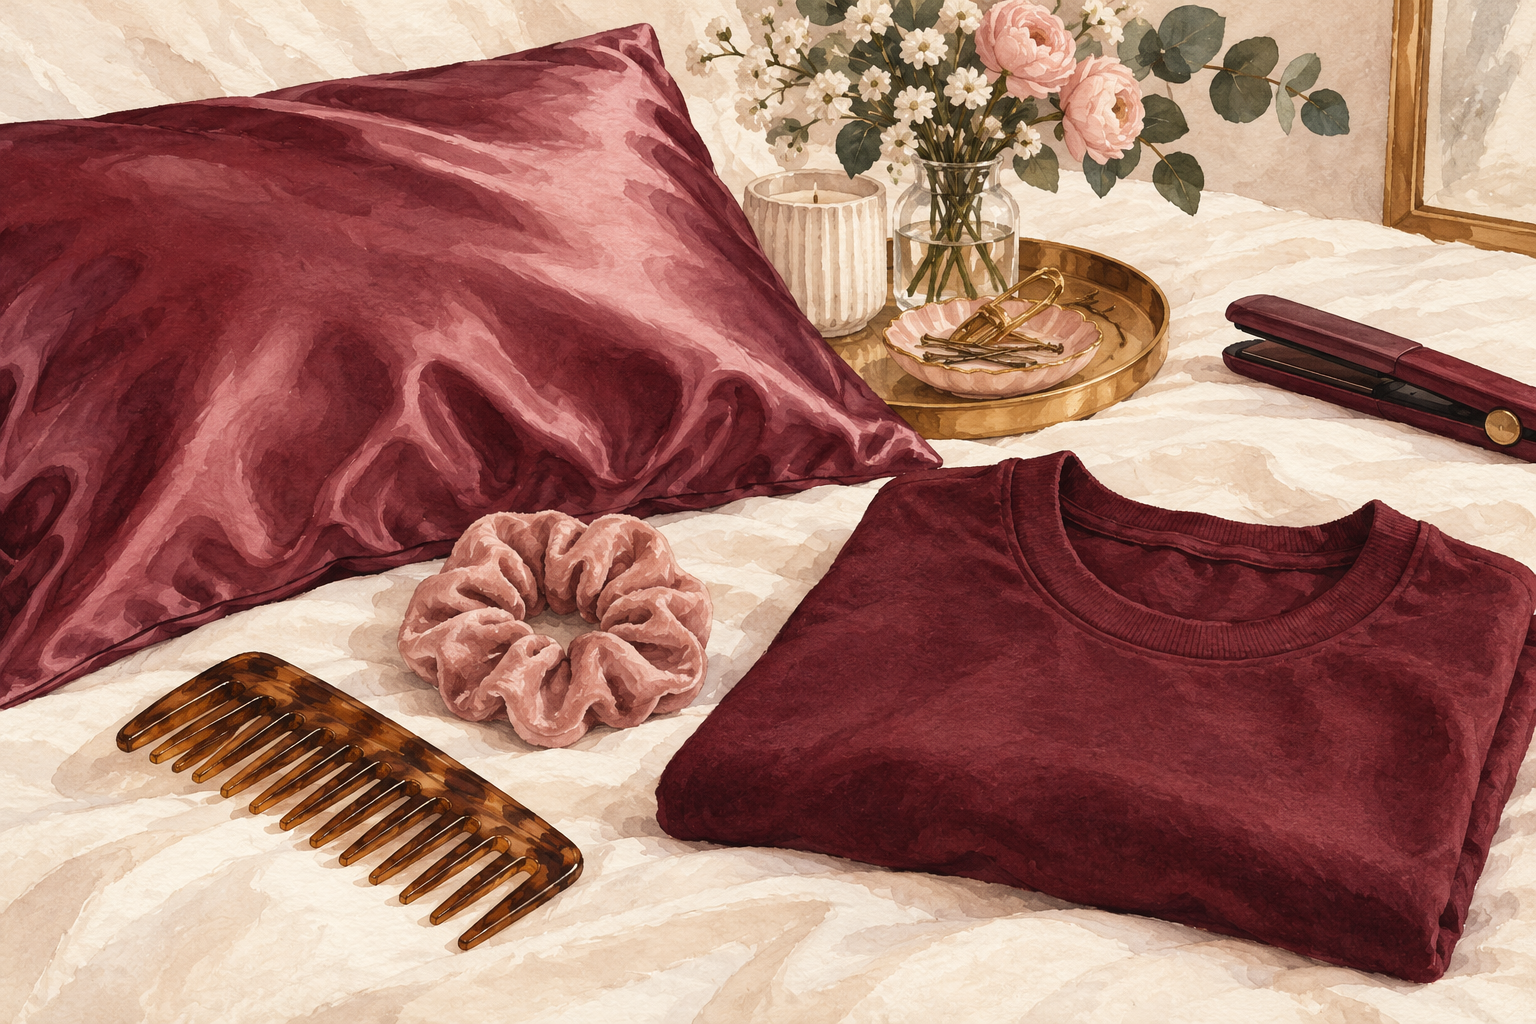
Use a wide tooth comb on wet hair, a soft scrunchie instead of tight elastics, and the lowest heat setting on your dryer. Masks cannot win against daily flat ironing. Switch to a satin pillowcase, or loosely braid your hair at night. Squeeze water out with a cotton tee shirt rather than rubbing with a towel. Keep your ends off rough collars and bag straps. Each swap takes minutes and costs you nothing, and together they protect the ends you just softened. Choose two to start with, and add the rest over a few weeks, so the new habits stick.
11. Know how to tell it is working
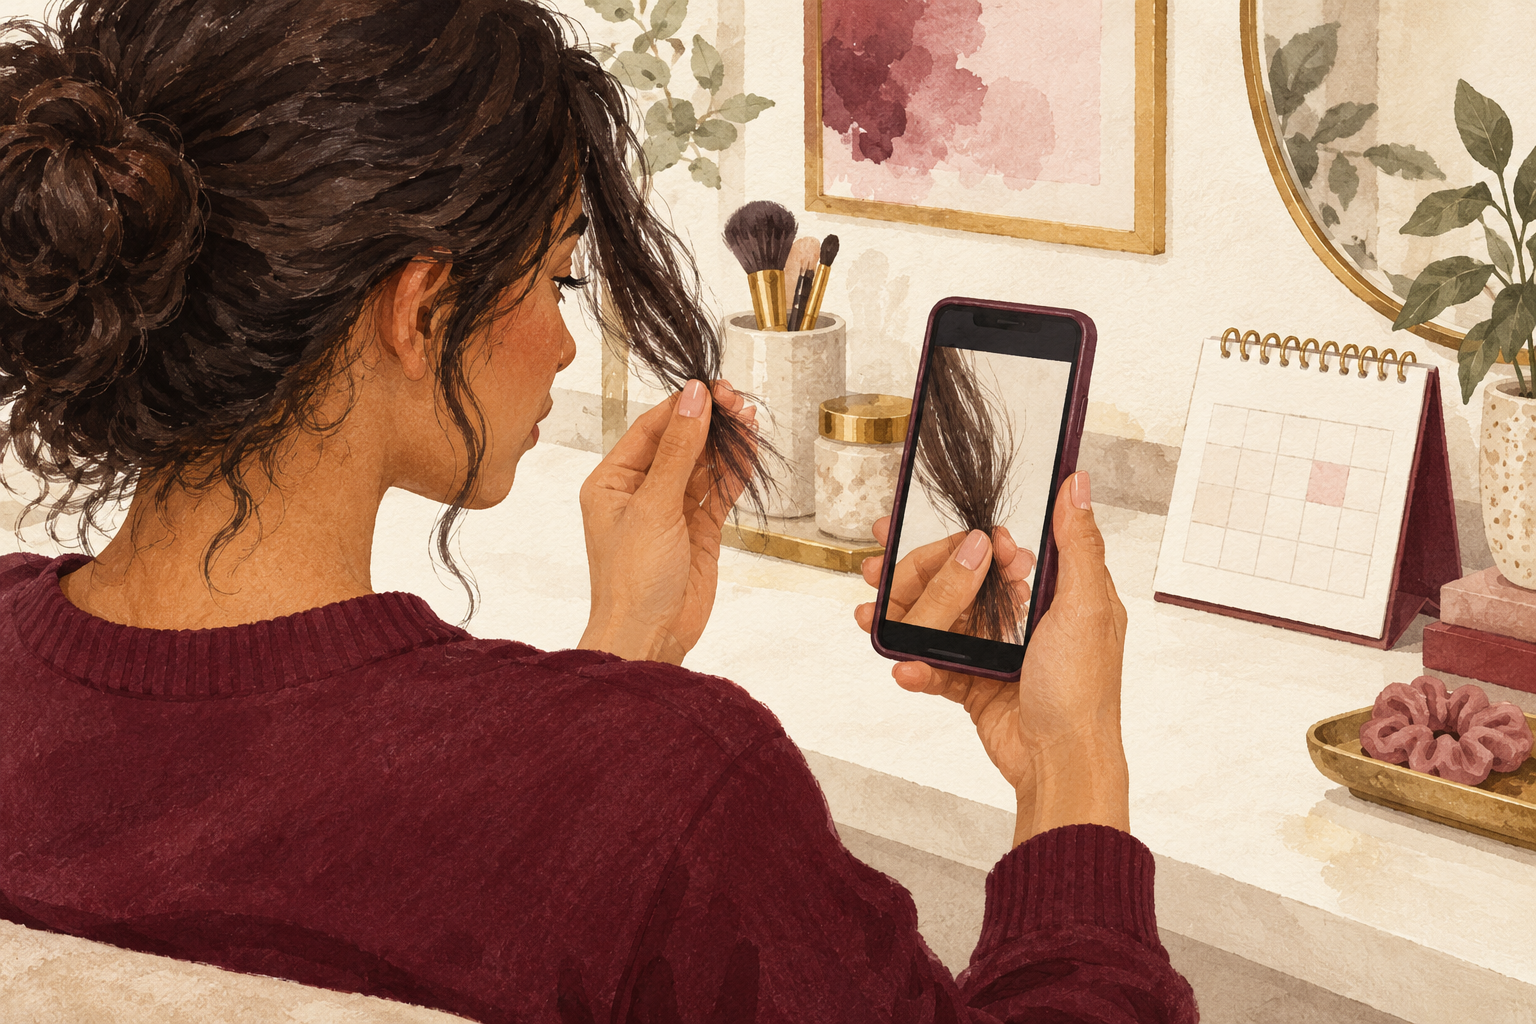
Expect softer, shinier ends after the first use, fewer tangles by week four and fewer new splits by week eight. The forks that were already there will not disappear. Test it by running the ends through your fingers, and they should glide instead of catching. Take a photo of the same section each month in the same light. If you see no change after eight weeks, the mask may be wrong for your hair, so change the richness or the schedule. Do not judge it on the day of the first use, because the lift is gentle and builds as you repeat.
12. Skip the mask when your hair says so

Take a week off if your hair feels limp, greasy or oddly stiff after masking. That means too much, too often or too heavy. Wash with a clarifying shampoo, then go back to a lighter mask once a week. If your ends are very frayed, cut them before you add more product. A hair mask for split ends is a helper, not a cure. Use it for softness and shine, trim for the splits, and avoid heat for the rest. You can stop buying new jars when your hair feels soft and bends without breaking.
Complete the Routine: Use a Hair Mask for Split Ends Once a Week
This week, do a check of your ends and mask once on wash day. Then read about how to prevent split ends and split ends trimming to keep the length.