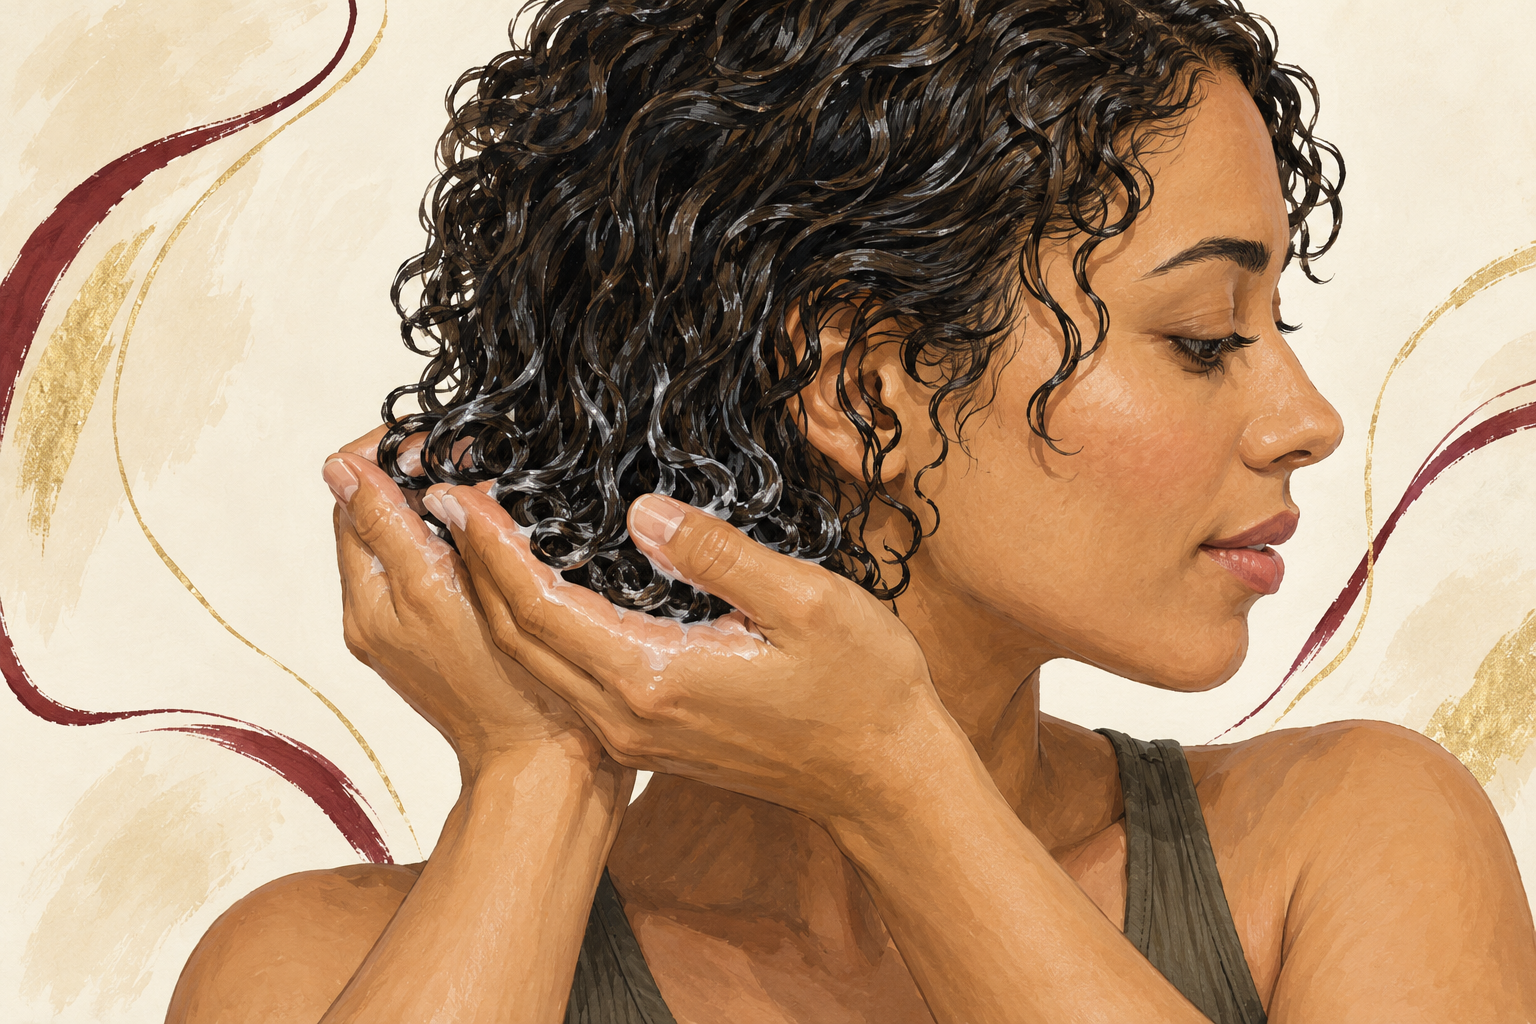
You own six bottles and your curls still look frizzy by noon, crunchy on top and dull underneath. Most of the time the products are fine, it is the order that is wrong. These 12 rules tell you which curly hair routine products to use, what goes on first, and what to skip, so start at number one tonight.
1. Treat the order as the routine
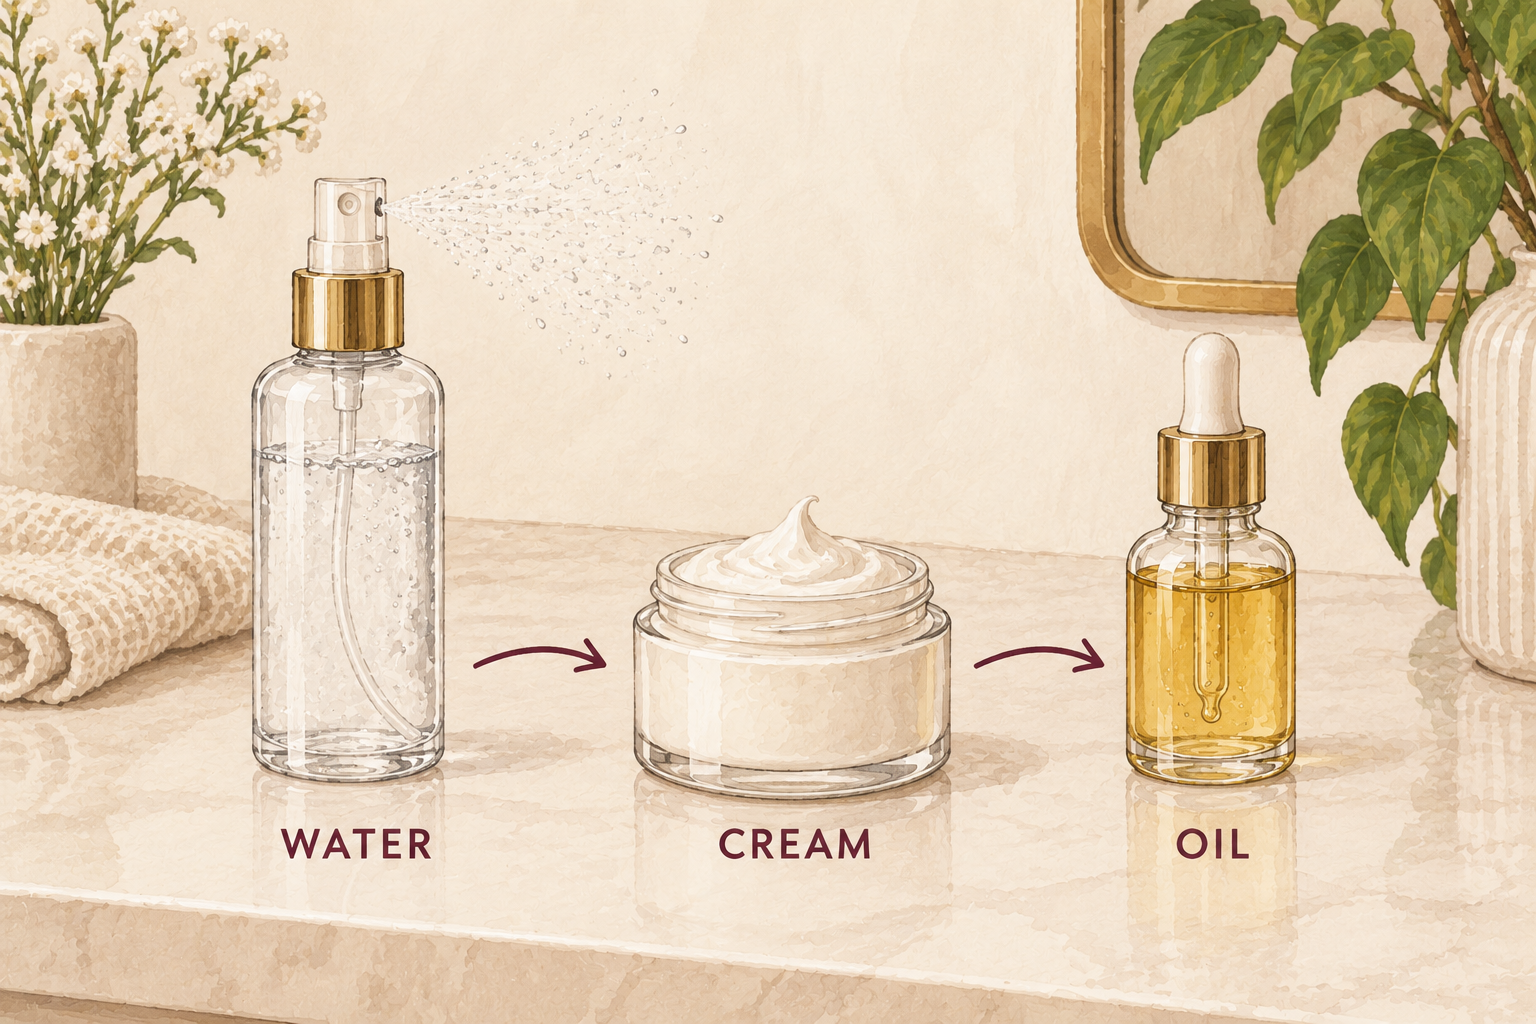
Think of your curly hair routine products as a sequence, not a shelf. The same four bottles can give soft, bouncy curls or a sticky mess, depending on which one goes on first. A good rule is moisture first, then something to hold the curl, then something light on top. Skip a step on days your hair does not need it, but never swap the order. A fifth bottle will not fix a wrong order. Run your routine exactly as written for three washes before you change anything, because curls need time to answer. Write the order on a card if you tend to forget which comes next.
2. Build a core set of four
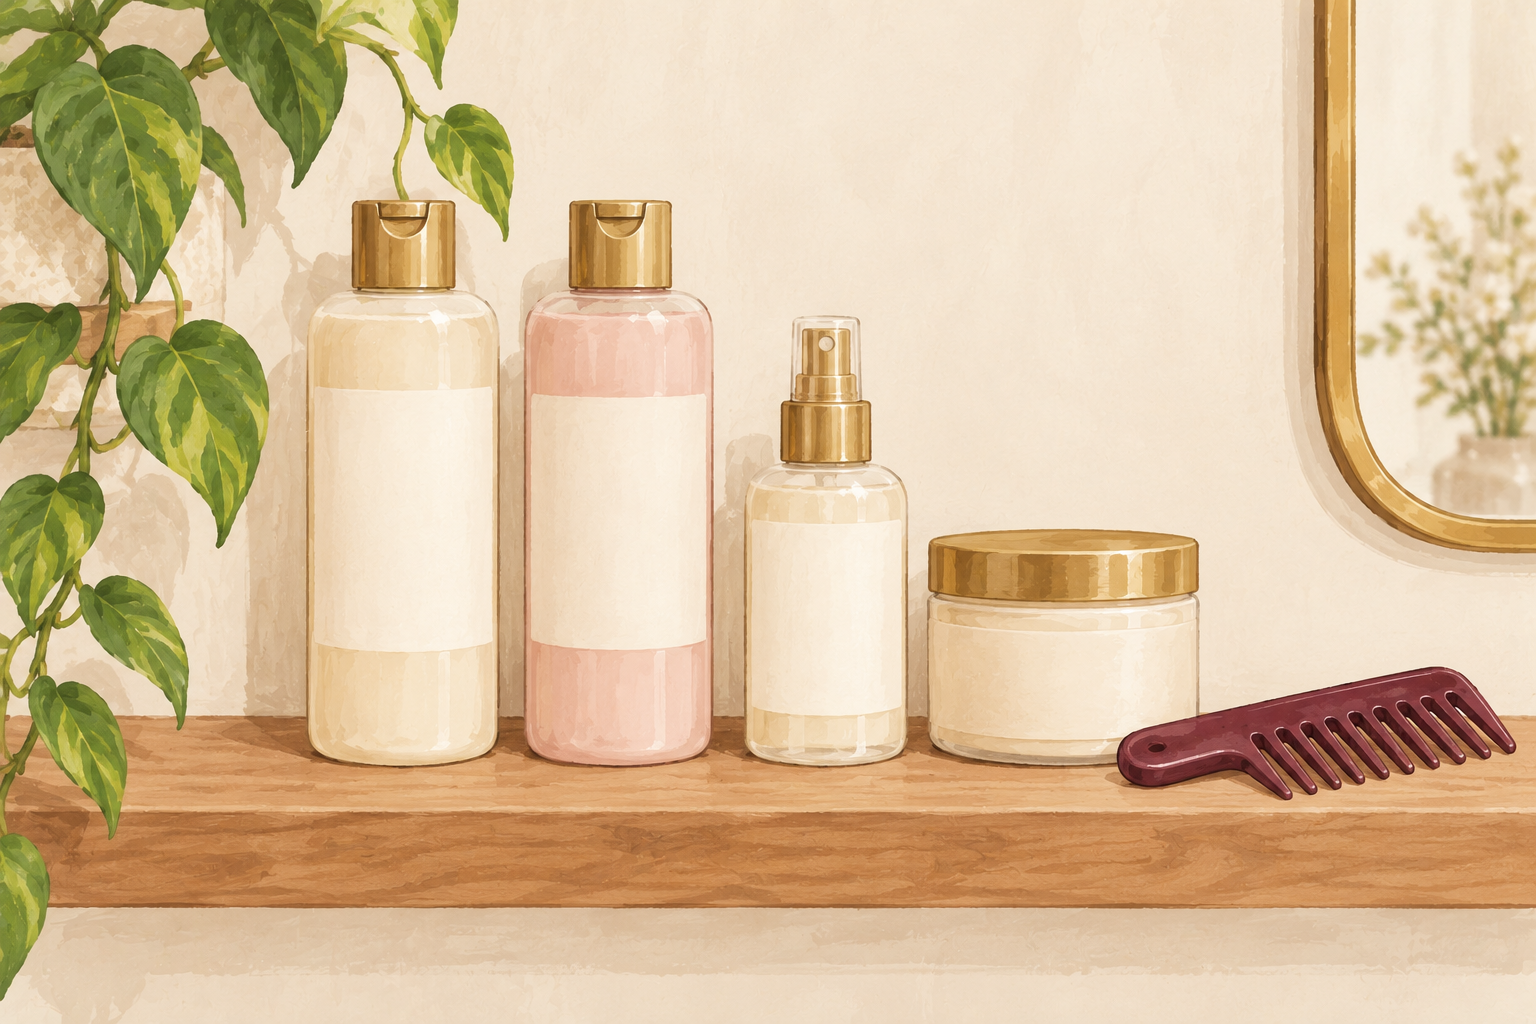
Start with a gentle shampoo, a rinse out conditioner, a leave in and one styler for hold. A gel or a cream will do for the styler. Everything else is optional, including masks, oils and serums. Read the back of the bottle to see what each product is meant to do, not the promises on the front. If two bottles do the same job, you only need one of them. Fragrance bothers some scalps, so choose unscented when you can. Four good products used well beat a whole cupboard used badly. Buy a new one only when a job on your list is going undone.
3. Cut the duplicates and the heaviest layers
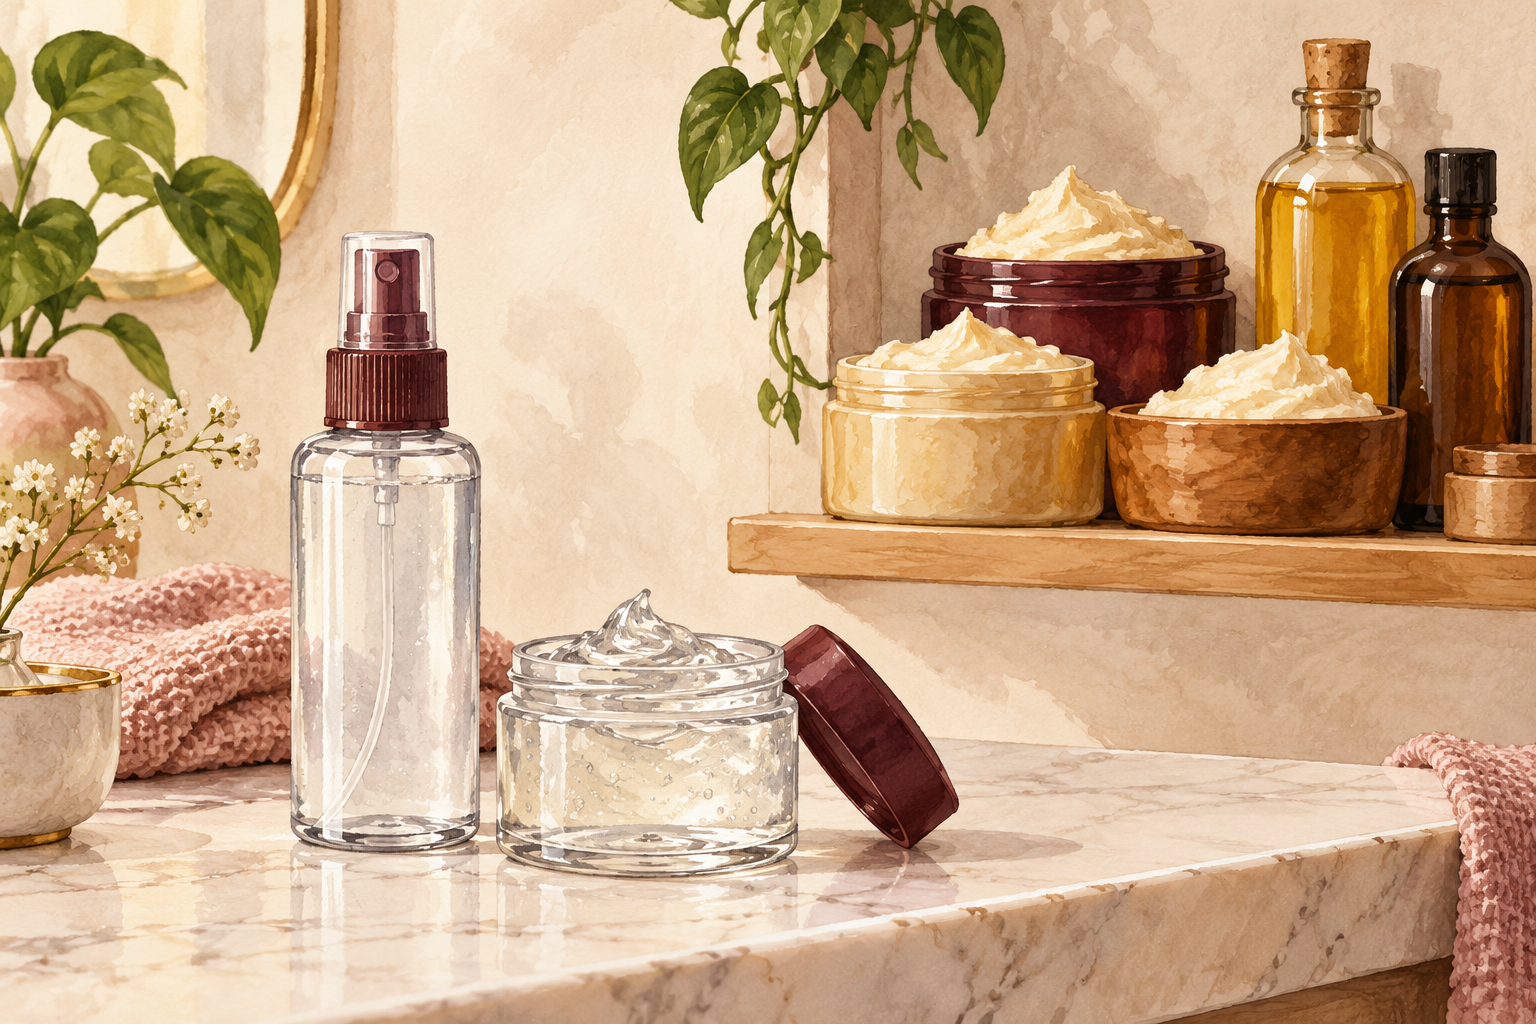
If your curls feel greasy by day two, you have probably doubled up. Look at your shelf and ask which two products do the same job. Two stylers, a thick butter under a cream under an oil, or a second leave in on top of the first will all weigh curls down. Fine or loose curls need lighter layers, while thick coily hair copes with richer ones. Drop one product for two weeks and watch what changes. Keep whichever one made the bigger difference, and give the other to a friend. This one change often loses the heavy, greasy feeling by the weekend.
4. Shampoo the scalp only
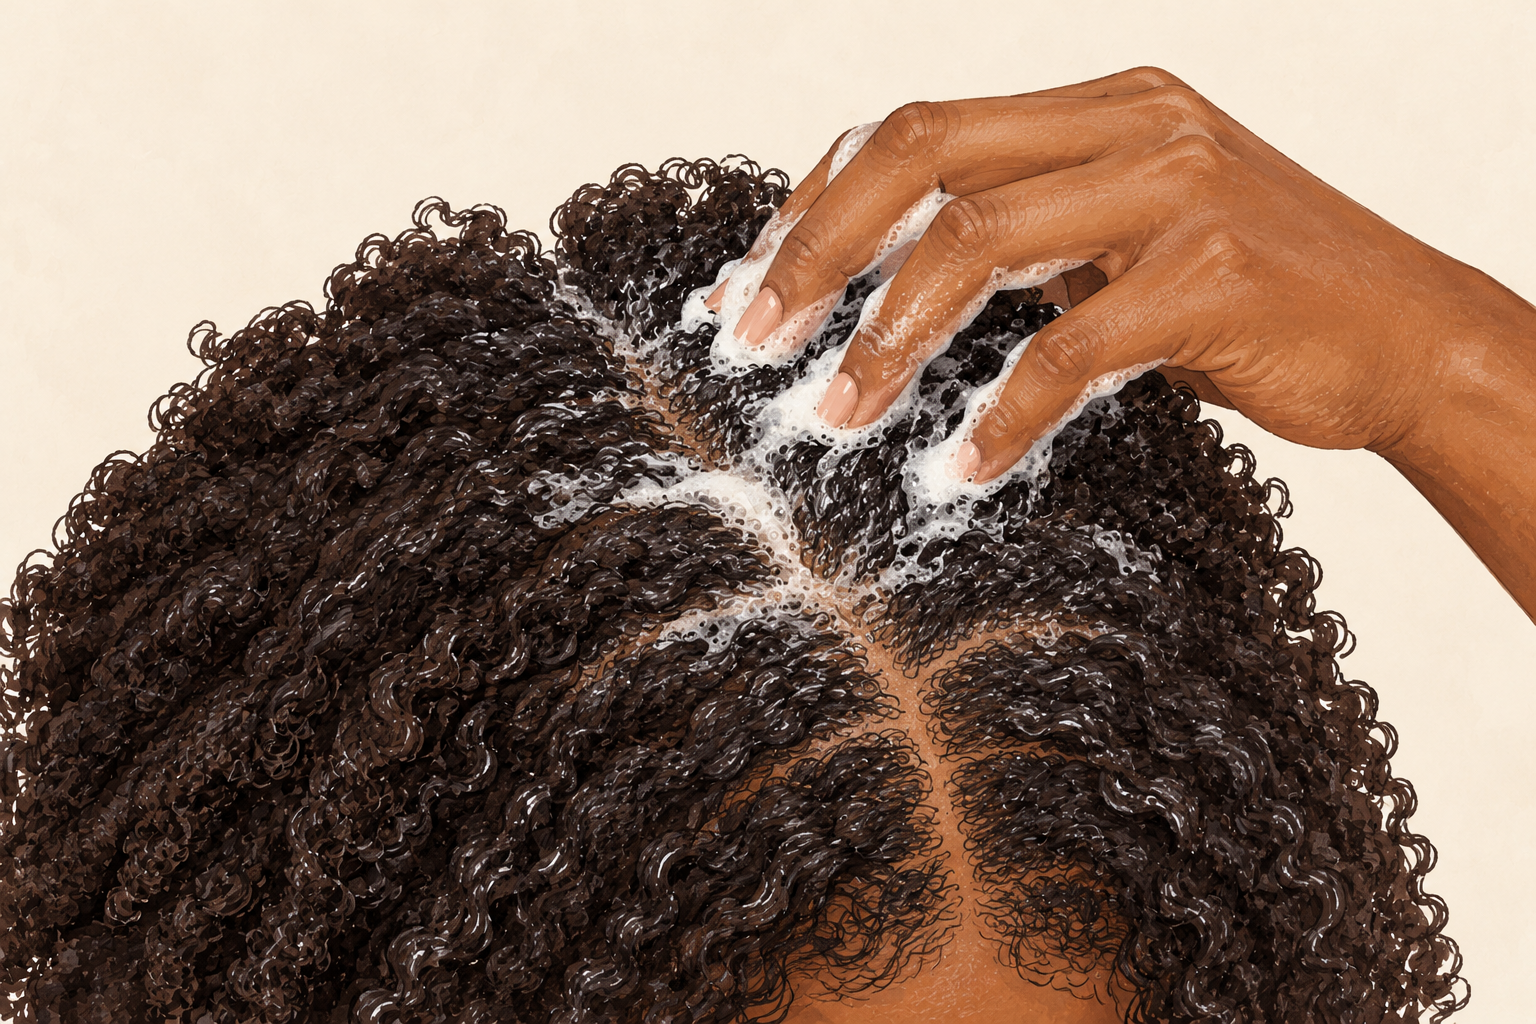
Work the shampoo into your scalp with your fingertips and let the suds run down the lengths. Do not scrub the ends, because they are the driest part of curly hair. Use a clarifying shampoo every few weeks to lift build up from gel and oil, especially if you style often. If your hair squeaks and feels stiff after rinsing, your shampoo is too strong, so switch to a gentler one. Rinse for a full minute longer than you think, because leftover foam makes curls dull and leaves the scalp itchy. A cool final rinse closes the process and makes curls shine.
5. Condition generously and detangle in sections
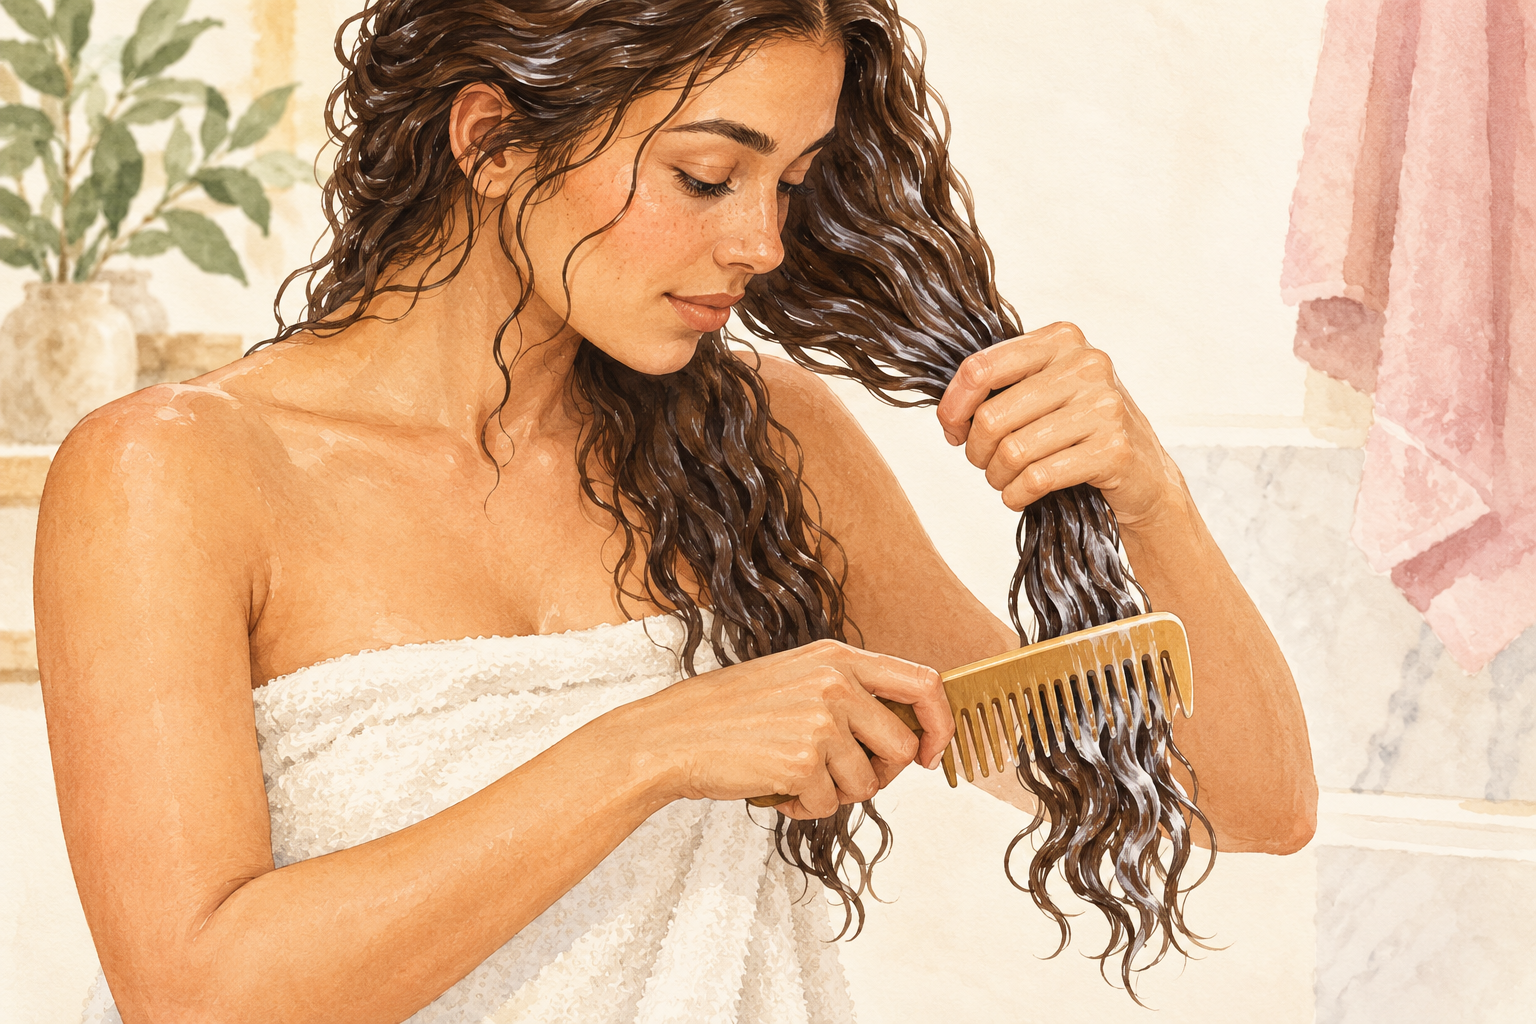
Smooth a big handful of conditioner through the lengths and ends, then detangle while the hair is slippery. Use your fingers or a wide tooth comb, one section at a time, working from the ends upward. This is the easiest moment to remove shed hair and knots without snapping strands. Rinse most of the conditioner out, but leave a thin film if your curls are very dry. Never brush your curls when they are dry, because that is how a neat pattern turns into a fluffy cloud. If a knot refuses to move, add more conditioner and go slower.
6. Put the leave in on damp hair
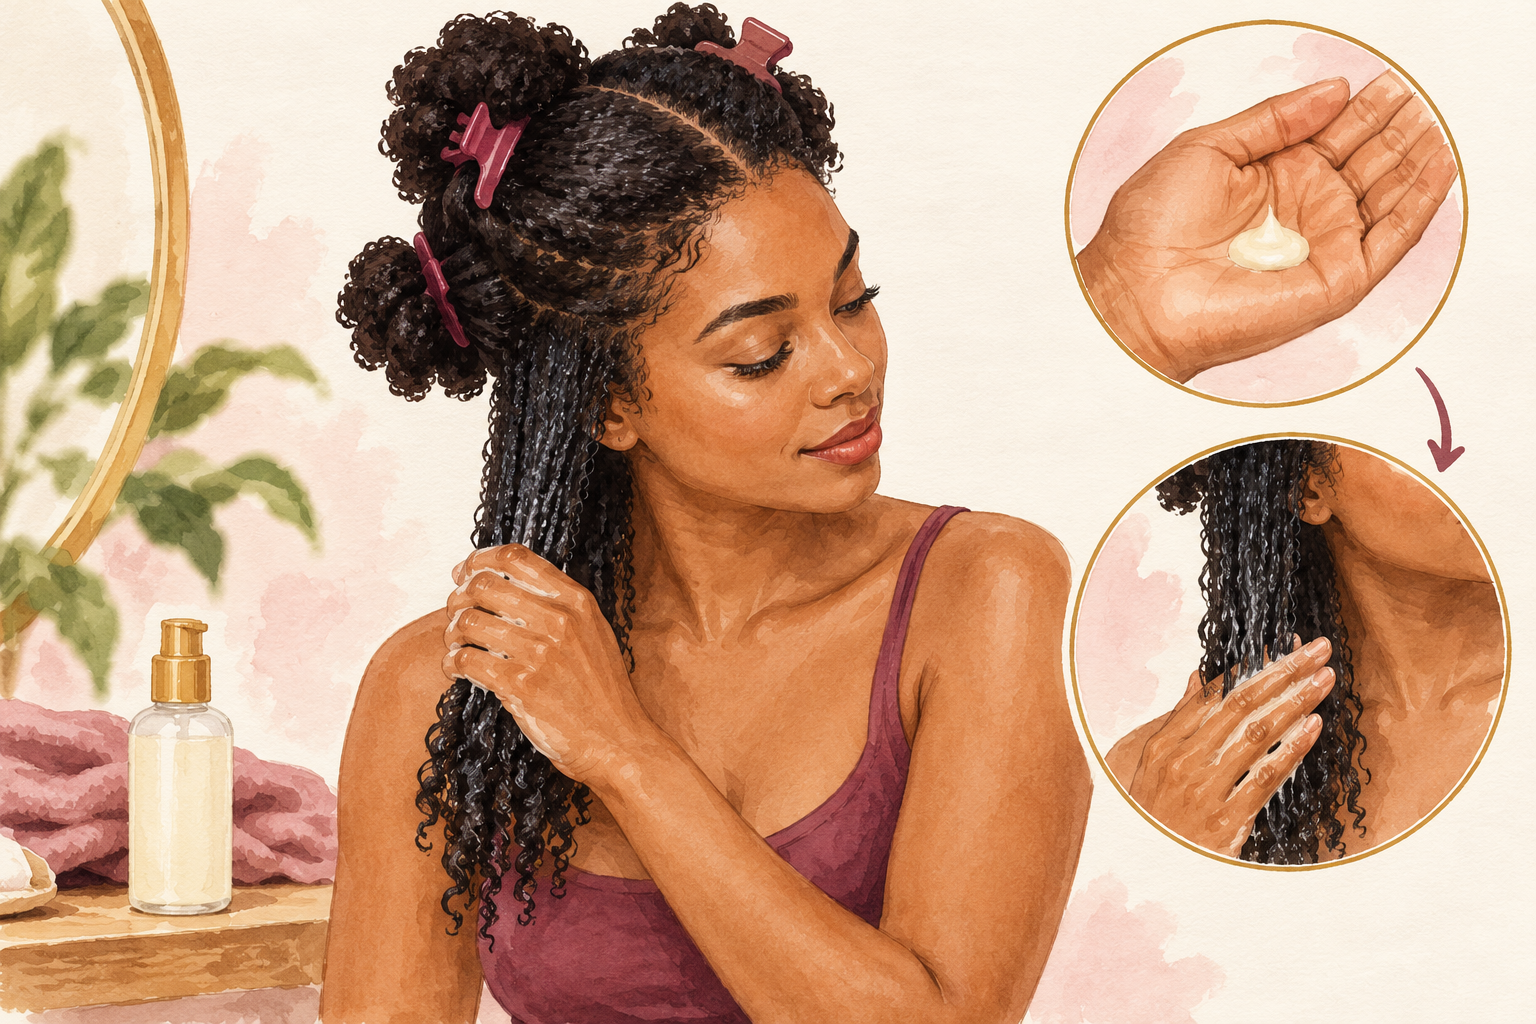
Squeeze out the dripping water first, then smooth a coin sized amount of leave in through each section. Rub it between your palms so it spreads evenly. Keep it off your scalp, where it can build up and itch. Curly hair usually drinks more than straight hair, so add a little extra to the ends. This layer is the moisture base for everything that follows. Without it, your gel sits on dry strands and dries crunchy. If your hair feels coated, you used too much. A small amount rubbed in well always beats a thick layer sitting on top.
7. Layer cream first, then gel, on wet curls
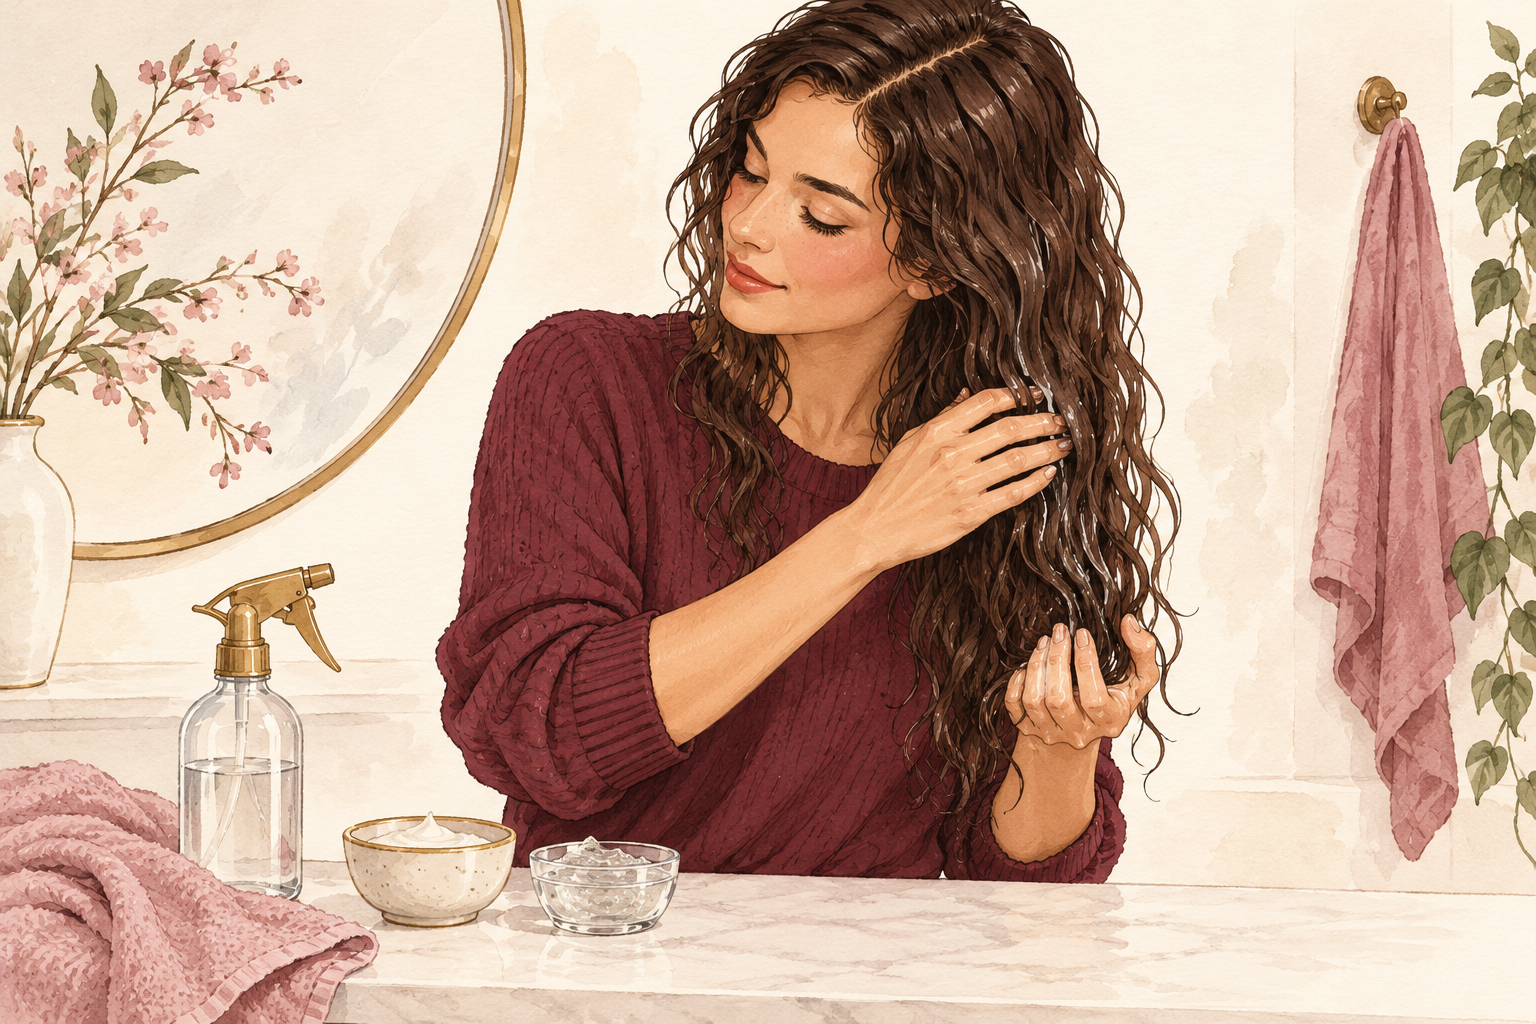
Smooth the cream in first for softness, then the gel on top to hold the shape while the curls dry. Do this while your hair is still dripping, not after it starts to dry. Work in sections and scrunch upward toward the scalp to wake up the curl. Start with a coin sized amount of each and add more only if your curls still look loose. Fine hair needs the cream sparingly, or the curls go limp. Wet hair holds product evenly, and dry hair grabs it in patches. Check the back of your head too, where you tend to skip.
8. Use oil last, and very little
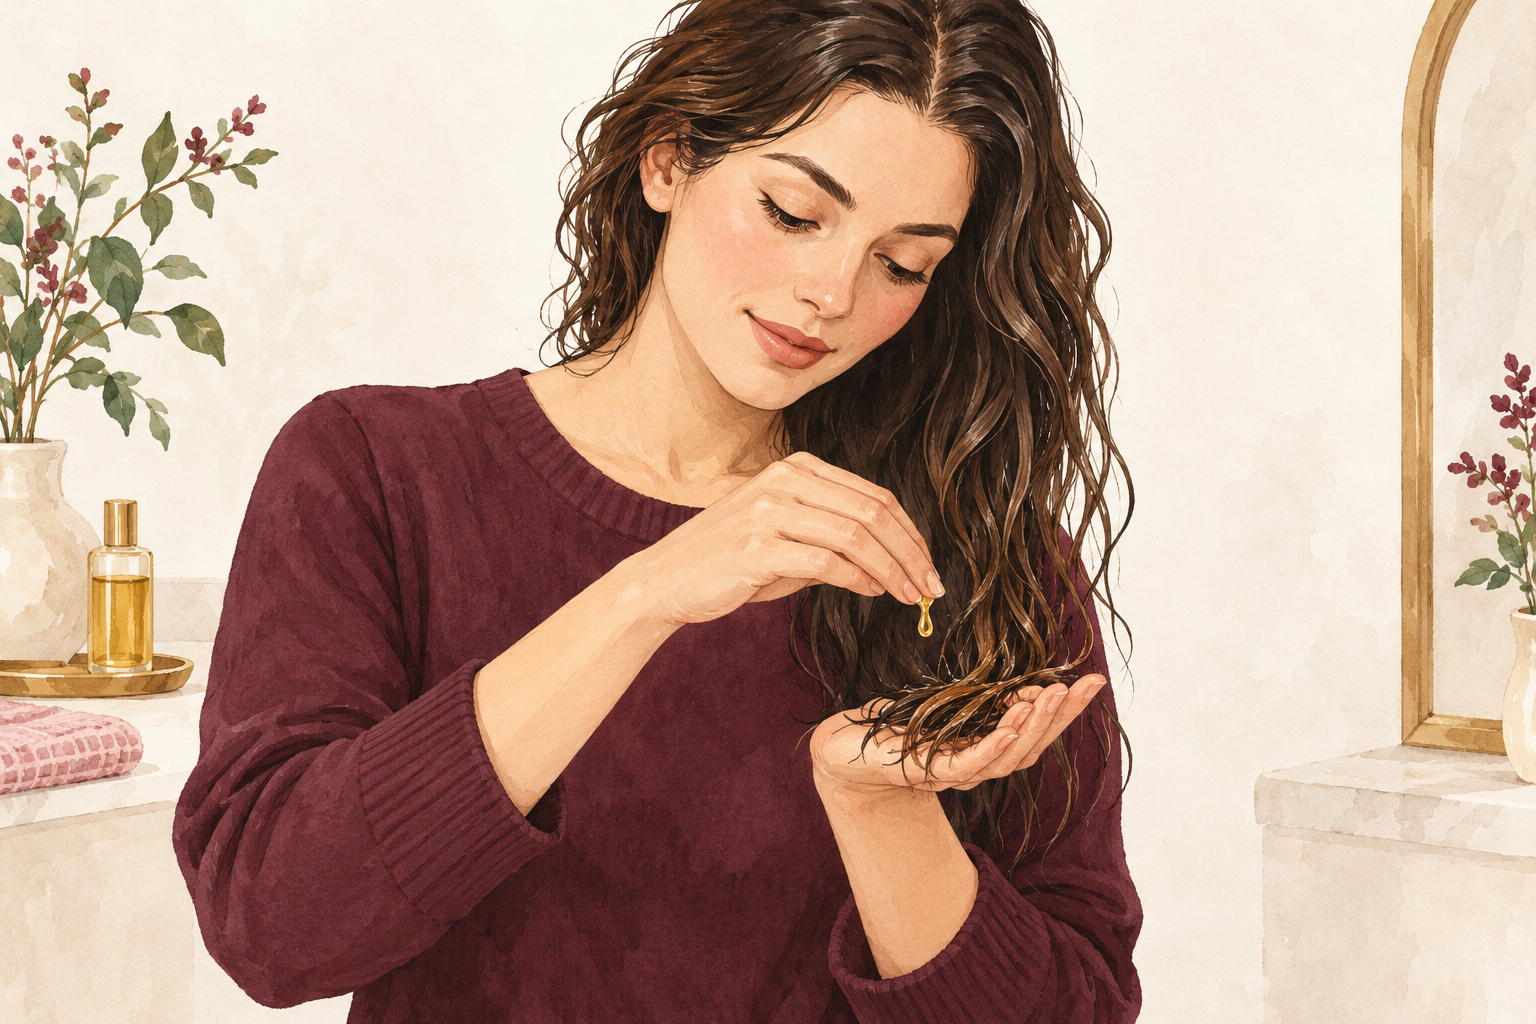
Warm two or three drops in your palms and smooth them over the ends only. Oil is a seal, not a moisturizer, so it goes on top of everything else to slow water loss. On coarse, tight coils it helps a lot, while fine curls can go limp. Test a new oil on a small patch of skin first, in case it irritates. If your curls look greasy at the end of the day, skip it on your next wash day. It is the product to use the least. Think of it as the last drop of glaze on a warm cake, not the sauce.
9. Leave curls alone until they are fully dry
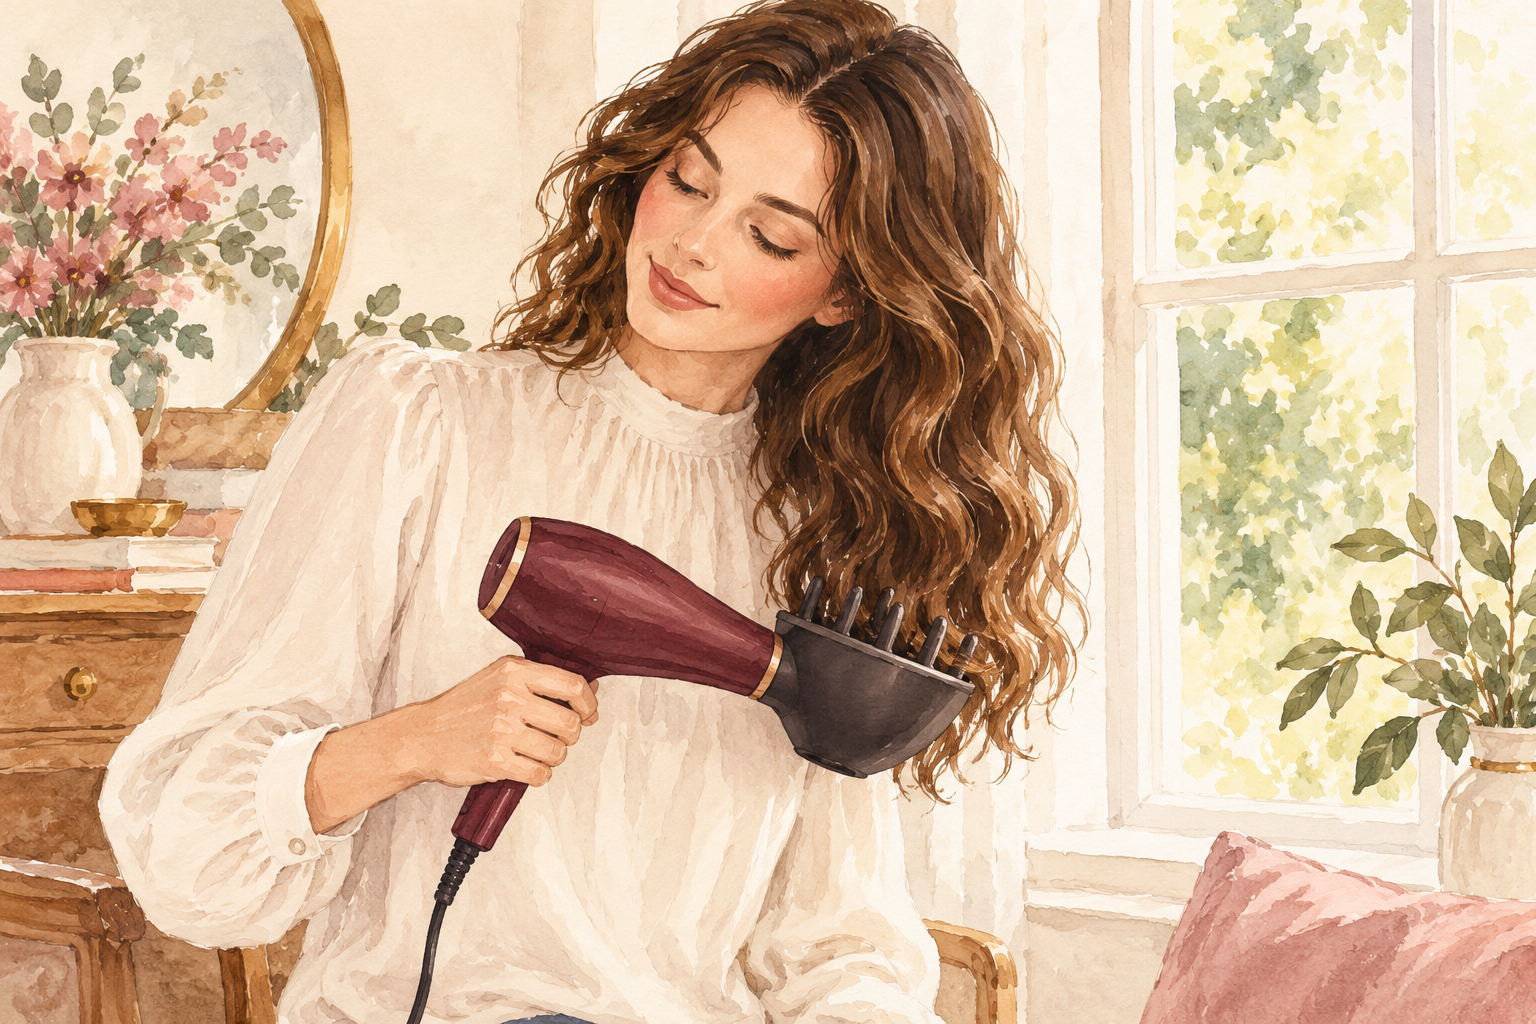
Air dry, or use a diffuser on low heat and low speed, and keep your hands out of your hair. Touching curls while they set breaks up the gel cast and makes frizz. Once the curls are completely dry, scrunch gently upward to crack the stiff cast and reveal the softness inside. If the cast is still hard after drying, you used too much gel, so use less next time. Be patient, because a full head of curls can take a few hours to dry. Pin up the front if it annoys you. Sleep on a satin pillowcase that night to keep the curls fresh.
10. Expect week one, four and eight to look different
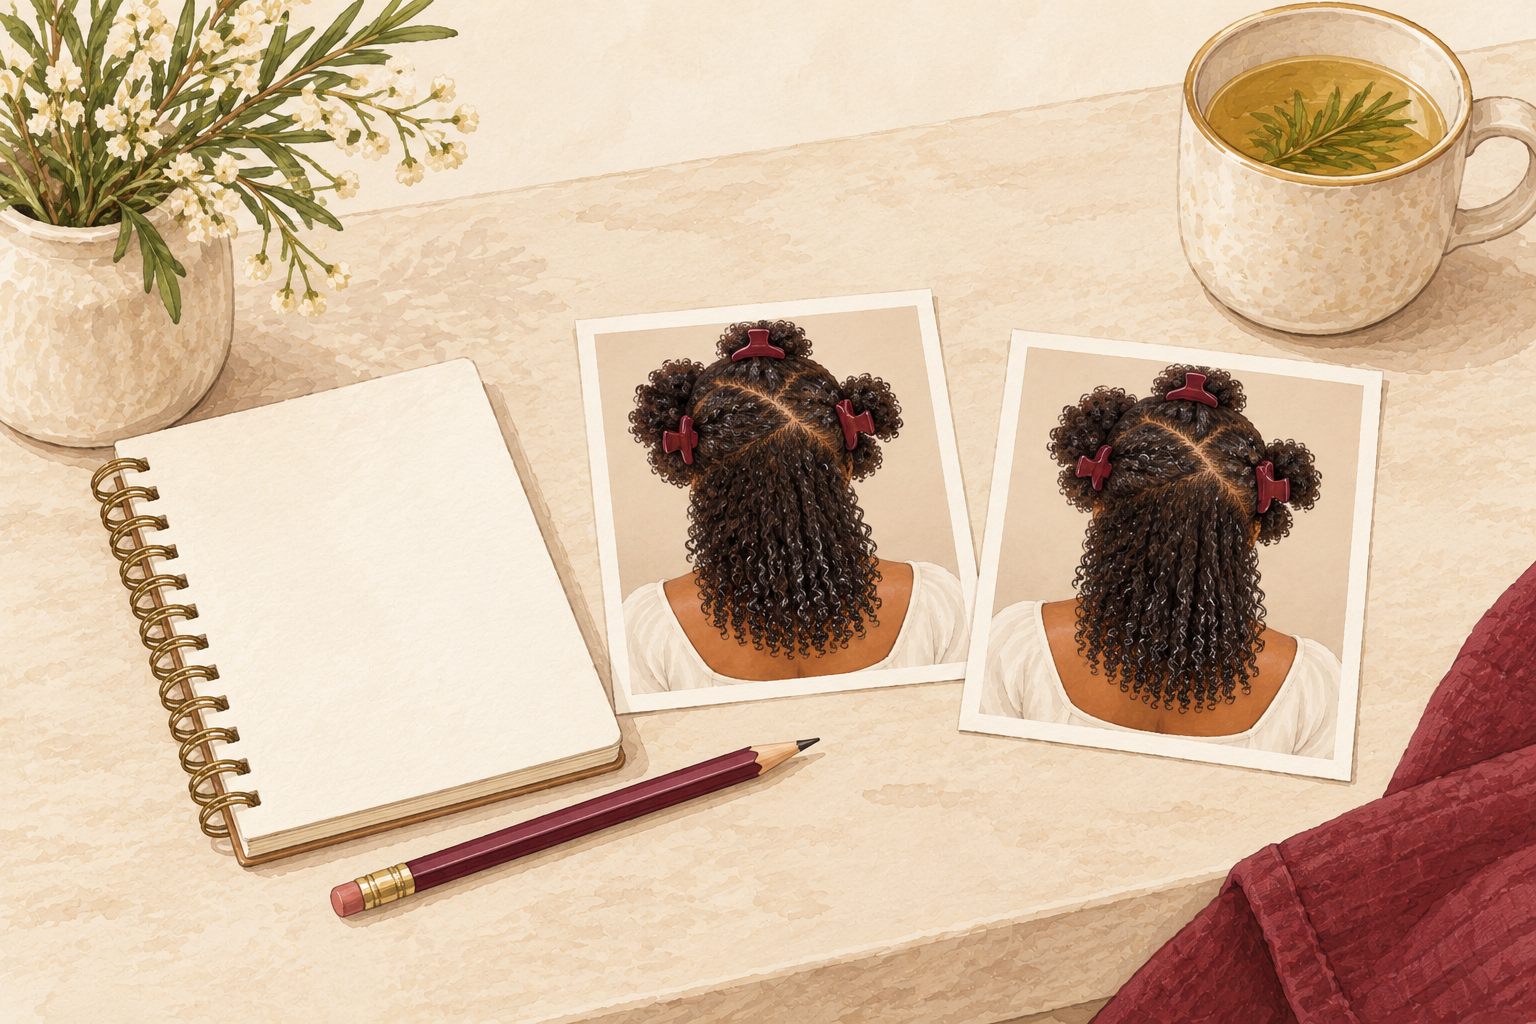
In week one your curls may look worse before they look better, as old build up clears and your hair adjusts. By week four you should see more even definition and less frizz, if the order is right. By week eight you will know which products to drop and which have earned their place. Take a photo in the same light each time so you can compare fairly. Hair that has been heat styled or colored may take longer to settle, so be patient with it. Your curls are not failing, they are just learning a new order.
11. Stop the heavy hand and the dry application
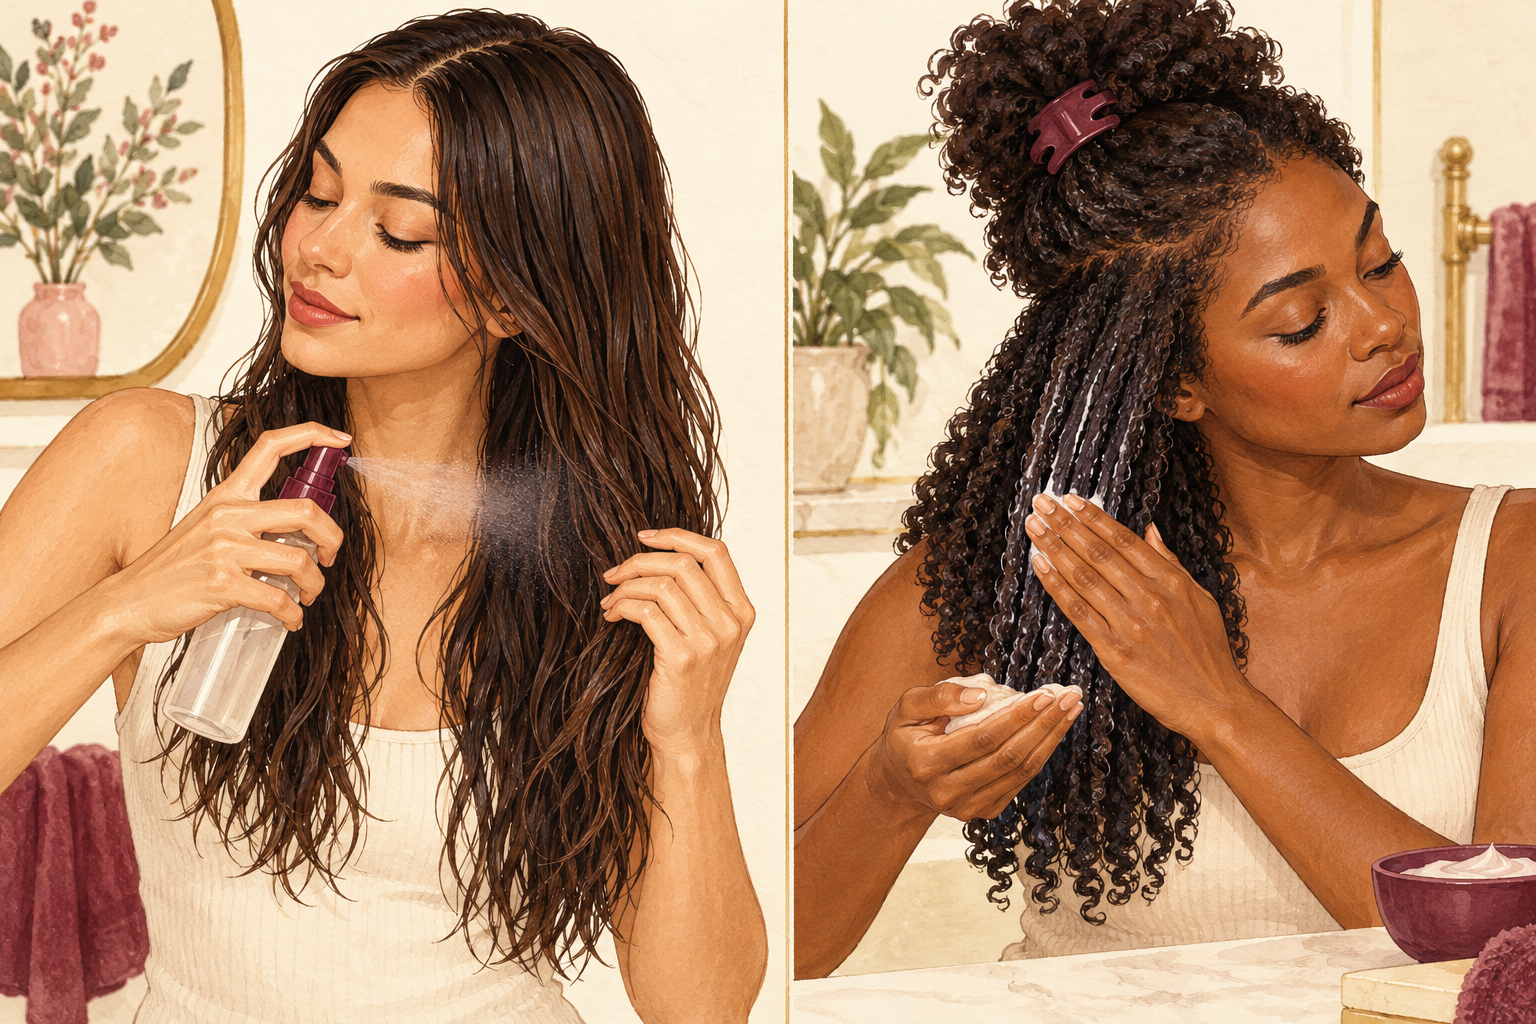
Swap a big handful for a coin sized amount, dry hair for wet hair, and a new product each week for one change at a time. Another common slip is layering a heavy cream over a heavy butter. A third is never clarifying, so layers pile up and curls turn dull and limp. If your scalp stays itchy or flaky, give your hair a gentle clarifying wash. Less product on wetter hair is almost always the fix. Take your time at the sink, because a rushed wash day is where most of these slips happen.
12. Change one thing at a time and write it down

Pick one change, such as moving the leave in to damp hair, and note the date. If you change three things at once you will never know which one worked. Check your curls after three washes in good light and compare them with a photo from before. If nothing has improved, undo it and try the next idea. It feels slow, but it saves you from buying bottles you do not need. Keep the notes on your phone, so they follow you to every wash day. After a month, you will know exactly what your curls like and what they ignore.
Complete the Routine: Set Up Your Curly Hair Routine Products This Week
Tonight, lay your products out in order, drop any duplicate and write the order on a note for the mirror. For more, read the easy curly hair routine and the curly hair night routine.