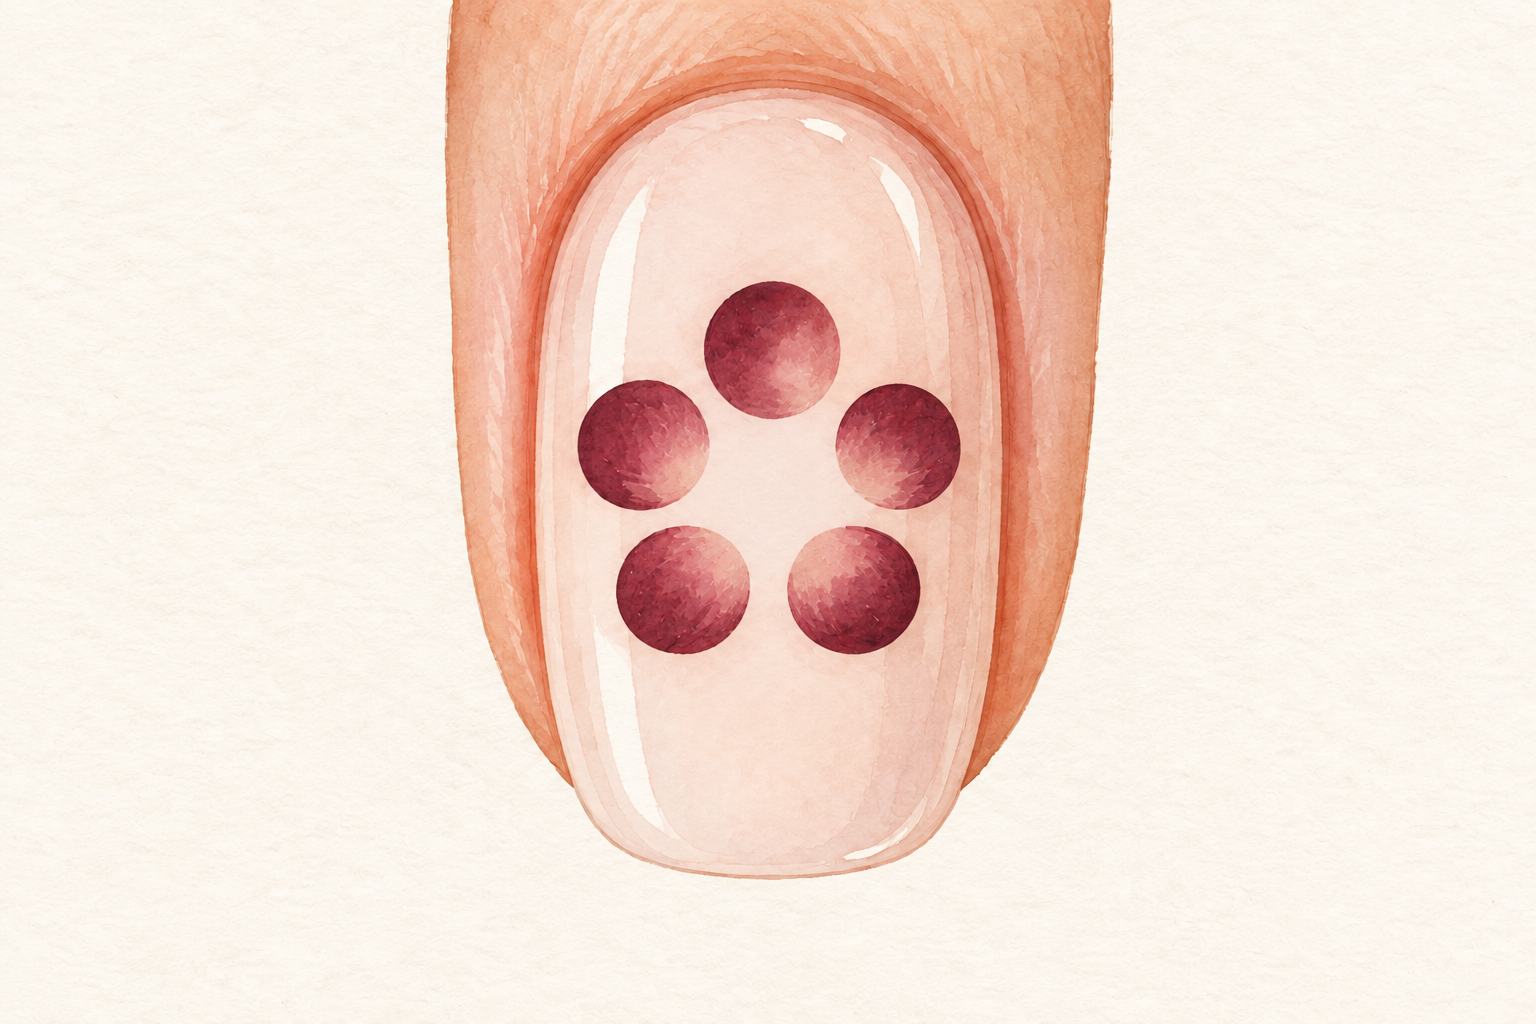
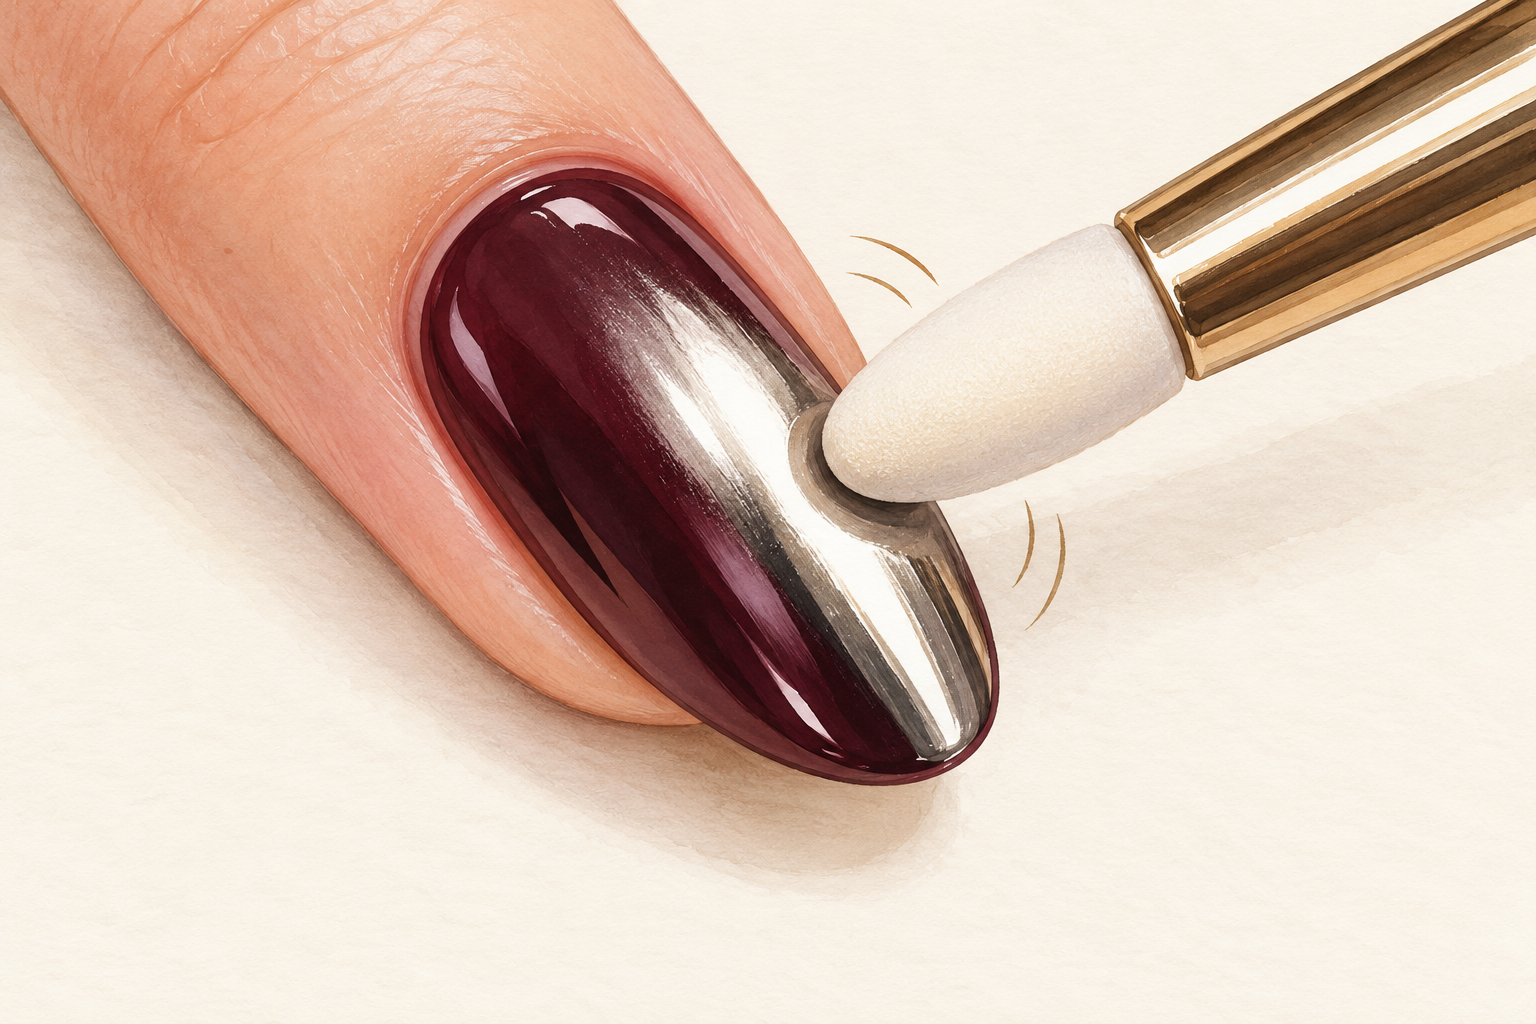
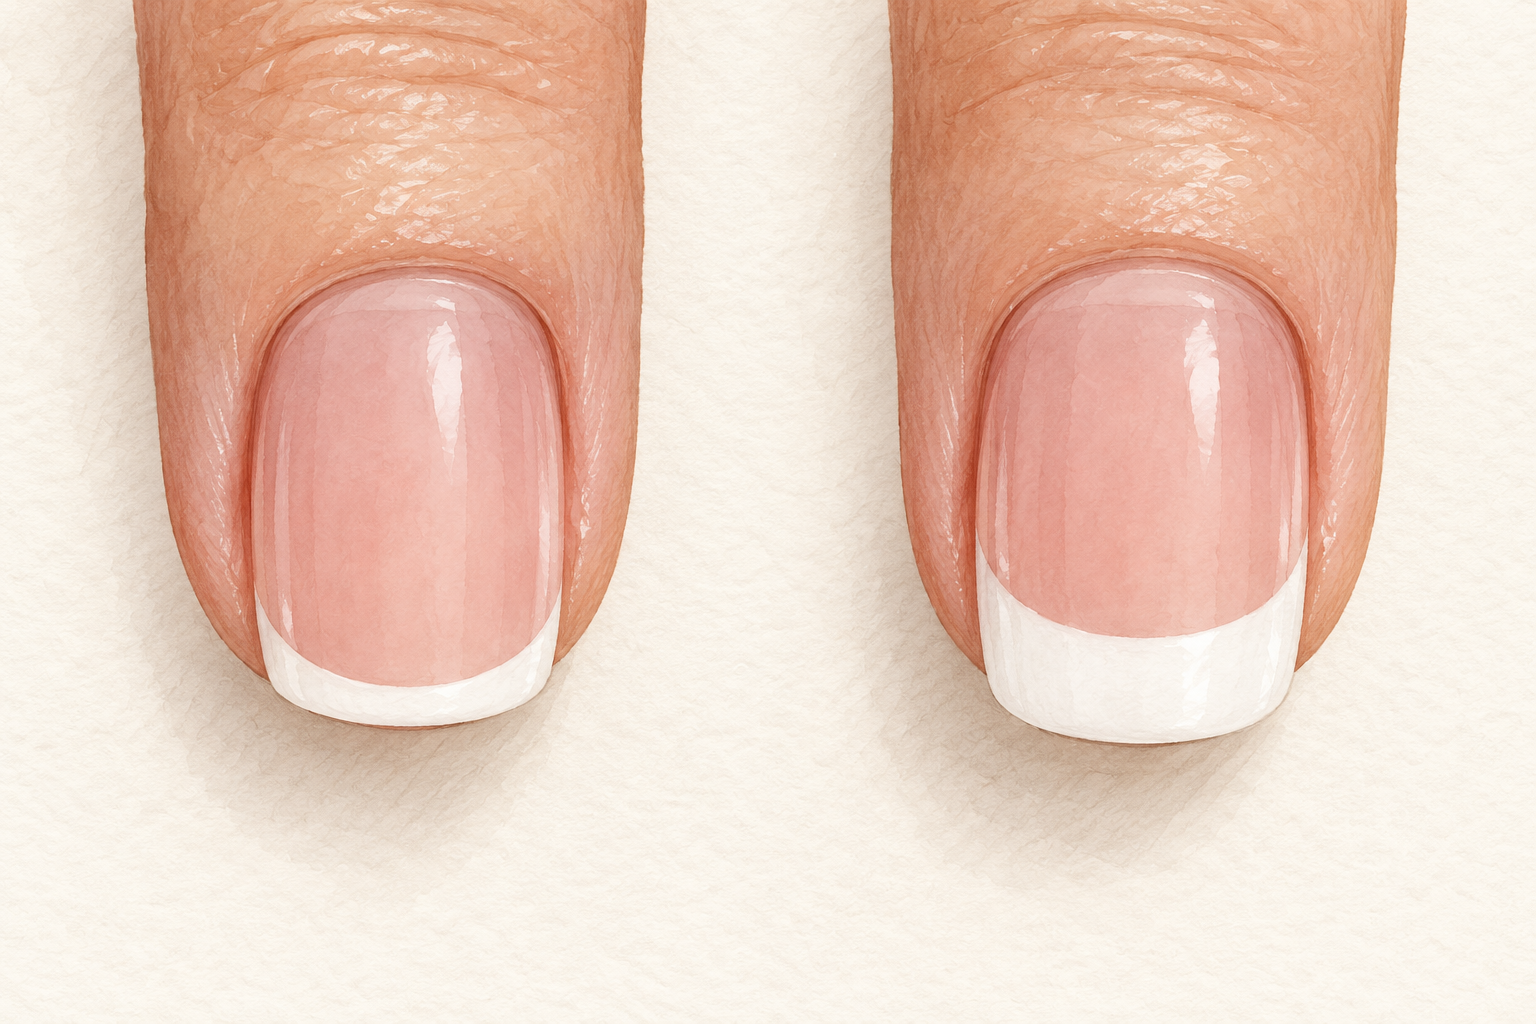
You scrolled past a set of tiny raised roses, bought the gel, and ended up with a flat blob that snagged your sweater by lunchtime. Raised flowers look tricky, but they follow a few calm habits. Here is how to do 3d flowers on nails in 12 steps, small enough to stay put, so start at number one tonight.
1. Practice on a spare tip first
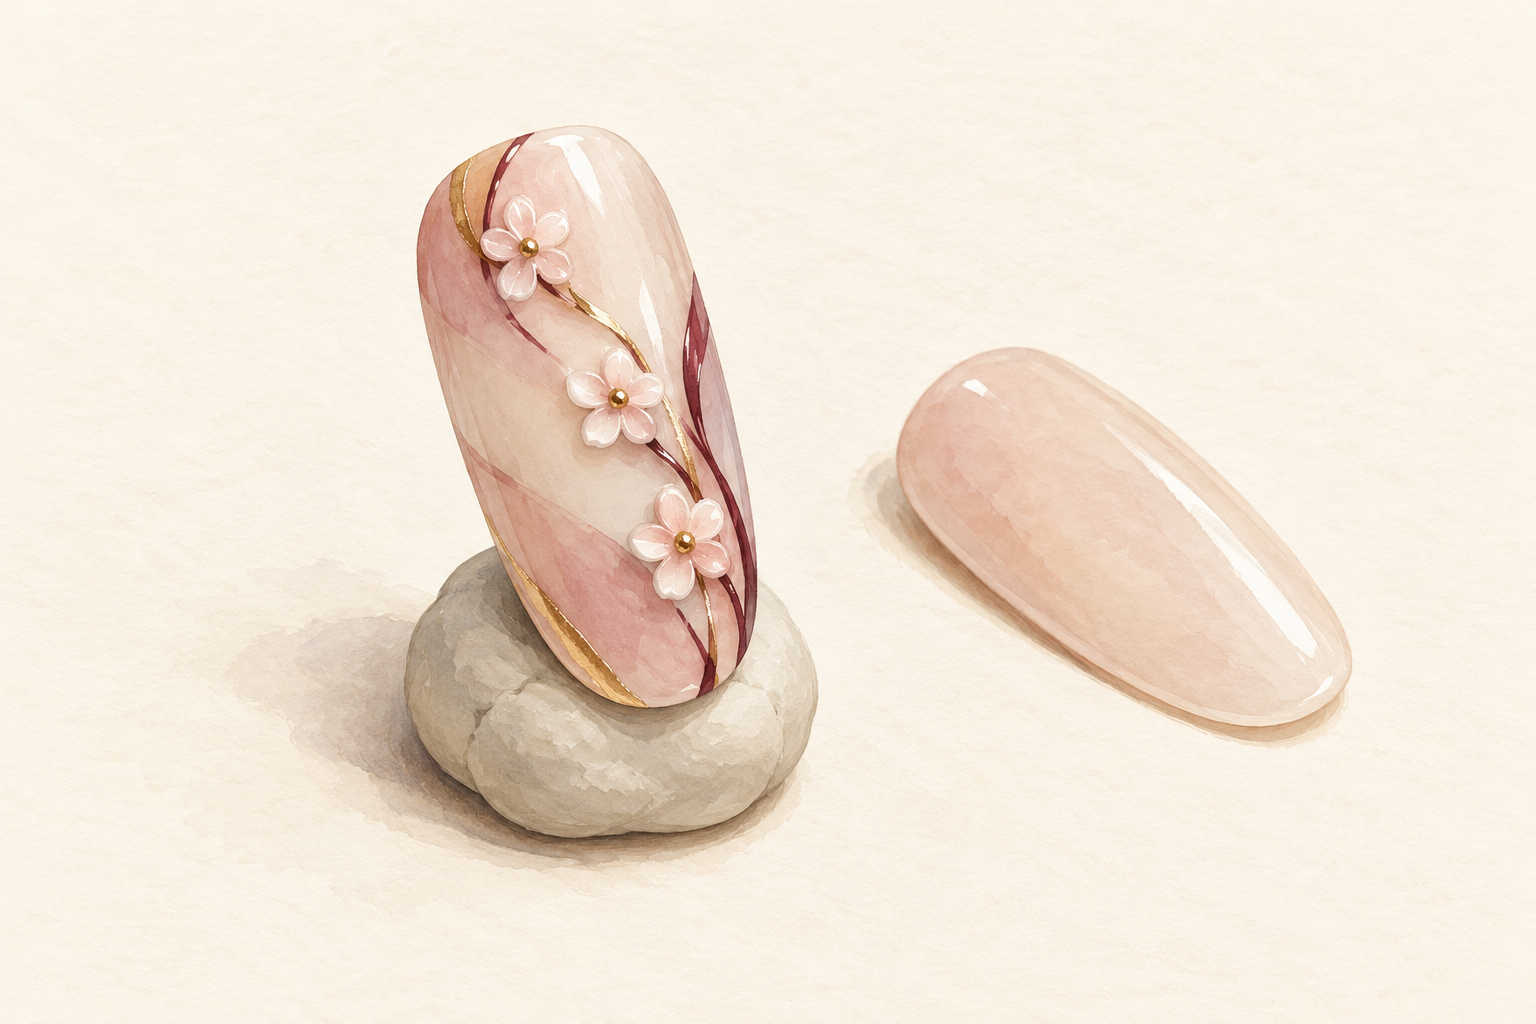
Stick a practice tip to a lump of putty and sculpt three flowers before you touch your own hand. Your first flowers will look like squashed peas, and that is normal. A spare tip lets you see how thick the gel needs to be and how fast it creeps. Make each practice flower about the size of a grain of rice. Cure them, then pick them up and feel the edges. If one feels sharp, it will catch on your hair, so smooth it down and try again. Ten minutes here saves a full set, and it is the quiet secret behind how to do 3d flowers on nails without tears.
2. Choose thick gel that holds its shape
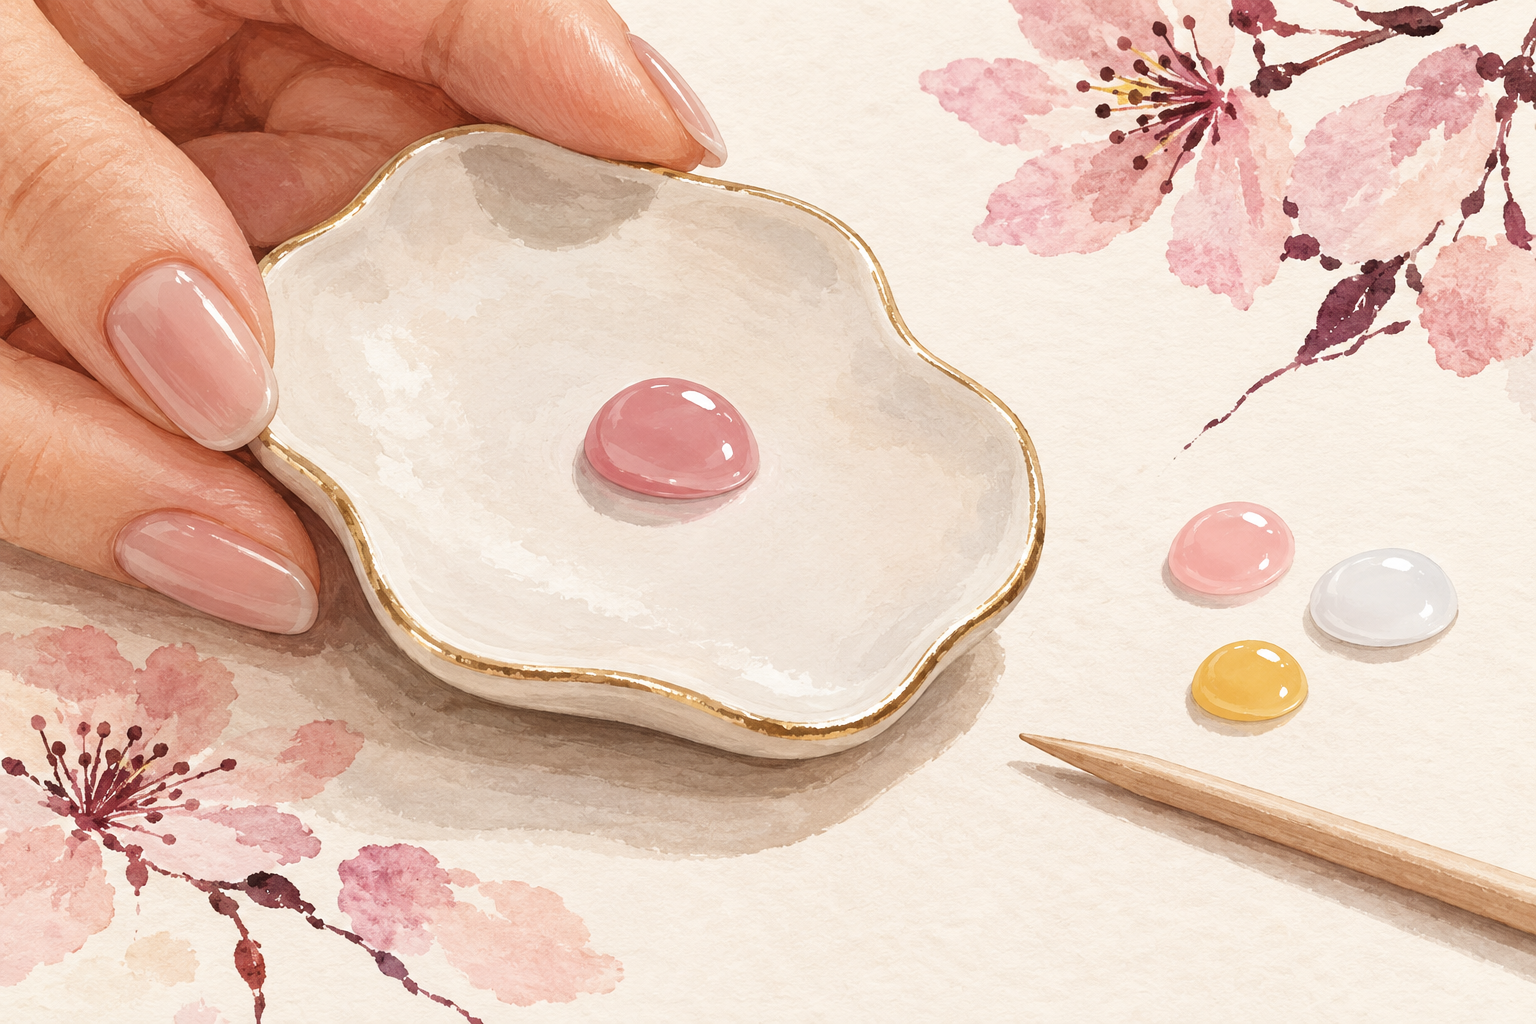
Pick a firm sculpting or 3D gel that stays put when you press it, not a thin runny polish. Thin gel flows downhill before the lamp can set it, and you lose every petal edge. Squeeze a tiny bead onto a palette and tilt it. If it slides, it is too soft. Choose the colors now, such as a white or pale pink for petals and a warm yellow for the centers. Keep the jar closed between uses, because gel hardens and thickens with air and light. Warm a cold pot in your palm for a minute if it feels stiff.
3. Set out a small tool kit
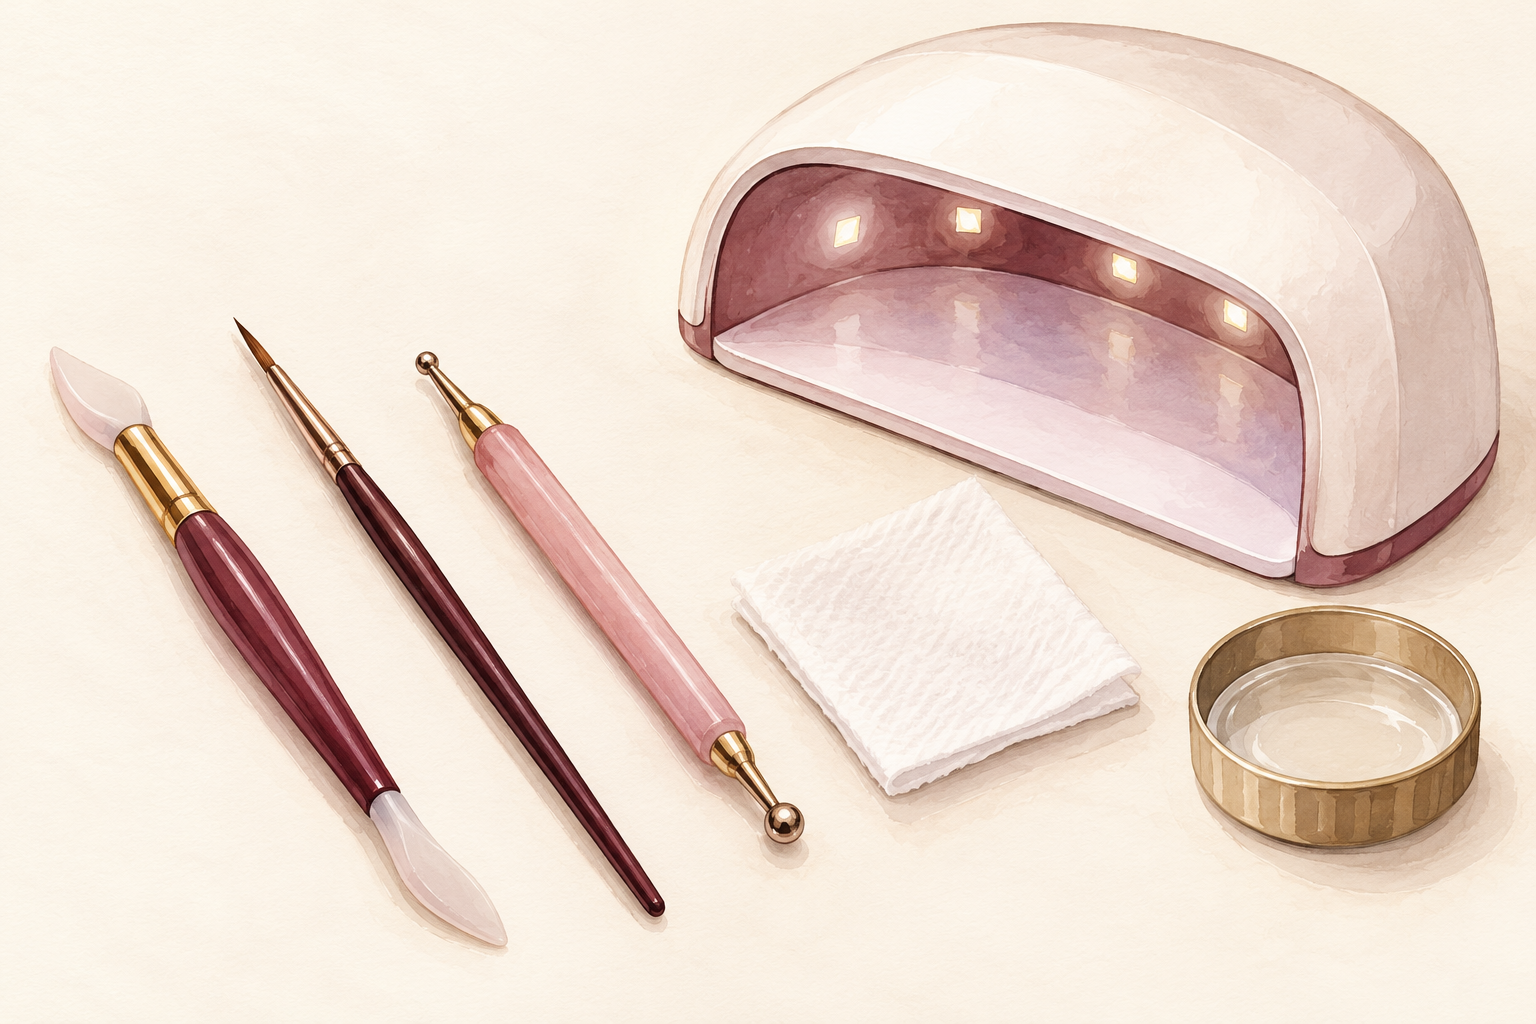
Lay out a silicone sculpting tool, a fine detail brush, a dotting tool and a lint free wipe. Add a little cleanser or alcohol in a lid so you can wipe the tool clean between flowers. Gel clings to a dirty tool and drags the petals out of shape. Put the lamp where you can reach it with your hand still steady, because you will cure every few flowers. Wear a long sleeve you do not mind marking, and tie your hair back so a loose strand never lands in wet gel. A paper towel under your hand catches any drips.
4. Prepare the nail and a tacky base
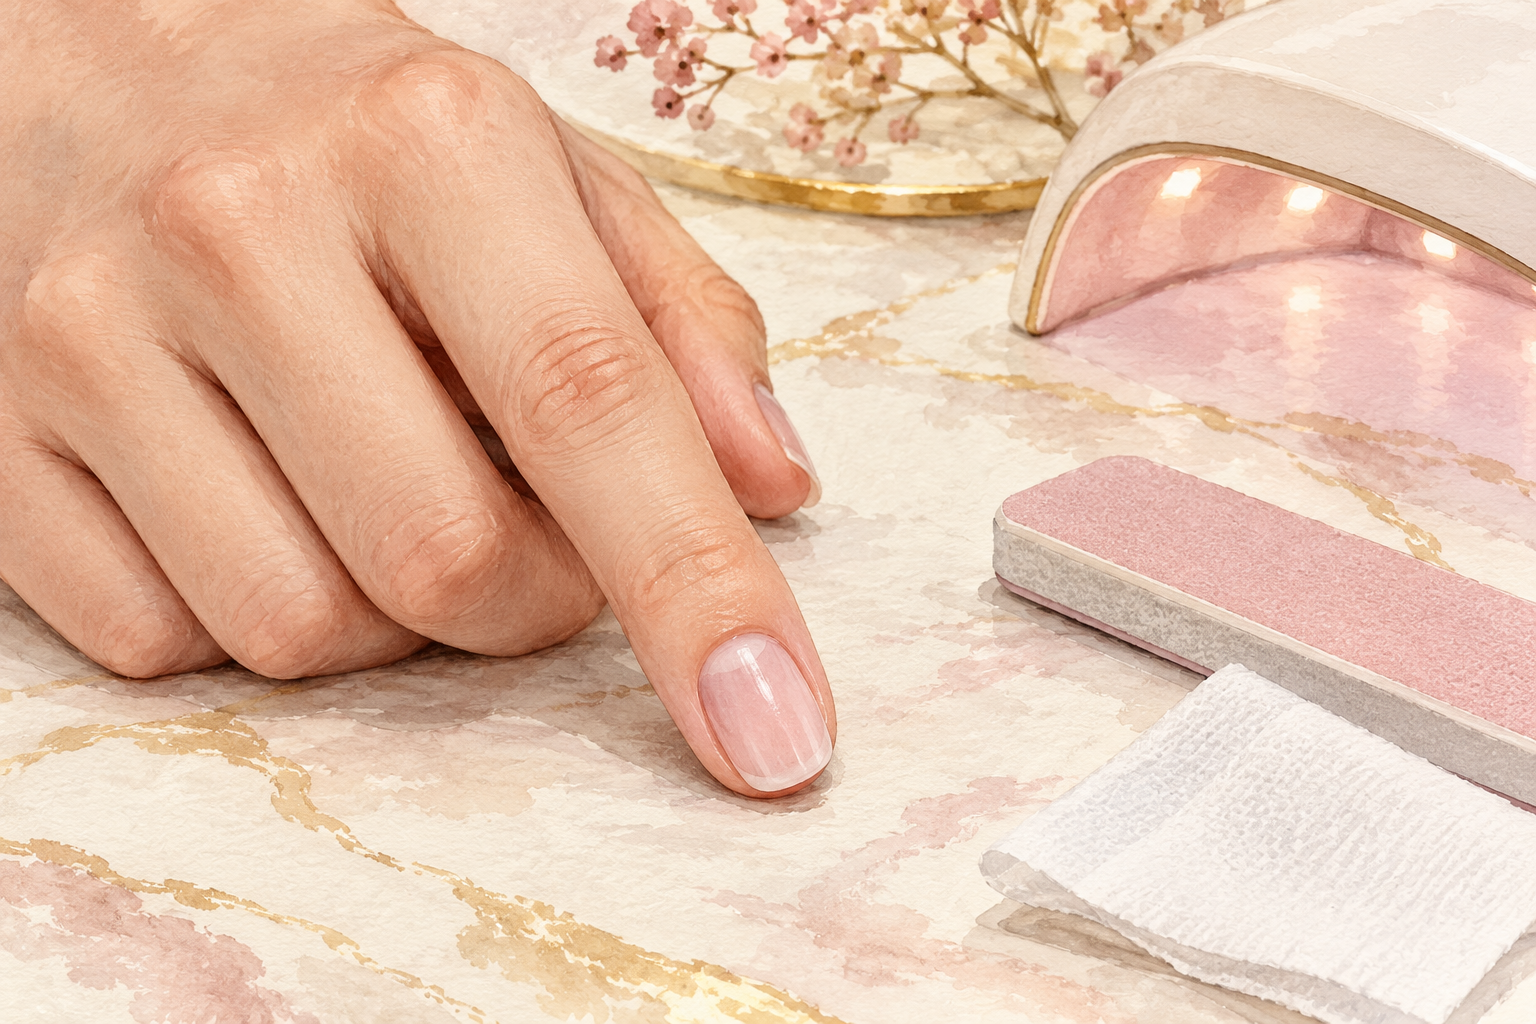
Buff the shine off lightly, wipe the nail, and cure a thin base color coat with a sticky layer left on top. That tacky film is what holds the flower down, so do not wipe it away. A pale nude or sheer pink shows off petals nicely. Cure for the time written on your gel. Keep the polish off your skin, since gel on the skin lifts after a few days and drags the flower with it. Check that the whole nail feels slightly sticky, not wet. If it feels slick, add one more thin coat and cure again.
5. Press out one petal at a time
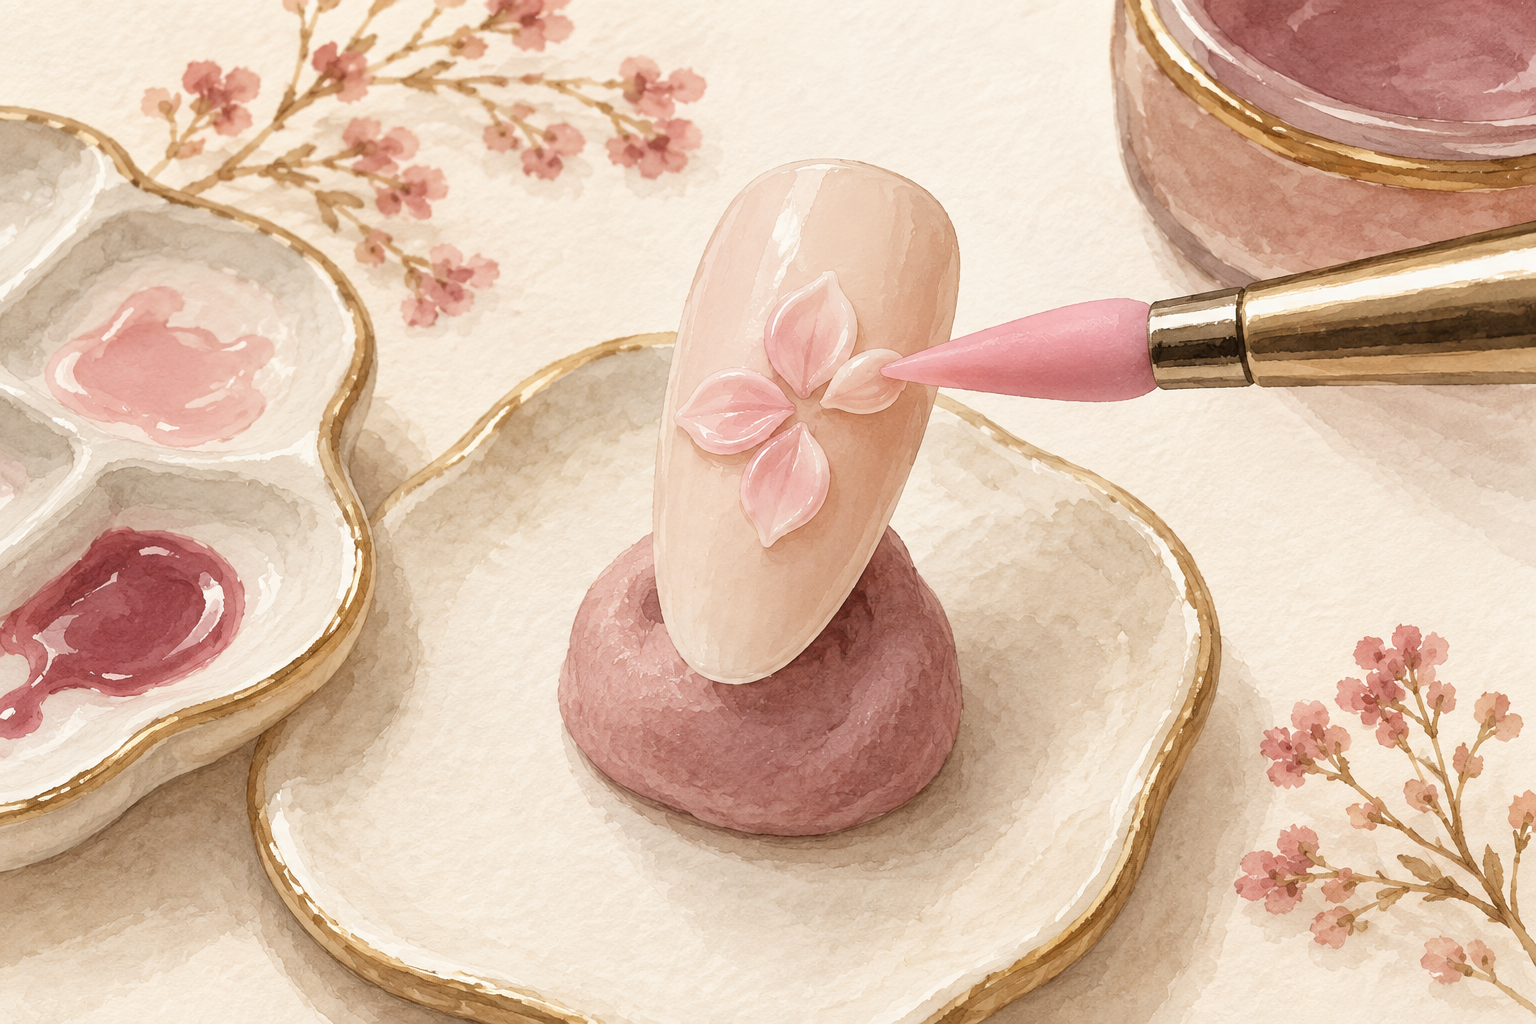
Place a bead the size of a pin head, then flatten and drag it with the tool into a teardrop. Make five petals in a ring, each overlapping the one before it. Wipe the tool clean after every petal, or the gel smears. Keep every petal thin, because chunky petals are the ones that catch. Cure after the third petal to lock the first ones in, then finish the ring. If a petal looks wonky, wipe it off with the tool before curing, then redo it. Aim for petals about the thickness of a credit card edge, no thicker.
6. Add the center and cure fully
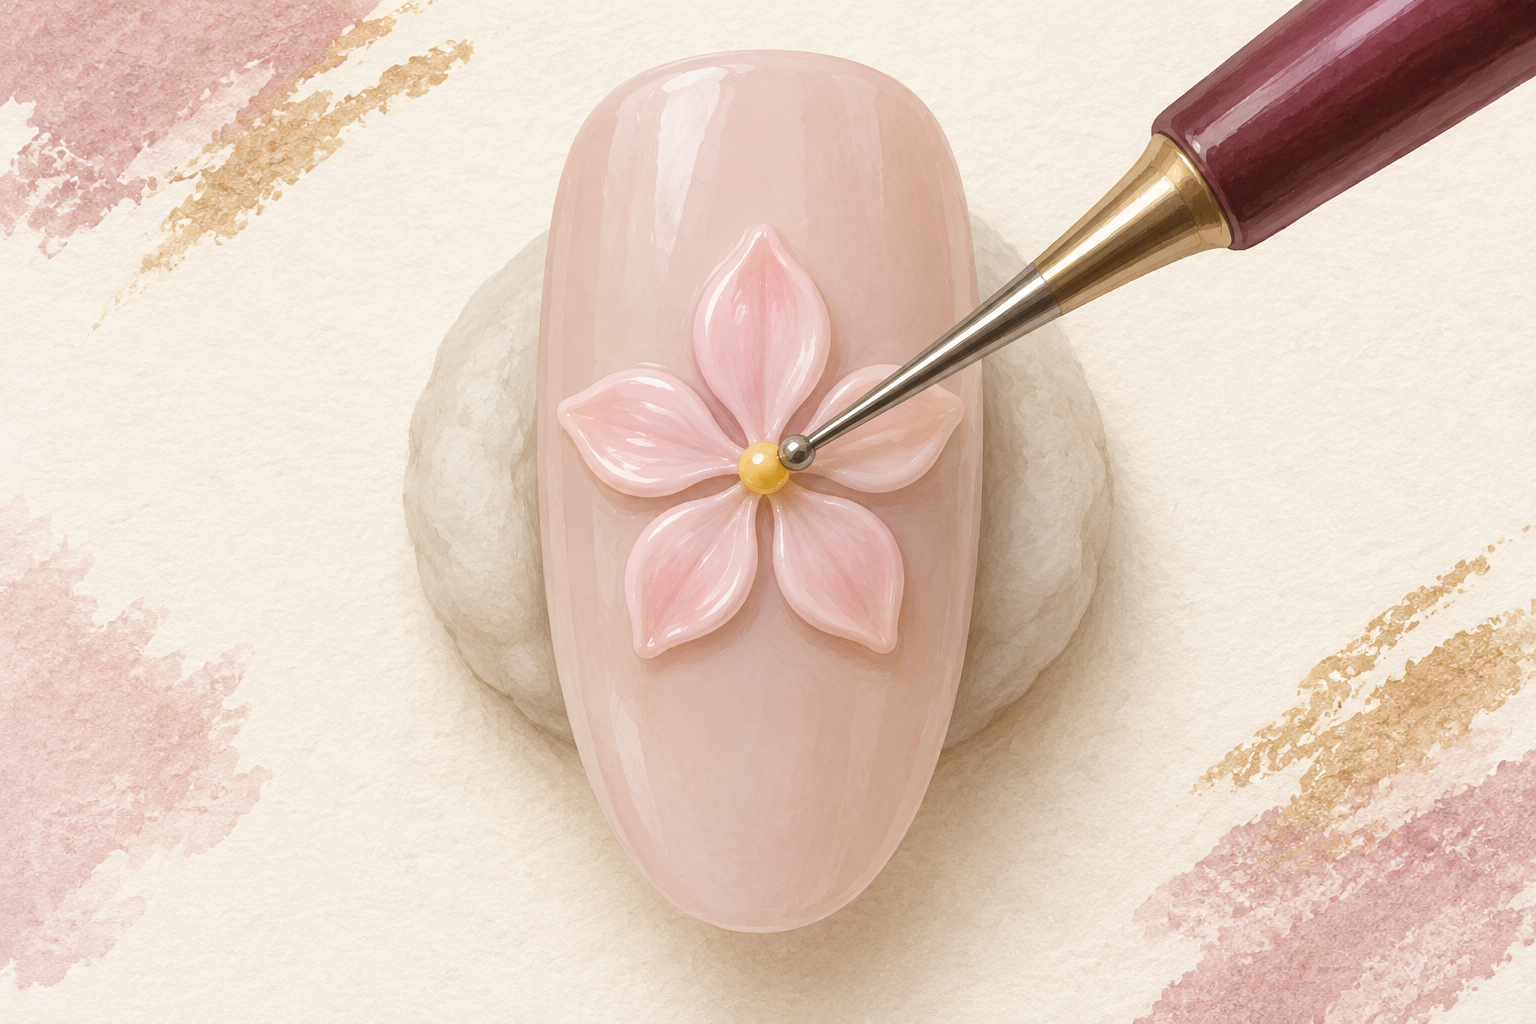
Dot a tiny yellow bead in the middle of the petals and cure for the full time. Press the dotting tool down and lift straight up, so the bead stands like a little hill. Add two or three smaller dots around it for a lifelike look. A flower under cured in the middle stays soft and slides off weeks later, so give it a few extra seconds under the lamp. After curing, run a fingertip over the flower gently. Nothing should feel sharp, wet or loose. If the center tilts to one side, press it flat with the dotting tool before you move on.
7. Place the flower low and keep it small
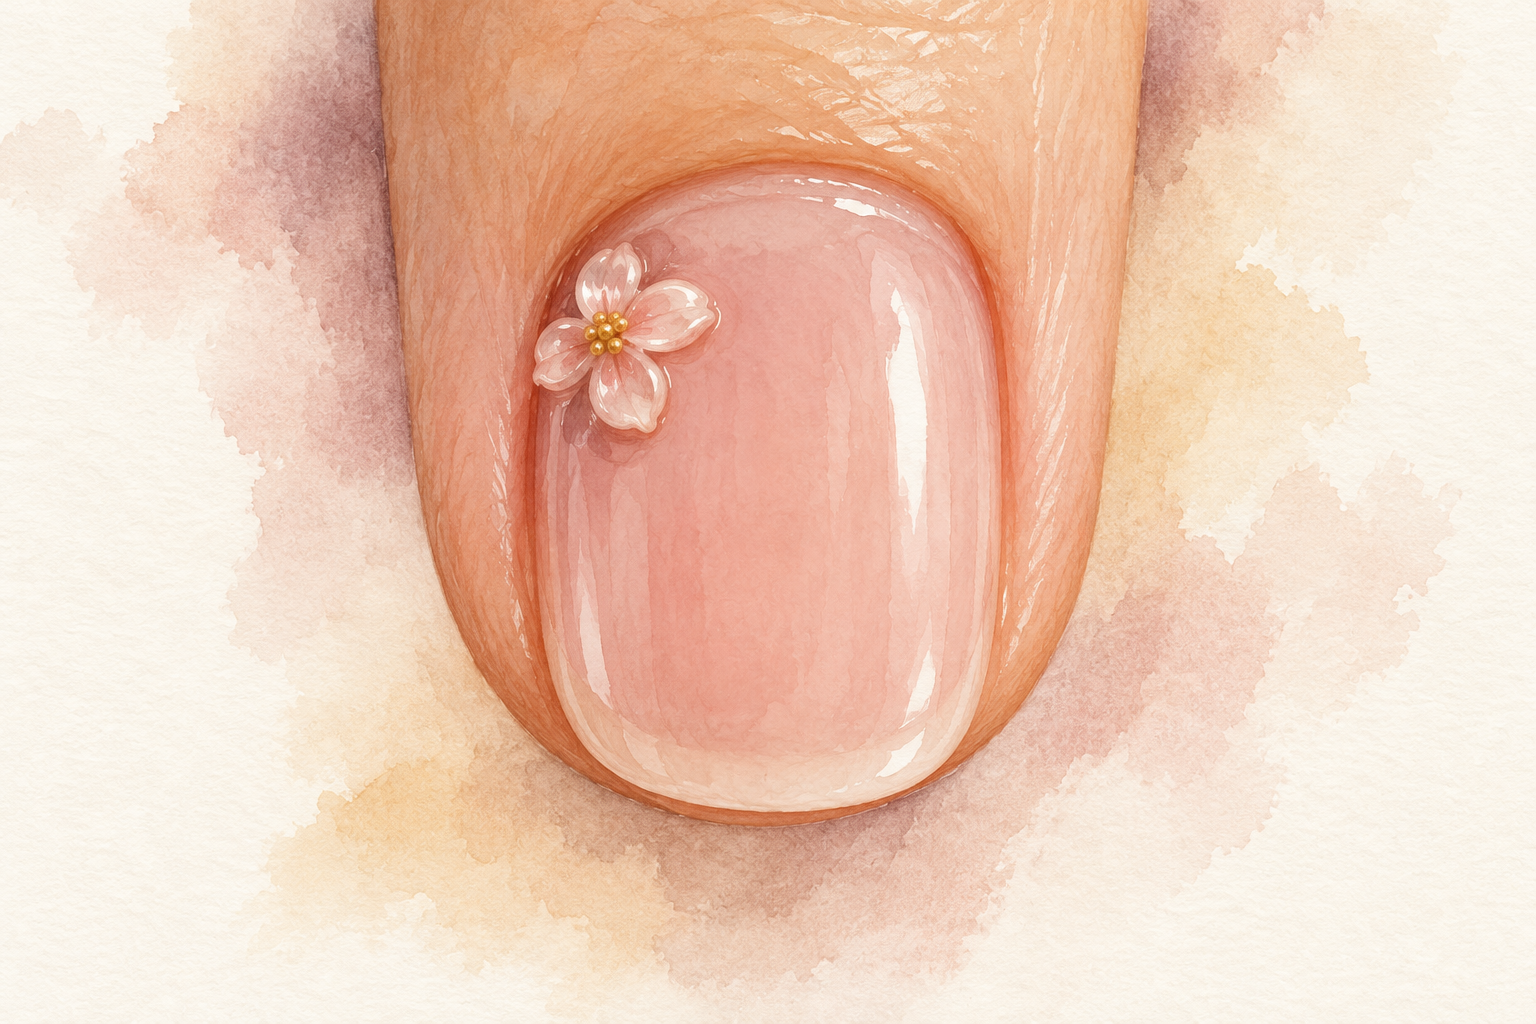
Put the flower near the cuticle or on the side of one nail, and keep it under the size of a pea. A flower in the middle of the free edge will hook your hair and sweater every time. Do one or two accent nails only, and leave the rest smooth. Think of it as a brooch, not a bouquet. Run your palm slowly across a wool sleeve once the set is done. If it grabs, the flower is too tall or too sharp, so file it down a touch with a fine file, using light strokes over the top of the petals. Keep the first flower small, and save how to do flowers on nails for later.
8. Seal the edges with top coat
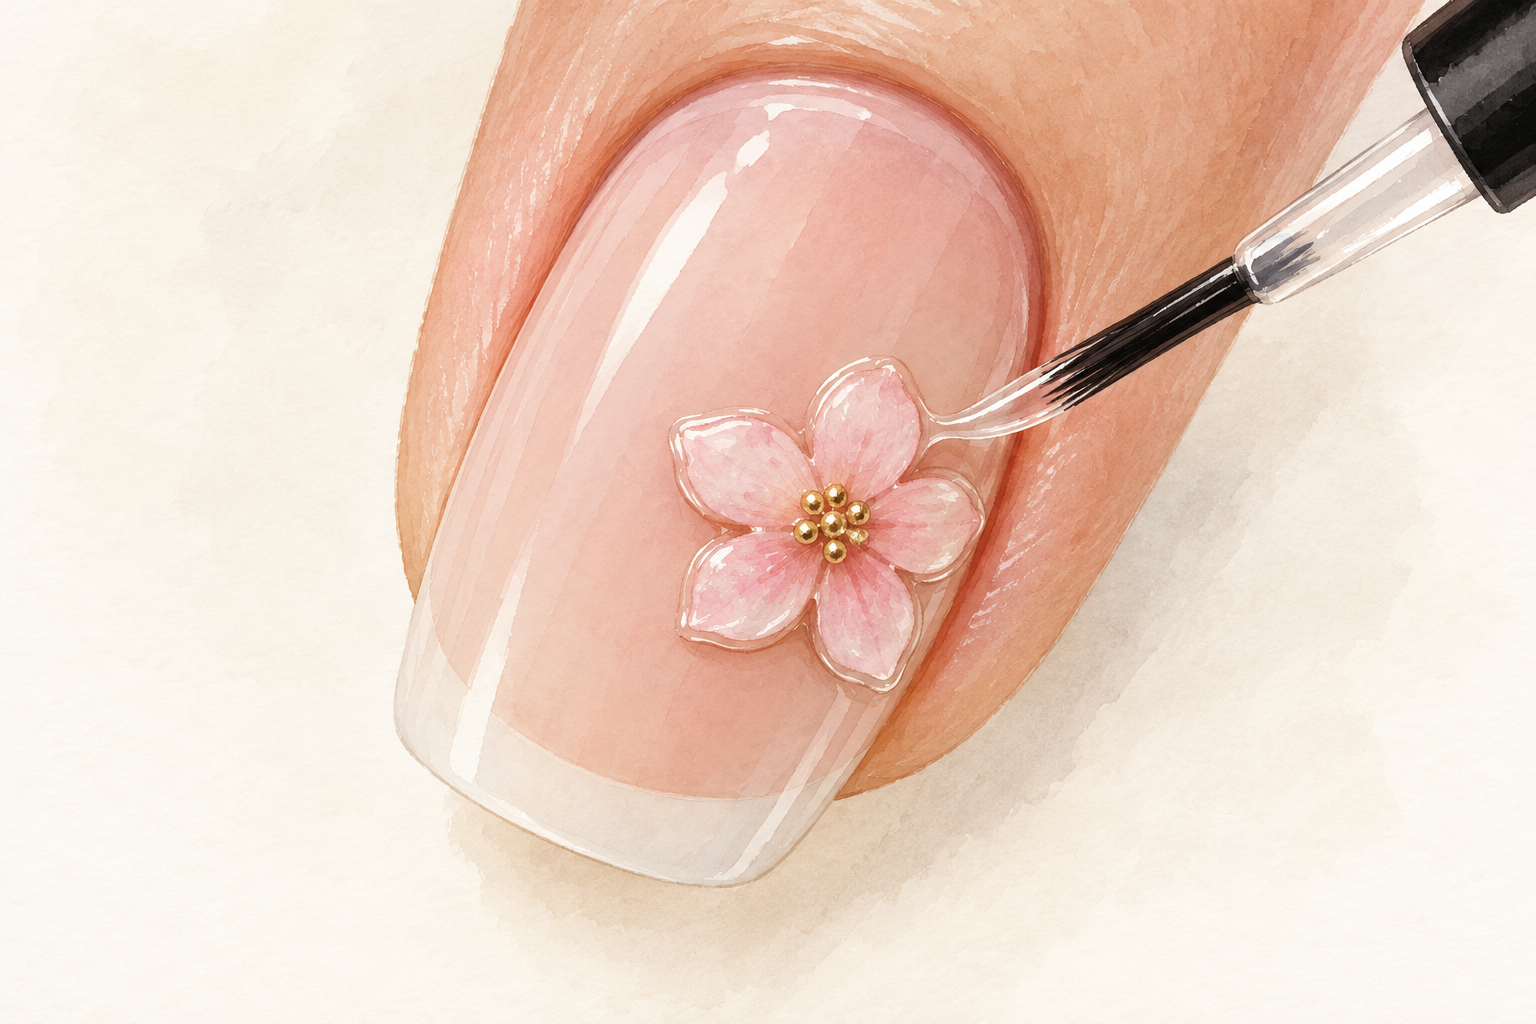
Brush a thin line of top coat around the outside of the flower, then cure it. The seal stops the edge lifting, and it keeps lint and fibers from getting stuck in the tiny gaps. Leave the flower itself matte if you like a soft look, or dab a drop of top coat on each petal for shine. Cap the free edge of the nail too. Do the rest of the nail with an ordinary thin top coat, and wipe off the sticky layer last with cleanser. The shine makes the whole nail look tidy and finished. Shine like this sets up a mirror look nicely, and you can try how to do chrome nails next.
9. Fix flat petals and creeping gel
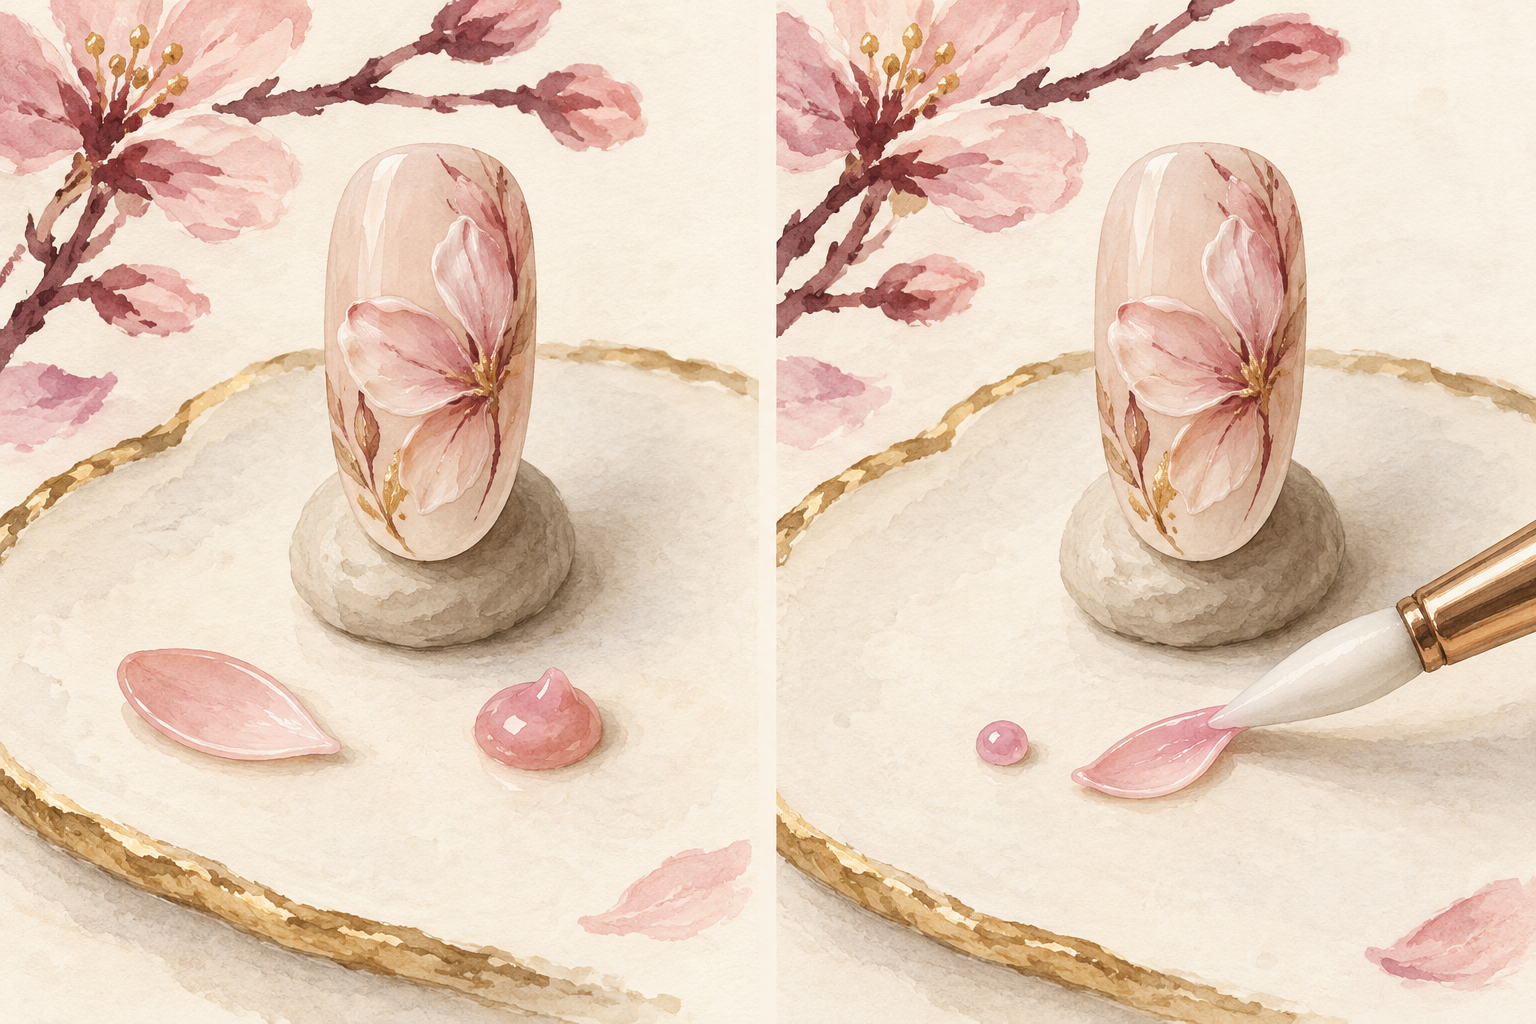
If the petals look flat, you used too much gel, so pick up less and press once. If the gel crept, let it sit for ten seconds, or flash cure it for five, before you shape it. If an edge is lifting, wipe it back, add a drop of sticky base and set the petal again. Never keep poking at gel that has started to set. Take it off with a wipe and begin that petal again, since a fresh try always beats a worked over one. Patience here is worth more than any extra tool.
10. Know what week one and week two look like
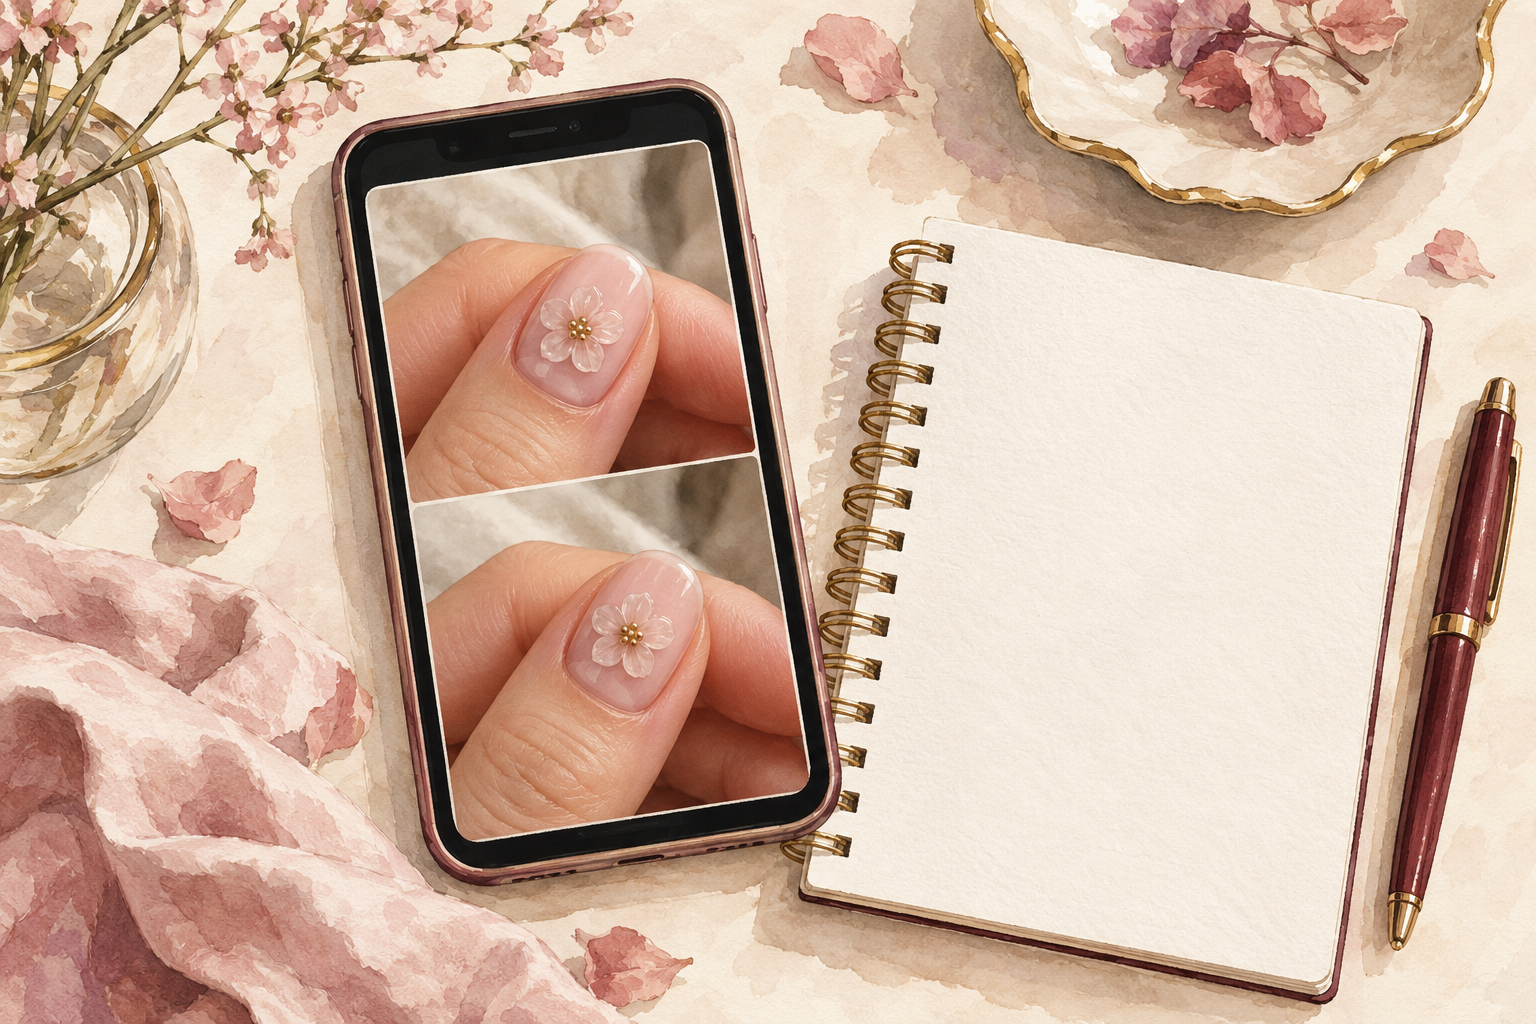
Expect a crisp flower on day one and a slightly softer one by day ten. Petals may dull a little and the edges may collect a speck of lint, which is normal. By week two, check each flower by gently pressing the side with a fingernail. If it wobbles, it is time to take it off or reseal it. Write the date you did it on your phone so you remember. A well sealed flower should last the full two weeks of a normal gel set. Keep a drop of top coat nearby for quick touch ups on days four and eight.
11. Live gently with a raised design
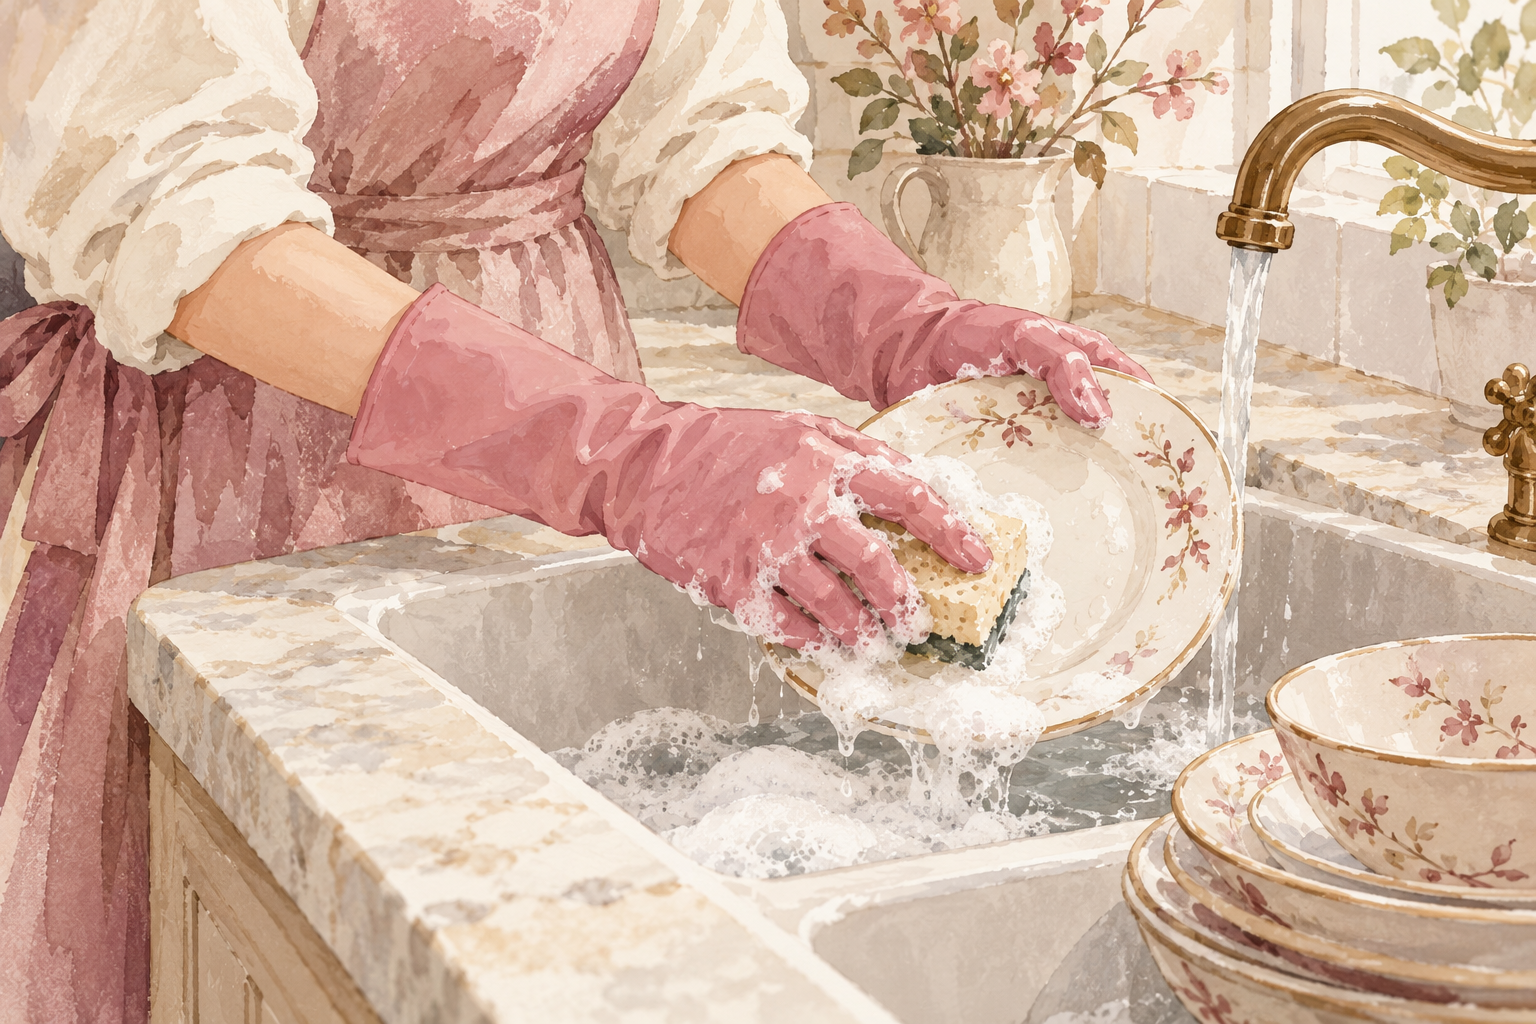
Treat the flowers like a pretty brooch and keep them away from pockets, zips and tight sleeves. Wear gloves for washing up, because hot water softens the gel edge over time. Pull your hair back before you put on a sweater. Use your finger pads to pick things up, not the flower. If you do catch one, stop pulling and unhook it slowly, rather than yanking. A little pressure on the side is how a flower pops off, so go slowly. Keep your nails short and your sleeves smooth for the first two days, while everything is still settling.
12. Remove them without peeling
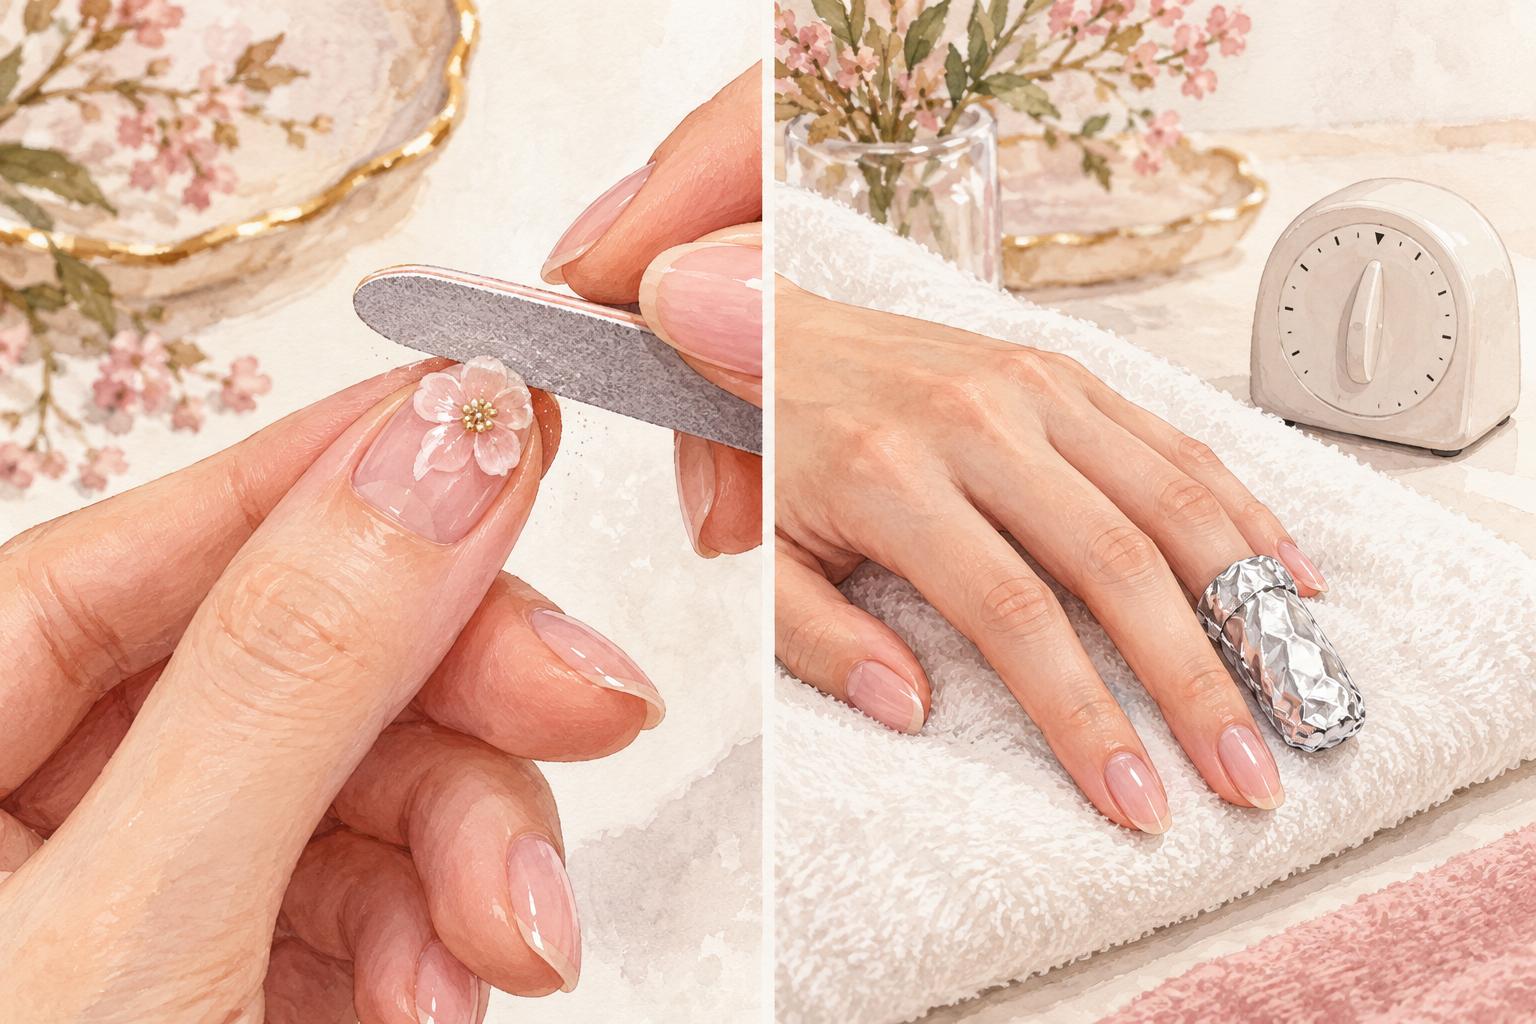
File the top of the flower down first, then soak off the rest in foil wrapped cotton. Do not peel or pry, because the raised piece takes layers of your own nail with it. Filing thins the gel so the remover can reach it, and ten to fifteen minutes in the foil does the rest. Push the softened gel off with a soft stick. Rub in cuticle oil and leave the nails bare for a few days before your next set. Your nails will look a little dull and thin at first, and that fades after a few nights of oil.
Complete the Look: How to Do 3D Flowers on Nails That Last
Start with one accent nail and a spare tip, then add a second flower once the first feels easy. Taking it slowly is the whole idea, so keep the rest of your nails simple and open one more guide below this week.