You sit down with a bottle of polish and a free evening, and twenty minutes later there is color on your skin, a smudge on your thumb and one nail you can already tell is wrong. Those little disasters are normal when you are learning how to do nails for beginners, and every one has a simple fix. Here are 12 in the order they happen, so start at number one tonight.
1. Start on clean, dry, oil free nails
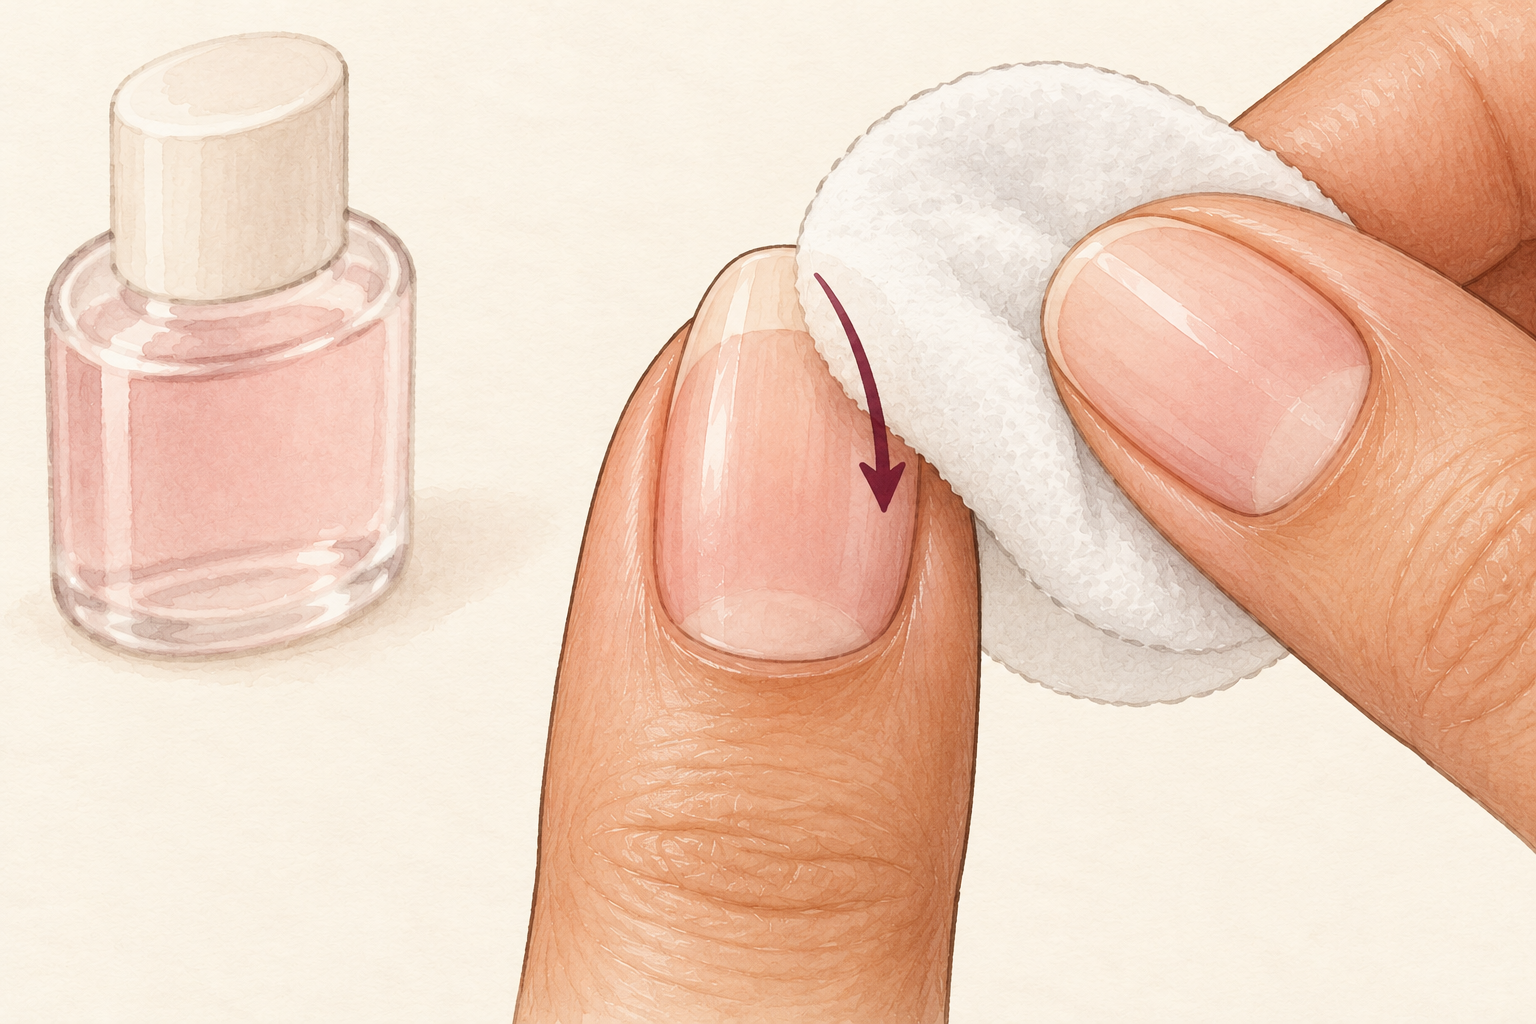
Wash your hands with soap, dry them fully, then wipe each nail with a pad lightly wet with remover. Hand cream, natural oil and leftover water all stop polish gripping, and then it peels within a day. Skip cream until the polish has dried. It is the easiest fix on this list, and it helps more than any fancy bottle, which is why it comes first. If you only remember one thing from how to do nails for beginners, remember that polish needs a bare nail to hold on to. Do this even if your nails look clean, because invisible oil is the usual culprit.
2. Leave your cuticles alone
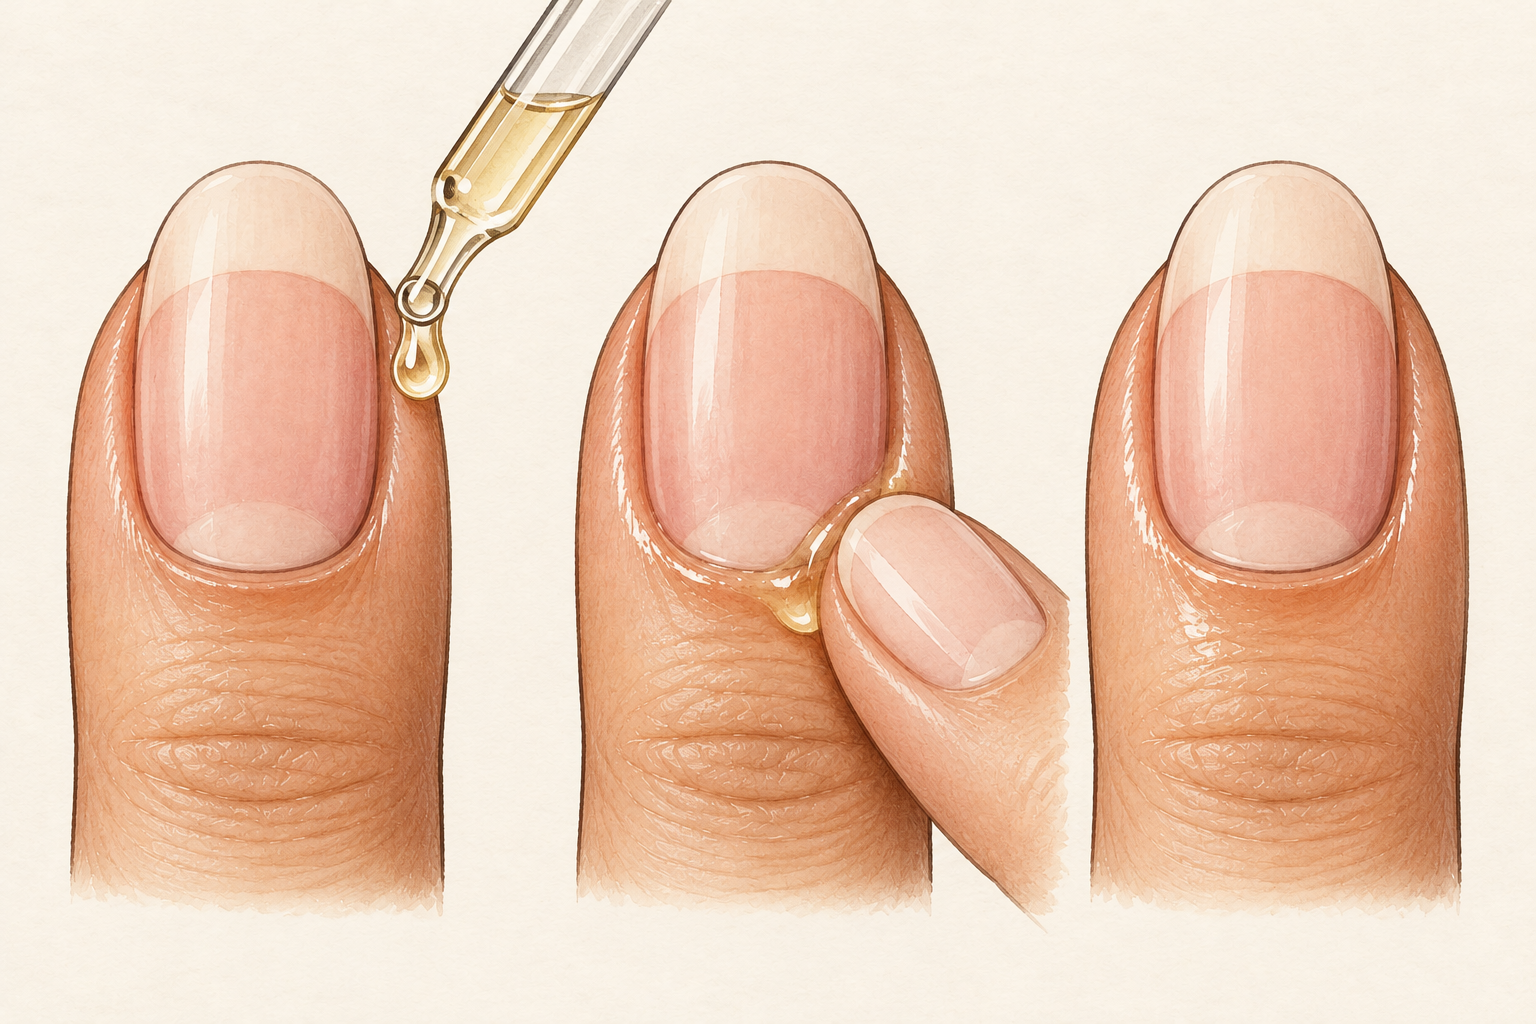
Soften the cuticle with a drop of oil, then ease it back lightly with a wooden stick after a shower. New painters often cut the cuticle for a neater line, but cutting leaves the skin raw and the edge rougher. A little oil rubbed in every day gives you a tidier line than any nipper. If a hangnail catches, clip only that small piece and leave the rest. The skin there seals the nail, so cutting it is asking for sore, puffy fingertips. Keep your pushes gentle, and stop if the skin tugs. Soft, tidy cuticles are the sign you are doing it right.
3. File in one direction
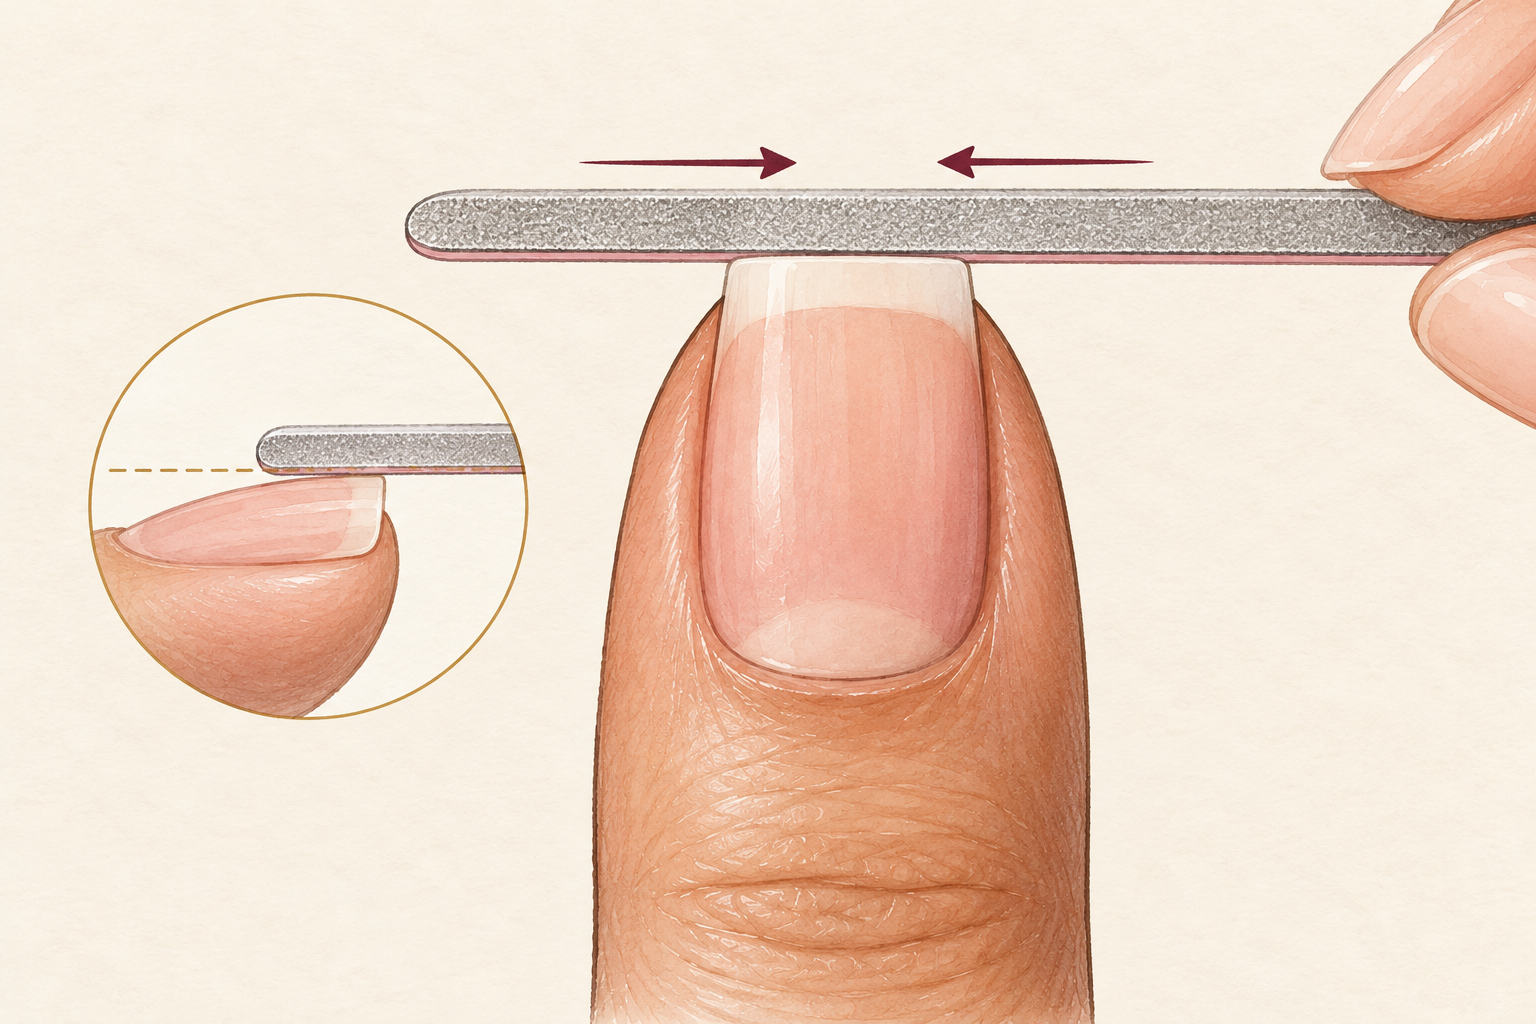
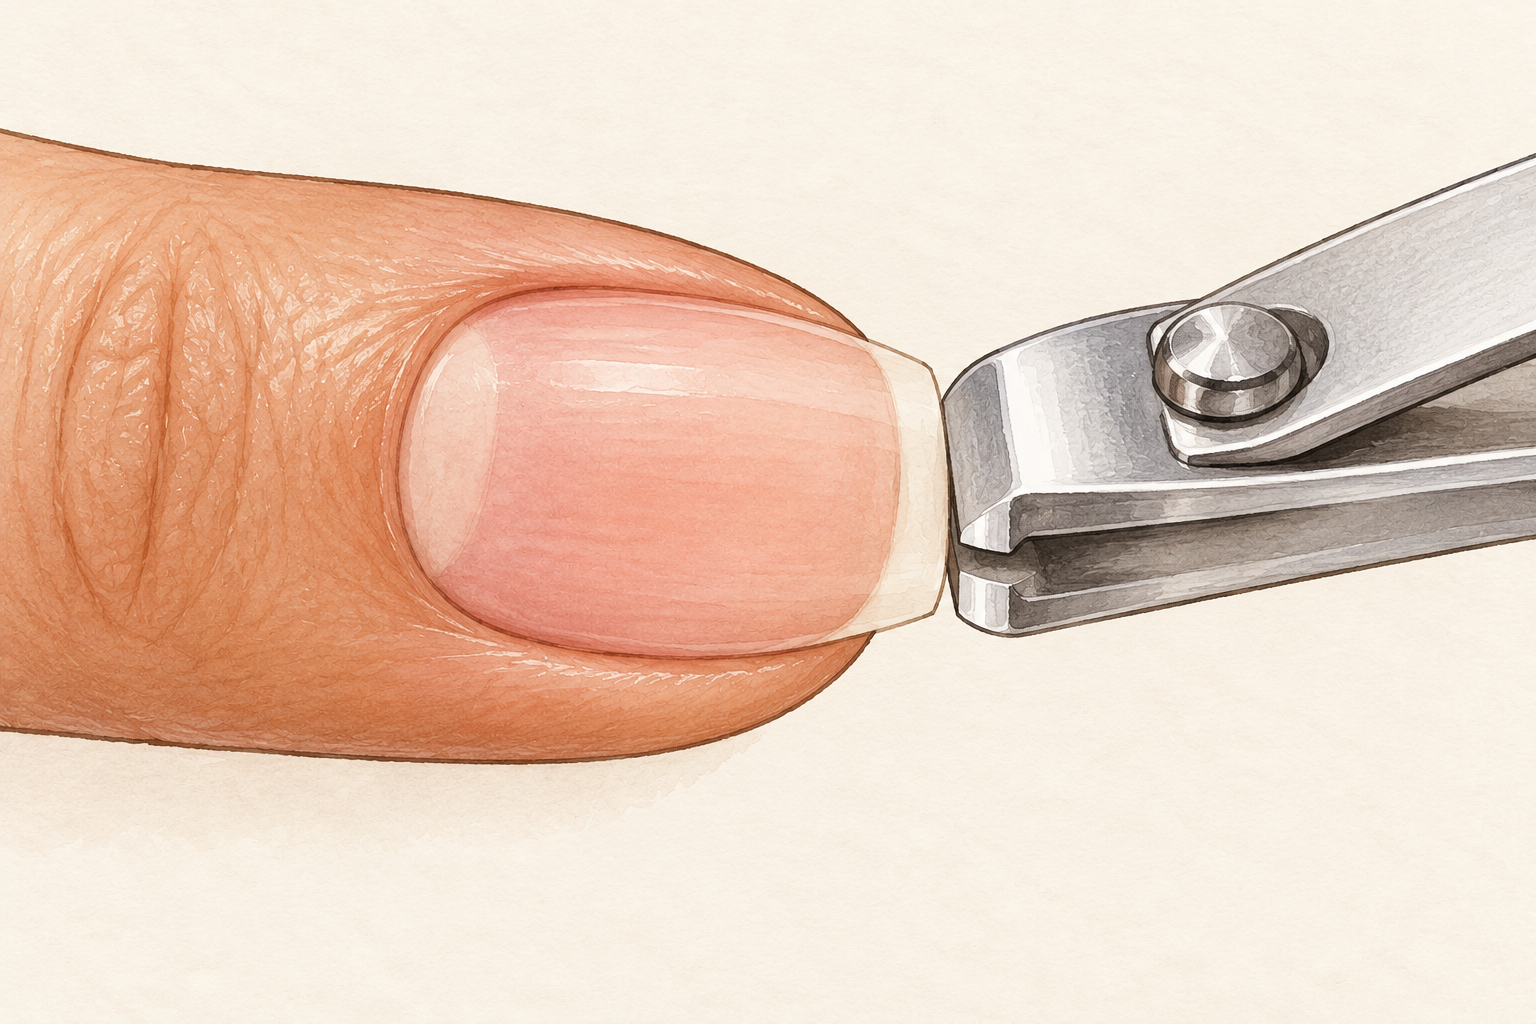
Glide a fine file from the side toward the center, lift it, and go again, never sawing back and forth. Sawing roughs up the layers of the tip and leads to peeling. Match all ten nails to one simple shape, such as a soft square, and keep the corners lightly rounded. If a nail snaps, trim it straight across and file again from the start. A glass file is kind to the nail and rinses clean under the tap. Run a fingertip along each edge, and file once more wherever it catches on your skin.
4. Never skip the base coat
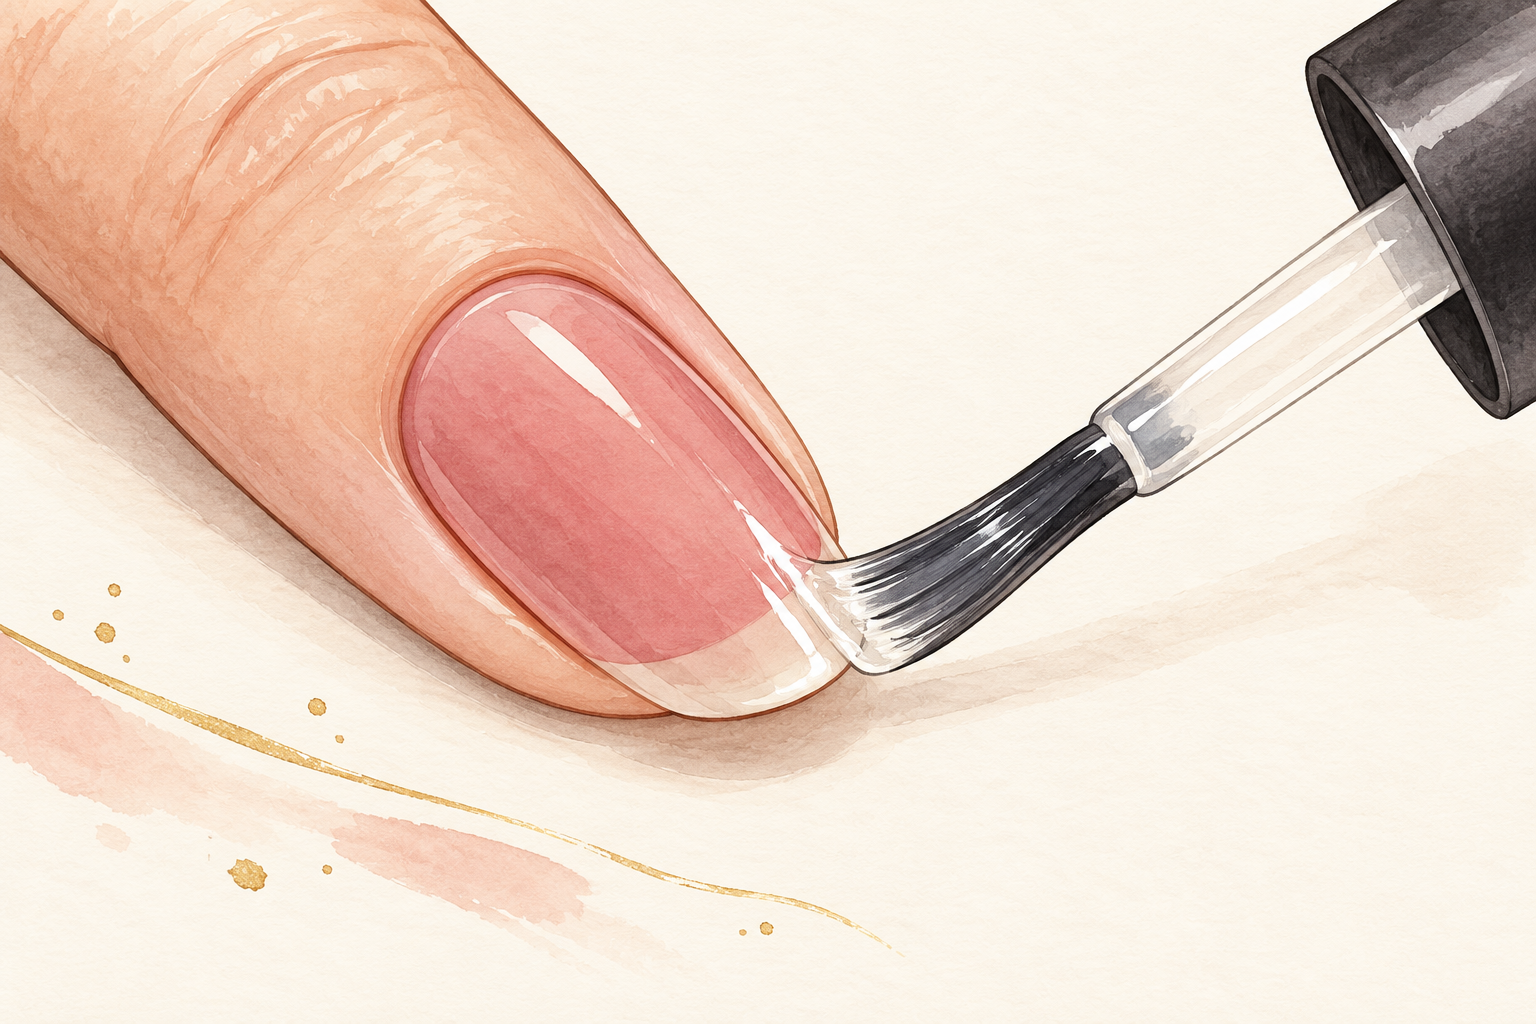
Brush one thin clear layer over every nail and wait about two minutes. Without a base, bright and dark colors stain bare nails yellow and chip sooner. The base gives color something to hold on to and keeps the pigment off the surface. It feels like an extra step, but it takes under a minute for all ten nails. You will see the difference when you take the polish off, because the nails stay clean and pale. Do not paint thick, since a base is meant to be a whisper of a layer.
5. Use thin coats, not one thick one
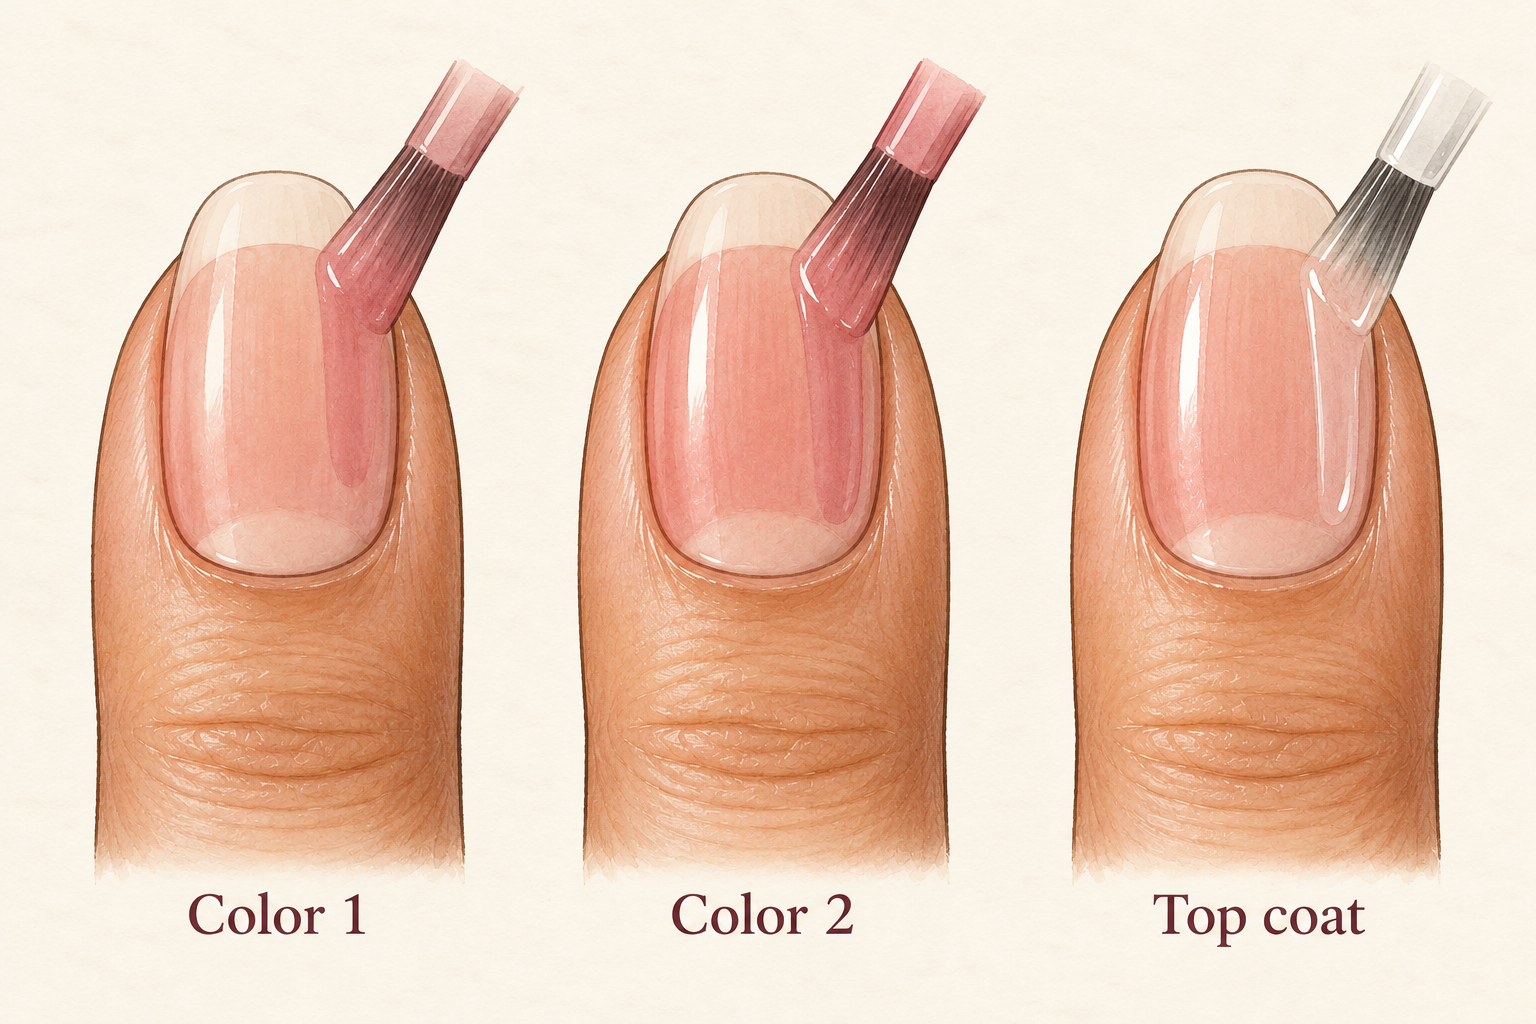
Wipe most of the polish off one side of the brush, then paint two thin coats with a couple of minutes between them. A thick coat stays wet underneath, so it smudges, bubbles and dents even when the top feels dry. If the color still looks patchy, add a third thin layer rather than a heavier second one. Thin coats are the quiet secret behind how to do nails for beginners without bubbles. Roll the bottle between your palms to mix it, since shaking adds air. If a brush has too much on it, stroke it against the bottle neck once more.
6. Learn the three stroke method
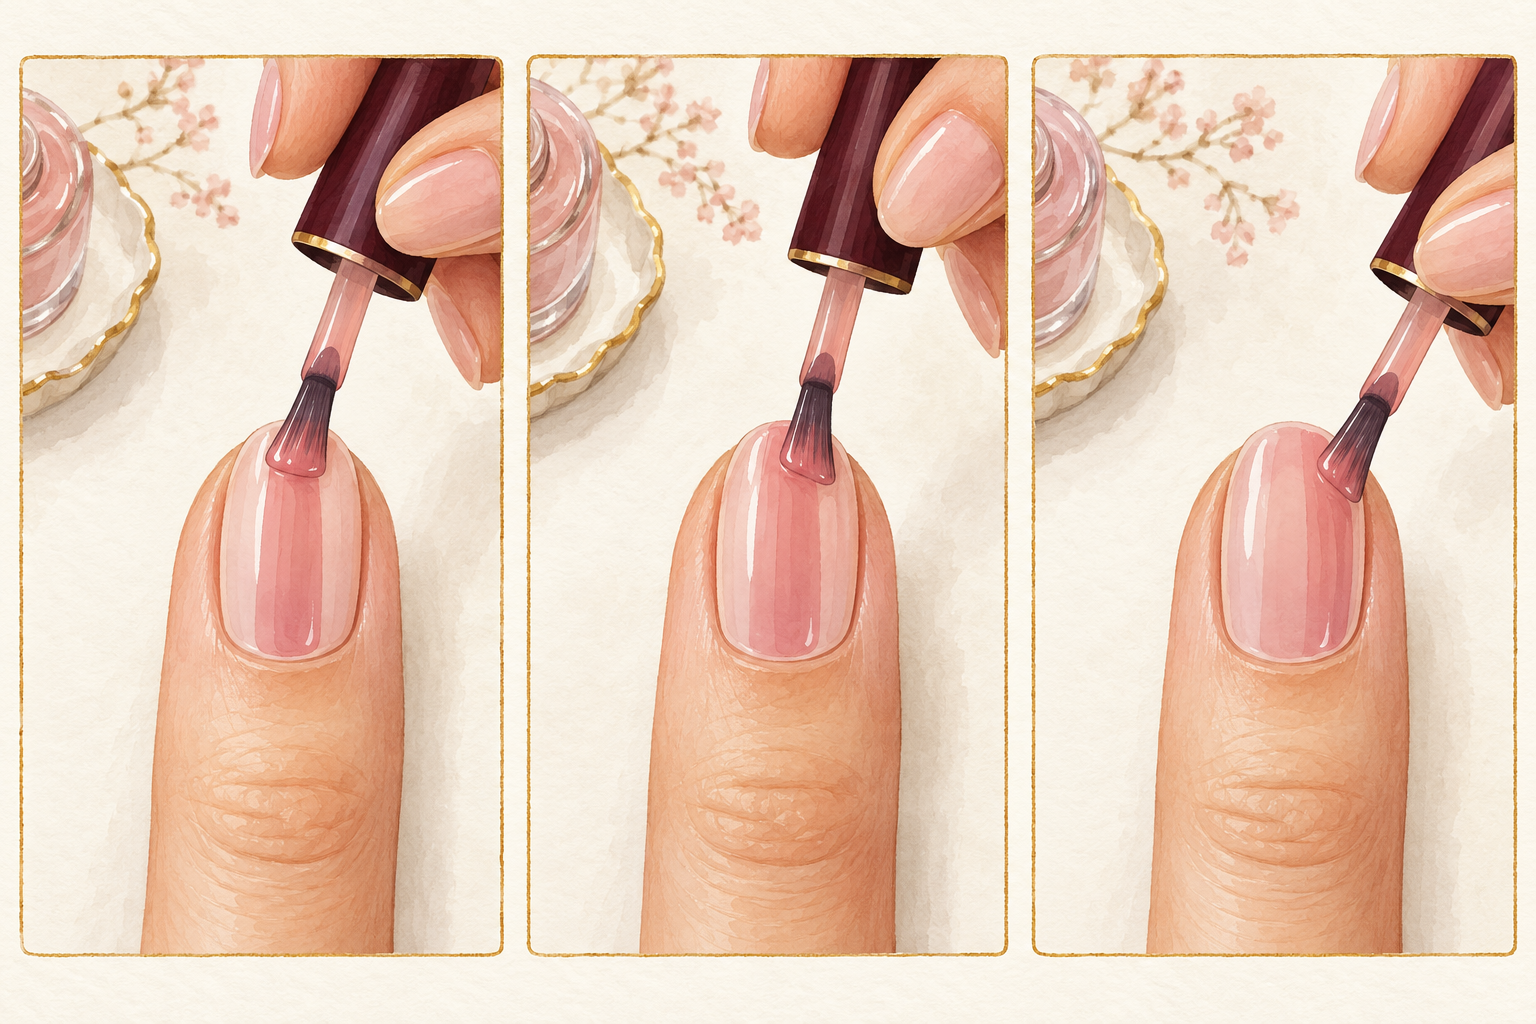
Place a bead near the base of the nail, press it down gently, then pull to the tip down the center. Do one stroke on each side to finish. Leave a hair’s width of gap at the skin so the polish does not flood the cuticle. If you do flood it, wipe the mistake with a small brush dipped in remover before it dries, not afterwards. Rest your painting hand on the table so it stays steady, and breathe out as you stroke. Start with your weaker hand, because the first nails always turn out neater, and your confidence builds for the harder hand. Warm up the weaker hand first, then look at how to paint nails for the rest of the routine.
7. Clean up mistakes the right way
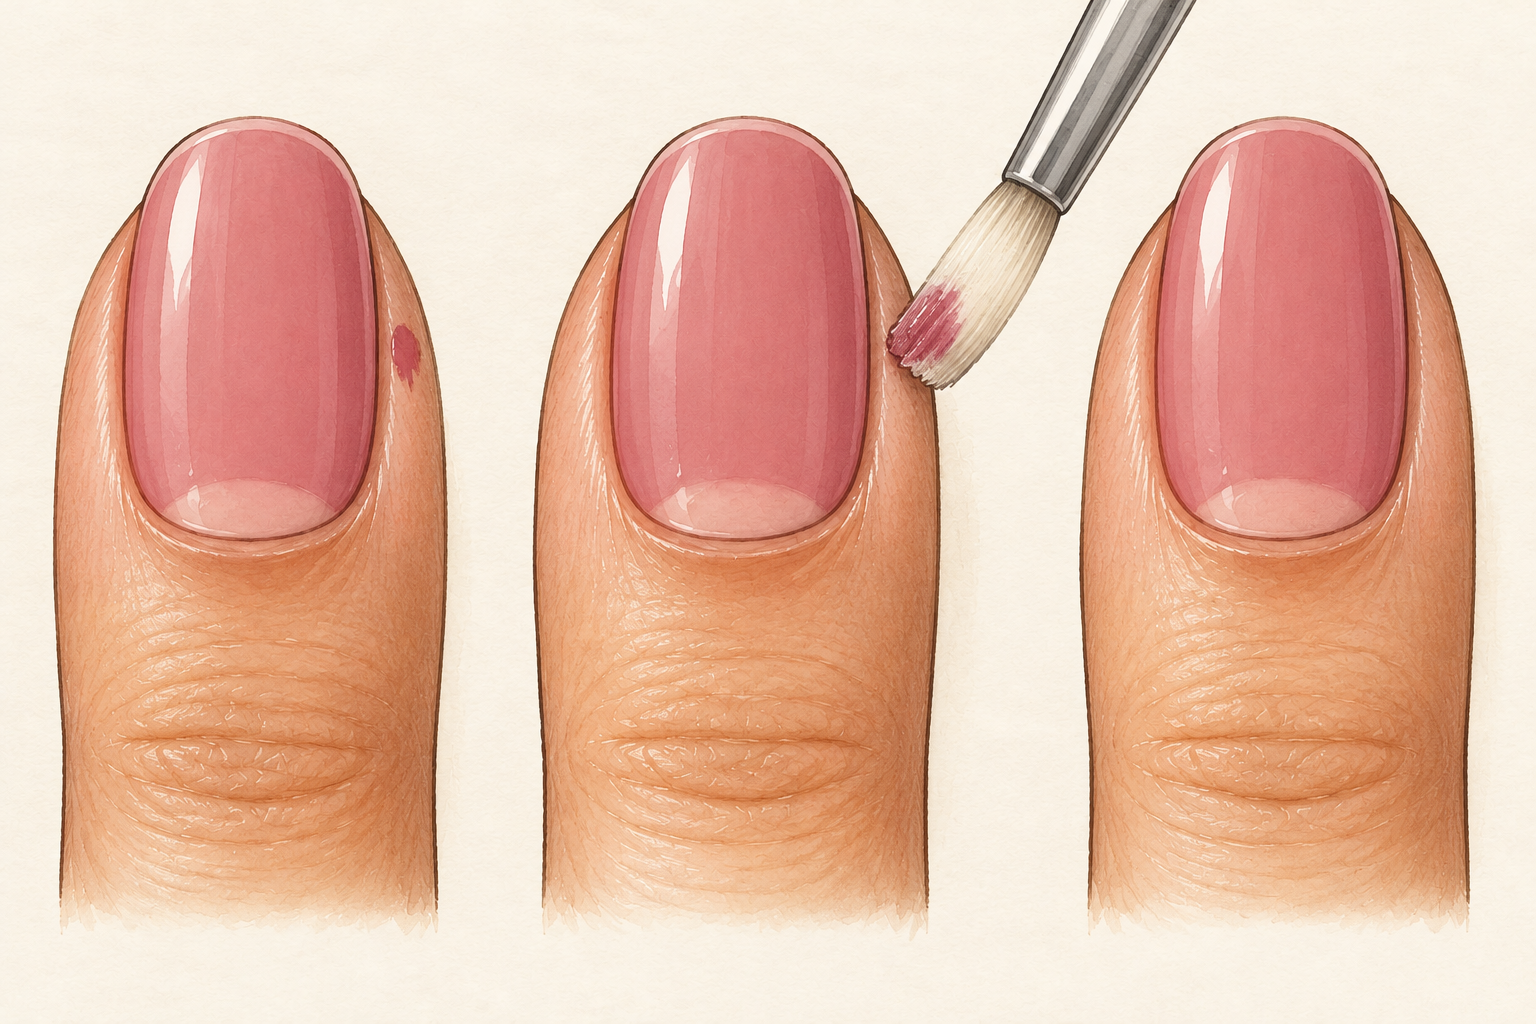
Dip a small flat brush or a cotton bud in remover and trace the edge of each nail, wiping the brush on a pad between nails. Do this before the top coat, because it is far harder to fix afterwards. Keep the brush damp, not wet, so the remover does not creep under the polish. A neat edge makes a wobbly line look planned, and it stops polish catching on your clothes. Wash your hands afterwards if remover touched your skin, since it dries the skin quickly. Press the cotton against the nail instead of dragging it, to protect the shape. A tidy edge is what makes a simple color look finished. Tidy edges are the finishing touch, so you may enjoy how to paint nails perfectly next.
8. Seal with top coat and cap the tip
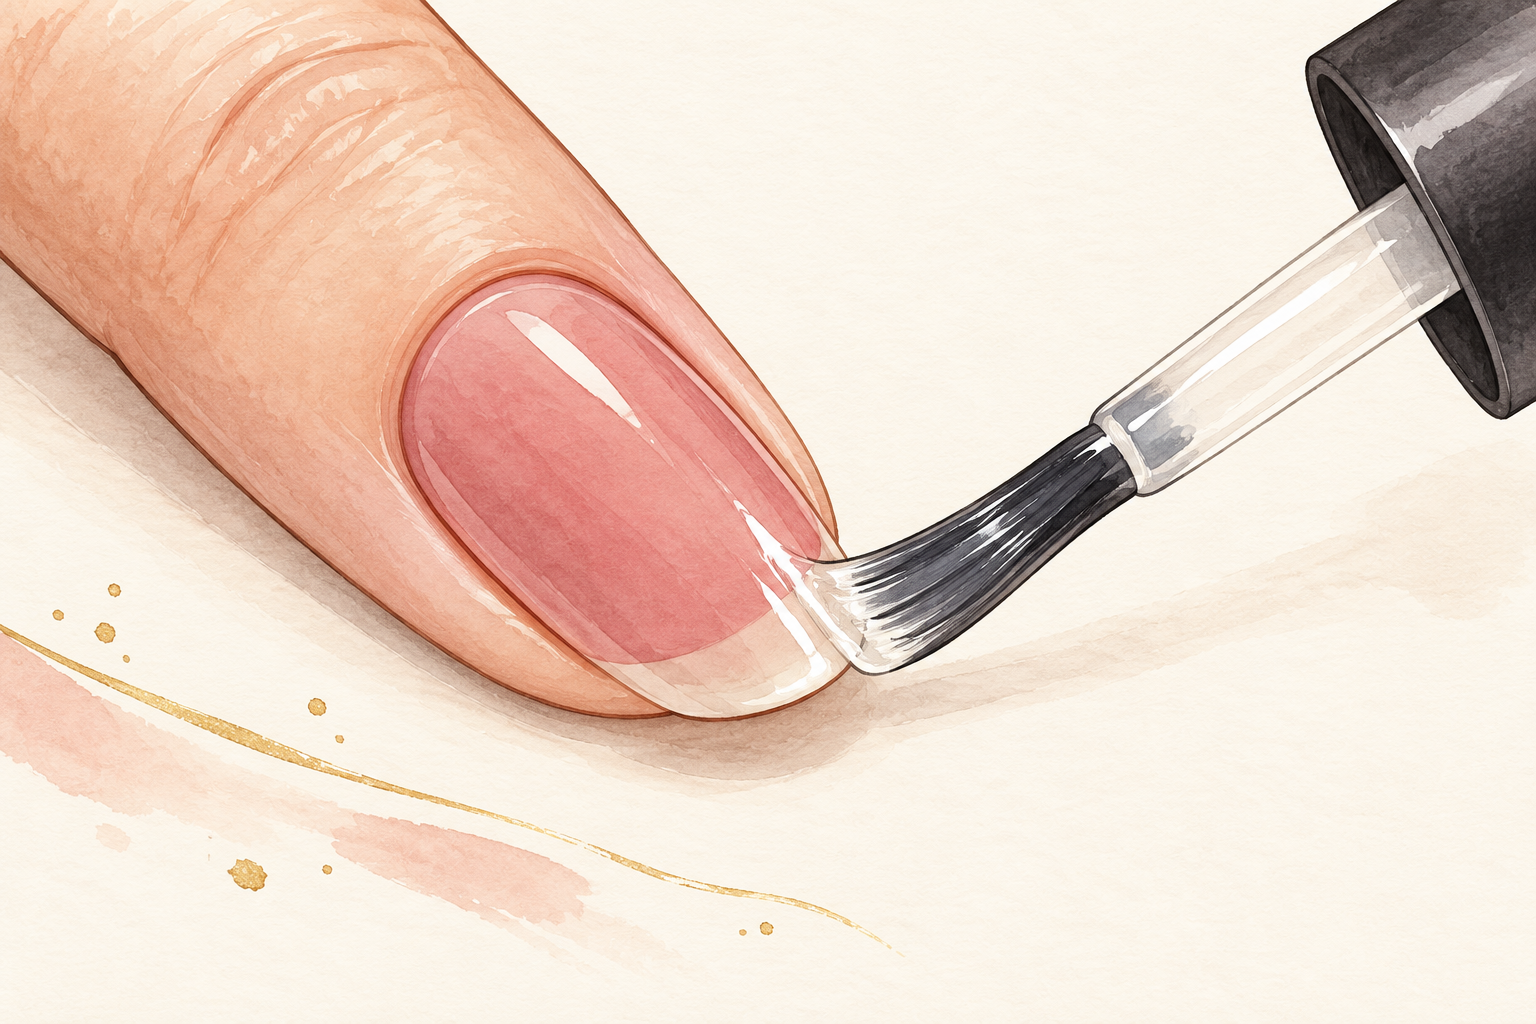
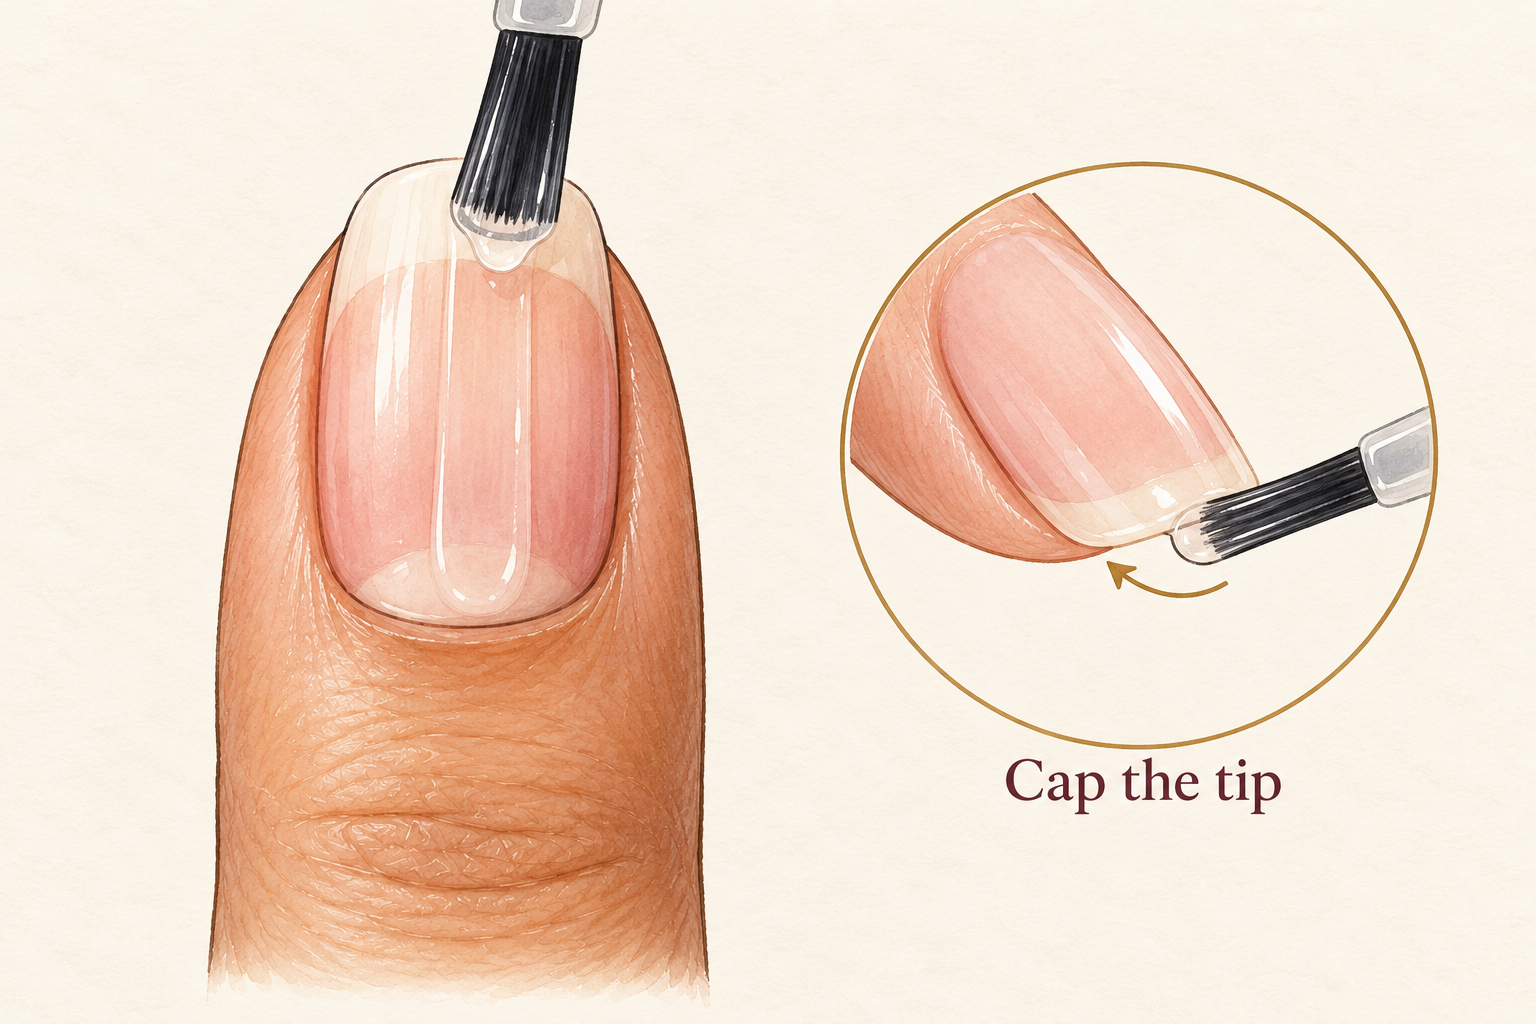
Sweep a thin top coat over the whole nail and then run the brush along the free edge. Color on its own wears quickly, especially at the tip where your hands and keys meet it. Float the brush without pressing so you do not drag the color. Add a fresh thin layer on day three to keep the set going. This one move is a big part of how to do nails for beginners without chips. Look at the nail from the side, and the shine should look even and glassy with no pulled streaks. If it looks thick, you used too much, so use less next time.
9. Give the polish time to dry
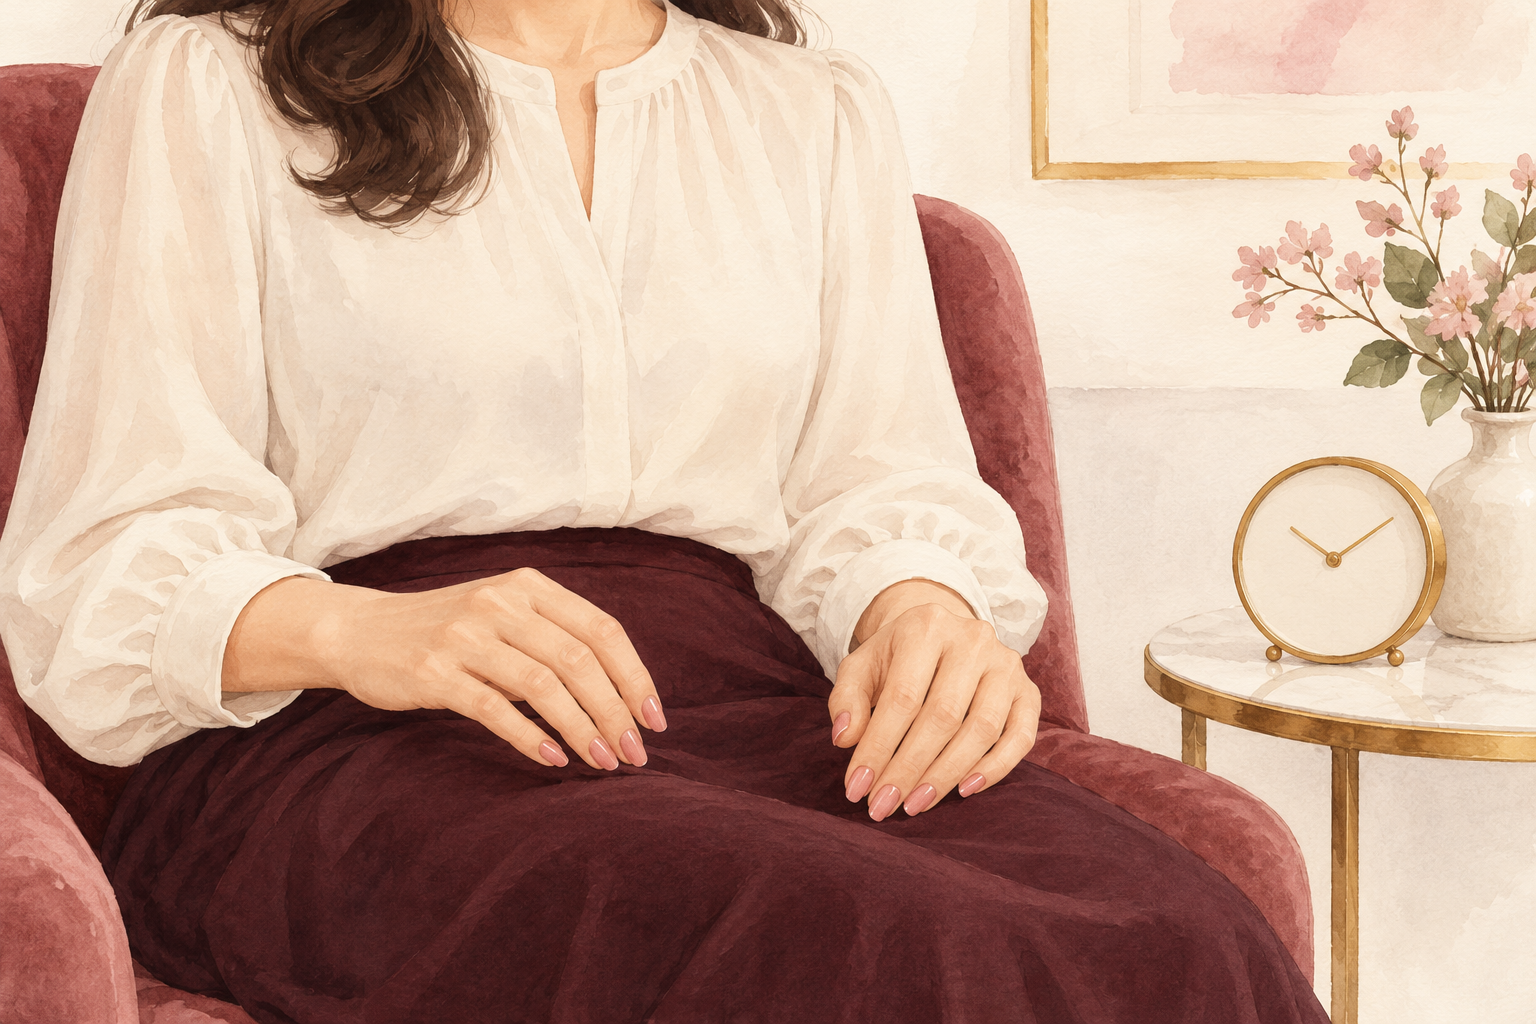
Sit still for thirty minutes after the top coat, and keep your hands away from water for a couple of hours. Polish can feel dry on top while the layer underneath is still soft, which is why a nail looks perfect and then wears a pillow print. Paint at a time when you do not have to find your keys or go anywhere. Painting before bed is tempting, but sheet marks are the most common casualty. Put on a show, tuck your hands in your lap, and let the clock do the work. If you smudge one nail, leave it and fix it after an hour with a tiny dab of top coat.
10. Replace old, gloopy polish
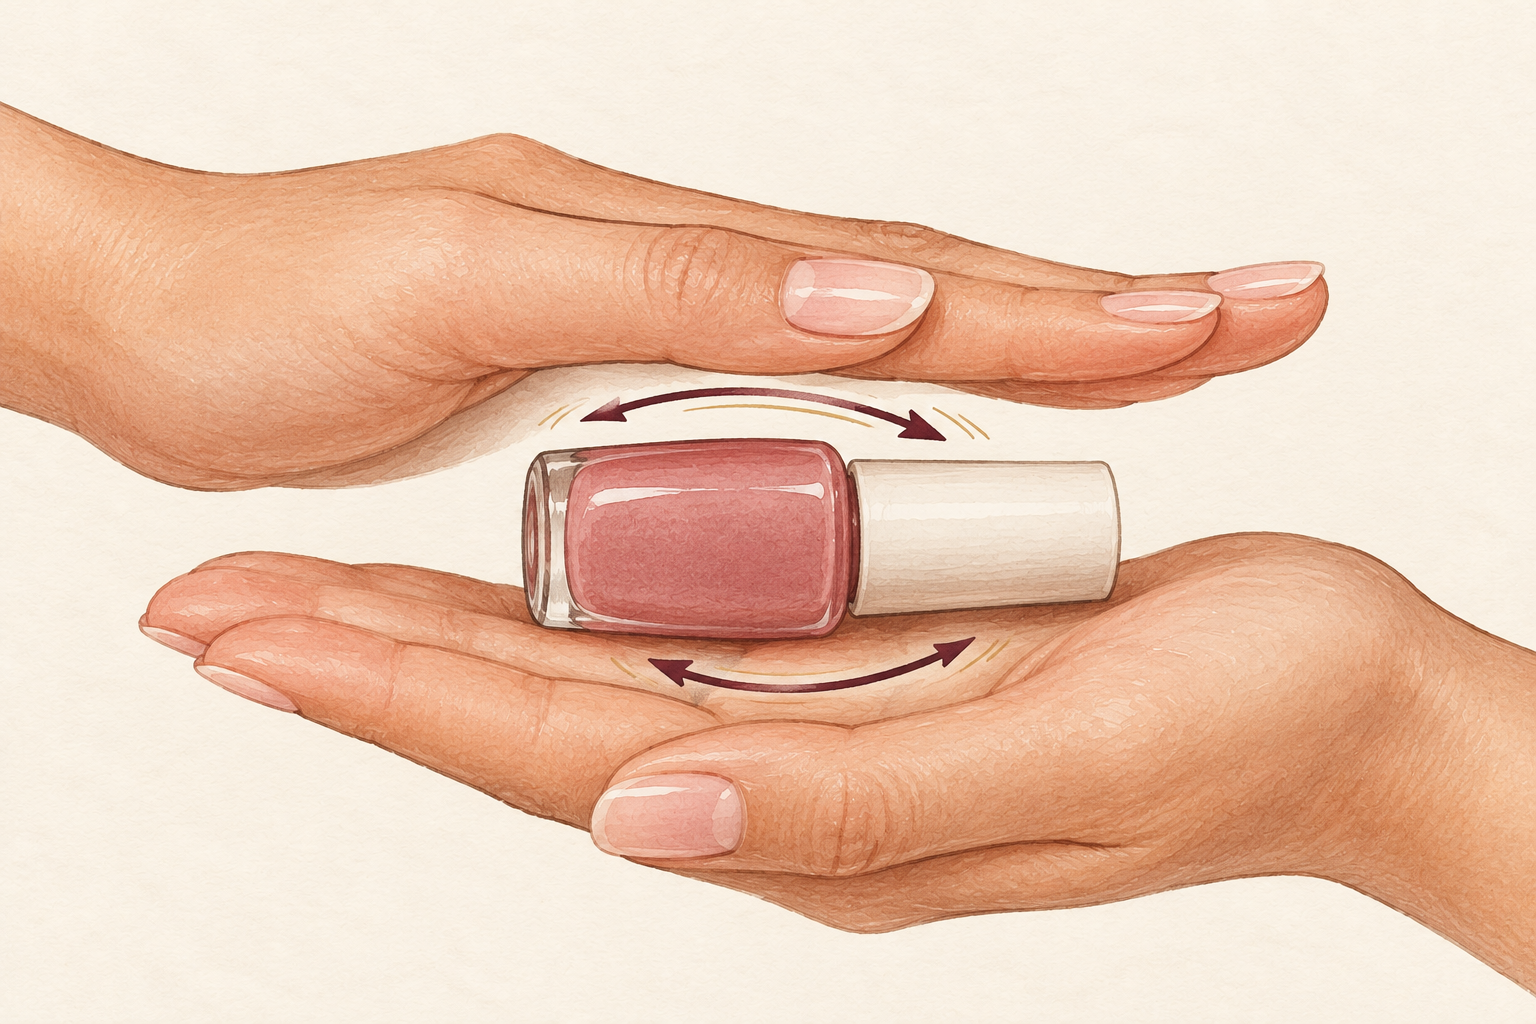
Polish that has gone thick goes on in lumps and streaks, so roll it between your palms and judge it. If it is still thick after rolling, it is past its best and a fresh bottle will be much easier to use. Store bottles upright, away from heat and sun, and wipe the neck clean before you close the lid. That one habit stops the lid from gluing shut and the brush from clogging. A drop of polish thinner can sometimes rescue an old one, though not for long. Write the date you opened a bottle on the base, and after a year, say goodbye to it.
11. Take polish off gently
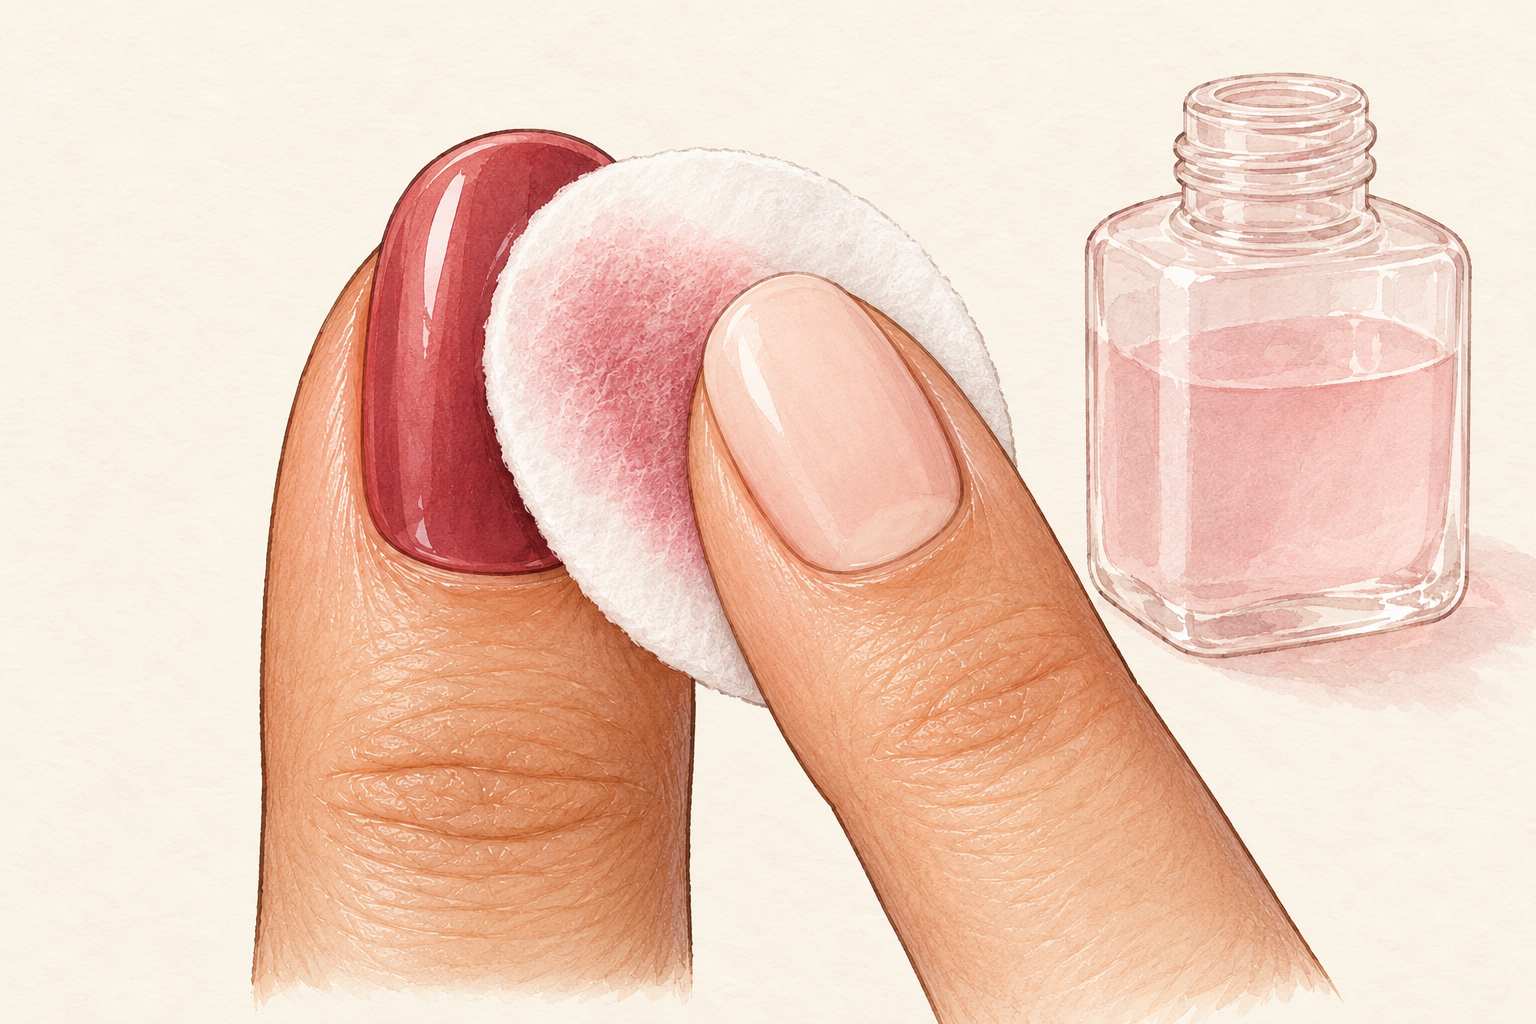
Press a soaked pad on each nail for about ten seconds, then wipe once from the cuticle to the tip. Rubbing hard smears color onto the skin and takes longer. Most removers dry out nails and skin, so smooth on hand cream afterwards. Remover without acetone is gentler, though it may need a second wipe. Never pick or scrape polish off with a fingernail, because that peels layers of your own nail away with it. Give your nails a break of a few days between sets when you can. Soft nails tear easily right after polish comes off, so file any snags before they catch.
12. Expect your first month to be wobbly
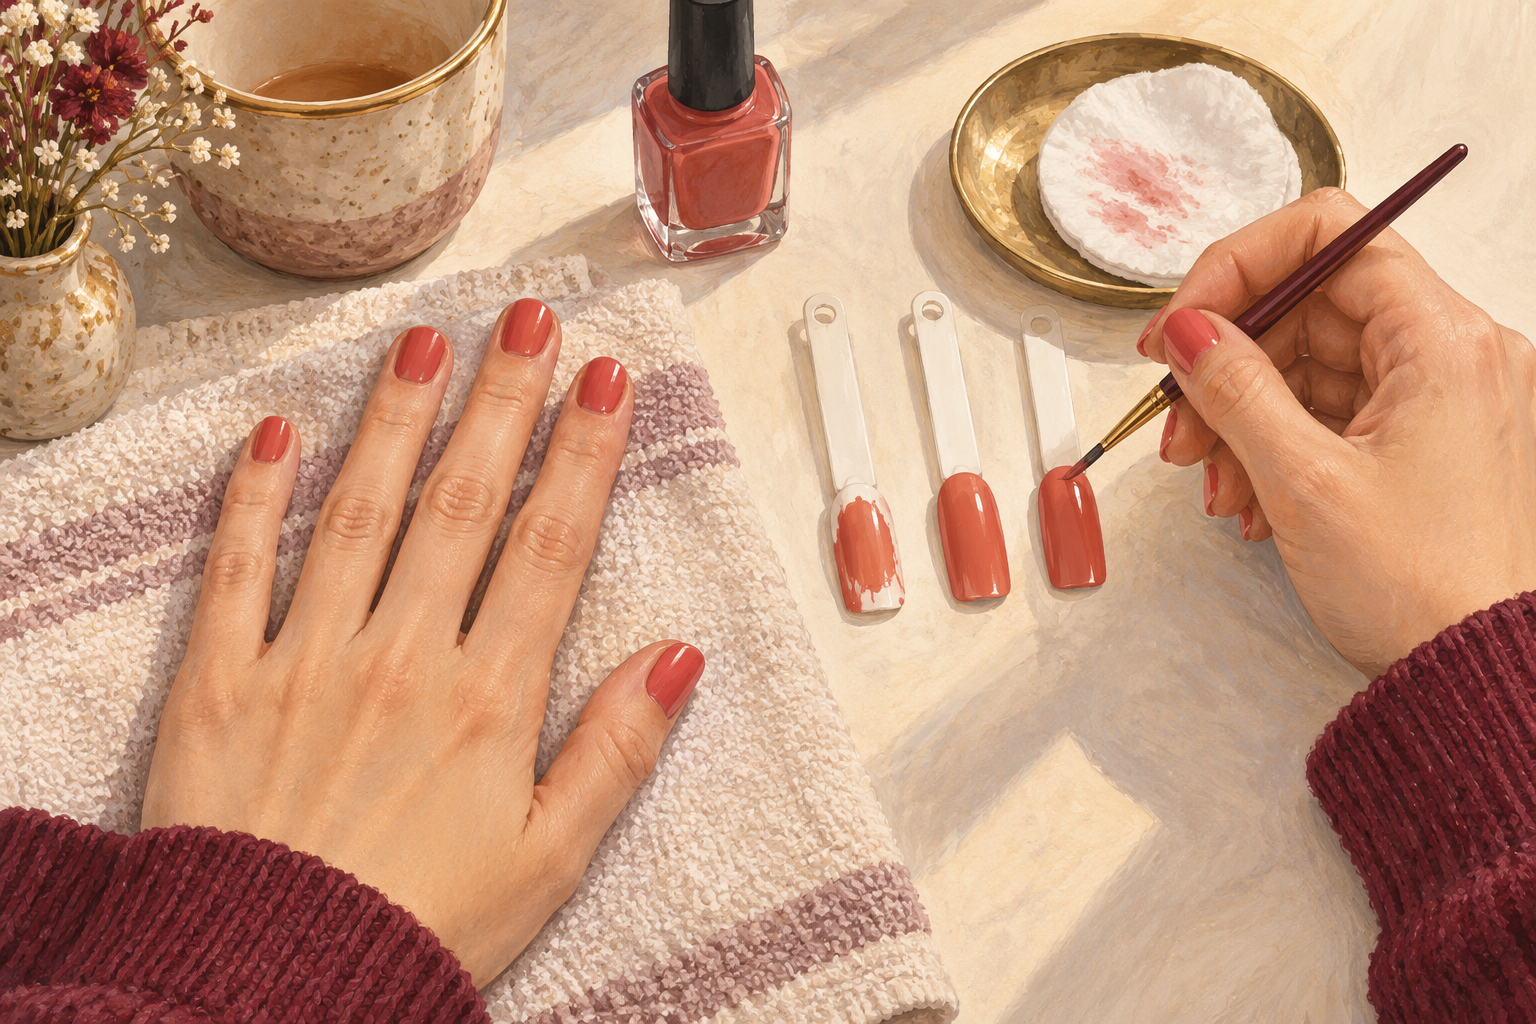
On attempt one, expect a messy edge and one smudge, and by attempt two your base and top coat should feel steadier. By attempt three or four, about a month in if you paint weekly, the three stroke method starts to feel automatic and most of the cleanup disappears. Take a photo each time so you can see how far you have come. Progress is easier to see than to feel. If your nails ever feel thin or sore, leave them bare for a week and add oil to the cuticles. A short break keeps nails healthy, and the next set will look better too.
Complete the Routine: How to Do Nails for Beginners Next Weekend
Tonight, wash your hands, wipe each nail clean and try just the base coat and one thin color coat on a single hand. Every fix you practice makes the next set cleaner, so the guides below are a good place to plan your next move.