You file your nails into a neat shape on Sunday, and by Wednesday the tips are peeling in layers and one corner has split down the middle. Learning how to shape nails step by step is mostly about how the file moves, not the nails themselves. These 12 steps fix that, so start at number one tonight.
1. Gather your shaping kit
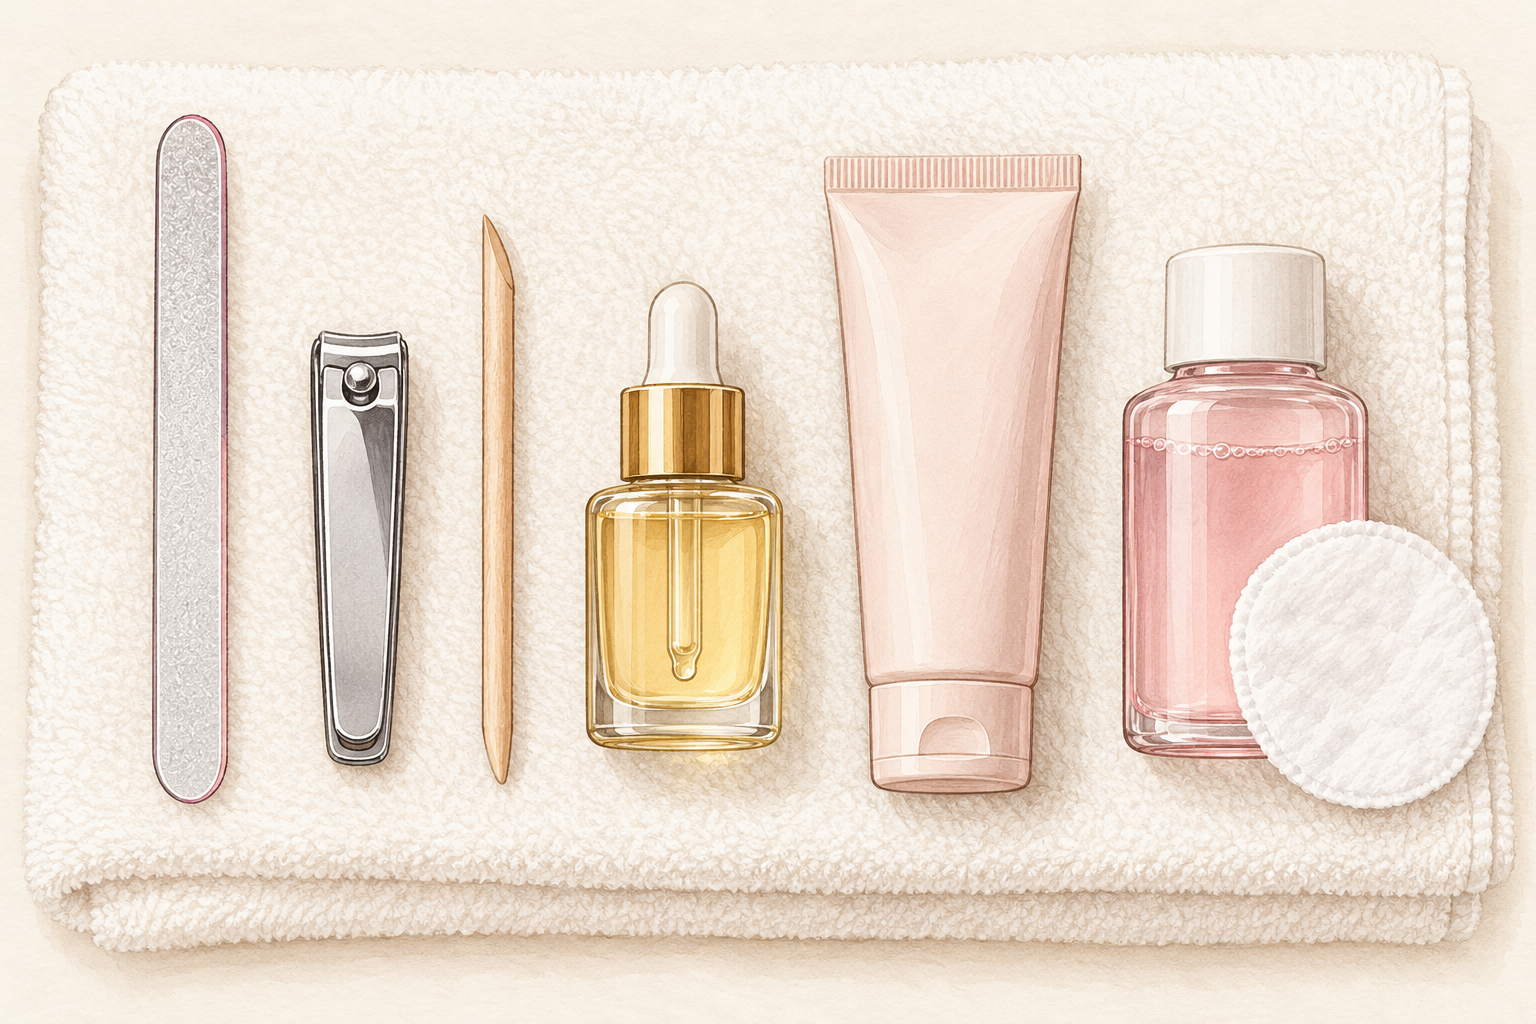
Set out a fine file, a pair of sharp clippers, an orange stick and a bottle of cuticle oil. That is all you need, and none of it has to be fancy. Sharp clippers cut cleanly, while dull ones crush the nail and start a split. A fine file leaves a smooth edge instead of a rough one. Keep a small bowl or a sheet of paper nearby to catch the clippings. When everything is within reach, you do not stop halfway with a half shaped hand. Wash your hands first so oil and cream do not clog the file.
2. Soften your nails first
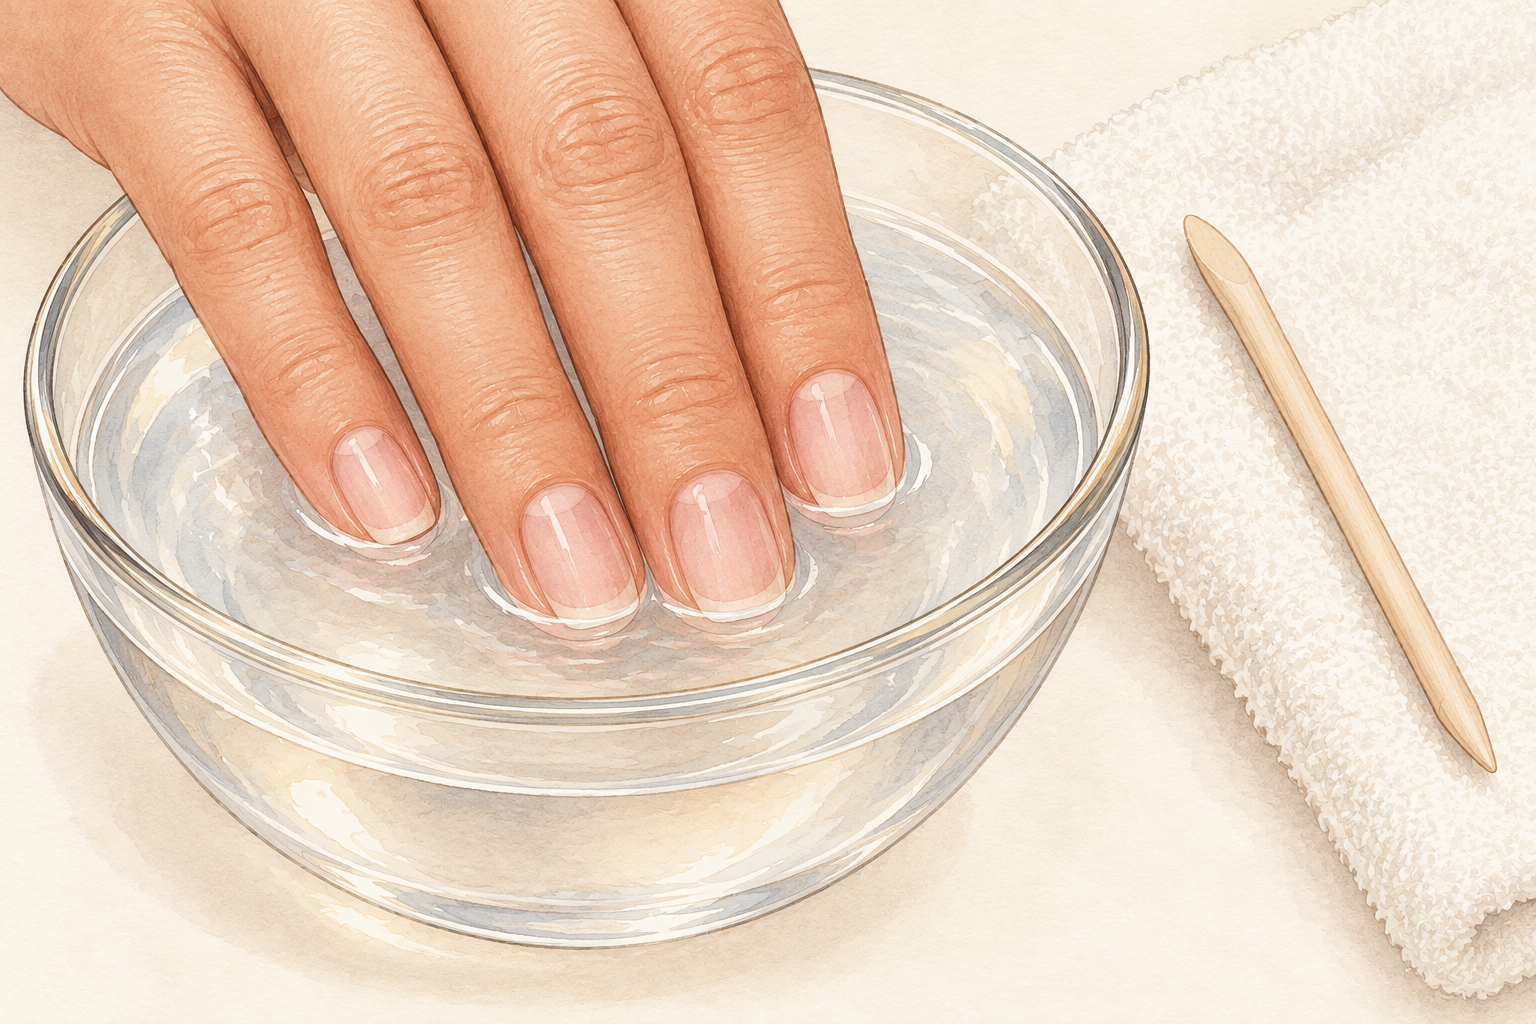
Soak your fingertips in warm water for two or three minutes, or shape right after a shower. Soft nails cut cleanly instead of cracking, and the clippers glide through. Pat your hands dry afterwards and do not start filing yet, because wet nails are weak. This is the quiet start to how to shape nails step by step, and it saves you from the chips that look like bad luck. If you cut nails when they are bone dry, they tend to shatter at the corners. A warm soak is a small reward and a useful one. Add a drop of oil to the water if your skin feels tight afterwards.
3. Trim straight across first
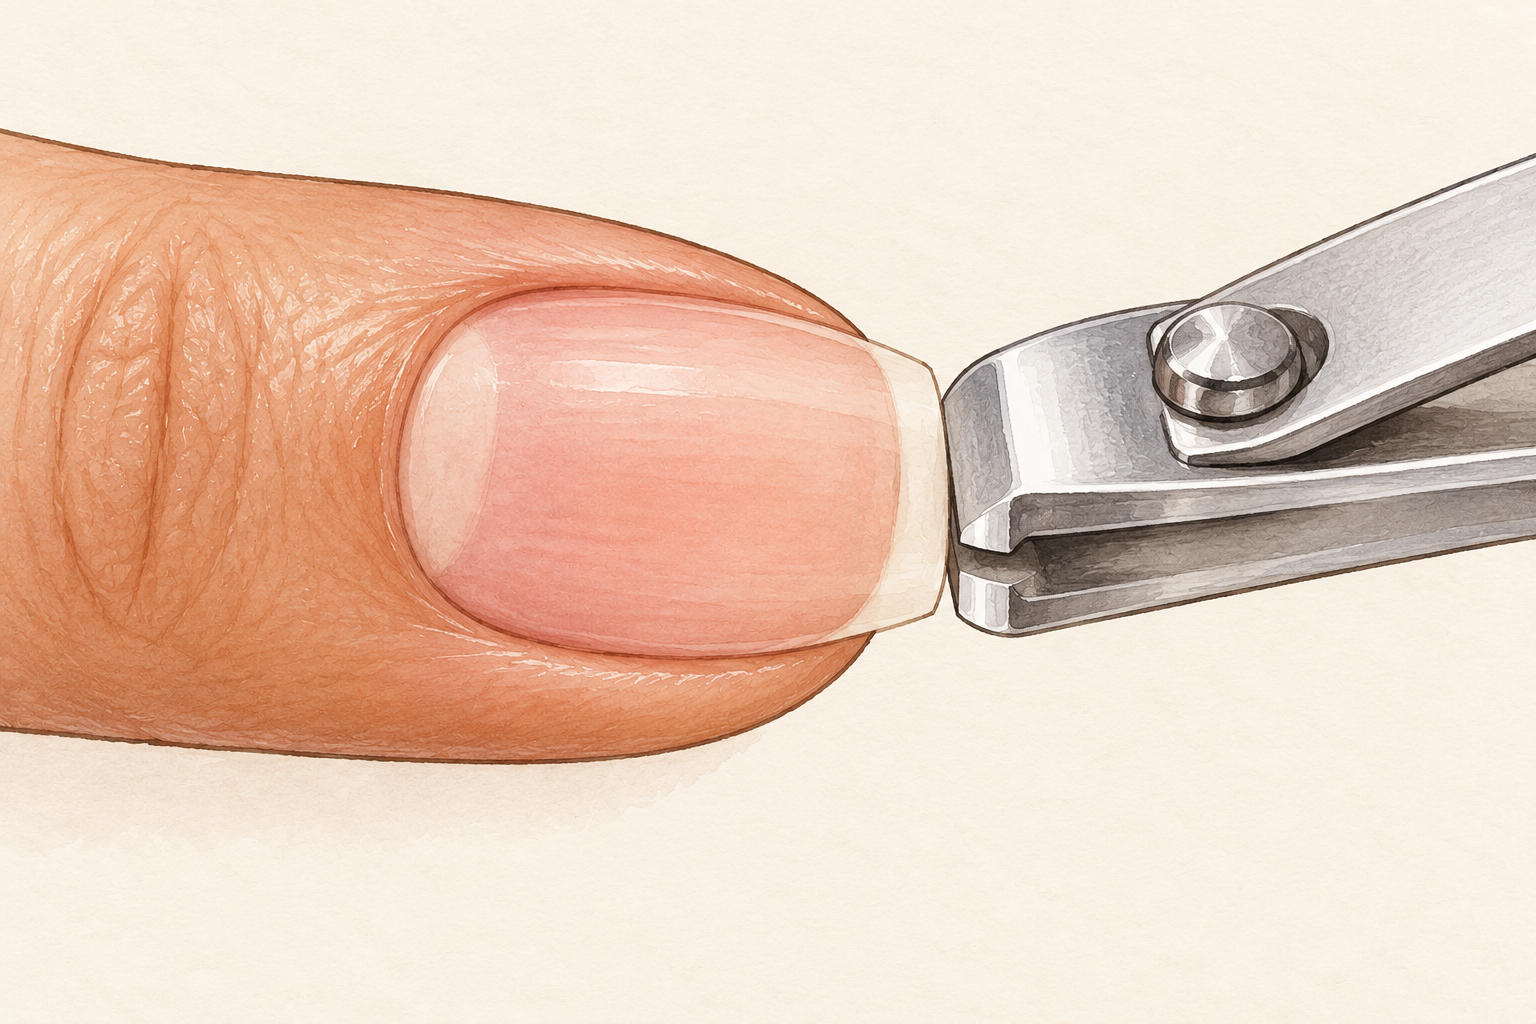
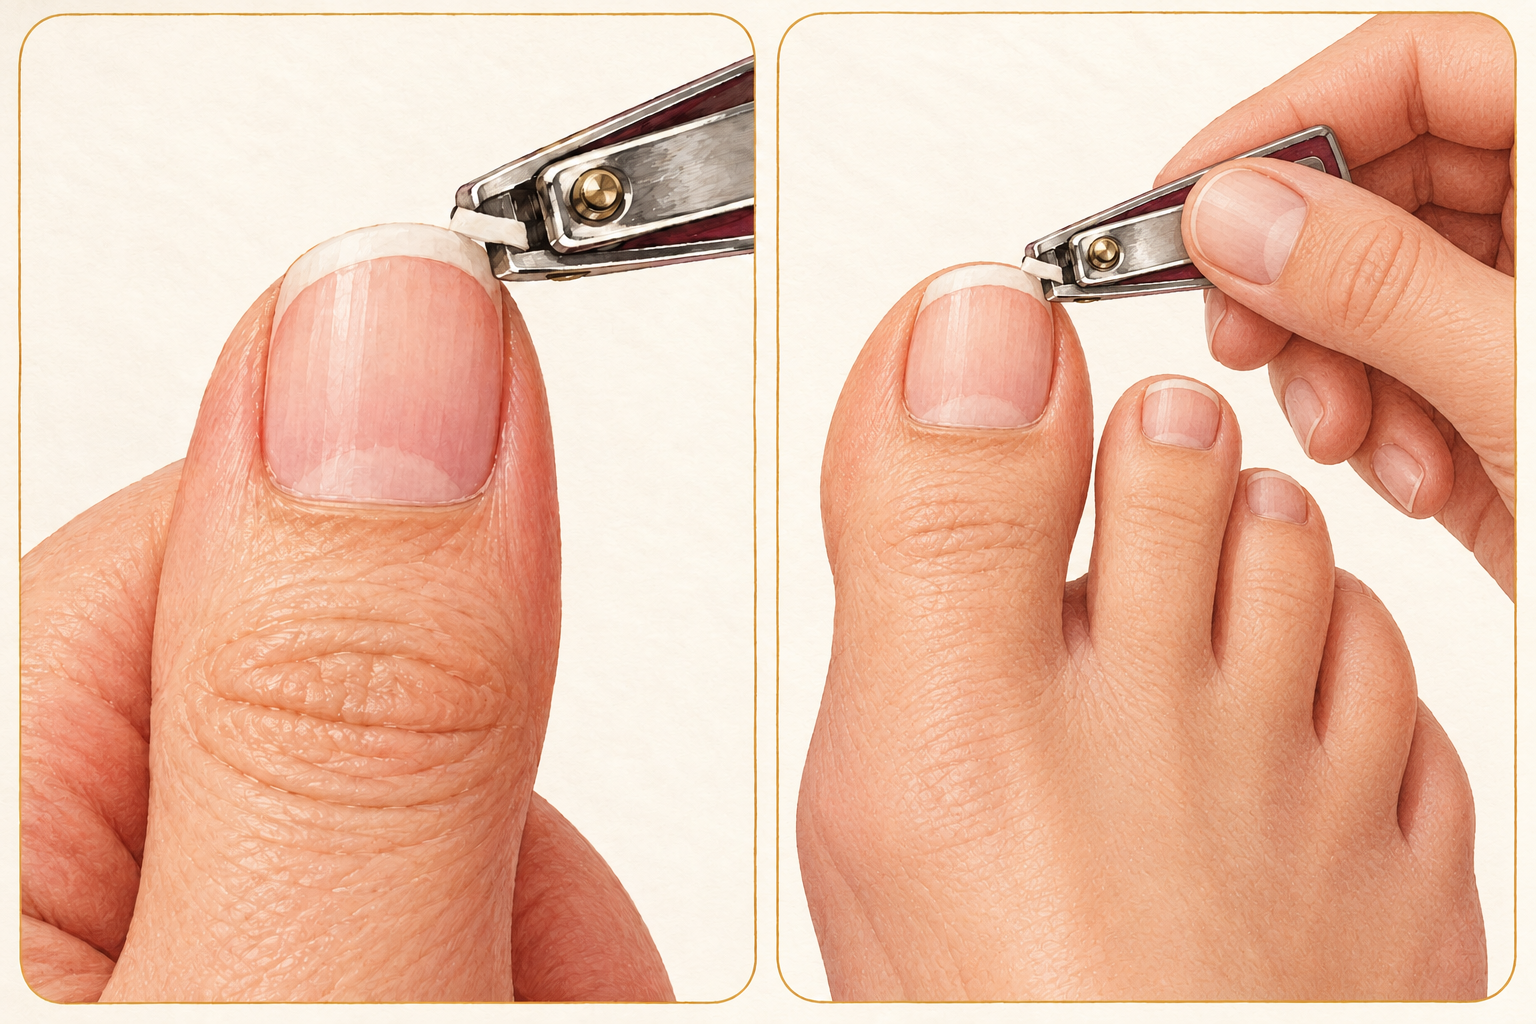
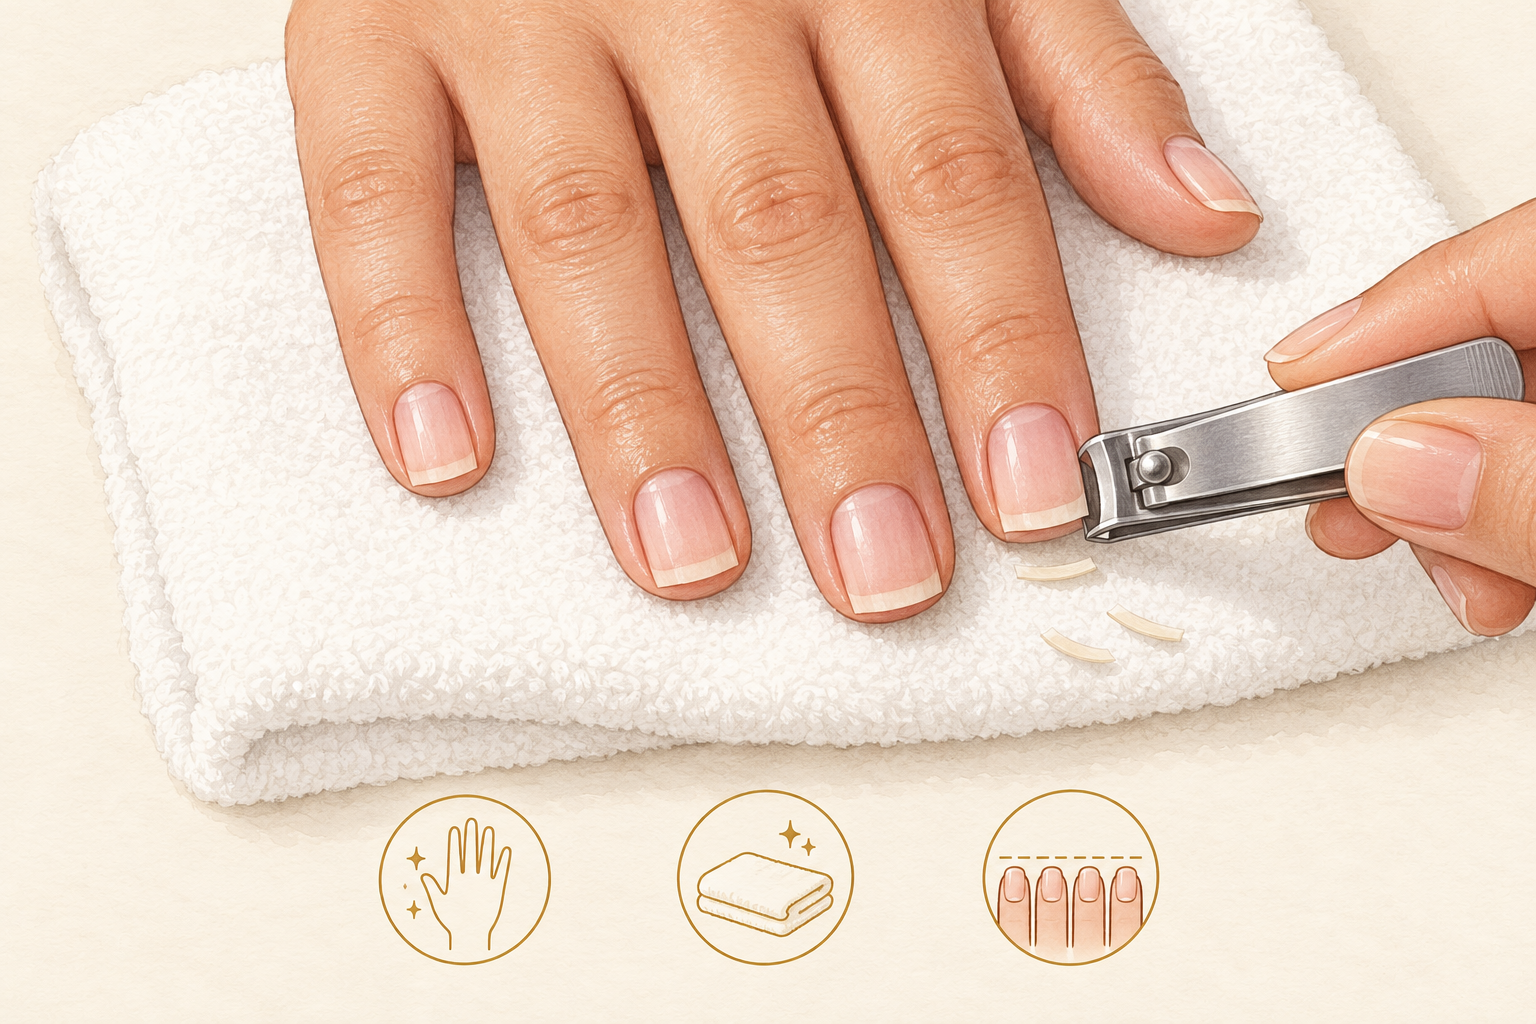
Cut almost straight across with several small snips, never one big bite. Let the clippers set the length and the file set the shape. Filing a long nail down from scratch takes ten minutes and strains the tip. Leave a little white edge so you do not cut into the sensitive skin underneath. A clean cut gives the file a head start. If a nail snags on your sleeve before you shape it, trim the snag first and tidy the rest later. Round off any sharp corner left by the clippers with one light stroke later. Snags happen before shaping, so if you need to cut first, how to cut nails helps.
4. Choose a fine, gentle file
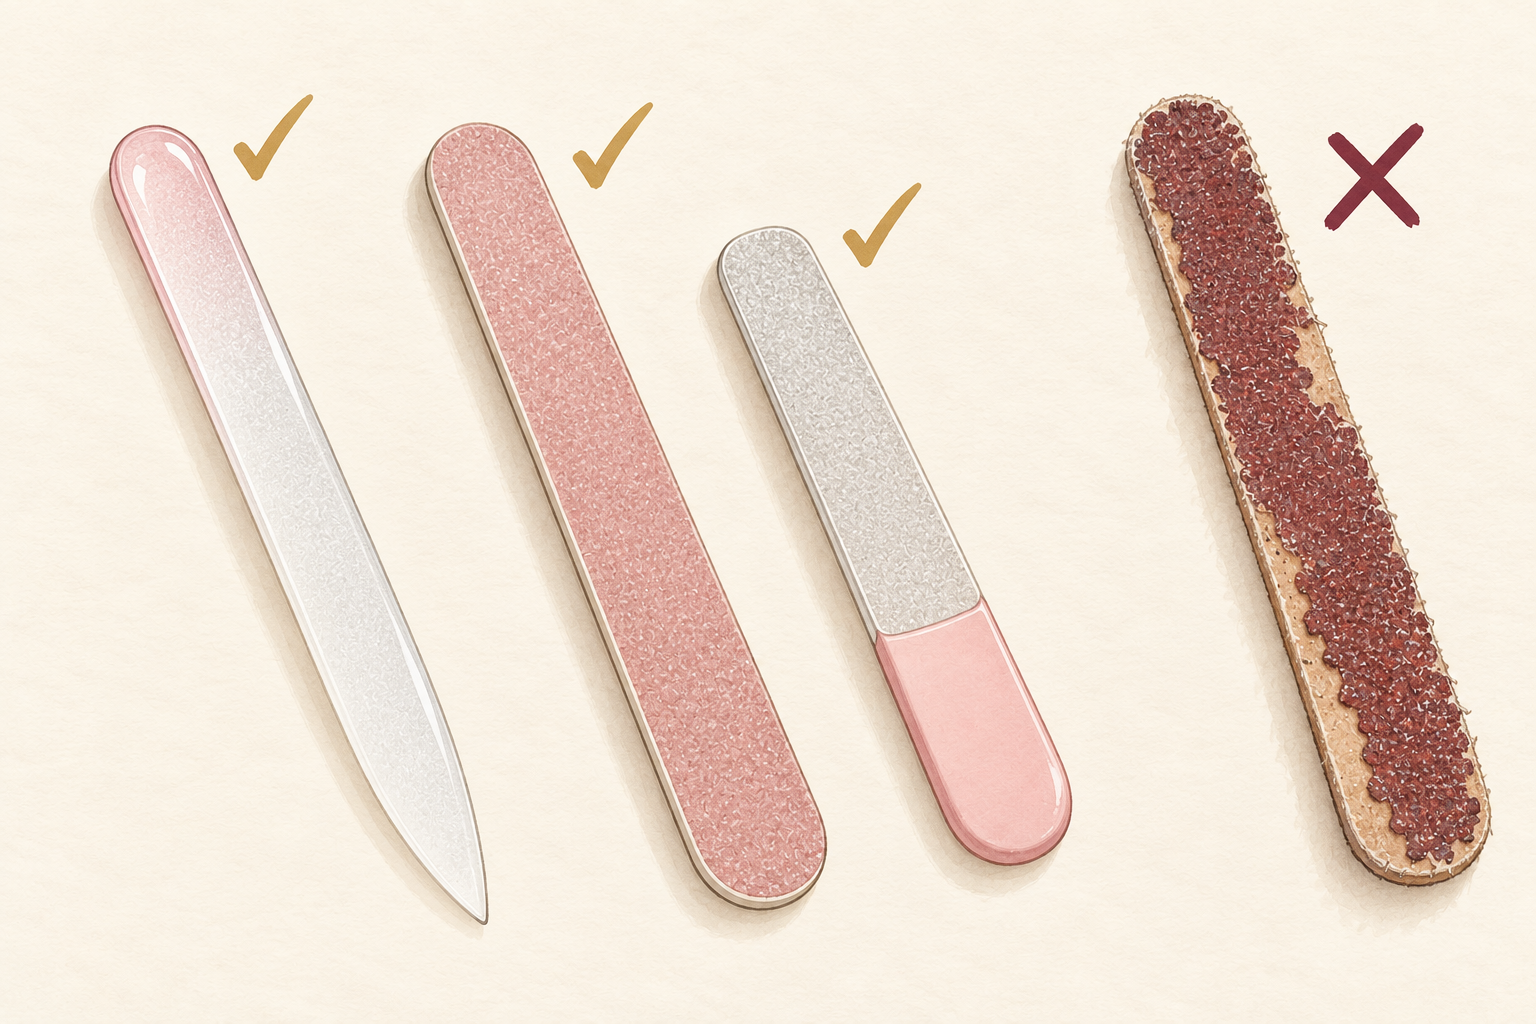
Pick a fine file or a glass file for your natural nails. Grit is how rough a file is, and a higher number means a finer feel. A coarse board tears the layers apart, and a metal one can shred thin nails. If your file feels like sandpaper, it is too rough. A glass file is easy to rinse clean, lasts for years and leaves a smooth edge. Save coarse files for artificial nails. Replace any paper file that has gone soft or worn. Hold it up to the light and check that the surface looks even.
5. File only when your nails are dry
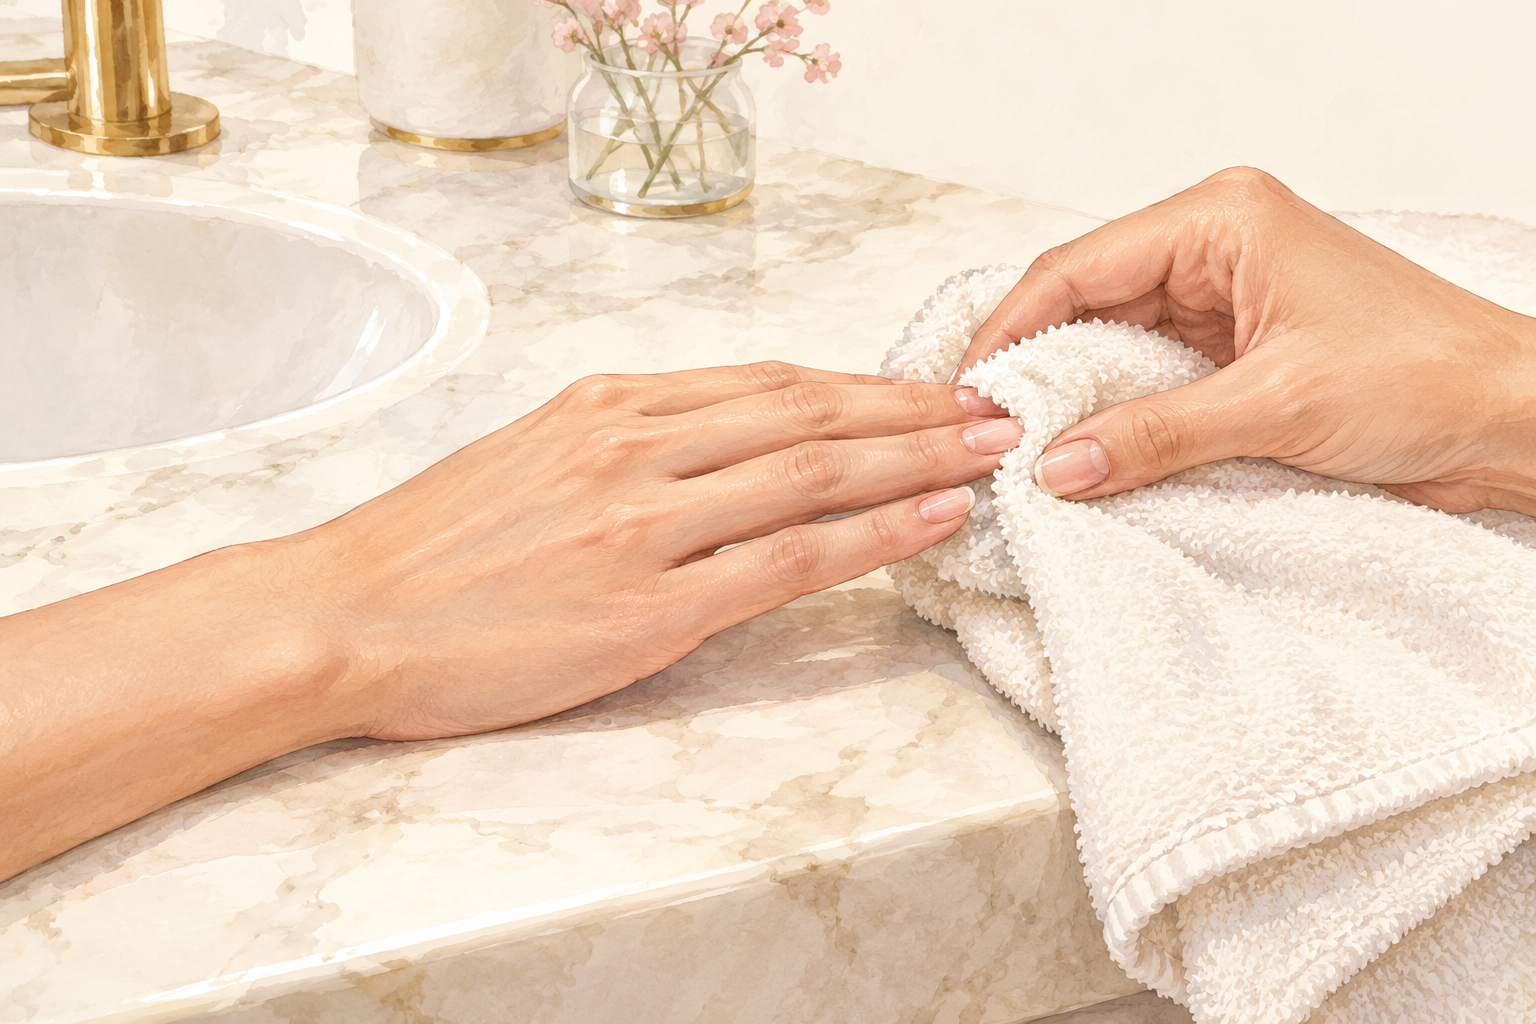
Wait until your nails have dried fully before the file touches them. Wet nails bend and the layers pull apart under the file, which is often the real reason an edge peels. If you trimmed after a shower, give yourself an hour or file later in the day. Hold the nail steady and check that it feels firm when you tap it. This one timing choice fixes the peeling edges that you blamed on the file. Do your shaping on a calm evening, not in a rush before work. Do not file damp nails in a steamy bathroom either.
6. File in one direction
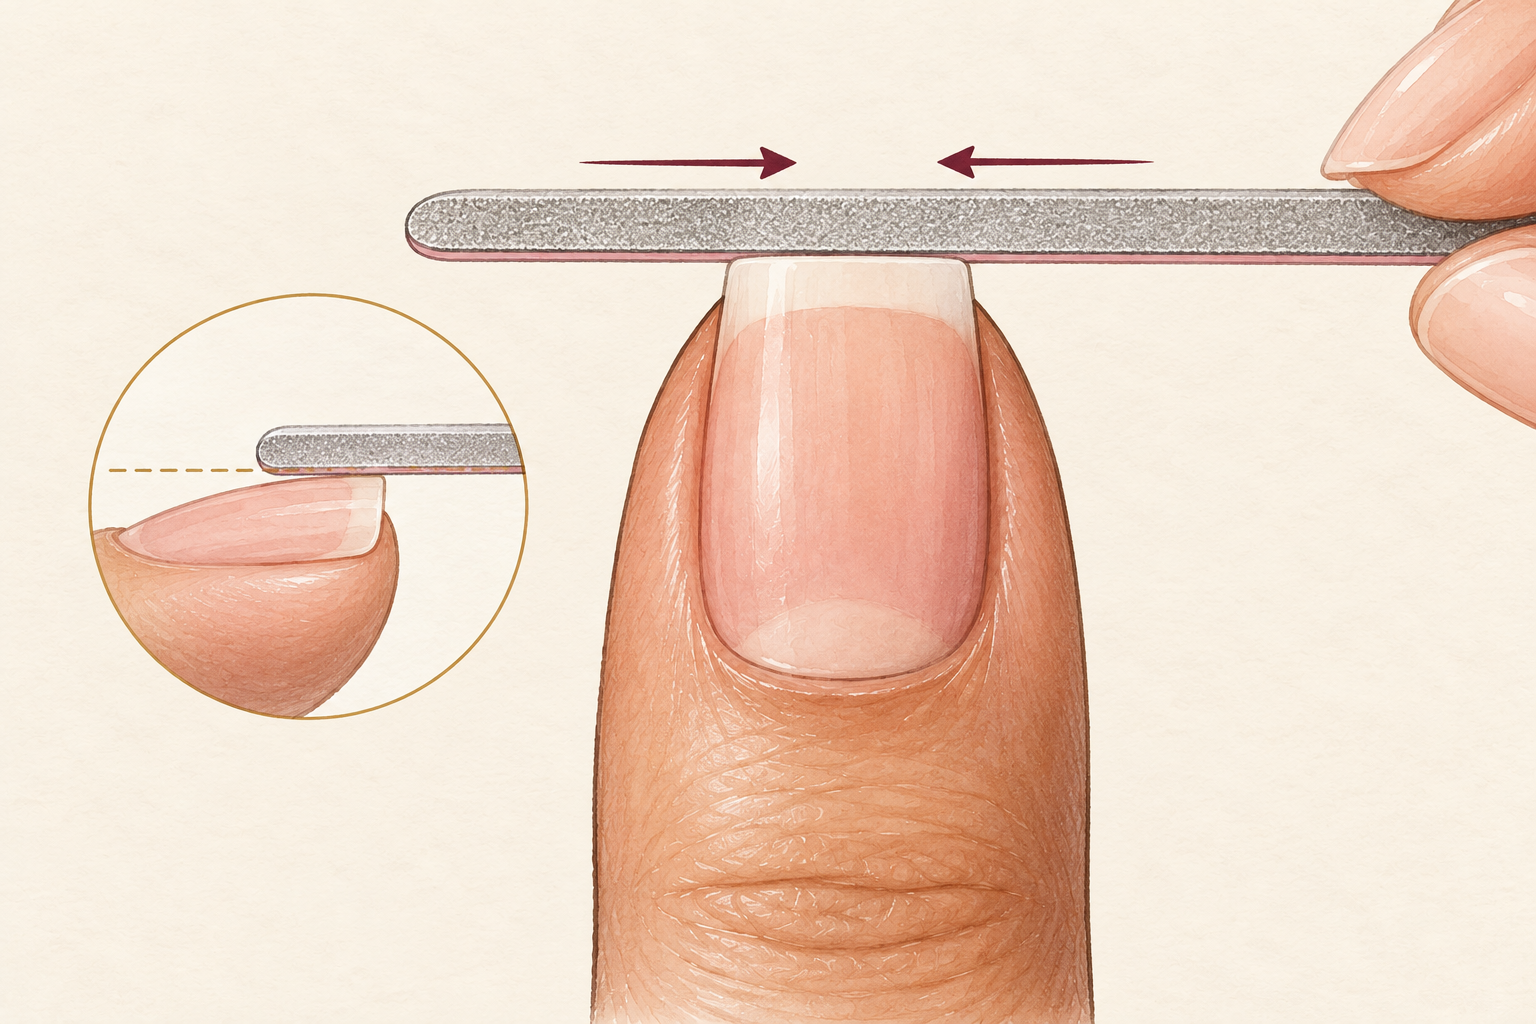
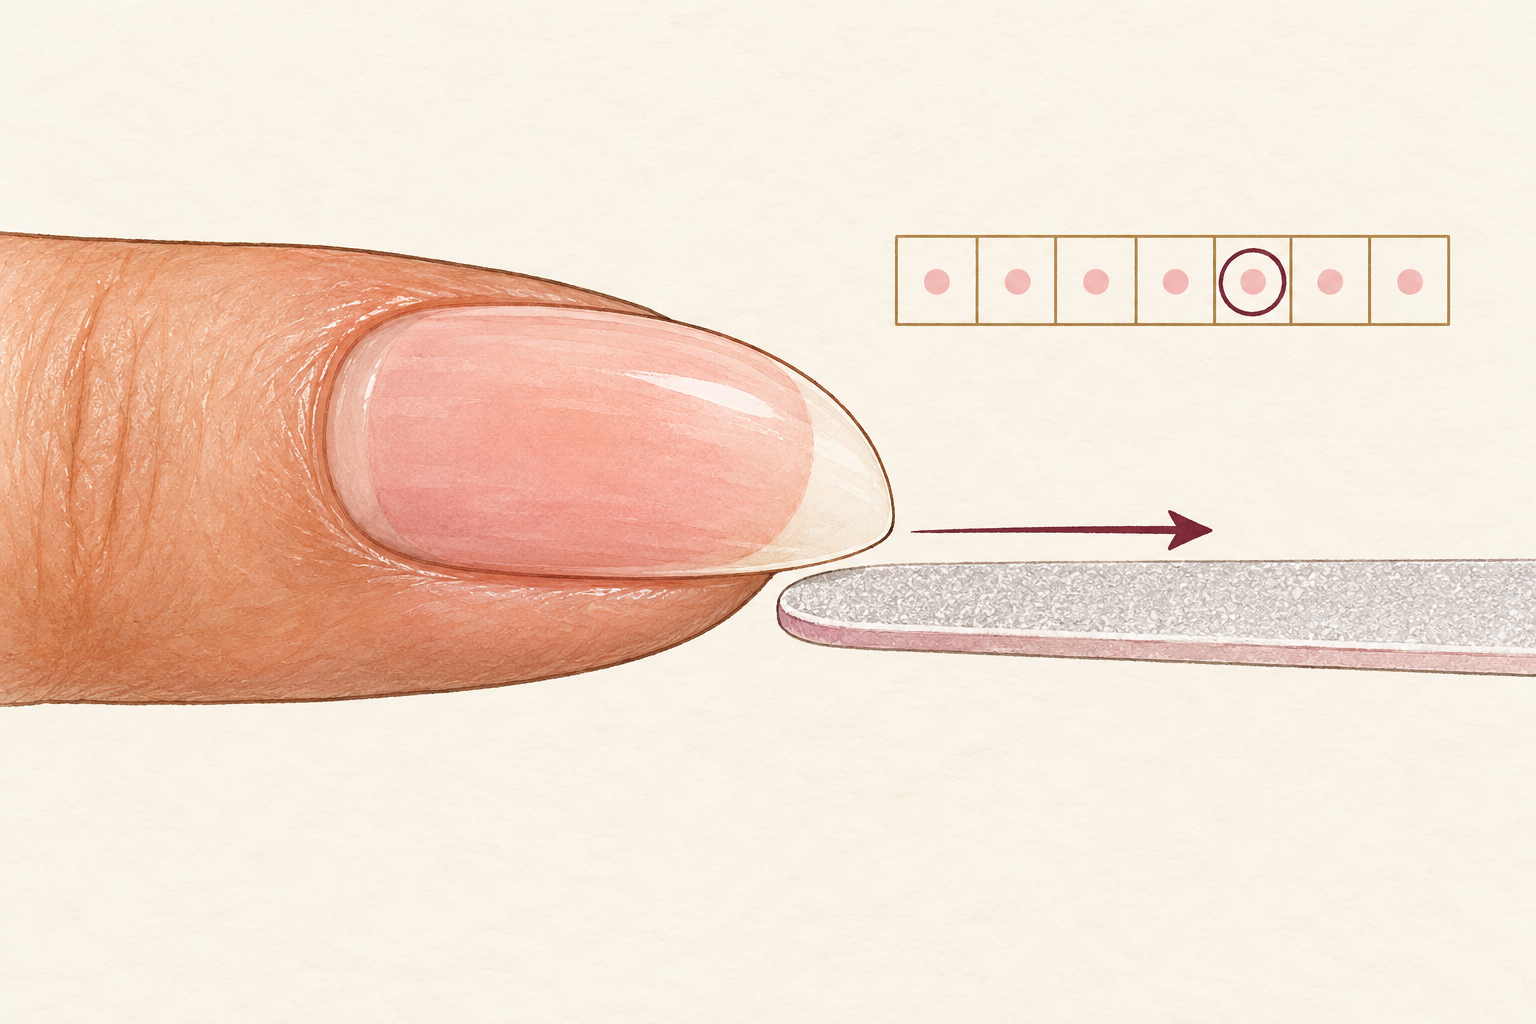
Start at the outer edge and sweep toward the middle in one stroke, then lift the file and begin again. Never saw back and forth, because that lifts the layers at the tip and leaves tiny peels. Do the same from the other side so the two strokes meet in the center. It feels slow at first, but after a couple of sessions your hand does it on its own. This is the single most important rule in how to shape nails step by step. Two or three passes per side is plenty. Lift the file at the end of every stroke, like picking up a pen.
7. Keep the pressure light and the angle small
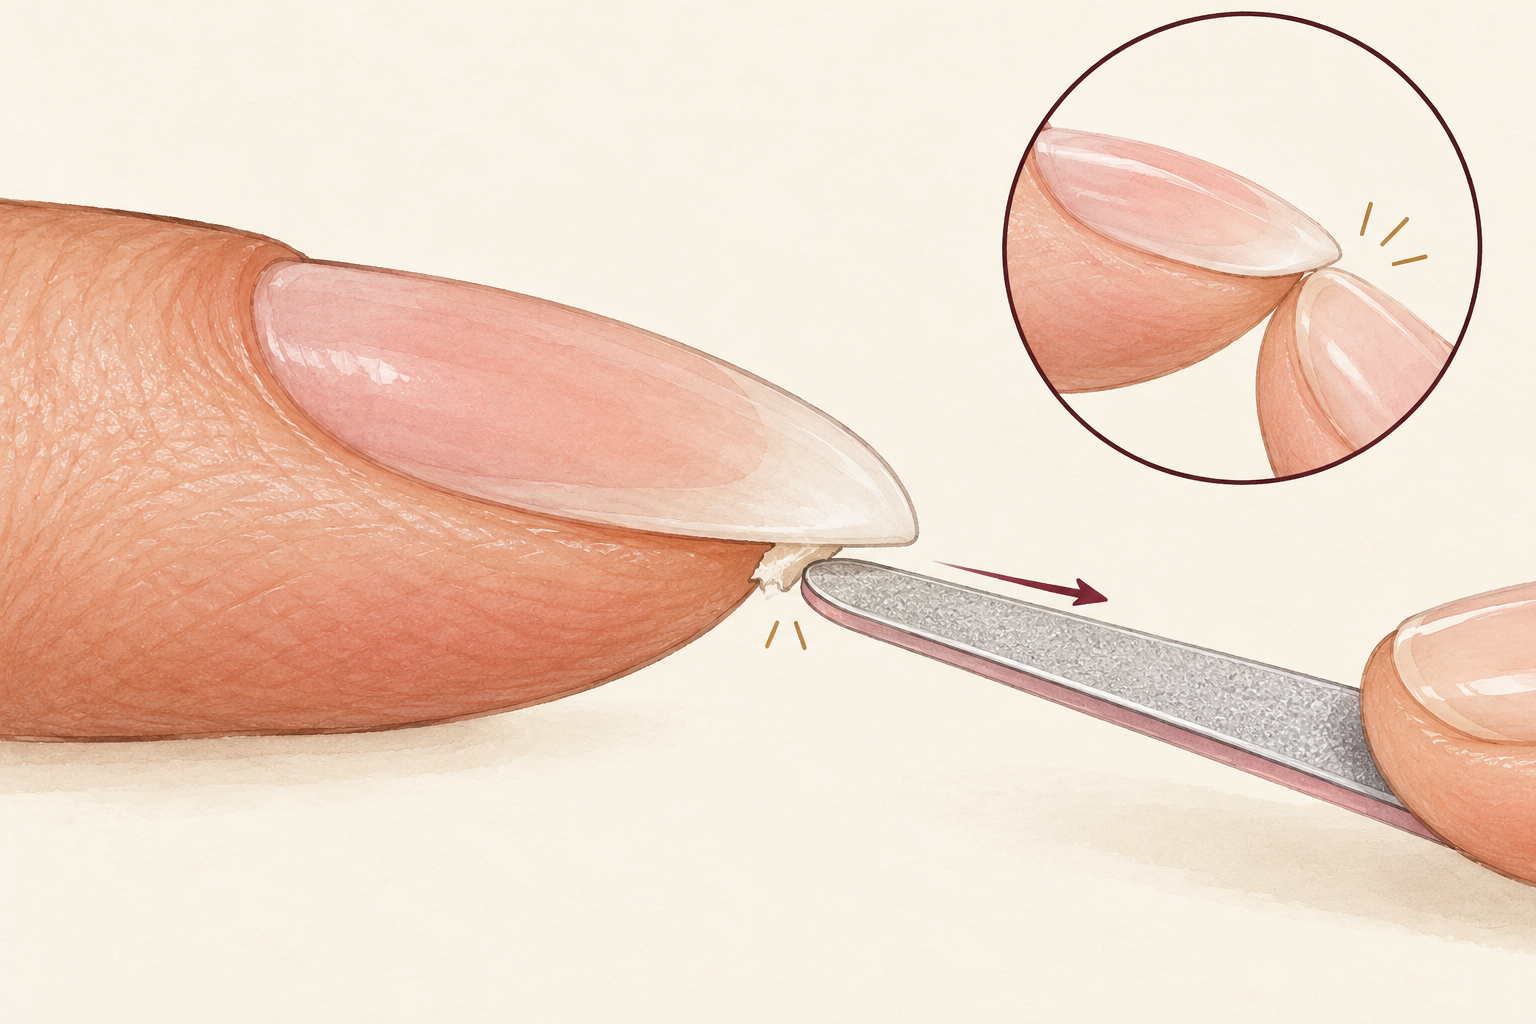
Hold the file at a very slight tilt toward the underside of the tip, and press as lightly as you would stroke a cat. Hard pressure heats the nail and roughens the edge, and a steep angle thins the tip so it bends. If you hear a scraping sound, ease off until it goes quiet. If the nail feels warm or sore, rest your hand. Check each nail from above and from the side after every few strokes. You cannot put nail back once it is filed away. Slow filing gives you a smooth edge, while fast filing gives you a ragged one.
8. Pick a shape that suits your nails
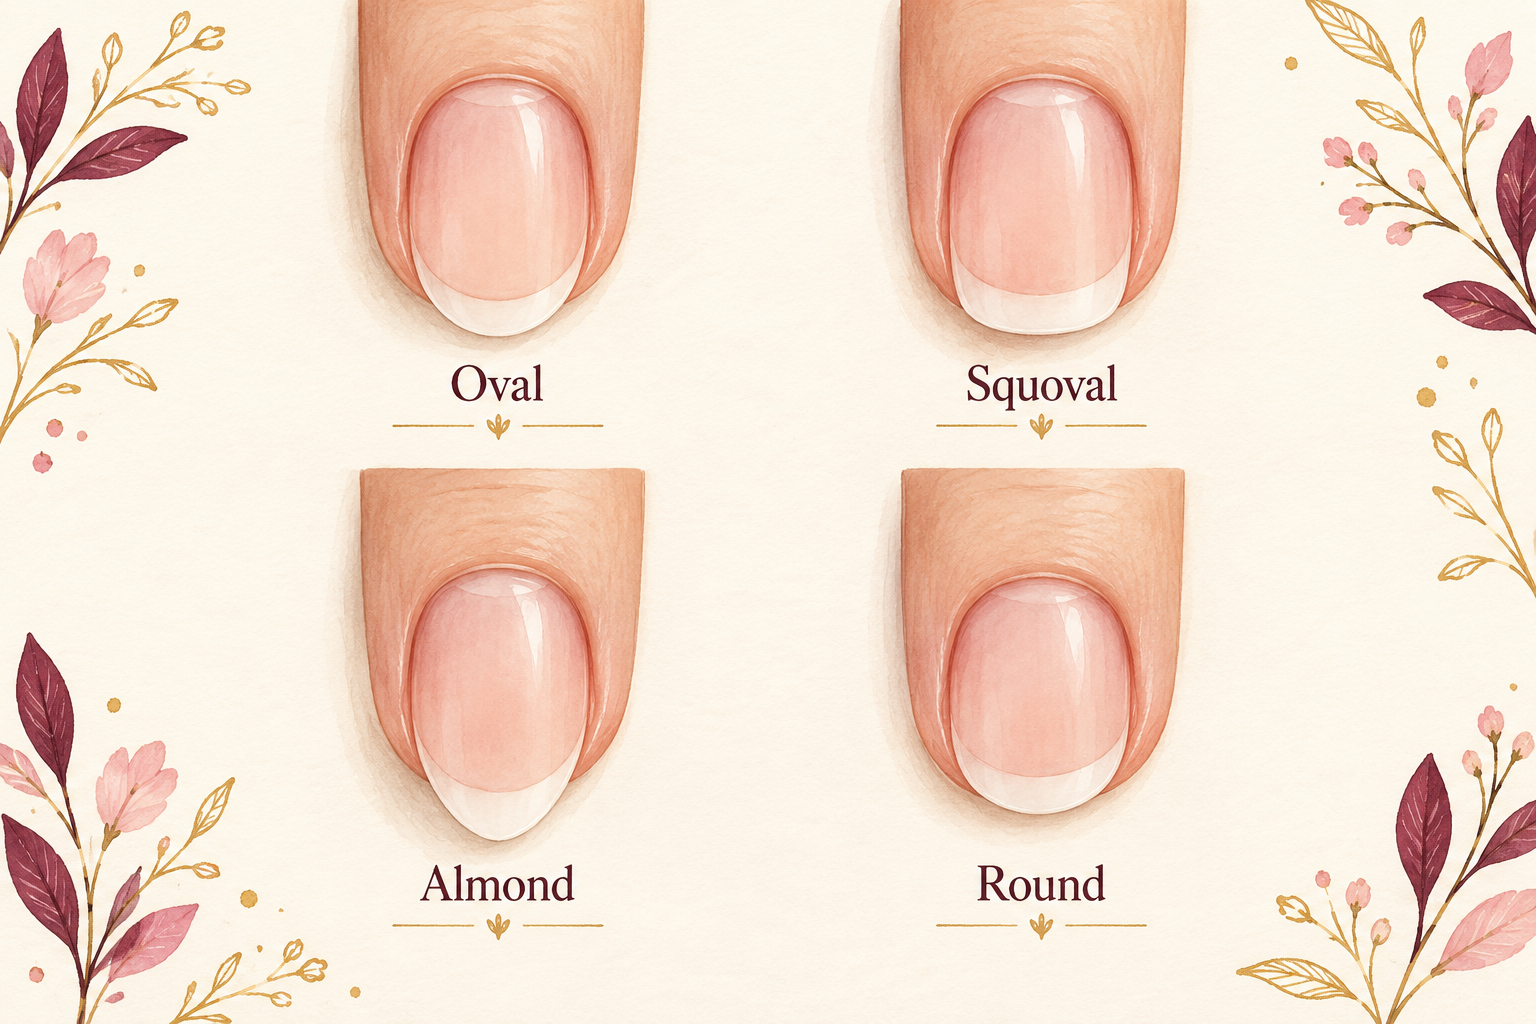
A soft square or a round shape is sturdy for short nails and for hands that type all day. A longer oval flatters a narrow nail bed. A very pointed shape puts more stress on the tip, so save it for strong nails. If your nails are brittle, choose the shortest, roundest shape you like and grow from there. Look at your hands side by side before you decide, because a shape that looks great on one finger can look odd on ten. Short nails and rounded tips break far less than long, pointed ones. Almond shapes need strong sidewalls, so build up to them slowly. Once you have picked a shape, start with how to shape nails before you round anything.
9. Round the corners lightly
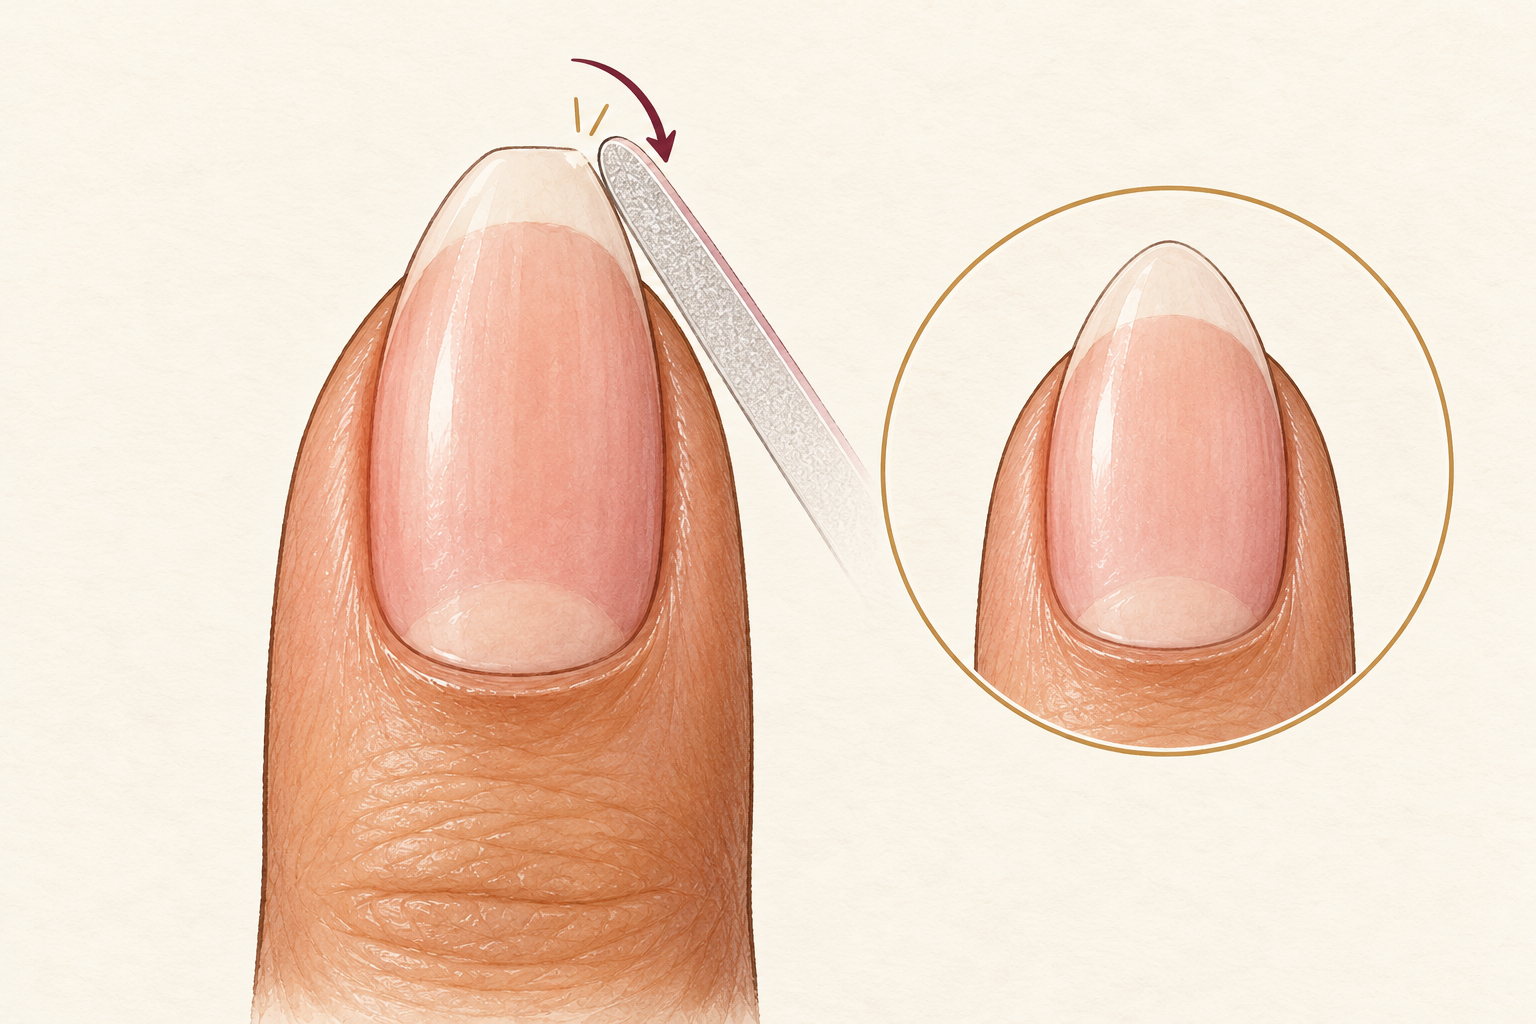
Take a few light strokes at each corner to soften it, and leave the sidewalls alone. Square corners catch on hair and fabric, and a catch often turns into a split. The sides of the nail hold the whole structure together, so do not file them away. If your nails are brittle, leave a little more nail at the sides. A nail with gently rounded corners and strong sides will outlast one shaped hard and fast. Count your strokes if you tend to overdo it, since a handful per nail is enough. Check the corner in a mirror, because it is hard to judge by feel.
10. Match all ten nails
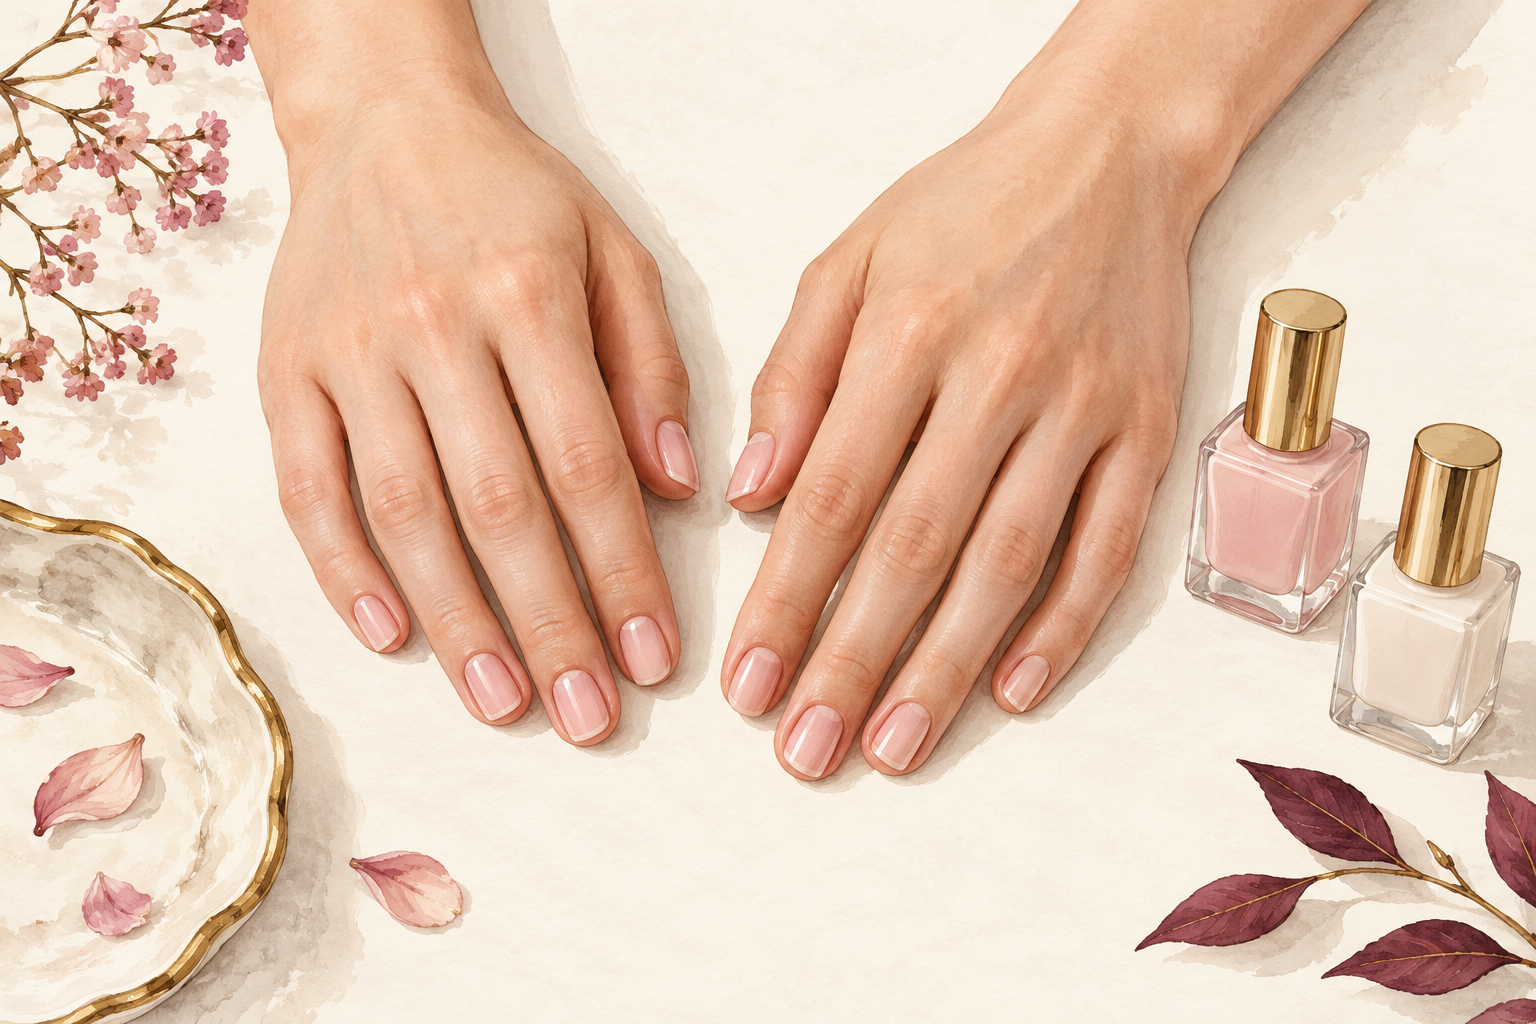
Shape every nail to the same outline, with the same number of strokes. Use your shortest nail as the guide, and file the others down to it. Hold your hands side by side and look from a distance, since uneven shapes are easier to spot that way. Turn your hand over and run the fine side of the file once, lightly, under the free edge to remove tiny burrs. Do not dig under the nail. Run a fingertip along the edge, and if you feel a catch, smooth it once more. Rest your hands on a white towel to see the outlines clearly.
11. Fix the usual slips
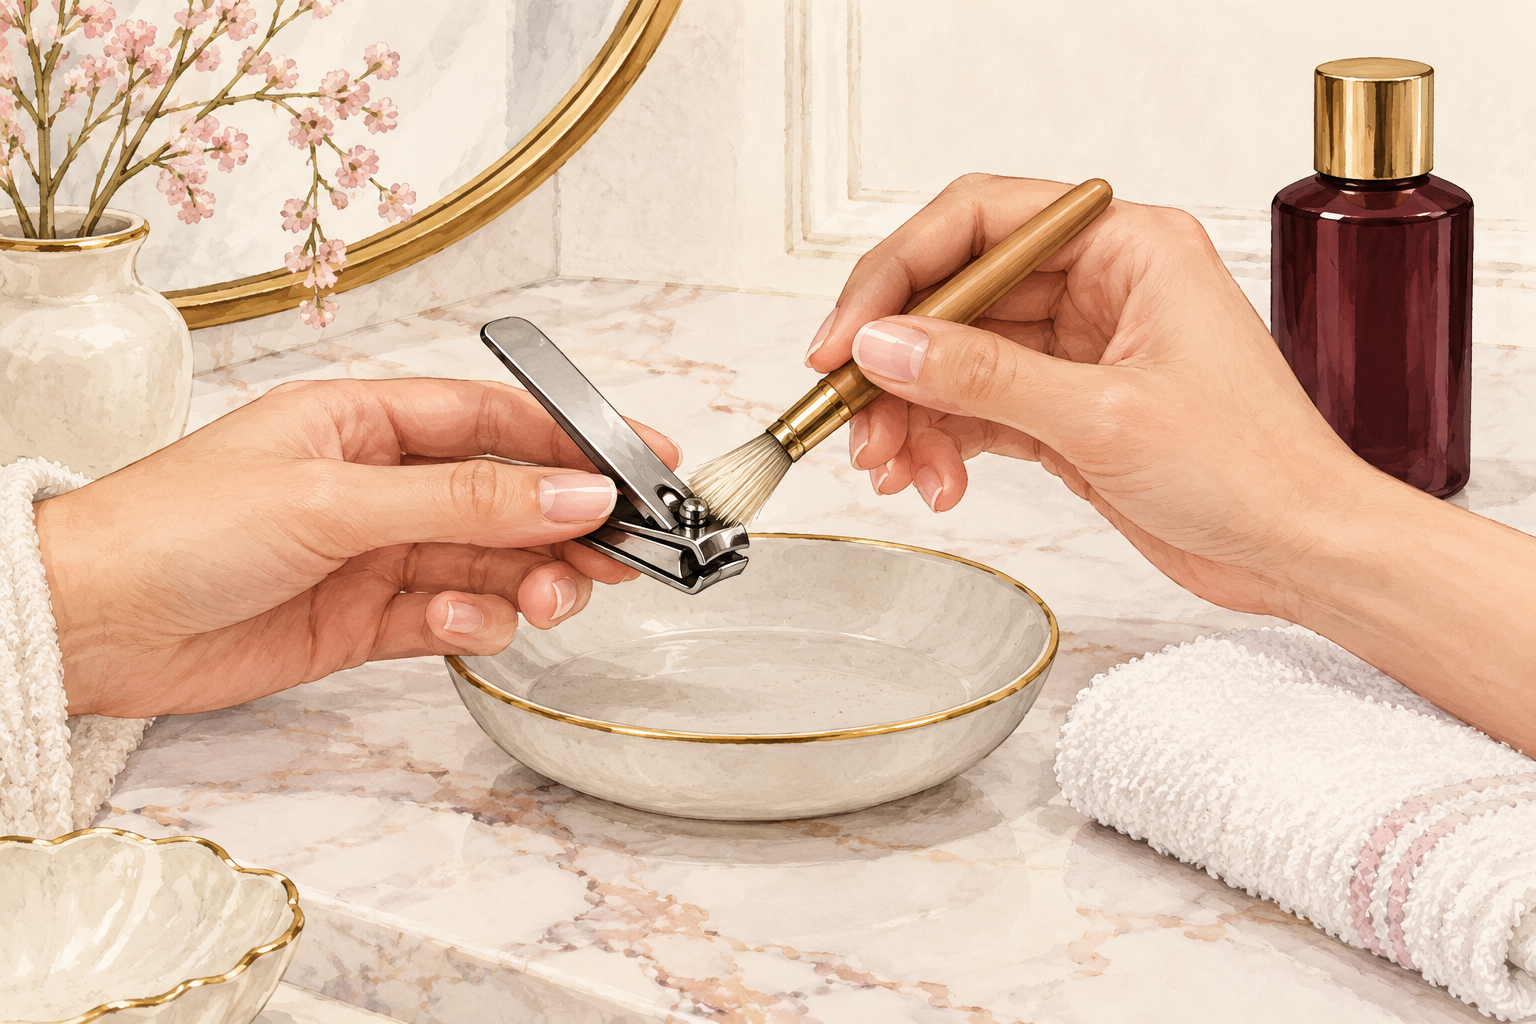
Sawing, filing wet nails, using a coarse file, pressing hard and filing the sidewalls are the usual slips. If a nail has already split, trim the split straight across and leave it unfiled until it settles. A tiny crack at the corner can be smoothed with one light stroke, never with a heavy one. Clean your tools monthly with a brush and alcohol, rinse and dry them fully. Rough shaping is easy to fix once you spot it, so look at the edge you are filing before you blame your nails. Filing a snag away is far kinder than ripping it off.
12. Brush off, oil and watch the weeks
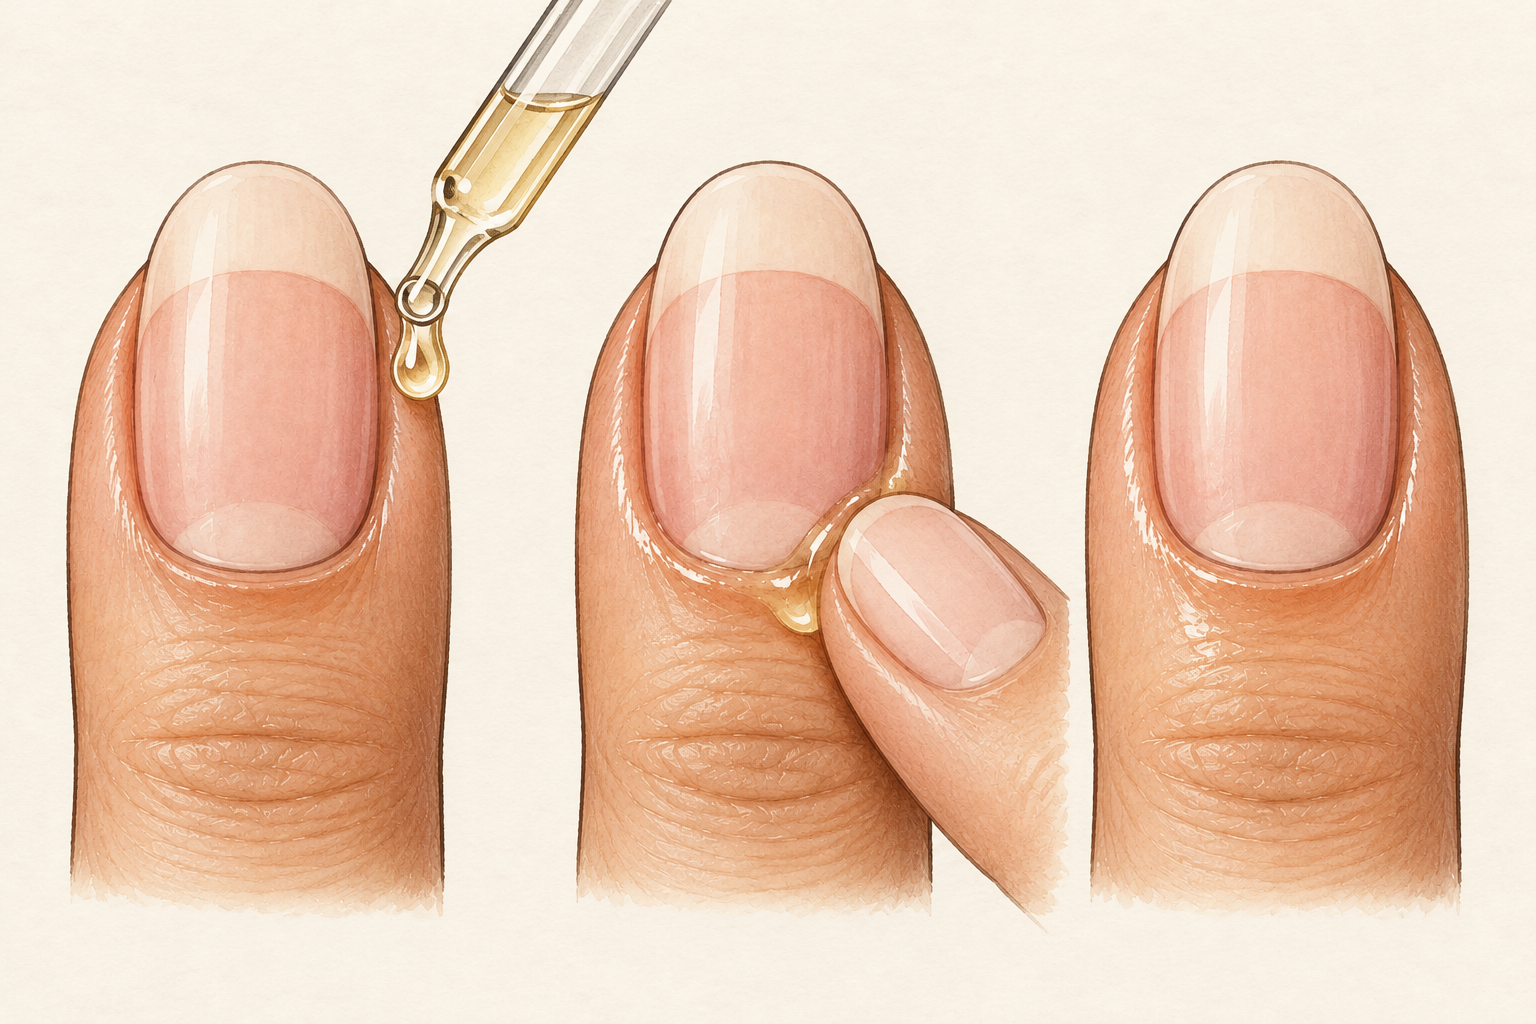
Rinse away the nail dust with warm water, pat dry and press a drop of cuticle oil into every nail. Dry nails split more easily, so do this every time you shape. After a week, a well filed nail feels smooth and snag free. By week two you may see less splitting at the corners, and by week four you will know whether the shape suits your hands. These are rough markers, not promises. If peeling carries on, look at other habits like water and picking. Keep a tiny bottle by your bed so it becomes a nightly habit.
Complete the Routine: How to Shape Nails Step by Step Each Week
Tonight, trim one nail straight across, wait until it is dry and practice the one direction stroke from each side. Shaping gets easier with each nail you file, so give yourself a few tries before judging it. Leave the next idea for later, and the guides below will be there when you are ready.