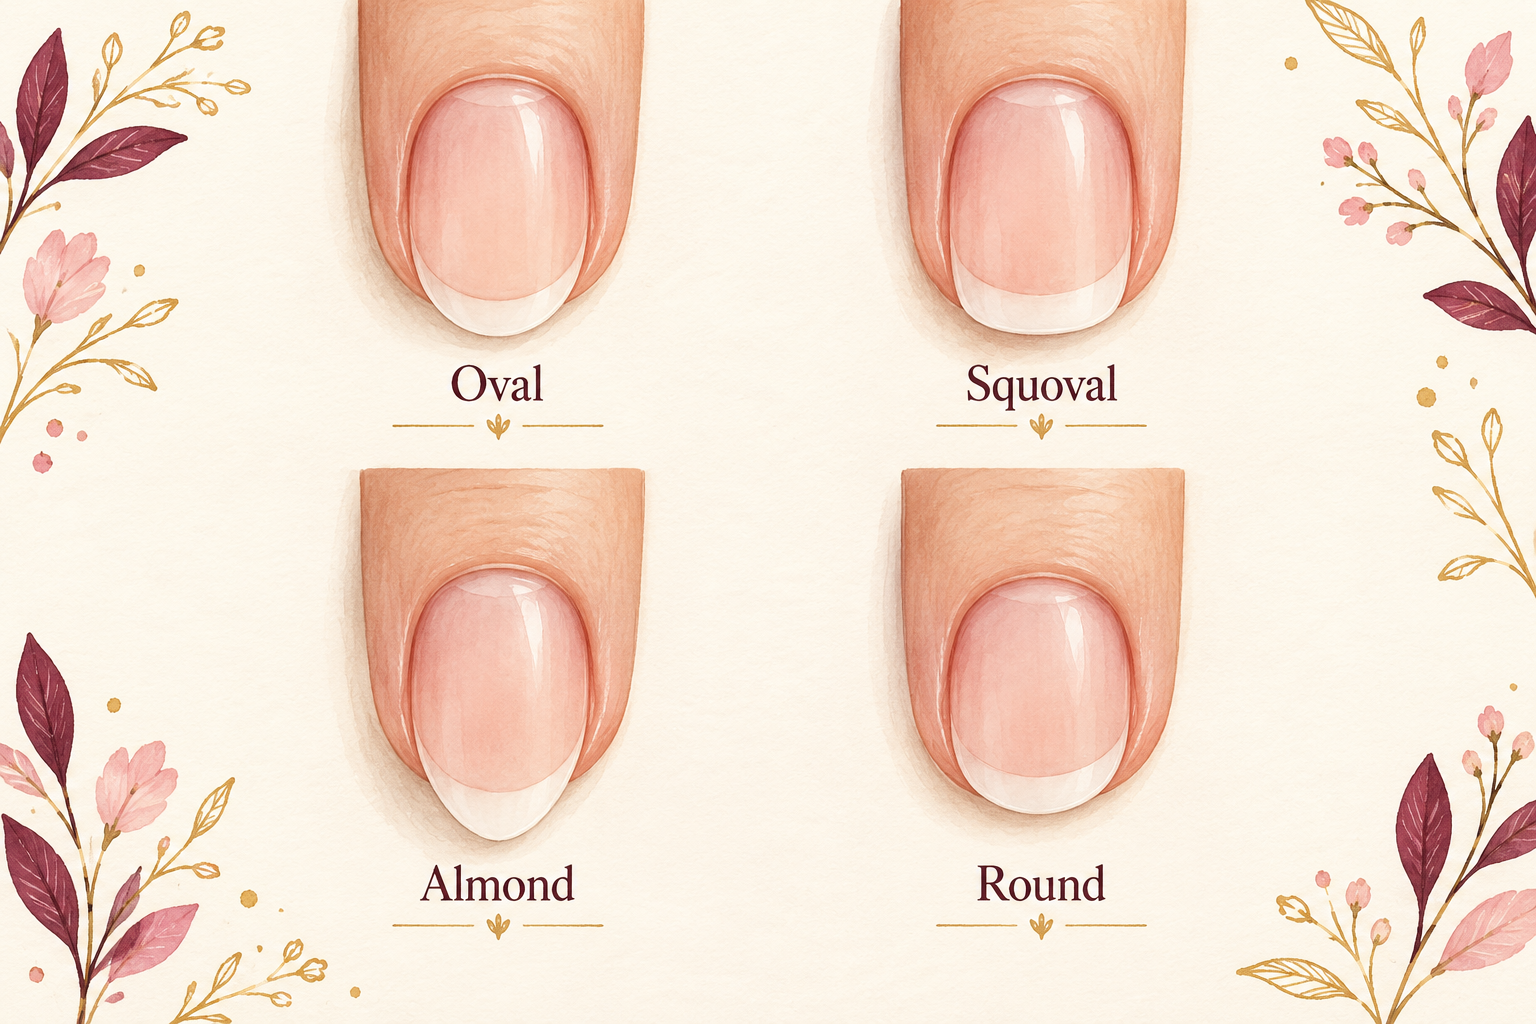
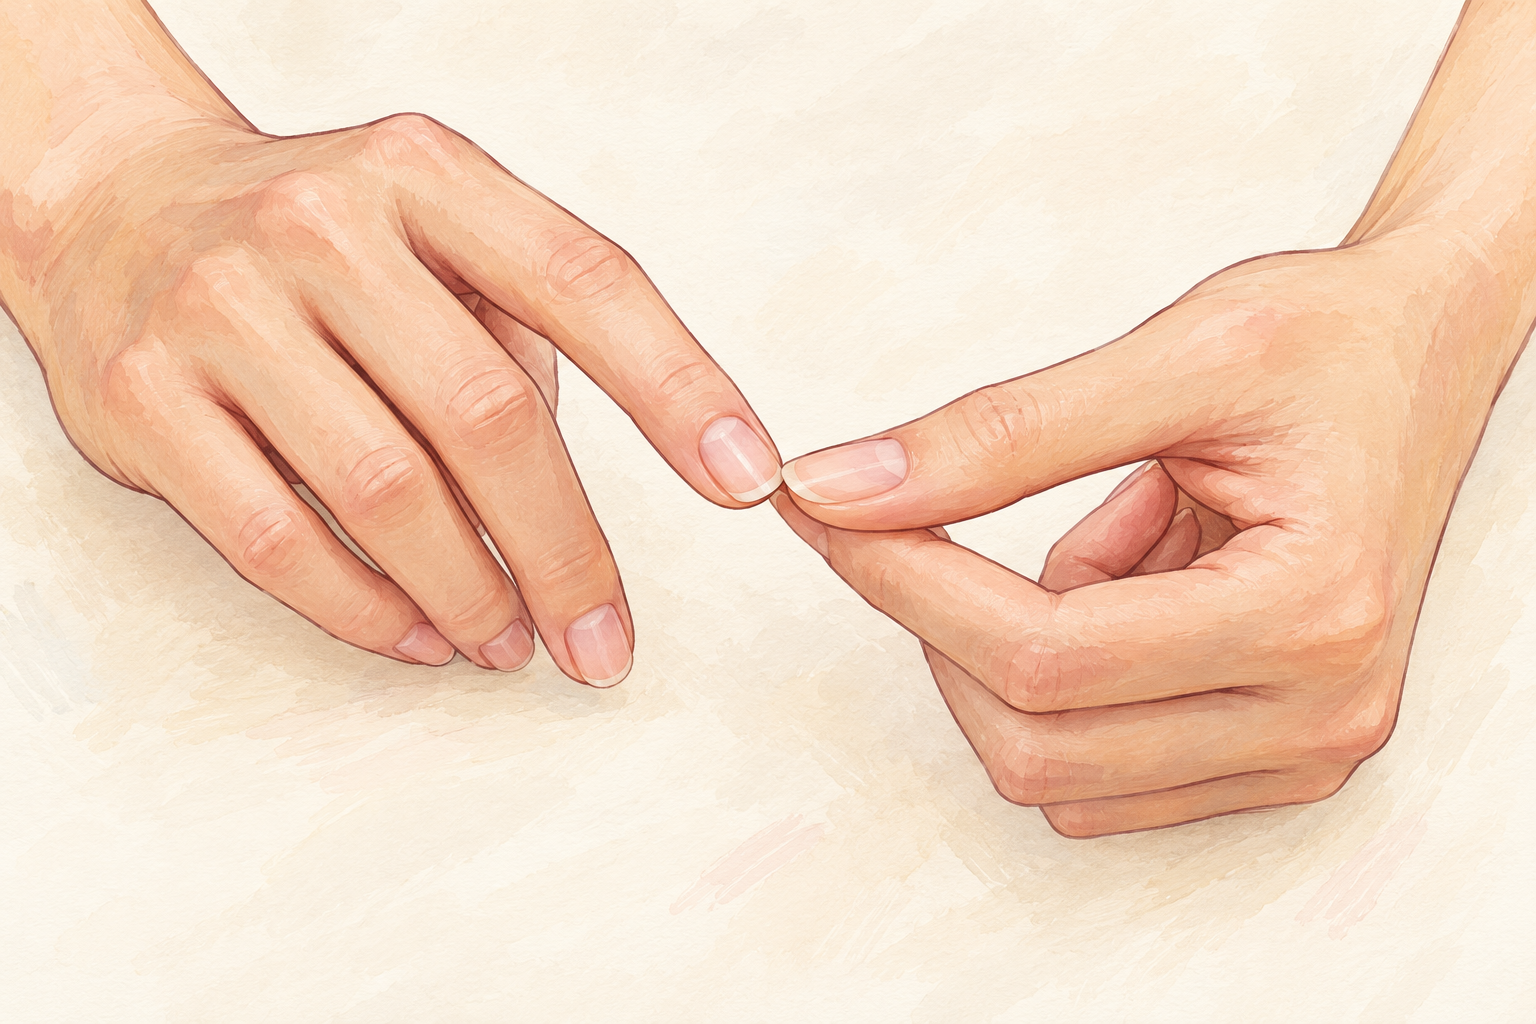
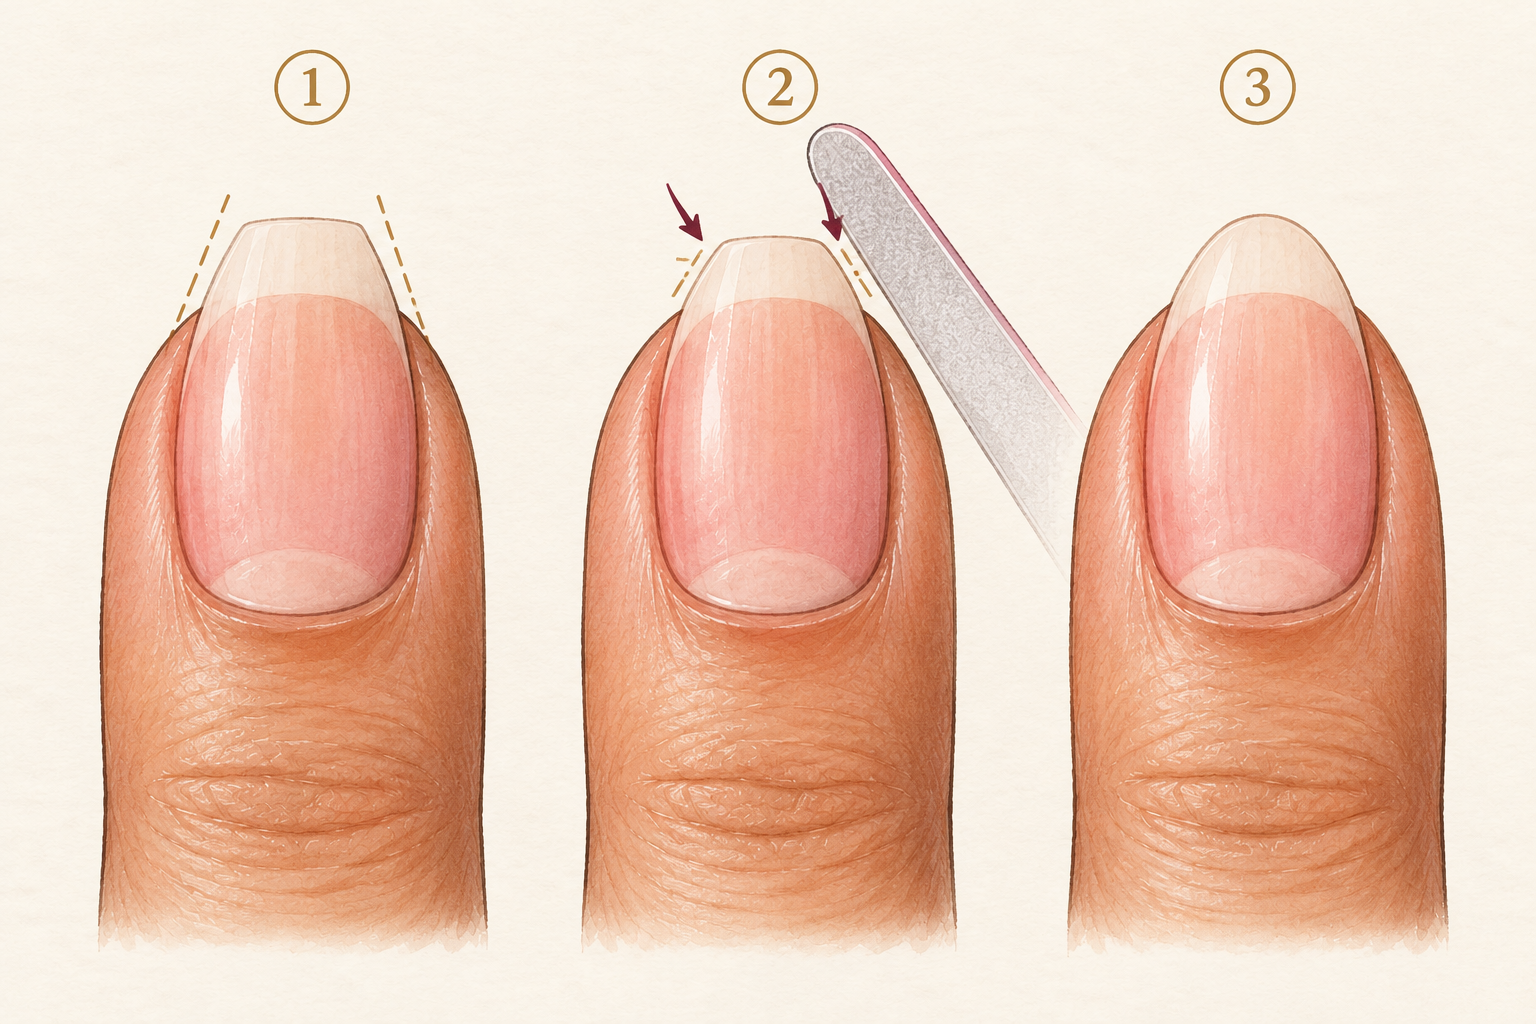
Your nails are short, maybe bitten, and every shape you try looks lopsided or leaves a snag that catches your sleeve. You do not need length to look polished, you need a clean curve and a smooth edge. These 12 ways show you how to shape short nails with one file and five minutes, so start at number one tonight.
1. Check how much free edge you have
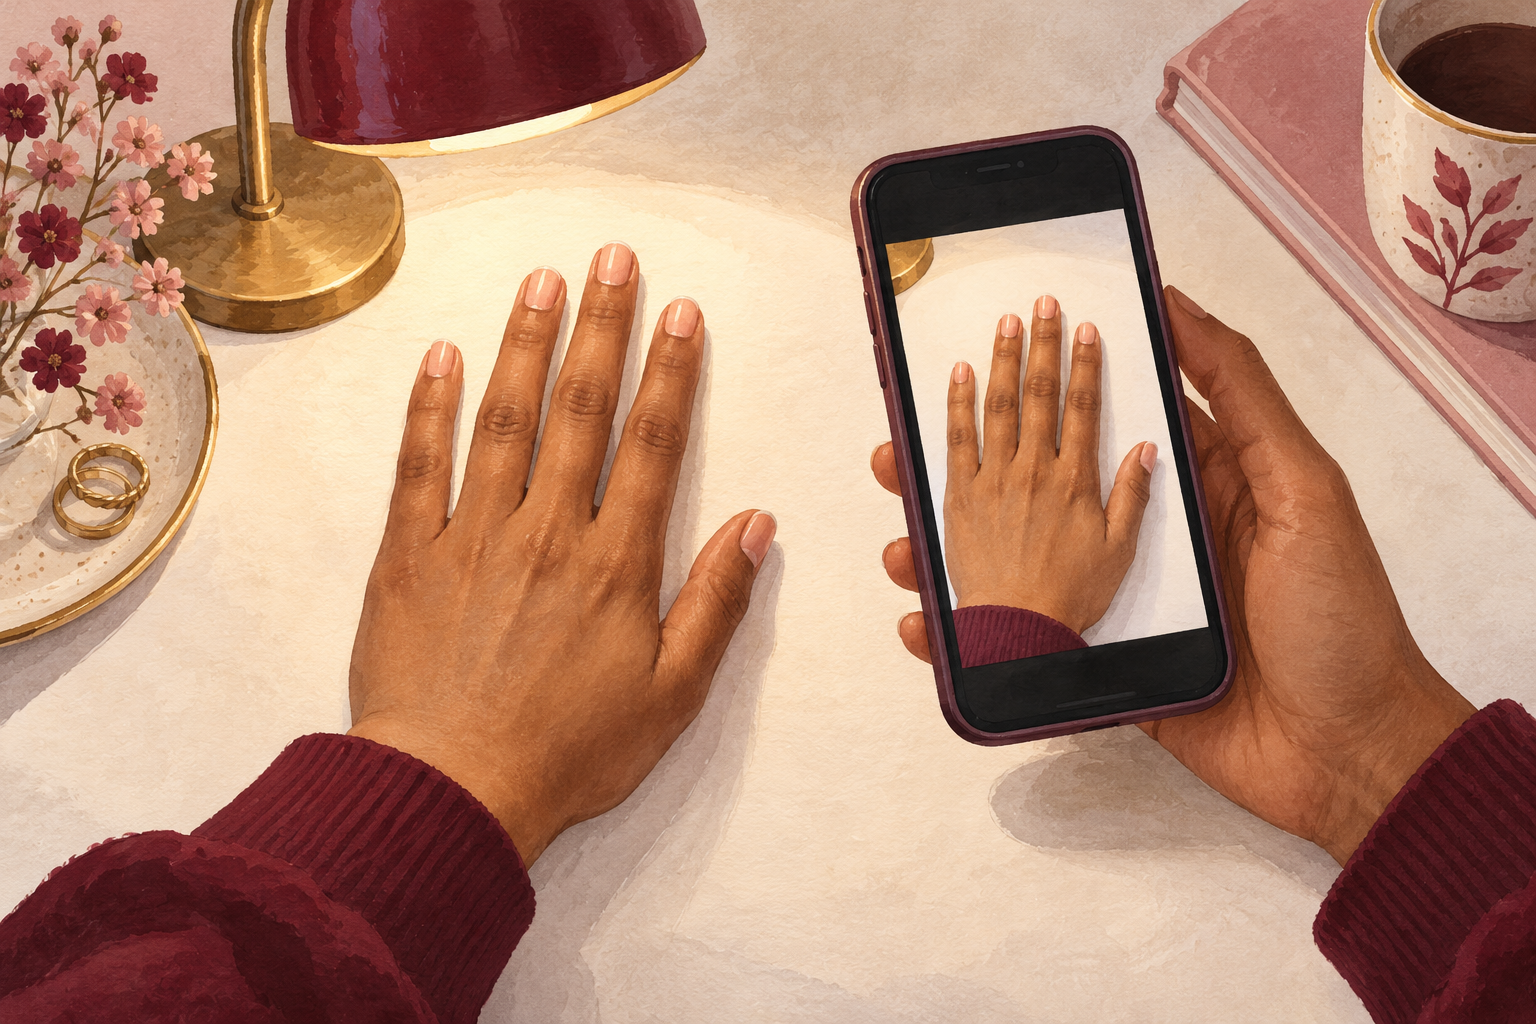
Hold your hand flat under a bright lamp and look for the thin white line of nail past your fingertip. If you can see a sliver, you have enough to shape. If the nail ends right at the skin, you are only tidying, not reshaping. Notice which nail is the shortest, because every other nail will be matched to it. Take a quick photo before you start so you can compare in a few weeks. Short nails forgive a lot, but they do not forgive guessing, so look first. Knowing how to shape short nails starts with seeing what you really have to work with.
2. Pick one fine file and leave the clippers
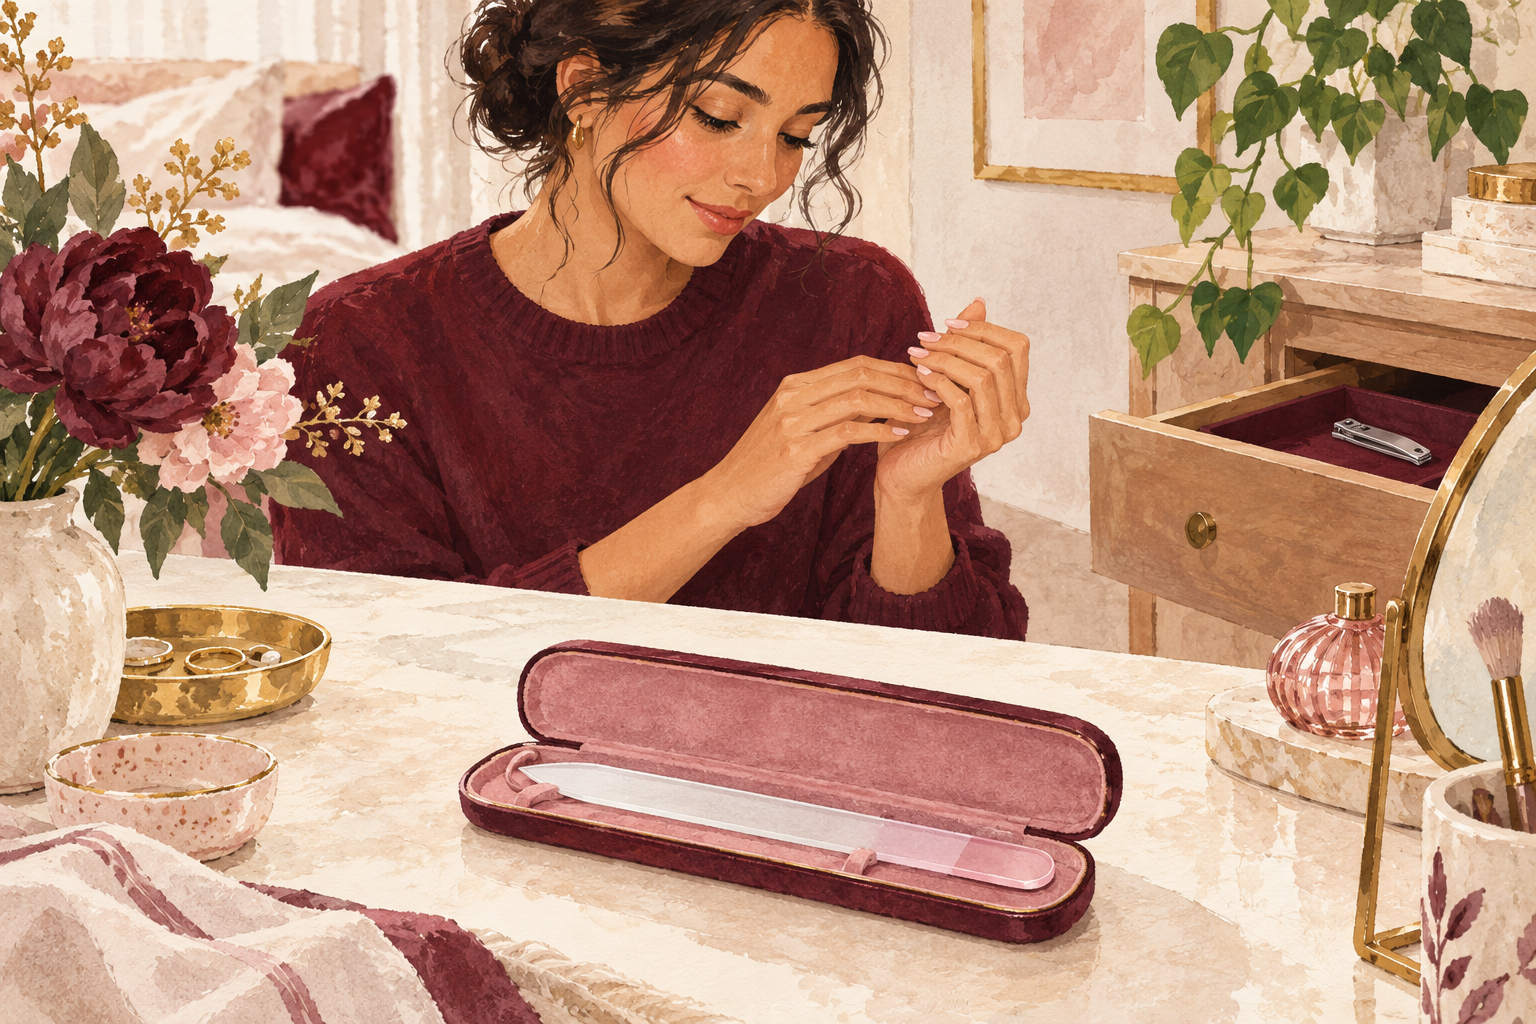
Choose a fine grit file, around 180 or finer, and keep the clippers in the drawer. Clippers need length to grip, and on short nails they tend to bite too deep or crack the edge. A fine file takes off tiny amounts, so you can stop the moment the shape looks right. Glass files are gentle and easy to wash. A coarse board shreds the layers and leaves a rough edge, so save it for something else. One good file is the entire kit. Wipe it with a damp cloth when it clogs, and replace it once it stops feeling gritty under your thumb. Clippers still have a place, and for that job, how to cut nails is the one to read.
3. File when your nails are fully dry
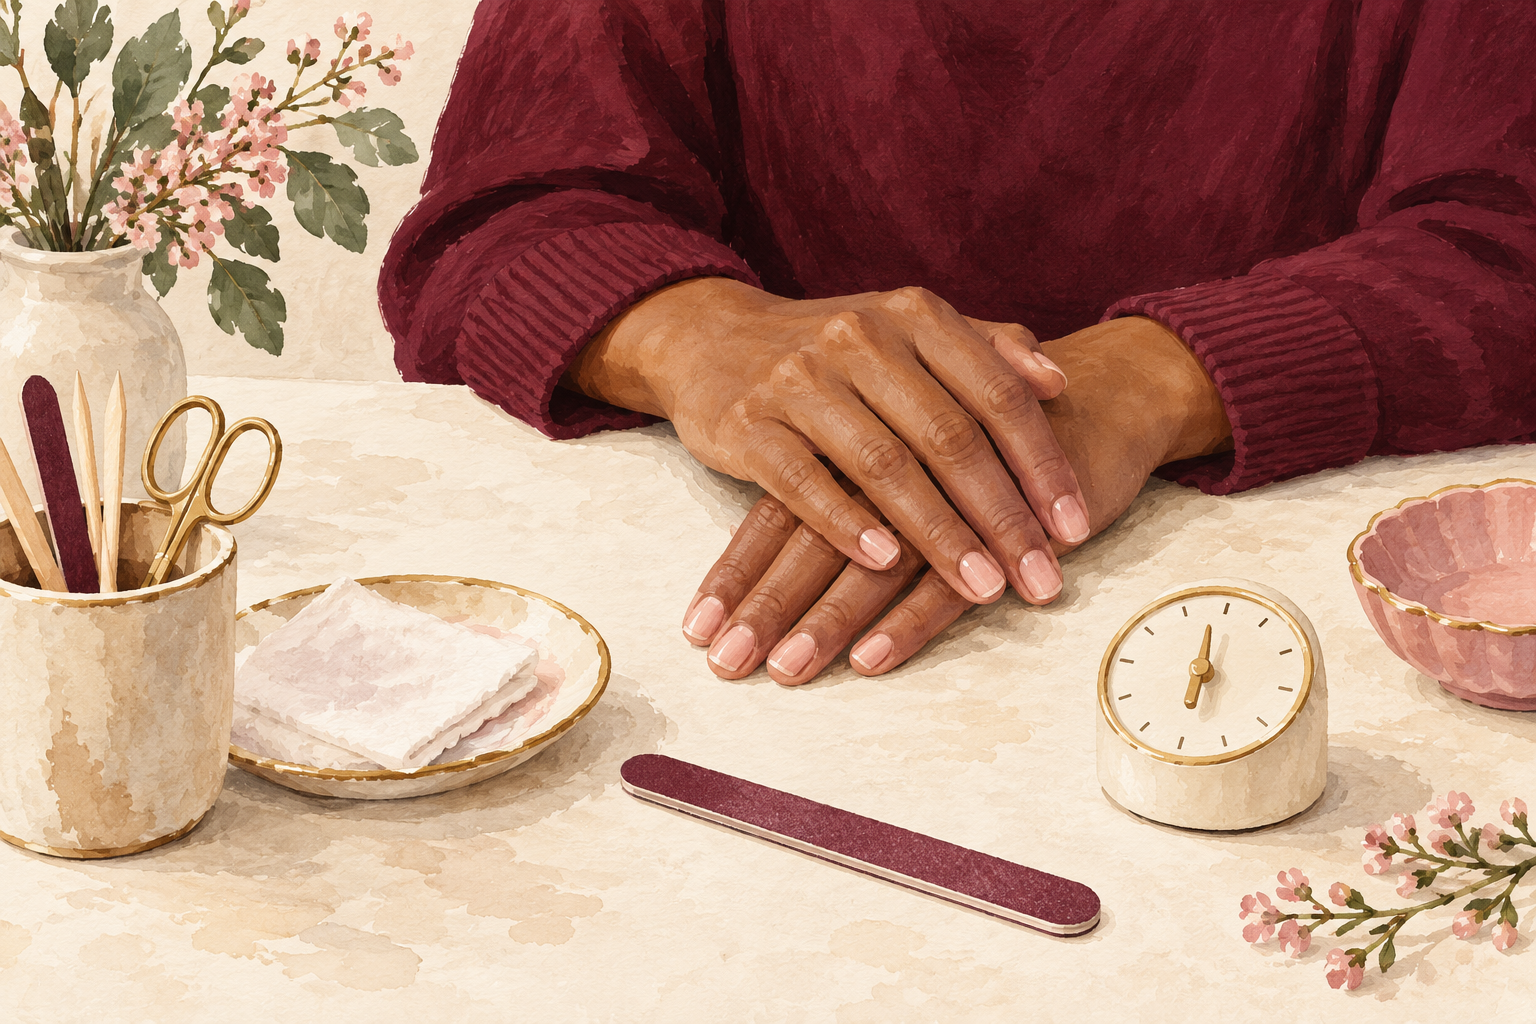
Wait until your hands have been dry for at least ten minutes before the file comes out. Wet nails are soft and bendy, and a file tears them into layers instead of smoothing them. Many girls file straight after a shower because the nails feel soft, then wonder why they peel by Thursday. Dry and calm is better. Dry your hands properly, rest them on a table and let the nail go firm again. If you have been washing up or swimming, give it an hour. Nails also dry out and firm up fast in the open air, so a short wait is enough.
4. Follow your cuticle for a soft round
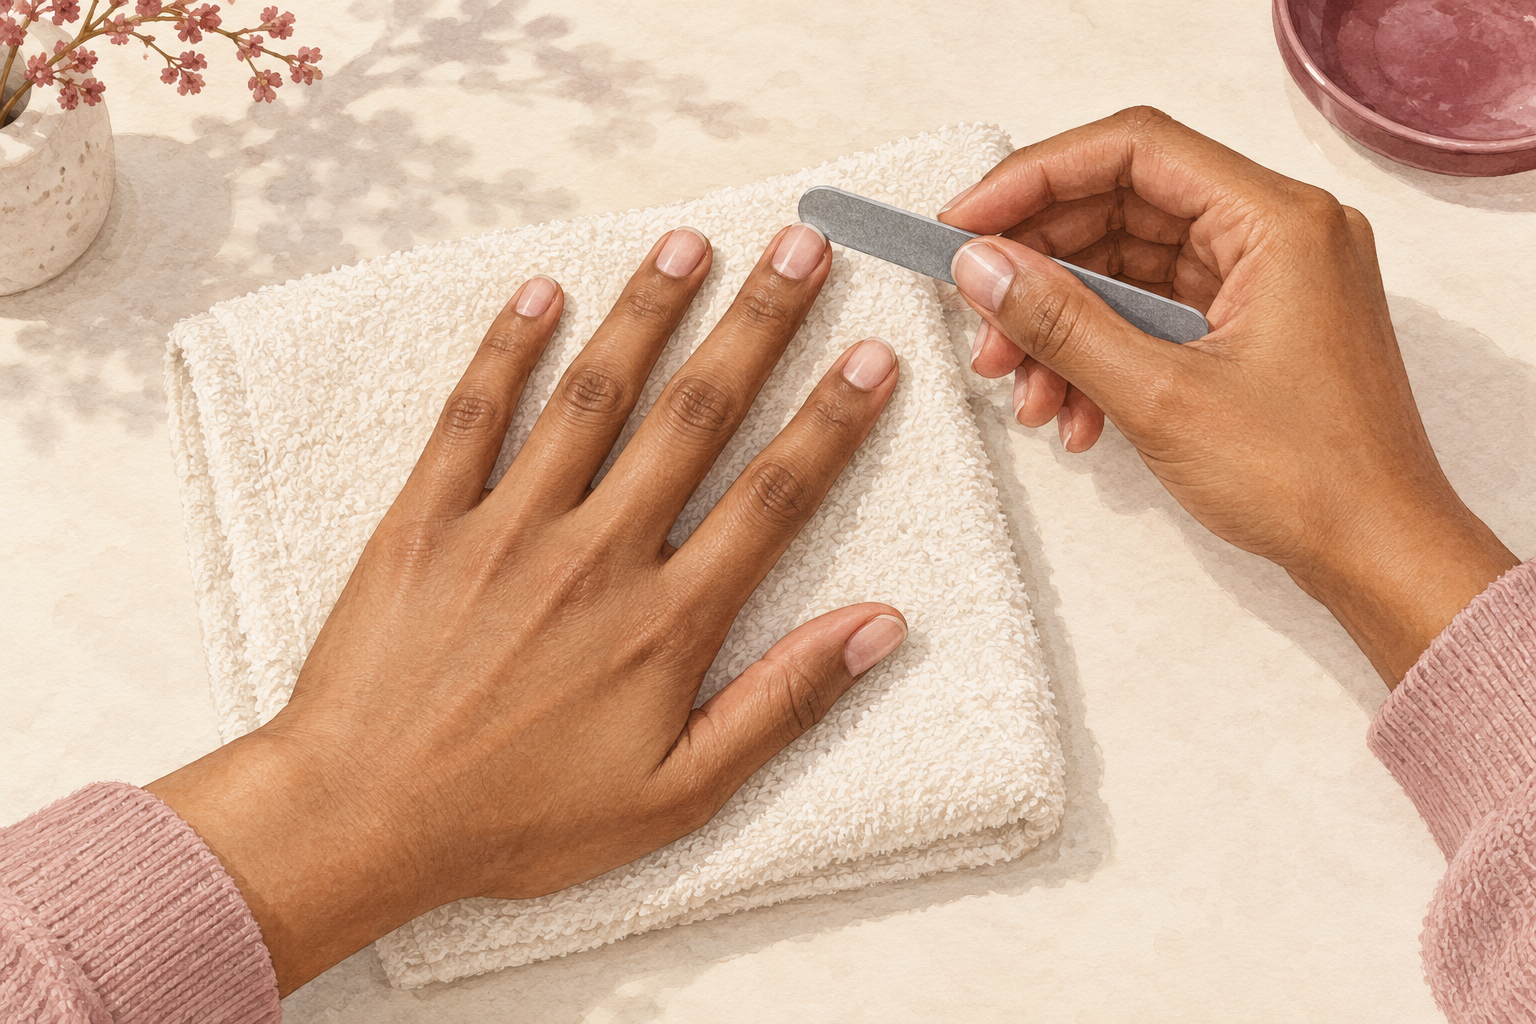
Look at the curve of your cuticle and echo it at the tip. A round shape is the safest choice for short nails, because it has no corners to snag and no thin points to snap. File from each side toward the middle in small, gentle strokes, and check the shape in the light after every few passes. A good soft round looks like the nail is wearing a small arch. It also makes short fingers look a touch longer. This is the shape to try first, and the one most short nails settle into. If it feels too plain, you can always change it next week. If plain round feels dull later, how to shape nails has other options to compare.
5. Try a soft square if your nails are wide
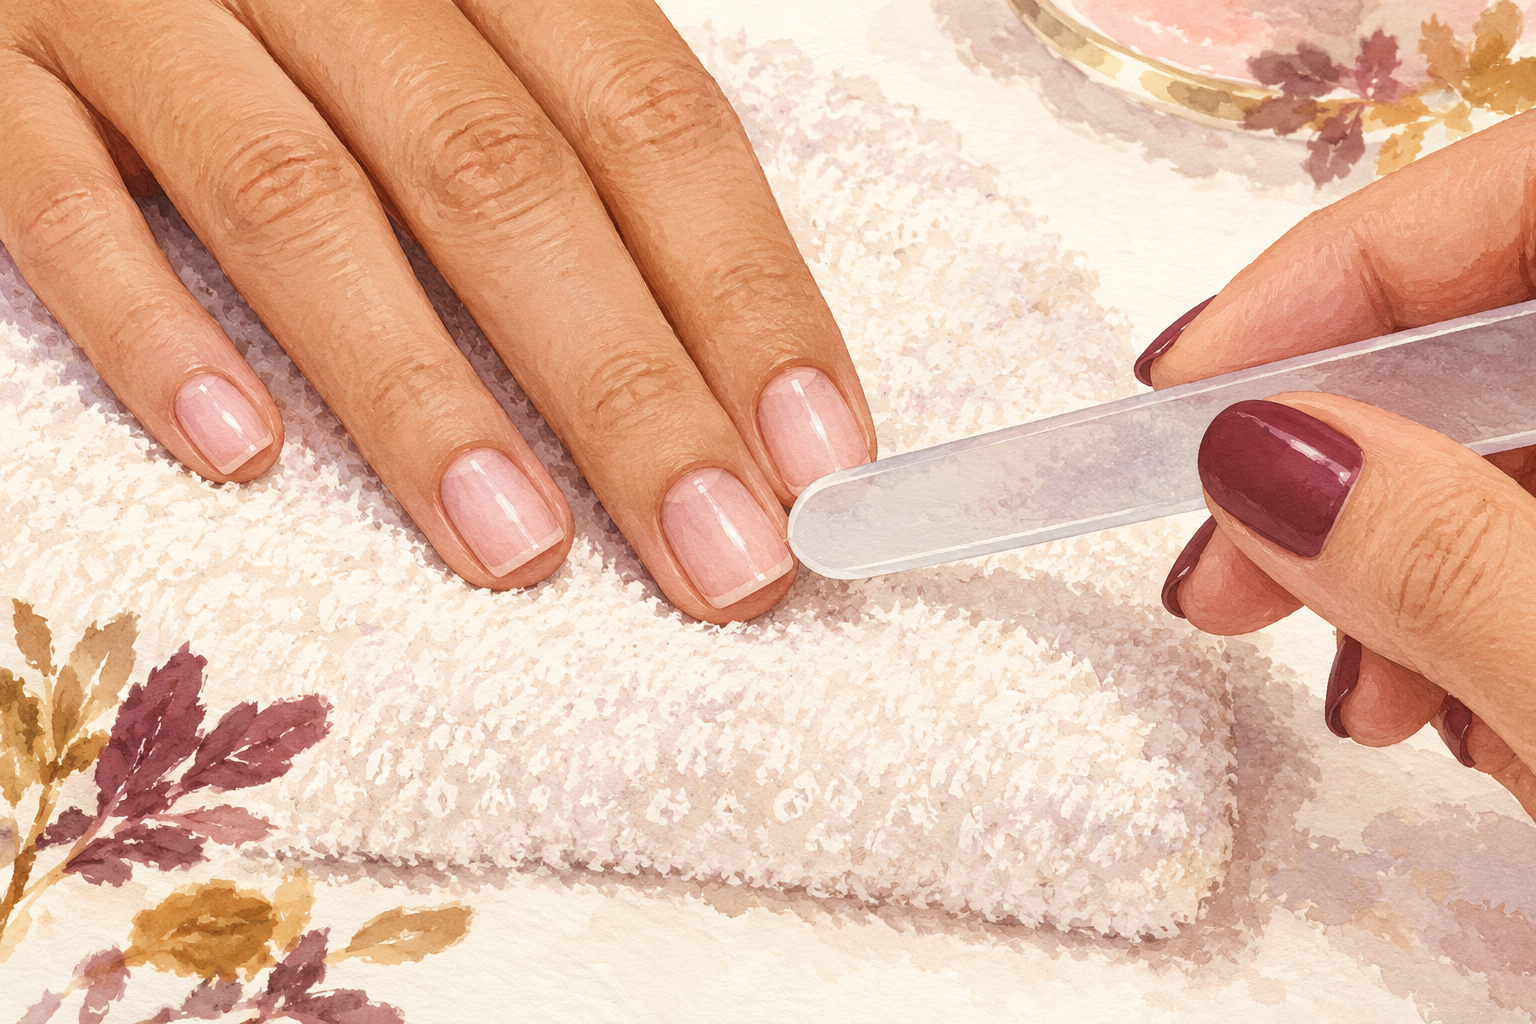
Keep the tip nearly straight across, then round the corners just a little. Wide nail beds can look stubby with a pointed or round tip, and a soft square fills that space tidily. Do not leave sharp corners, because they catch on knitwear and hair and then tear down the side. Go slowly on the corners, since a few strokes is all it takes. This shape also holds up well for typing and chores, so it suits busy hands. Check each corner with your fingertip, and if it feels sharp, one more pass will soften it.
6. Keep the sides straight to look longer
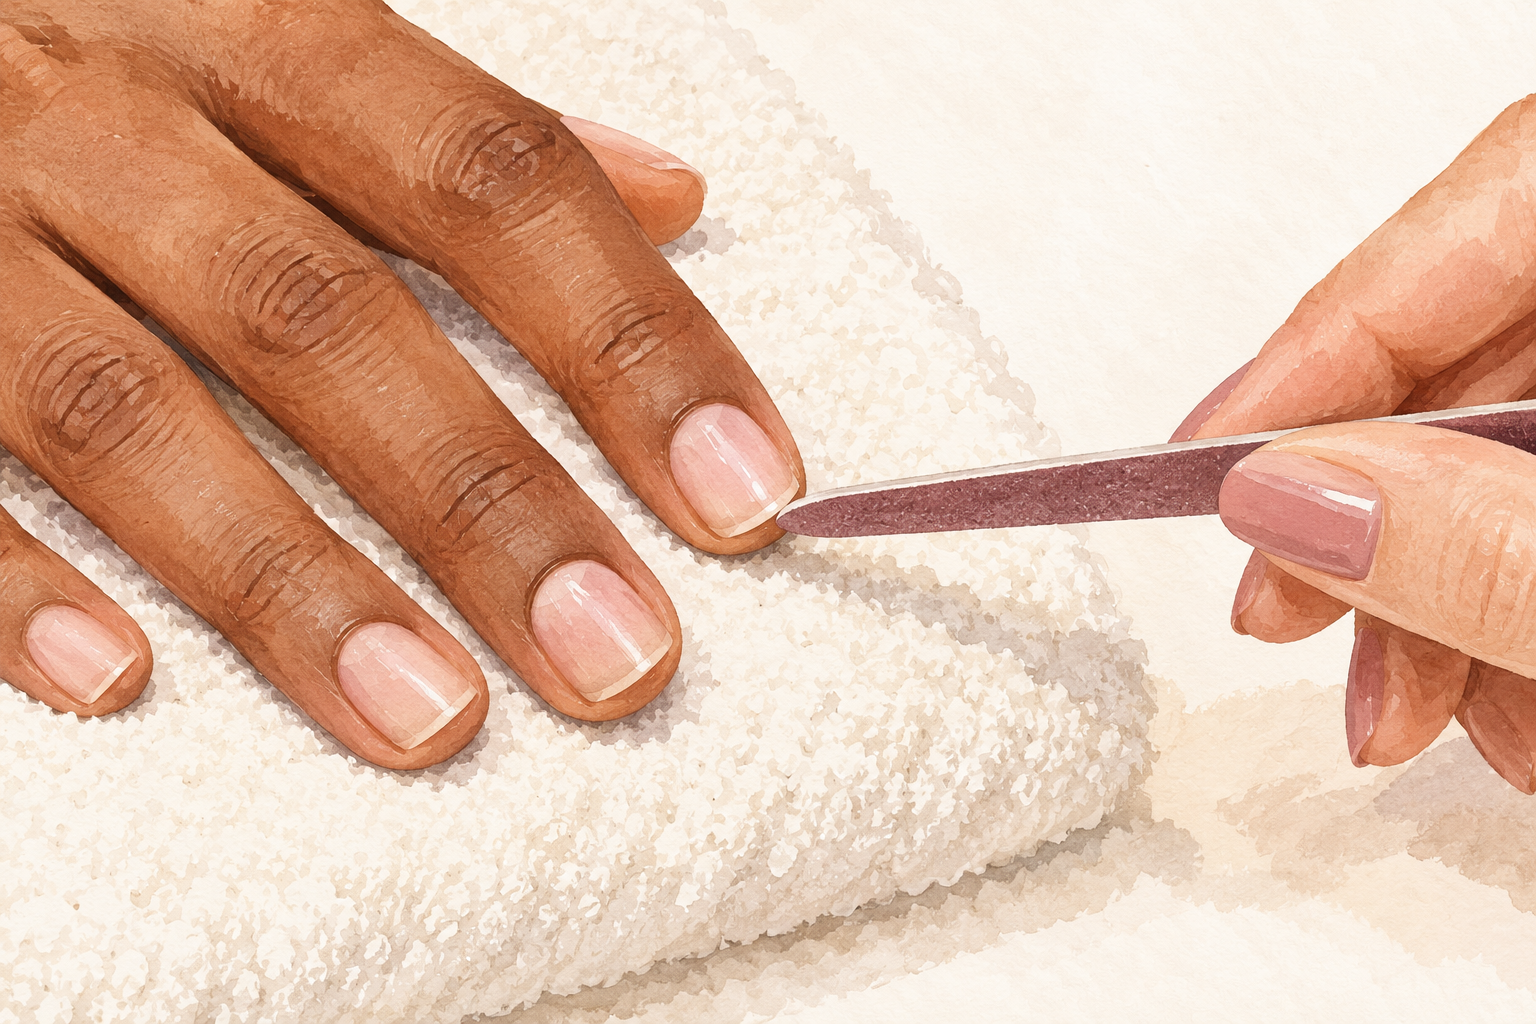
File the sides so they run straight down from the skin instead of curving in. Straight sides stretch the nail visually, which is a lovely trick when there is not much length to play with. Do not file the sides in a deep scoop, because that thins the strongest part of the nail. Stop a hair before you touch the skin fold. If one side looks wider than the other, trim the wider side lightly and compare. The difference is small, but it makes the whole hand look more finished. Work with your hand turned toward the light so you see the line you are filing.
7. File from the side toward the middle
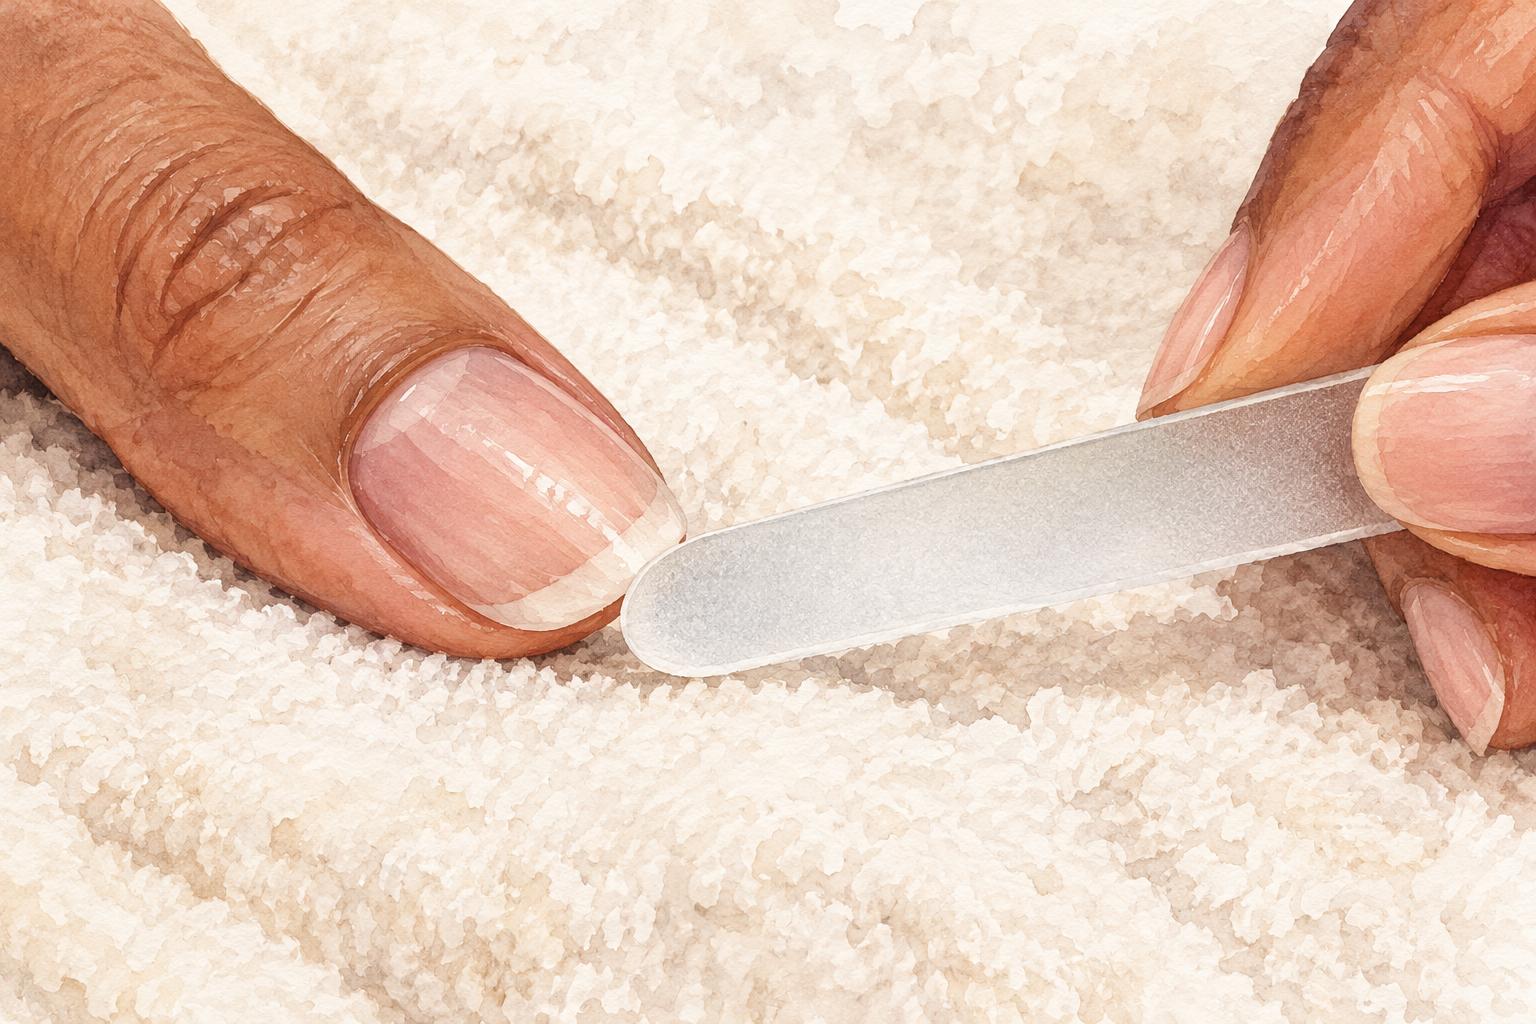
Glide the file in one direction only, from the outer edge toward the center. Sawing back and forth tears the layers apart and leaves a ragged edge that peels. Hold the file nearly flat against the tip, not pointing up under the nail. Two or three passes per side is plenty for short nails. If you hear a scraping sound, you are pressing too hard, so ease off until it goes quiet. Turn your hand rather than your wrist, and the strokes stay even. Take your time, because short nails leave little room to fix a heavy stroke.
8. Smooth the edge so it does not catch
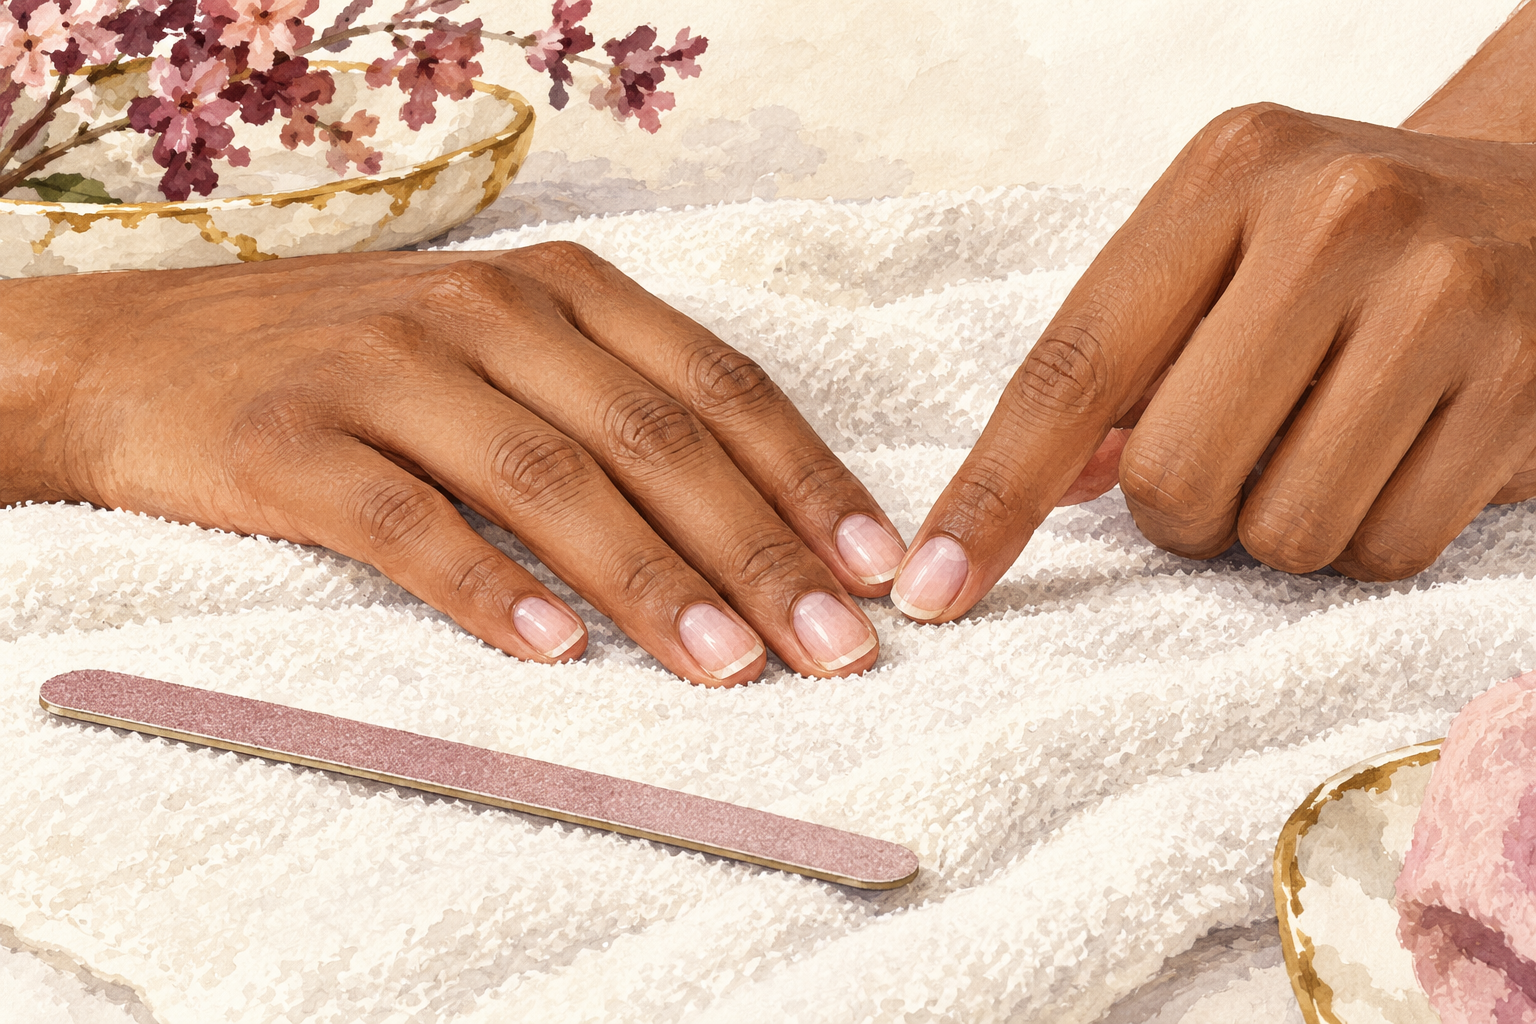
Run a fingertip over each edge and stroke once more wherever it catches. Then tilt the file very slightly under the free edge and pass it once, to remove the tiny burr. That burr is what snags on tights and then splits. Do not press hard here, because it is only a whisper of a touch. A smooth edge is the difference between nails that look cared for and nails that look bitten. Wash your hands afterwards to clear the dust, then add oil. The nails will feel silky and slightly warm from the friction, which is a good sign.
9. Level bitten nails at the longest point
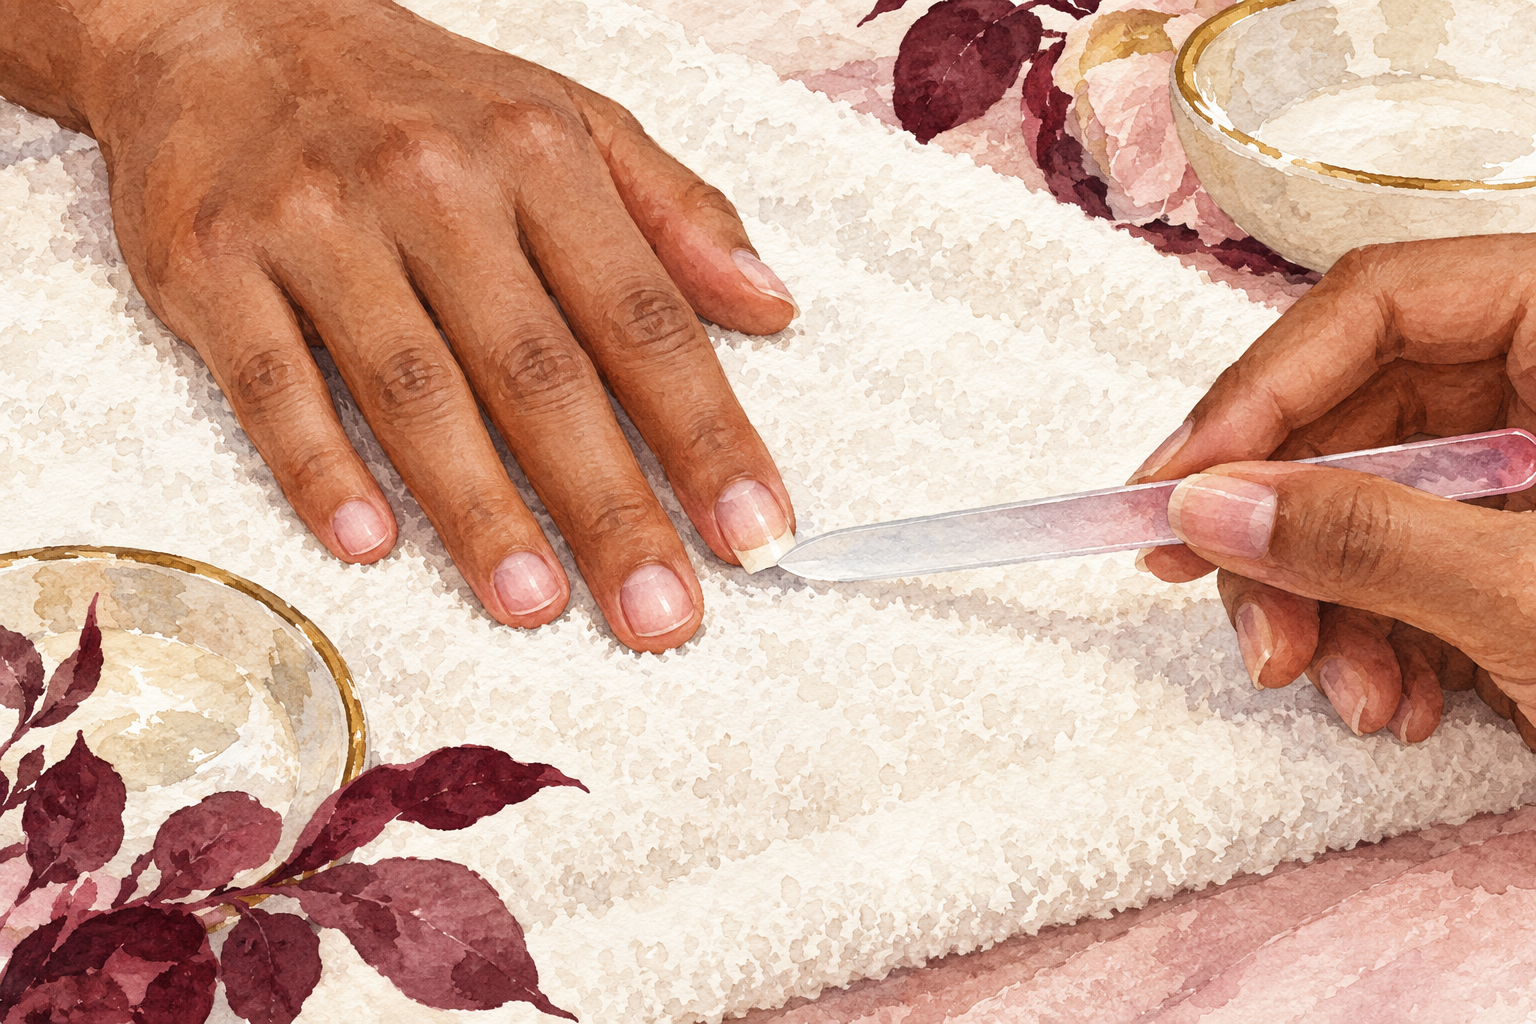
Find your longest nail and file only that one down to match the others. Bitten nails are rarely the same length, and trying to even everything up by filing the short ones makes them shorter. Level from the top, not from the bottom. Then give each nail one gentle round. You will be surprised how much neater a set looks when only one nail changes. If a nail bed is ragged, smooth the edge and stop there, because the nail will fill in as it grows. Be proud of the progress, since how to shape short nails is mostly about restraint.
10. Leave sore skin alone and oil it
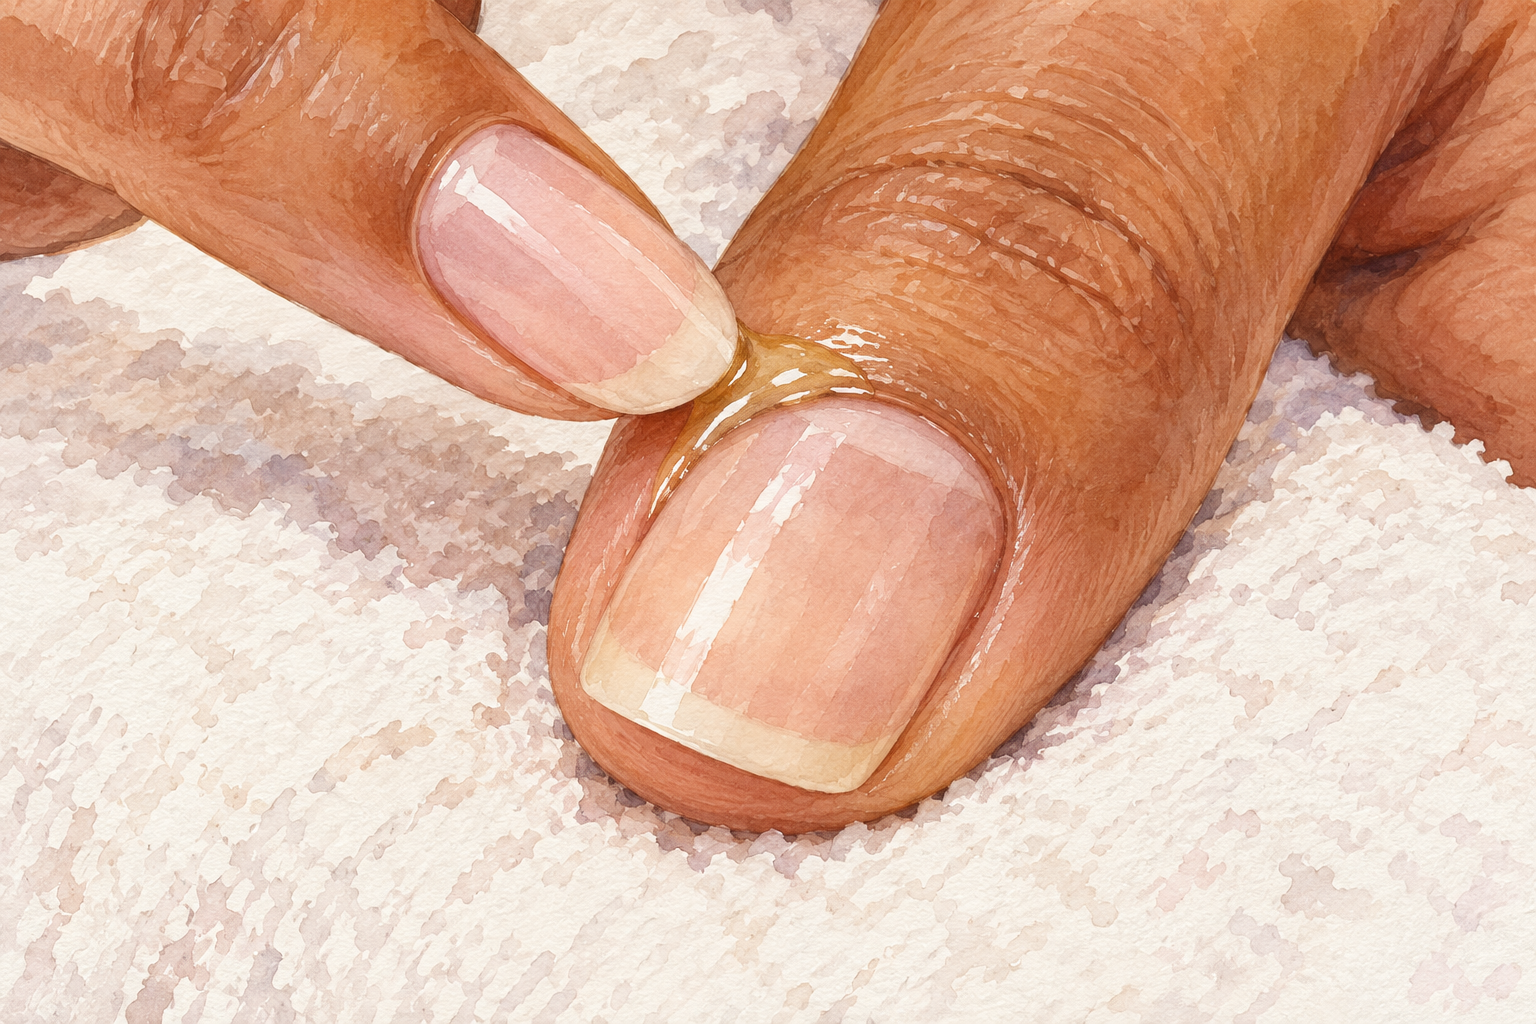
If the skin around a nail is sore or torn, do not file near it today. Press a drop of oil into the cuticle and let it heal for two or three days. Filing a nail that is tender only makes you tense, and a tense hand slips. Keep your hands out of hot water meanwhile. Biting often happens when you are stressed or bored, so keep the file in your bag or by your phone, and shape a nail whenever the urge comes. Five seconds with a file beats five minutes of picking. A rough edge is what your fingers hunt for, so a smooth one calms the habit.
11. Swap the habits that undo your shape
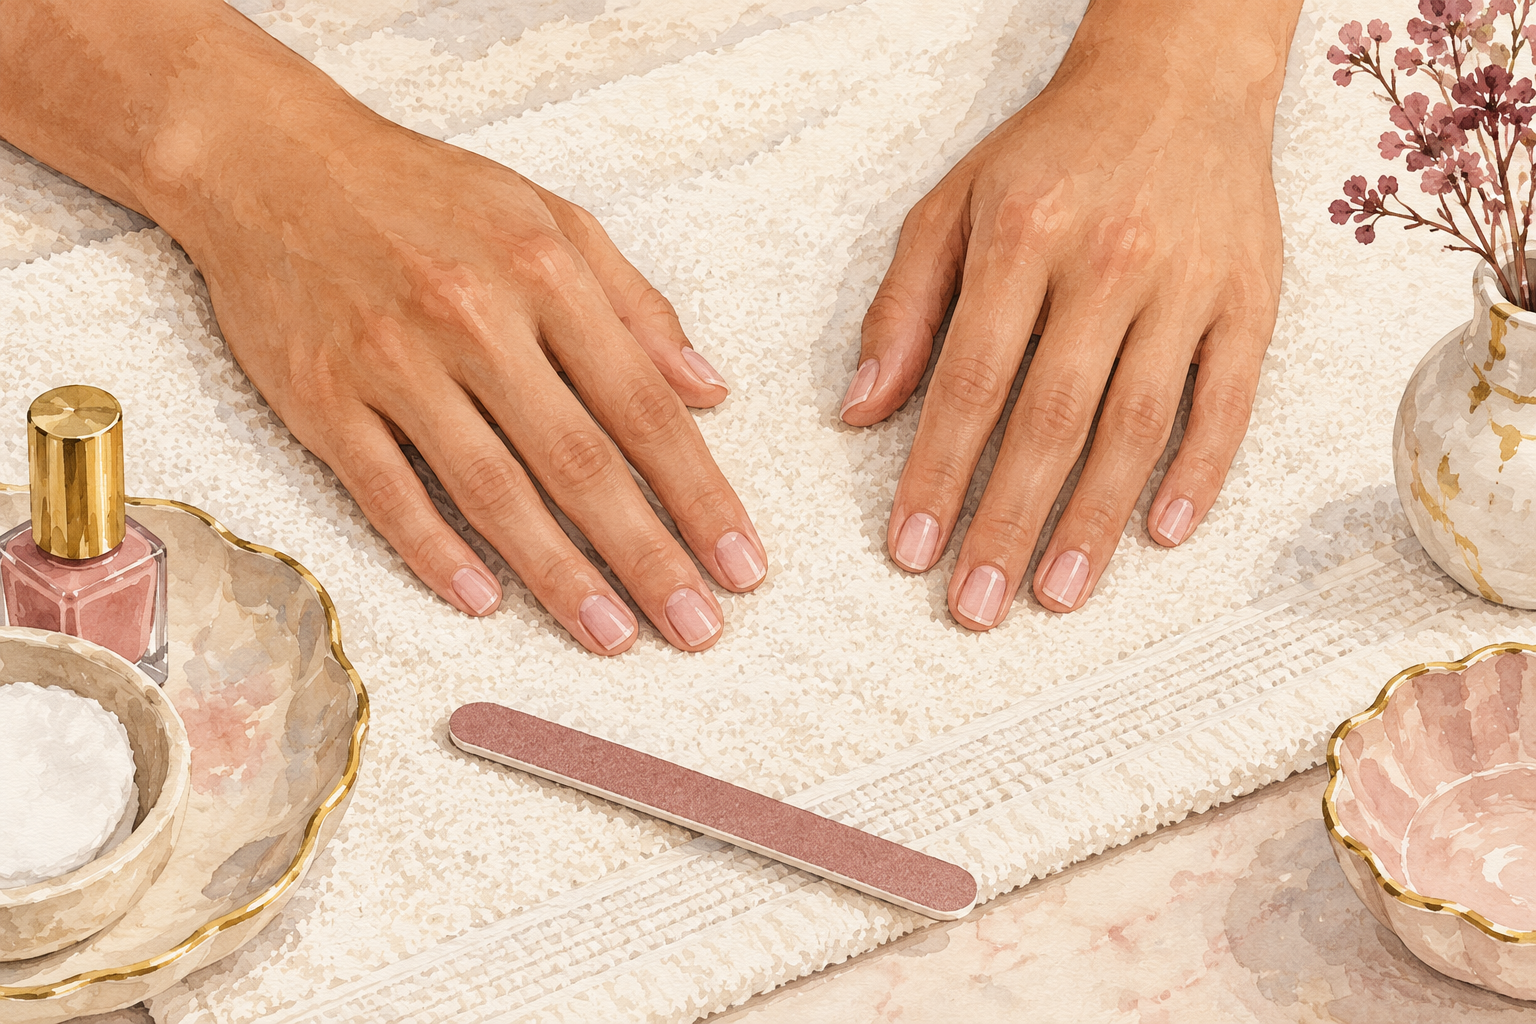
Stop sawing, over filing and shaping a wet nail, since those three cause most of the damage. Sawing frays the layers, and over filing thins the tip until it bends or splits. If the shape looks off, put the file down for a minute and look at the nail from above, not from the side. Fix one edge at a time and never both together. A slightly wonky shape is easy to correct tomorrow, while a nail filed too short has to grow out. Slow and light always wins. Keep a clear base coat or oil on hand to protect the freshly filed edge.
12. Do a weekly three stroke touch up
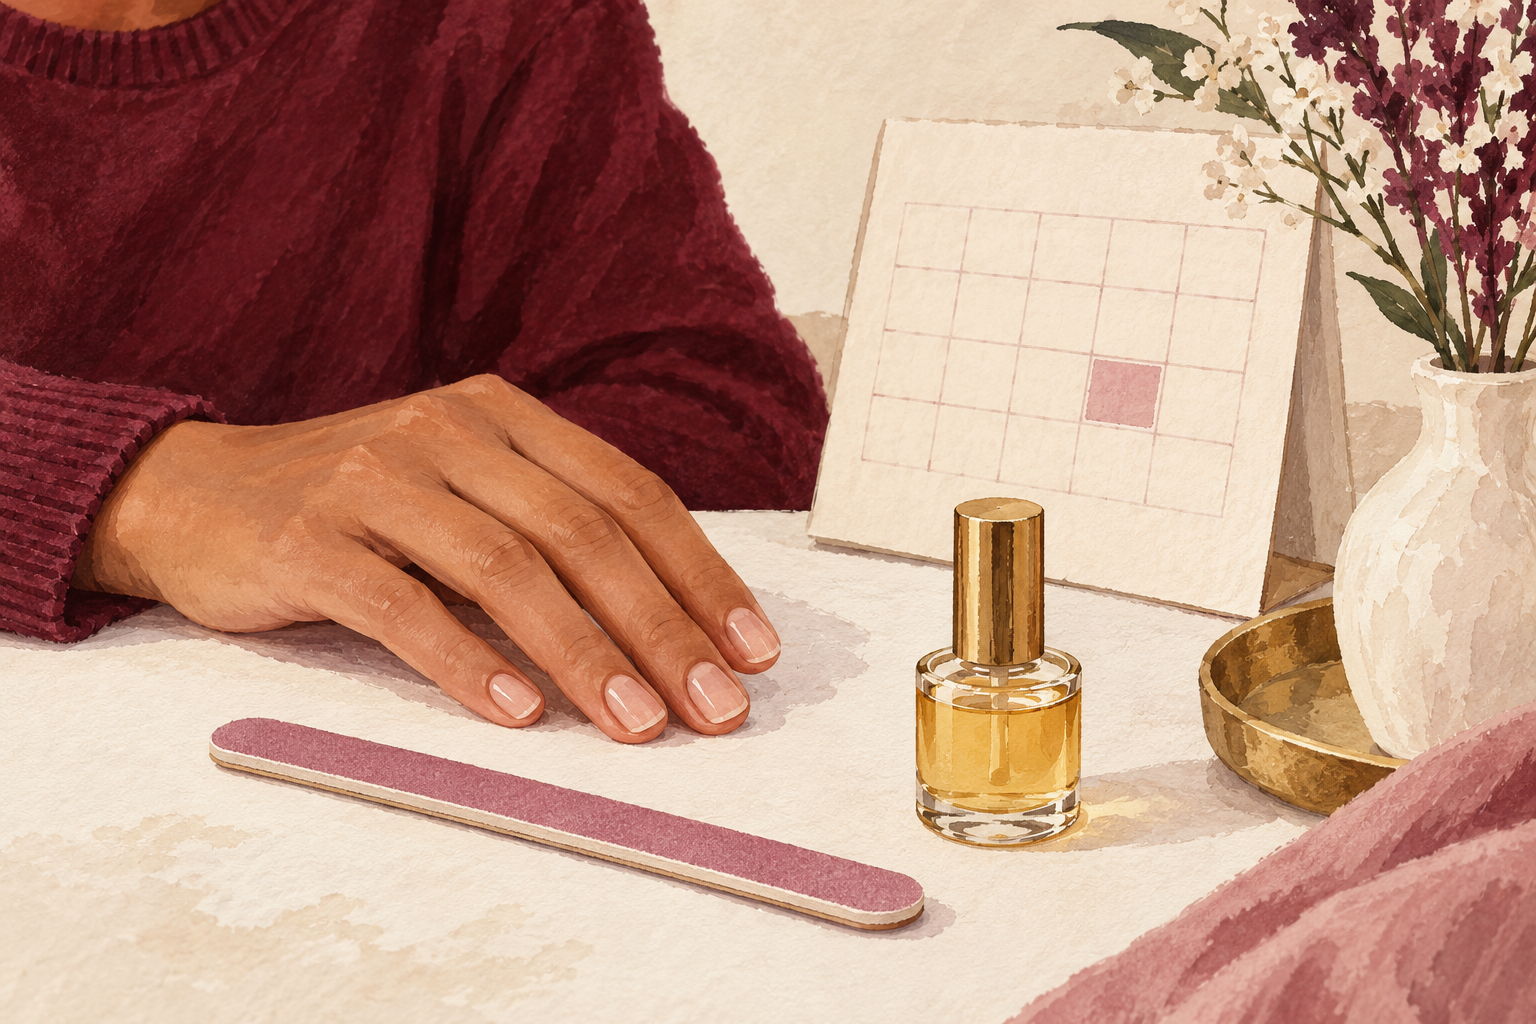
Once a week, take three light strokes on each nail and finish with oil. At week one expect a neat edge and fewer snags. By week four you should see the nails strengthen at the tip, since less picking means less damage. By week eight the shape holds itself between filings and the free edge starts to show. Do the touch up on the same evening each week, like a small reset. Keep the file where you sit most, and it will actually get used. Skip any week where the nails look fine, because the shape you have is working.
Complete the Routine: How to Shape Short Nails Again Next Week
Tonight, file one gentle round on each nail and press in a drop of oil. Shaping gets easier each time, so let one guide below be your next small project this week too.