Your bathroom shelf holds a dozen little bottles, and your nails still peel and snag. The trouble is rarely too few nail care products, it is not knowing what each one fixes or when it goes on. These 12 steps match every product to its job and put them in order, so start at number one tonight.
1. Name your nail problem first
Check your nails under a lamp and decide which problem bothers you most: peeling, breaking, dry cuticles or ridges. Each problem has its own product, and buying for the wrong one wastes shelf space and patience. Peeling layers want moisture. Breaking at the tip wants flexibility and a gentler file. Dry, cracked cuticles want oil. Ridges are mostly cosmetic and just need a smooth coat. Write your top problem on your phone before you shop, and your trip becomes one product long instead of ten. It also gives you something to measure against in two months, when you check your nails again in the same light. Start by naming the problem, then let nail care tips guide the next choice.
2. Start with a plain hand cream
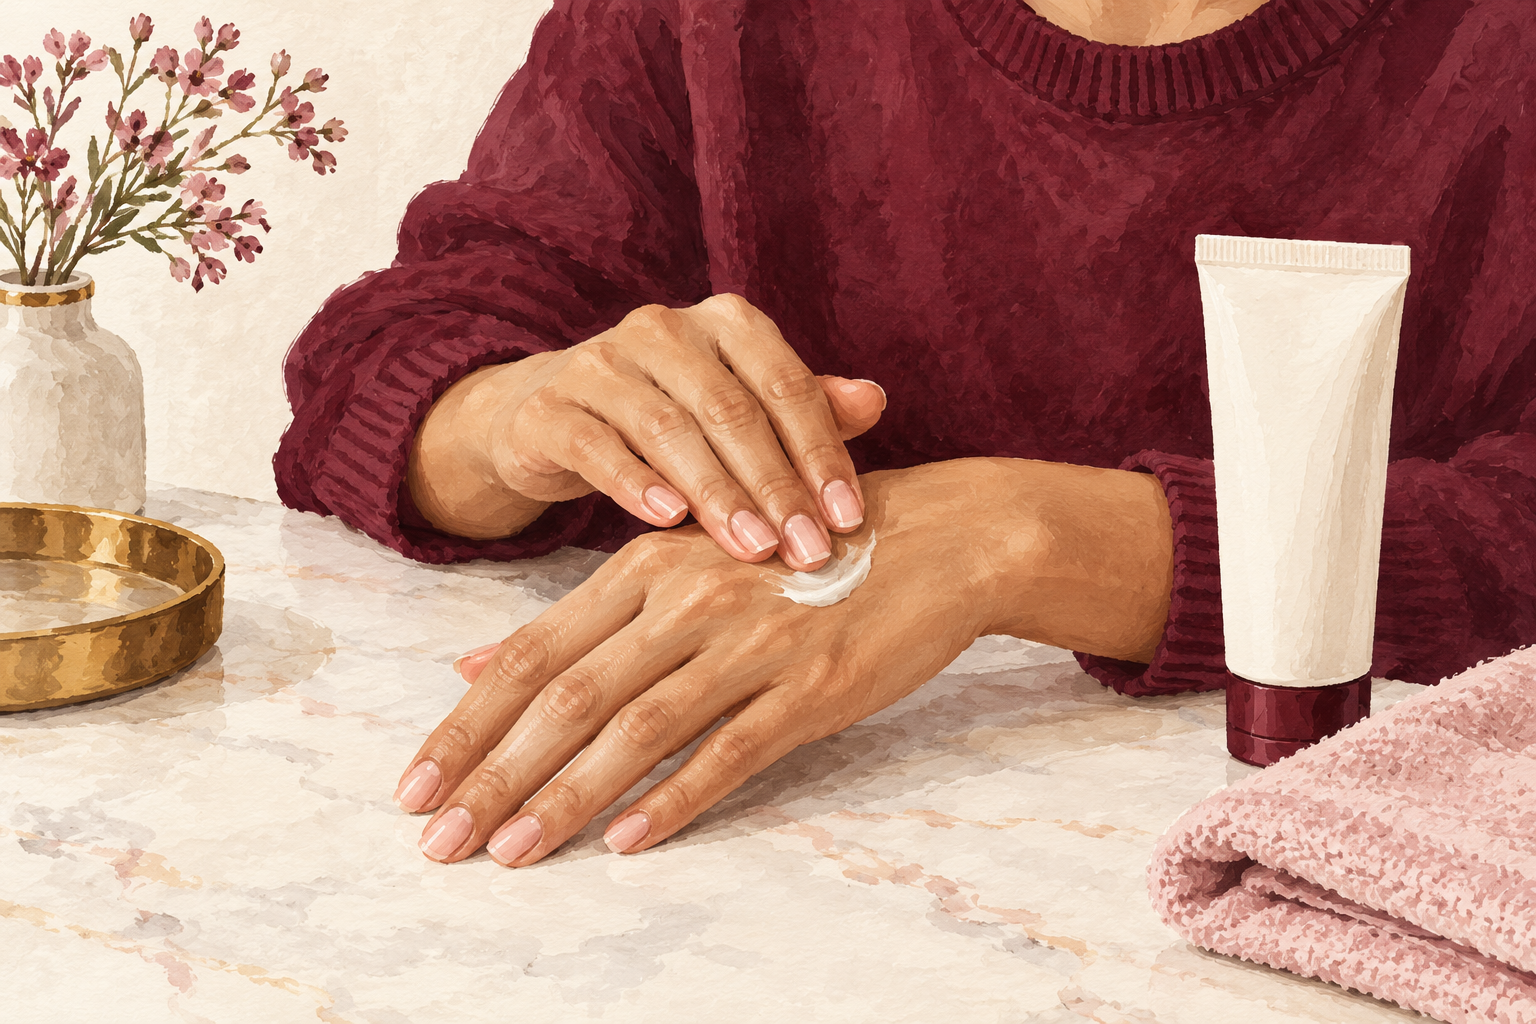
Choose a rich, simple cream with few ingredients and use it after every hand wash. Nails swell with water and shrink as they dry, and that swing is what splits the layers. A cream seals in moisture before it escapes. Look for words like glycerin, shea or ceramide, and skip heavy perfume that can irritate. Rub it into every nail and the skin around it, not only the backs of your hands. Keep a small tube at each sink and one in your bag. A pea sized amount covers both hands, so a tube lasts longer than you think. If you only buy one product from this list, make it this one.
3. Add a light cuticle oil
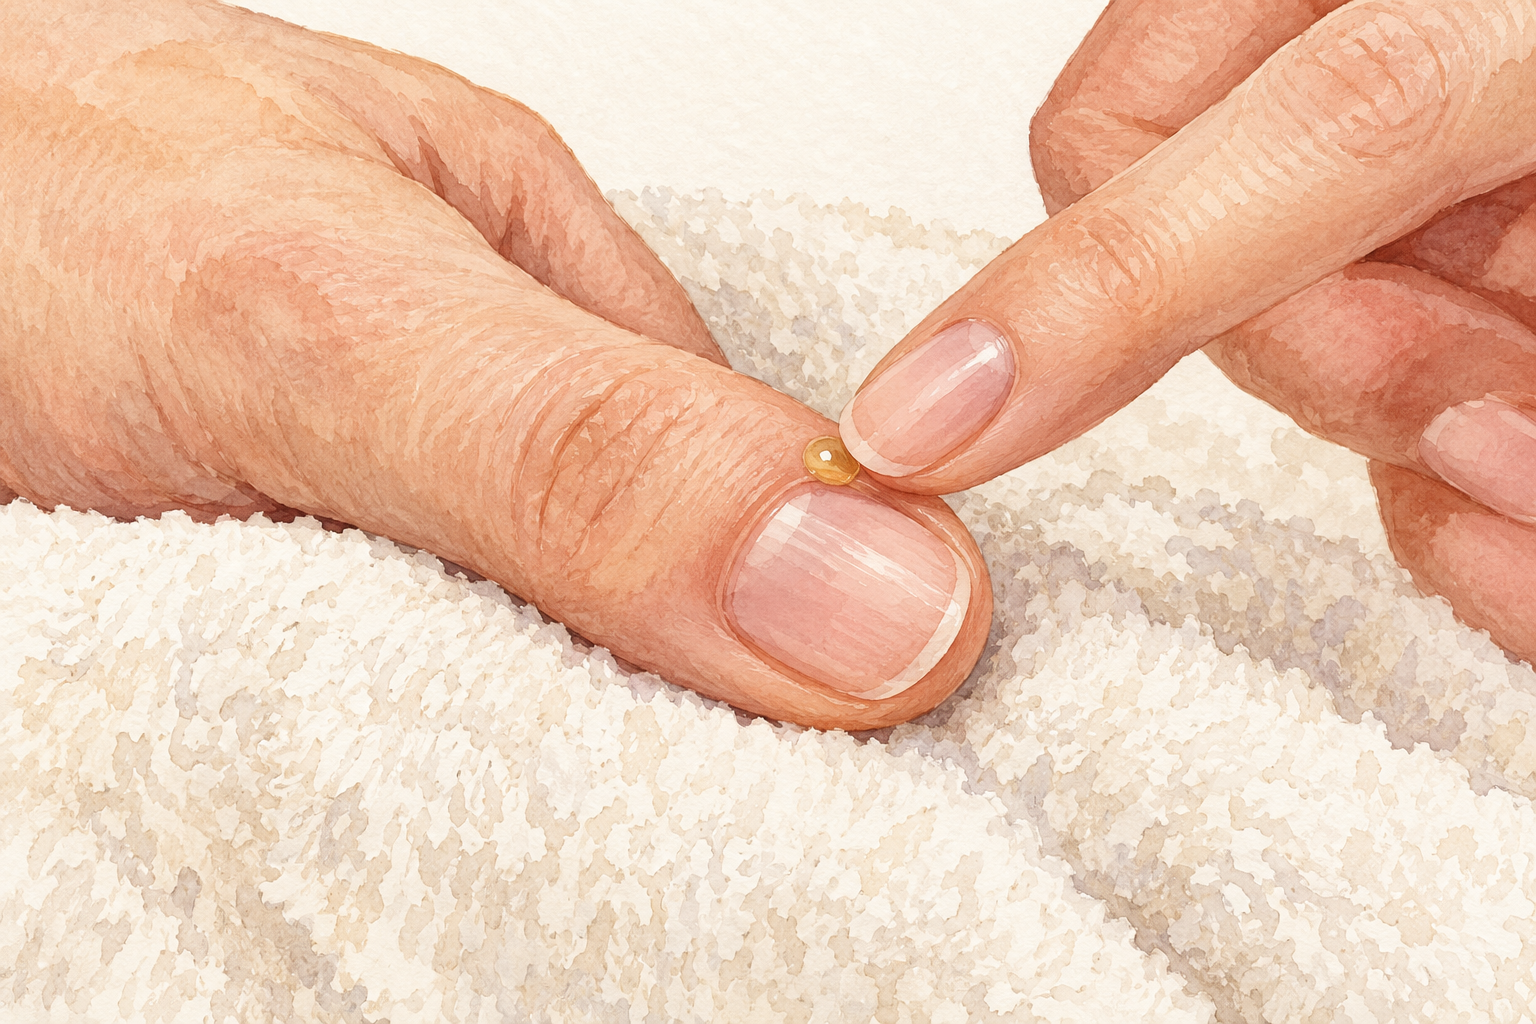
Pick an oil that feels thin, such as jojoba, almond or a blend made for cuticles, and press one drop onto each nail base. Thick oils sit on top, while thin ones sink in and soften. Massage for ten seconds before bed. It keeps the skin around the nail from cracking and helps nails flex instead of snapping. Skip oils with strong perfume if your skin is sensitive. A pen style applicator is tidy for your bag. You will likely notice softer cuticles in a week and fewer hangnails by week three. Warm the drop between your fingers first so it spreads thin.
4. Keep a thick balm for very dry nails
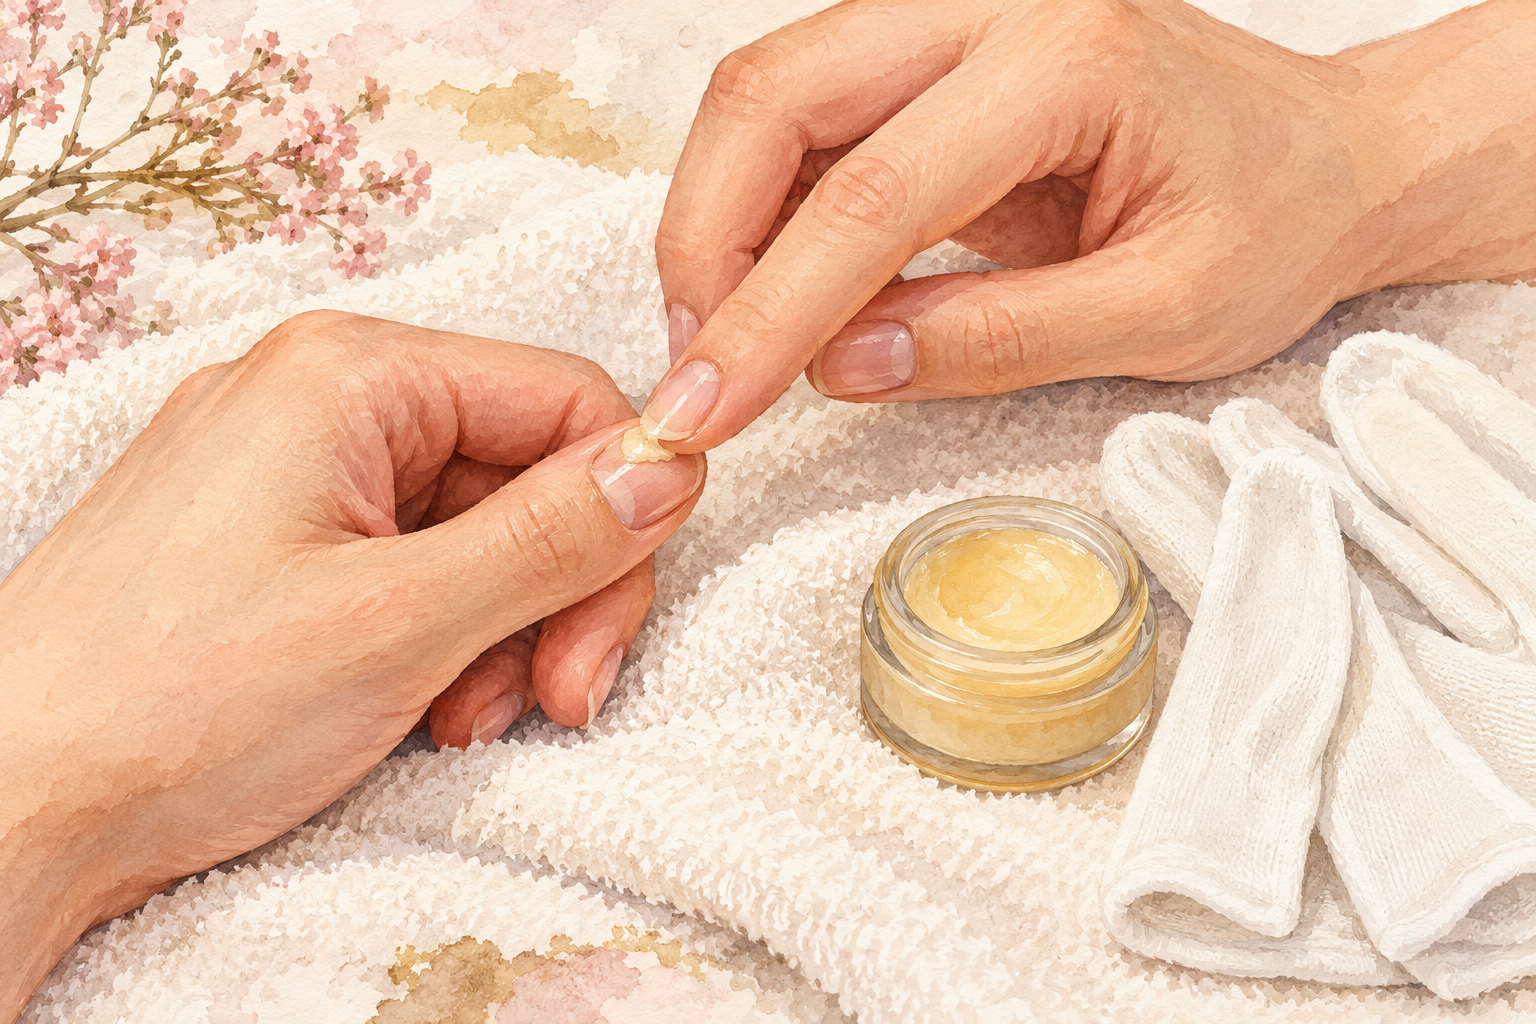
Rub a pea of thick balm into your nails and cuticles at night, and slip on cotton gloves if you like. This is for the weeks when your hands feel like paper. Balm is heavier than cream, so it works best while you sleep, and it should be left to sink in. Look for beeswax, shea or lanolin if you are happy with those. If you break out or feel greasy, go back to cream. Use it two or three nights a week, not all week, or your nails can feel soft and floppy. Wipe the extra off your palms onto your wrists.
5. Use a base coat for grip and protection
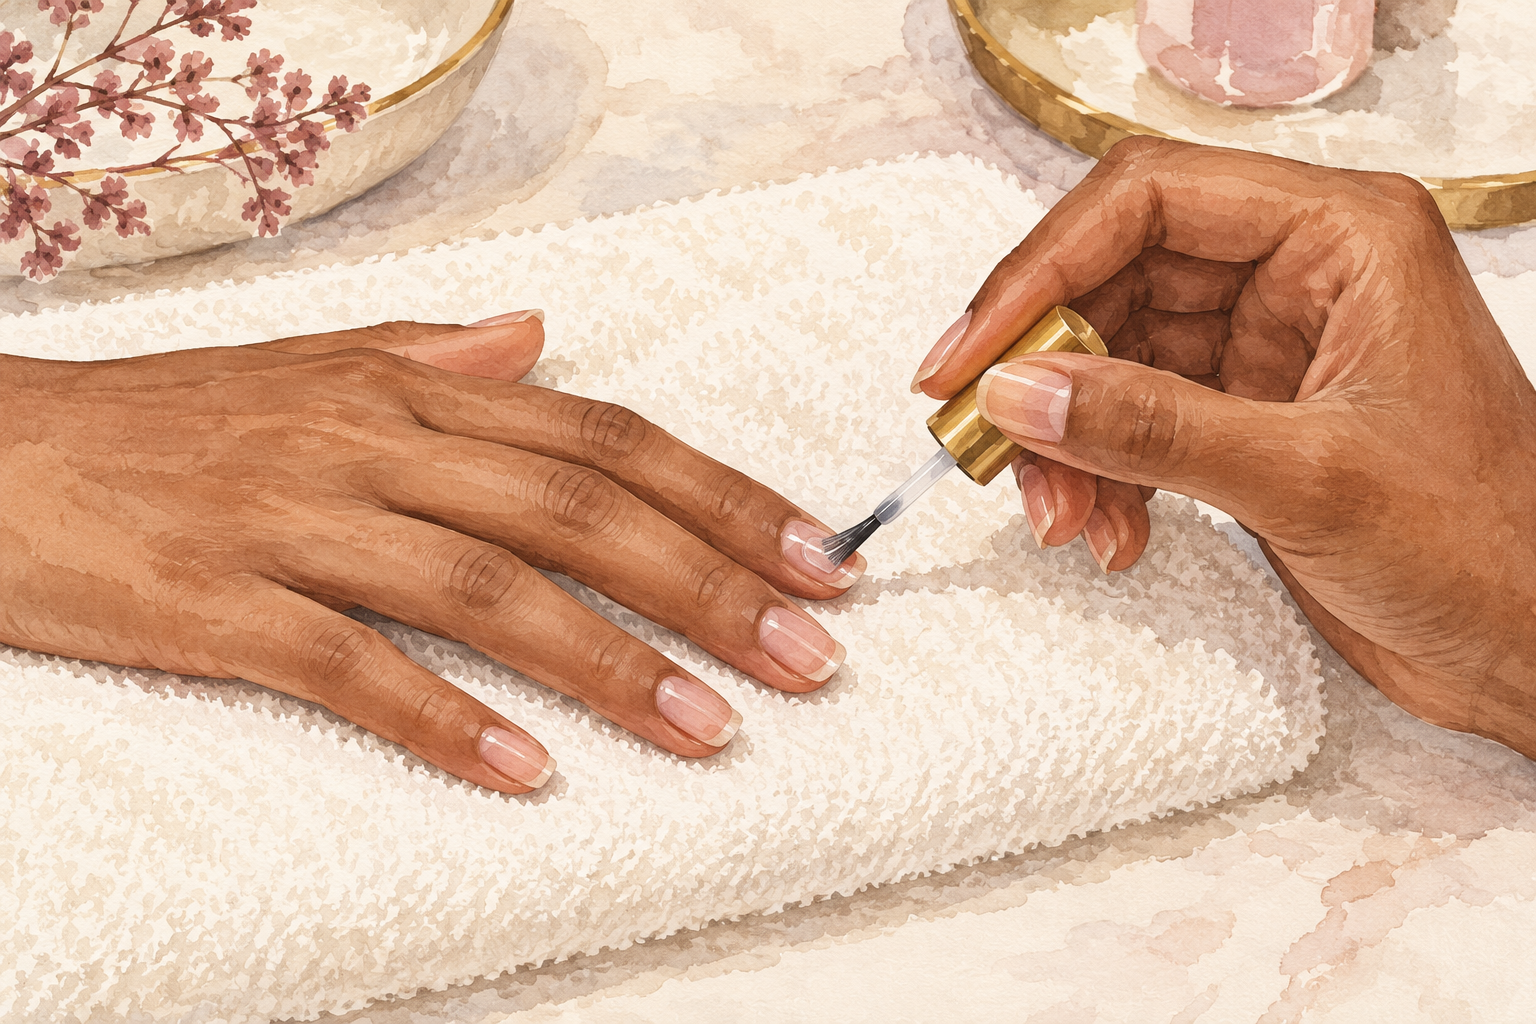
Brush one thin layer on bare, clean nails and let it dry for two minutes before color. Base coat gives polish something to hold, so it chips later. It also stops pigment from staining the nail yellow, which is what happens with dark shades and red. Skip any base coat that smells harsh or leaves nails stiff. Wipe the oil off your nails first, or the base will slide. A good base coat should feel slightly tacky, not wet, and it should never be thick. Thin, even coats are the secret to polish that stays put. Sweep the brush from the base to the tip in three strokes, and do not go back over a wet patch.
6. Seal with a thin top coat and refresh it
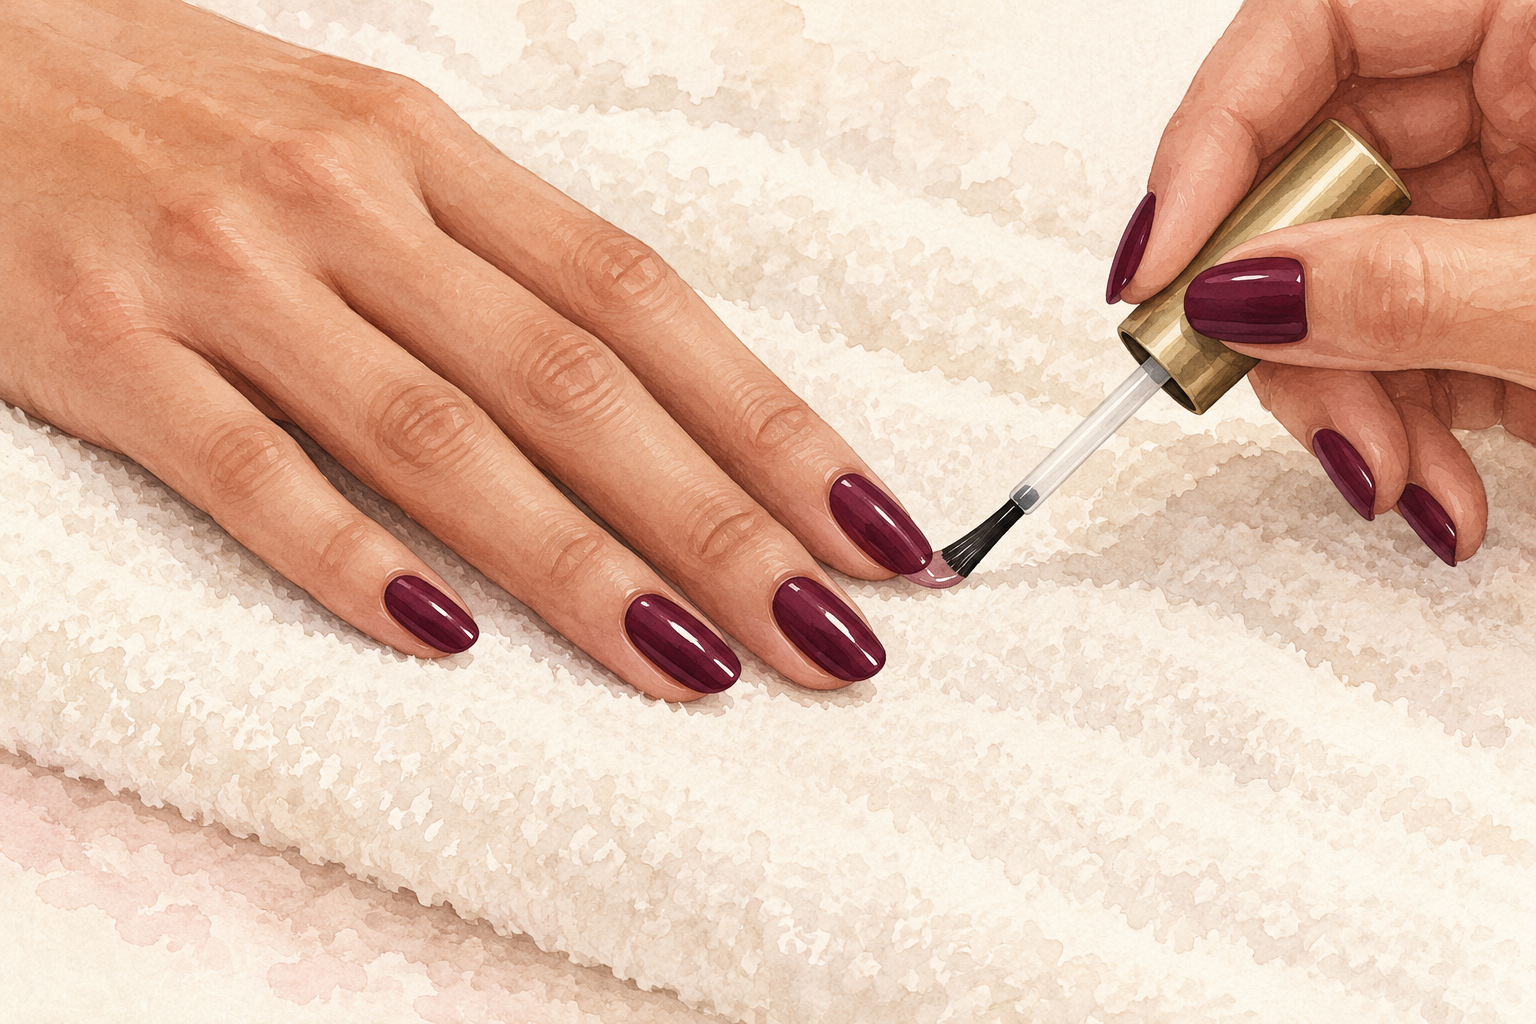
Brush a thin top coat over the color and run the brush along the tip to cap the edge. The cap is what stops early chipping, because the tip takes every knock. Add a fresh thin layer on day three or four to keep the shine. A thick top coat stays soft underneath and dents easily, so thin is better. Let it dry fully, about ten minutes, before you reach for your keys. If polish peels off in sheets, your base coat or oily nails are the culprit, not the top coat. Choose a quick dry one if you are impatient. Wearing gloves for dishes in the first day keeps the shine longer.
7. Be careful with hardeners
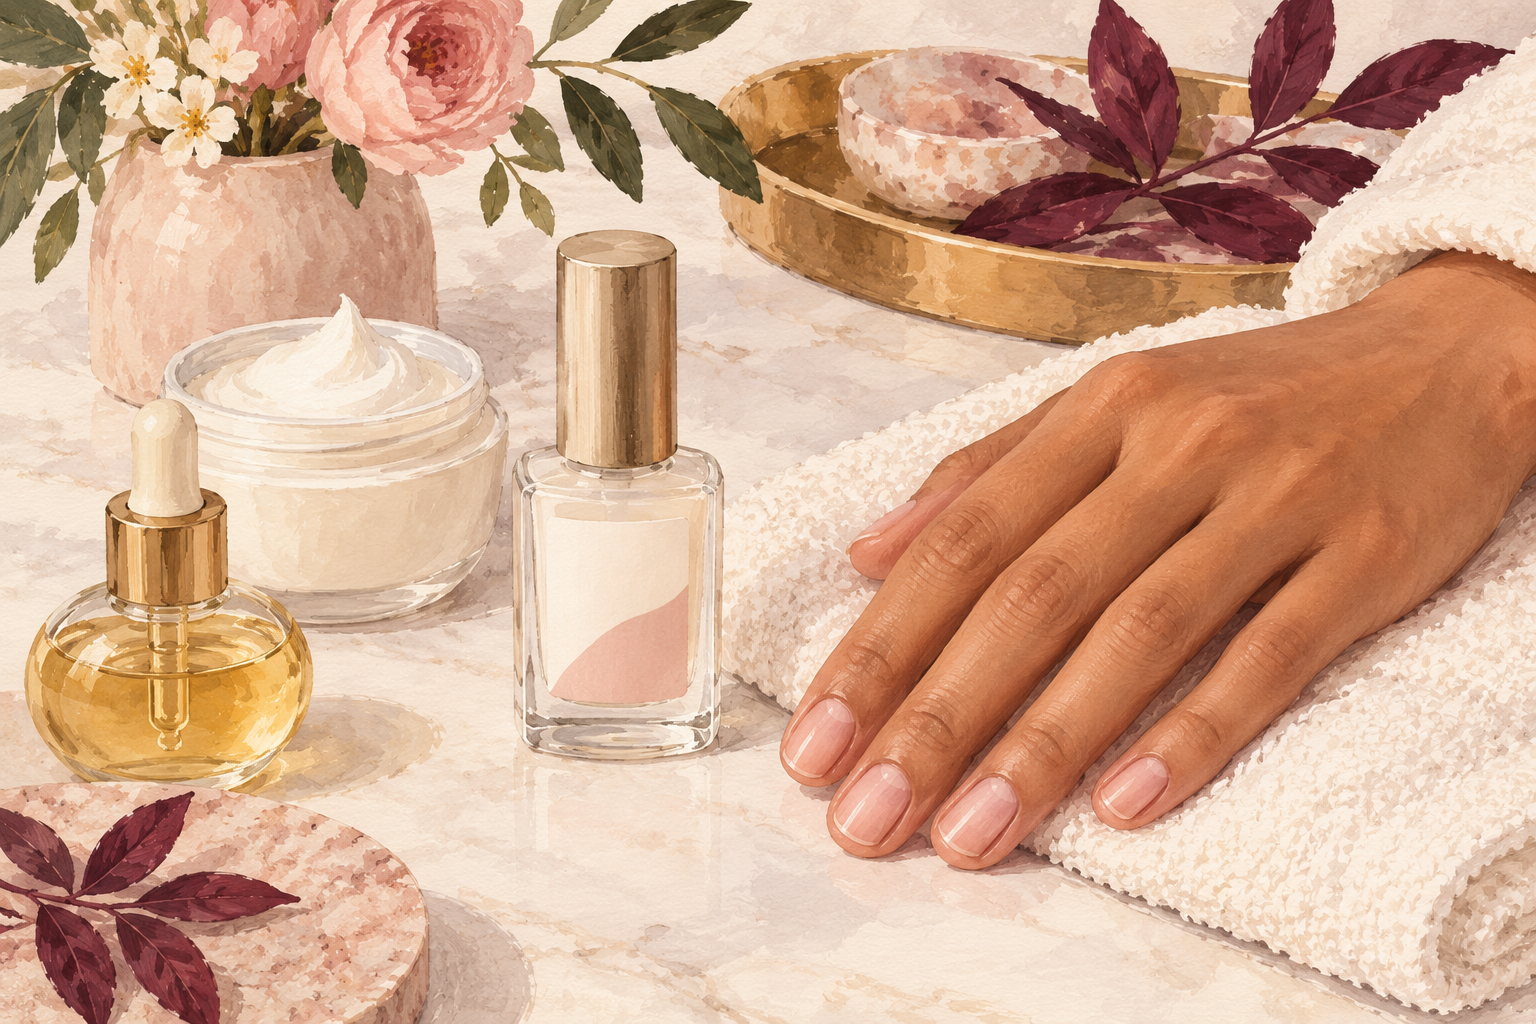
Use a hardener only if your nails are soft and bendy, and stop when they start to feel stiff. Hardeners make nails rigid, which helps soft ones and hurts brittle ones, because a stiff nail snaps instead of bending. Read the label for how long to use it, and many say to take a break after two weeks. If your nails already peel or split, a hardener can make that worse. Try bendy and moisturized first. A hardener is a short term helper, not a lifelong habit, and your own nail is always the best guide. If the nail feels dry at the tip after a week, switch to oil and cream instead.
8. Pick a gentle remover and use it less
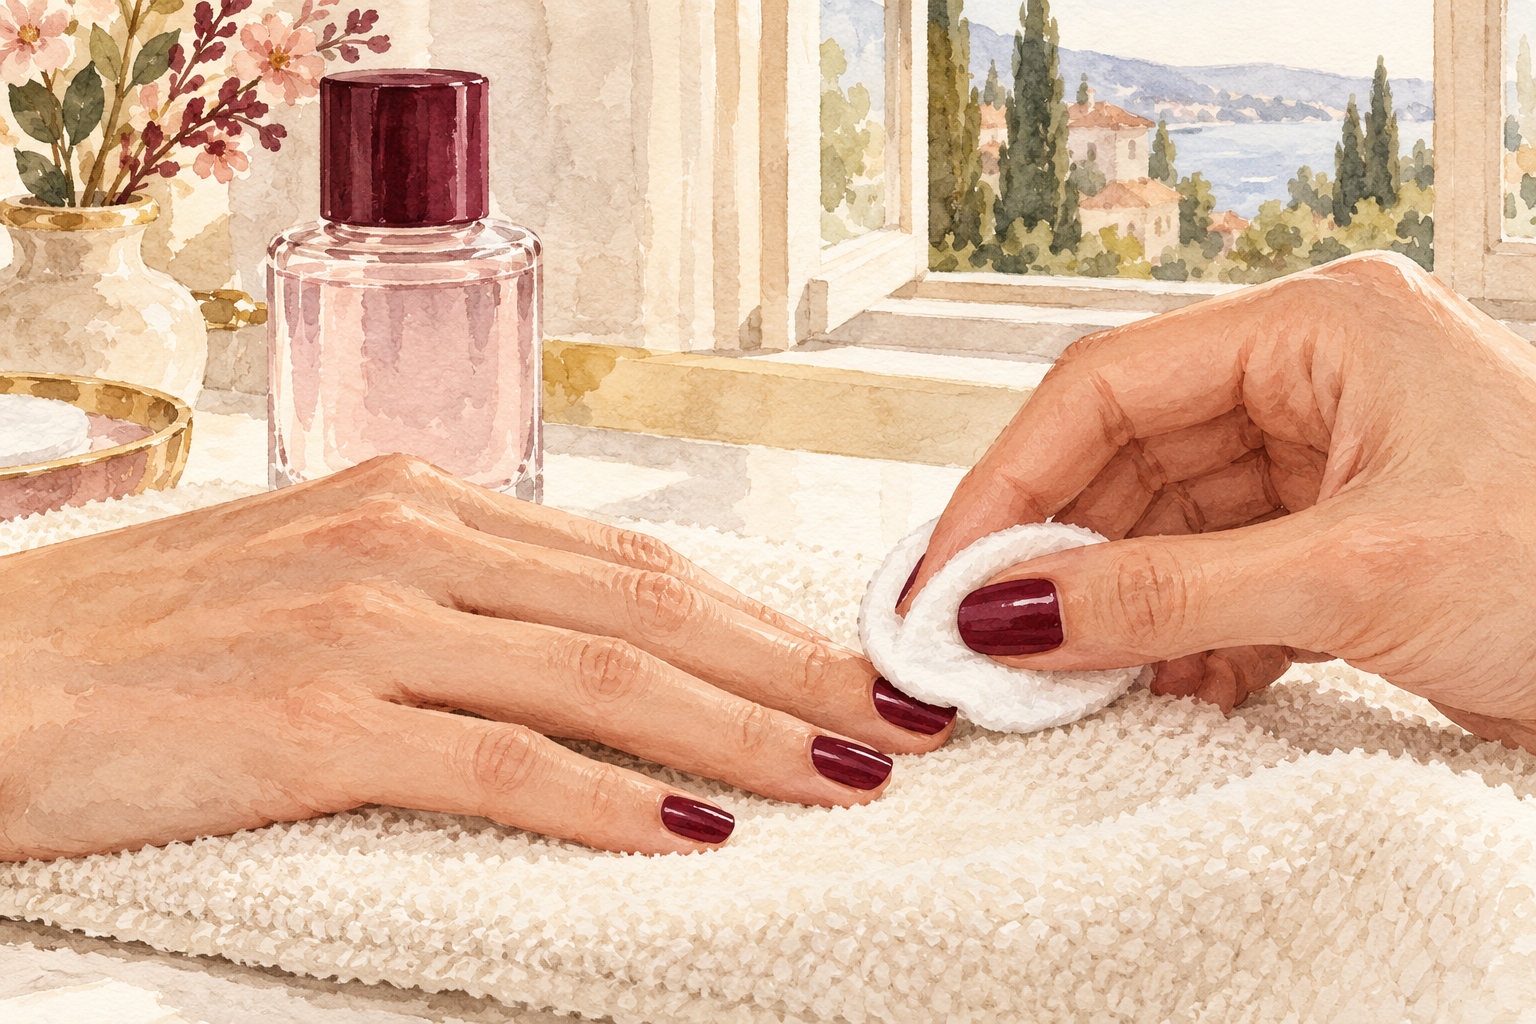
Choose a remover without acetone for dry nails, and press a soaked pad on each nail for ten seconds before wiping once. Remover is one of the biggest drying products in your kit, so use as little as you can. Skip rubbing back and forth, which scrubs the nail. Wash your hands afterwards and add oil and cream. Remover fumes are strong, so open a window. Polish breaks of a few days between sets also help, because every change of color means another round of remover. Fewer changes means happier nails. Keep cotton pads in a lidded jar so they stay clean and ready.
9. Try an alcohol free treatment on peeling tips
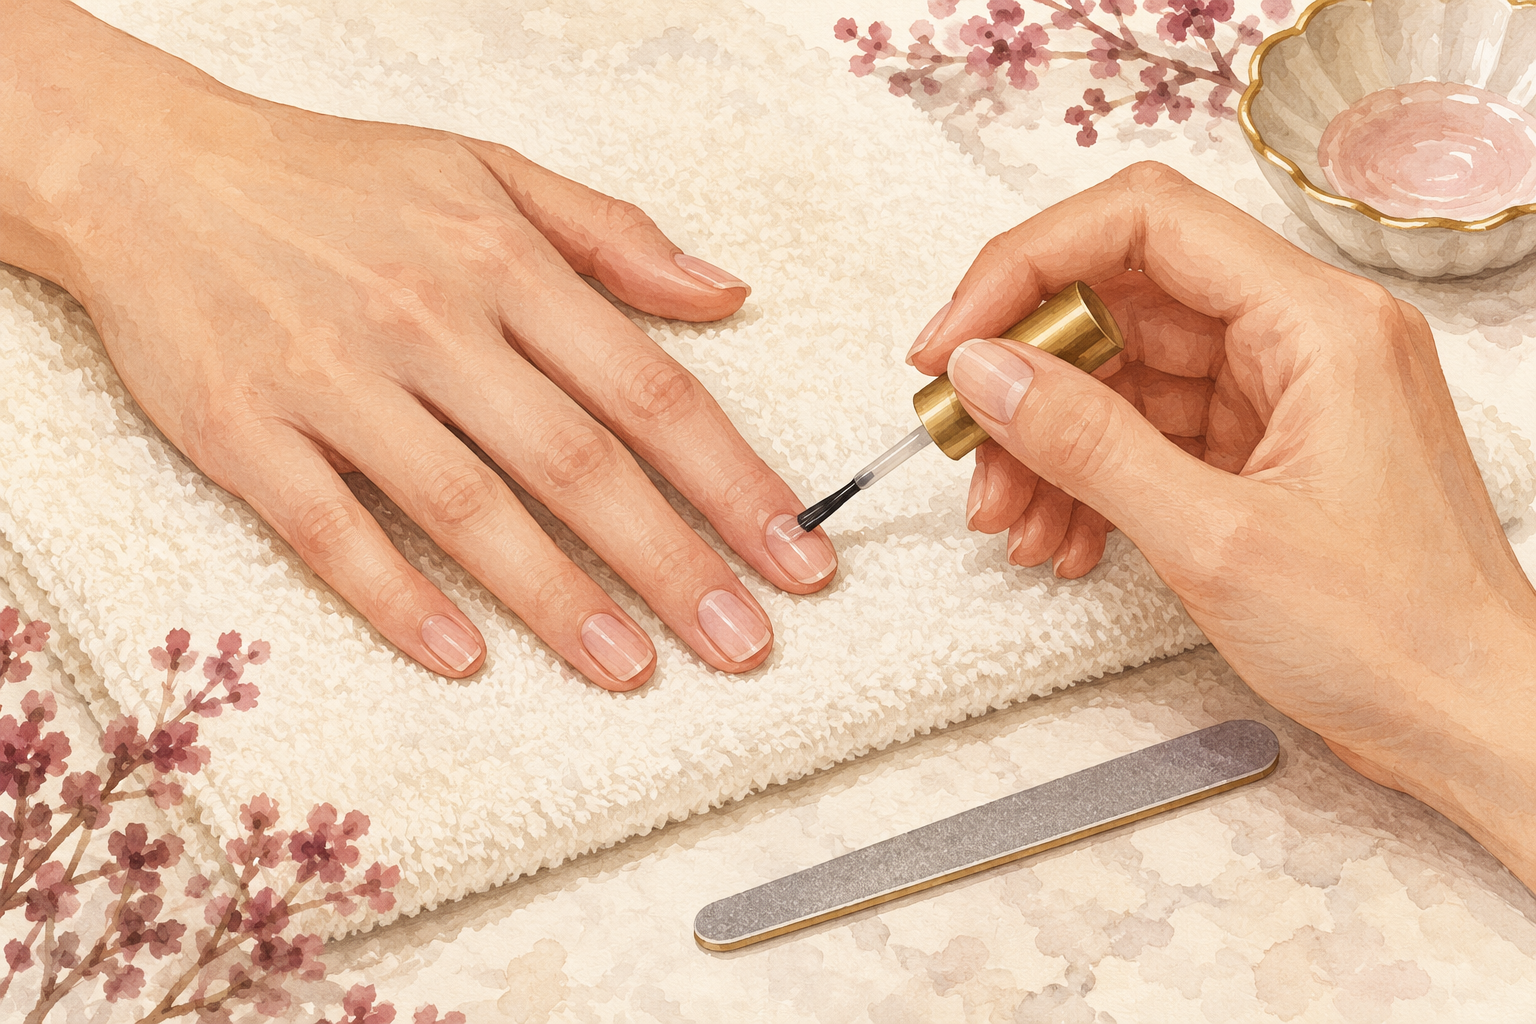
Brush a clear, alcohol free conditioning treatment onto the nails each night and let it dry. Treatments with soft oils and proteins fill rough edges so layers stay down. It will not mend a peeled layer, but it can slow down the next one. Check the label for alcohol high in the list, which dries nails. Use it for six to eight weeks and judge by the new growth at your base, not the old tips. Always file a rough edge first, because a snag will keep tearing no matter how much treatment you add. Press, do not rub, when you brush it on.
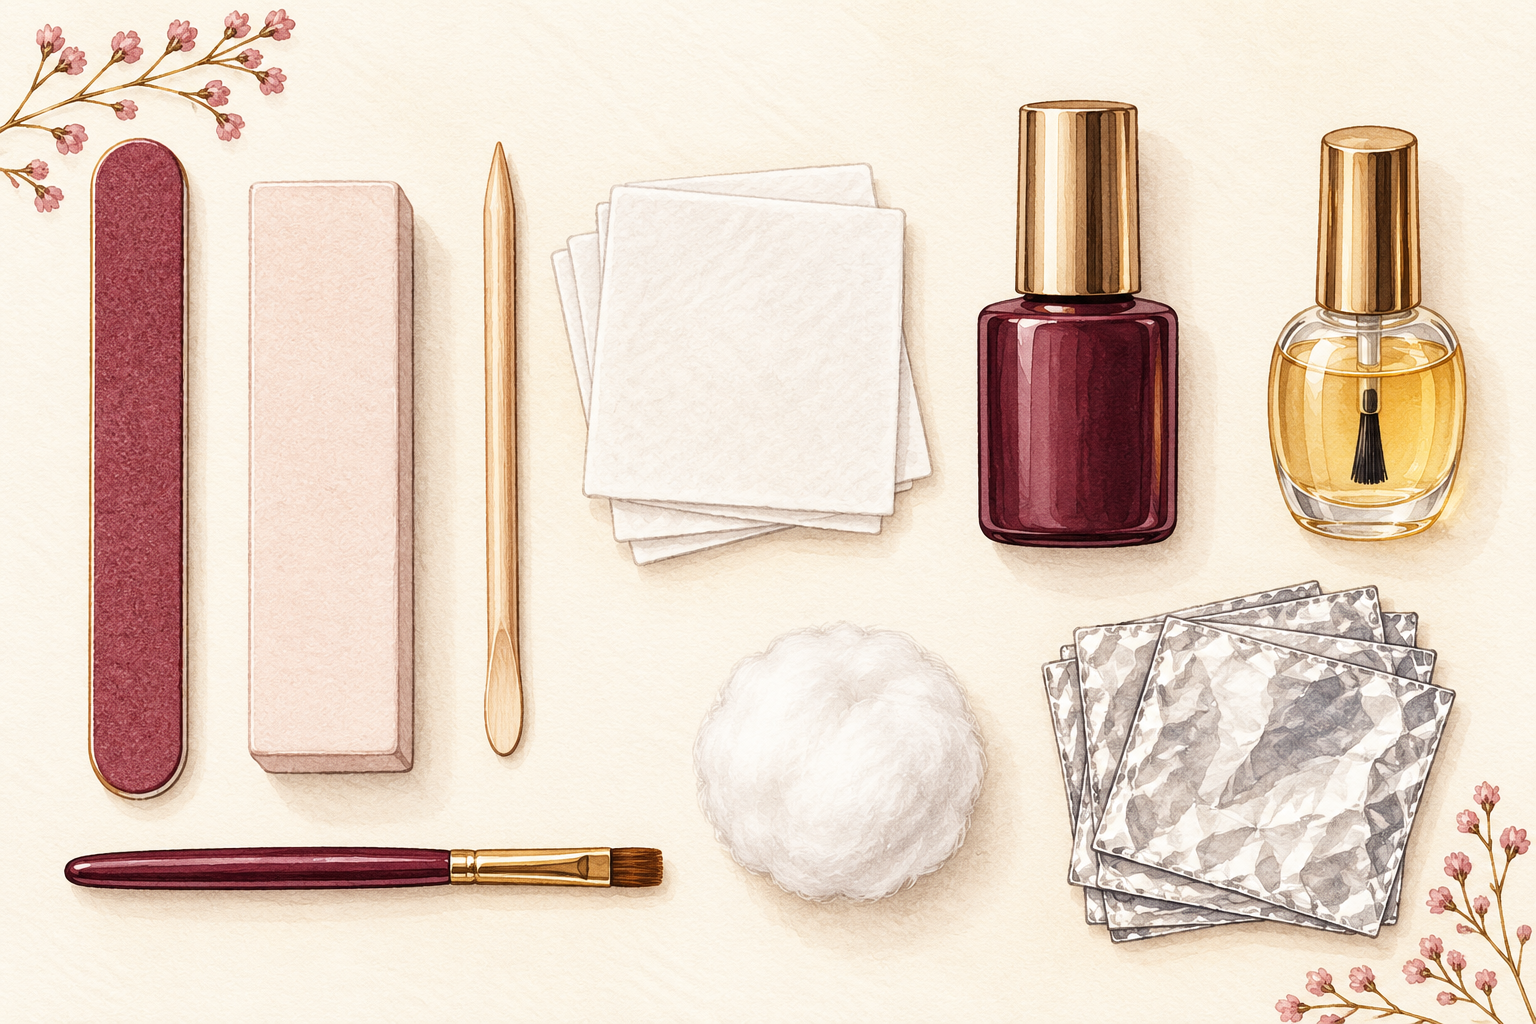
10. Use them in this order on a polish week
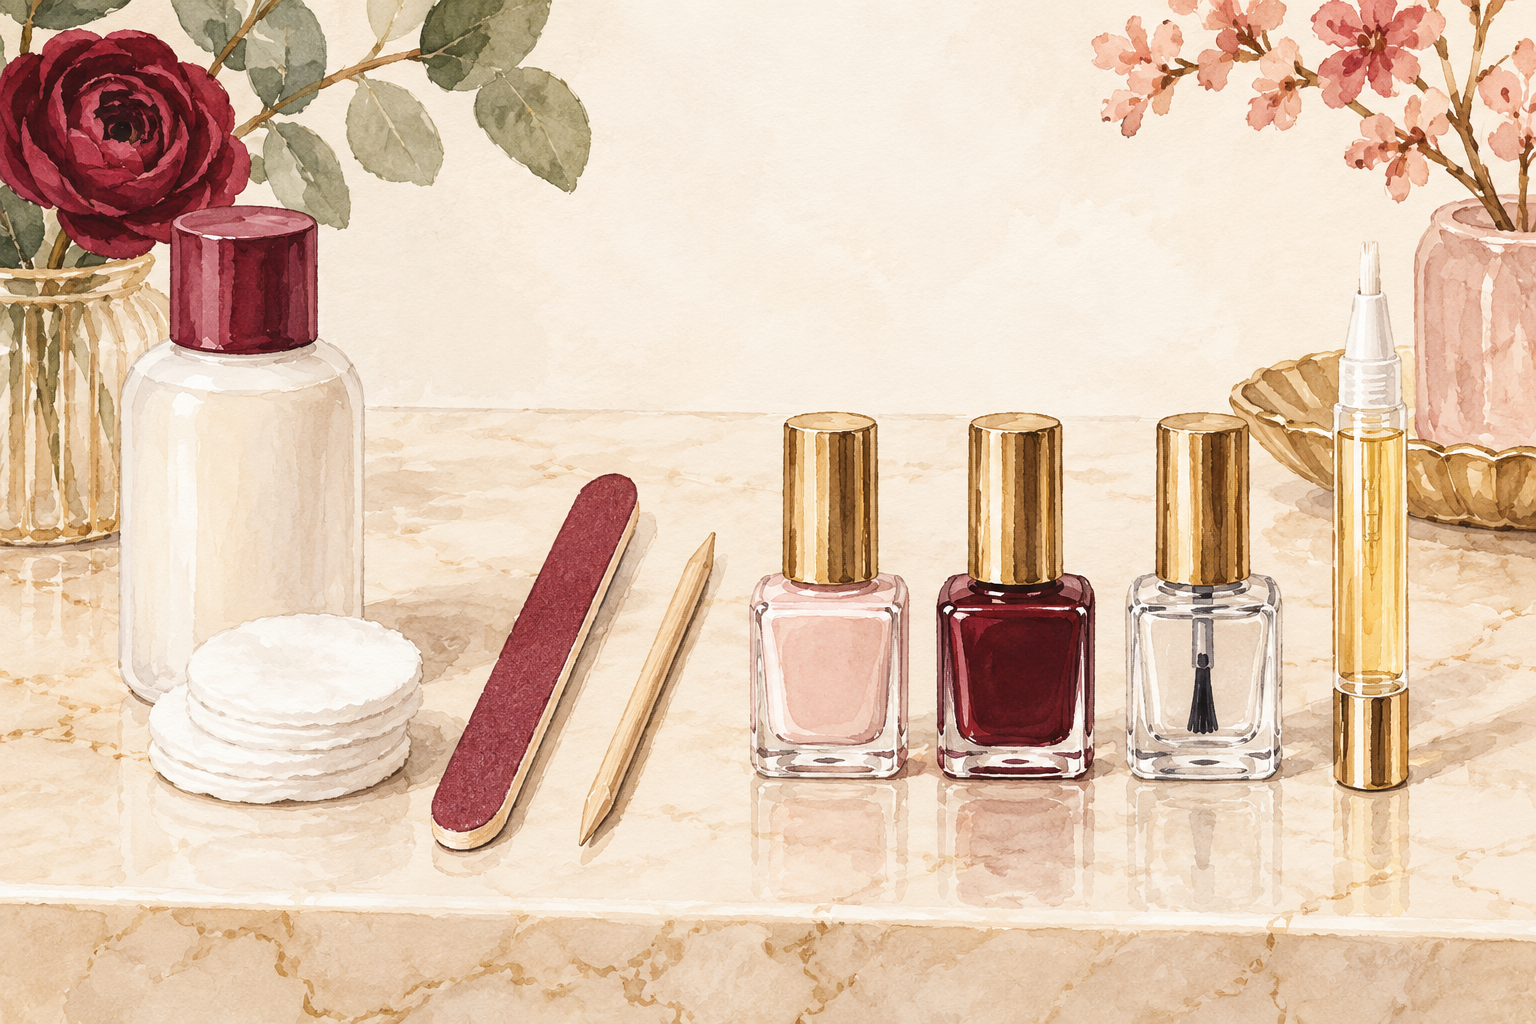
Remover, file, cuticle push, hand wash, base coat, color, top coat, then oil last. Oil goes after polish has dried, never before, or it will lift the color. On a bare week, skip to oil and cream. The reason order matters is that each step prepares the next, and oil or cream under polish makes it slide. Put the products on your shelf left to right in that order, and you will not have to think. Wait ten minutes after top coat before you apply any oil. Save hand cream for the end of the day, and keep it off wet polish.
11. Read the label and patch test
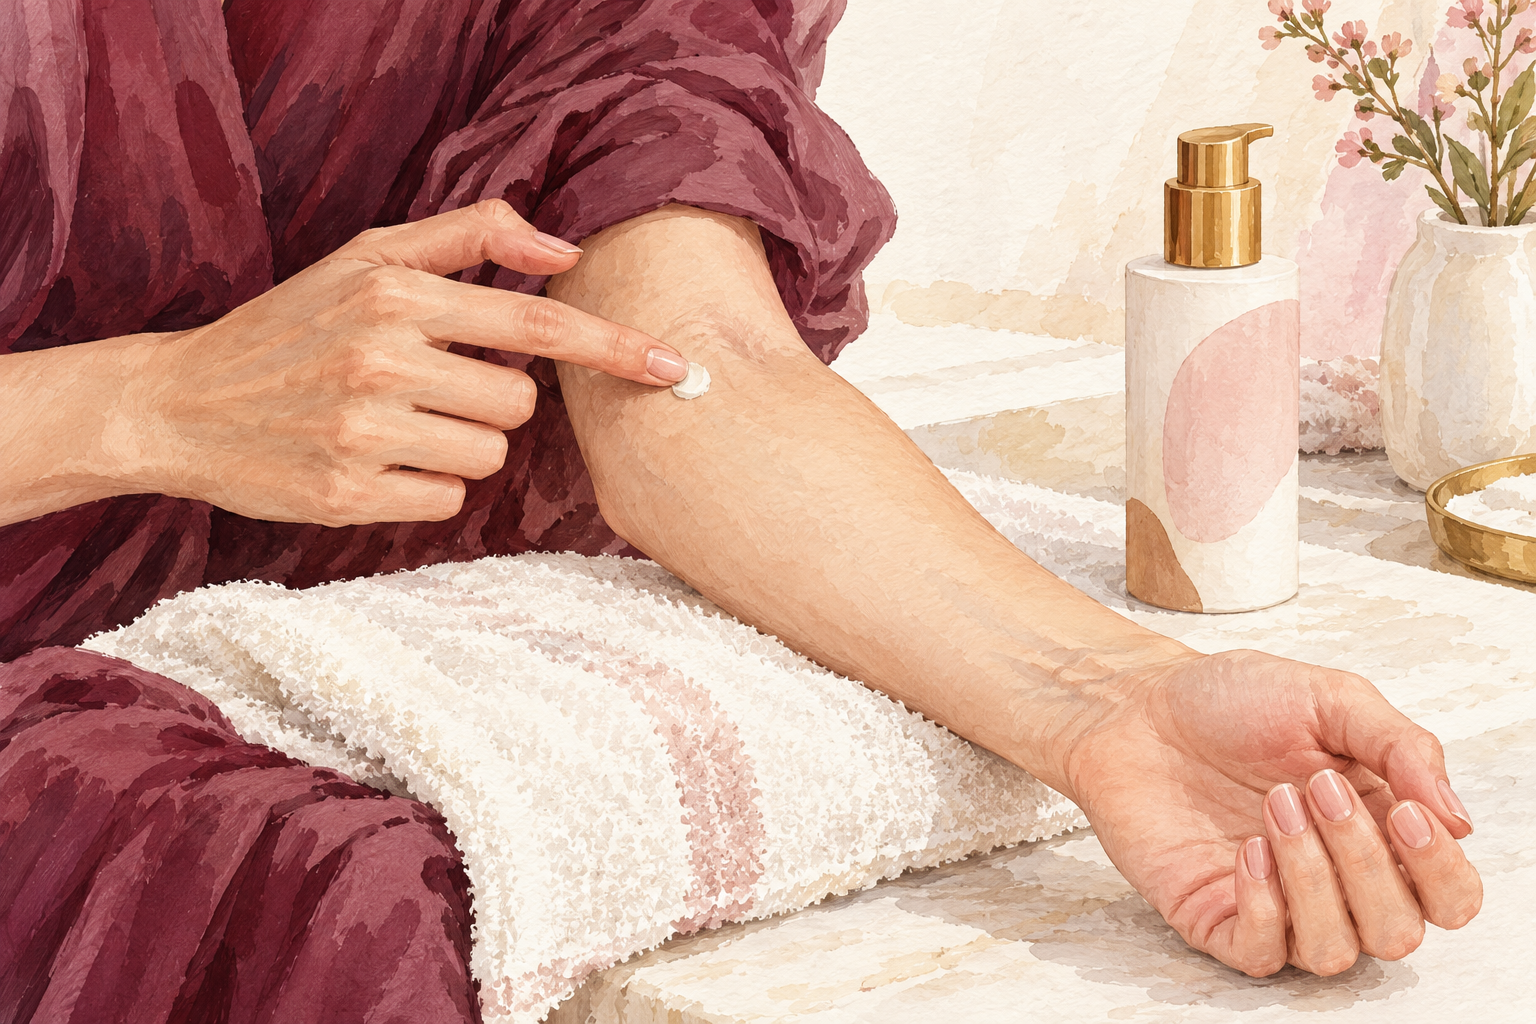
Dab any new product on the inside of your elbow and wait a day before it goes near your nails. Stop if you see redness or itching. Read the first five ingredients, which make up most of the bottle, and skip anything with a strong smell or a long list of perfumes. Look for a short, clear list that you can read without squinting. A new product also needs about three weeks before you judge it, so add only one at a time. By week four you should see less peeling, and by week eight, smoother nails and softer skin. If you add three at once, you will never know which one worked.
12. Skip the rest and keep three products
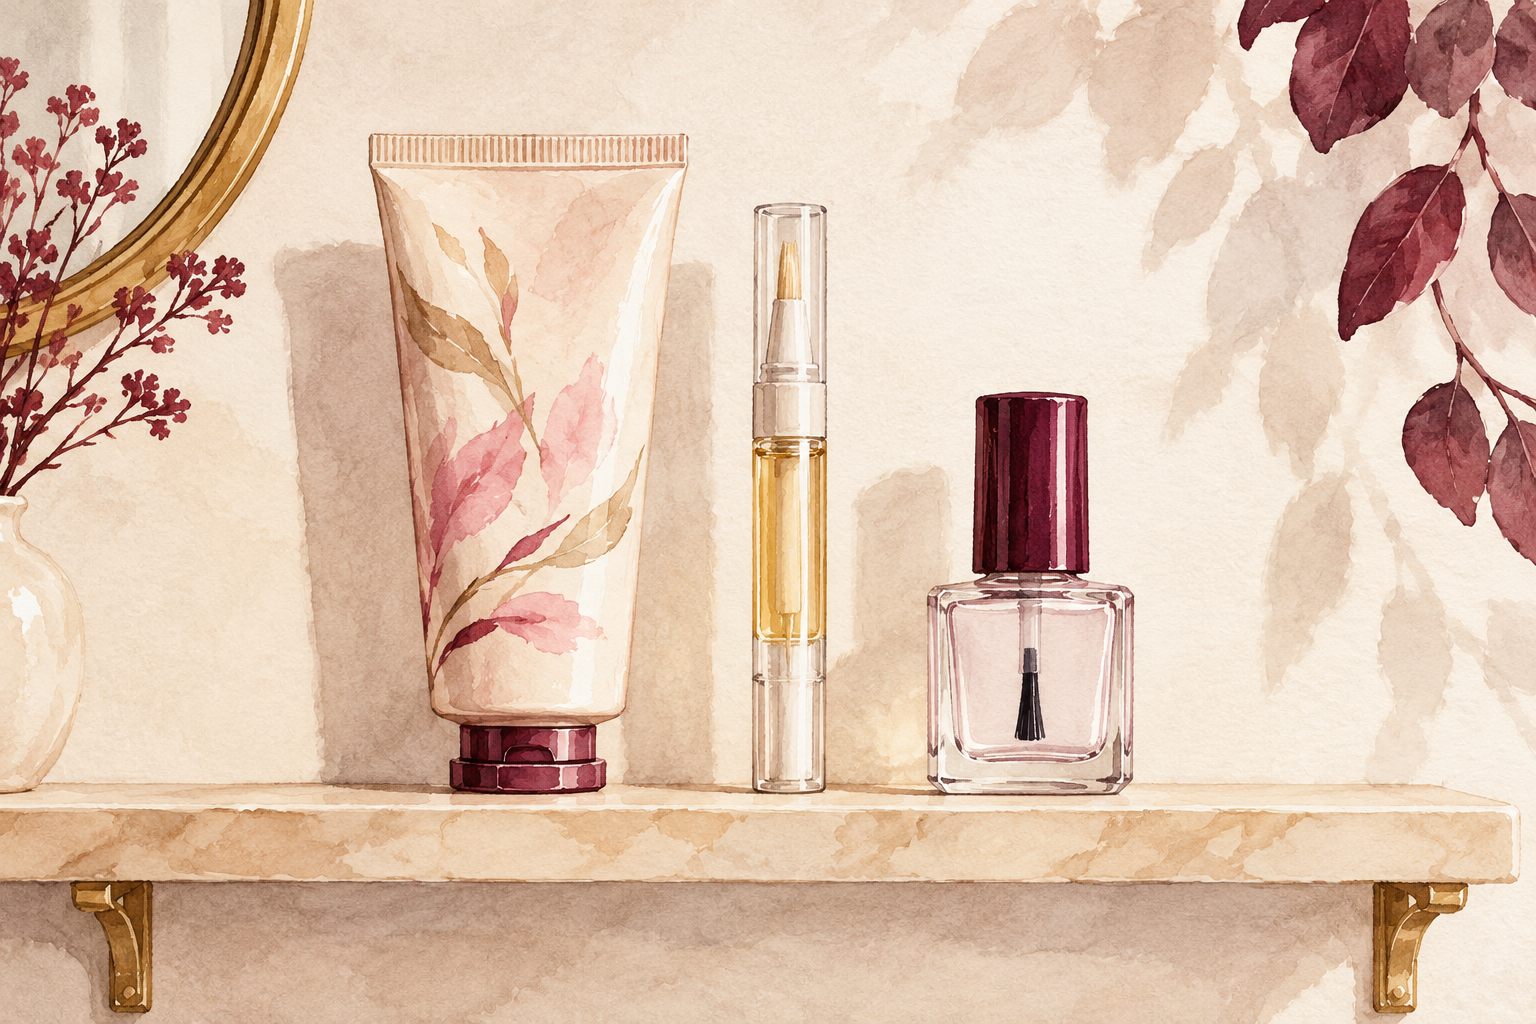
Keep a hand cream, a cuticle oil and a top coat, and give away the bottles you never finish. Everything else is optional. Old polish gets thick and gloopy after a year, and old oil can smell off, so toss what you have not touched in months, and wipe down the shelf while you are at it. Anything promising “overnight miracle” nails is not worth the shelf. A small kit you use daily does more than a drawer full of bottles. Most nail care products work best when they are simple, steady and used every day, so buy the next one only when a real problem shows up. Fewer, better bottles keep the shelf tidy, with nail care kit as a related read.
Complete the Routine: Nail Care Products You Will Actually Use
Tonight, start with number 2 and number 3. Three products are enough to start, so pick up one more guide below this week and let the shelf stay small.