You peel off the last of your polish and find thin, slightly yellow, ridged nails that look nothing like the ones you remember. Natural nail care is simpler than the internet makes it sound, because it is a handful of small habits repeated every day for a month. Here are 12 steps spread over four weeks, with no polish and no gadgets, so start at number one tonight.
1. Take off the polish gently
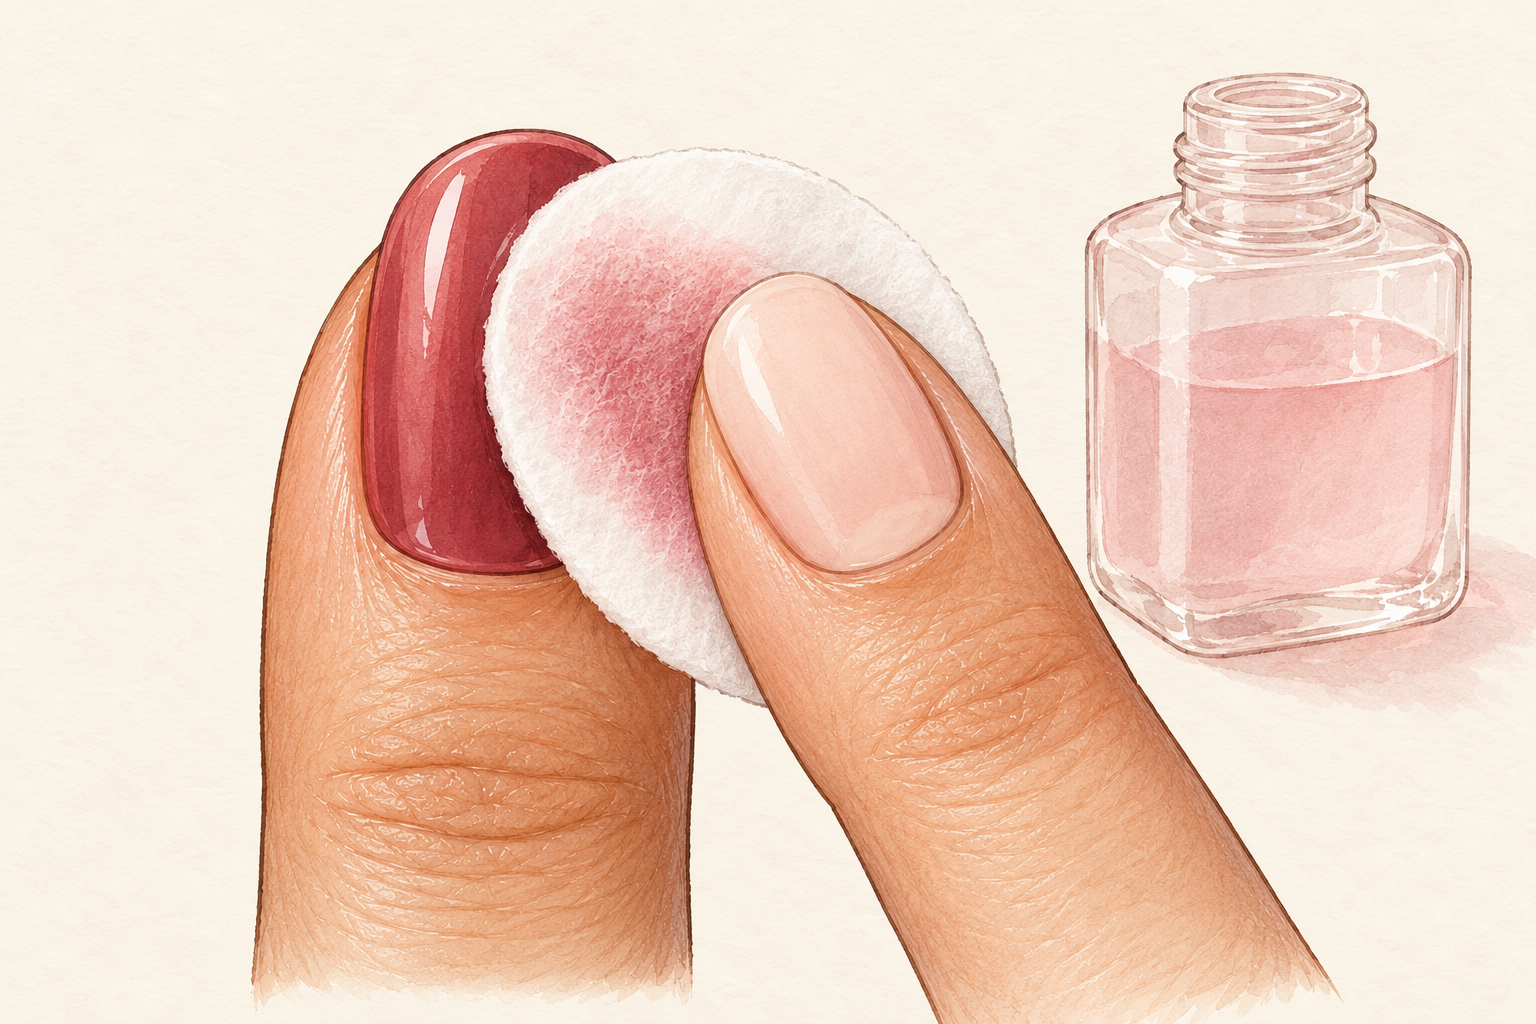
Soak a cotton pad in remover and hold it on each nail for ten seconds before you wipe. Pressing loosens the color so you never have to scrub, and scrubbing is what scuffs the surface. Choose a remover without acetone while your nails are thin, because the stronger kind dries them out fast. If you are wearing gel, soak it off properly and never peel it, since peeling drags a thin layer of nail away with it. Your bare nails will look plain and a little pale at first, so resist the urge to cover them up again. Wash your hands afterwards, pat them dry and rub in a drop of oil while the skin is still a little damp.
2. Keep a kit of only three things
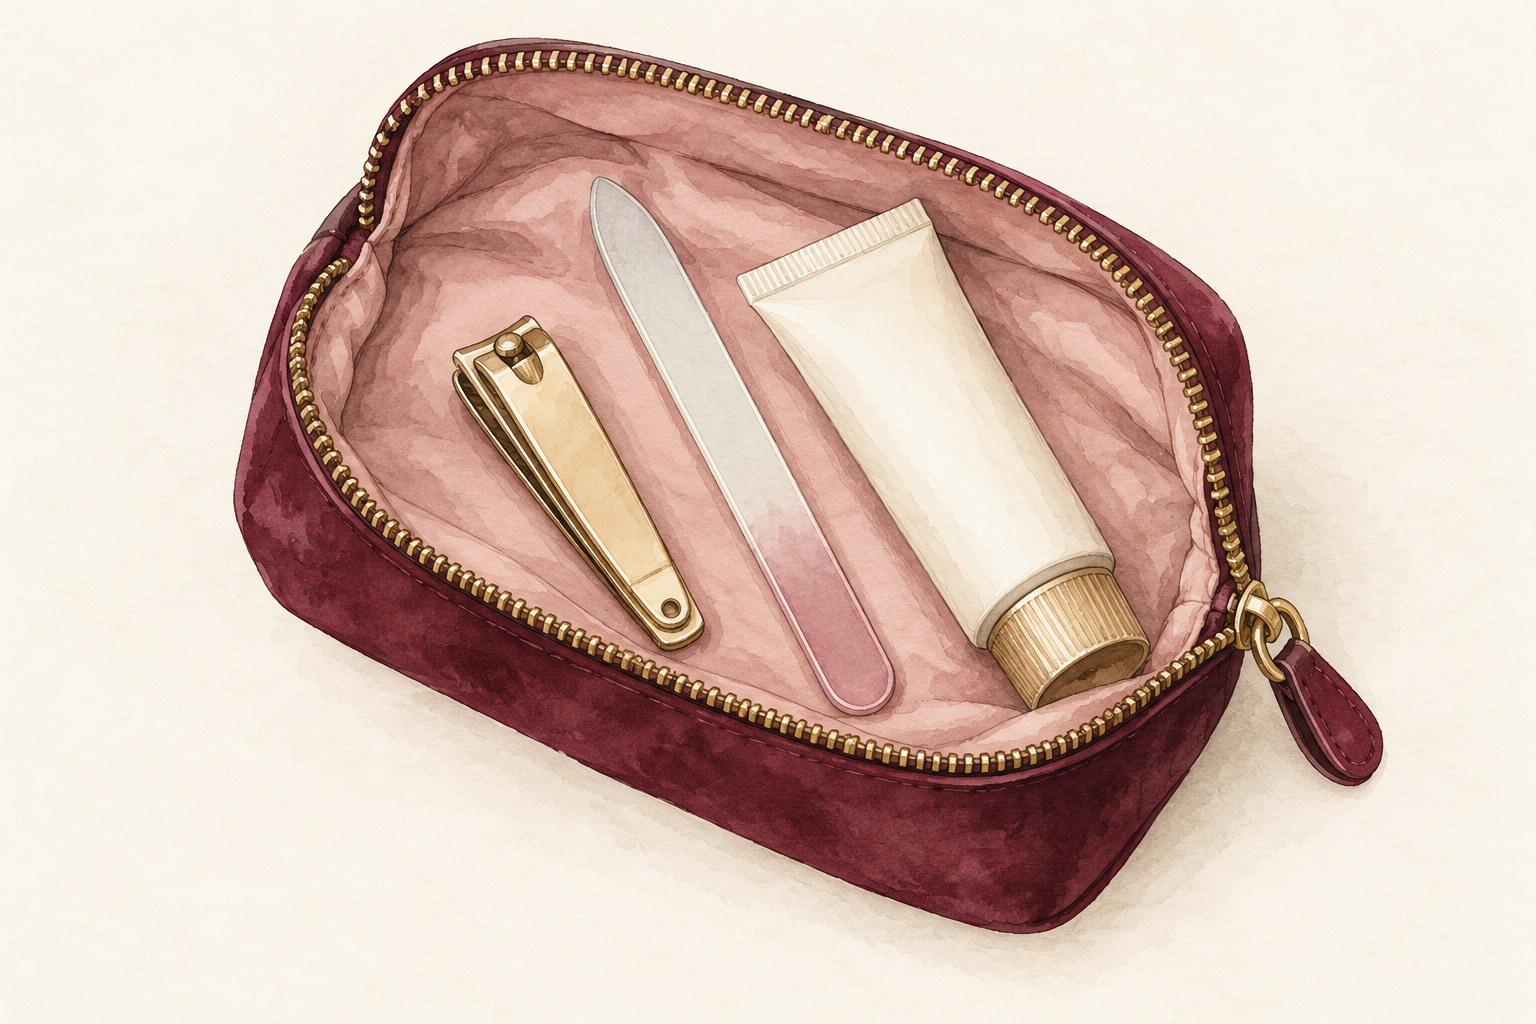
A fine glass file, sharp clippers and a plain hand cream are all you need for the month. Leave out the rough buffing block, the cuticle nippers and any bottle promising overnight strength, because each one thins or irritates the nail and gives nothing back. Put the three together in a little pouch by the sofa, so a tired Thursday night does not turn into a skipped night. A kit this small is easy to keep up, and keeping up is the whole plan. If you already own a hardener or a buffer, put them in a drawer until week five and see how your nails feel without them.
3. Trim to a length you can protect
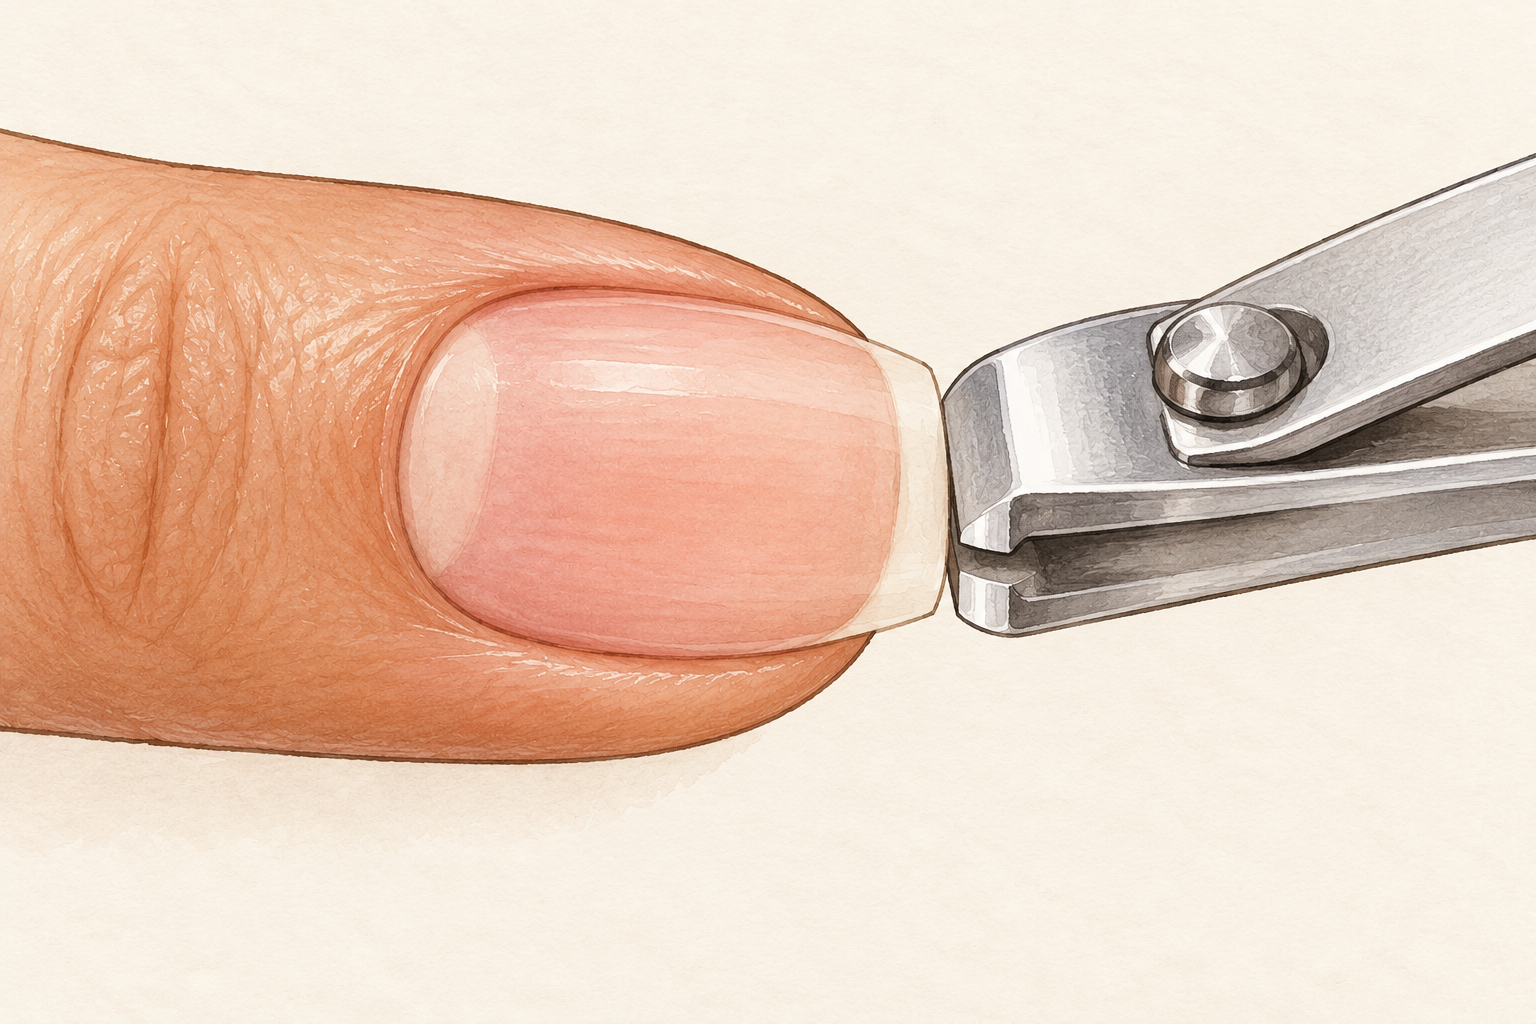
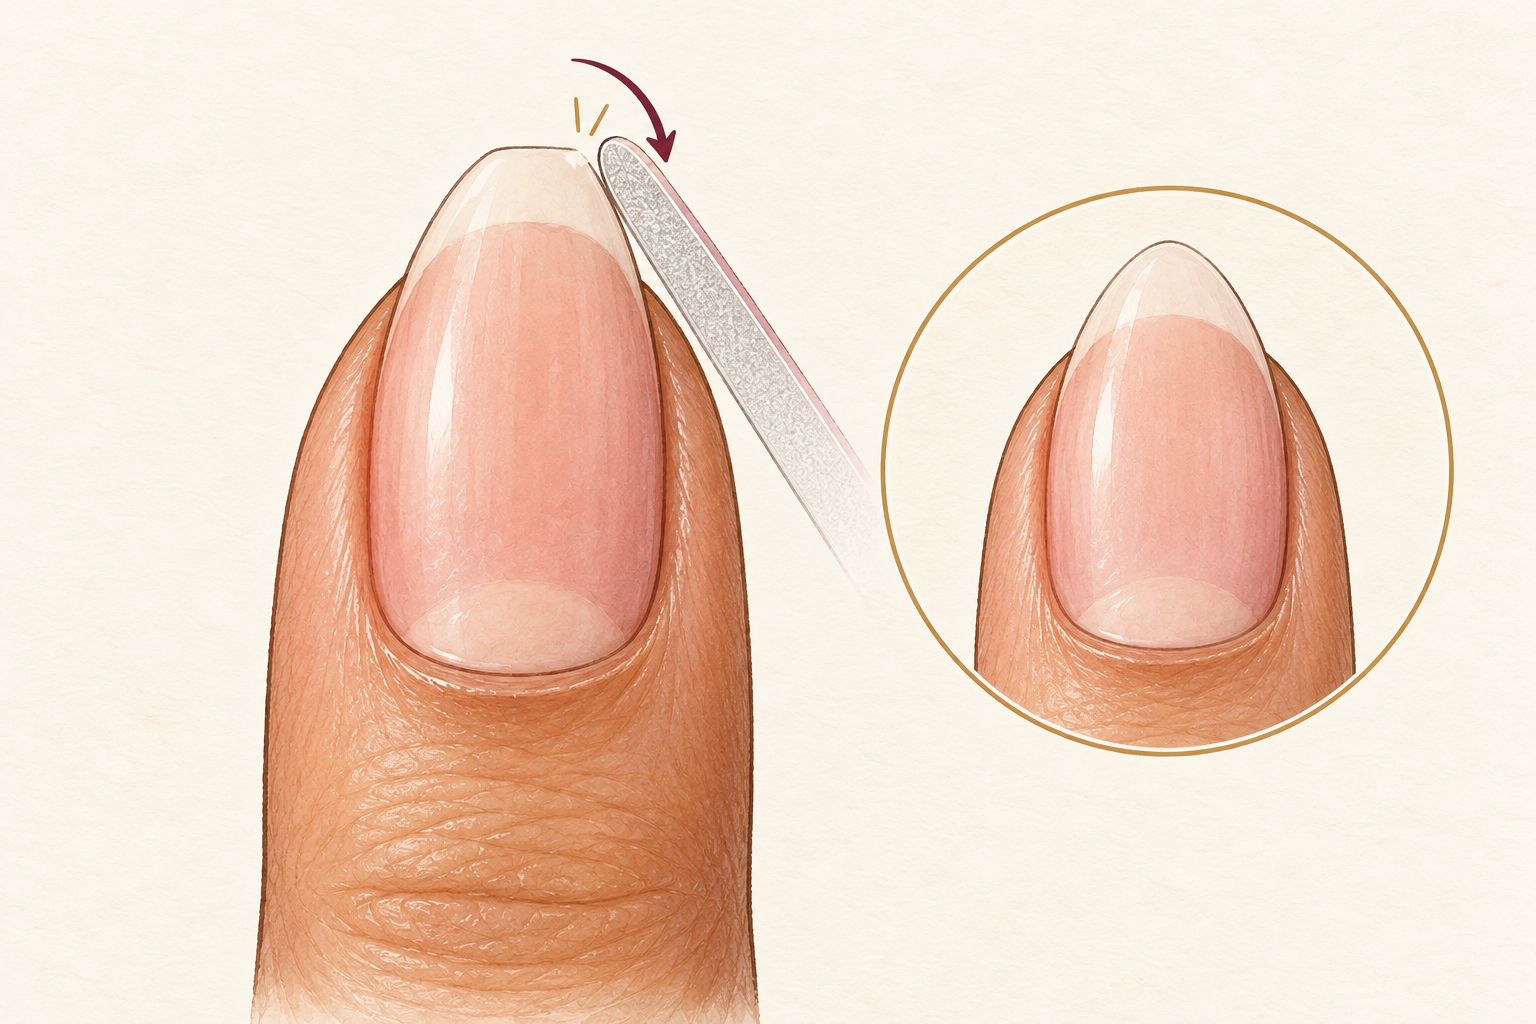
Cut straight across with sharp clippers, then round the corners just a little with the file. A softly rounded tip holds up better than a sharp corner. If your nails keep splitting, take them shorter than you would like for now, because a short nail snags less and a snag is how most splits begin. Make several small snips instead of one big bite. Glide the file in one direction, from the side toward the middle, and never saw back and forth. Trim after a wash, when the nail is slightly soft and clips cleanly, and keep a little white showing at the tip so you never cut too close.
4. Put cream beside every sink
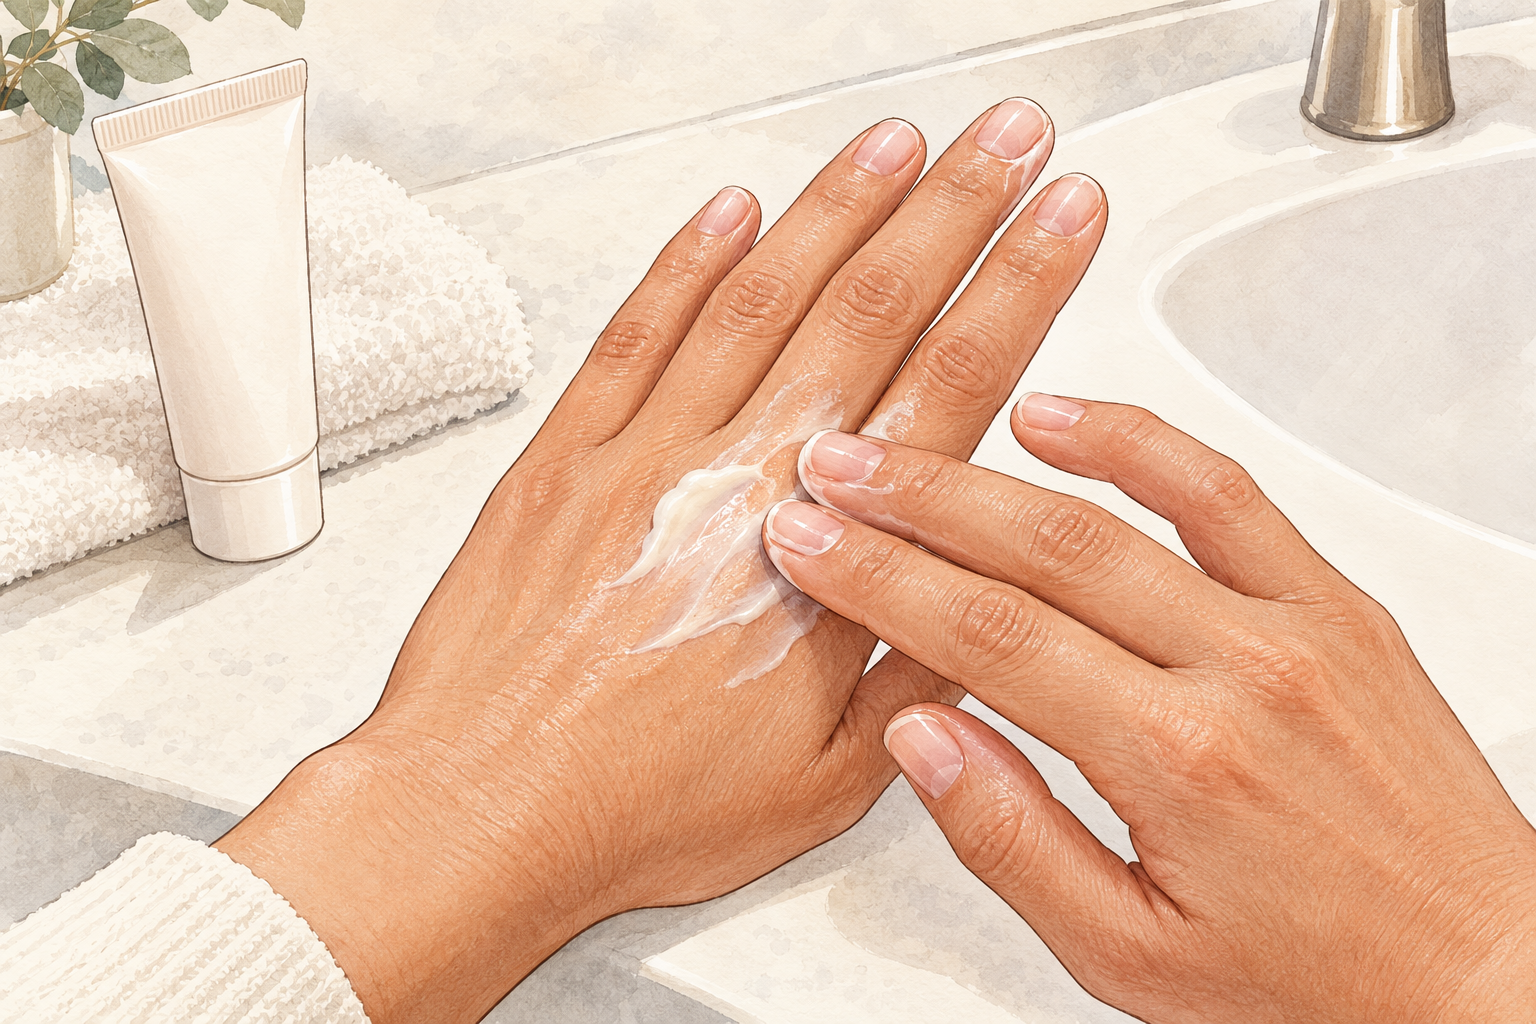
Rub a pea sized dab of plain cream into your nails and cuticles each time you dry your hands. Nails lose water quickly, and every wash pulls a little more out. Choose a thick, plain cream over a thin, perfumed one, because plain tends to stay on longer and bother the skin less. Keep one tube by each sink and another in your bag, so a missed moment gets caught later. This is the habit you will feel working first, since your fingertips stop feeling papery within about a week, and the skin around the nail looks less tight.
5. Wear gloves for dishes and cleaning
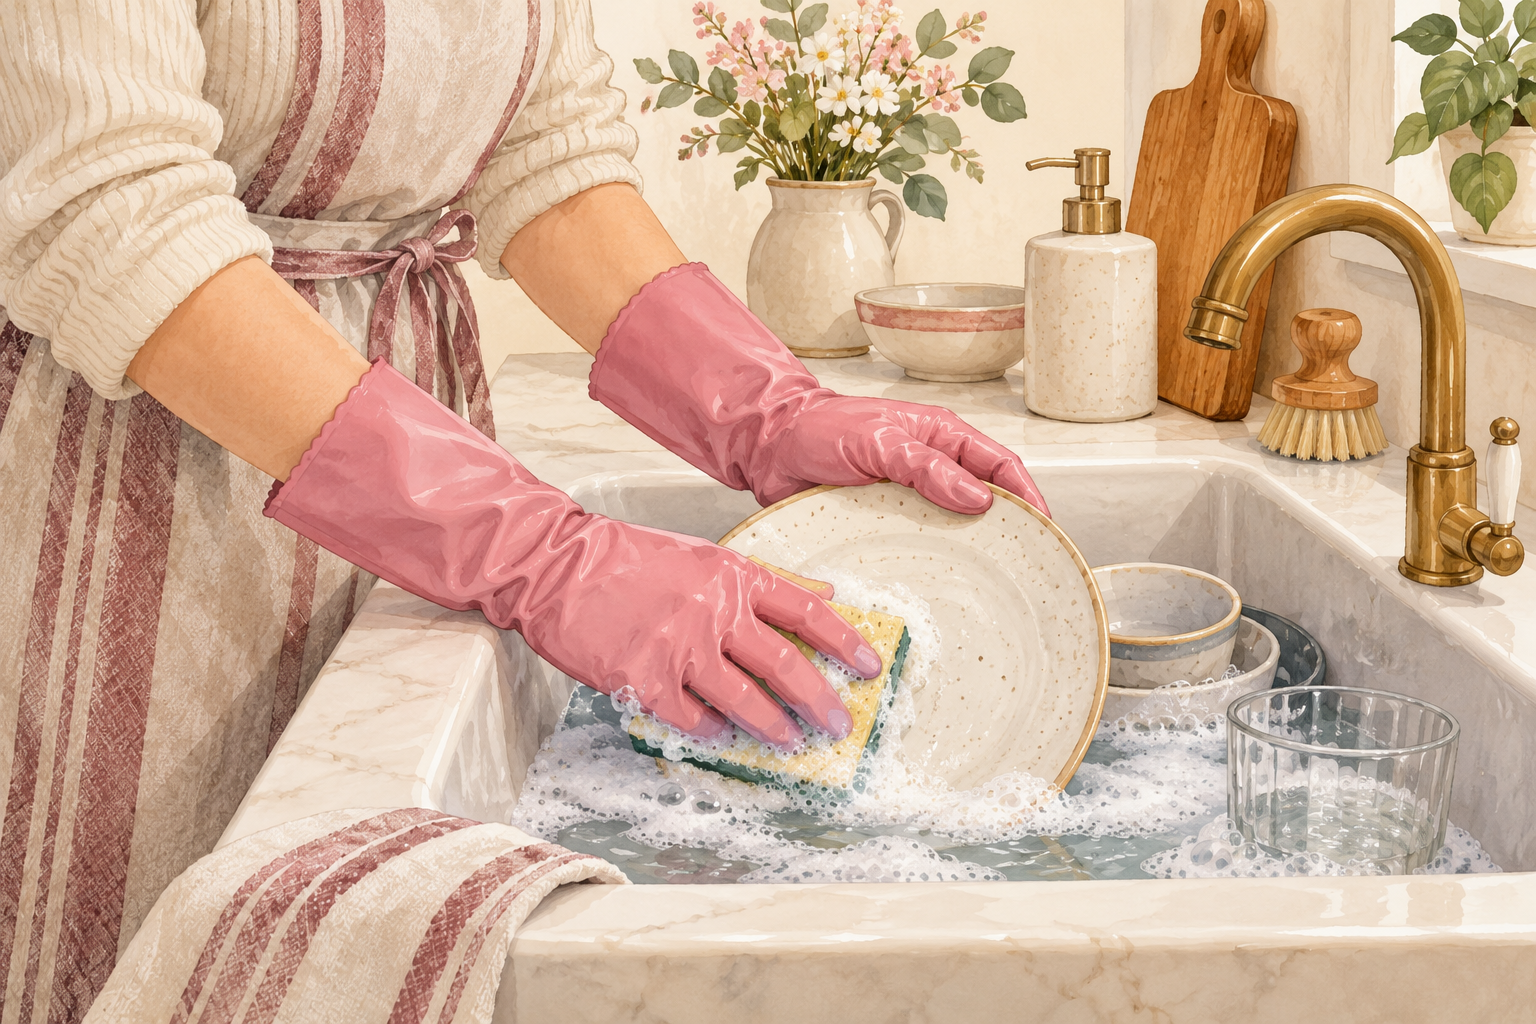
Slip on lined rubber gloves before any washing up or household cleaning. Long soaks in water make nails swell and then shrink as they dry, and that cycle is what leads to peeling. Cleaning sprays are harsher still. If you have no gloves yet, do the dishes last thing at night and cream your hands straight afterwards. Hang the gloves inside out on the tap to dry, since damp gloves feel awful and you will stop wearing them. By the third week, reaching for them will feel as normal as reaching for a sponge, and your nails will thank you with fewer chips at the edge.
6. Do a two minute night rub
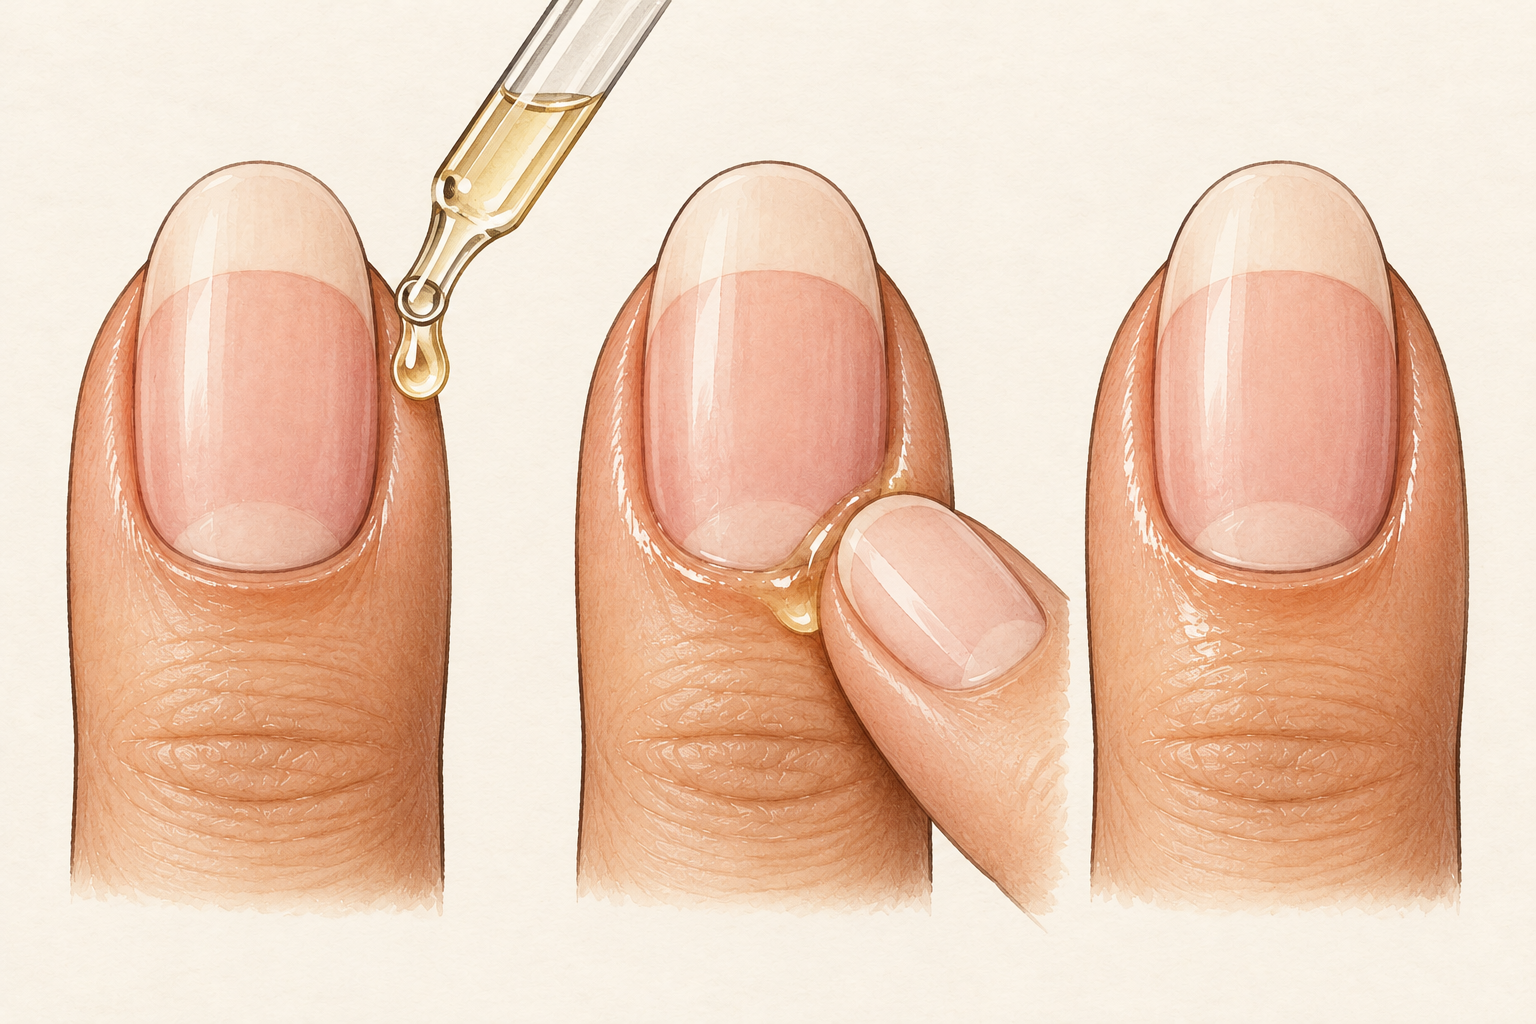
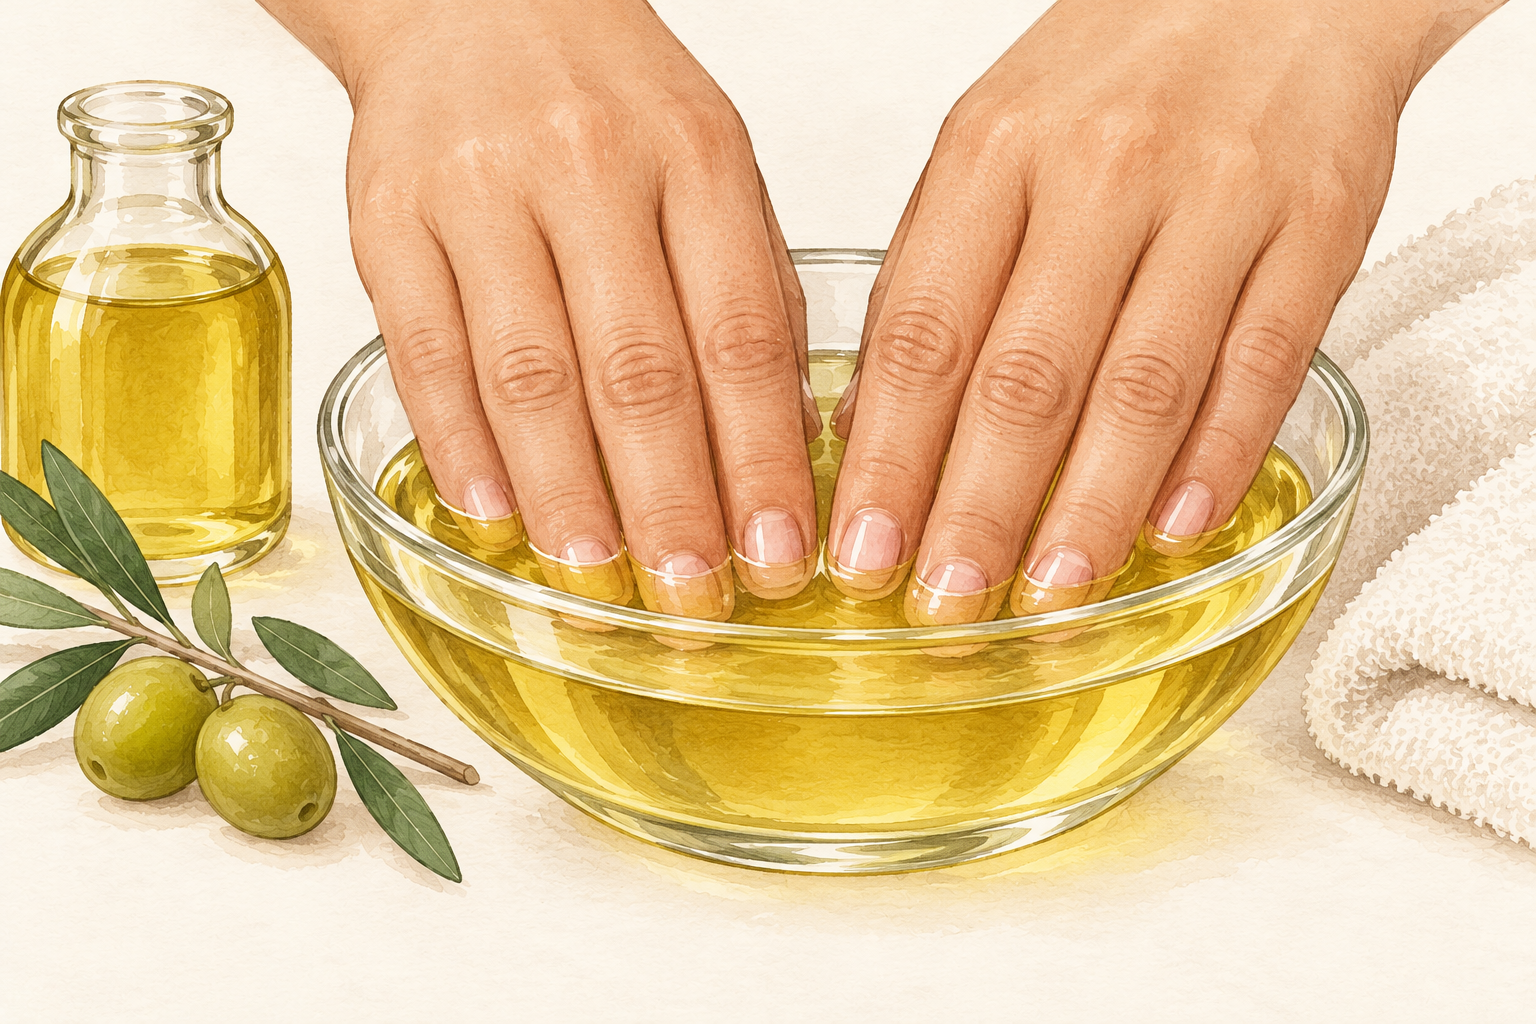
Before bed, press one drop of plain oil or a little cream into each nail and cuticle for about a minute per hand. Oil seals in the moisture that is already there, so use it after washing rather than on bone dry hands. Slip on old cotton gloves afterwards if you want it to feel like a treat. Stop using any oil that leaves the skin red or itchy, and switch to cream instead. Keep the bottle on your side of the bed, because a step you can reach without getting up is a step you will actually do, even when you are sleepy. Bedtime is the easy window, so once the oil feels routine, open nail care for more ideas.
7. Leave your cuticles alone
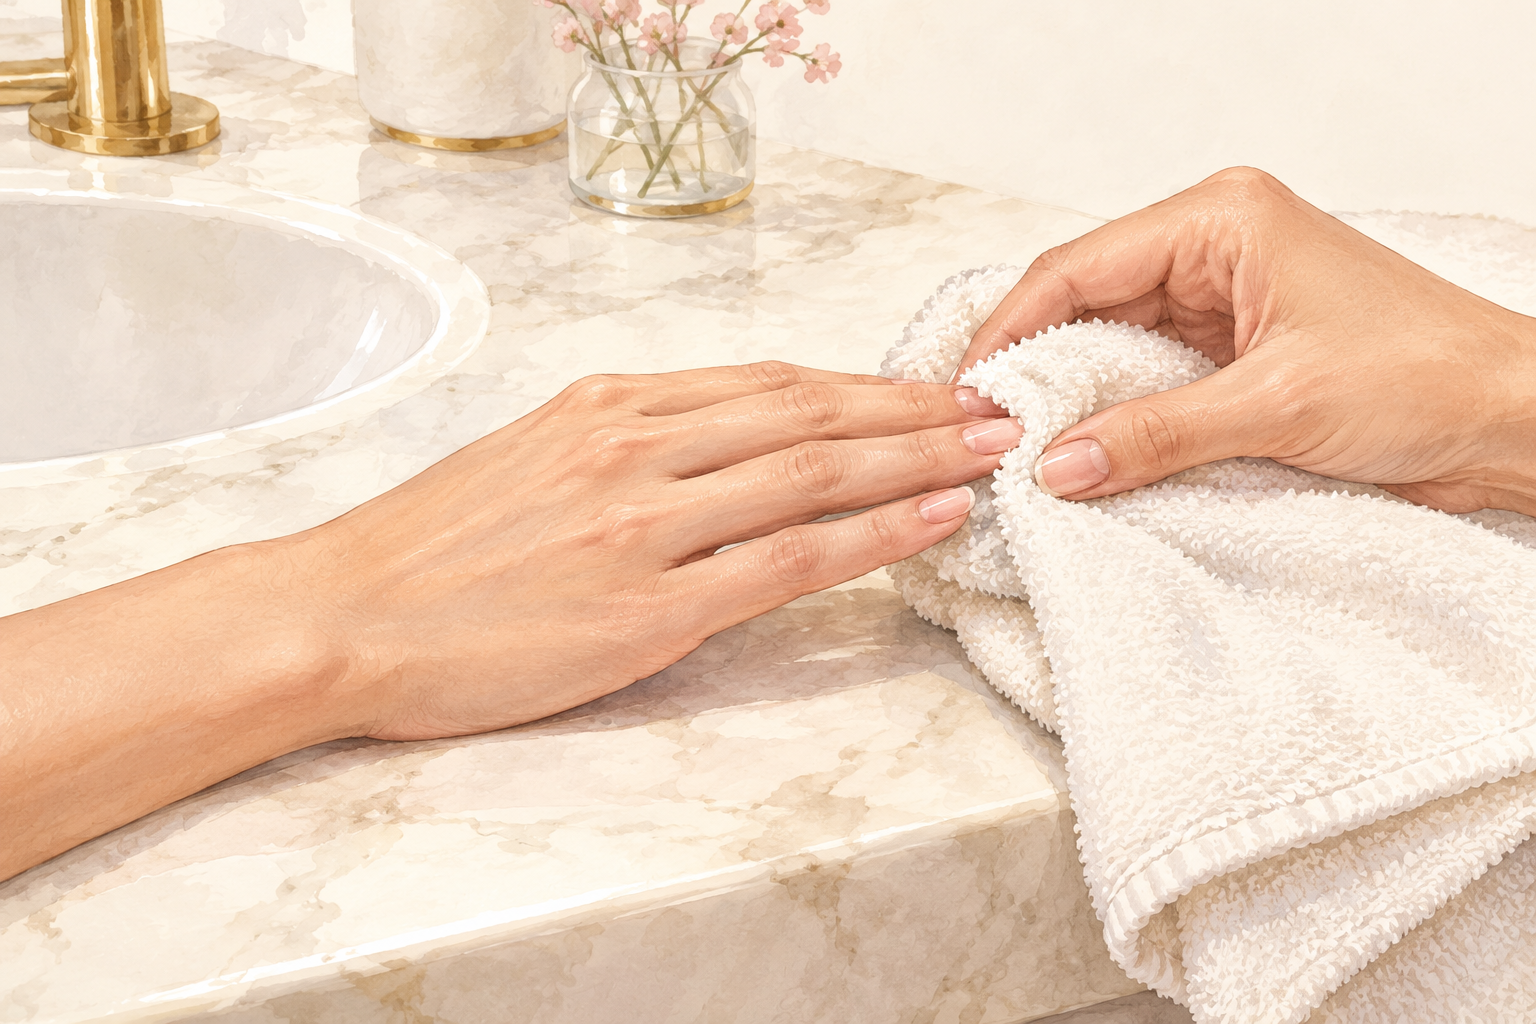
Never cut a cuticle, and nudge it back only with a towel right after a shower. The cuticle seals the gap between nail and skin, so cutting it leaves the edge open and sore. Trimmed cuticles also grow back rougher, which tempts you to trim even more. Soften them with oil and let them be. If one looks untidy, pat it with the towel corner while the skin is soft and stop the moment it tugs. By week two the skin around your nails should look calmer and less ragged, with fewer little tears to catch on your sleeves.
8. Clip hangnails, never pull them
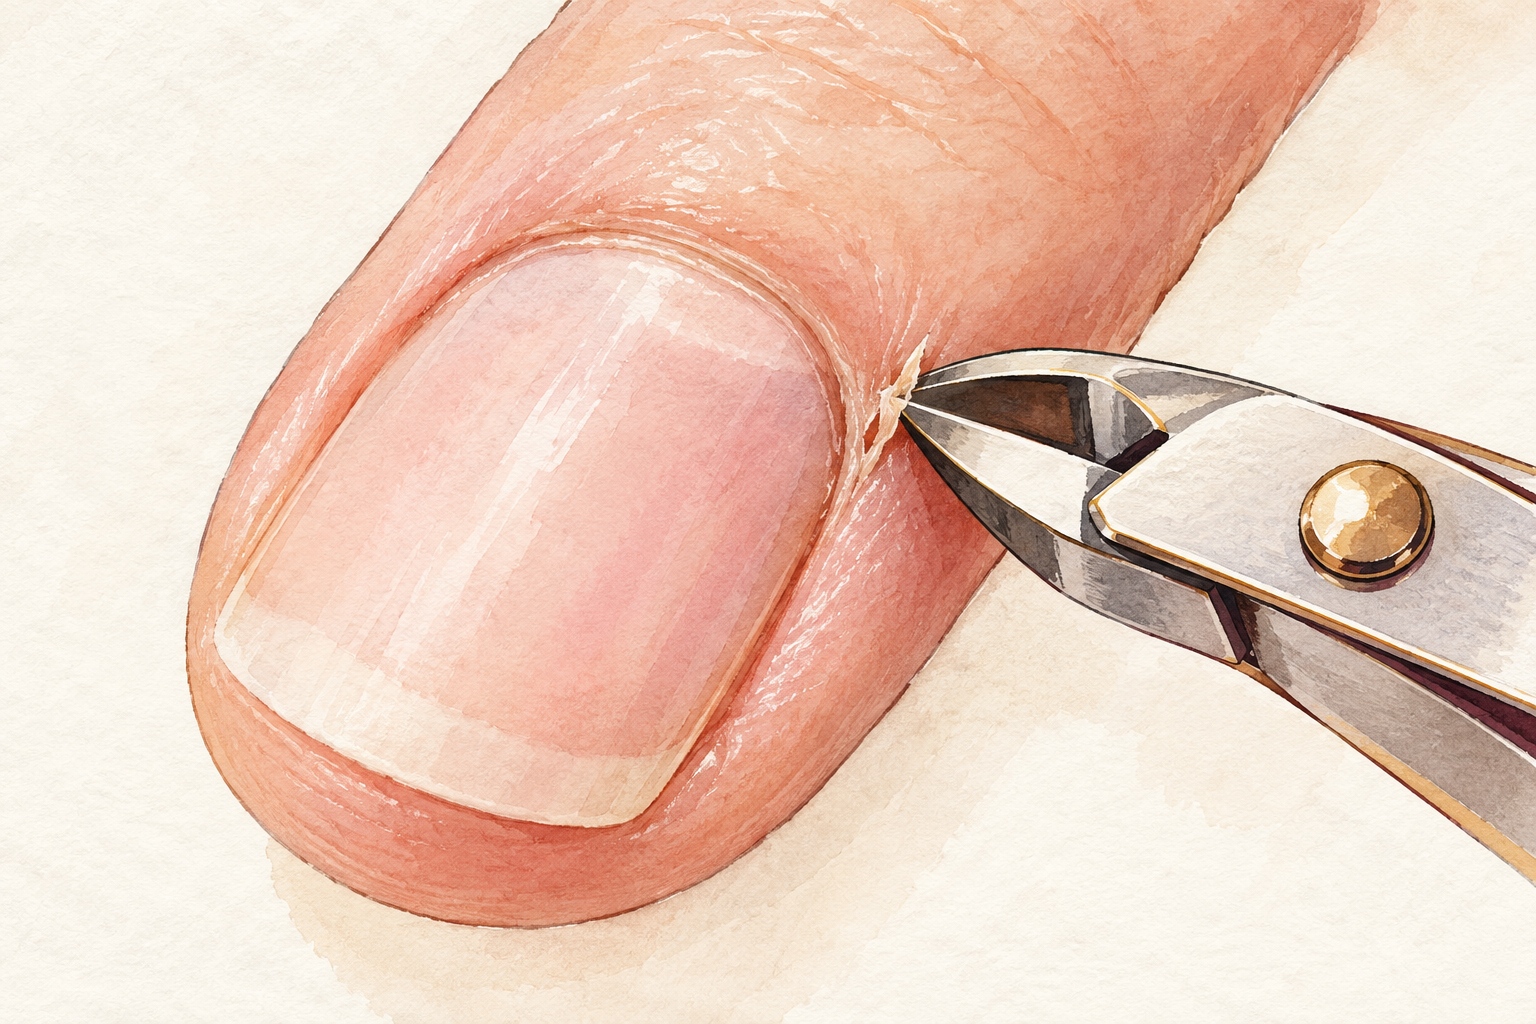
Cut a hangnail flat at the base with clean clippers, then dab on a little oil. Pulling one can tear a strip of living skin, which stings for days and heals slowly. If you tend to pick without noticing, keep a file in your bag and smooth the rough spot every time the urge arrives. A puffy, tender fingertip needs a rest, so keep it clean, oil it and leave it alone for a few days. Hangnails usually fade once the skin stays soft, which is why the cream and oil steps matter so much and why they come before everything else on this list.
9. Photograph your hands every Sunday
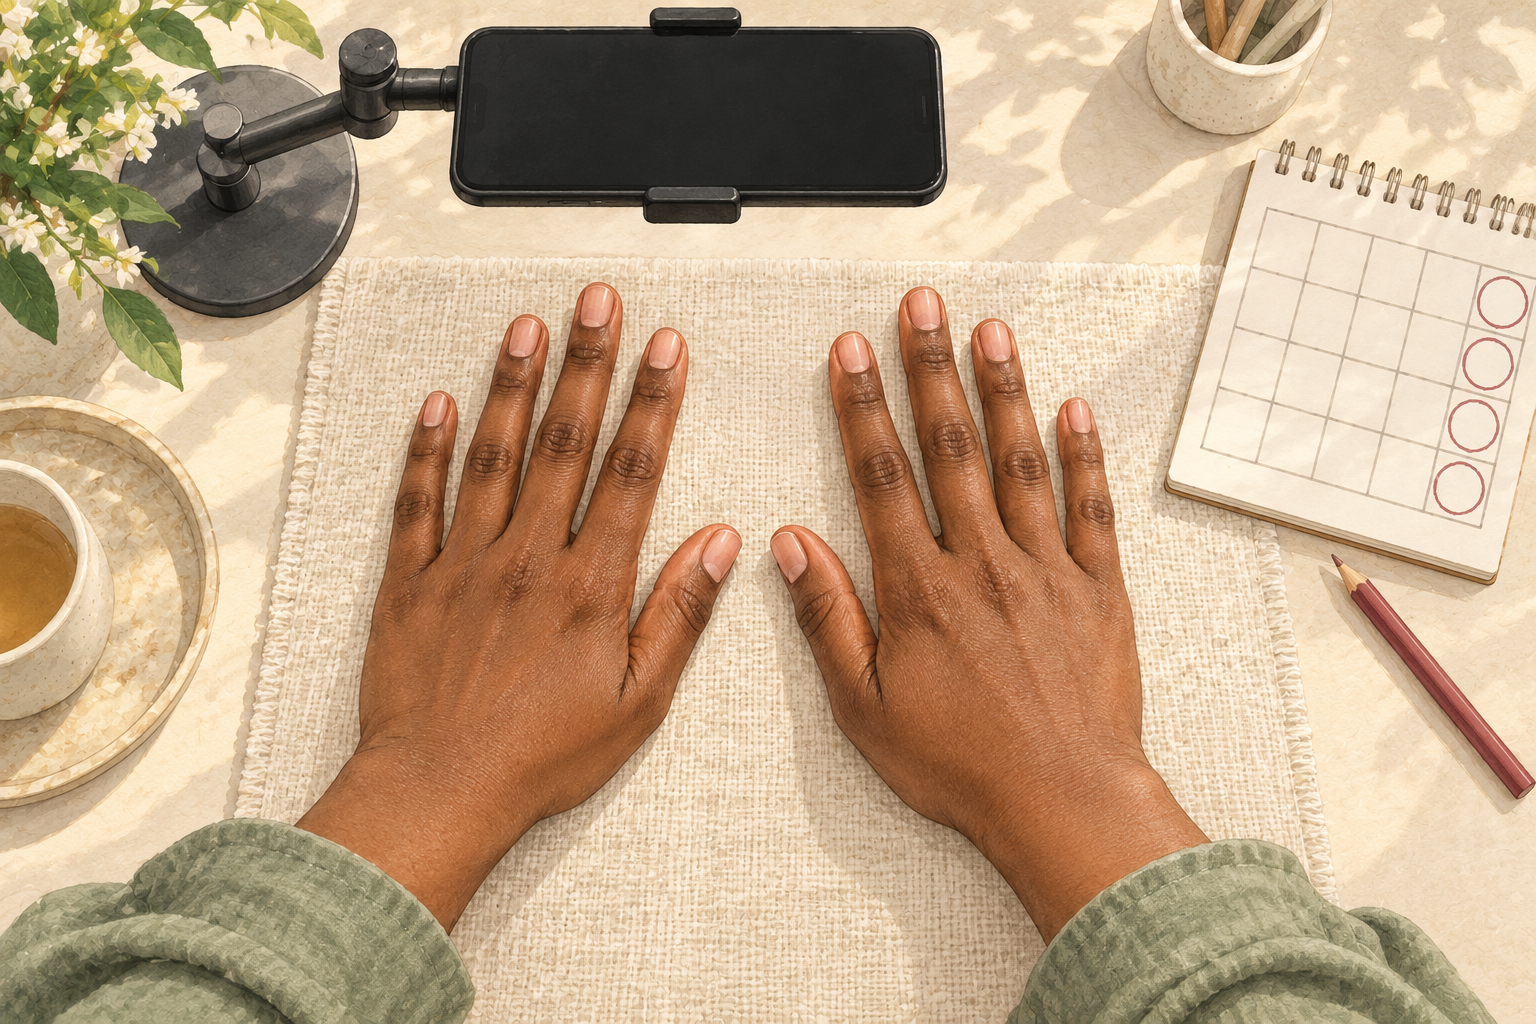
Take one photo of both hands in the same light each Sunday and compare it with the week before. Progress on nails is slow, and you see your hands so often that you miss it. In week one the change is mostly how they feel, a little less dry and snaggy. By week three the new growth near the base looks smoother, though the tips still carry old wear. Write one line beside each photo about what you did that week, and after a month the pattern will show you exactly what helps your nails most.
10. Stop using your nails as tools
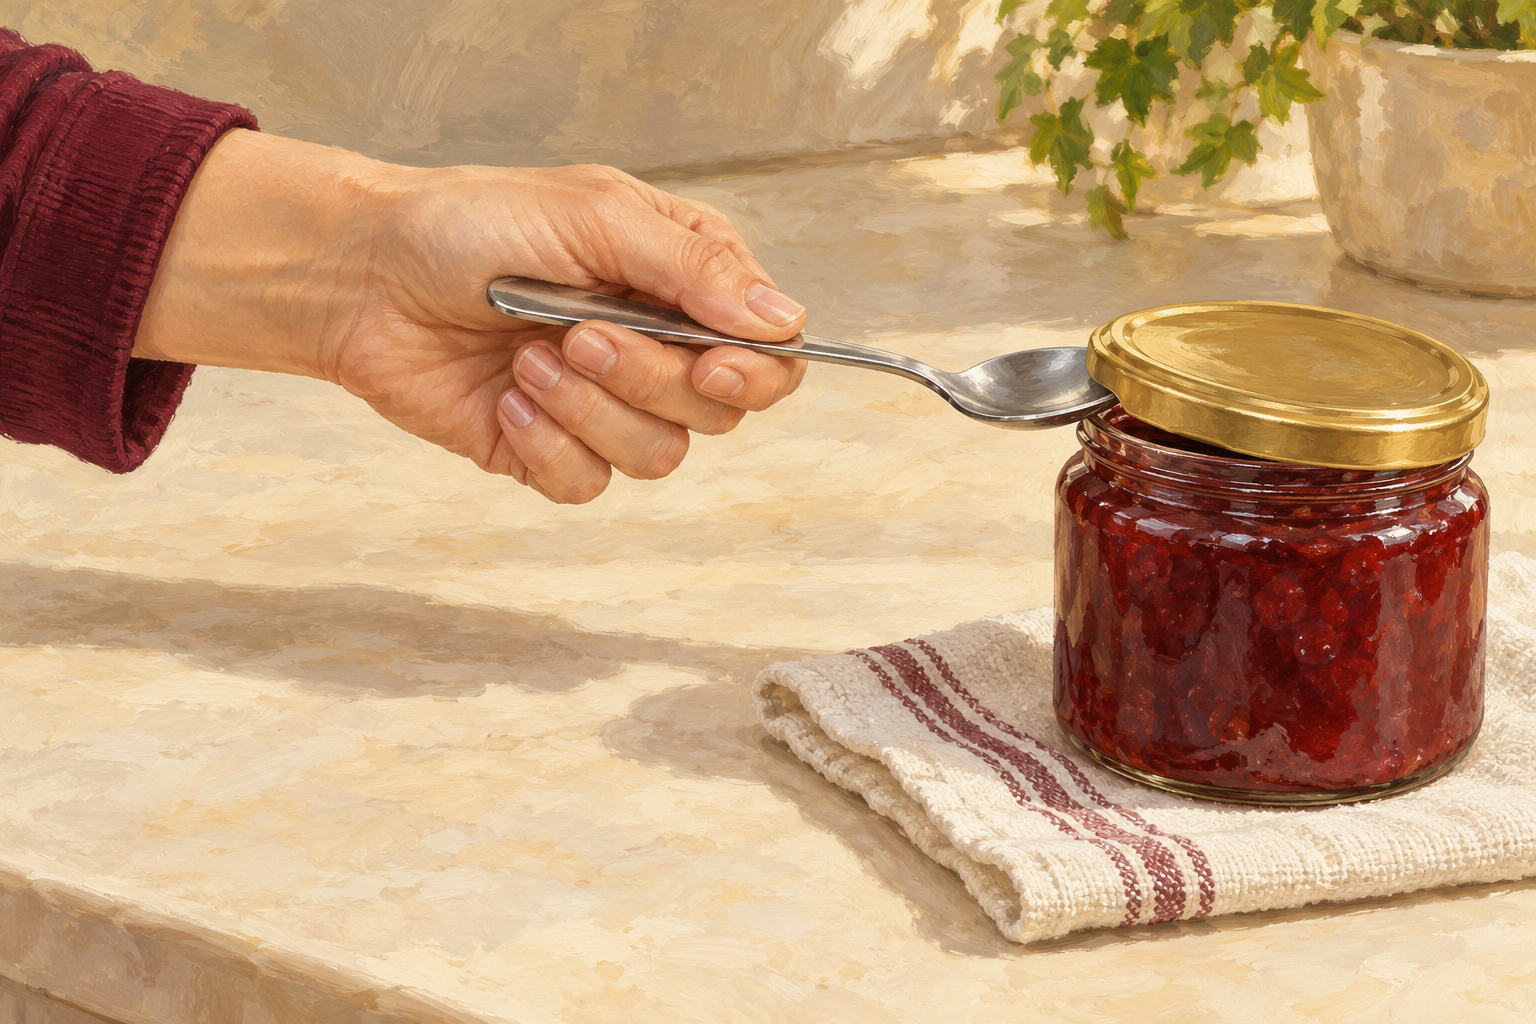
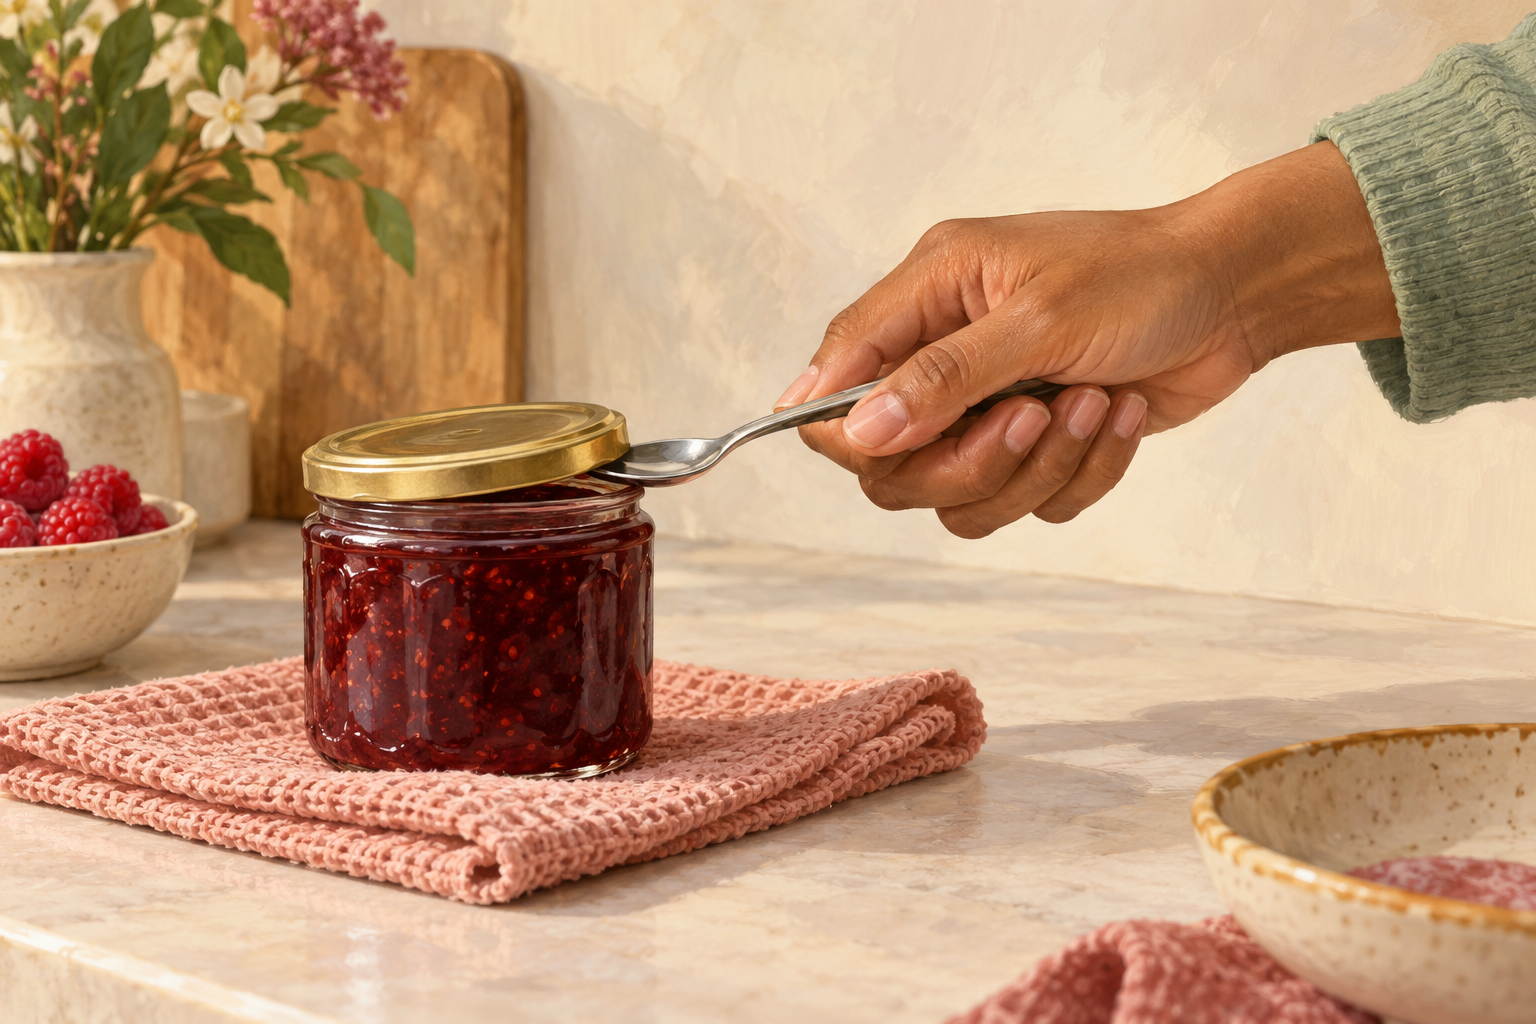
Keep a spoon handle or a key nearby for prying lids, scraping labels and popping clips. Pushing a thin edge against a hard object makes it split or lift, and it happens in a second. Notice how often your thumbnail reaches for something before you think, because the number is usually surprising. Short nails also click less on a keyboard and catch less on clothes. This sounds small, yet it does more for your week four nails than any product could. Put the spoon in the drawer where you open things most, and the old habit fades within a week or two. Tiny swaps like this are easy to forget, so jot down nail care tips somewhere you will see them.
11. Swap the harsh habits for gentle ones
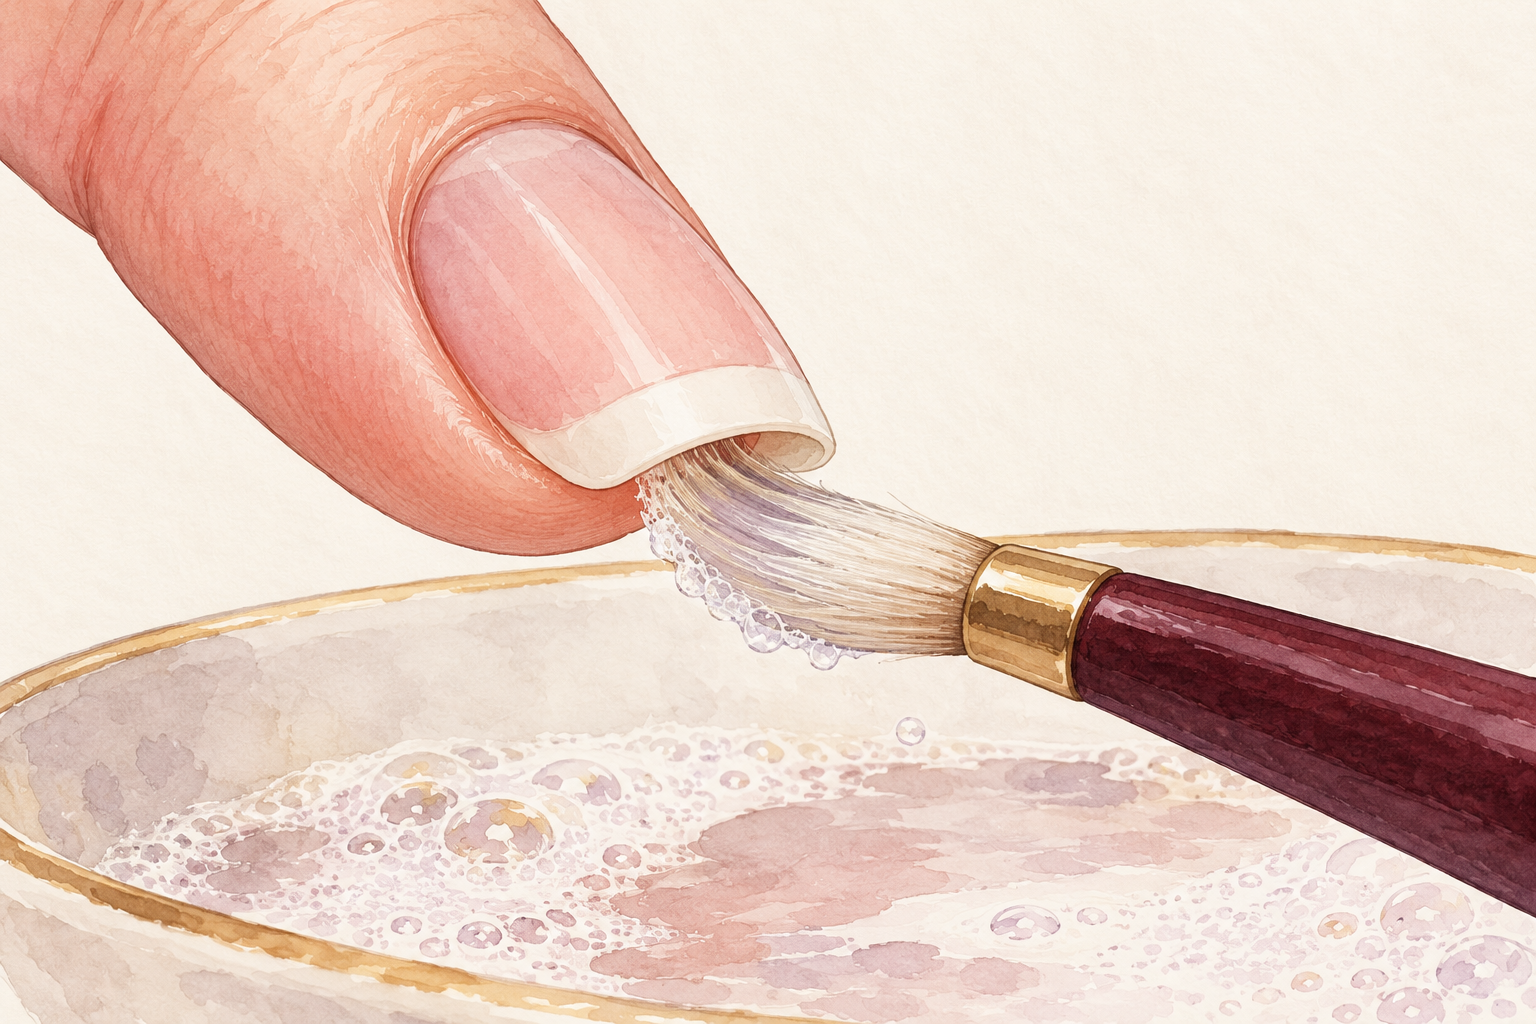
Trade the coarse buffer for the glass file, the metal pick for a soft nail brush, and the long hot soak for a short wash. Scraping under the nail with something sharp can lift it from its bed and let dirt in. Use a soft brush and soapy water once a day to keep the underside clean, then rinse and pat dry. Good natural nail care is more about what you stop doing than what you add. If a step feels rough or makes the nail sting, it is too much, so ease off and go gentler.
12. Expect small changes by week four
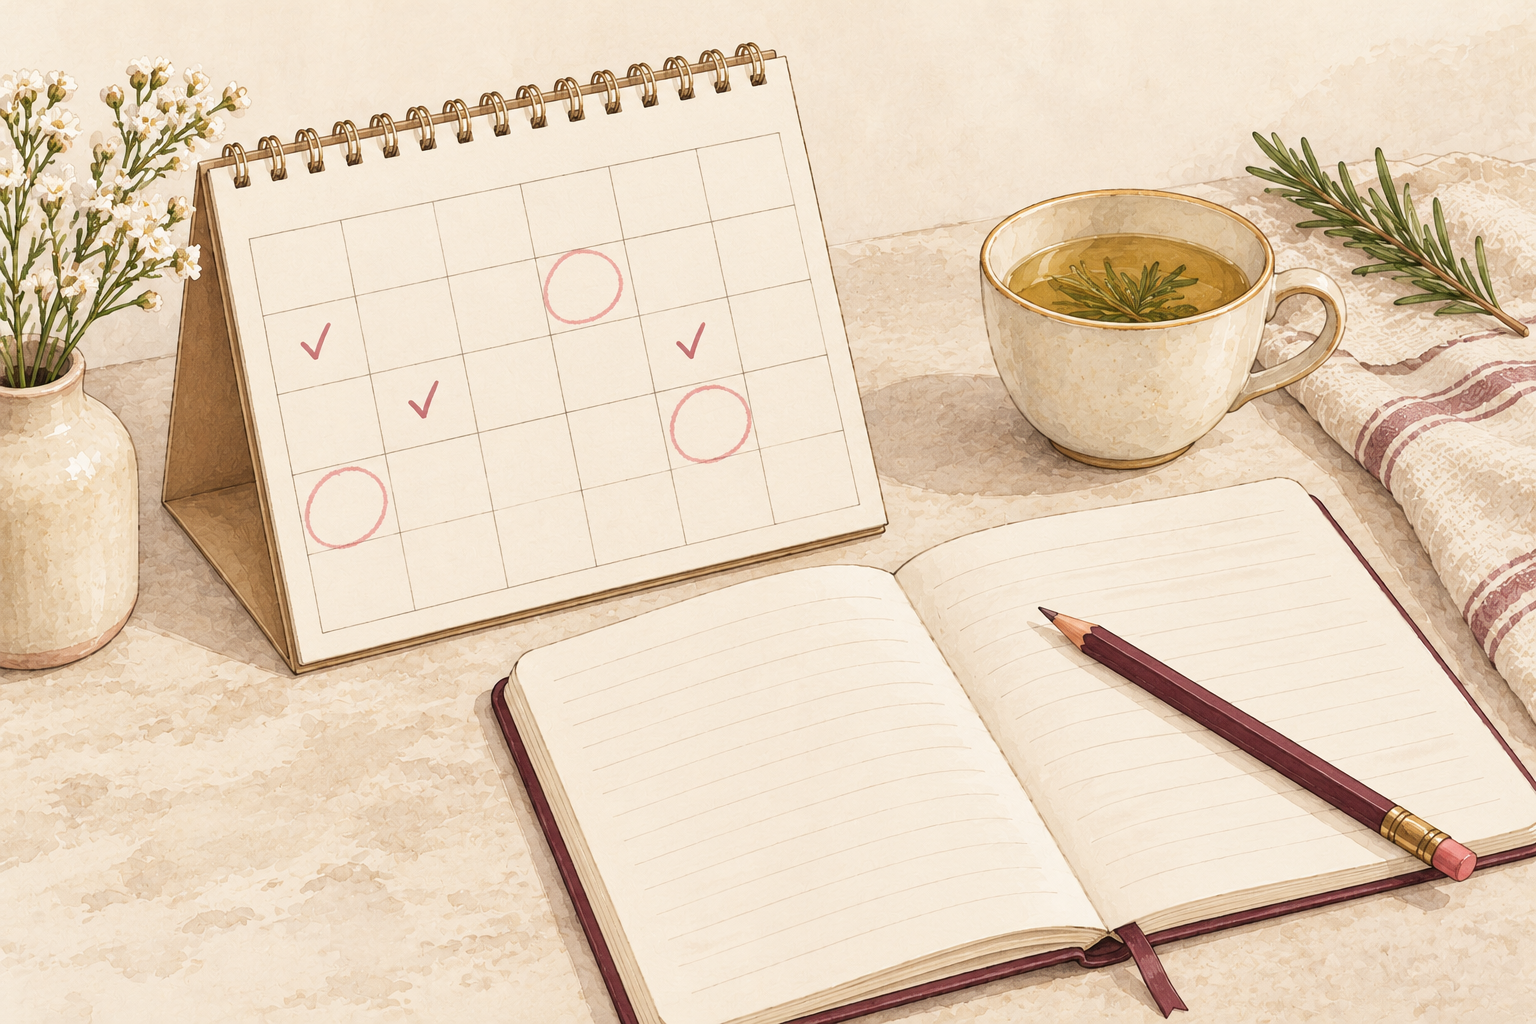
Look for fewer snags, less peeling and a gentle shine, not a dramatic new set of nails. Week four is when the base of the nail usually looks smoother, while the tips take longer because they hold older damage. Keep going for another month before you judge. If a nail grows a dark streak, lifts away from the skin or turns red and sore around the edge, see your doctor soon and rest it from every product. Missing a day is fine, because steady beats perfect every time, and a photo beside your week one picture will show you how far you have come.
Complete the Routine: Natural Nail Care After Week Four
Tonight, take off any polish, trim and file your nails, and put a tube of cream beside each sink. Plans like this stick when they stay gentle, so a skipped day is nothing to worry about. The guides below will keep the next step ready for you.