
Nails
A single flat coat of red can start to feel like the easy answer instead of the interesting one, and that’s exactly the itch ombre scratches. A soft fade gentles bright red down, while a darker tip adds evening depth without needing glitter or extra art. These 12 show where the colour should sit and which shapes let the blend actually show.
Red to Nude Ombre
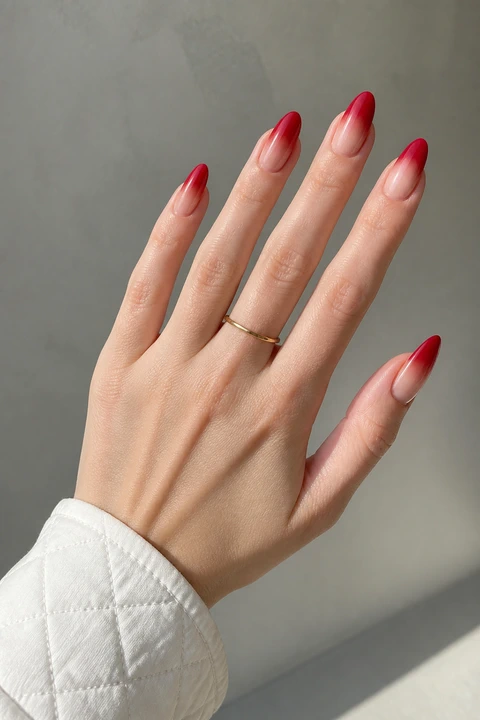
Scarlet Nude Fade
A scarlet tip fading into a sheer nude base is the ombre I choose when I want color to feel polished rather than heavy. Keep the deepest red at the free edge and soften it gradually toward the cuticle, leaving the base almost translucent. An almond shape gives the fade a long fluid line, but a short oval works beautifully if you prefer an easier routine. The blend should look seamless in daylight, without a hard band between shades. A glossy top coat makes the transition look even softer and helps the whole hand appear longer.
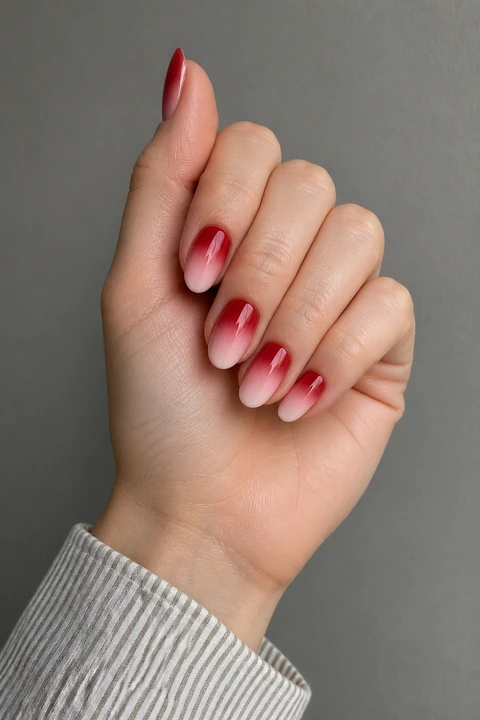
Cherry Milk Ombre
Cherry milk ombre blends a clear red into a milky pink base, giving the manicure a softer centre and a clean bright finish. I like it on medium oval nails because the rounded shape lets the color graduate without looking graphic. Ask for thin layers instead of one heavy stripe, especially if the pale base shows every edge. The red should look as though it is diffusing through the nail rather than sitting on top. This is a feminine choice for anyone who wants a fresh manicure that still announces itself as red.
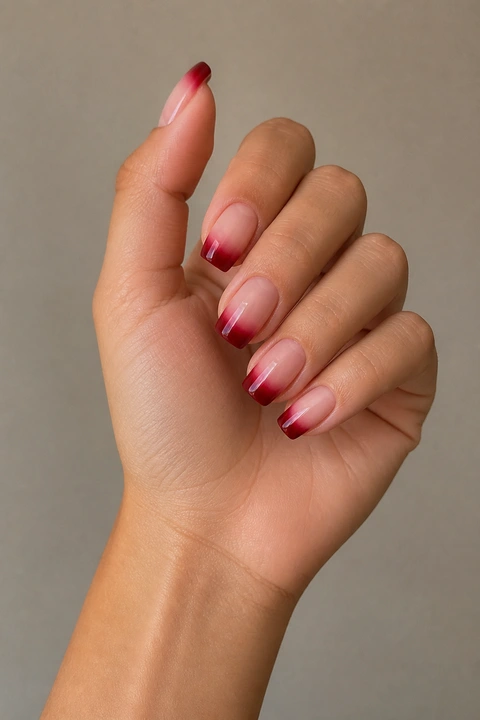
Ruby Bare Edge
For a lighter take, let ruby red begin near the tip and fade into a barely visible natural base before it reaches the cuticle. The contrast works best when the red stays concentrated at the edge and the bare area remains smooth. I would choose a soft square here because the straight free edge makes the color placement feel intentional. Use a fine sponge or airbrush technique so the middle does not become patchy. It is the sort of manicure that works with a quiet wardrobe and still looks finished when your hands are in the spotlight.
Red to Burgundy Gradients
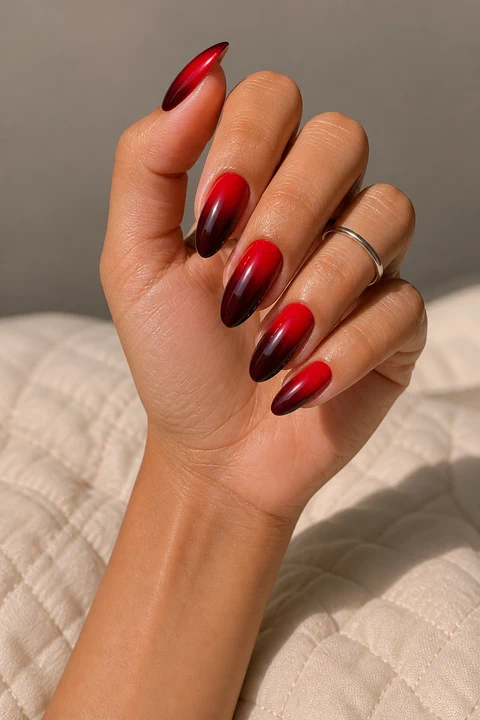
Poppy to Wine Fade
Bright poppy red melting into wine at the tip keeps the manicure in one family while giving it far more depth. I love this on a long almond because the shape creates space for the shades to blend gradually. Keep the poppy clean and lively near the cuticle, then let the wine deepen the outer edge without turning brown. A smooth surface matters more than extra art, since every ridge interrupts a gradient. The result feels bold at first glance, but the related tones keep it beautifully composed.
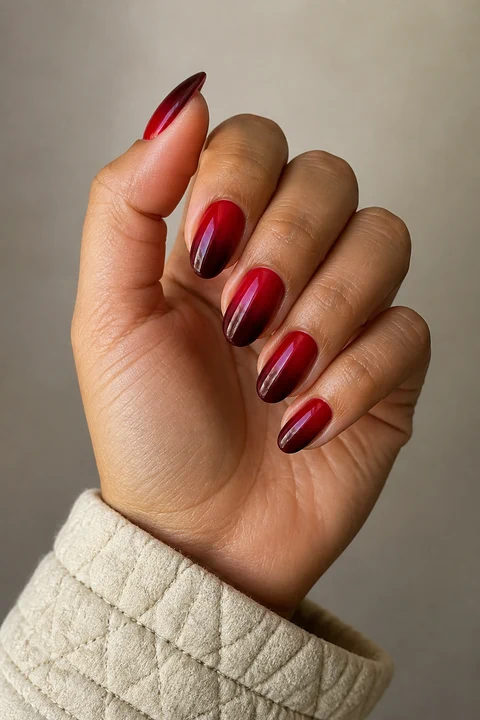
Crimson Burgundy Oval
Crimson and burgundy make a softer grown up gradient when the transition stays close and tonal. Place crimson near the cuticle, burgundy through the centre, and the deepest shine at the tip. A medium oval gives the blend a rounded path, so the change in color looks natural instead of striped. Work in thin coats and inspect the set beside a window before sealing it. This pairing is especially lovely with neutral clothing because the nails carry color without fighting every other detail.
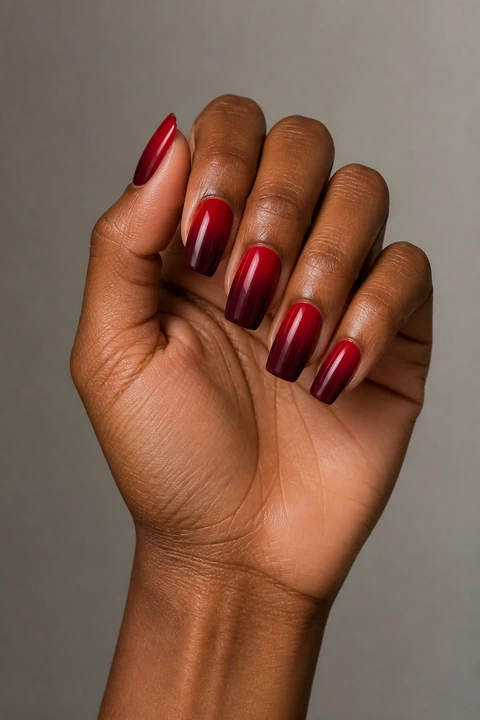
Red Velvet Gradient
A red velvet gradient uses saturated cherry near the base and darker velvet red toward the tip, creating a plush effect without glitter. I like it on a softly tapered square because the shape gives the darker edge a crisp frame. The blend should stay glossy and smooth, with no sponge marks between shades. If the colors seem too similar indoors, check them beside natural light before the final top coat. That is when you will see the two reds separate just enough to make the fade feel deliberate.
Reverse Red Ombre
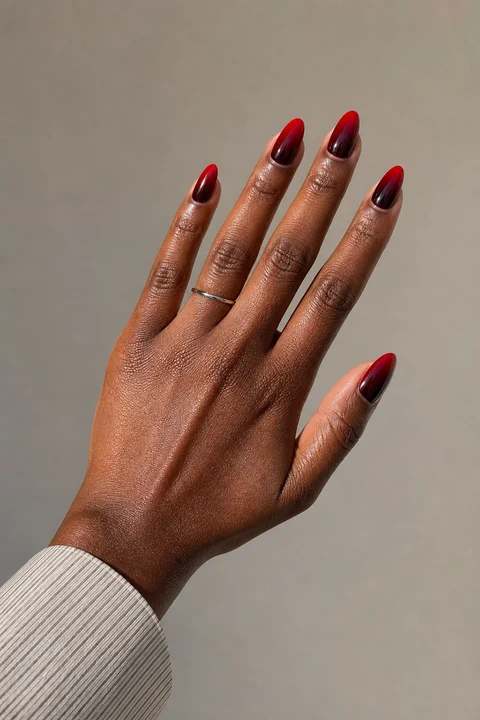
Wine Base to Scarlet Tip
Reverse the usual fade by placing deep wine near the cuticle and letting the tips brighten into scarlet. It changes the manicure immediately, grounding the base while the edges catch attention whenever your fingers move. I prefer this on a medium almond with a narrow even tip, so the brighter red does not overwhelm the shape. Blend the darkest shade softly around the cuticle because a harsh line there can make the nails look shorter. Clear shine gives the transition a smooth, polished finish.
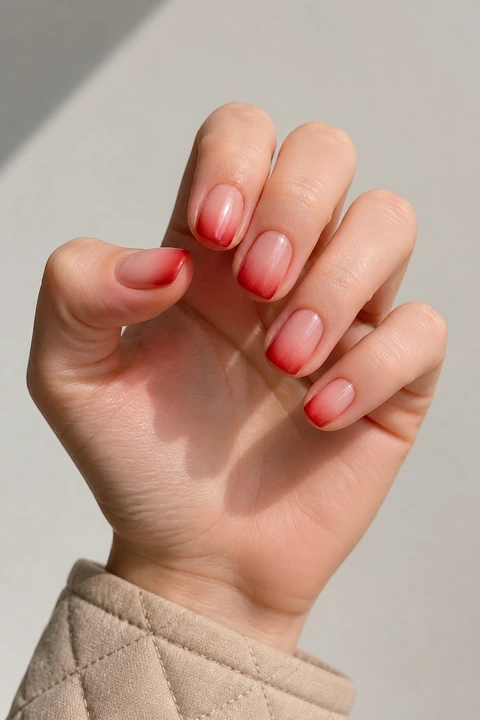
Blush Red Reverse Fade
A blush pink base deepening into red tips is a gentle way to wear reverse ombre without losing the color story. Keep the pink sheer enough for the nail bed to show, then build the red slowly as it approaches the free edge. Short rounded square nails make this version practical and neat, especially when you want the gradient to grow out gracefully. I would keep the finish glossy and skip extra art so the fade remains the main detail. It feels soft at the base and confident at the tip.
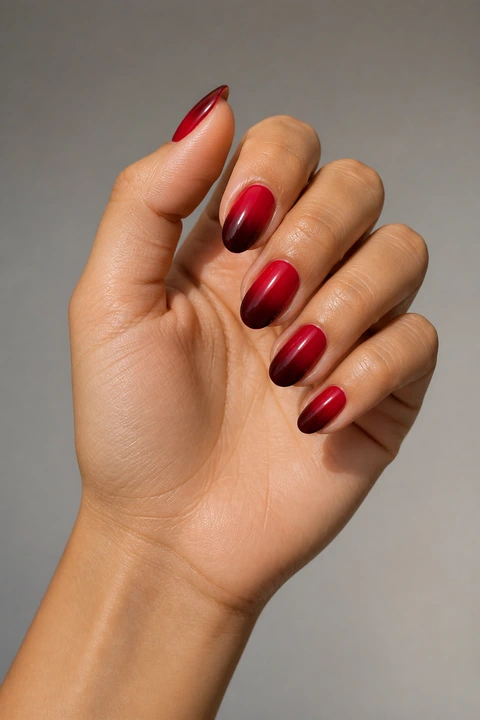
Red Tip Gradient
Red tip gradient nails keep the base close to natural while concentrating the strongest color at the edge. The effect is subtle from a distance, then more noticeable when a hand moves through light. I like a soft oval shape because it keeps the fade delicate and lets the red follow the curve of the nail. Ask for a diffused transition rather than a painted French line. This is an easy choice when you want the feeling of red but prefer your cuticle area to stay light and almost bare.
Light and Reflective Red Fades
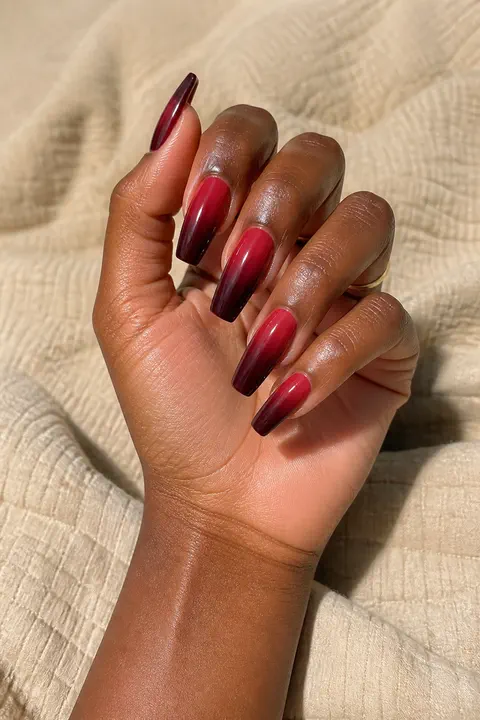
Red and White Glow
Red and white ombre gives the manicure a brighter, almost candy like finish while keeping the color change soft. Use creamy white near the cuticle and let clear red gather toward the tip, or reverse the placement for a more unusual fade. Choose medium coffin or soft square nails so both shades have room to breathe. The white should stay warm rather than stark, which helps the red look richer. A glossy top coat pulls the gradient together and makes it glow in daylight.
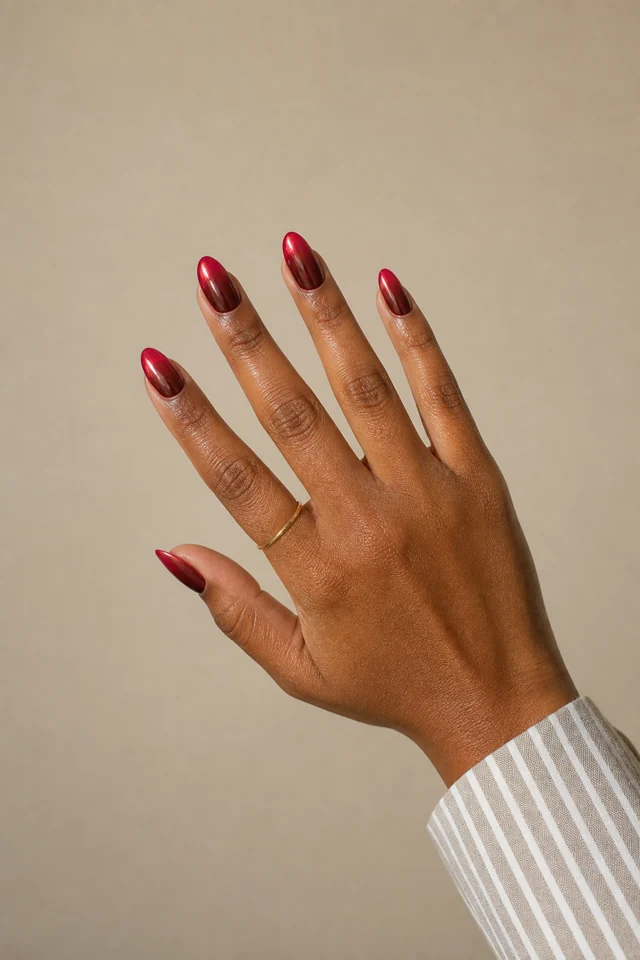
Chrome Cherry Fade
Chrome cherry ombre places a reflective sheen over the gradient, so the red seems to shift whenever your hand turns. I like the metallic effect fine and smooth rather than glittery, with deeper cherry at the tip and softer red near the base. Almond nails give the reflection a long graceful path, but the surface must be buffed carefully before chrome is applied. Keep the cuticle line clean and let the color do the work. It is modern, glossy, and surprisingly easy to style.
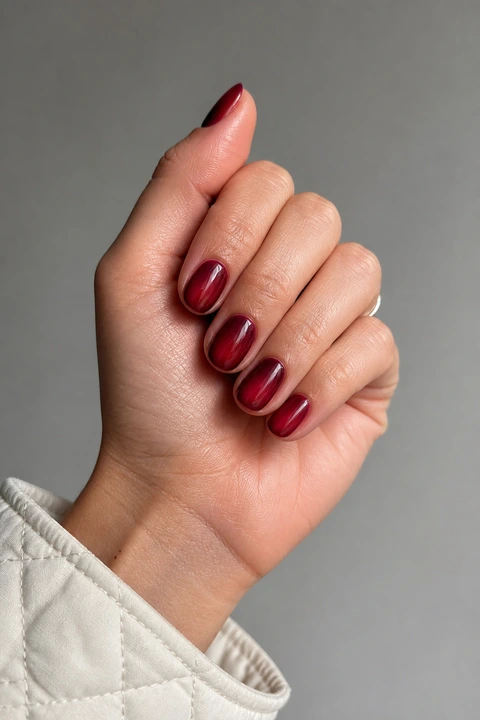
Garnet Glass Fade
Garnet glass fade nails use translucent deep red at the tip and clearer cherry near the base, then add enough shine to make the colors look suspended under glass. Keep the shape short oval or softly rounded so the finish feels wearable rather than theatrical. Build the gradient in thin layers and allow each coat to settle before adding the next. That patience keeps the color clear instead of muddy. The final effect is rich, reflective, and quietly different from a solid red manicure.
My rule with ombre is to protect the transition. Let each shade fade slowly, check the blend in natural light, and choose a shape that gives the colors room to travel. These 12 looks feel much more polished when the gradient is the detail, not an afterthought. Blends like these look best up close, so the cards below are worth a closer look.
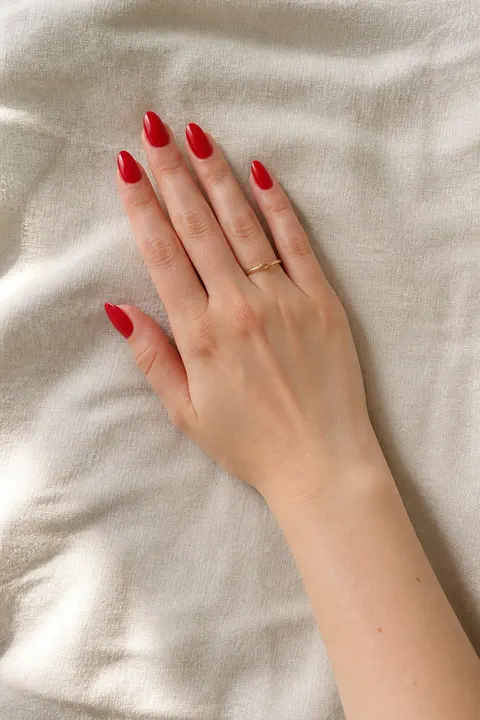
red acrylic nails built
12 Red Acrylic Nails Built to Actually Last
Red acrylic nails have that satisfying, polished intensity that makes even a simple outfit feel intentional. The structure gives a longer silhouette a steady canvas, while the red…
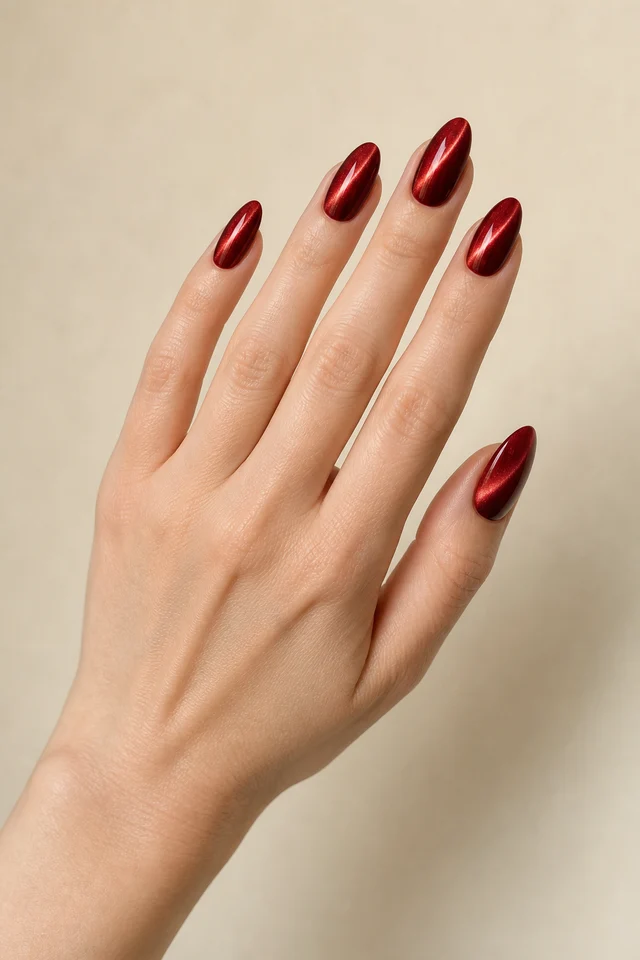
trendy red nails every
12 Trendy Red Nails Every Friend Is Bringing Me Right Now
Red can be glossy, sheer, magnetic, soft, or wonderfully deep, so the right finish changes the whole mood.
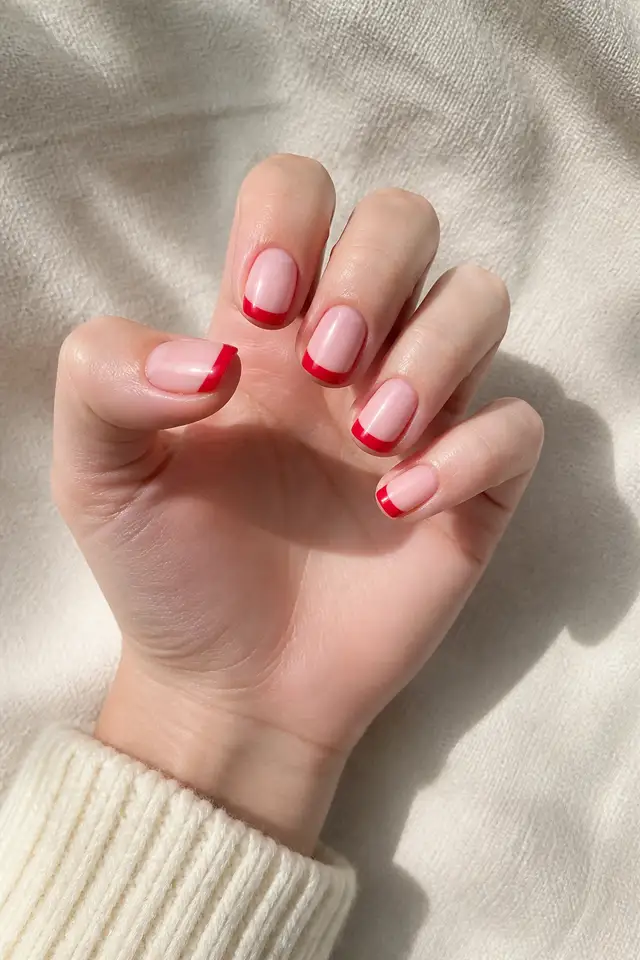
red french tip nails
12 Red French Tip Nails That Update a Classic
It looks polished immediately, but it still leaves room for personality, which is exactly why I keep coming back to it when I want my hands to feel…
Meet the Writer

Hey, I’m Elma!
Fashion girl at heart, just like you. Nails and hair are how I like to finish every look. So glad you’re here! Read my story
