You hold your ends up to the window and see tiny forks, a few strands split a whole inch up, and the bottle that promised split ends repair in one wash did nothing. A split cannot be glued shut, but it can be softened, hidden and stopped from travelling. Here are 12 ways to do that, so start at number one tonight.
1. Spot the real splits
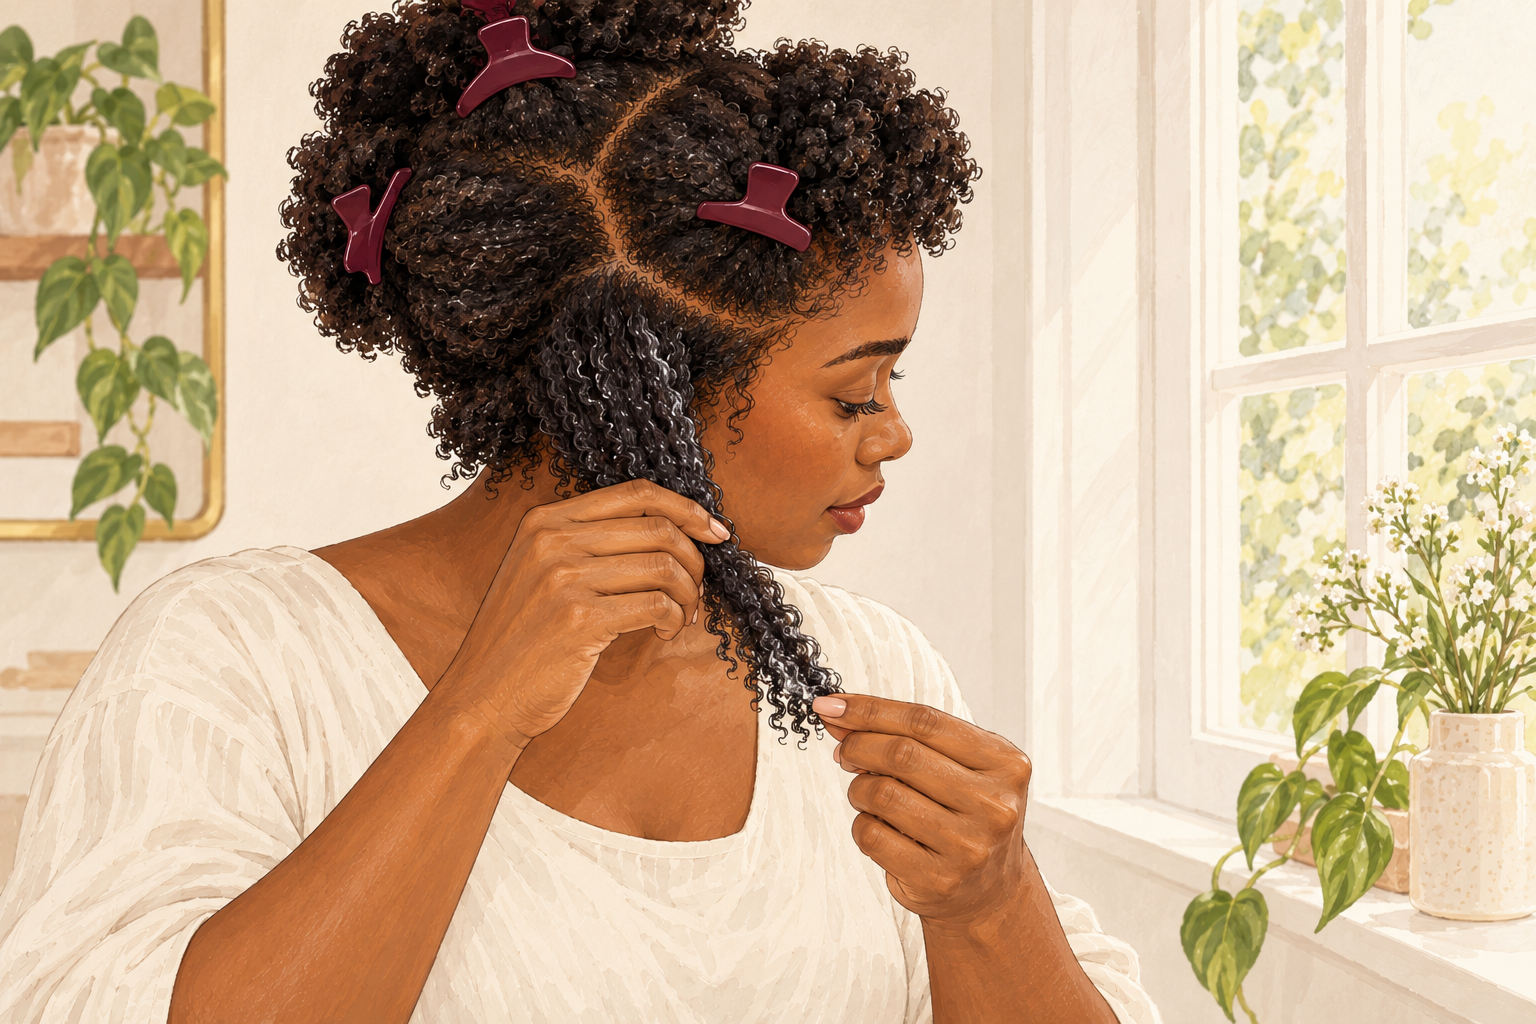
Hold a few strands up in daylight and look for a Y shaped fork, a frayed tip or tiny white dots along the strand. Slide two fingers down the hair and feel for the place where it suddenly thins. Dry ends look dull but stay in one piece, so they need moisture and not scissors. Check again once your hair is dry, because wet hair clumps together and hides the forks. Count how many strands are split before you start, so you know how serious the problem is. Most heads only have a handful in the last few inches, and finding them early keeps your next trim tiny.
2. Accept what cannot be repaired
Hair is not alive once it leaves your scalp, so a split strand cannot knit itself back together. Creams and serums lay a thin film over the outside, and that film makes ends clump, shine and feel smooth. It washes away with your next shampoo. So treat every bottle as a bandage you replace, never as a cure. Once you stop expecting a miracle you waste less, and you can enjoy the real results, which are softer ends for a few days and fewer new splits. The old ones leave only with scissors, and that is perfectly fine.
3. Turn the heat down
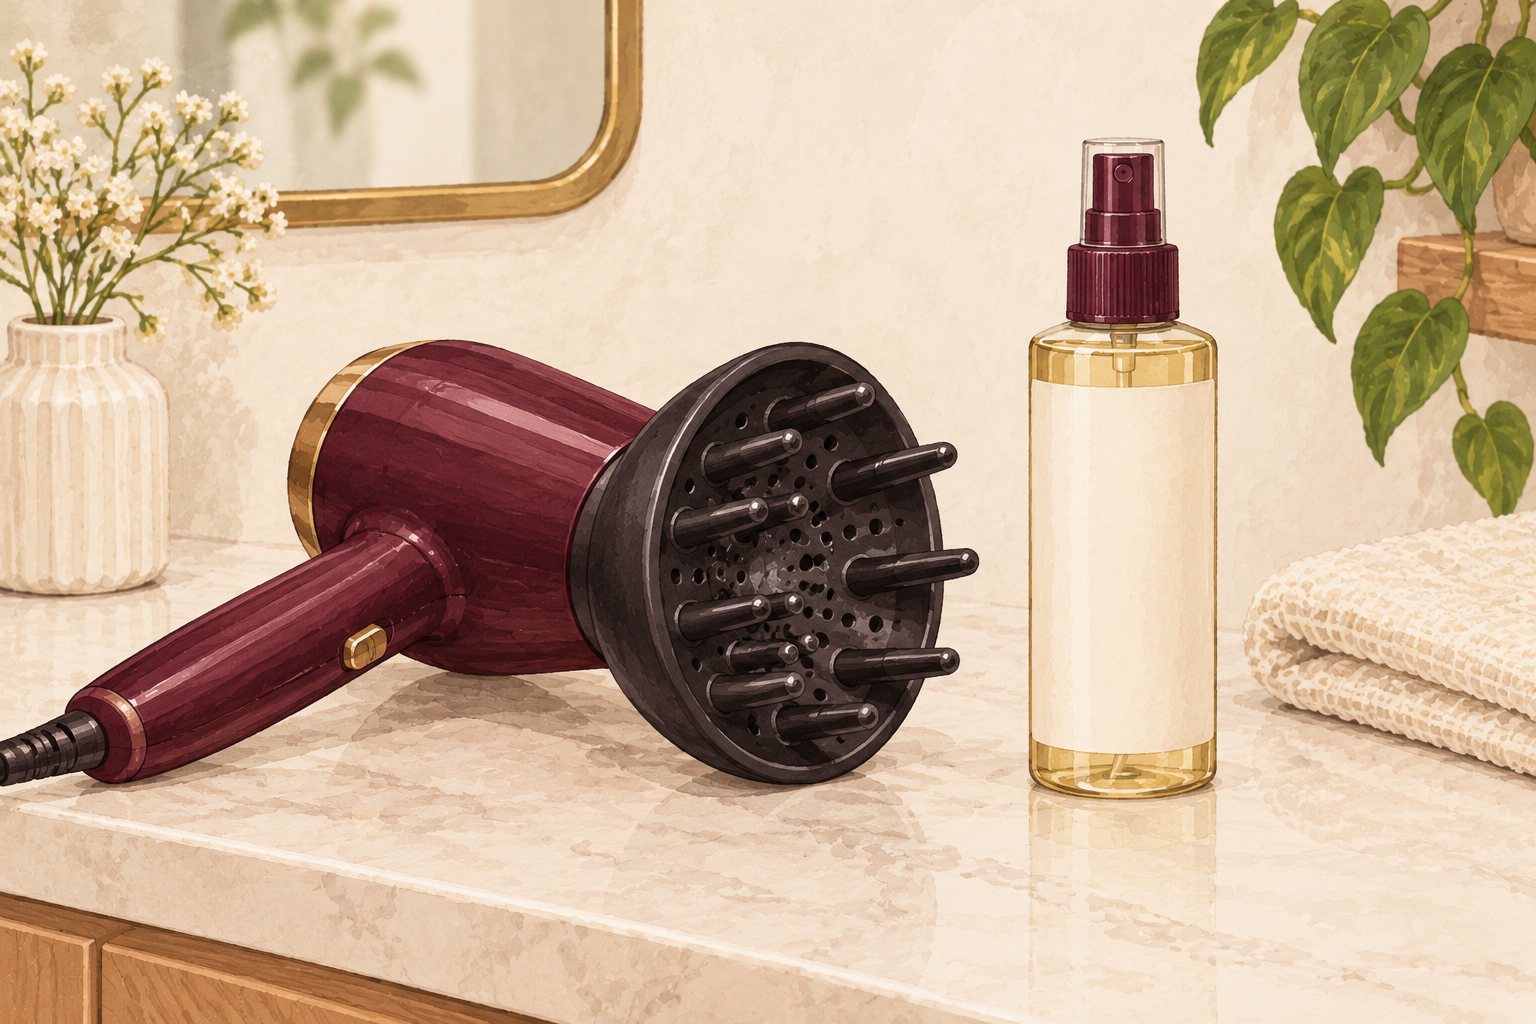
Spray a heat protectant on damp hair and drop your tools to the lowest setting that still works. A flat iron that is too hot fries the tips first, since they are the oldest and driest part. Keep heat to once or twice a week and air dry on the other days. Hold the dryer a hand’s width from your hair and keep it moving. Frayed ends meeting a hot plate every morning will undo your split ends repair in one pass. If your hair smells toasty or feels crunchy afterwards, the setting was too high, so turn it down a notch next time.
4. Detangle from the tips upward
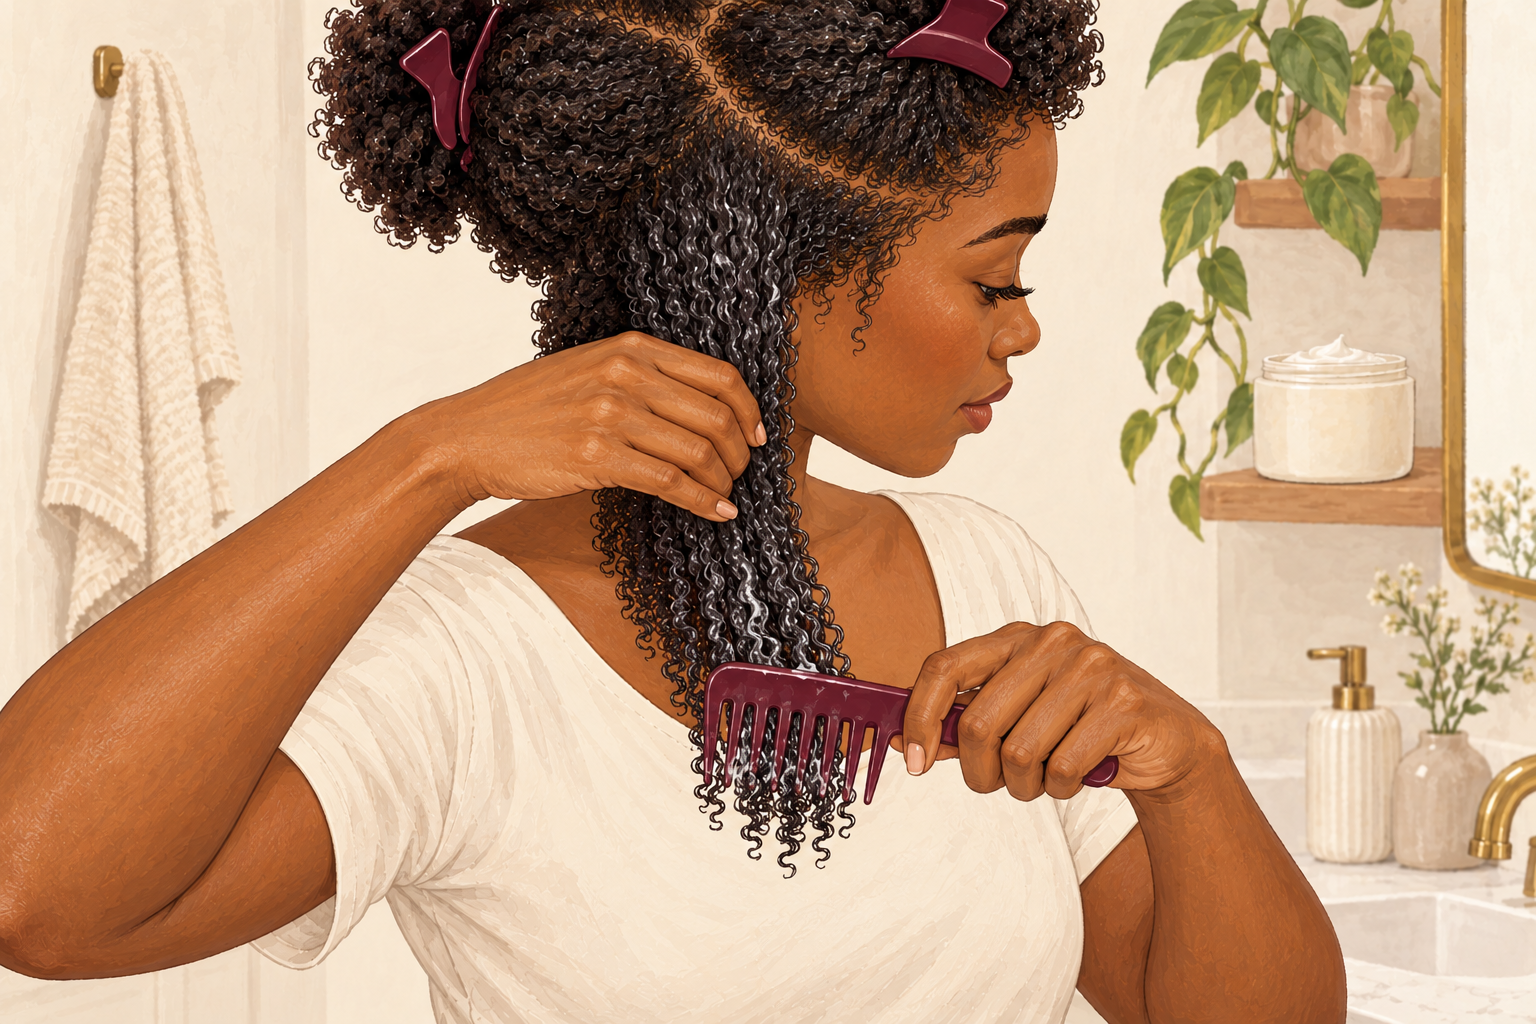
Start at the very bottom with a wide tooth comb and work upward in short, easy strokes. Pulling a brush from the roots drags every knot down onto the ends and tears them. Hold the hair above the knot with one hand so your scalp takes none of the pull. Add a little conditioner for slip, and be patient with the stubborn ones. Wet hair is at its weakest, so never rake it. Rushing is how a small tangle becomes a snapped strand, and a snapped strand becomes the next split. Ten slow minutes with a comb saves you months of regrowing.
5. Smooth leave in conditioner over damp ends

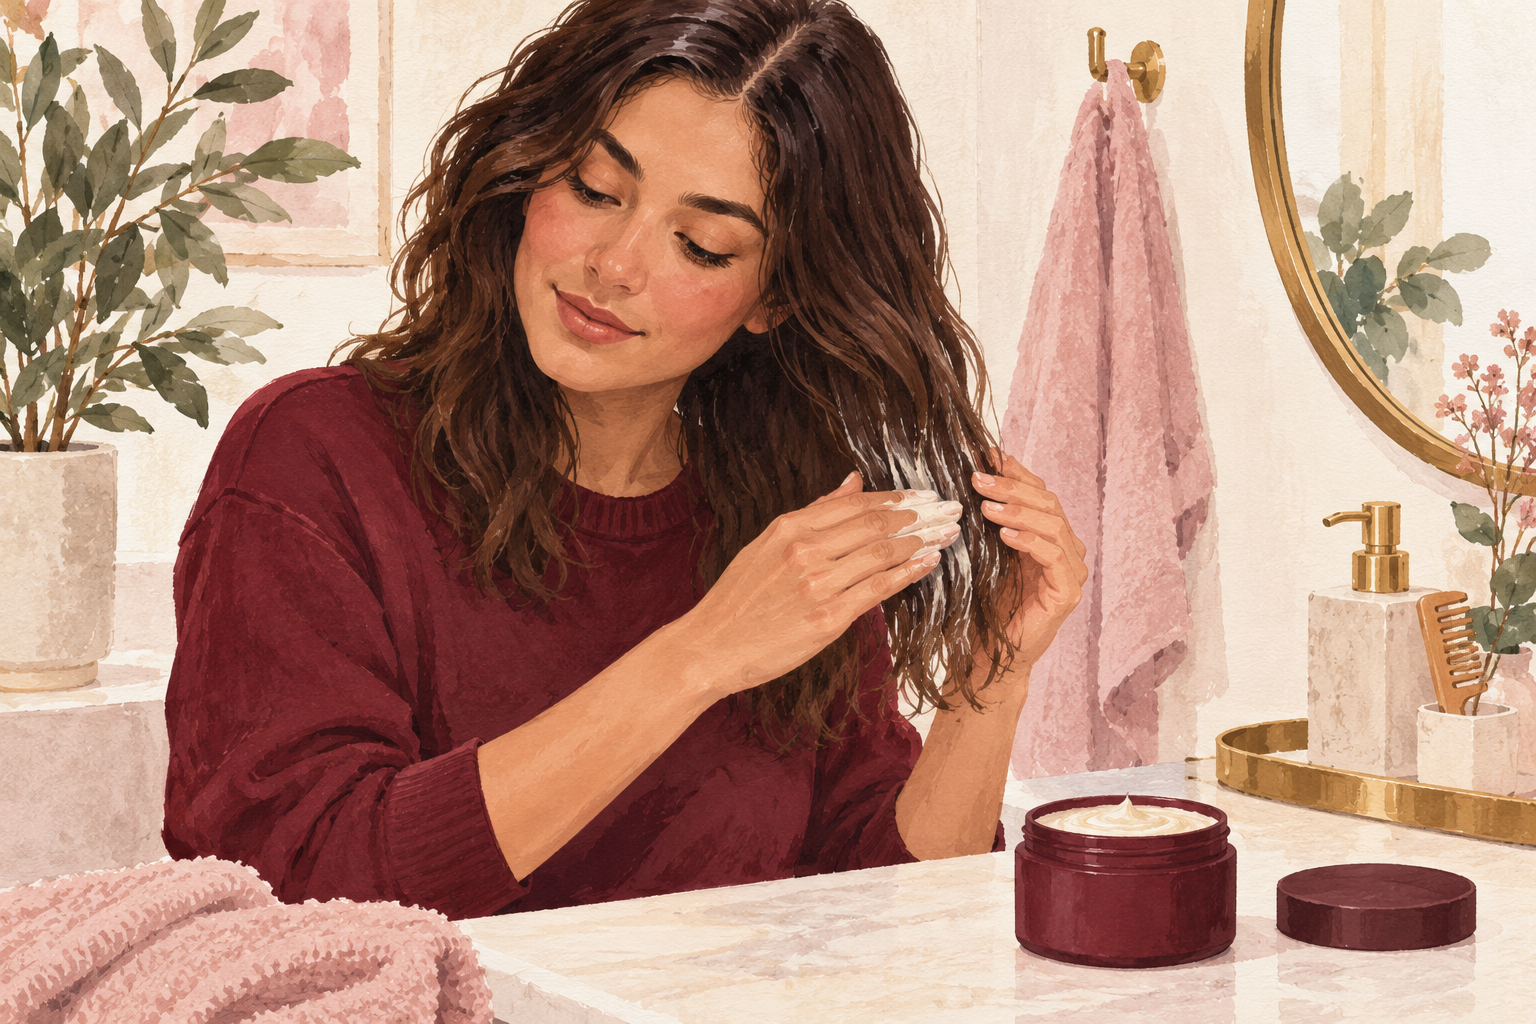
Squeeze out the water, then press a coin sized amount through the bottom three inches only. It softens the tips, cuts friction and helps frayed strands lie flat together. Fine hair needs even less, so start with half a coin and add more if it still feels rough. Keep it off your roots, because they never need it and it will make them limp. The effect lasts until your next wash, so repeat it each time. Run your hand down the ends afterwards, and they should feel slippery, not sticky, and a damp patch on your shirt means you used too much.
6. Seal with two drops of plain oil
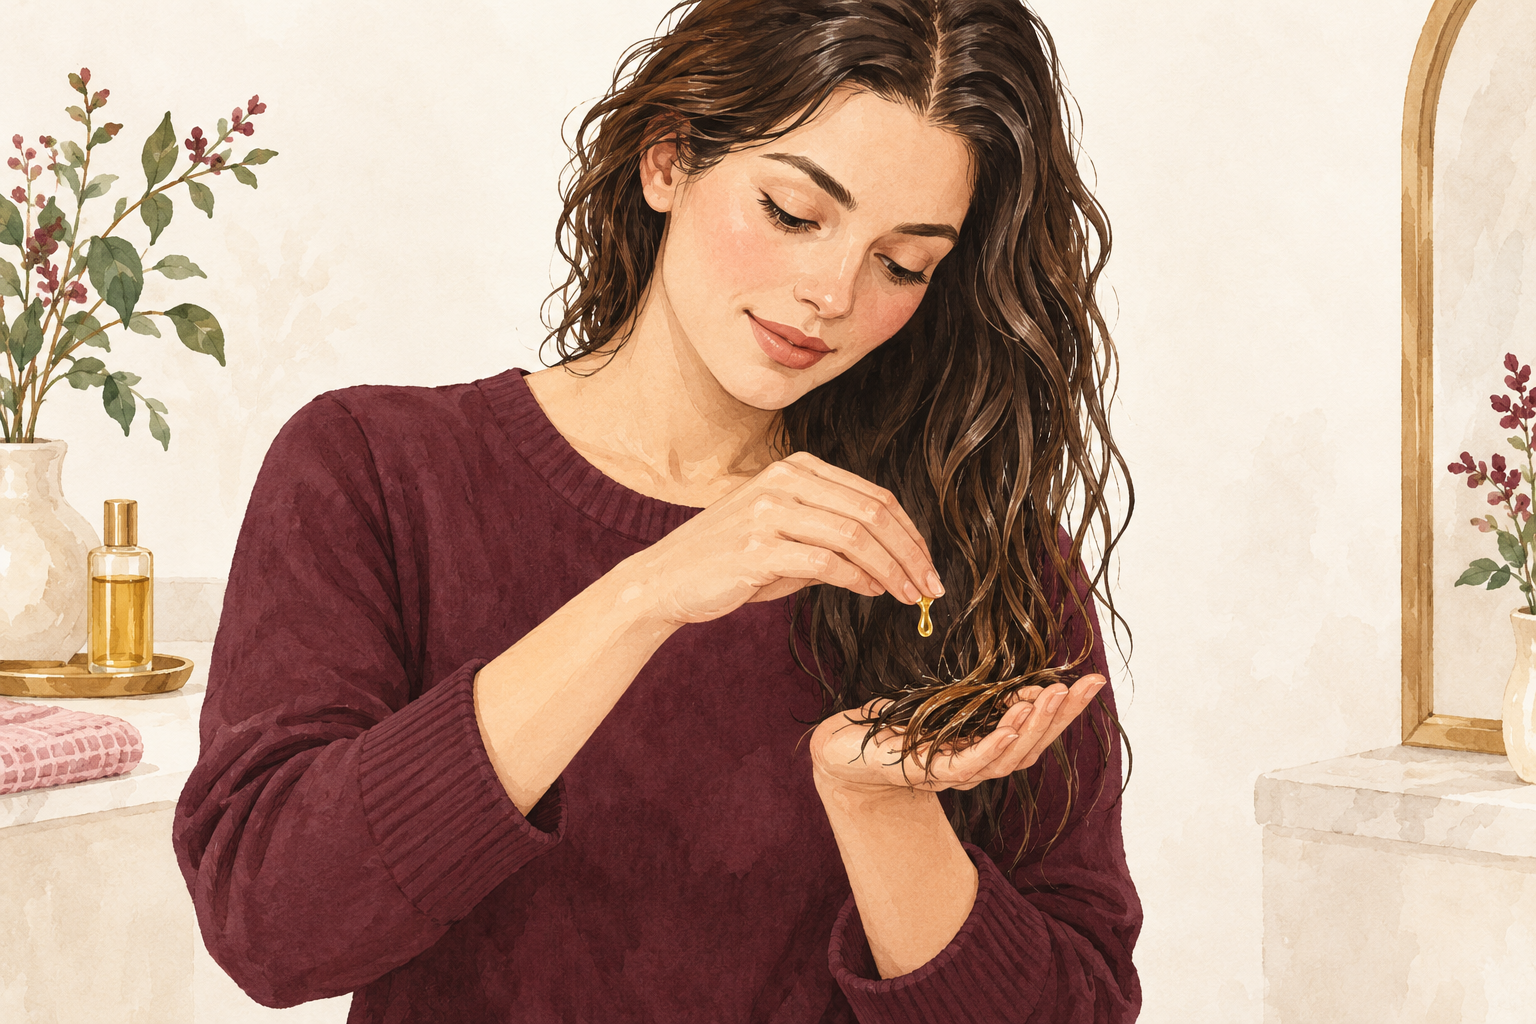
Warm two or three drops of almond or argan oil between your palms and press them over dry ends. Press, never rub, so you do not push the oil up to your roots. Oil does not hydrate, it holds in the moisture that is already there, so it works best on ends that are damp or freshly conditioned. Too much turns hair greasy by lunchtime. Dab a drop on your inner arm first if you have not used the oil before, and wait a day. Shine and a smooth swing at the tips are the signs it worked, and both fade by the next wash.
7. Put a mask on the ends once a week
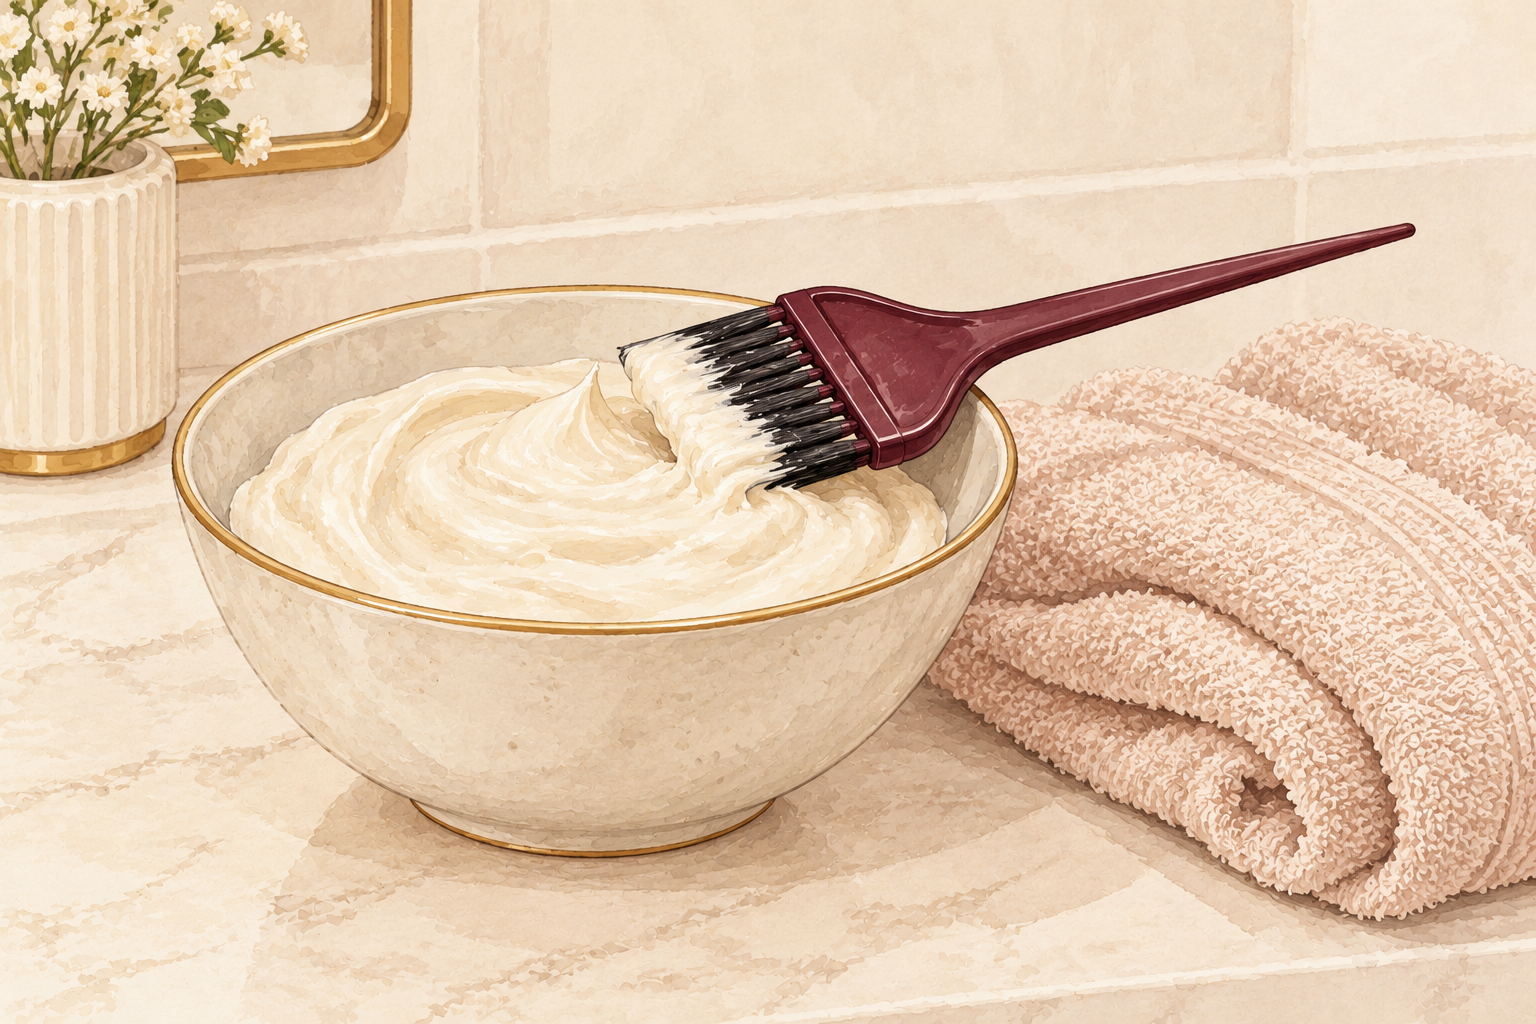
Spread a thick conditioner or mask over clean, damp lengths and leave it for ten to twenty minutes. Work it down from the middle of your hair to the tips, and skip the scalp completely. Rinse with lukewarm water so the cuticle stays smooth. A mask will not make a split disappear, but it makes ends less likely to snag and fray further. Skip it in any week your scalp feels oily. Once a week is plenty for most hair, and dry or bleached hair can go twice. Ends feel padded and calm afterwards, with fewer little catches when you run your fingers through.
8. Stir a kitchen boost into your conditioner
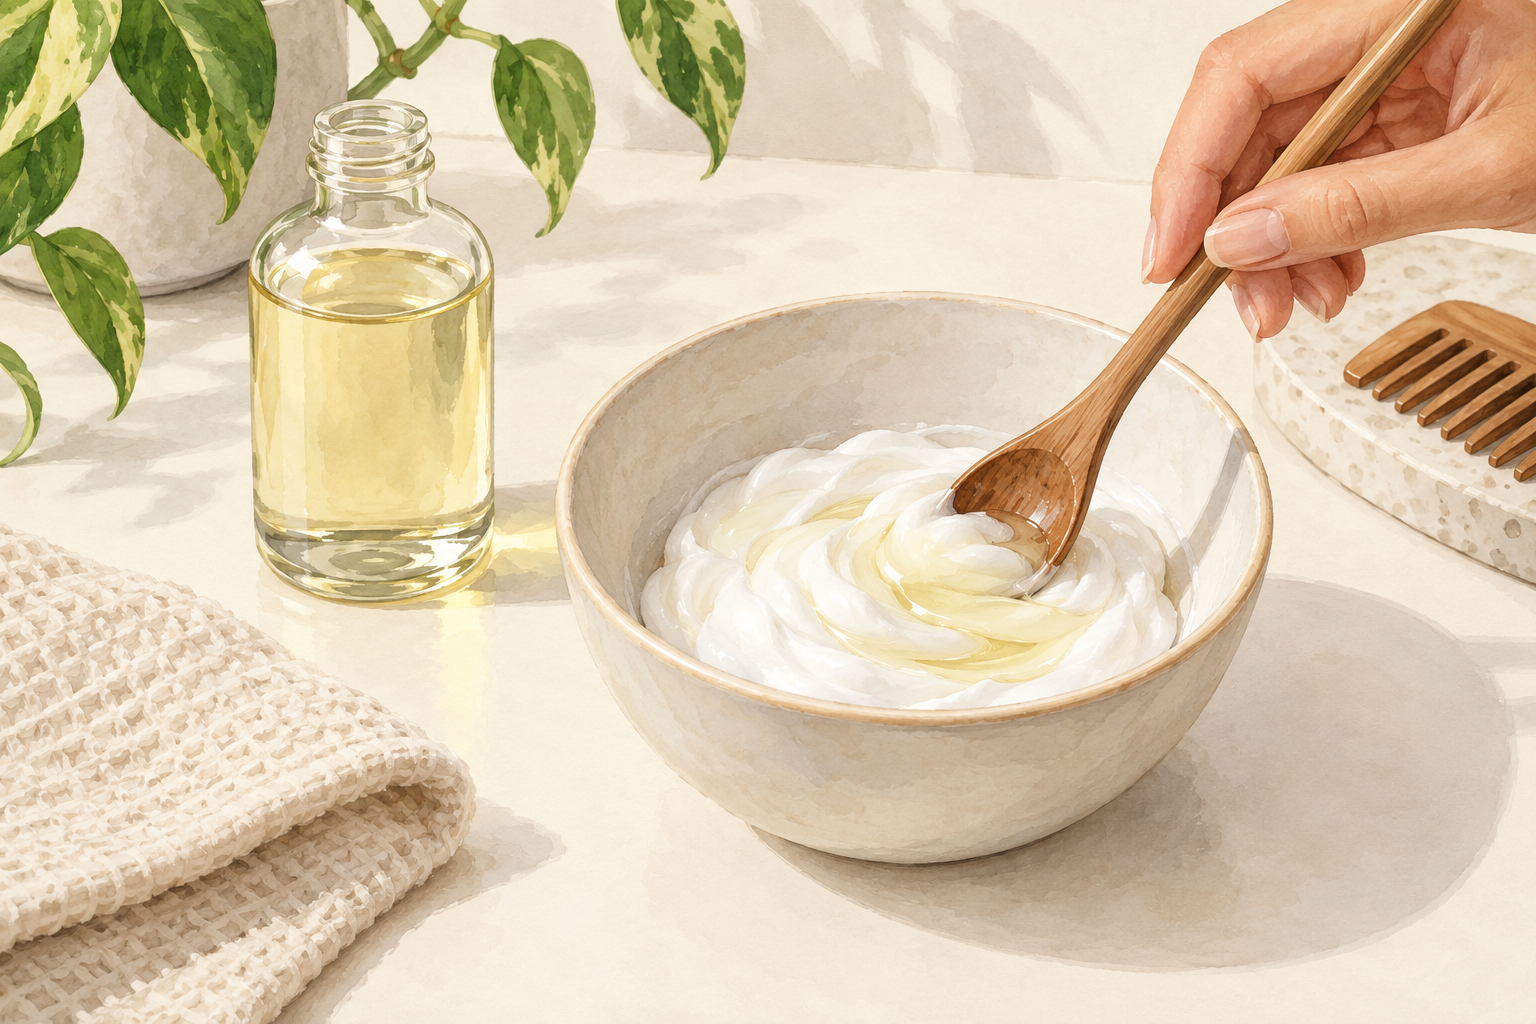
Mix one teaspoon of plain oil into a scoop of your usual conditioner, and smooth it over the ends only. Leave it on for ten minutes under a shower cap, then rinse. It gives frayed tips extra slip and softness for a few days. This is the safest homemade split ends repair I know. Keep raw egg, vinegar and lemon off damaged ends, because they can leave hair dry, sticky or brittle. If you add anything new, test a little on your inner arm first. Ends feel noticeably softer by the time they dry, and they stop snagging on your sweater.
9. Skip candle cutting and glue tricks
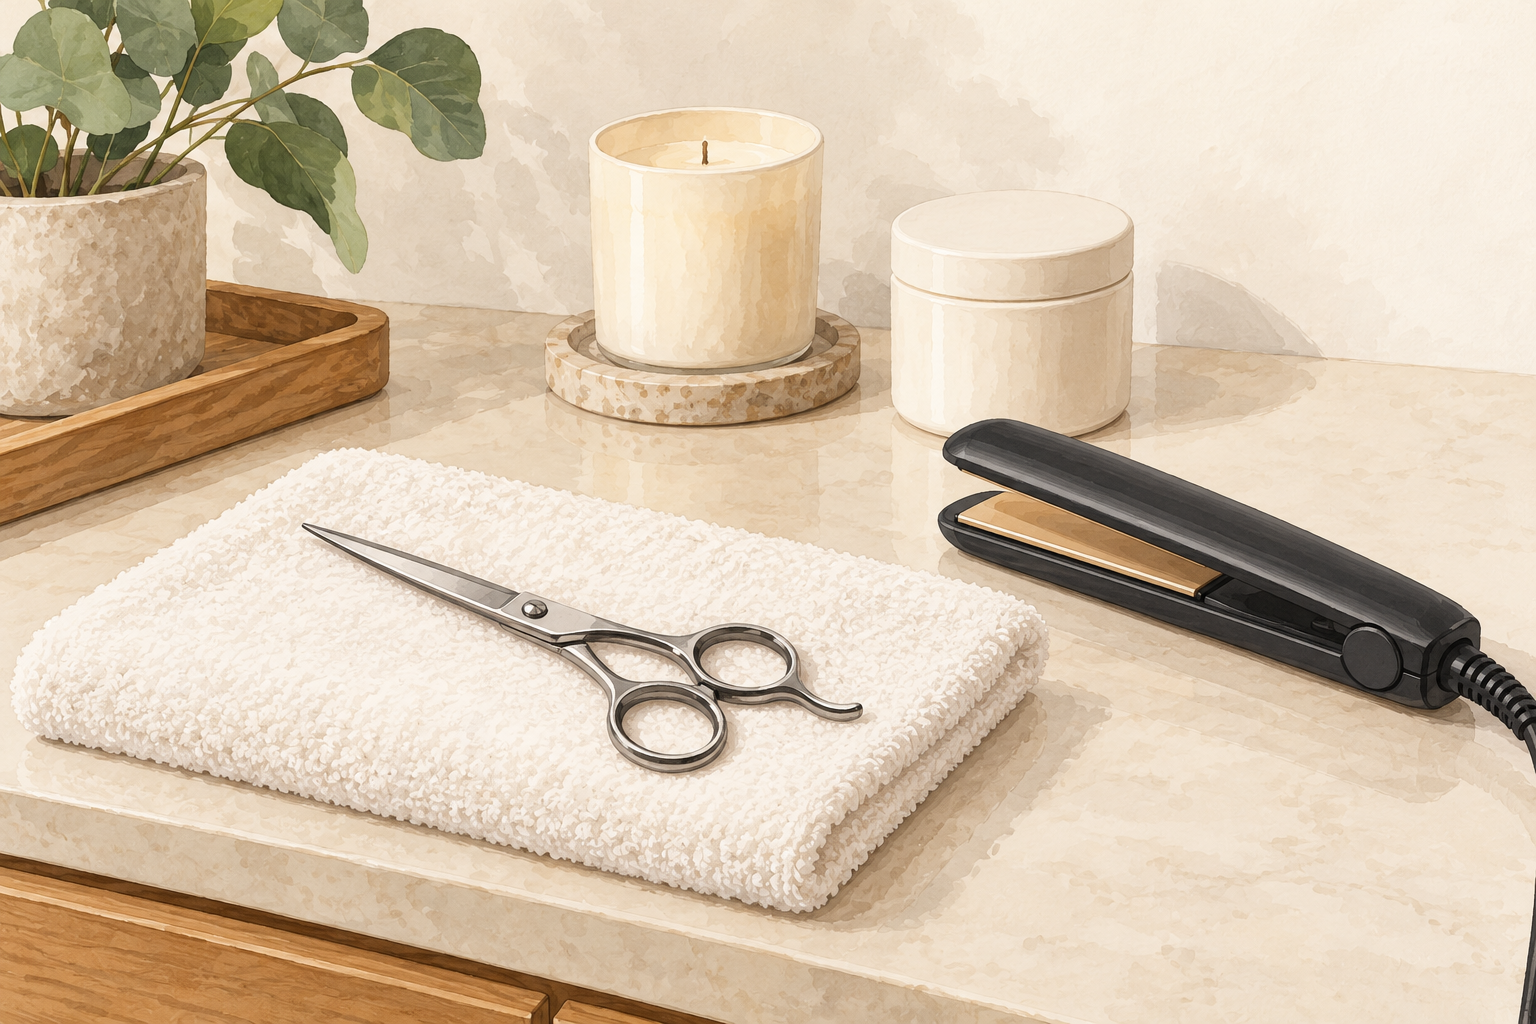
Leave the candle, the glue and the so called sealing tools alone. Burning the tips does not fuse anything, it scorches the strand and leaves a rough, brittle edge. It is also a real fire risk next to loose hair. Anything that glues or melts hair is a poor trade, because it gives you a day of shine and a week of breakage. If a video makes it look quick, remember that the edit hides the aftermath. A clean snip with sharp scissors does the same job with none of the danger, and takes you only a minute.
10. Protect your ends overnight

Sleep on satin or silk, or tie your hair in a loose bun with a soft scrunchie. Cotton pillowcases and tight bands wear at the tips while you toss around. Never go to bed with wet hair twisted up, because it stretches and snaps. These small swaps will not heal a single split, but they stop new ones forming before your next trim. It is the easiest step on this list, since it works while you are asleep. Move the elastic to a different spot each day, so one place does not take all the strain. Waking up with hair that is smooth and not matted at the tips is the payoff.
11. Trim a little, often
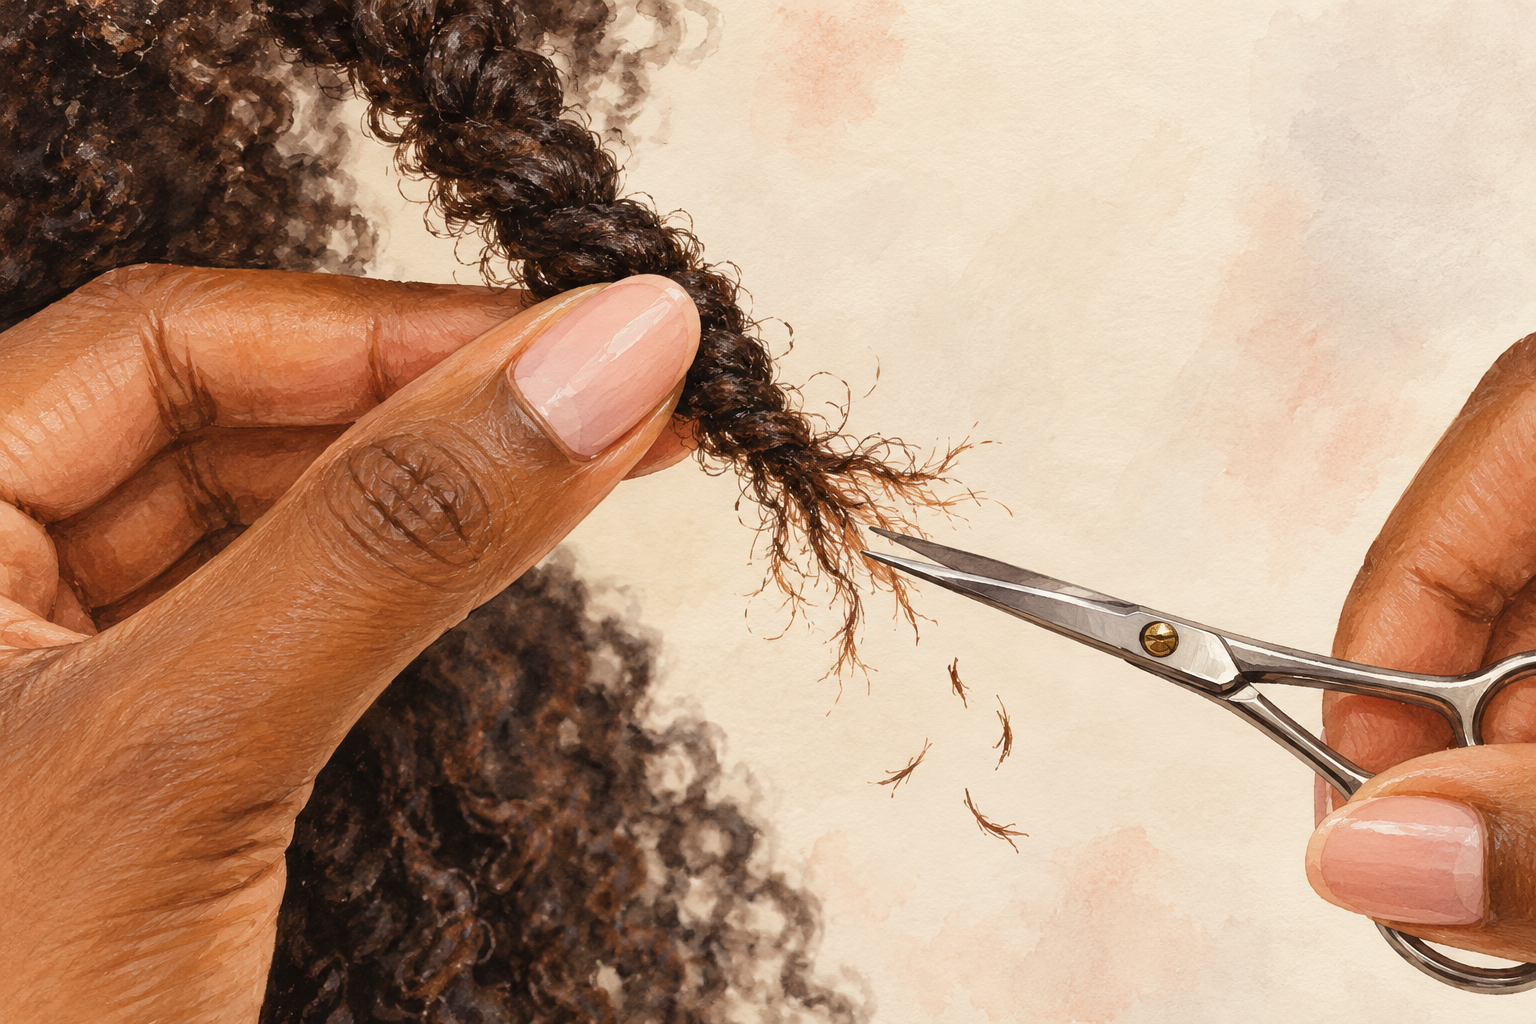
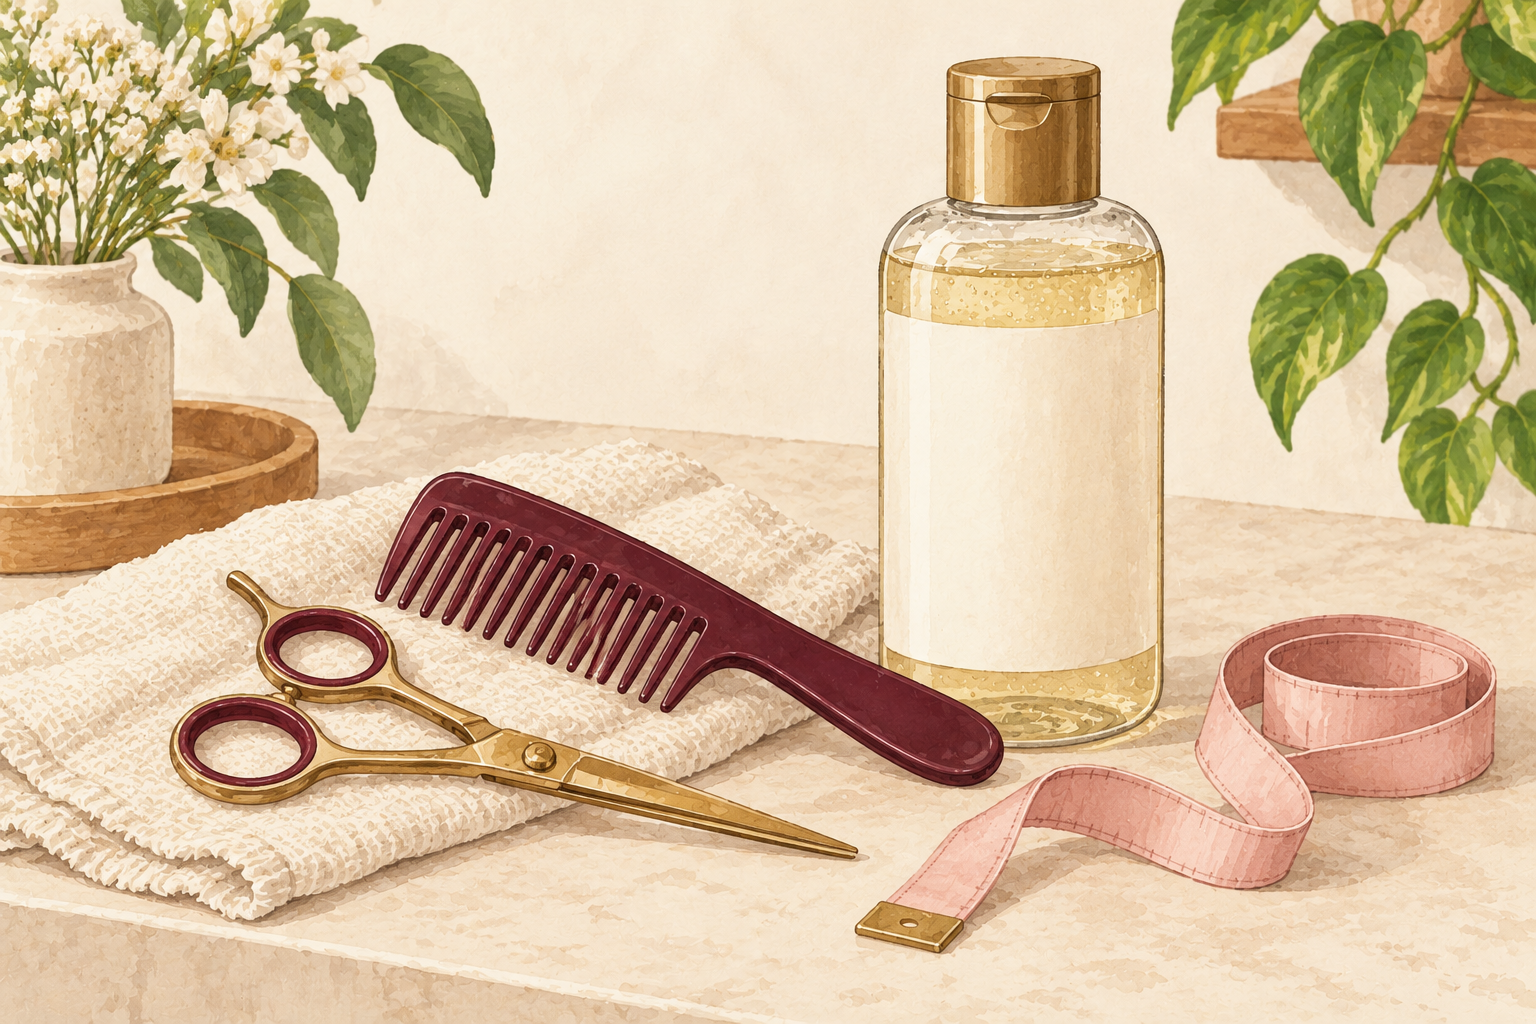
Take off a small dusting, about half an inch, every six to eight weeks. This is the split ends repair that lasts, because splits travel up the strand and waiting only makes the cut bigger. A small trim often keeps more length than one big chop every six months. At home, use sharp hair scissors and cut straight across damp, combed sections. Never use kitchen scissors, which crush the strand and make fresh splits. A big change is easier to get right with a steady hand than on your own. Measure with your fingers, because two fingers is far too much for a dusting.
12. Expect small, steady changes
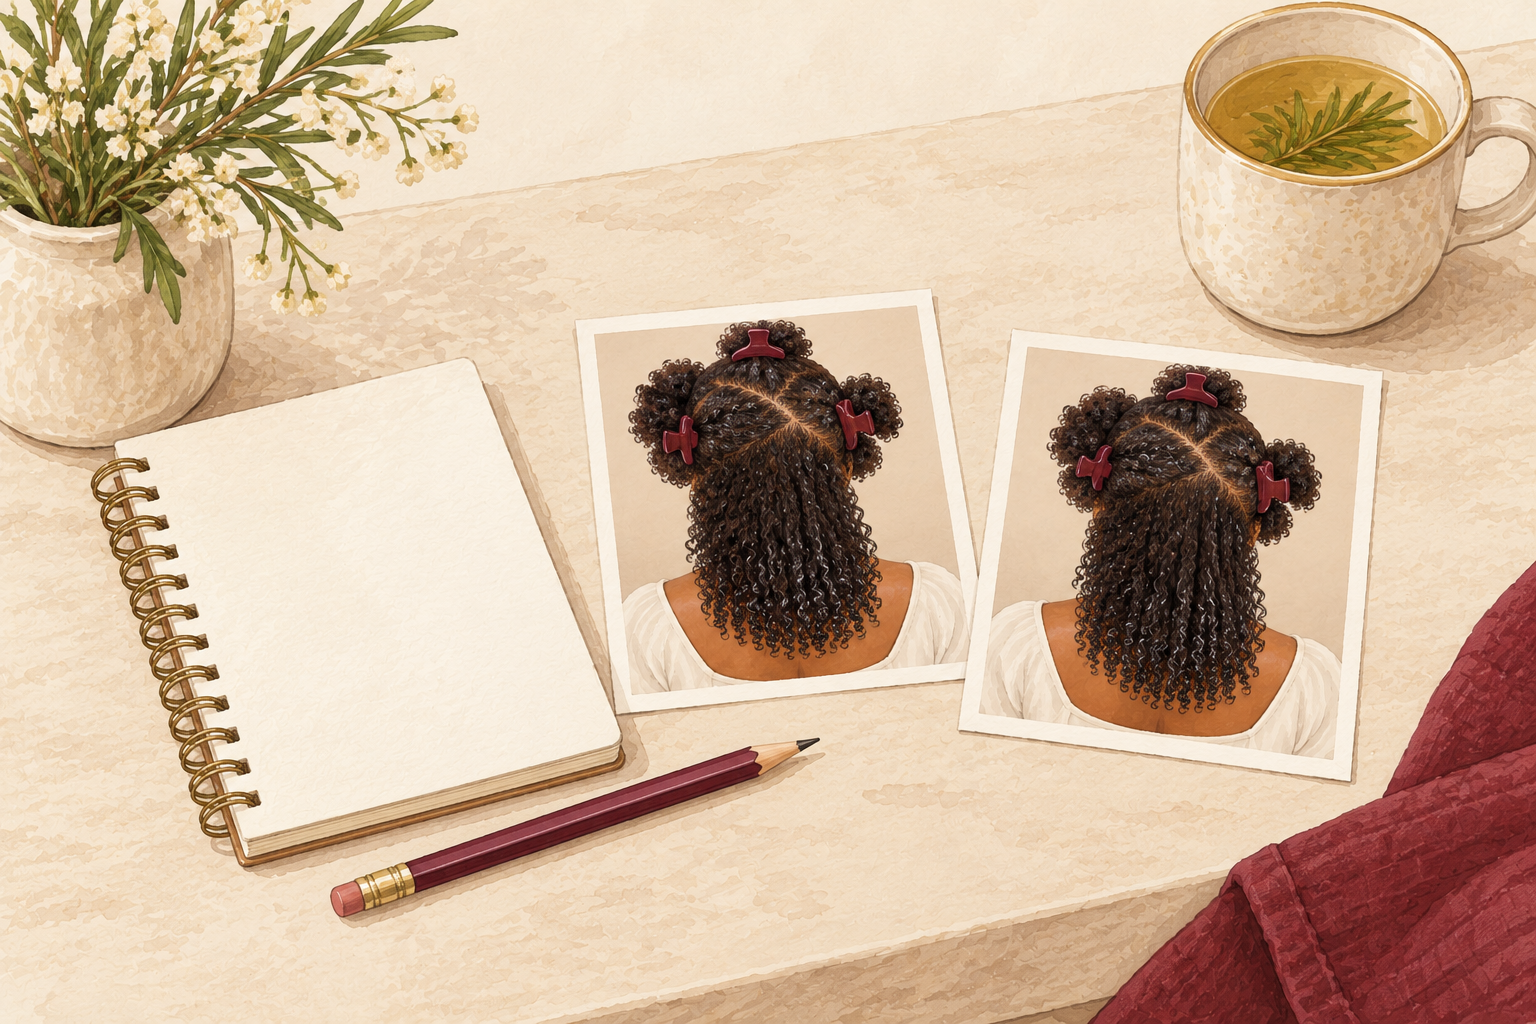
In week one, ends feel smoother after each wash, but the effect resets every time you shampoo. By week four, you should see fewer new splits if you cut back on heat and rough combing. The old forks are still there until you trim. By week eight, the damaged tips are overdue for removal and the smoothness fades faster. That is your cue to book the next dusting. Take a photo of the same section each week in the same light, so you can see the slow change. Progress here is quiet, and it is easy to miss without a picture.
Complete the Routine: Make Split Ends Repair a Habit
Keep new splits away with how to prevent split ends, and plan the cut itself with split ends trimming. Tonight, put leave in conditioner on your ends and pencil a small trim into this month.