
Nails
Somewhere between one accent nail and a full Thanksgiving scene across all ten fingers, there is a turkey design that actually fits your week, your job, and how much attention you want your hands to get at the table. The manicure has to feel pretty first, with the bird appearing as a detail rather than the whole plan.
These 12 are arranged from the quietest silhouettes to the boldest full statements, with notes on which shape and application choice keeps each one wearable.
Simple Turkey Design Ideas
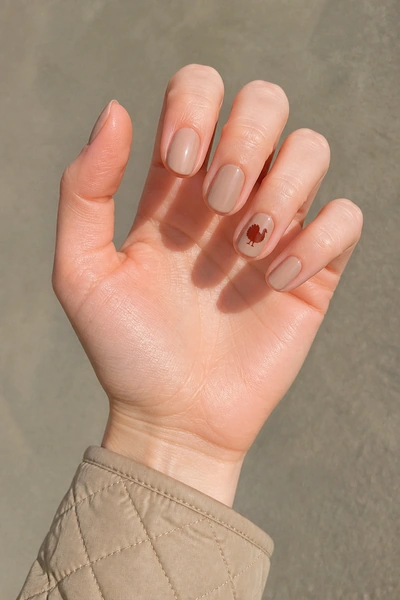
Rust Silhouette
The simple rust silhouette is where I would start if you love seasonal nails but usually keep your manicure quiet. Use a warm nude base on short oval nails, then paint one small turkey in rust with a rounded body and a few clear tail marks. The low detail is flattering because it leaves plenty of visual space around the fingers, and the oval shape keeps the bird looking soft. Seal the artwork with a glossy top coat, paying attention to the tip so the little outline does not wear away first.
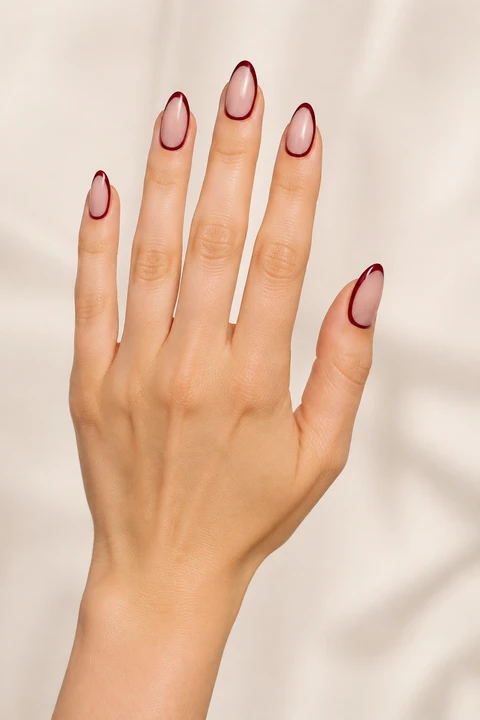
Cranberry Outline
A cranberry outline gives you the idea of a turkey without filling the entire nail with color. I love this version on medium almond nails because the tapered sides echo the curve of the tail and make the hand look graceful. Keep the base sheer pink or milky nude, then use a fine cranberry brush for the body and feather fan. This design benefits from a little negative space, so resist the temptation to add a second pattern. One clean accent nail will look more intentional than a crowded set.
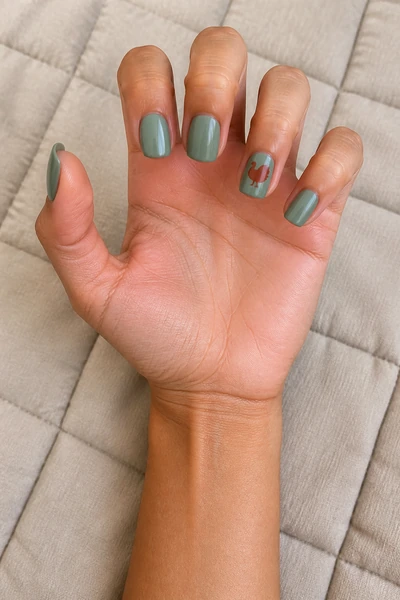
Sage Square Accent
Sage makes a turkey design feel fresh instead of predictable, especially when the silhouette sits on a creamy accent nail. Paint the other short square nails sage and use cocoa for the tiny bird. The straight shape is useful here because it gives the small artwork a stable frame, while the muted palette works with denim and pale knits after Thanksgiving is over. Keep the sage opaque in two thin coats and let each layer dry before drawing the turkey. Patience prevents the fine outline from dragging.
Line Art and Feather Details
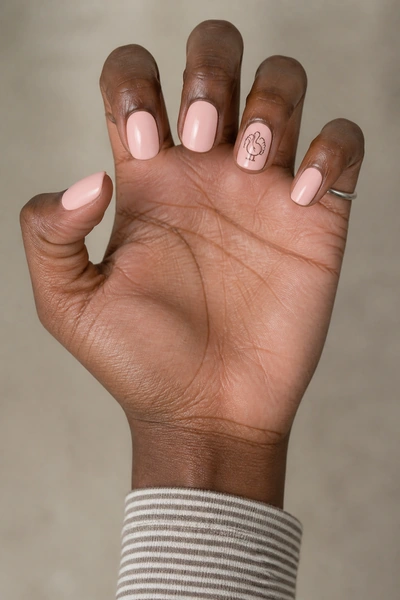
Blush Cocoa Drawing
Blush and cocoa are a lovely pairing when you want the bird to feel hand drawn and feminine. On short oval nails, place one cocoa outline on the ring finger and leave the other nails blush with a soft shine. The gentle contrast helps the art remain readable without making the manicure look heavy against medium skin. I would use a dotting tool for the round body, then a very fine brush for the feather marks. Finish with one smooth layer of topcoat after the lines have fully set, since a rushed top layer can blur them.
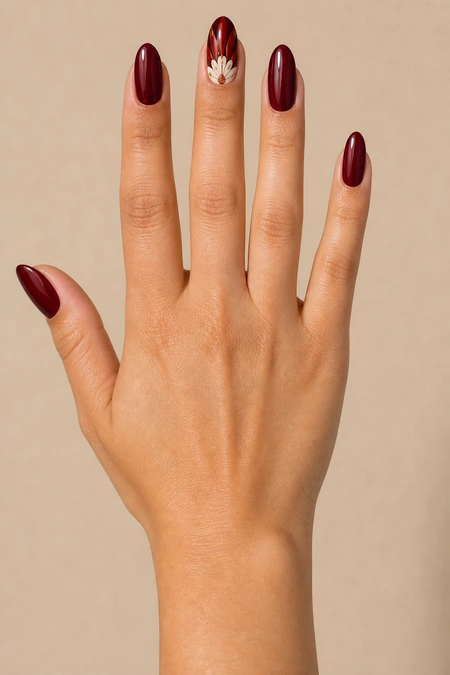
Cranberry Feather Fan
This cranberry fan is for the woman who wants a little more color but still wants the manicure to feel elegant. Paint most medium oval nails cranberry, then use cream on one accent and draw a fan of rust, gold, and brown feathers. The oval shape gives the tail a graceful outline, while the deep red warms the hand without looking neon. Keep the feather strokes slightly uneven because perfect symmetry can make hand painted art look stiff. A glossy finish ties the colors together and catches natural daylight beautifully.
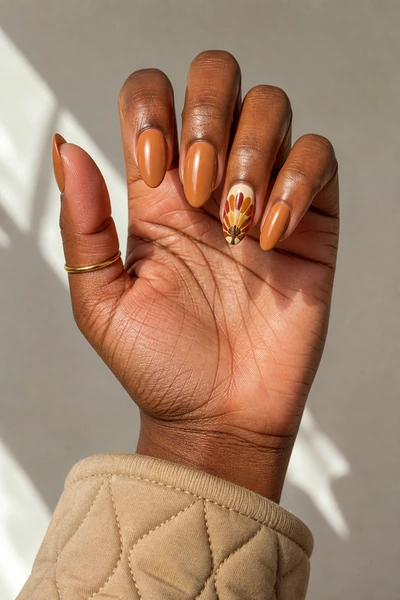
Caramel Feather Fan
Caramel is the shade I choose when orange feels too bright and beige feels a little sleepy. On almond nails, it creates a warm background for a detailed turkey feather fan on one or two fingers. The color looks especially rich against deep brown skin, and the tapered shape keeps a busier design from feeling blunt. Ask for thin layers of caramel so the polish stays even around the cuticle. If the feathers are painted over a pale accent nail, a final glossy coat will make the small lines look smoother.
Illustrated Turkey Nail Designs
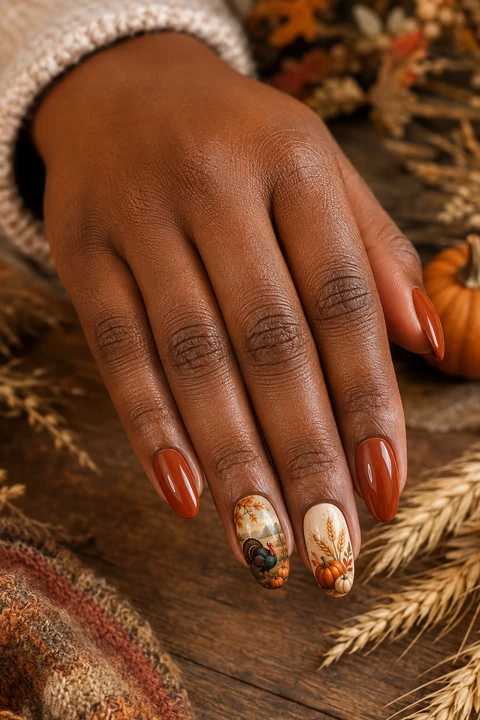
Harvest Scene
A small harvest scene gives the turkey a proper little setting, with rust leaves and a cream background around the bird. I would choose long oval nails only when you enjoy a noticeable manicure, because the extra surface lets the illustration breathe. The rust palette is flattering on rich dark brown skin and looks beautiful with brown leather or a cinnamon sweater. Keep the scene on two accent nails and paint the rest a glossy rust. That balance means the art feels special without making every movement look busy.
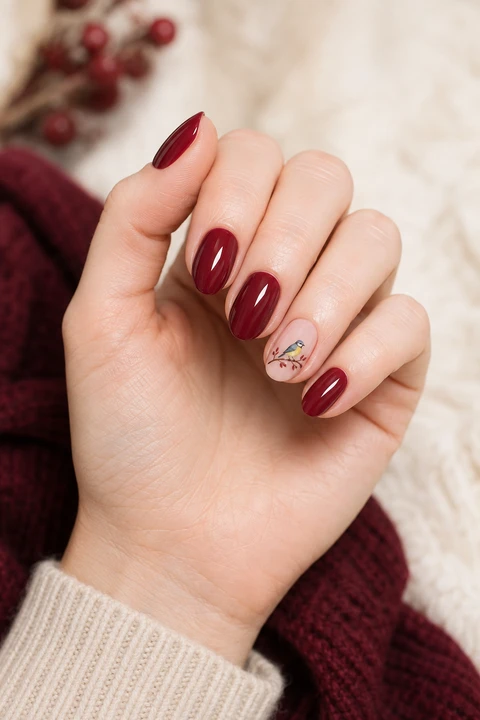
Tiny Illustrated Bird
The tiny illustrated bird is a sweet compromise when you want a real character but not a full painted scene. Start with cranberry on medium almond nails, reserve one pale cream nail for the turkey, and keep the body small enough to leave a border around it. I like that the almond tip adds polish while the little face and feather marks provide personality. Use a detail brush with very little polish on it, then pause between colors. A clean outline is more charming than extra features that turn into a blur.
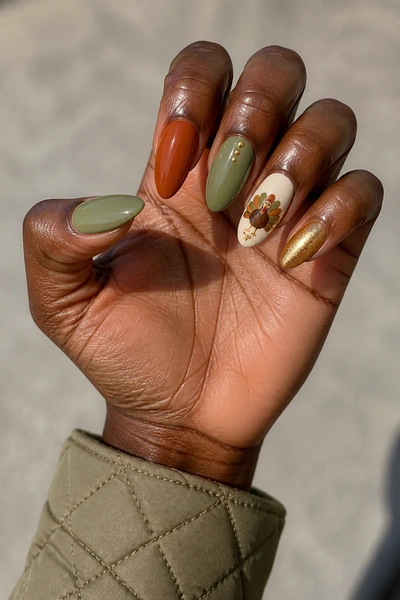
Deep Brown Character
Deep brown coffin nails make a tiny illustrated turkey look more graphic and grown up. The flat tip gives the accent a clean boundary, while the dark solid nails carry the drama without needing glitter. I would put the turkey on a muted cream nail and use warm rust for the feathers so the design stands apart from the brown. Moderate coffin length is easier to live with than an extreme extension, especially if you cook or type. Keep the topcoat glossy so the dark polish does not look dusty.
Minimal and Wearable Turkey Sets
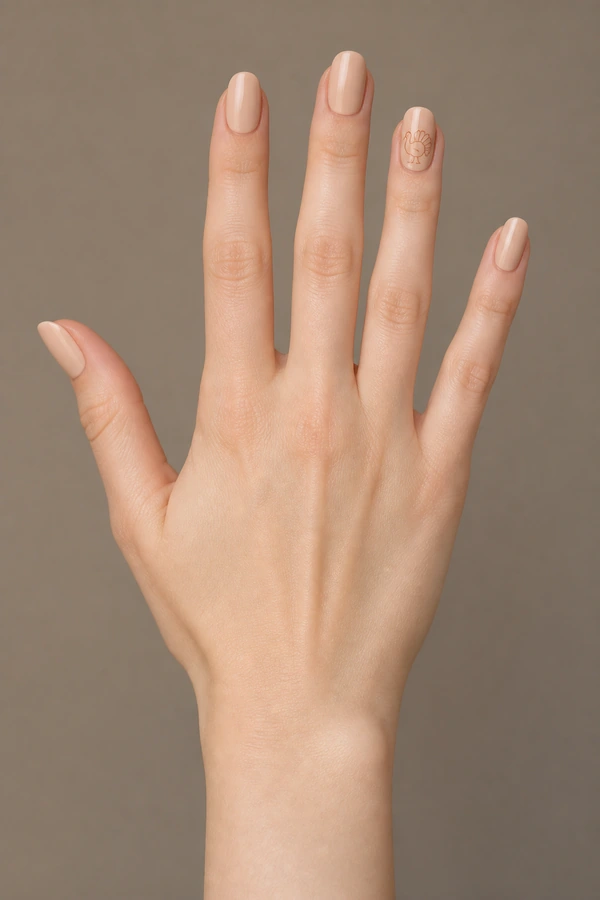
Minimal Line Turkey
Minimal line art is perfect when you want your turkey design to survive beyond one dinner. Use a warm nude base on short square nails and draw one cocoa outline on the middle finger, leaving every other nail clean. The restrained contrast flatters the hand because nothing chops up the natural shape, and the square edge keeps the little drawing crisp. I would choose a soft satin finish if you are hard on your hands. It still looks groomed, but it is kinder to the tiny scuffs that arrive during a busy week.
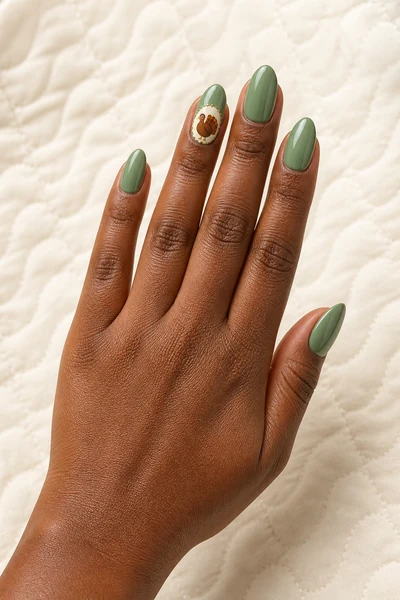
Framed Sage Bird
A sage frame turns the turkey into a tiny keepsake, and I find the idea surprisingly pretty when the colors stay muted. Paint most medium almond nails sheer beige, use sage on the thumb and index, and place the framed bird on the ring finger. The frame creates order around the illustration, which helps it read clearly against deep brown skin. Add only a few small gold dots and keep them under the topcoat. They should catch light when you move, not compete with the bird itself.
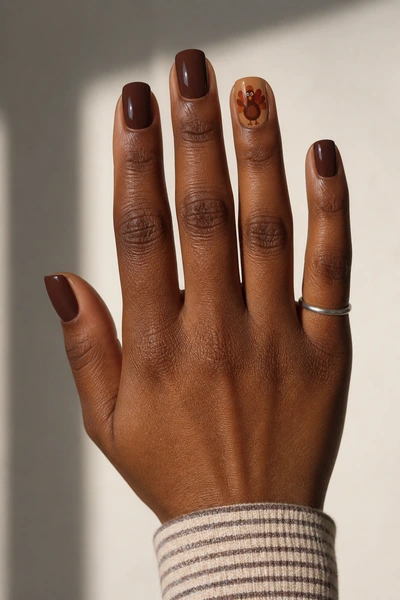
Chocolate Short Set
Short chocolate squares are the practical answer when you love Thanksgiving color but do not want to negotiate with long nails. Paint three nails chocolate, one warm cream, and put the small turkey on the remaining accent. The deep shade makes the manicure look finished from across the room, while the little design rewards anyone who looks closer. I would round the corners slightly so they do not catch on sweaters, then add oil around the cuticles each night. A comfortable shape always makes seasonal art easier to enjoy.
When I am choosing between these designs, I decide whether I want the bird to whisper or tell the whole story. Simple outlines are easiest to wear, while a feather fan or harvest scene makes sense when the manicure itself is part of the outfit.
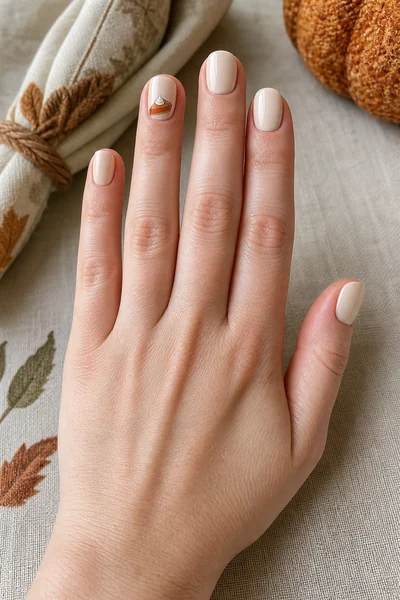
pumpkin pie
12 Pumpkin Pie Nails for the Sweetest Part of the Table
Pumpkin pie nails are my favorite kind of seasonal manicure because they can look delicious without becoming cartoonish. I keep the palette warm and creamy, then choose one…
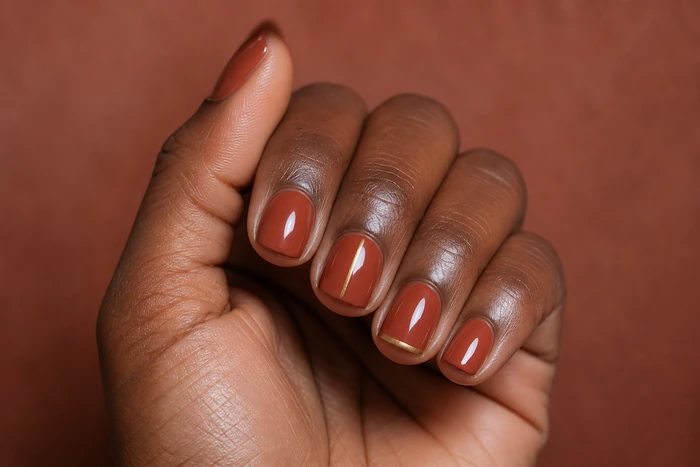
short thanksgiving
12 Short Thanksgiving Nails for Cooking Season
Short Thanksgiving nails are for the girls who are cooking, travelling, hosting, or simply not in the mood to babysit a long manicure all week. And babe, short…
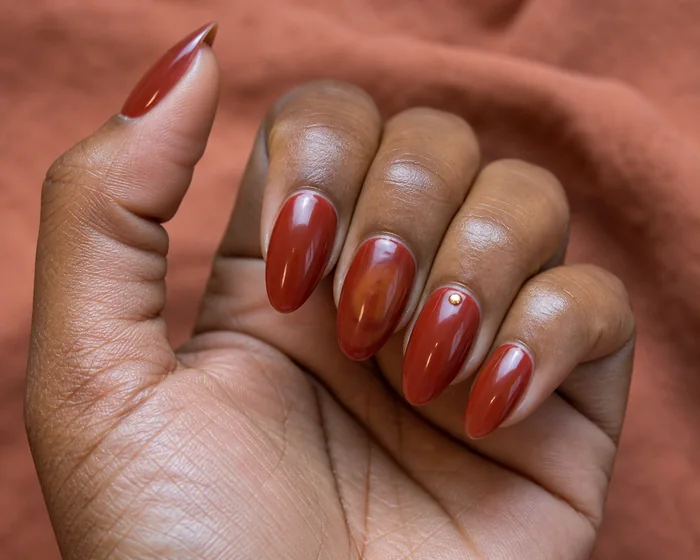
thanksgiving dip nails that
12 Thanksgiving Dip Nails That Actually Hold Up
If you need your Thanksgiving nails to survive cooking, hosting, travel, and the thousand little things you end up doing that week, dip is honestly such a good…
Meet the Writer

Hey, I’m Elma!
Fashion girl at heart, just like you. Nails and hair are how I like to finish every look. So glad you’re here! Read my story
