You finally grow your nails to a lovely length, then one catches on a sweater and the whole set gets cut down to nothing. Length is growth minus whatever you lose to snags and splits. These 12 habits show you how to get long nails that actually stay long, so start at number one tonight.
1. File in one direction only
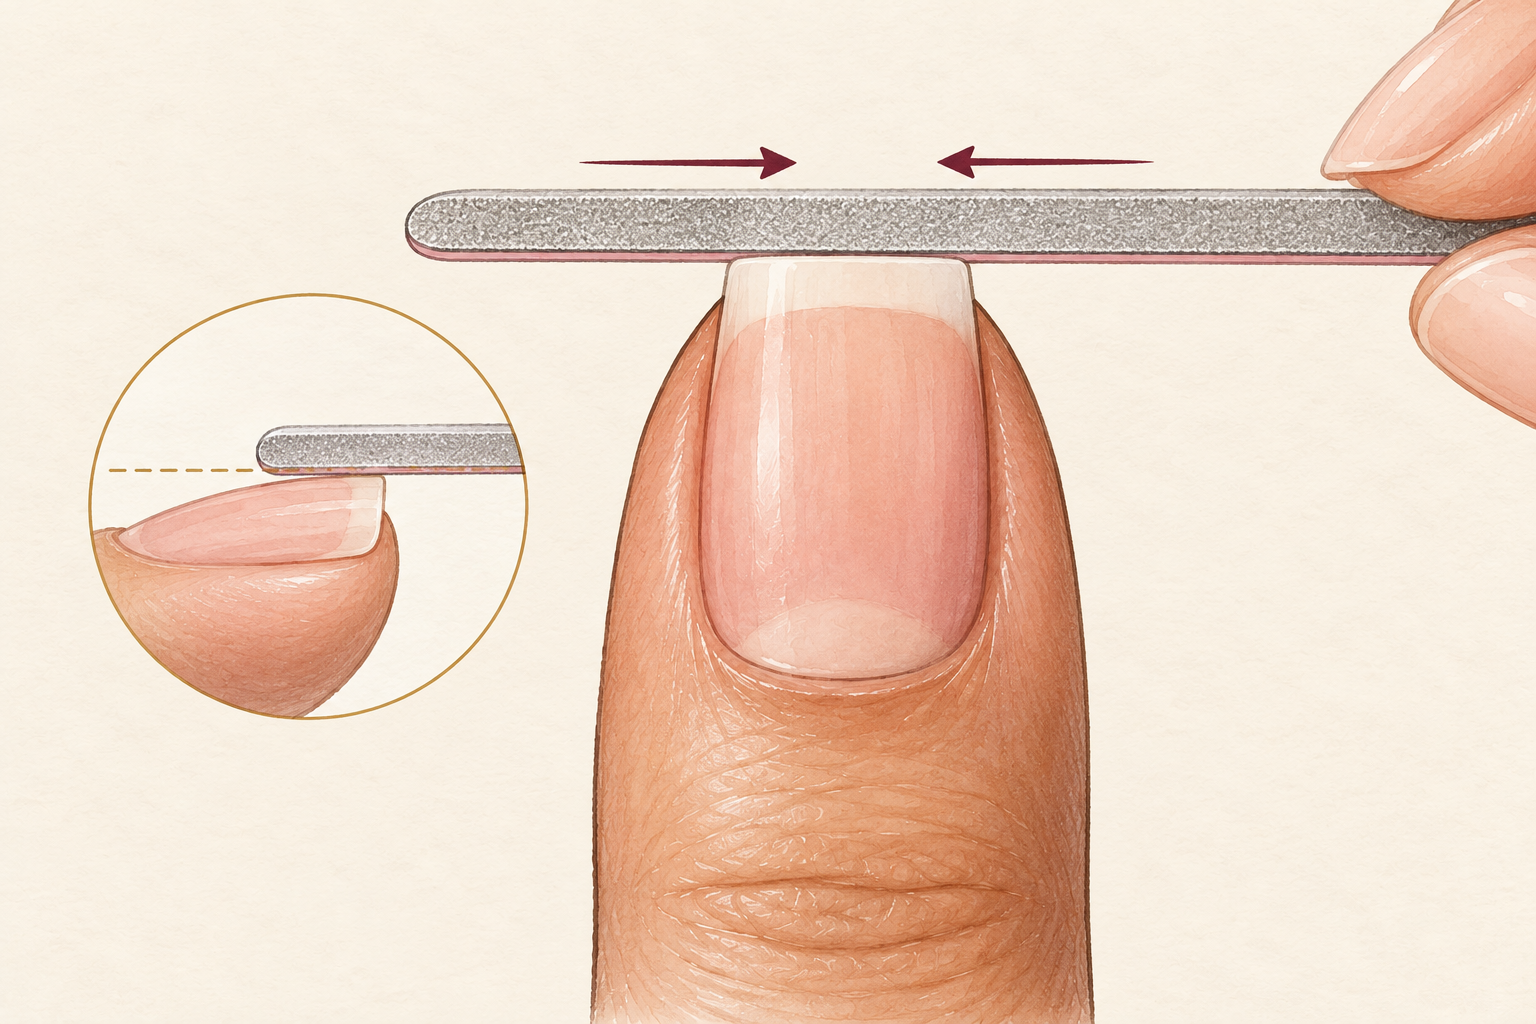
Sweep the file from the outer edge toward the middle, then lift it and repeat. Sawing back and forth feels quick, but it opens the layers of the nail and weakens the edge. Do the other side the same way so the tip meets in the middle. Support the nail from underneath with your thumb. Ten slow strokes beat thirty rushed ones. If you see white fuzz at the edge, you are pressing too hard. This one habit costs nothing, and it changes how fast your nails break more than any product on the shelf. Hold the file at a slight angle, not flat on top. Finish with one soft stroke across the very tip to seal the edge.
2. Use a fine file, not a rough one
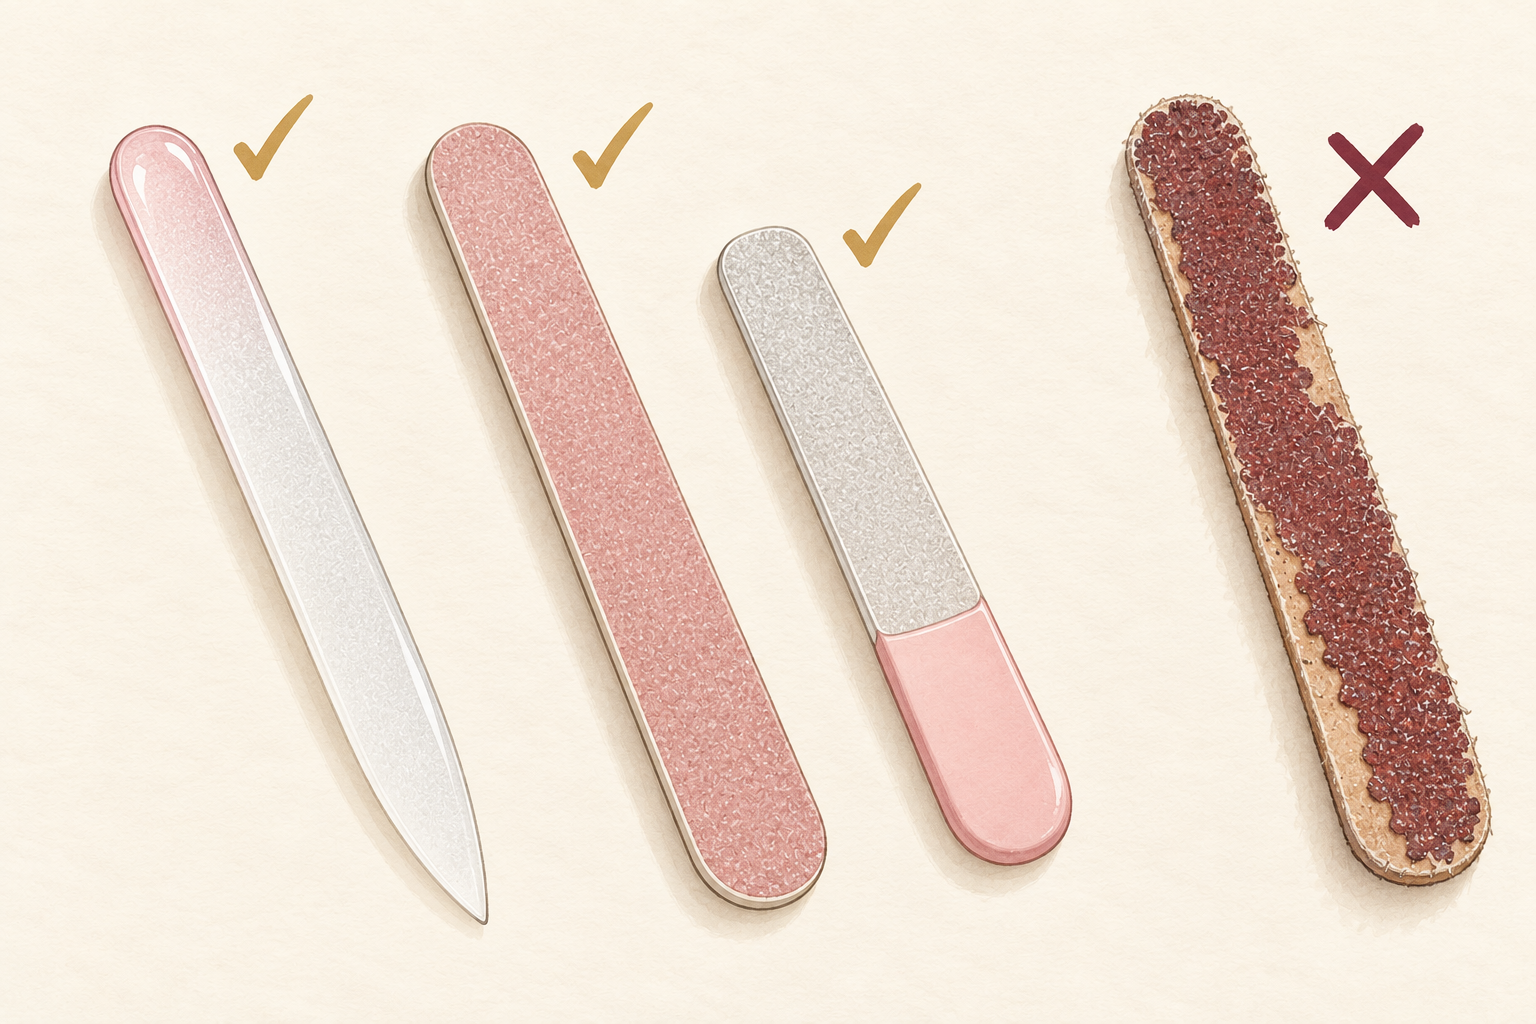
Pick a glass file or a fine grit emery board, and throw out any board that sheds grit. A coarse board chews through the edge and leaves it feathery, which is exactly where splits begin. File dry nails, because wet nails are soft and bend, and they tear easily. Keep one file just for your natural nails so it stays clean and sharp. A worn file tears the edge instead of cutting it. If a file feels scratchy on your fingertip, it is too rough for your nails. Replace it every month or two, since files wear out faster than you think.
3. Smooth every snag the second you feel it
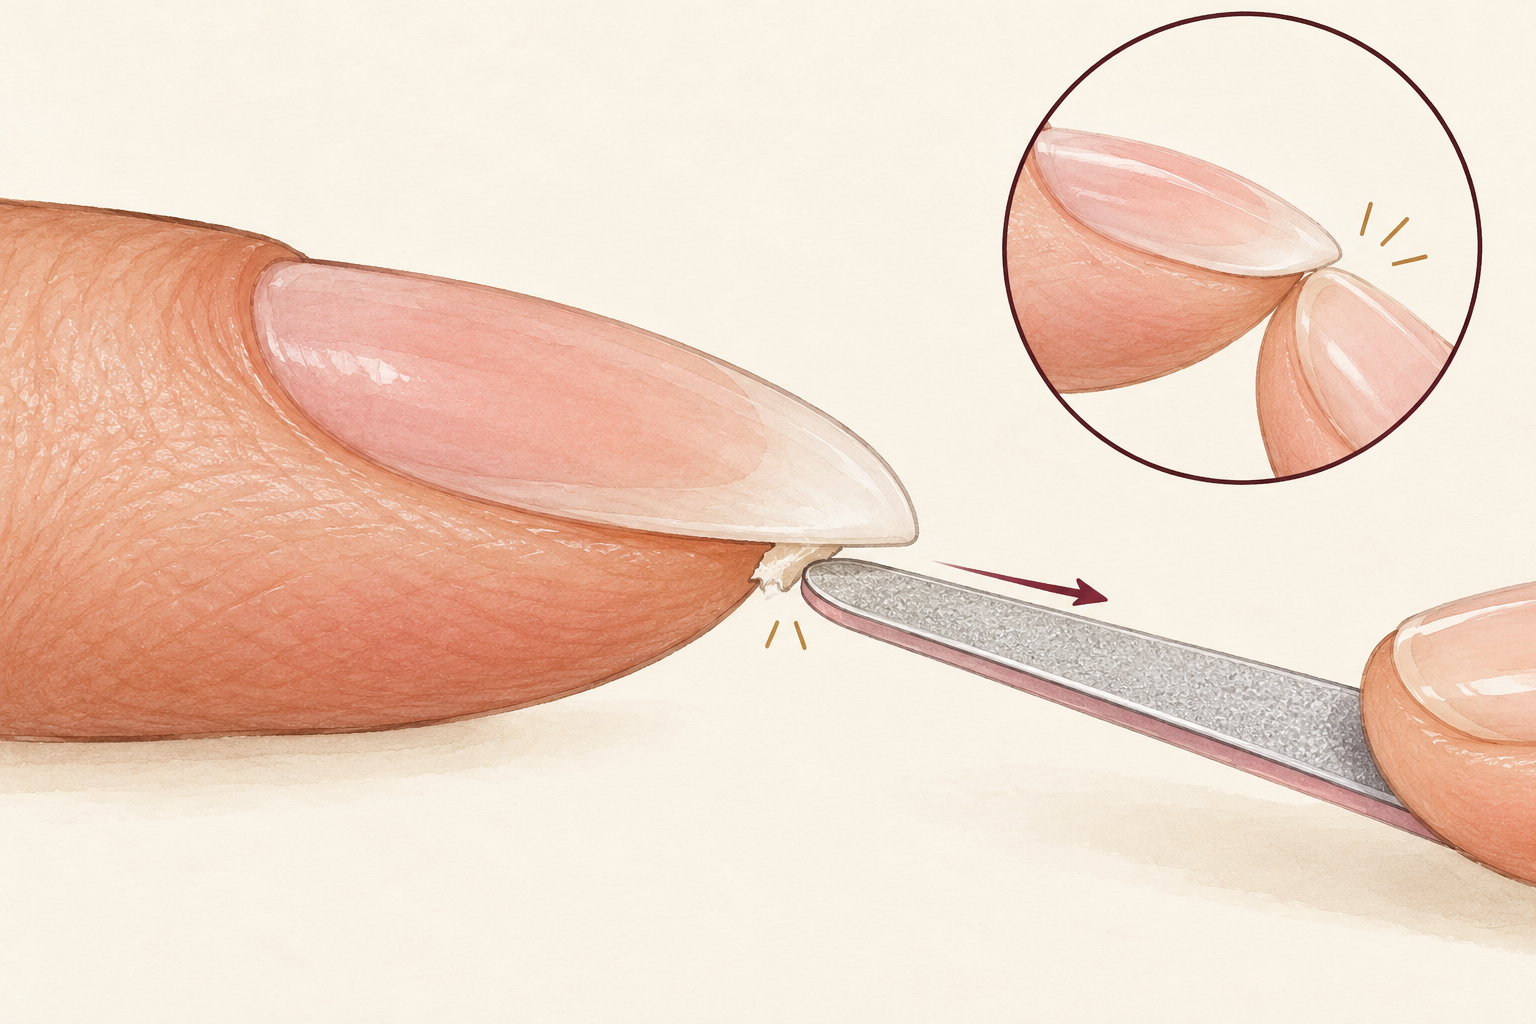
Take a fine file and make a few gentle strokes across the catch until it glides under your fingertip. A tiny snag is a warning. If you pick, bite or peel it, it turns into a tear. Keep a small file in your bag and your desk drawer so you can fix it on the spot. Do it before you reach for your phone, because a snag left for an hour usually catches again. It is the simplest answer to how to get long nails without drama, and it takes ten seconds. The nail you ignore today is the one that breaks on Friday.
4. Round the tips slightly for strength
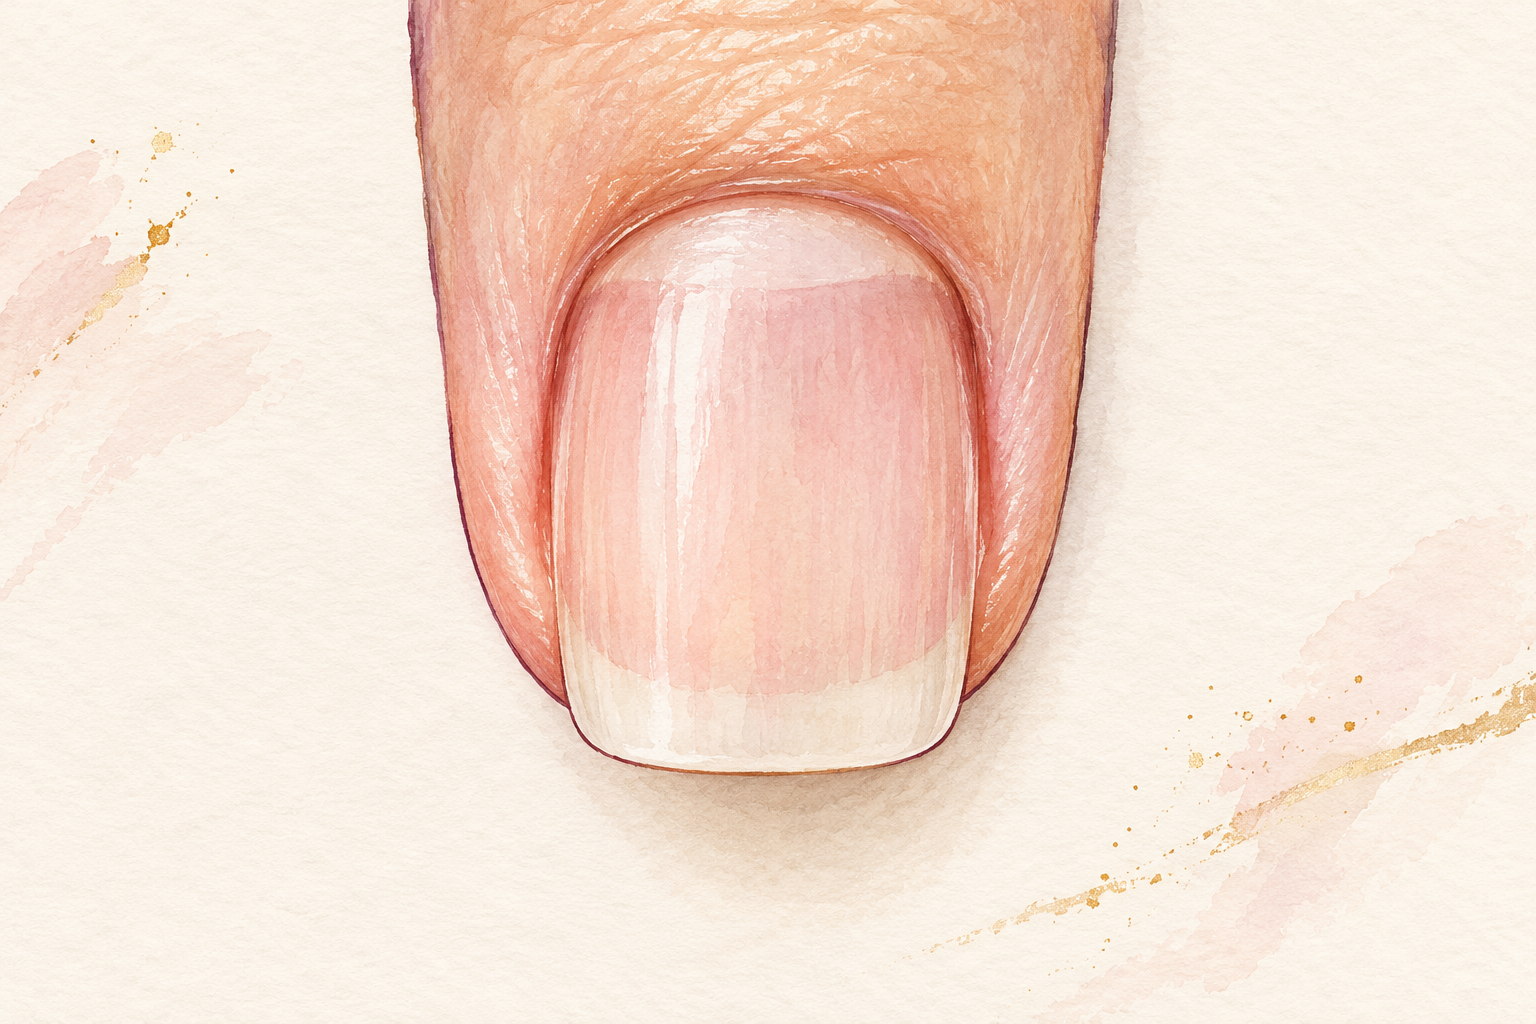
Choose a soft square, often called squoval, or a gentle oval while you are growing. Sharp corners are the first part of a nail to catch on things. A slightly rounded tip spreads the stress across the whole edge instead of loading it onto two corners. Skip very pointed shapes until you have kept your length for a while, because a thin tip snaps easily. You can always go sharper later. Squoval is the safest shape for long, busy hands. If a corner keeps tearing, file it down a hair more. Check all ten nails for the same shape, because the odd one out is the one that snags. A rounded tip is the gentler starting point for natural nail growth in general.
5. Keep water and cleaners off your nails
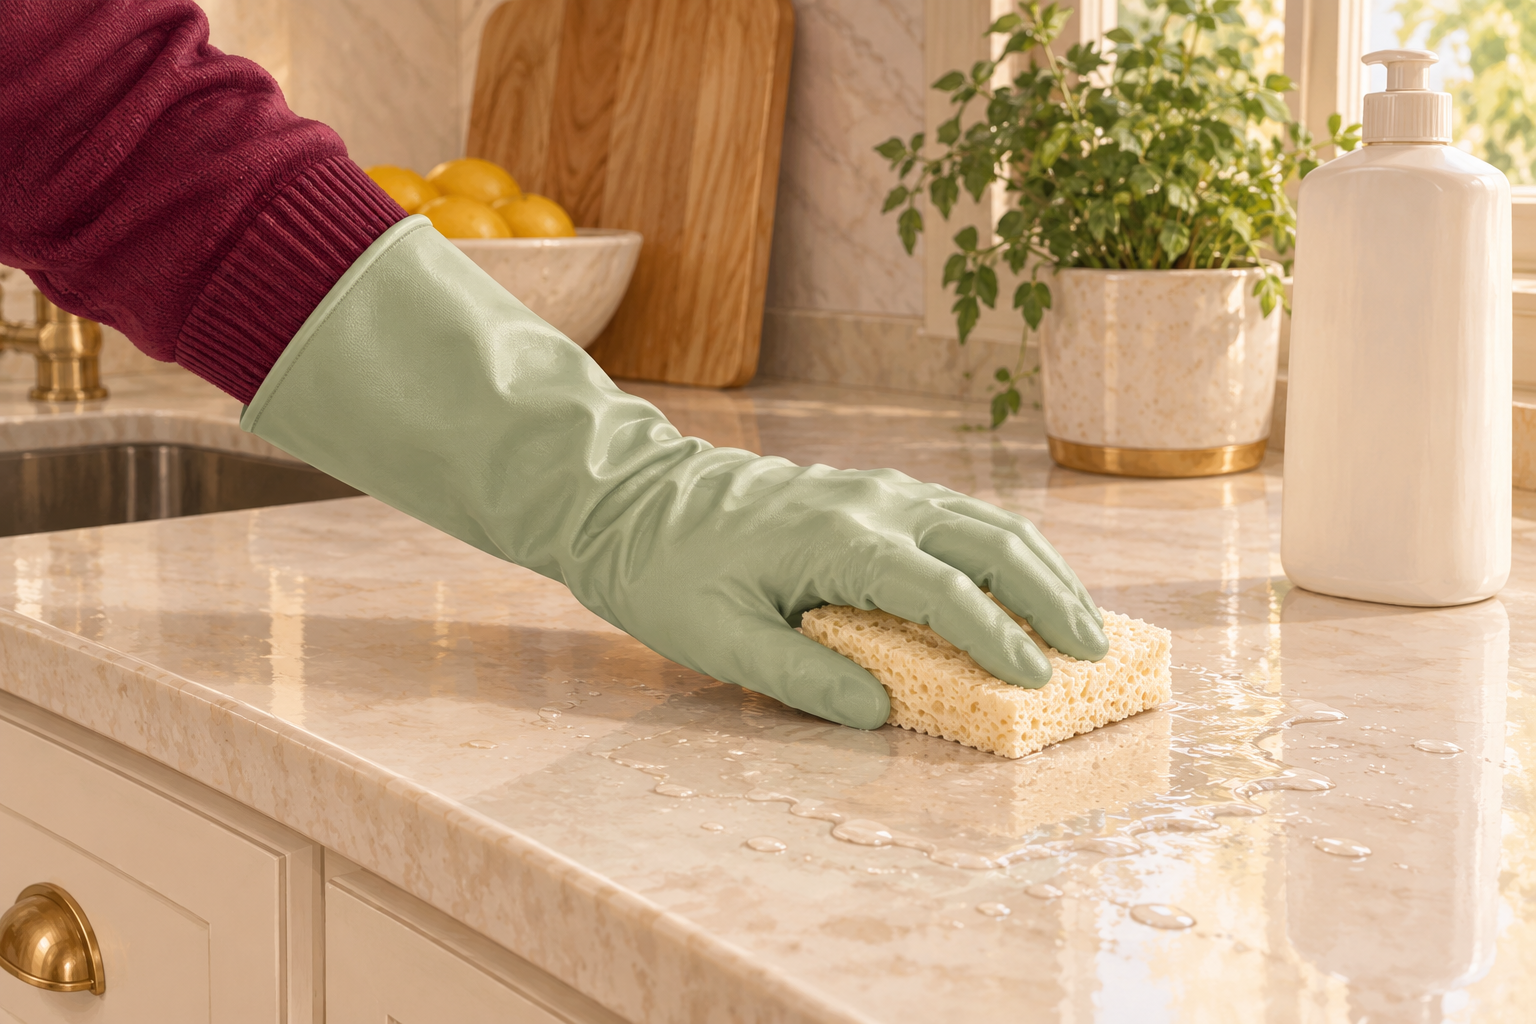
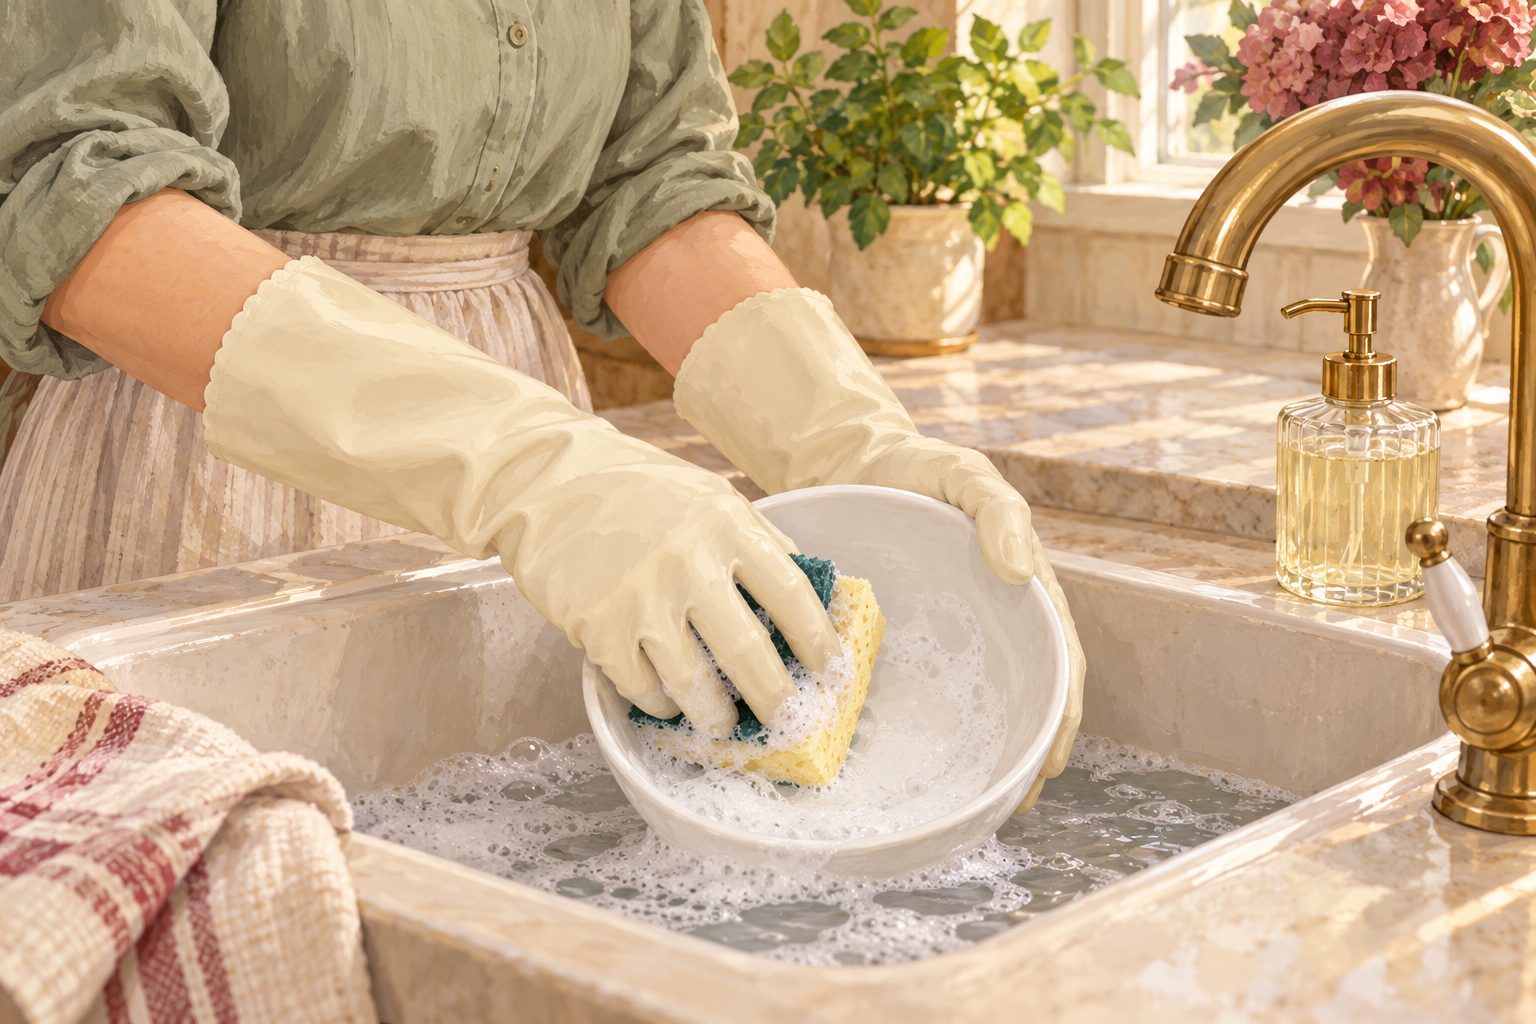
Wear gloves for dishes and cleaning, and press cream into your hands after washing. Nails soak up water and swell, then shrink as they dry, and that cycle weakens them. Cotton lined gloves are comfortable if rubber makes you sweat. Take the gloves off as soon as the job is done. Short showers and cooler water help too. You will see fewer peeling edges within a few weeks, and fewer edges means fewer breaks. Keep a pair by the sink so they are the first thing you grab. Clean your cuticle area after, so no soap film dries on the skin.
6. Use your finger pads, not your tips
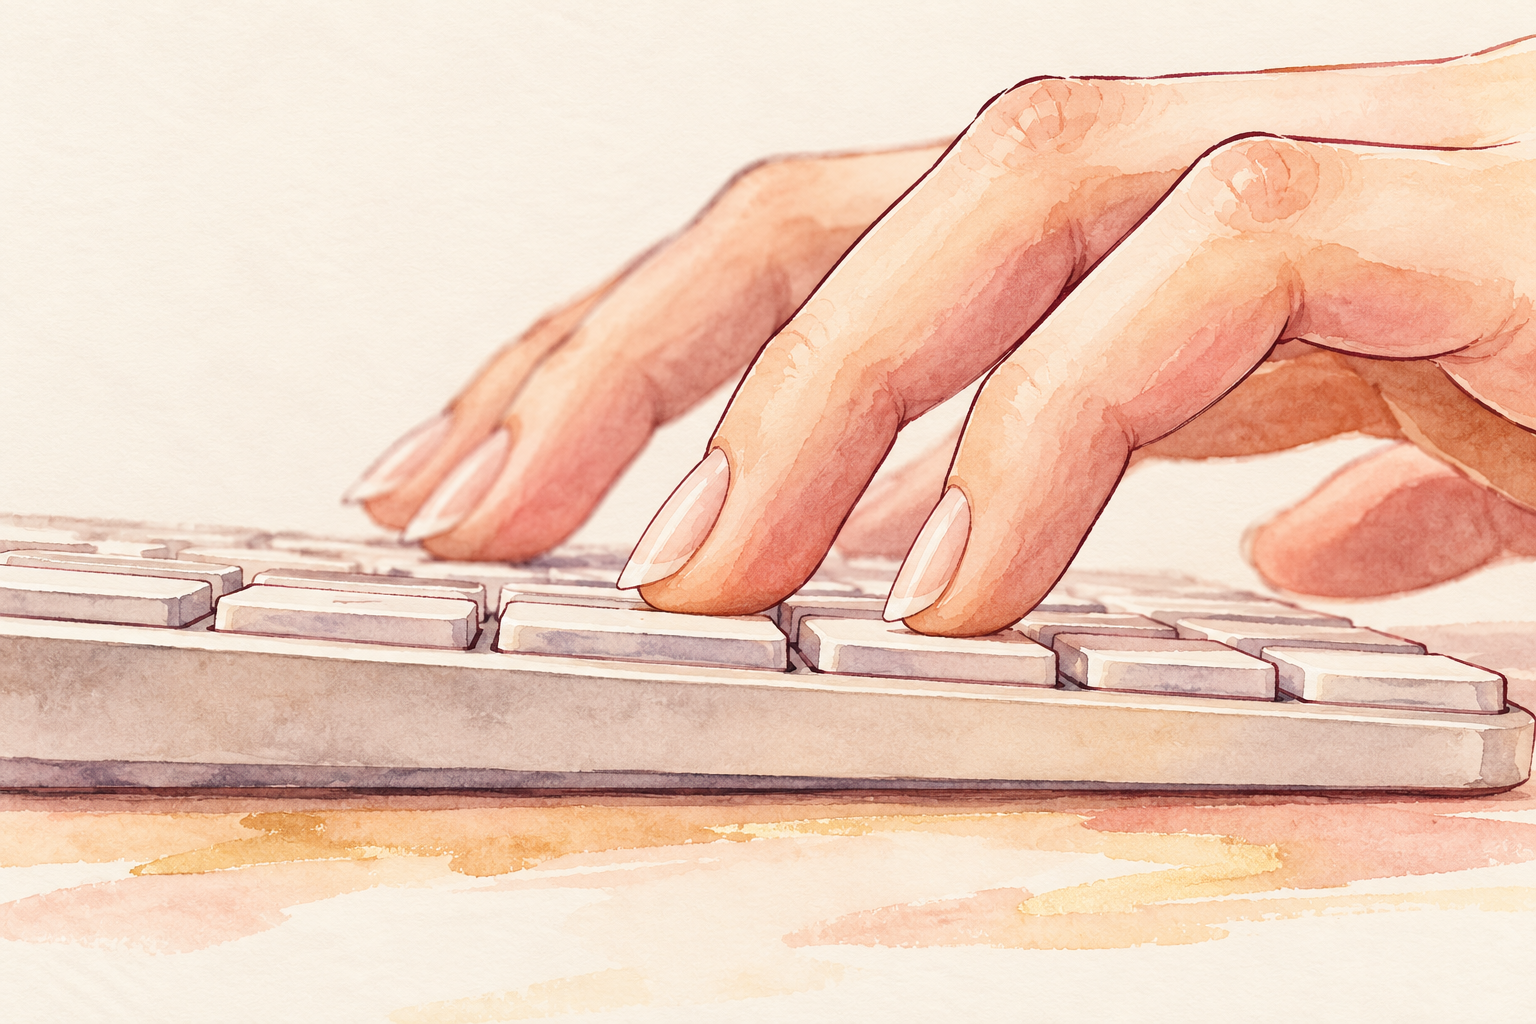
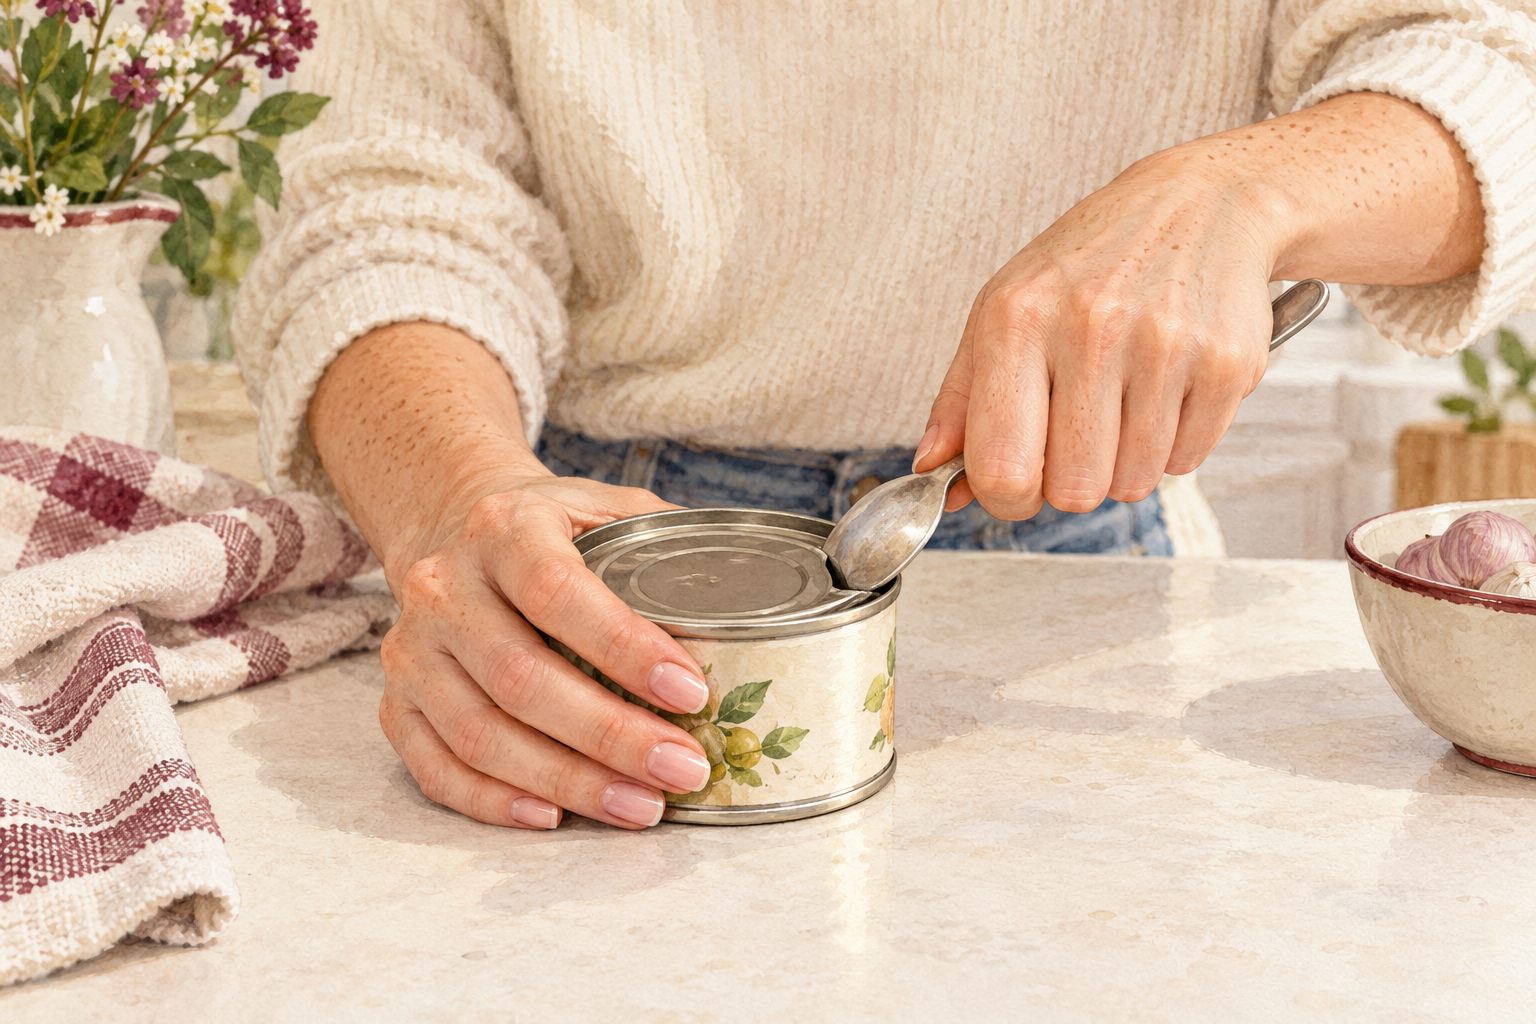
Press buttons and keys with the pads of your fingers, and slide coins to the edge of the table before you pick them up. Long nails make you clumsy until you retrain a few habits. Open cans, packaging and zips with a tool, not a nail. Never use a nail as a screwdriver or a scraper. It feels silly for about a week, and then it becomes automatic. Your typing may even feel smoother. Your nails are the first thing to take a knock, so let your fingers do the work. A pen cap or the side of a spoon makes a good tool for prying lids.
7. Moisturize after every hand wash
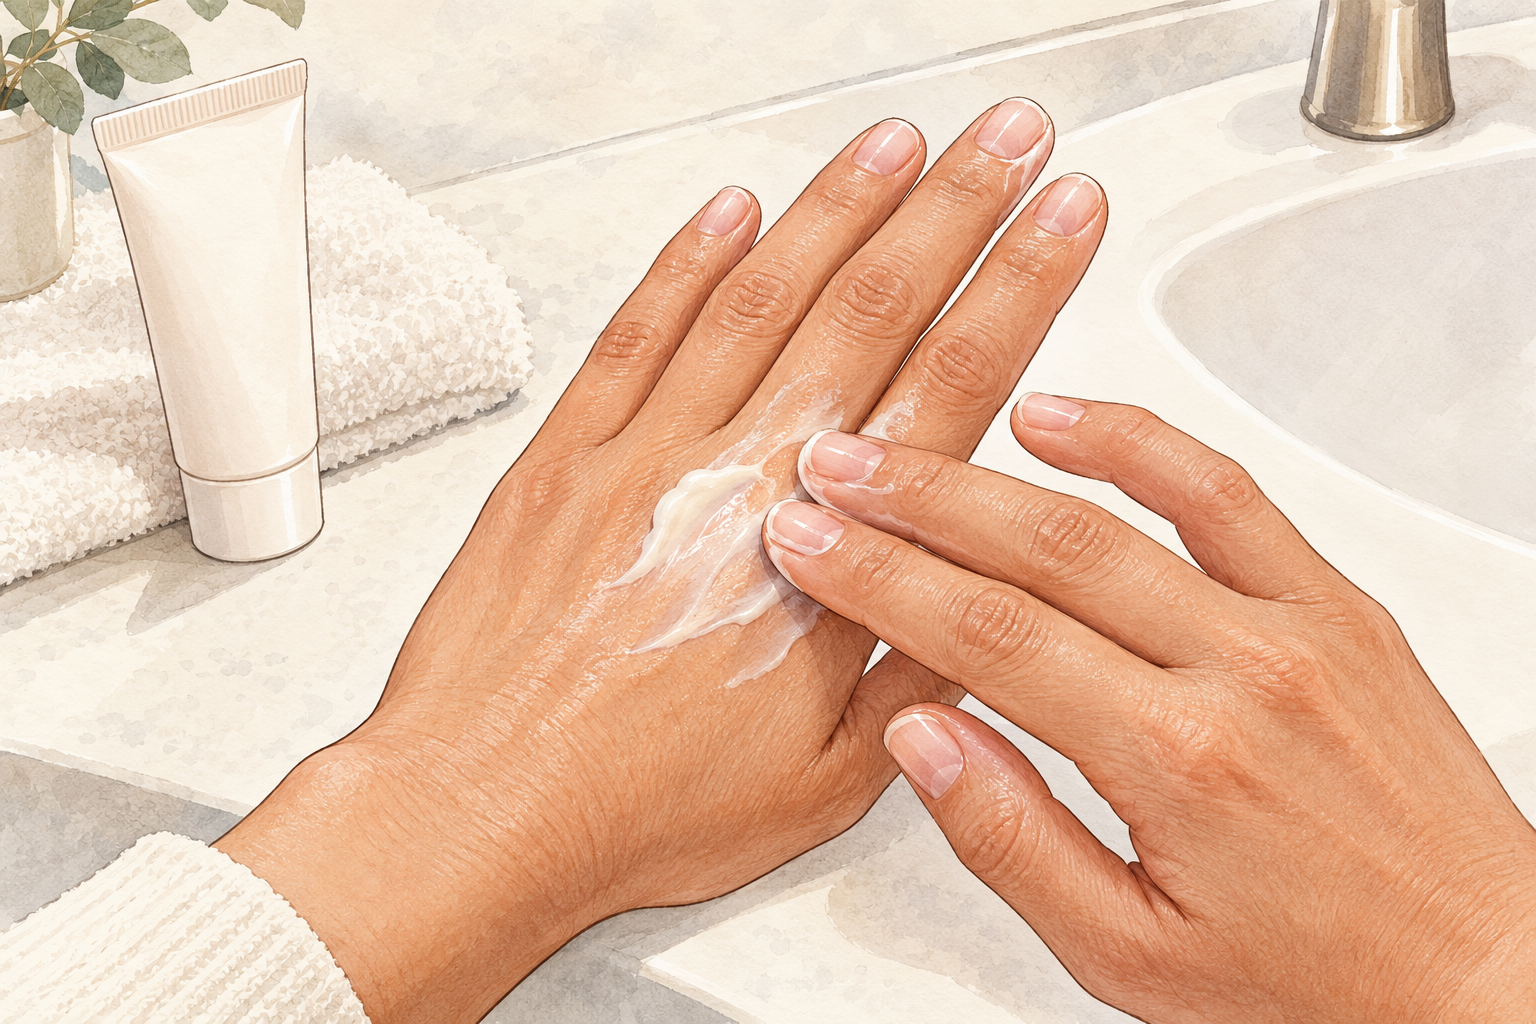
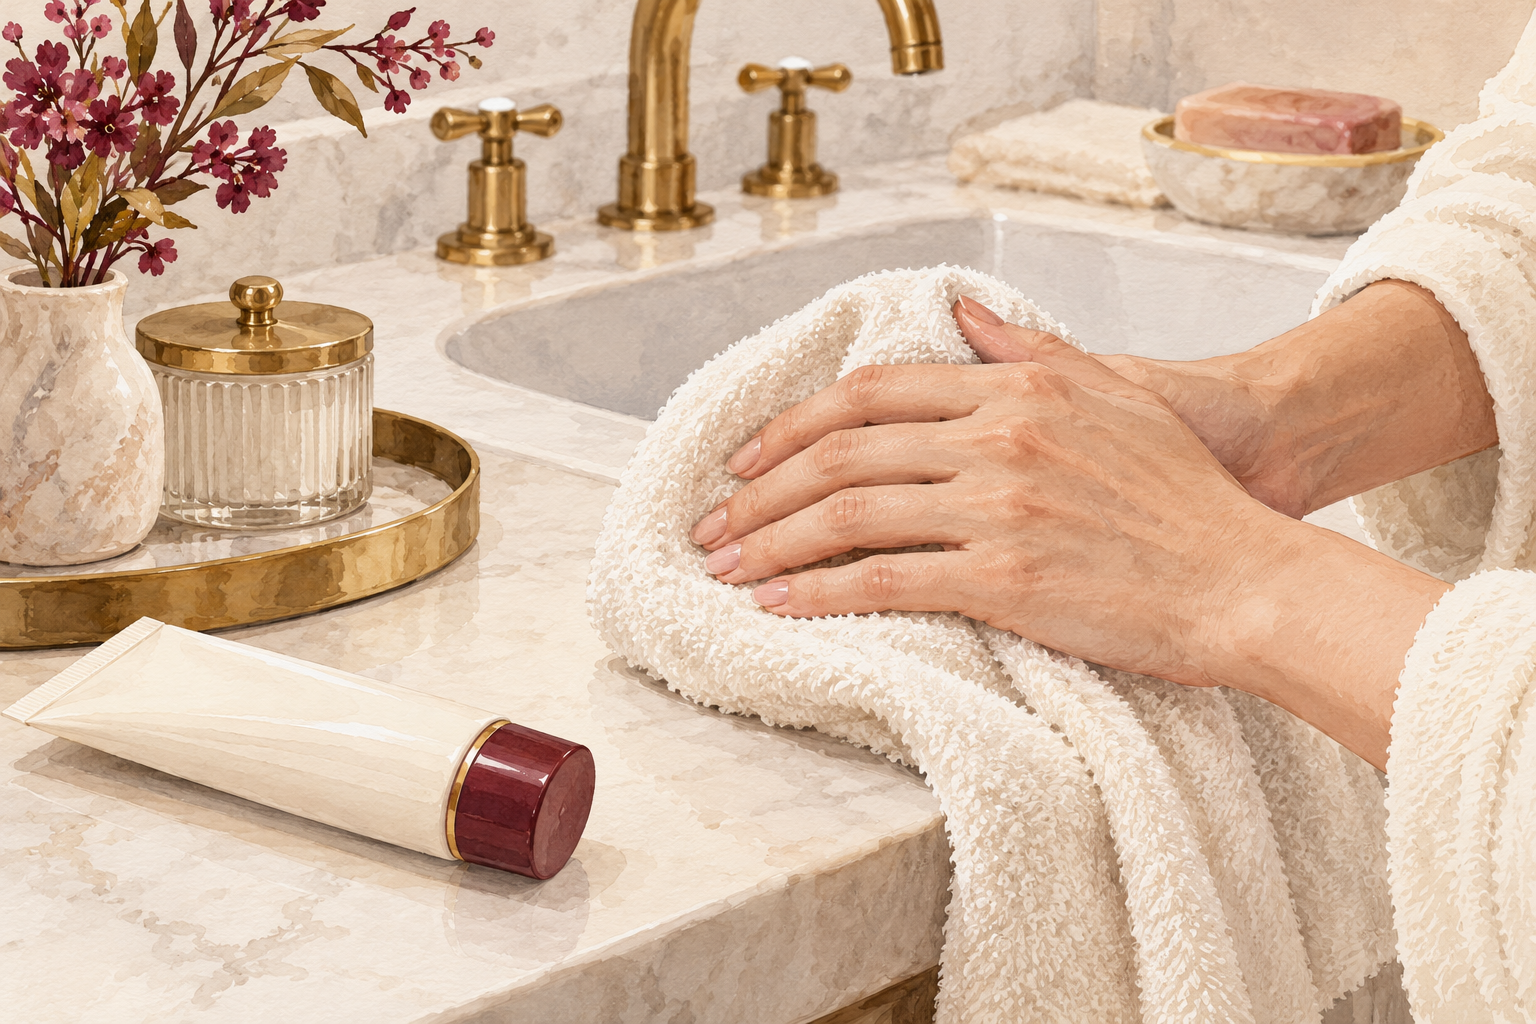
Rub a pea sized amount of cream into your nails and cuticles each time you dry your hands. Cream and oil will not make nails grow faster, but they keep the nail flexible, so it bends instead of cracking. Think of it like a green twig that bends versus a dry stick that snaps. Use cuticle oil at night, pressed over the cream or onto damp skin. Oil alone seals in moisture but does not add any. Do it while the kettle boils or a show loads. Dry nails snap, so this small habit protects all the length you grew. Keep a tiny tube in every bag so you never skip it.
8. Take polish off gently
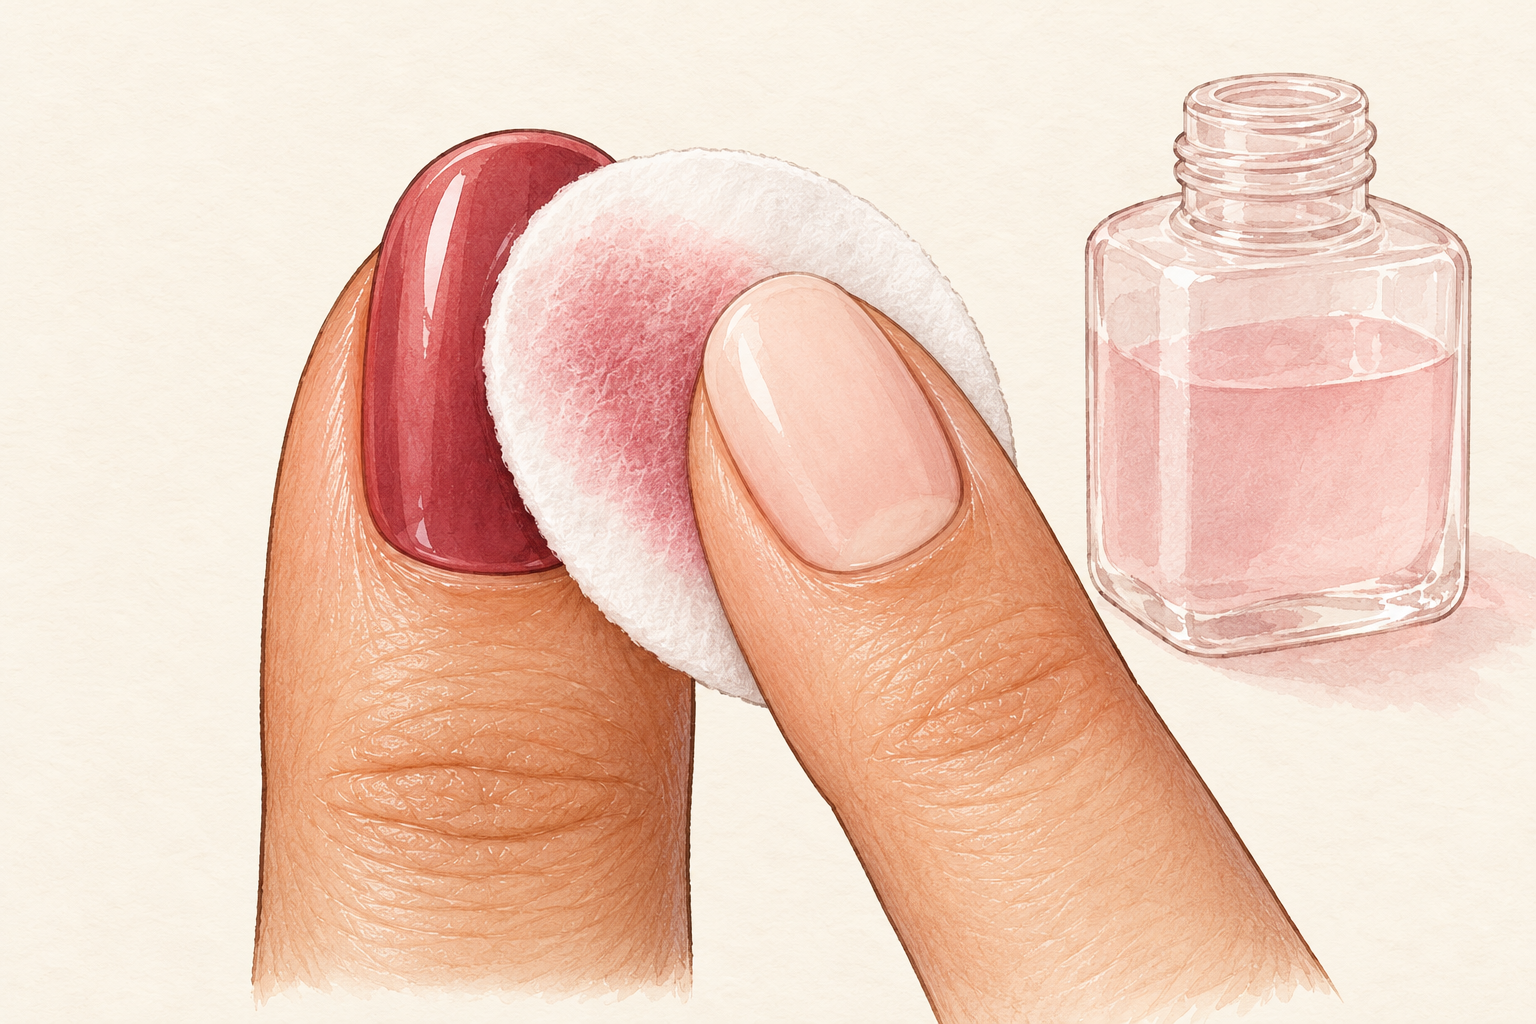
Hold a pad soaked in remover on each nail for a few seconds, then wipe once. Scraping or peeling polish pulls off a layer of the nail, and you lose length that way. If a thick coat or gel will not budge, soak it longer, never pick it. Choose a remover without acetone when your nails look dry. Wash your hands after, then add a drop of oil. Let the skin breathe for a few minutes before you do anything else. Be patient here, because every layer you peel off takes a week to grow back. Wipe slowly, with the same pad, and the polish will slide off cleanly.
9. Give your nails a polish break
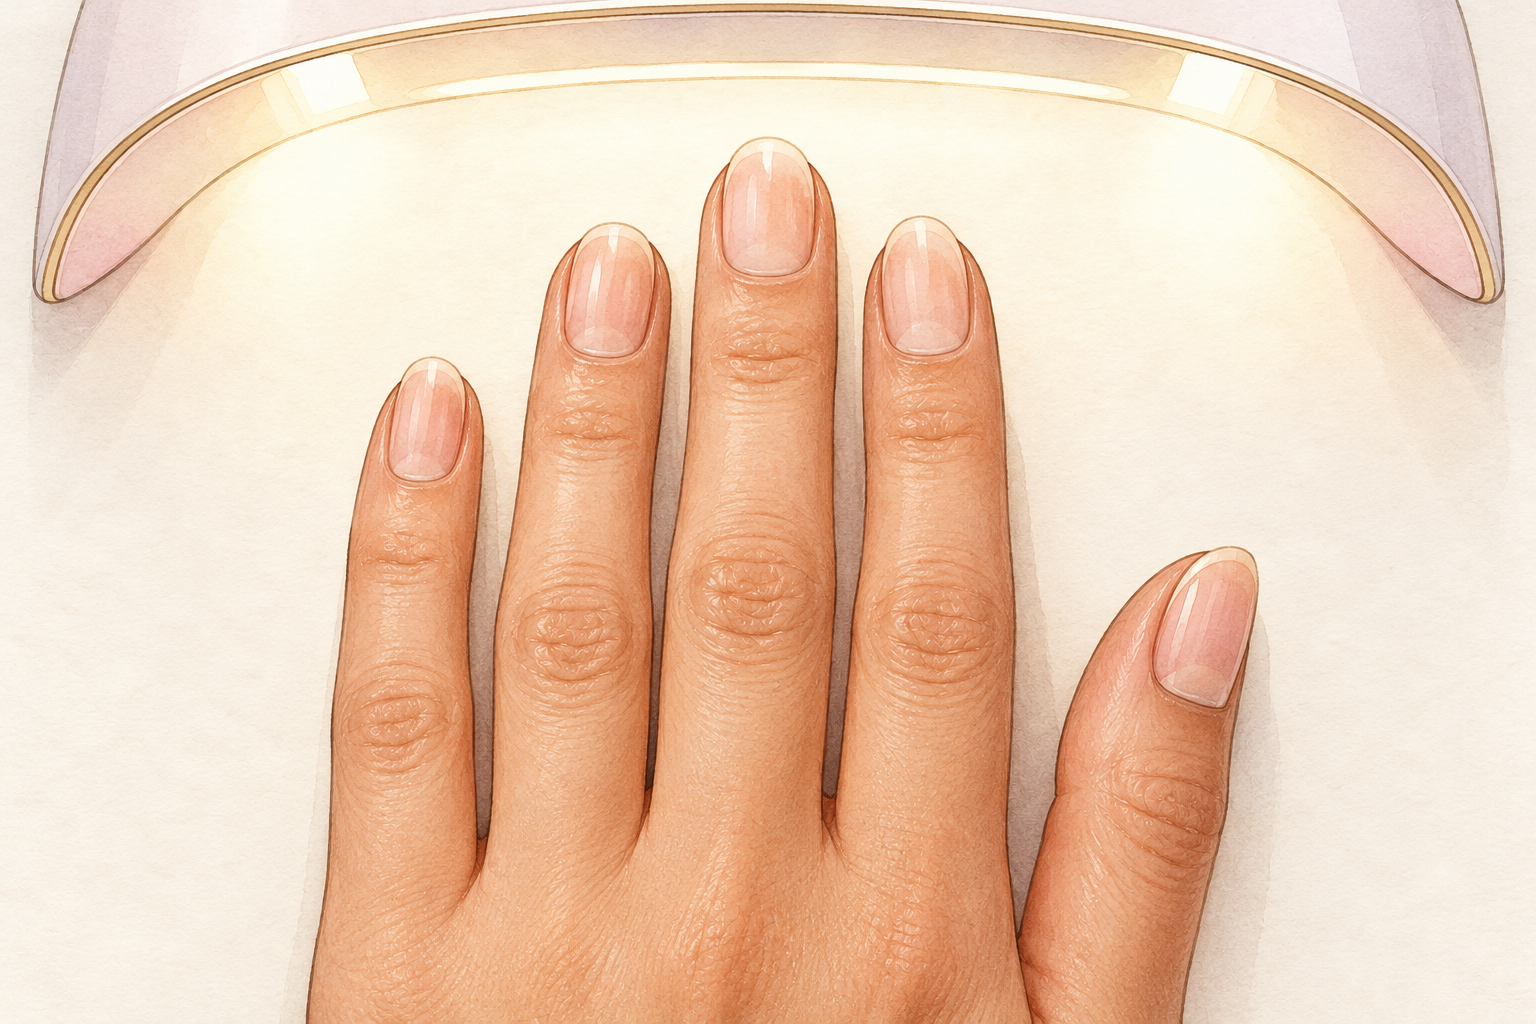
Go bare for a week or two between colors, especially if your nails look thin. Polish and remover both dry the nail, and a break lets it recover. A plain coat of clear polish can add a little protection in the meantime. Use the week for your oil and cream habit and for keeping the shape neat. Your nails will look healthier by the end of it. Plan the break for a week with no special events, so bare nails feel relaxed. A bare week is also a good moment to take a photo to compare later.
10. Cut back early when one cracks
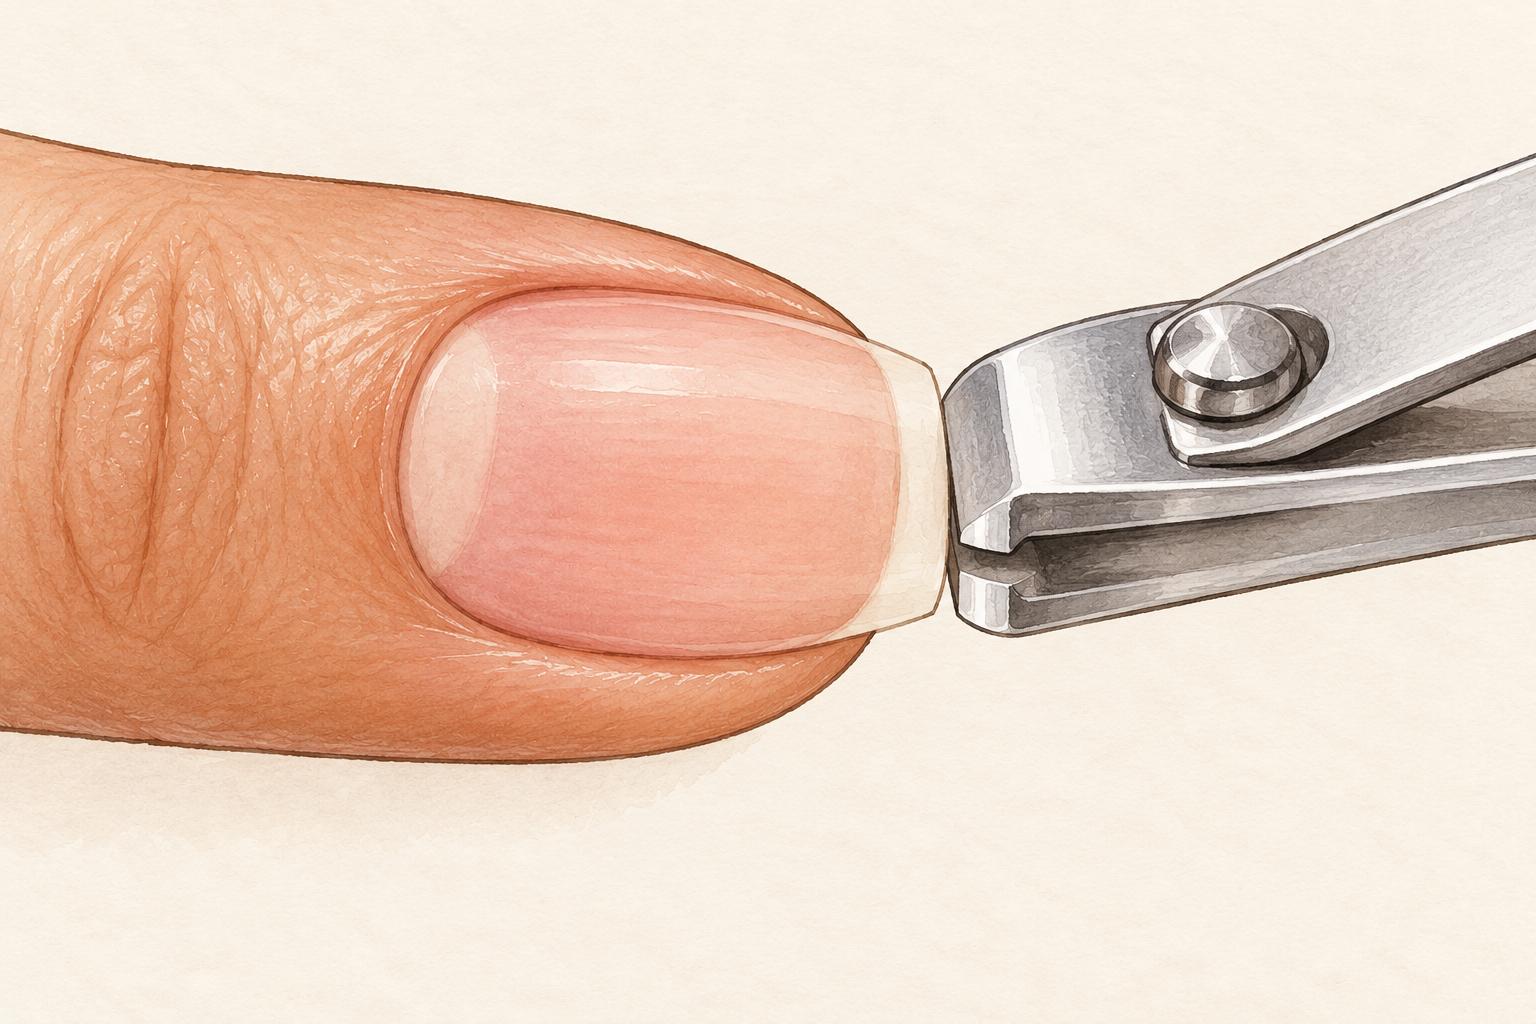
Trim a cracked nail back to a clean, sound edge straight away. A split left hanging will tear further, sometimes into the skin. If you like an even look, take the other nails down slightly to match. Losing two millimeters now beats losing the whole nail next week. File the new edge in one direction and carry on. A quick trim is not a failure, it is how you keep the rest of your length. Never cover a split with glue and hope. Press a little oil into the area once it heals.
11. Choose a length you can keep
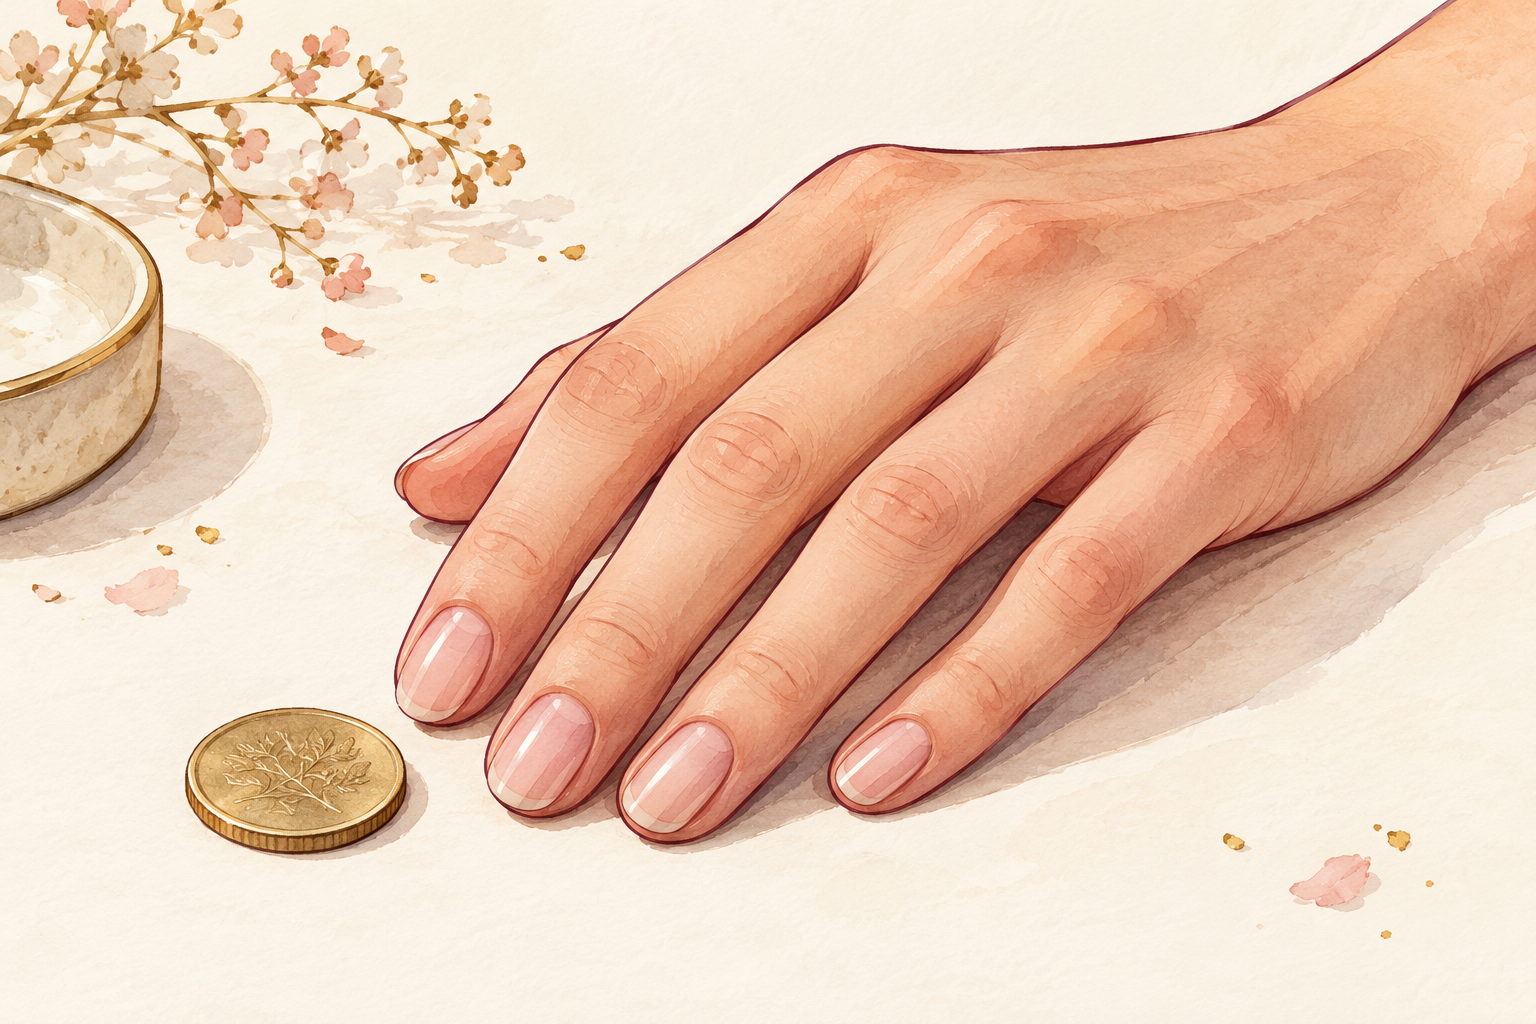
Pick a length that survives your real week, not the one in the photo you saved. If you type, cook or carry bags all day, a nail that just clears the fingertip lasts far longer than one that sticks out past it. Long nails are a trade, and some jobs make them harder. A good test is whether you can still pick up a coin without a fight. Start there, then add a little length each month if life allows. If a nail breaks, file the rest to match, and try again at a shorter length. Pick a length that suits your week, and read nail growth tips for more on that idea.
12. Know the week one, four and eight picture
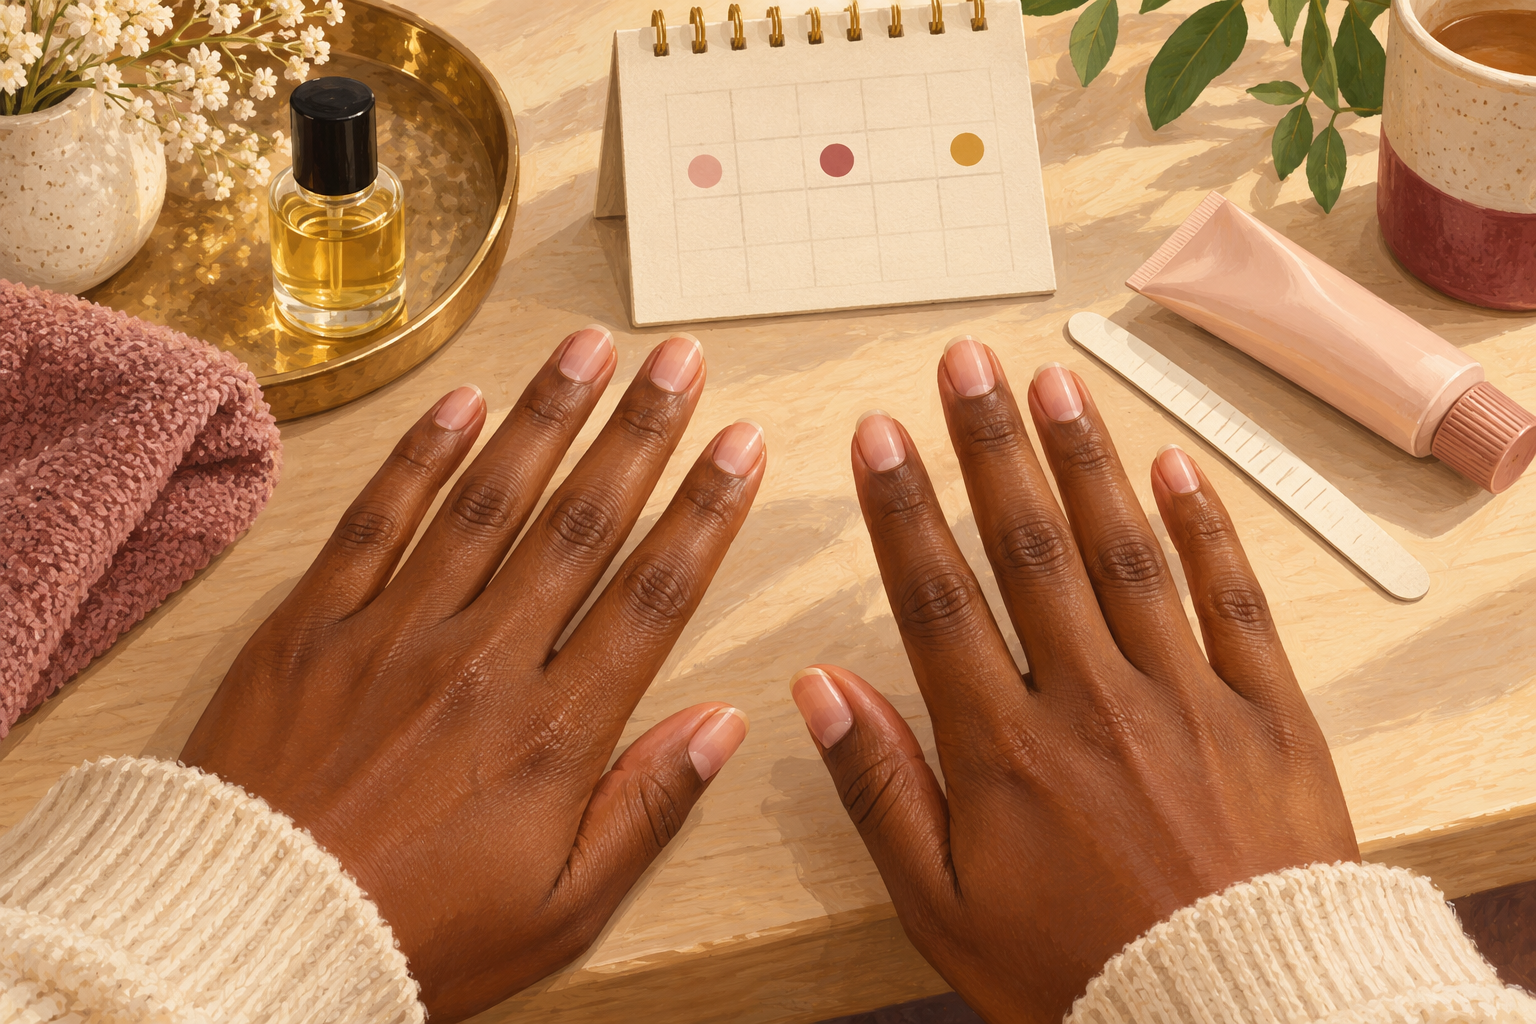
Look for fewer snags in week one, a few clean millimeters by week four, and real length by week eight. In week one you snag less because you are filing and wearing gloves. By week four your nails feel less papery. By week eight you can fairly say you have gained length, because every millimeter counts. That is the real picture of how to get long nails, and it is slower than any video promises. If your nails stay sore after four weeks, go bare and keep them oiled. Your nails need steady care, not a dramatic makeover.
Complete the Routine: How to Get Long Nails That Stay Long
Tonight, find the nail that snagged most this week and smooth its edge with one slow stroke in one direction. Habits stack up quietly, so when these feel automatic, the guides below are a fine place to look for the next nail skill.