You finally grow the length you love, and then one ordinary Tuesday a corner catches on a sweater and the whole nail tears down to the pink. Long healthy nails can feel like a lottery, but most of the bad luck comes from small habits you can change. Here are 12 tips and myths that keep your length without losing strength, so start at number one tonight.
1. Aim to lose less, not grow faster
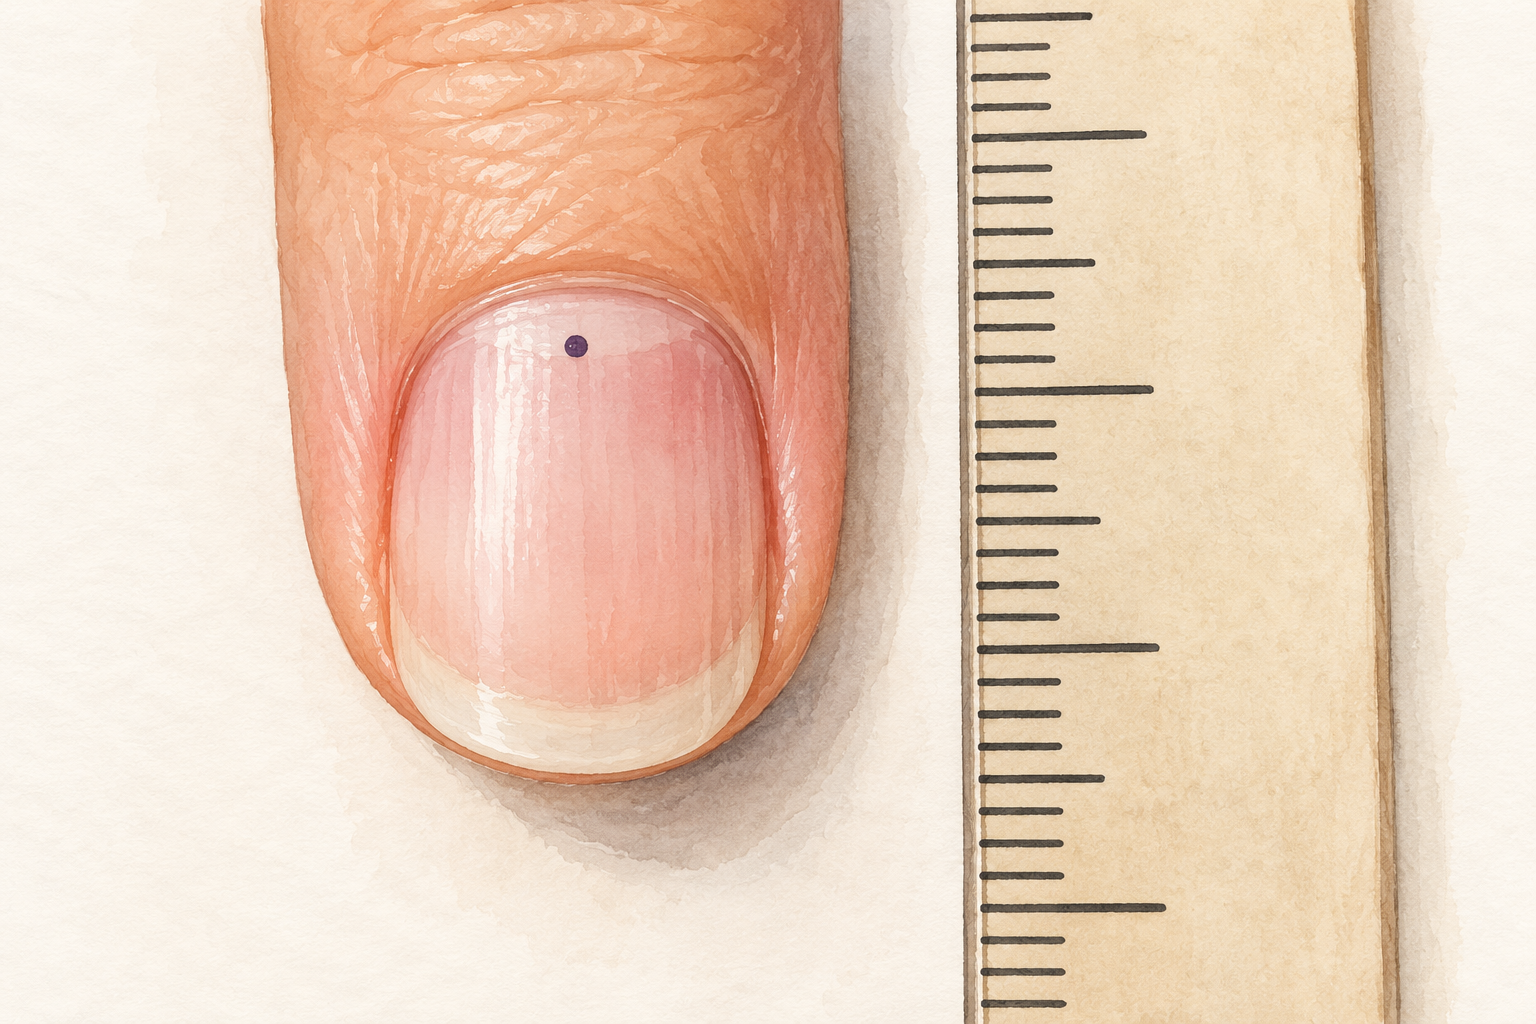
Your nails grow about three to four millimeters a month, and no routine speeds that up. The real win is keeping every millimeter you grow instead of snapping it off and starting again. A nail you protect will look longer in two months than one you trim after every break. Forget the myth that a secret oil or tablet changes your growth rate, and spend that energy on shape, moisture and gloves. Each month an intact nail survives counts as growth. Mark your nails with a pen dot at the cuticle and check the gap in four weeks. Long healthy nails are built from months of small wins like this. Growth takes months, not weeks, so pace questions are best answered at how to grow nails.
2. Check your nail bed before you choose a length
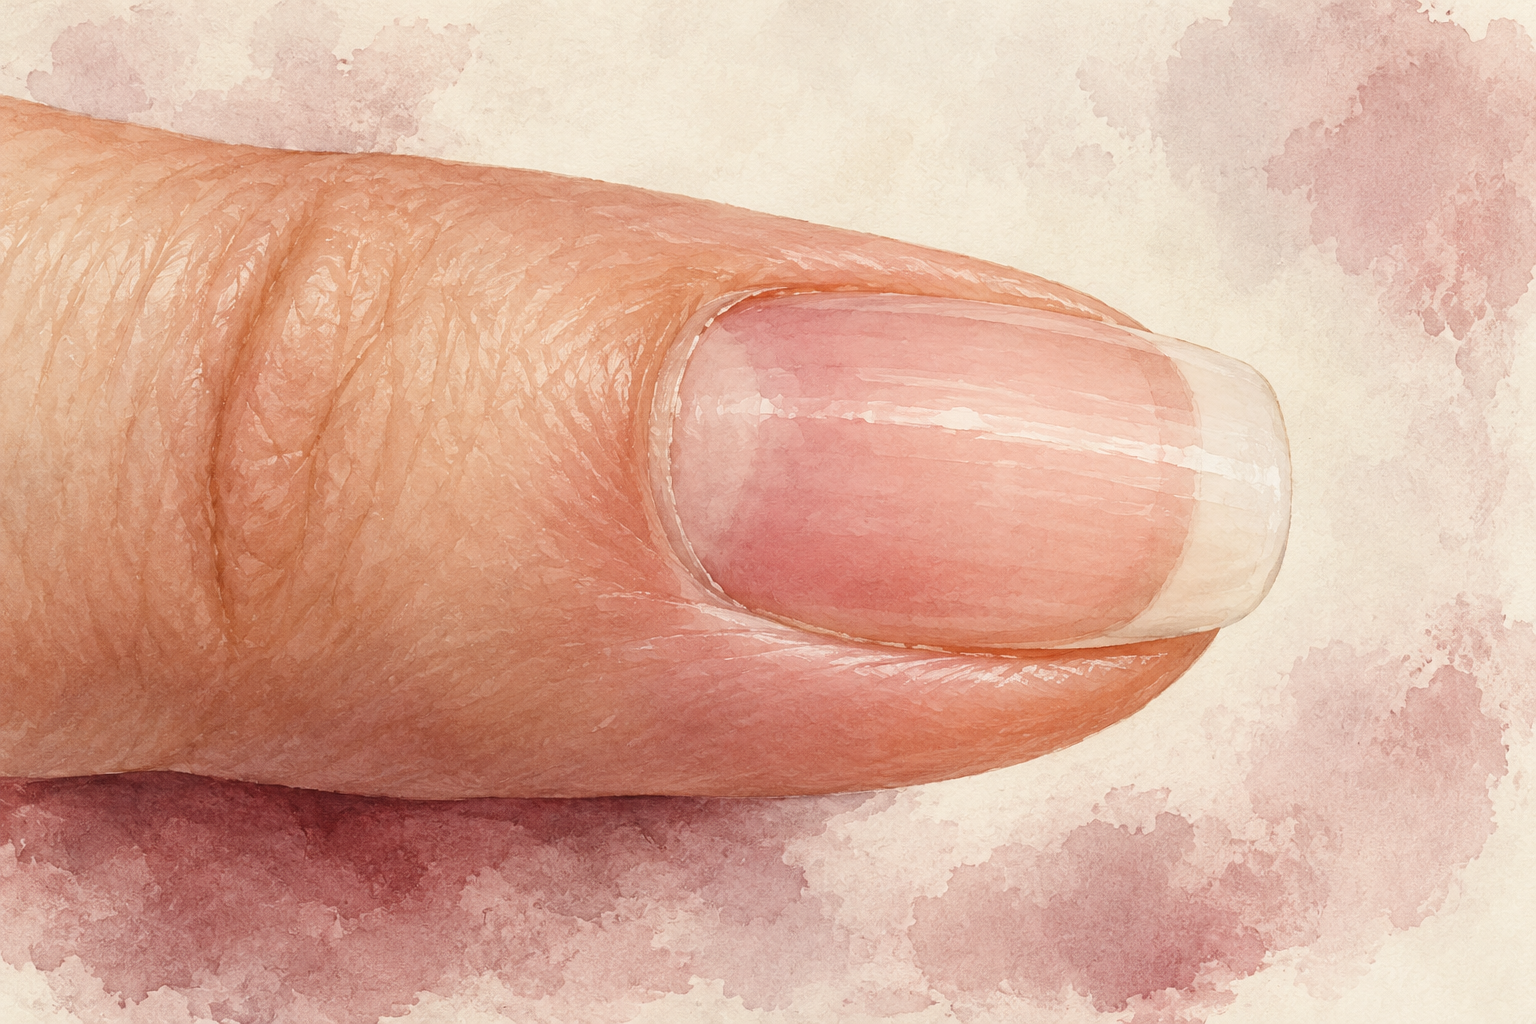
Press a nail gently and see how far the pink reaches toward the tip. The pink part is the nail bed, and a longer bed supports the free edge better. A short bed does not mean your nails are doomed, it just means they stay stronger a little shorter. Check each hand, because your thumb often differs from your other fingers. As a rule, keep the white tip at a couple of millimeters until you learn where your own nails start to bend. Past that point, they usually need extra care, such as shorter wear and more oil. Take a photo of your nail bed today so you can see how it changes.
3. Pick a length that survives your week
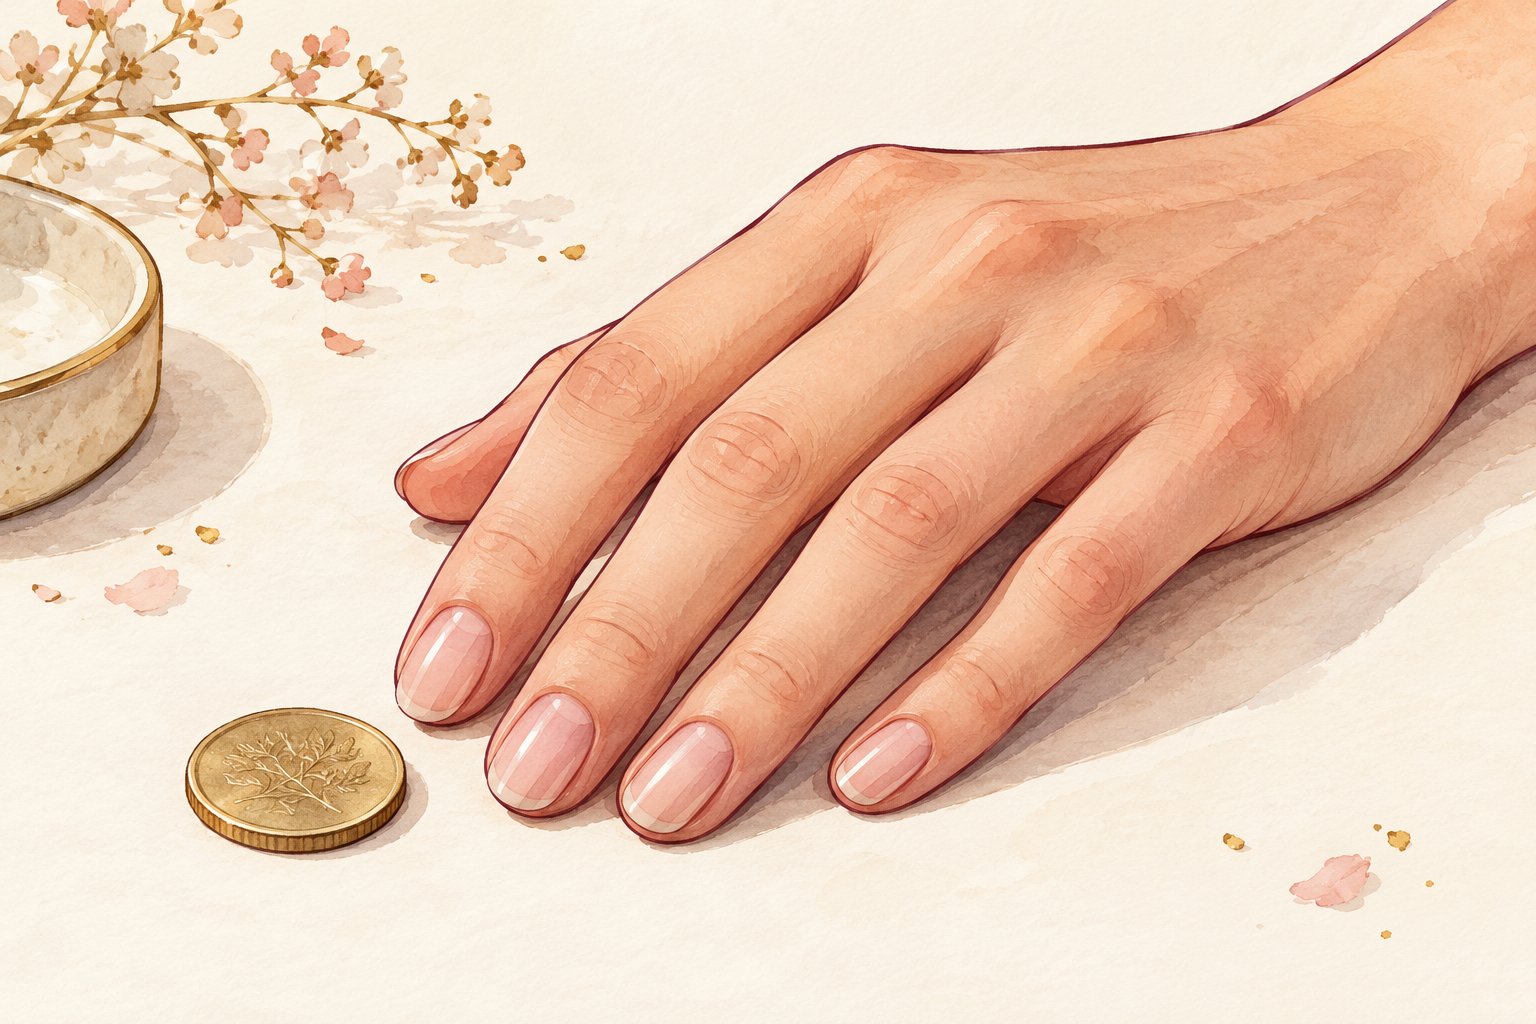
Think about what your hands do all week, such as typing, dishes, opening cans and carrying bags, then choose a length that handles it. Go shorter than your dream set for working weeks and longer for a holiday. A nail lost to a door handle takes months to rebuild, so the risk of choosing too long is high. Notice which fingers do the heaviest work, usually the thumb and index finger, and keep those slightly shorter. File a small notch into your emery board where you want to stop, so you always remember. Your future self will be glad you did.
4. Press oil into the cuticle after every hand wash
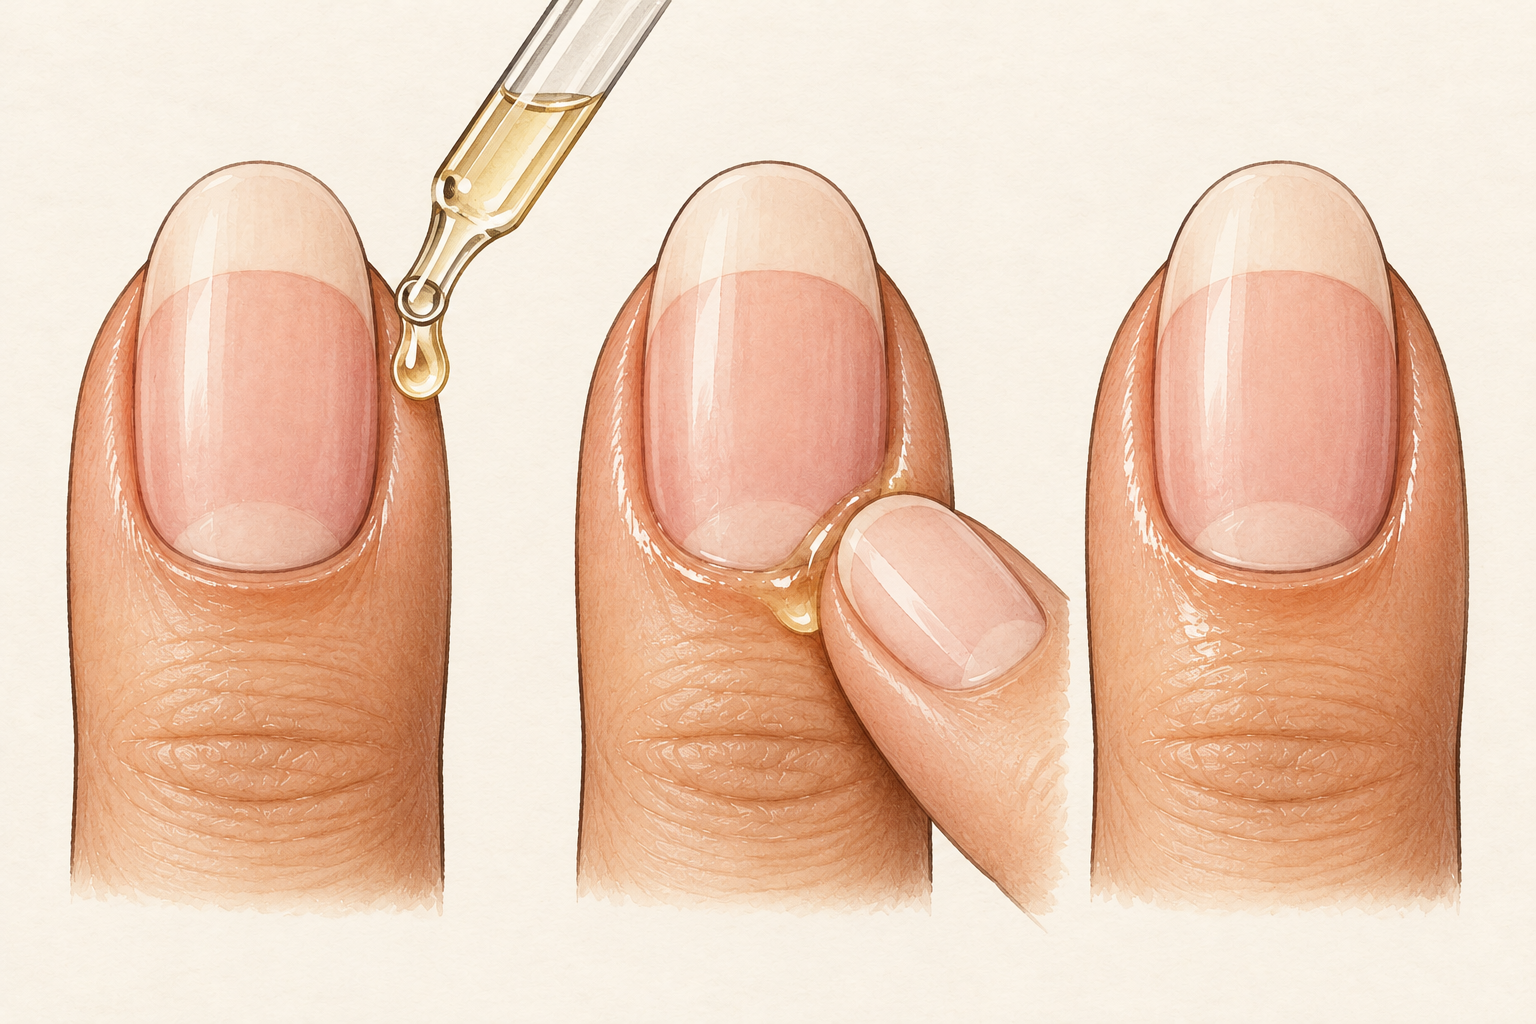
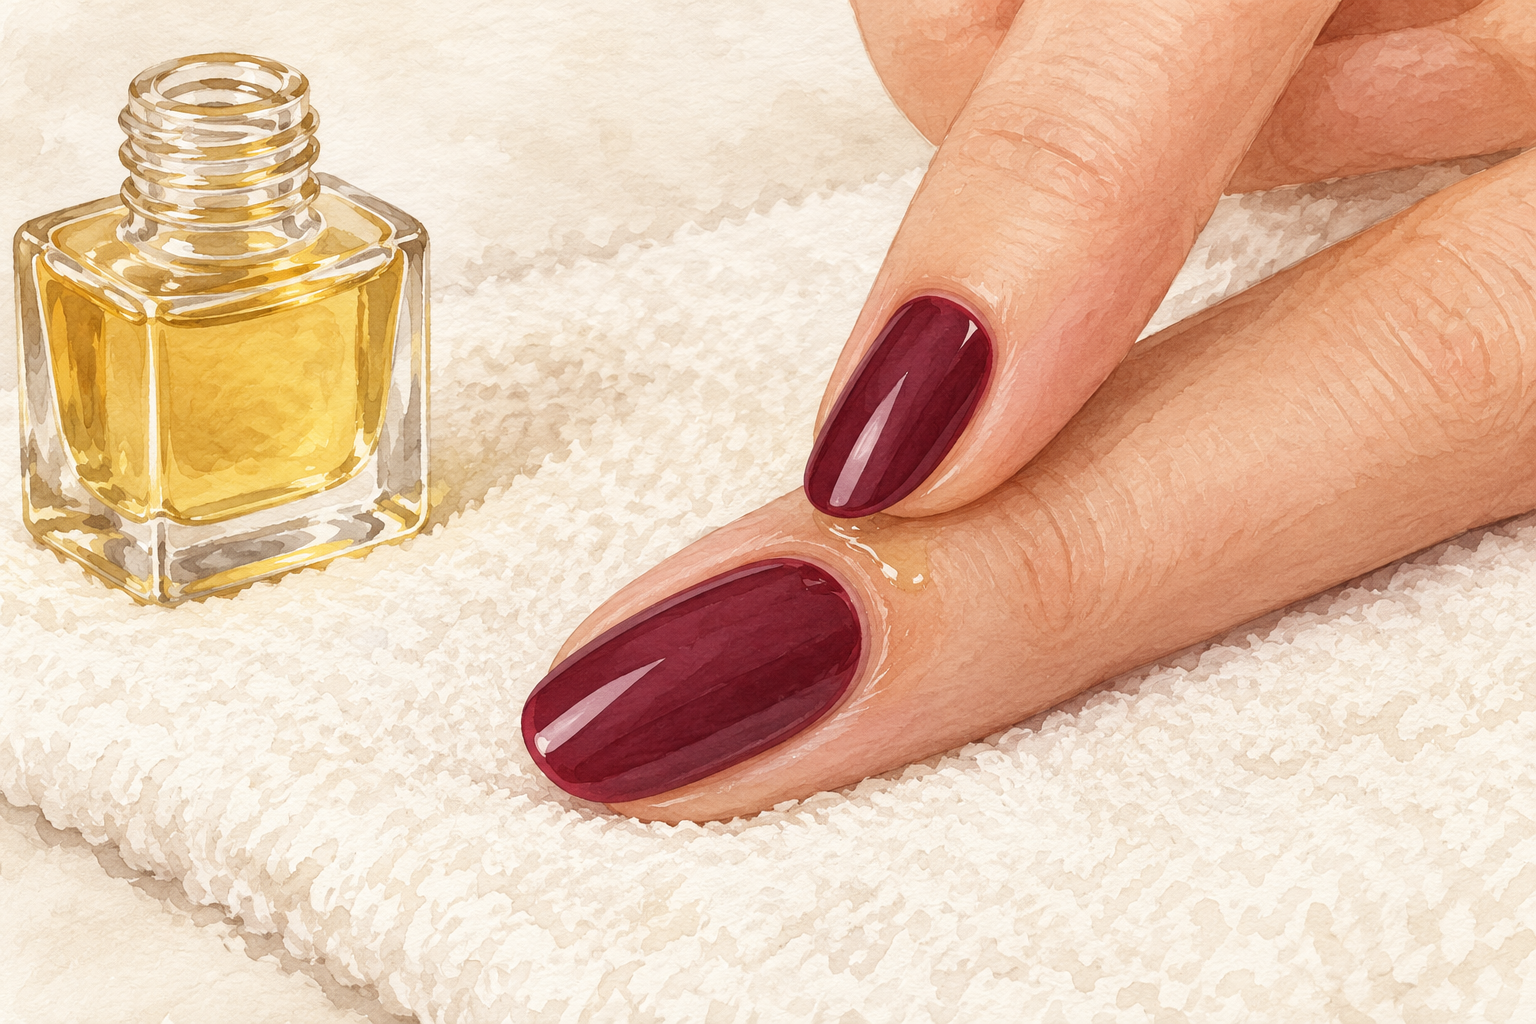
Put a tiny drop of plain oil on each nail while your skin is still slightly damp, and press it into the cuticle. Warm water and soap leave nails dry within minutes, and dry nails flex badly and snap. Oil seals in the moisture that is already there, so timing matters more than amount. Test any new oil on the inside of your wrist for a day first, since fragrance and nut oils bother some skin, and stop using it if the skin turns red. A few drops go a long way, and a bottle by every sink makes the habit automatic. Keep one bottle by each sink and open nail growth oil for the full picture.
5. Seal it with cream at night
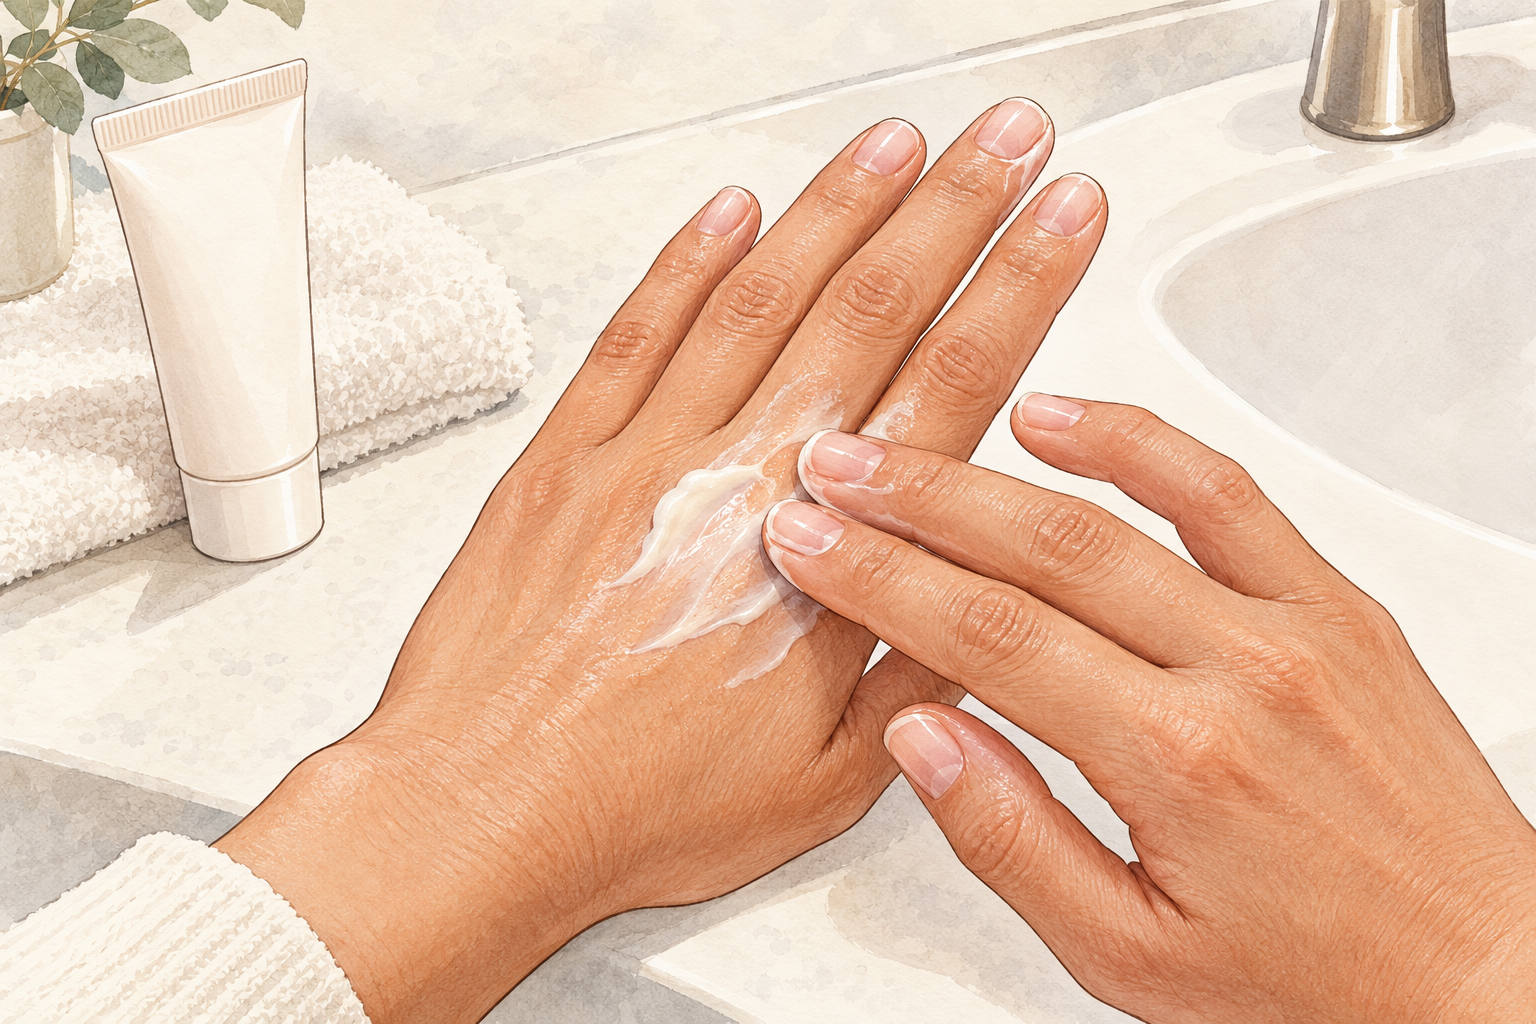
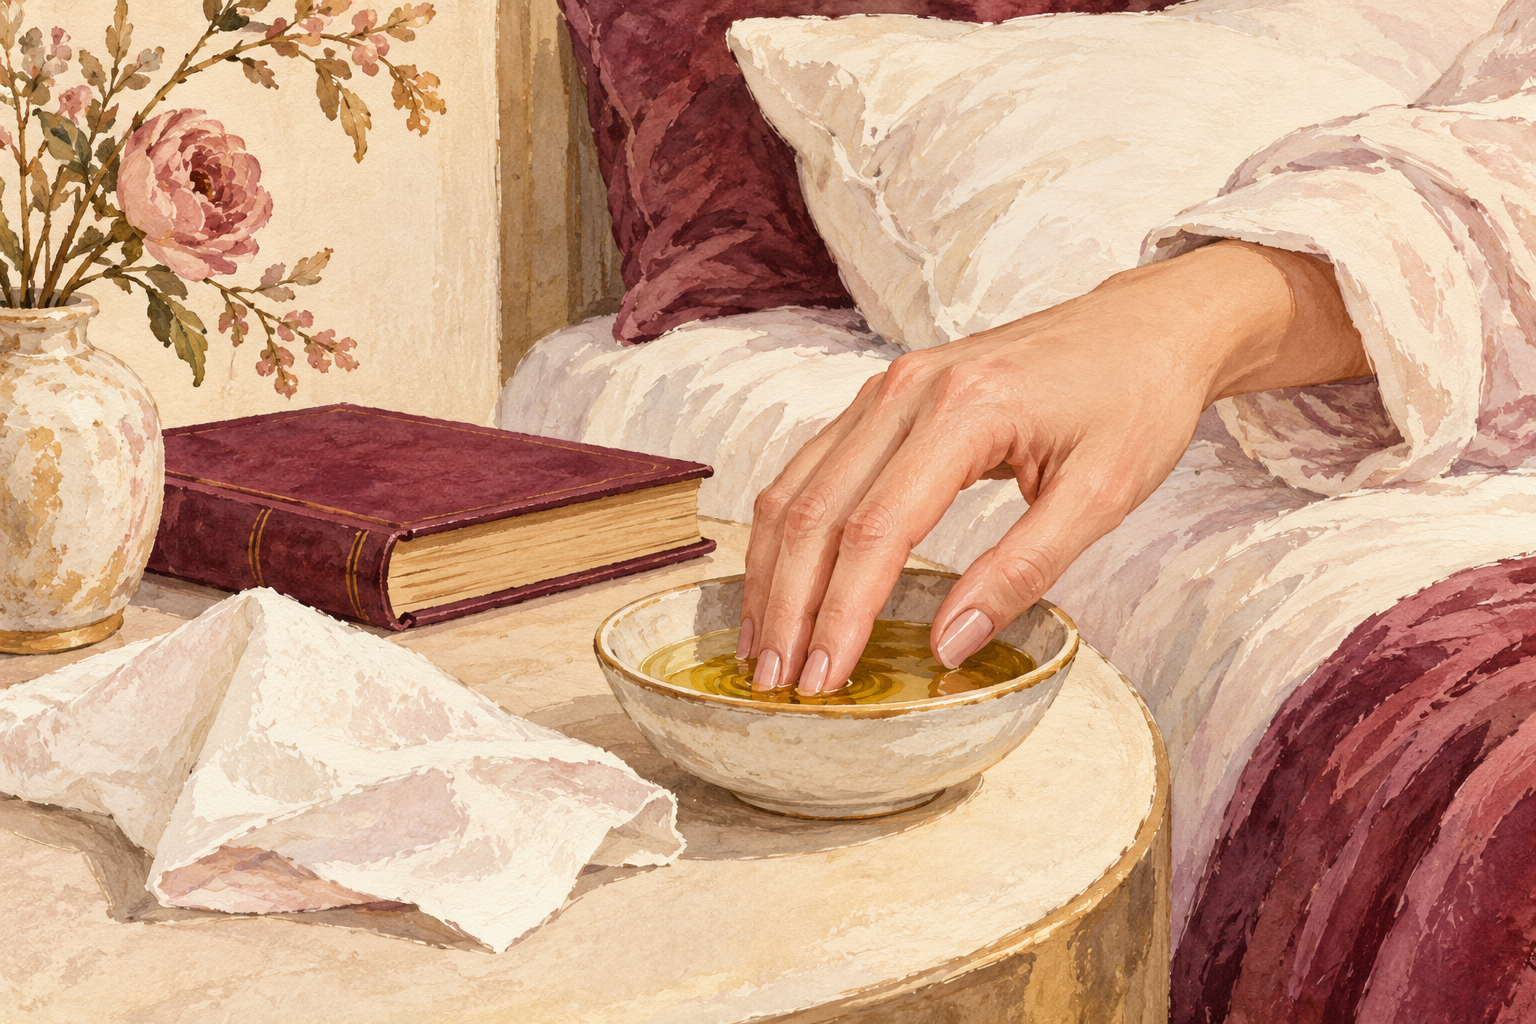
Rub a plain, thick hand cream over the oil before bed, when your hands will not touch anything for hours. Oil alone sits on top, and cream gives the nail something to hold on to. Work it into every nail edge, because the tips are the oldest and driest part. Skip cream on nails you plan to polish that same night. Lighter creams absorb faster, but a thicker one feels better if you wake with tight cuticles. After a week, you should notice the skin around the nails looking softer and less white, and the tips feeling less rough on your clothes.
6. Wear gloves for dishes and cleaning
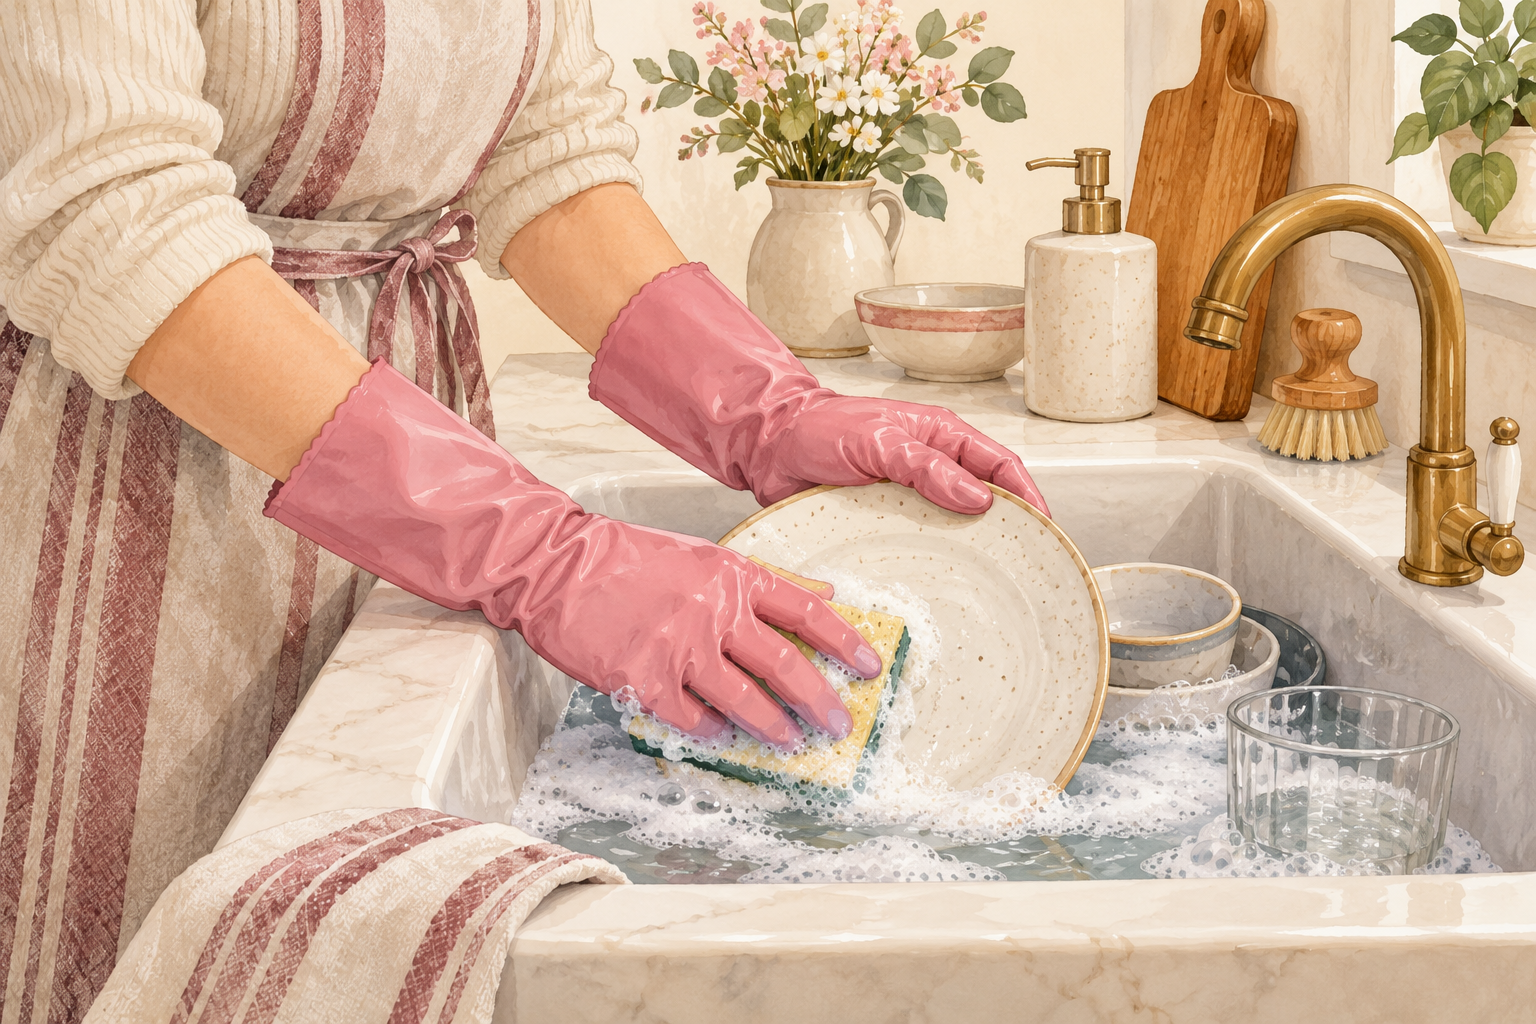
Slip on rubber gloves, with thin cotton ones underneath if your hands sweat, whenever you wash up or clean. Long soaks make nails swell, and drying makes them shrink, and that swelling and shrinking is what causes peeling and splitting. Cleaning sprays strip oil too. Hang the gloves where you will see them, such as over the tap, because a habit you do not have to decide on is the one that lasts. Within a month, you will wonder how you ever washed dishes without them, and your nails will show fewer white flakes at the tip.
7. File in one direction with a glass file
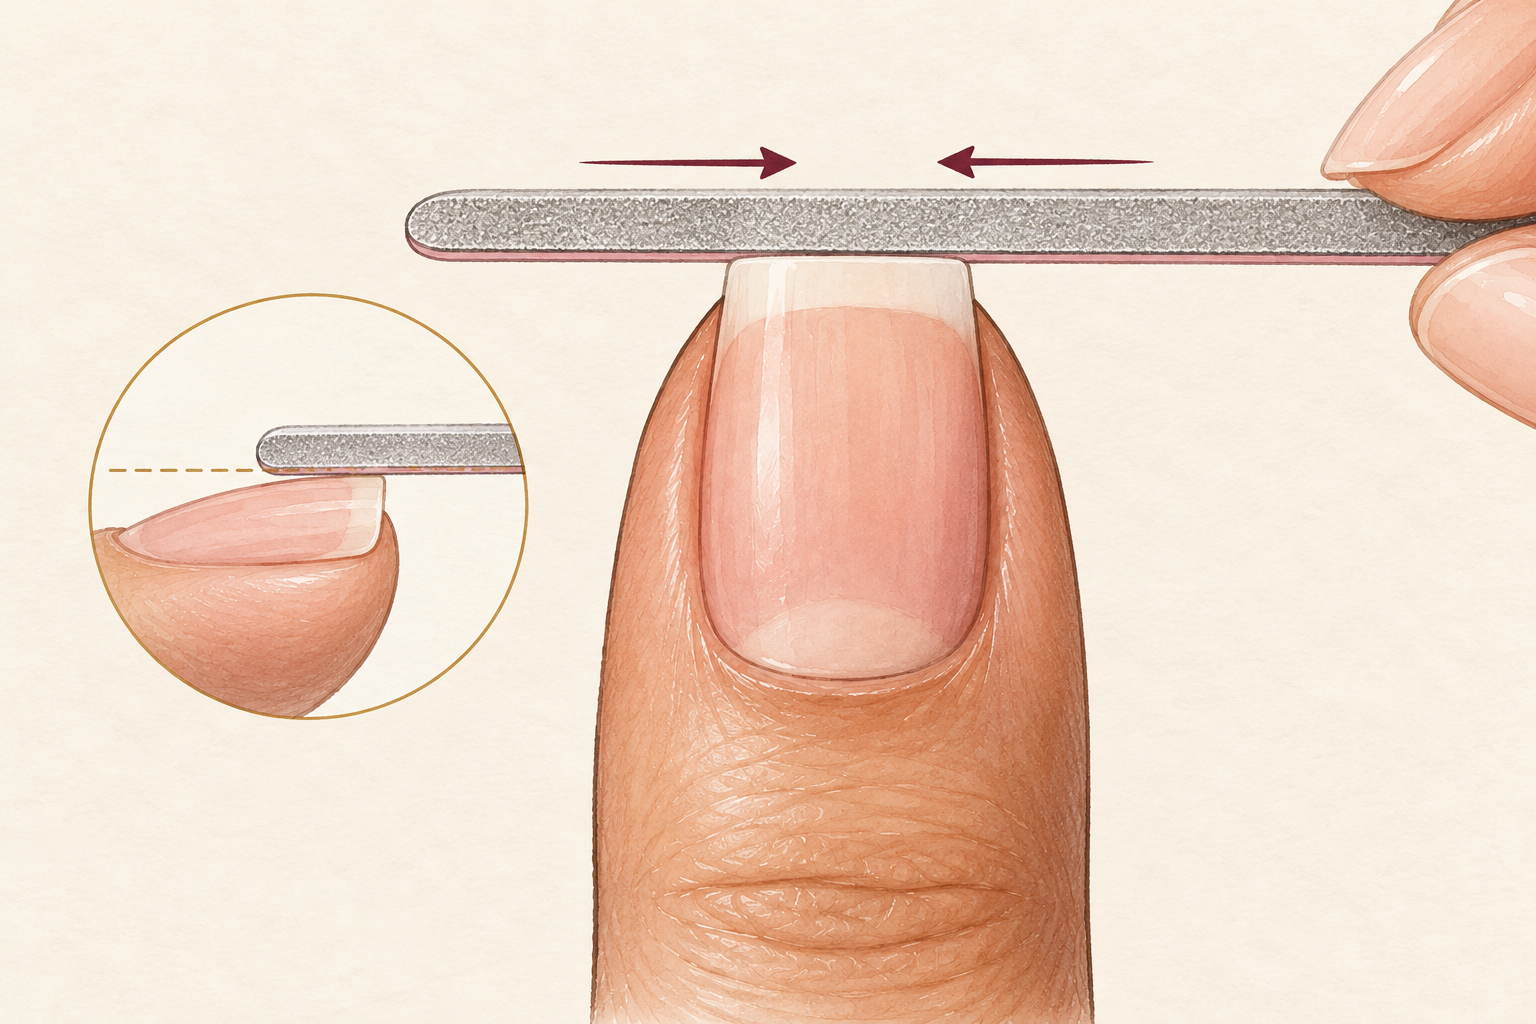
Glide the file from the side of the nail toward the middle, lifting at the end of each stroke. Sawing back and forth with a rough file frays the layers at the tip, and that frayed edge is where peeling starts. Do a few light strokes instead of one hard one. The edge should feel smooth when you run a fingertip across it, with nothing to catch. If it snags a tissue, take two more strokes. A glass file is gentle on the nail and easy to rinse clean, so it is worth owning, and one lasts for years if you keep it out of the bottom of your bag.
8. Choose a soft squoval or a gentle round
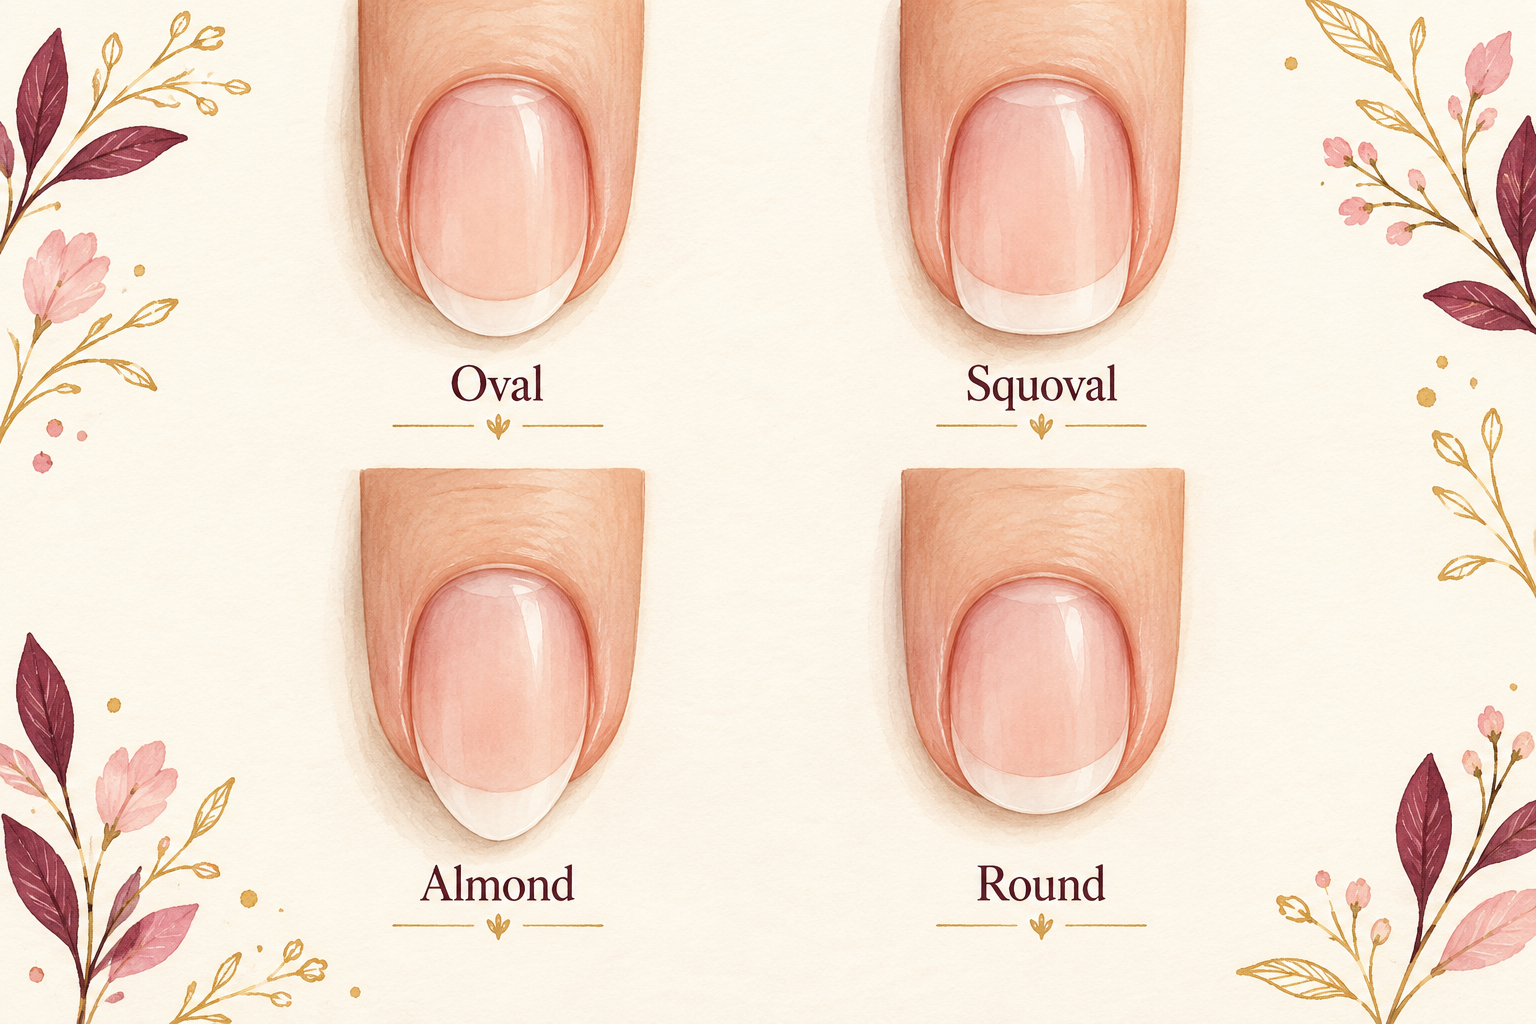
Take the corners off with two or three strokes, so the tip is a soft squoval or a rounded curve. Sharp corners snag first and tear first, while a gentle curve spreads a knock out instead of pointing it at one spot. You keep the length and give up only the points. Check your shape every week or two, because nails change as they grow, and a shape that suited short nails may not suit longer ones. If a corner keeps catching, round it a little more, because a snagged corner is the first step toward a break in long healthy nails.
9. Trim below a split before it travels
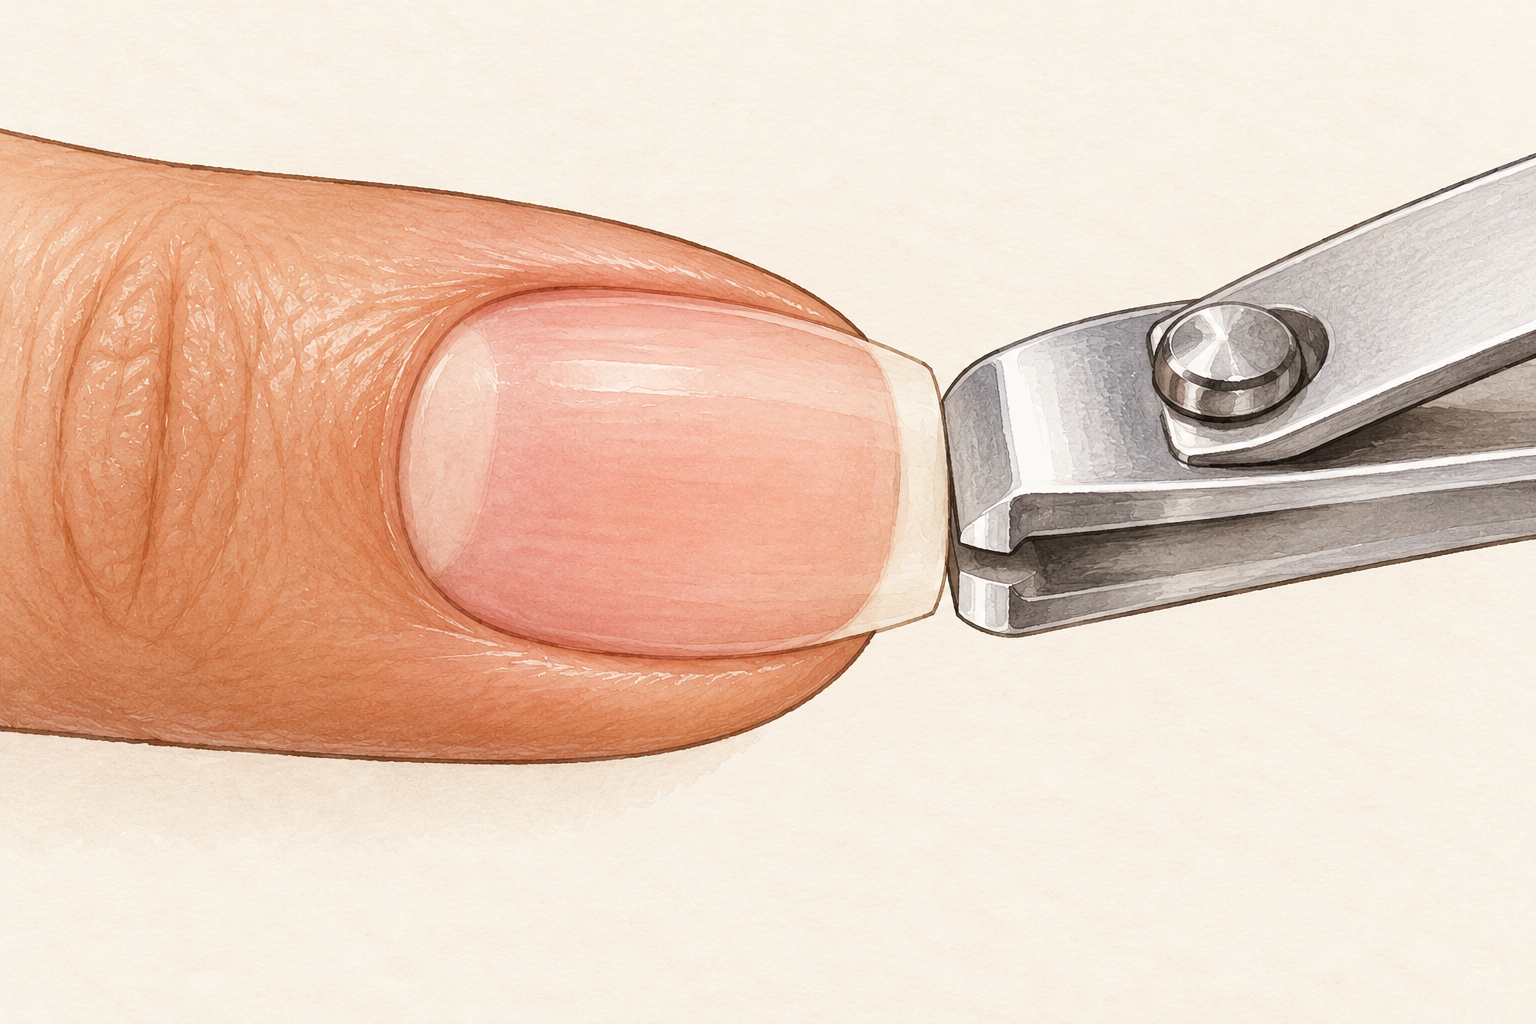
Cut the nail back just below the end of any split, then file the new edge smooth. A split keeps tearing down the nail every time it snags, so it only gets worse if you leave it. It feels like a loss, but it is far smaller than a tear that reaches the nail bed. If you see peeling layers instead of one clean split, trim to where the layers are still joined. Cut after a shower, when the nail is soft and clips cleanly instead of cracking. Seal the fresh edge with a tiny drop of oil, and smooth it once with the file to stop it catching.
10. Stop using your nails as tools
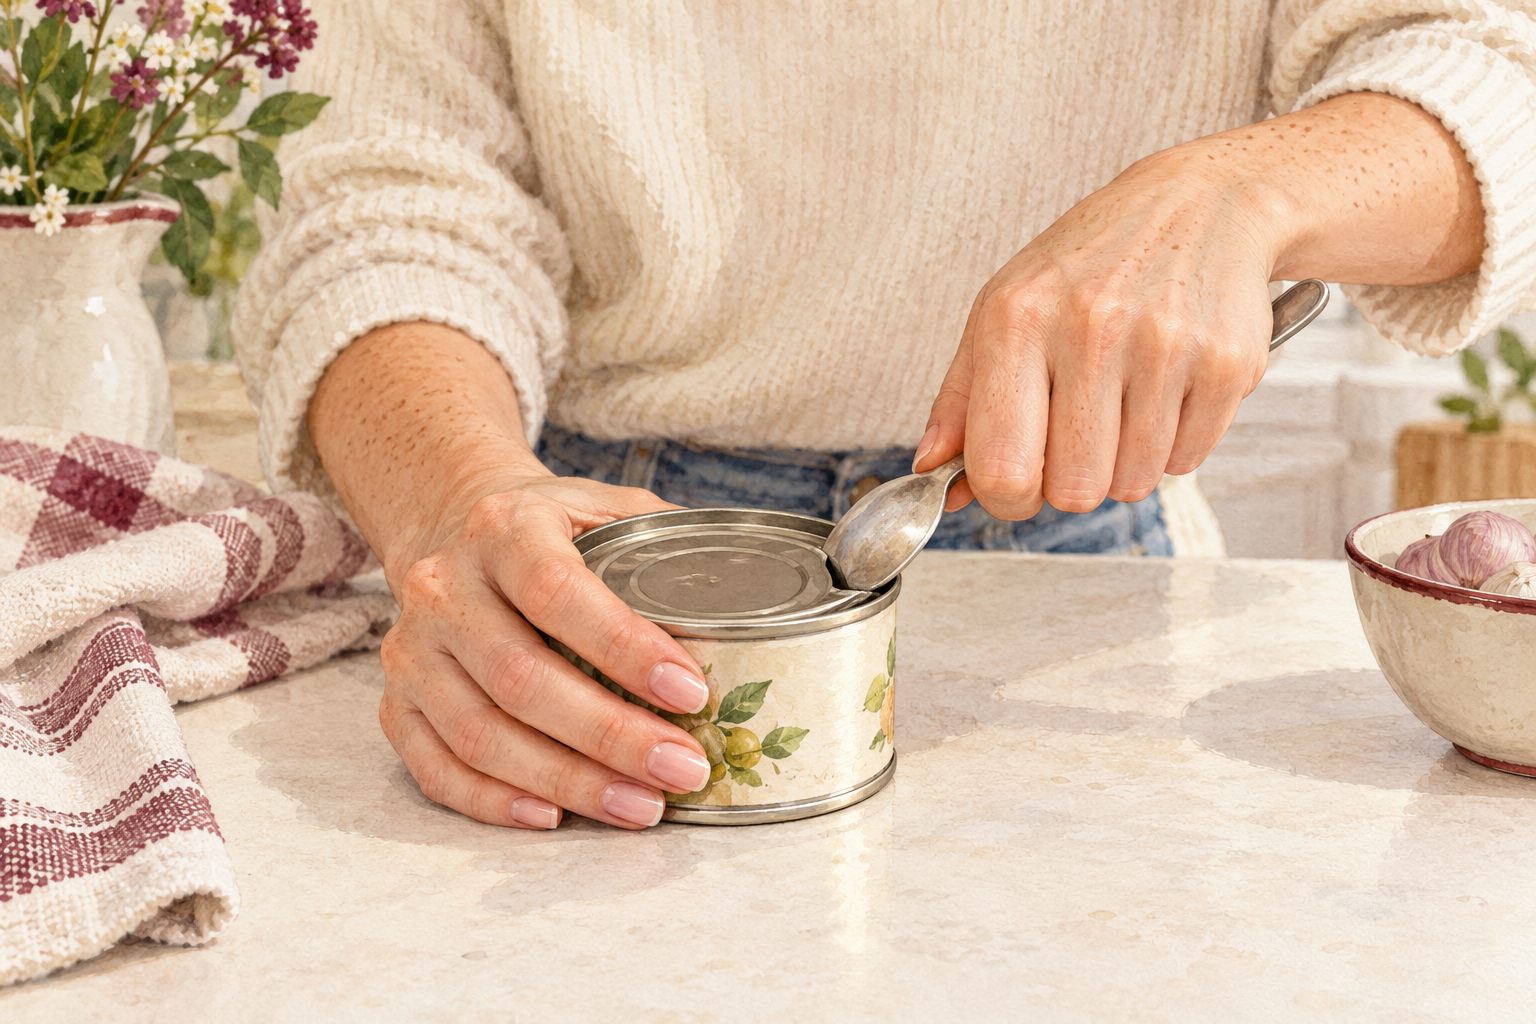
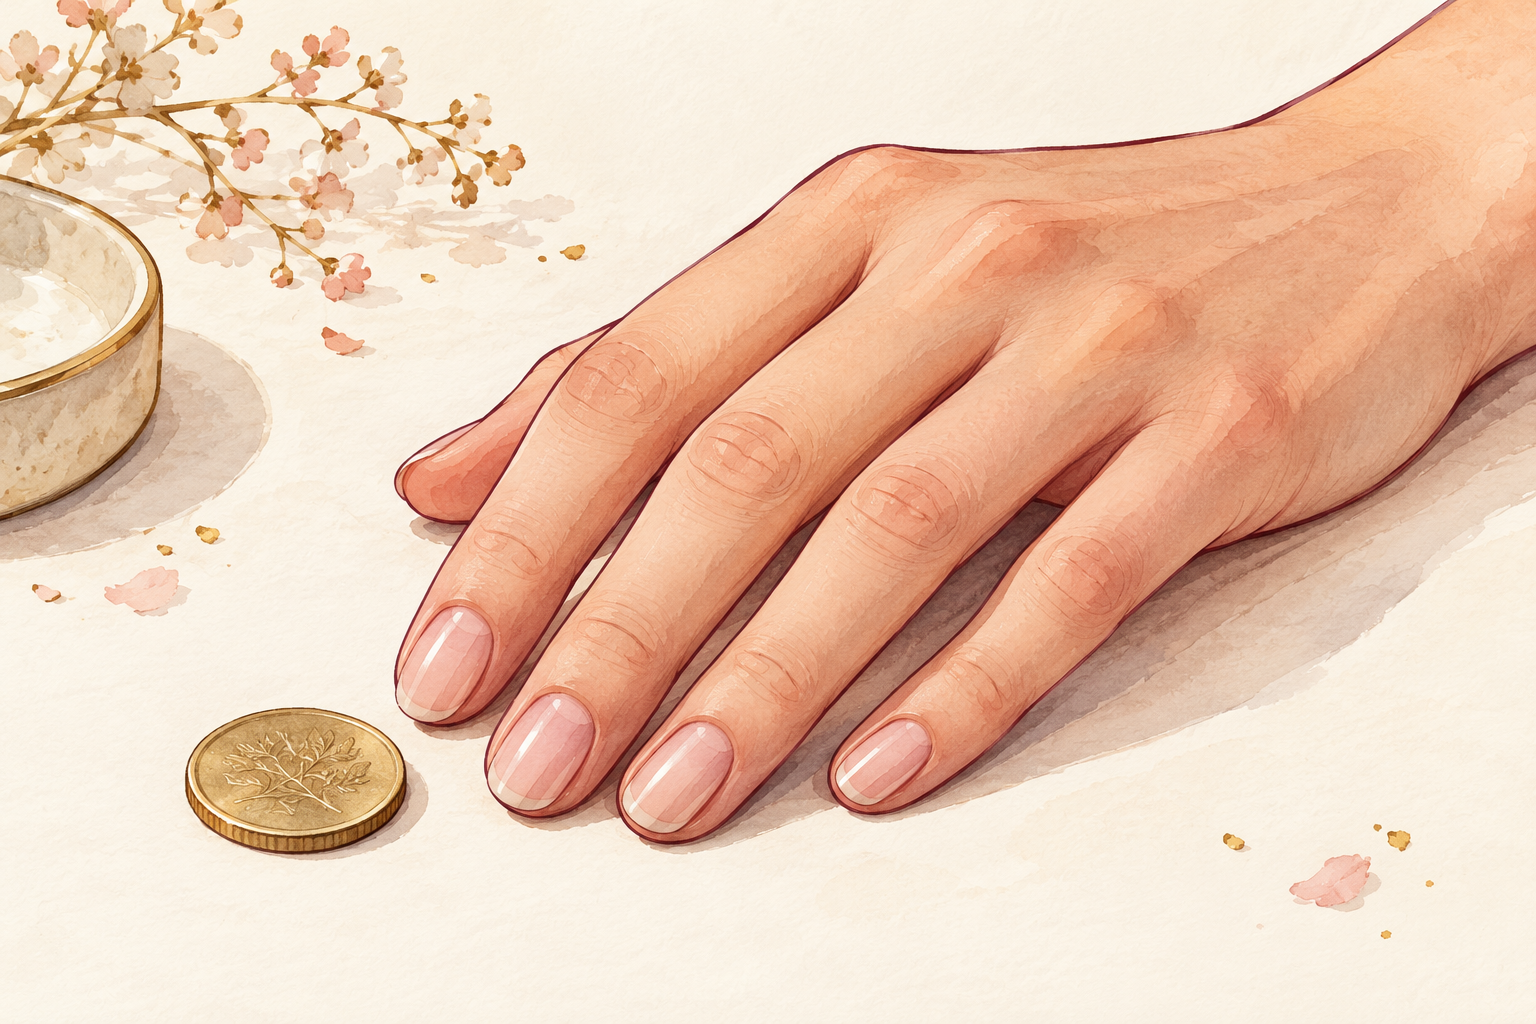
Keep a spoon, a coin or a butter knife close to where you pry, scrape or pop things open. Every small bend adds up to a crack that does not show for a week. Opening a can lid with a nail bends the free edge back over and over, and it fails the day you are in a hurry. The swap costs nothing and saves more nails than any serum. If you catch yourself picking at a label, put a file in your pocket and smooth the edge instead. The habit fades faster than you expect.
11. Swap harsh habits for gentle ones
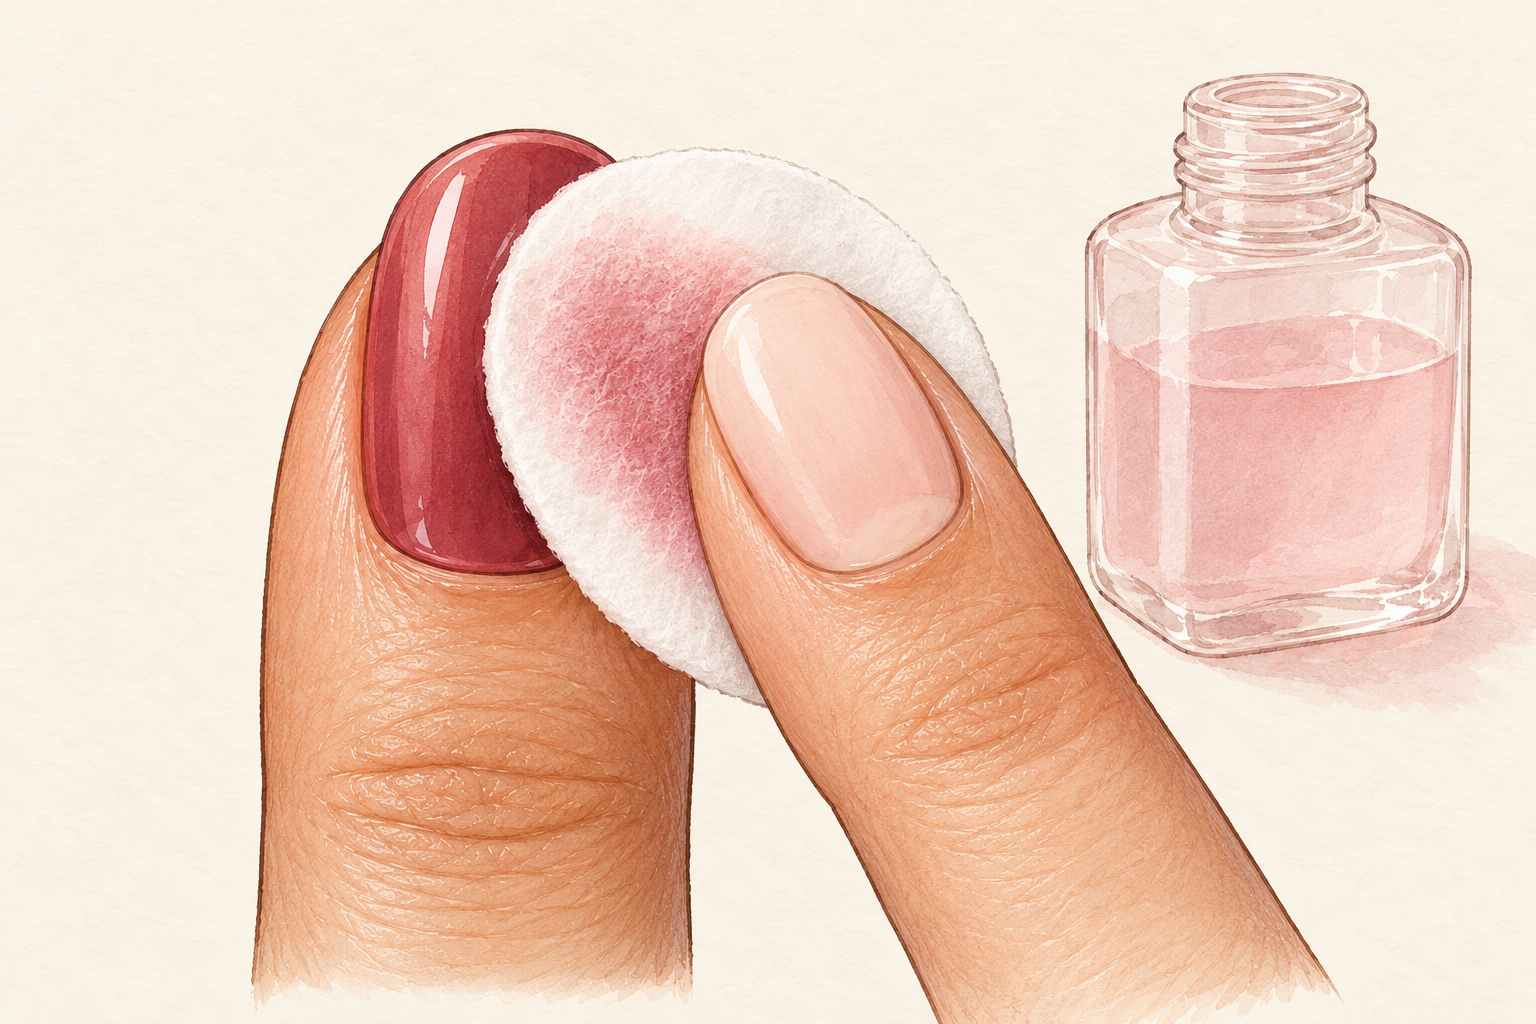
Soak a cotton pad in remover and let it sit on the polish instead of picking or peeling it off. Peeling takes a layer of nail with it. Choose a remover without acetone for everyday polish changes and keep the strong stuff for gel. Take a week off polish every few months so the nail surface can recover, and do not use a coarse buffer to smooth ridges. Small swaps like these matter more than any single product. Pick one to start this week, and add the others when it feels natural, because you do not need to change everything at once.
12. Check your progress at weeks one, four and eight

Take a photo of your hands in the same light each week and compare. At week one you should notice fewer snags, though the nails look about the same. By week four the tips split less often and the cuticles feel softer. By week eight you should see visible length that did not break off. If your nails are still thin or sore after four weeks, trim them short, keep up the oil and change one habit at a time. Slow changes show up best in photos, and a calm, steady month usually beats a frantic week of products.
Complete the Routine: Long Healthy Nails This Week
Tonight, file every edge smooth in one direction, press oil into your cuticles and hang your gloves by the sink. Long nails are a slow project, and every month you keep one is a small win. Further guides sit below for whenever you want to build on this one.