You twist a lock of hair in the mirror and there they are, tiny forks at the tips, while every oil and mask on the shelf swears it can fix them. Learning how to get rid of split ends starts with sorting what works from what is just talk. Here are 12 fixes, myths included, that keep as much length as possible, so start at number one tonight.
1. Find out how far the splits run
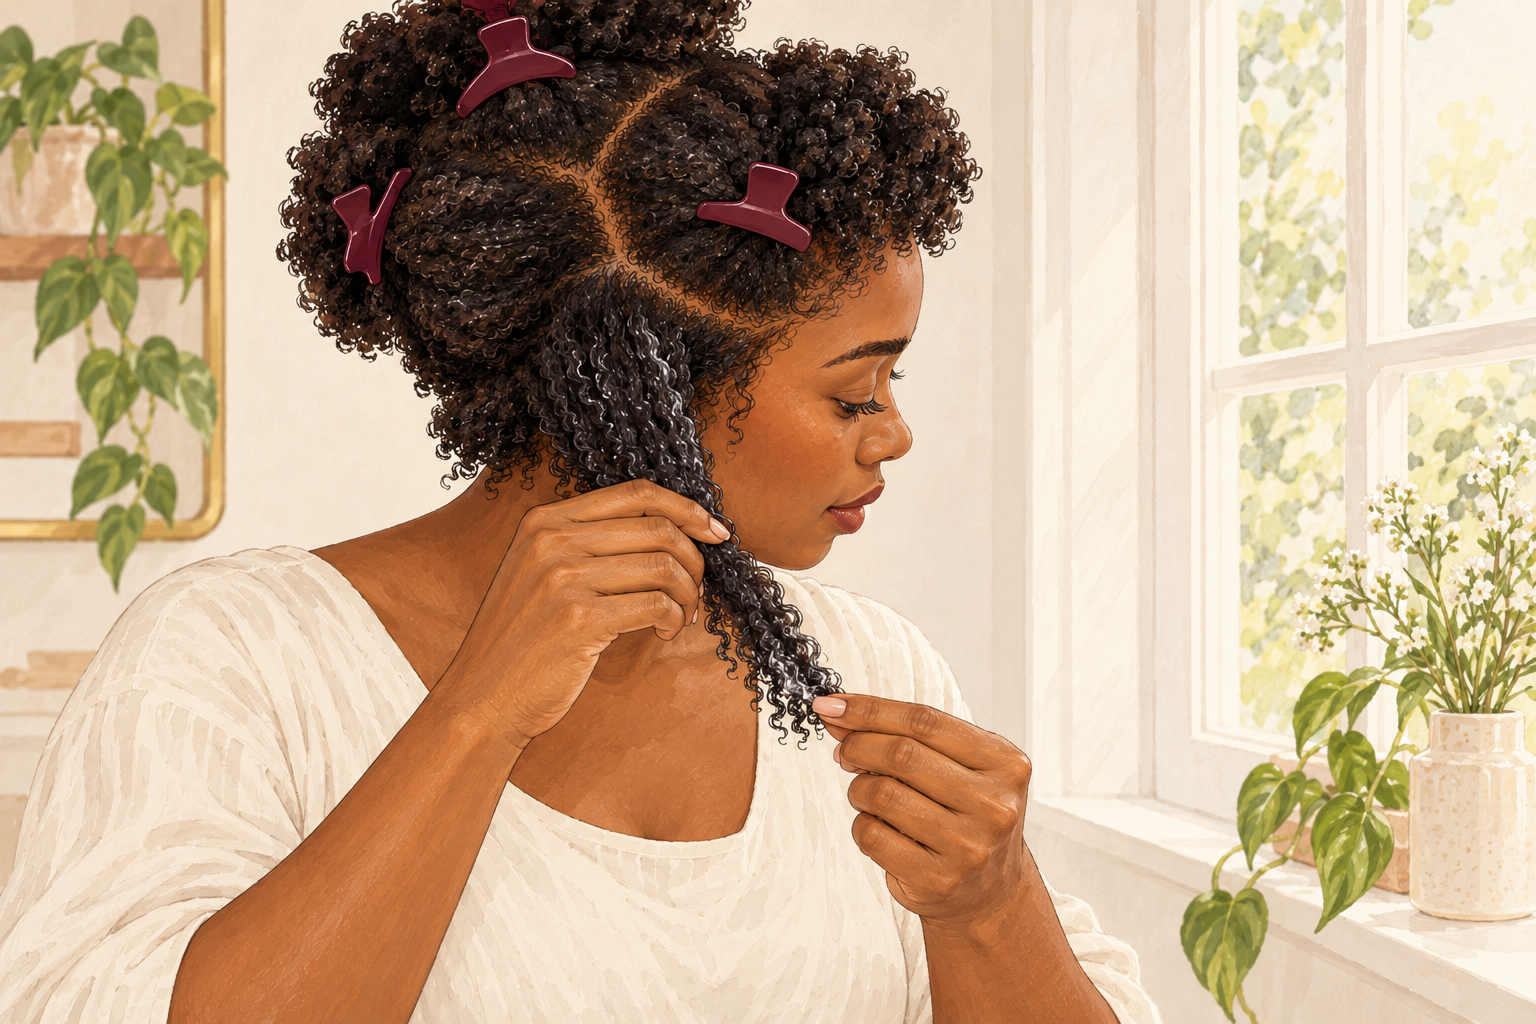
Hold a few strands up in daylight and look for forks, frayed tips and little white dots along the strand. Slide your fingers down the hair and feel for the spot where it catches or suddenly thins. If the splits sit in the last inch, you are in luck, because a tiny trim will clear them. If they climb past three inches, plan a bigger cut. Dry ends look rough but are not split, and they need moisture and not scissors. Check again after your next wash, because wet hair clumps and hides forks. Use a mirror behind you if you can, since the back is usually worse.
2. Know what splits your hair in the first place
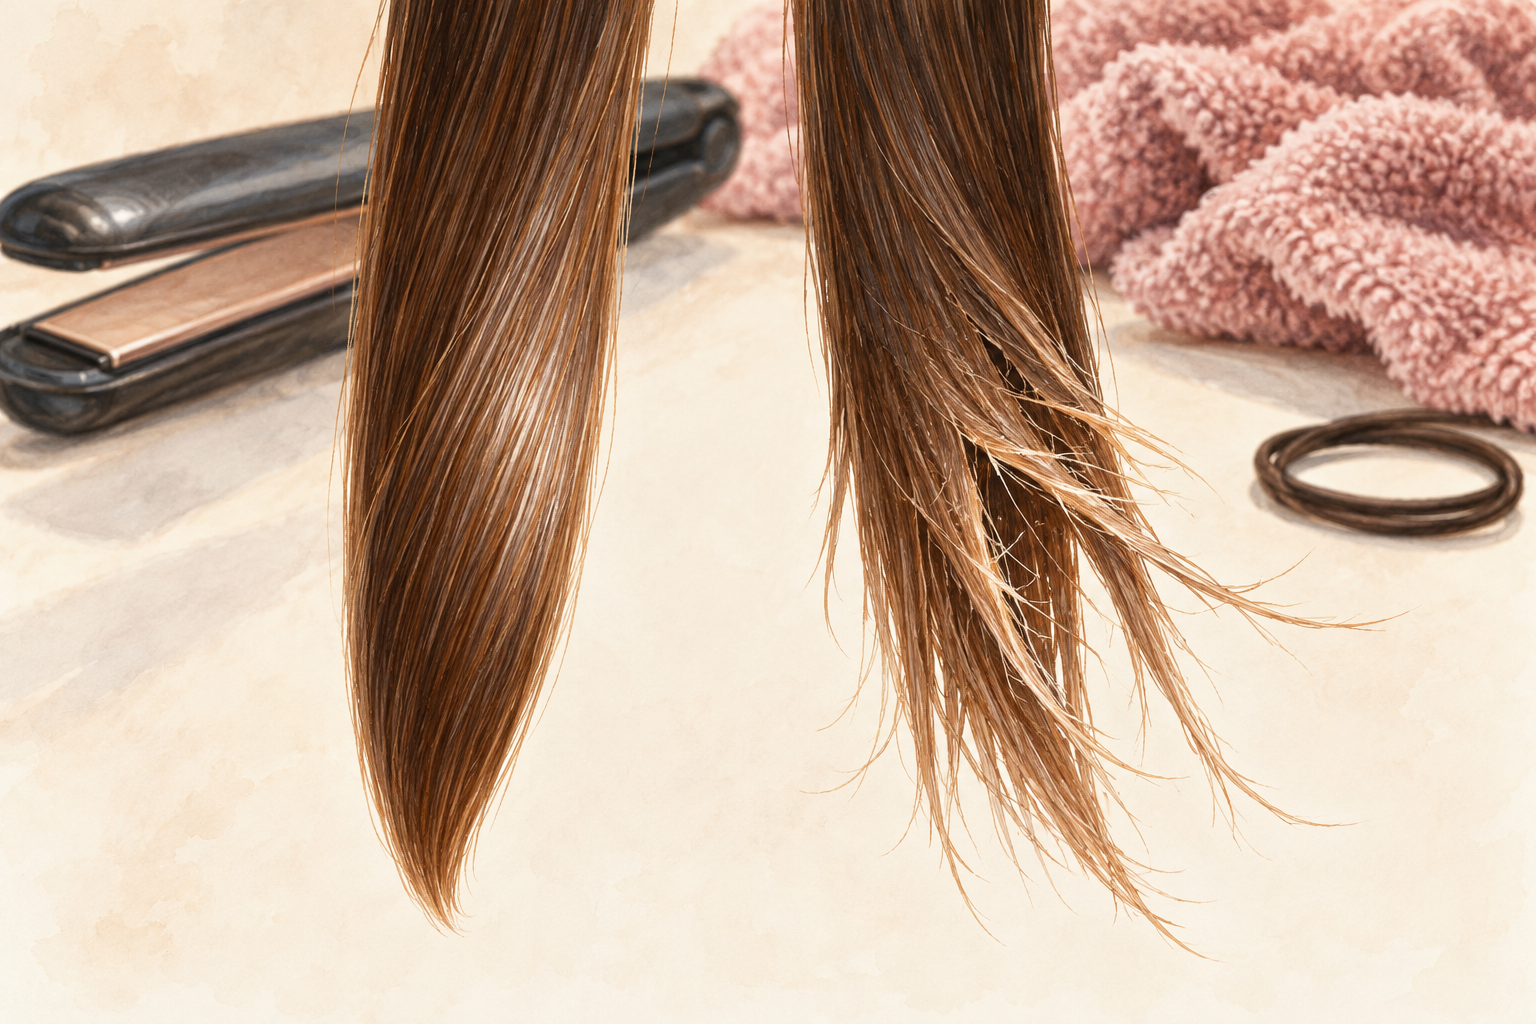
Most splits come from heat, rough towels, tight ties and plain dryness. Tips are the oldest part of your hair, so they have survived the most brushing and the most hot days. Once the outer layer wears thin, the strand opens like a frayed rope. Write down which habits apply to you, such as a daily flat iron or rubbing your hair in a towel. Those are the ones to change first. Fixing the cause matters as much as the cut, because otherwise new forks arrive within a month. Three or four changes are plenty to start, so do not try them all at once.
3. Decide how much length you can lose
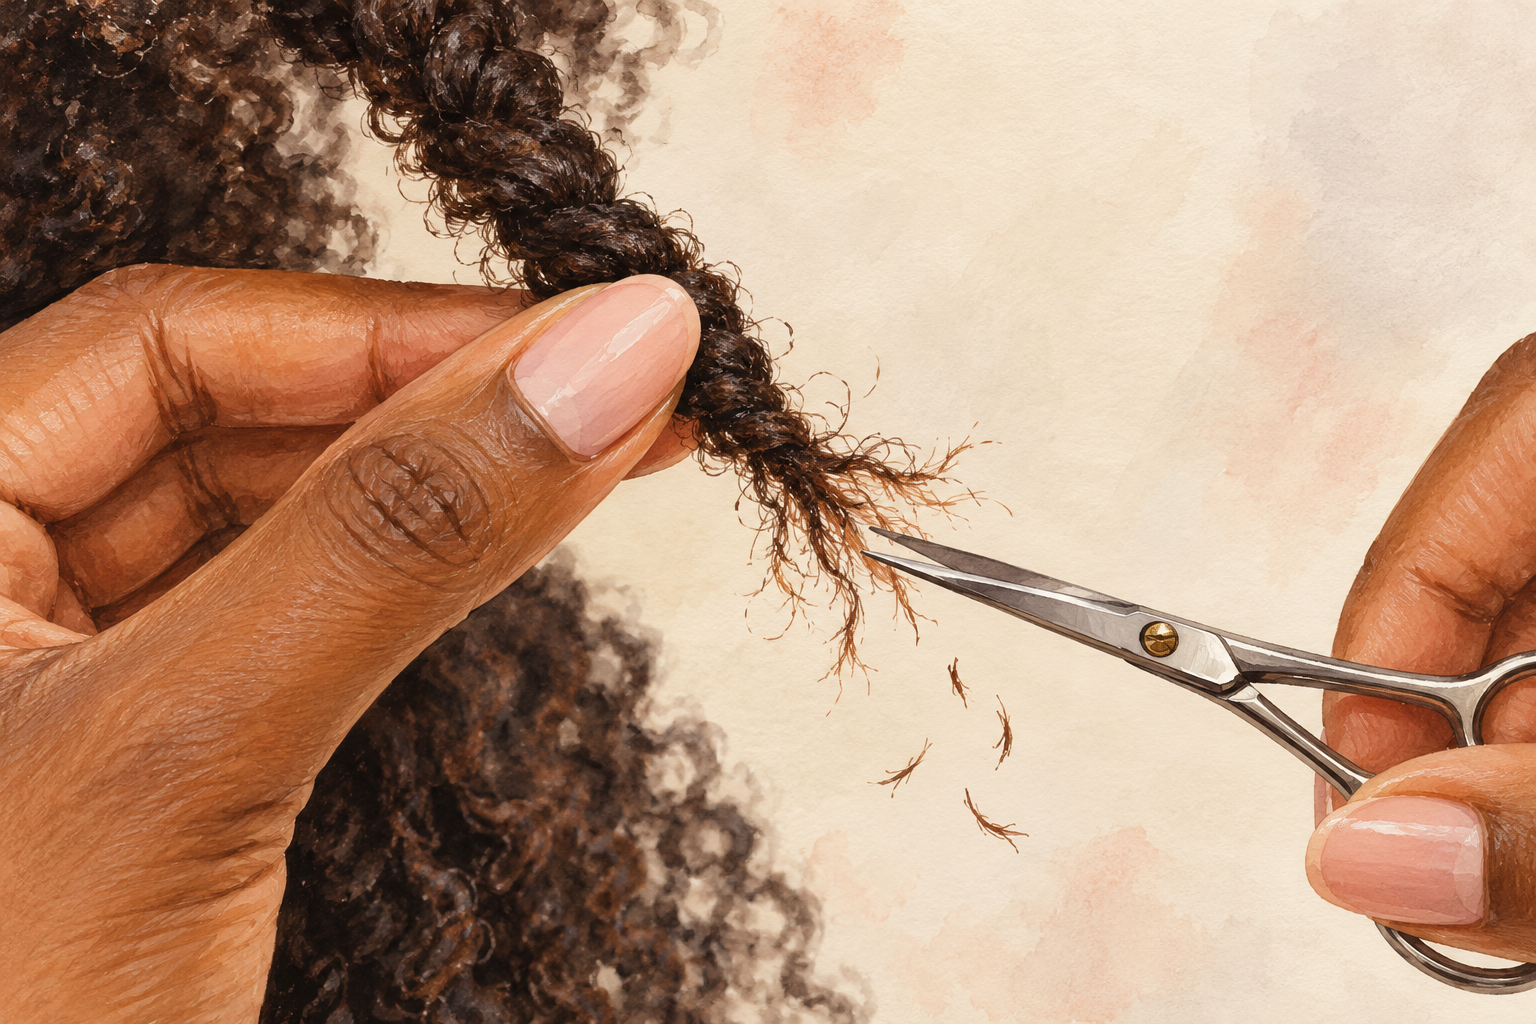
Start with half an inch, look, and only cut more if you still see forks. Taking small bites is the heart of how to get rid of split ends without chopping blindly. Pinch the section between two fingers and slide down to where the damage begins, then cut just above it. If most hair has split a long way up, cut in two rounds, one now and one in a month. A small loss today saves you from a large one later. Fine hair shows a short cut more, so go especially slowly. Thick hair hides a small trim easily, so you can be bolder.
4. Myth: a trim makes hair grow faster
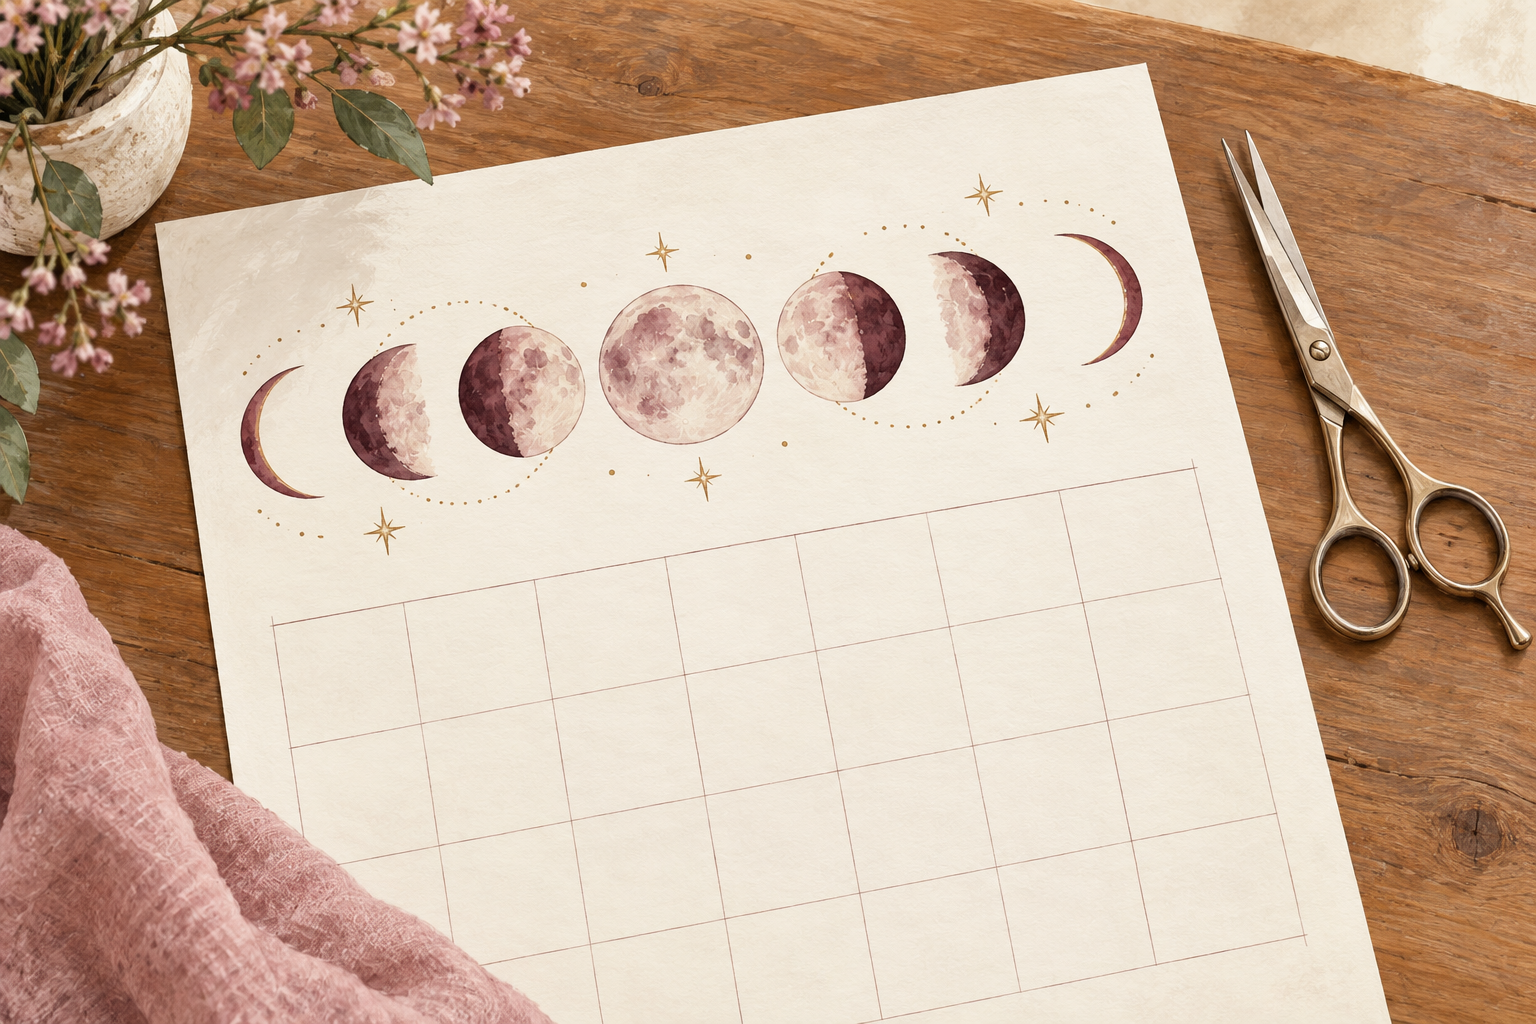
Hair leaves your scalp at the same pace whether you trim or not, about half an inch a month. What a trim does is remove the weak ends before they snap, so you keep more of the length you grew. If someone swears that cutting on a certain moon or a certain day speeds growth, smile and ignore them. The real benefit is keeping what you have. Trim on a plan, not on a rumor, and your hair will look fuller at the bottom as the months pass. Mark each trim in your phone and compare the length in six months.
5. Myth: oils and masks mend splits

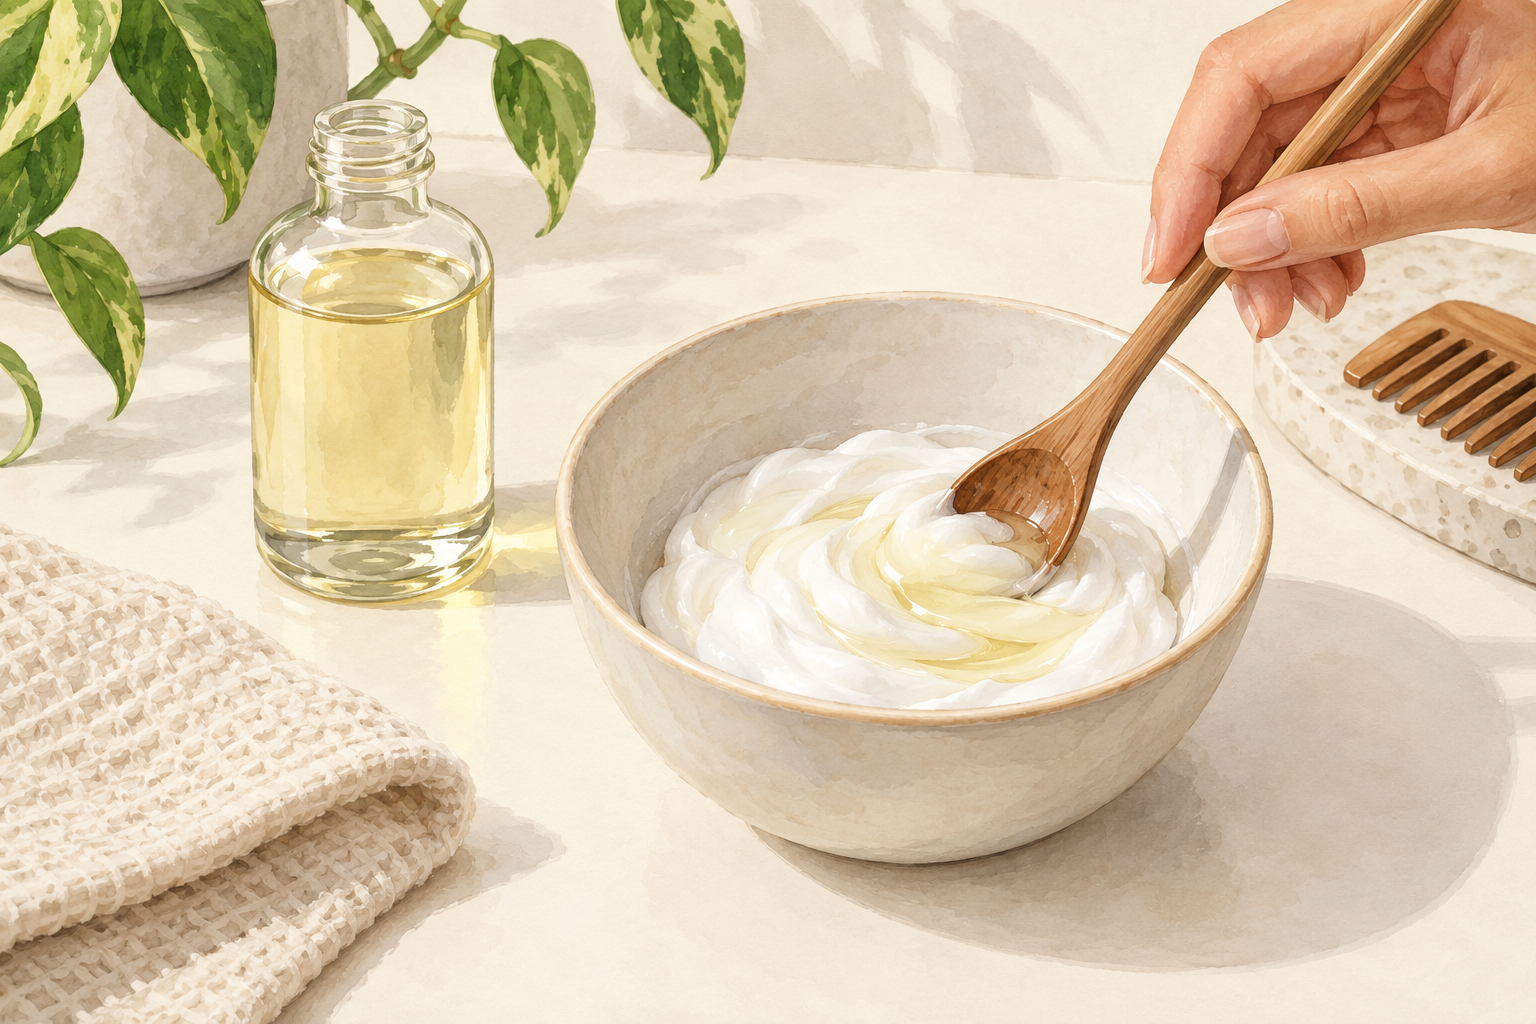
A light oil or a thick mask fills the roughness and hides splits until your next wash. That helps when you are waiting for a trim, because smooth ends snag less. It does not join the two halves of a strand back together. Use a pea sized drop on the last few inches after washing, and skip it on days when the ends feel fine. A heavy layer on fine hair only looks greasy. Treat it as a bandage you replace, never a repair, and you will not feel let down. Use it before a special day to calm the tips, then book the trim for after.
6. Myth: burning the ends seals them
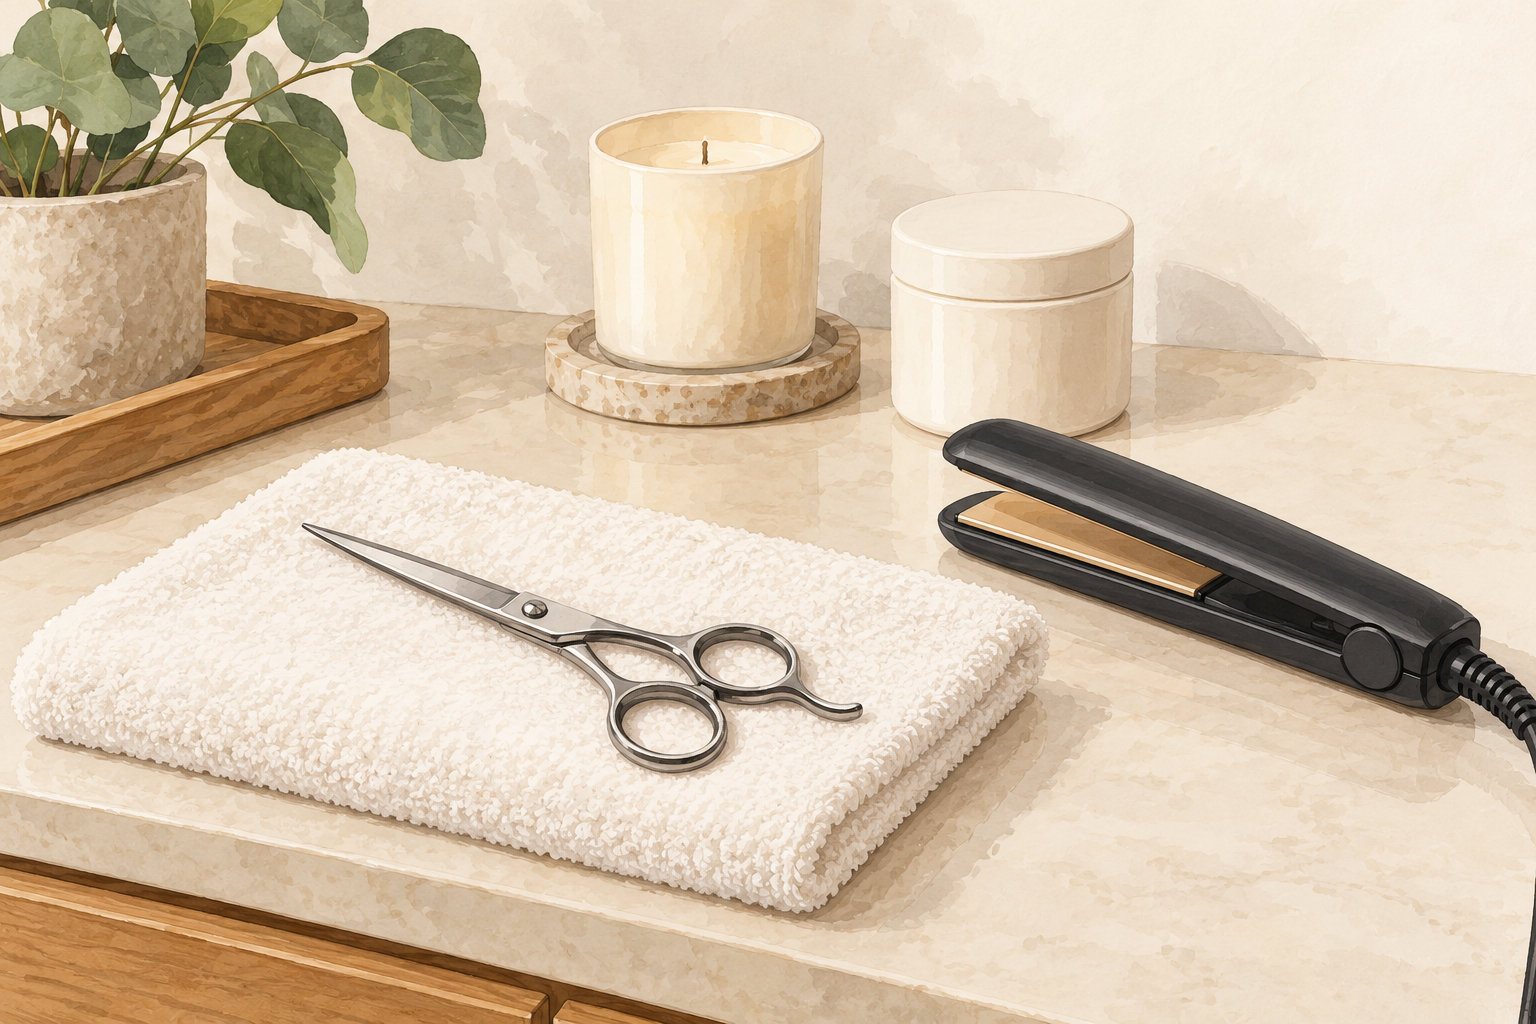
Skip candle cutting completely, because singeing a twist of hair does not seal anything. It leaves a rough, brittle edge that splits again sooner than a clean cut would. It can also burn your hair and your fingers, and a flame next to loose hair is a real fire risk. A pair of sharp scissors does the job in a minute with none of that danger. If a video makes it look easy, remember it is a few seconds of footage and no one films the aftermath. Save your nerves and cut with scissors. Hair shaped by a flame never feels soft, even on the first day.
7. Use scissors made for hair
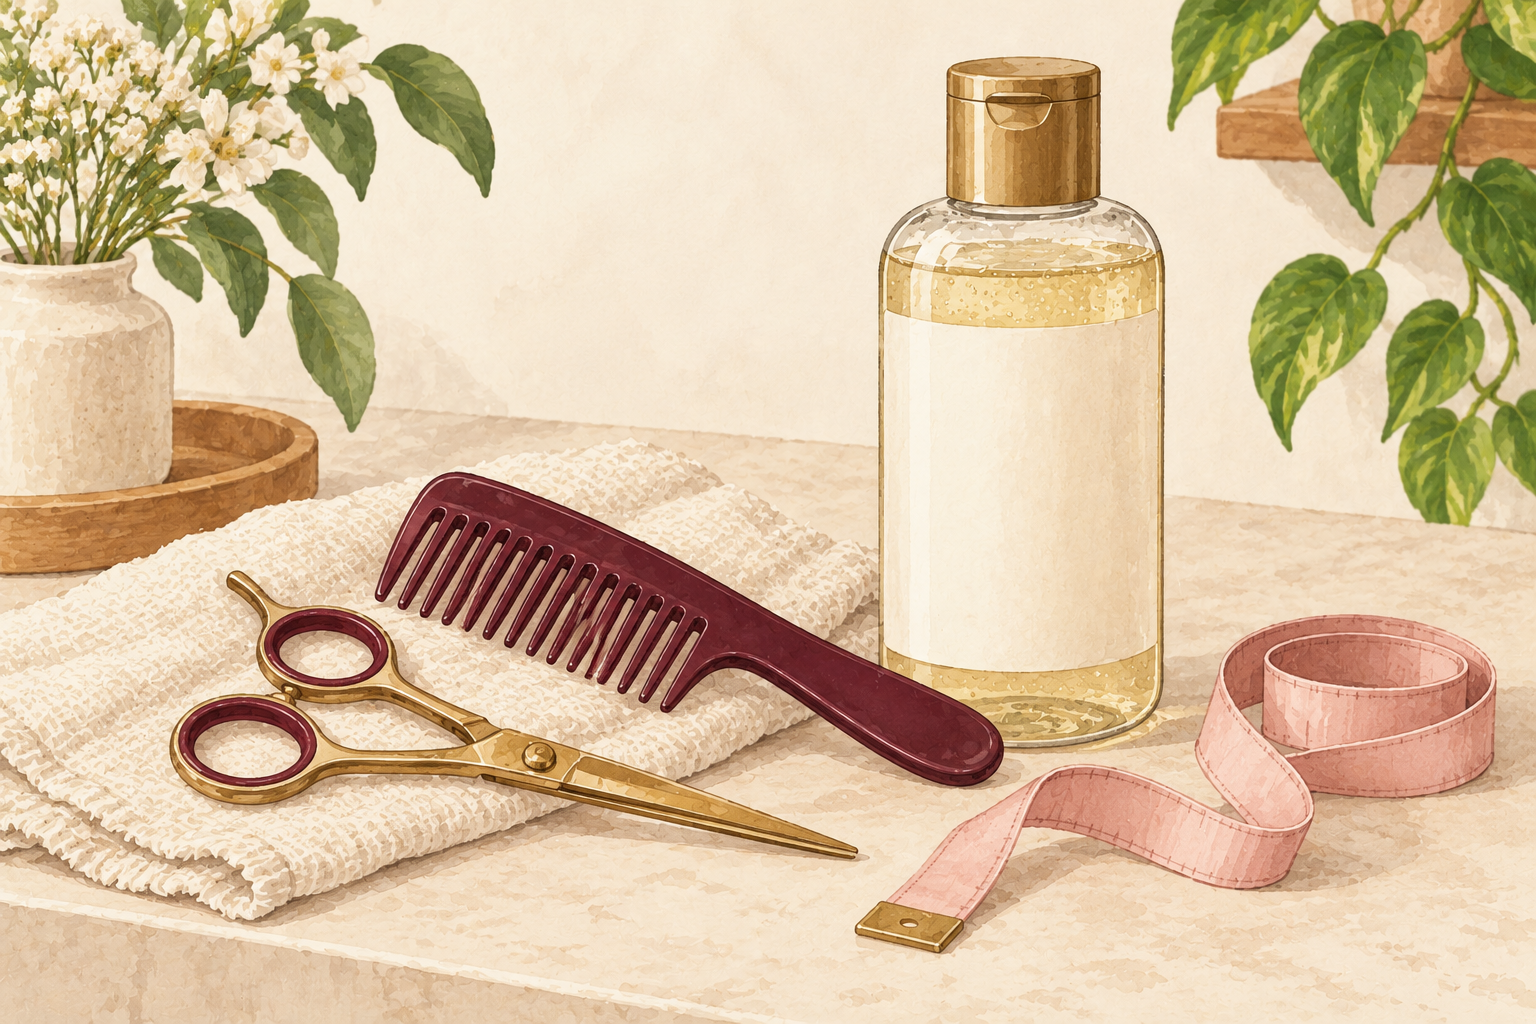
Hair scissors cut cleanly, while kitchen and craft scissors crush the strand and make fresh splits. Check that the blades are clean and the points meet. If the scissors drag or chew, they are blunt and need replacing. Keep them for hair only, and wipe the blades with a pinch of rubbing alcohol on a cotton pad before you start. Cut on dry, detangled hair in good light, so you can see exactly what you are taking off. Good scissors are the one purchase worth planning, because they last for years. Store them in a drawer, away from the kitchen, so no one borrows them for paper.
8. Cut just above the split, section by section
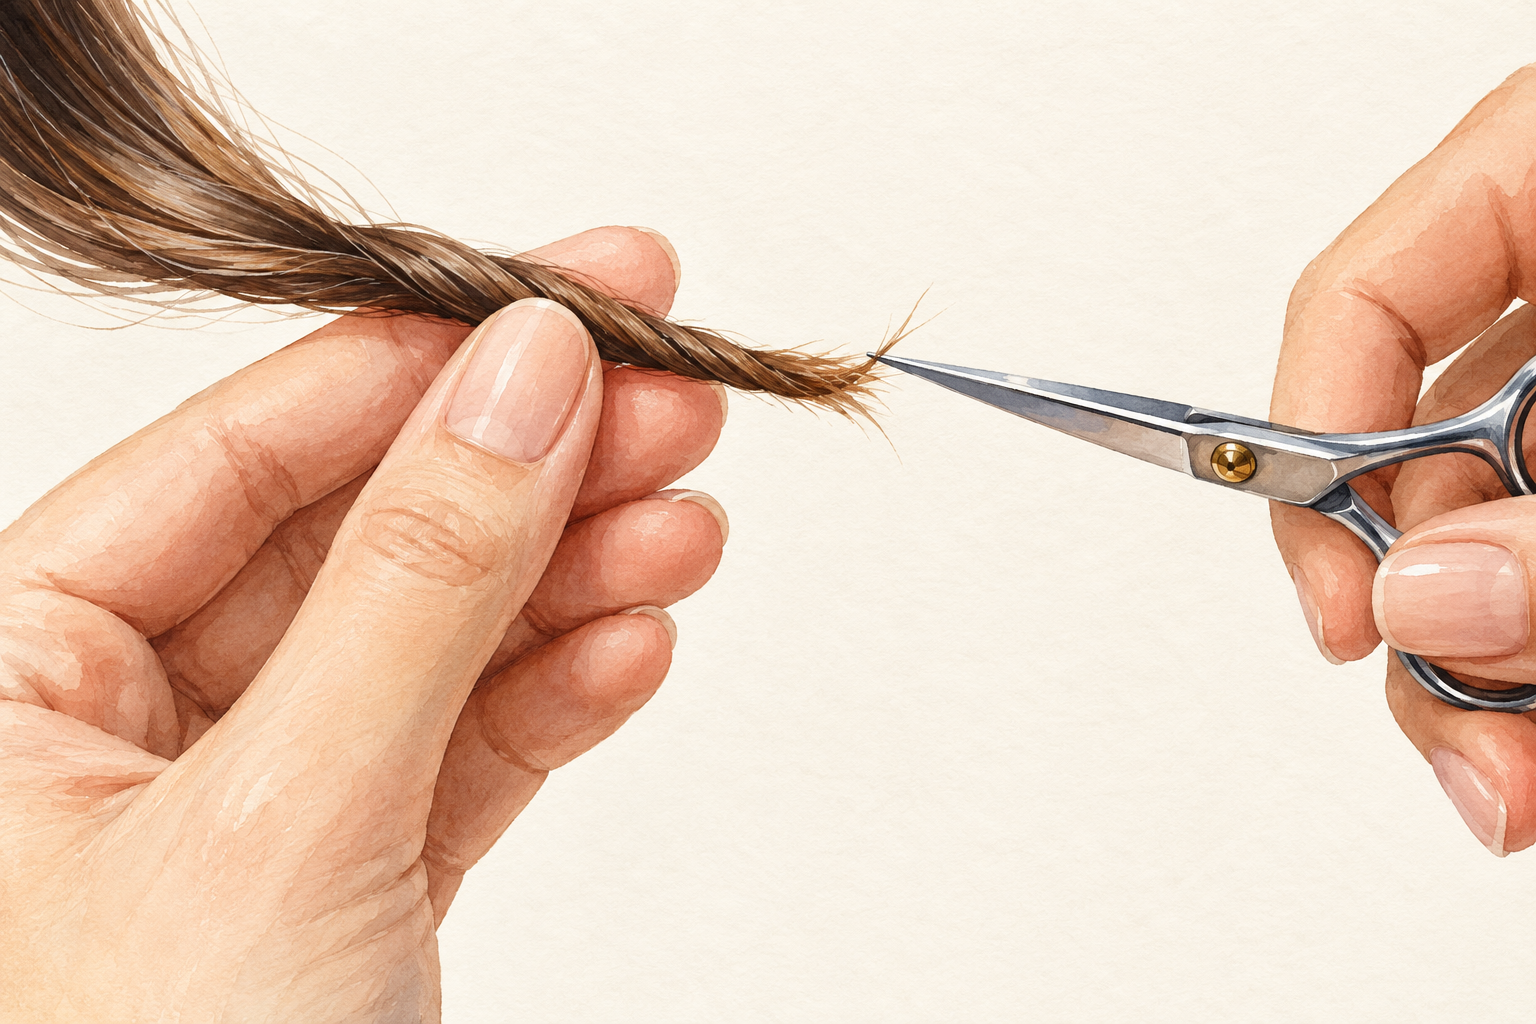
Twist a thin section gently and snip only the fuzzy ends that stick out, a few millimeters at a time. Work around your head in small sections instead of one big chop. Check after every pass and stop when the ends look clean. Your hair should feel smoother and look thicker at the bottom, with no wispy bits poking out. If this feels scary, practice on one hidden section underneath first. The full methods, with tools, are in the guide linked at the end, and they take about twenty minutes. Look at the cut ends on a white towel to see how much you really removed.
9. Detangle from the ends upward
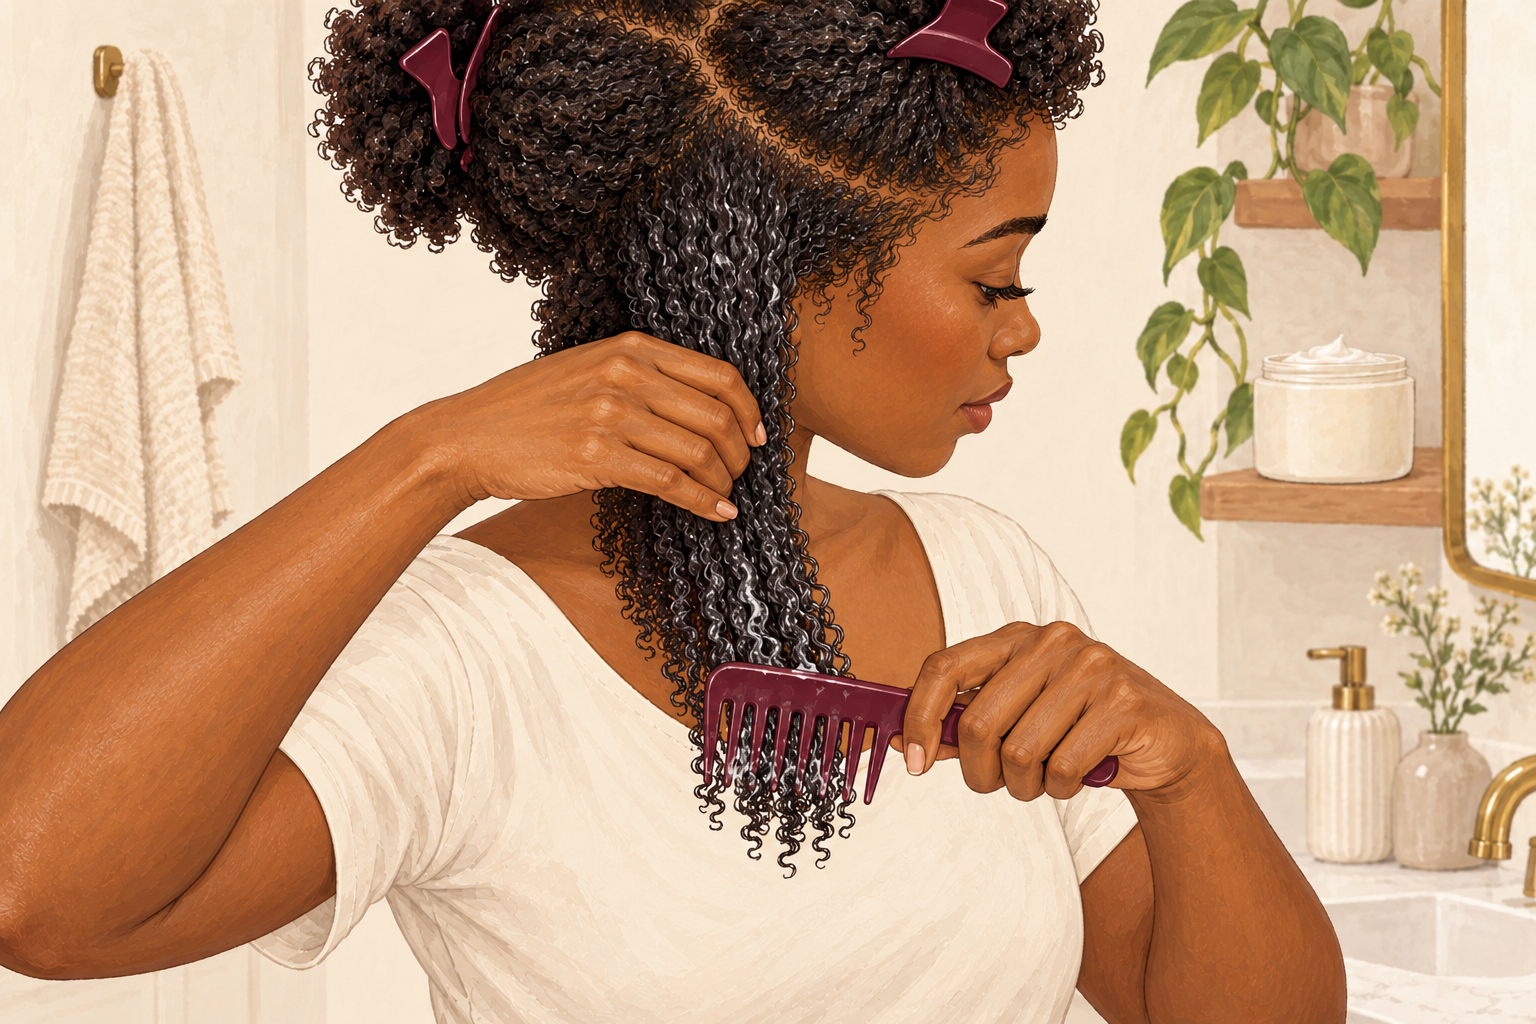
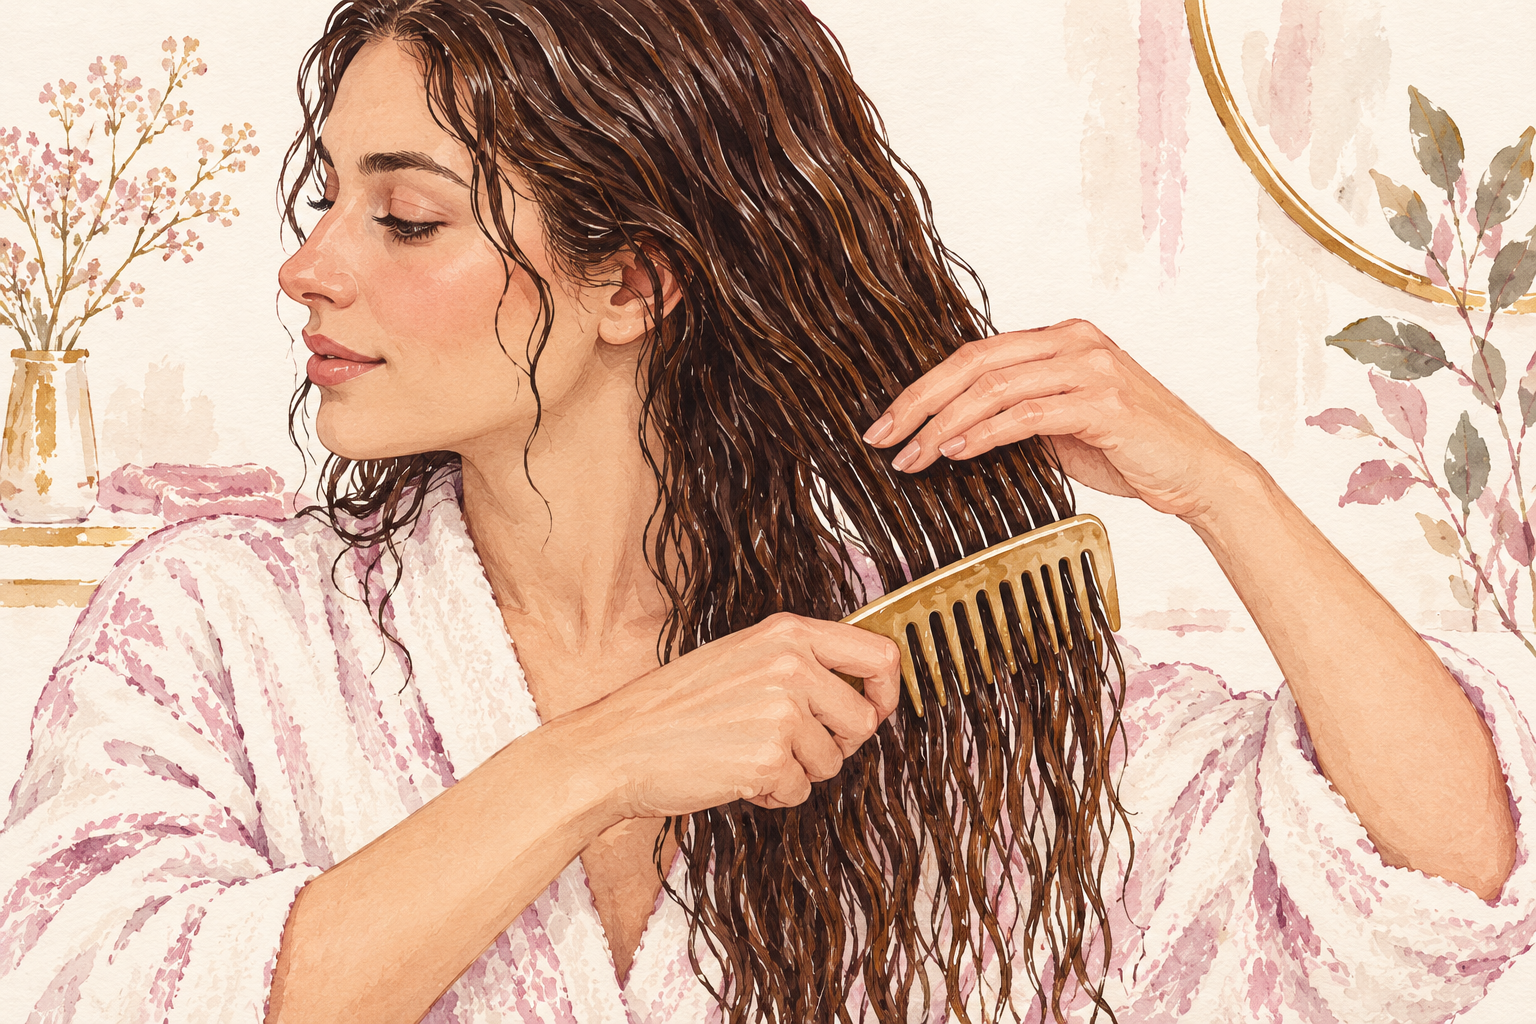
Work out knots with a wide tooth comb, starting at the tips and moving up in short strokes. Dragging a brush from the roots pushes every knot down onto the ends and tears them. Hold the hair above the knot so your scalp does not take the pull. A little conditioner gives slip, and the stubborn tangles need patience. Rushing turns a small knot into a snapped strand, and a snapped strand is the start of the next fork. Comb only when the hair is damp and conditioned, never dry and fighting you. Finish by running your fingers through the hair, and any rough spot you feel is worth another pass.
10. Turn down the heat and soften the ties
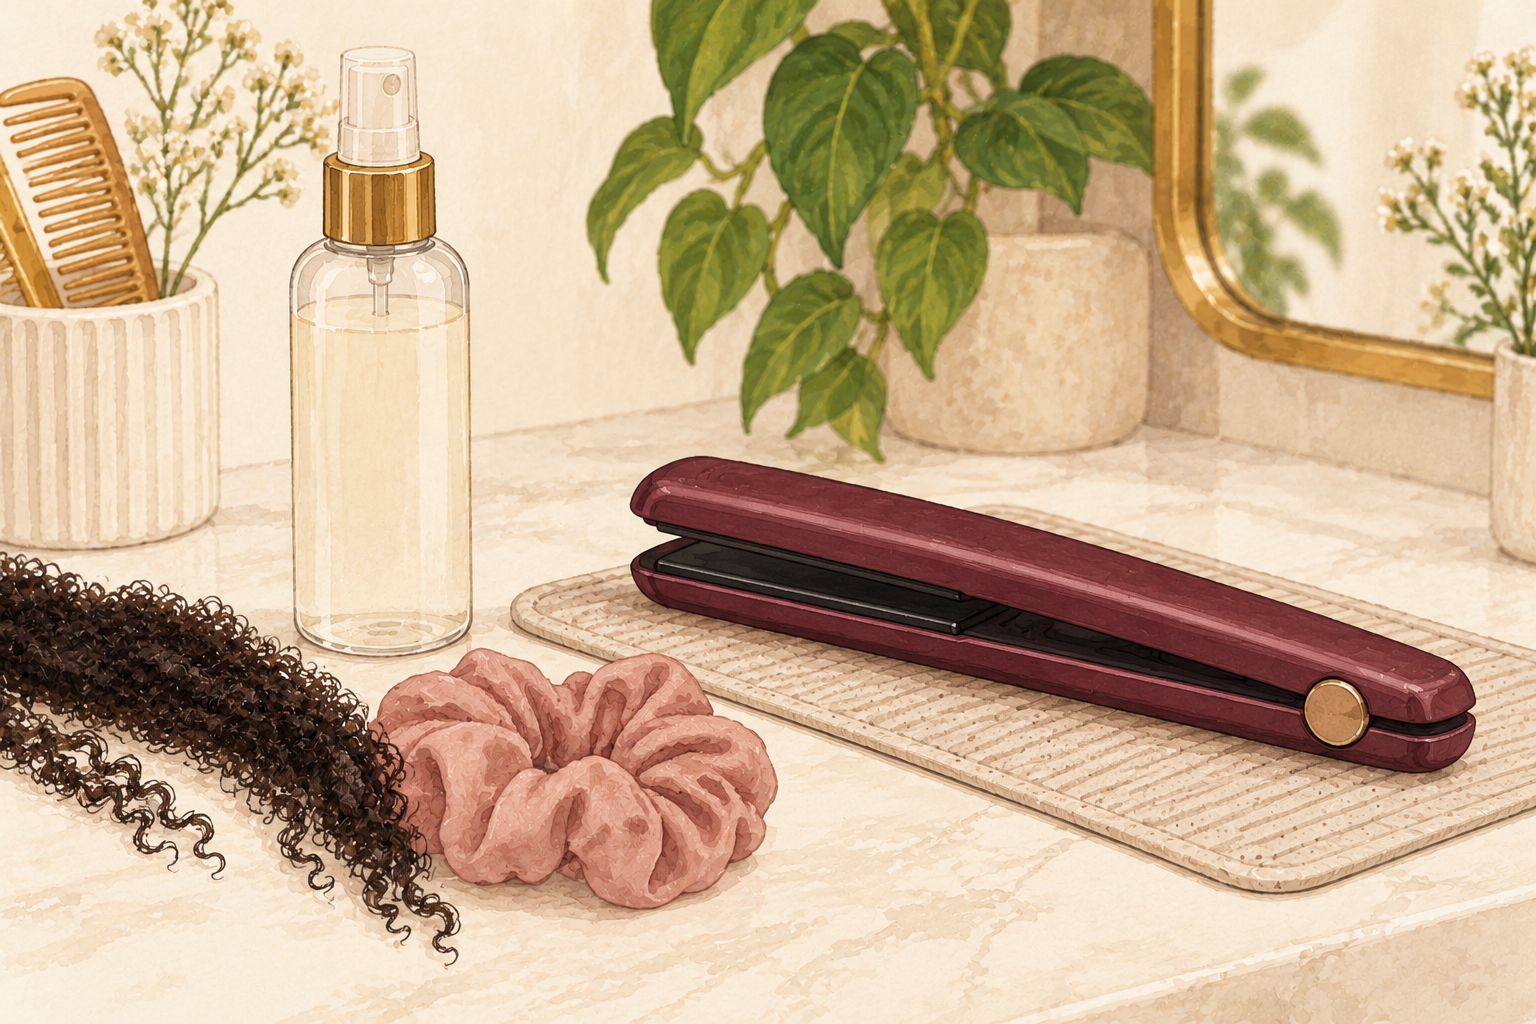
Lower your hot tools by one setting, use a protectant spray, and swap tight elastic bands for soft scrunchies. Move the tie to a different spot each day, because friction in the same place causes the same splits to return. Wash with a gentle shampoo and always follow with conditioner on the lengths. If you wash daily, try stretching it to every second day. These are small swaps, but they decide whether your trim lasts three weeks or three months. Your hair will feel less crunchy at the tips within two washes. Keep a spare scrunchie on your wrist and a protectant in your bag, so you never skip it on a busy morning.
11. Avoid the slips that bring splits back
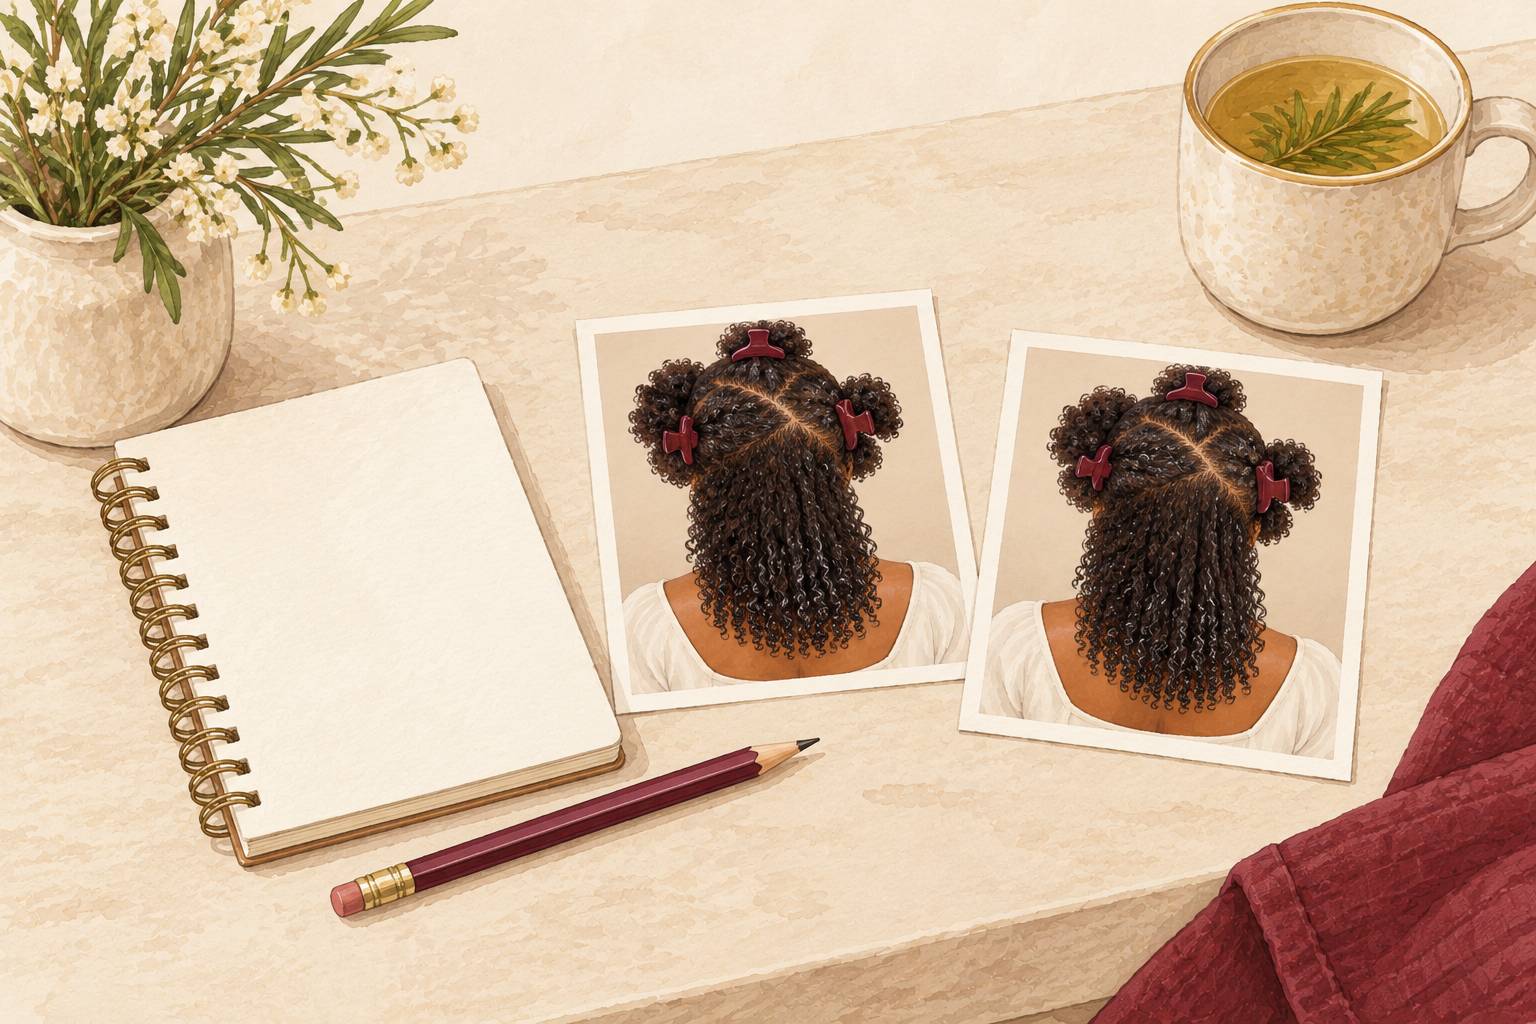
Never cut wet hair, because it stretches and you will take off the wrong amount. Do not trim too little and leave the weak part behind, which is the most common slip. Avoid piling on heavy cream to hide ends instead of cutting them, because it only weighs the hair down. If new forks appear within a couple of weeks, look at your heat and your brushing before you blame your scissors. Small slips repeat, so a quick note after each trim about what you did helps you spot the pattern. Take a photo of your ends in daylight after every trim, so you can tell what changed.
12. Know what week 1, week 4 and week 8 look like

In week one, the ends feel smoother and the forks you cut are gone. By week four, if you cooled the heat and combed gently, far fewer new splits appear. By week eight the ends should still look tidy, and that is the right time to plan your next small trim. A dusting about every six weeks keeps them that way. Hair differs, so treat these weeks as markers and not strict rules. Put the date in your phone, because six weeks slides easily into six months, and that slip is how a good plan quietly fails.
Complete the Routine: How to Get Rid of Split Ends This Weekend
Tonight, check your ends in daylight and decide how much to take off. For what products can and cannot do, read split ends repair, and for daily habits, see how to prevent split ends.