Your hair feels like straw after a wash, snaps when you brush it, and no mask seems to hold for more than a day. The trouble is rarely a missing product, it is what happens between washes. Caring for damaged hair is a handful of daily habits done gently and in the right order. Here are 12 of them, so start at number one tonight.
1. Gather your gentle kit
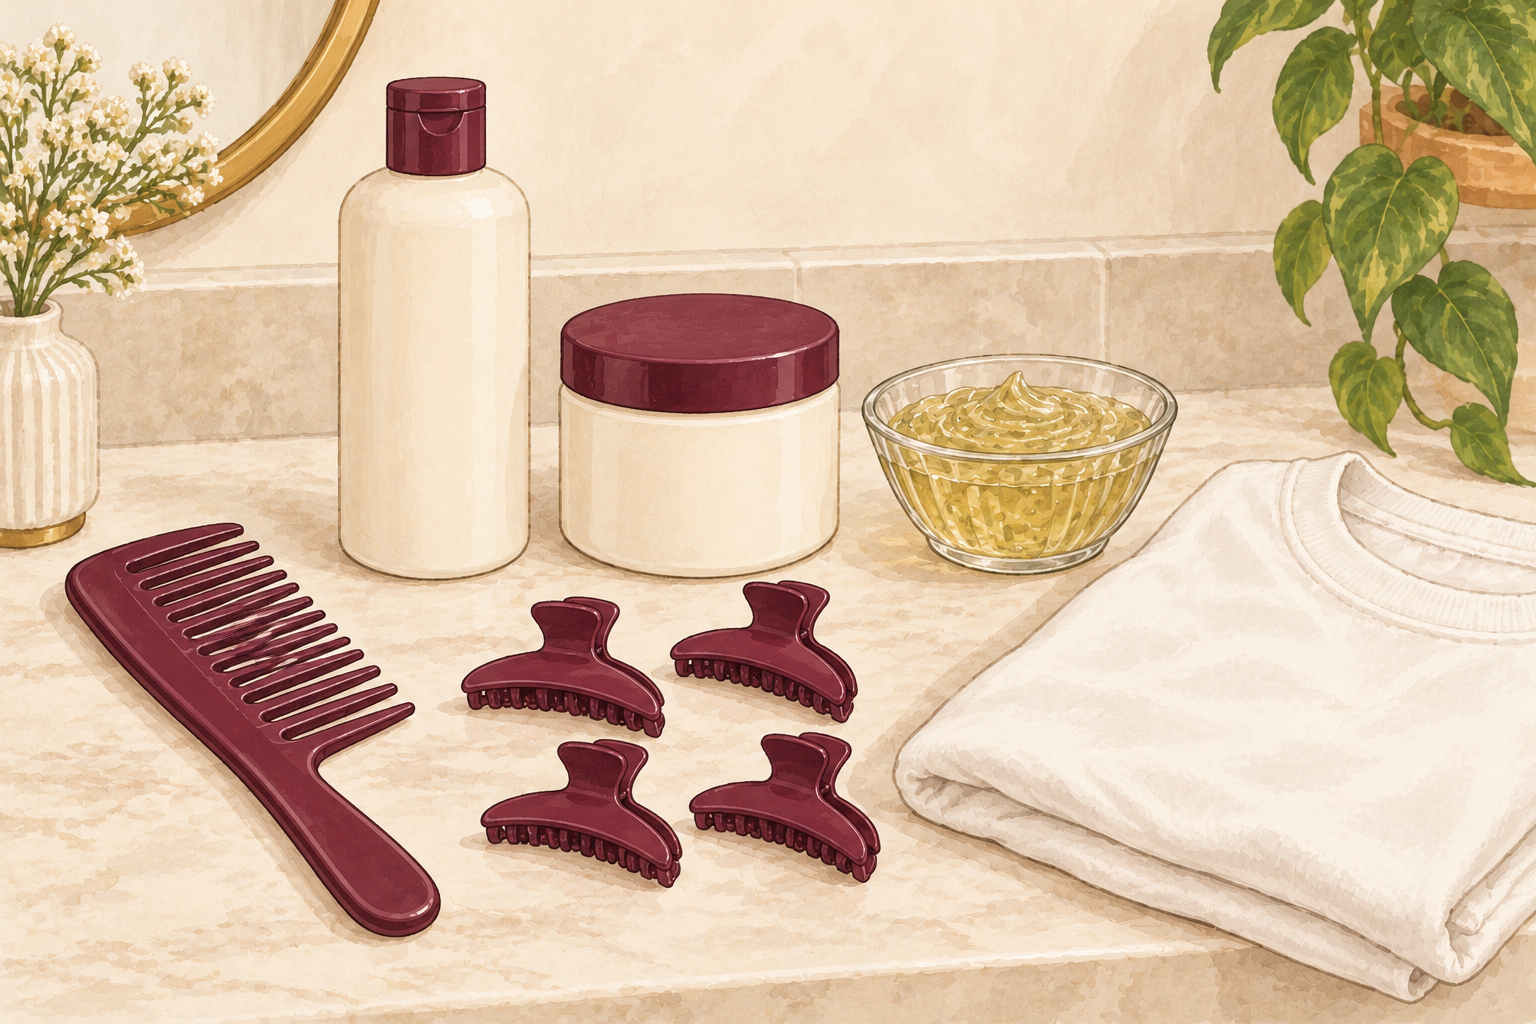
Set out a wide tooth comb, a soft cotton tee shirt, a satin scrunchie, a mild shampoo, a rich conditioner and a leave in. That is the whole list, and none of it has to be fancy. Choose a mild shampoo that foams softly rather than squeaks, because squeaky usually means stripped. Keep the kit in one basket by the bathroom door so you reach for it every wash day. When everything sits in one place, the routine happens on autopilot instead of getting put off. Toss out any brush with bent or broken bristles, which tear wet hair. Wash the comb and brush with soapy water every couple of weeks, because old product builds up on them.
2. Find your starting point
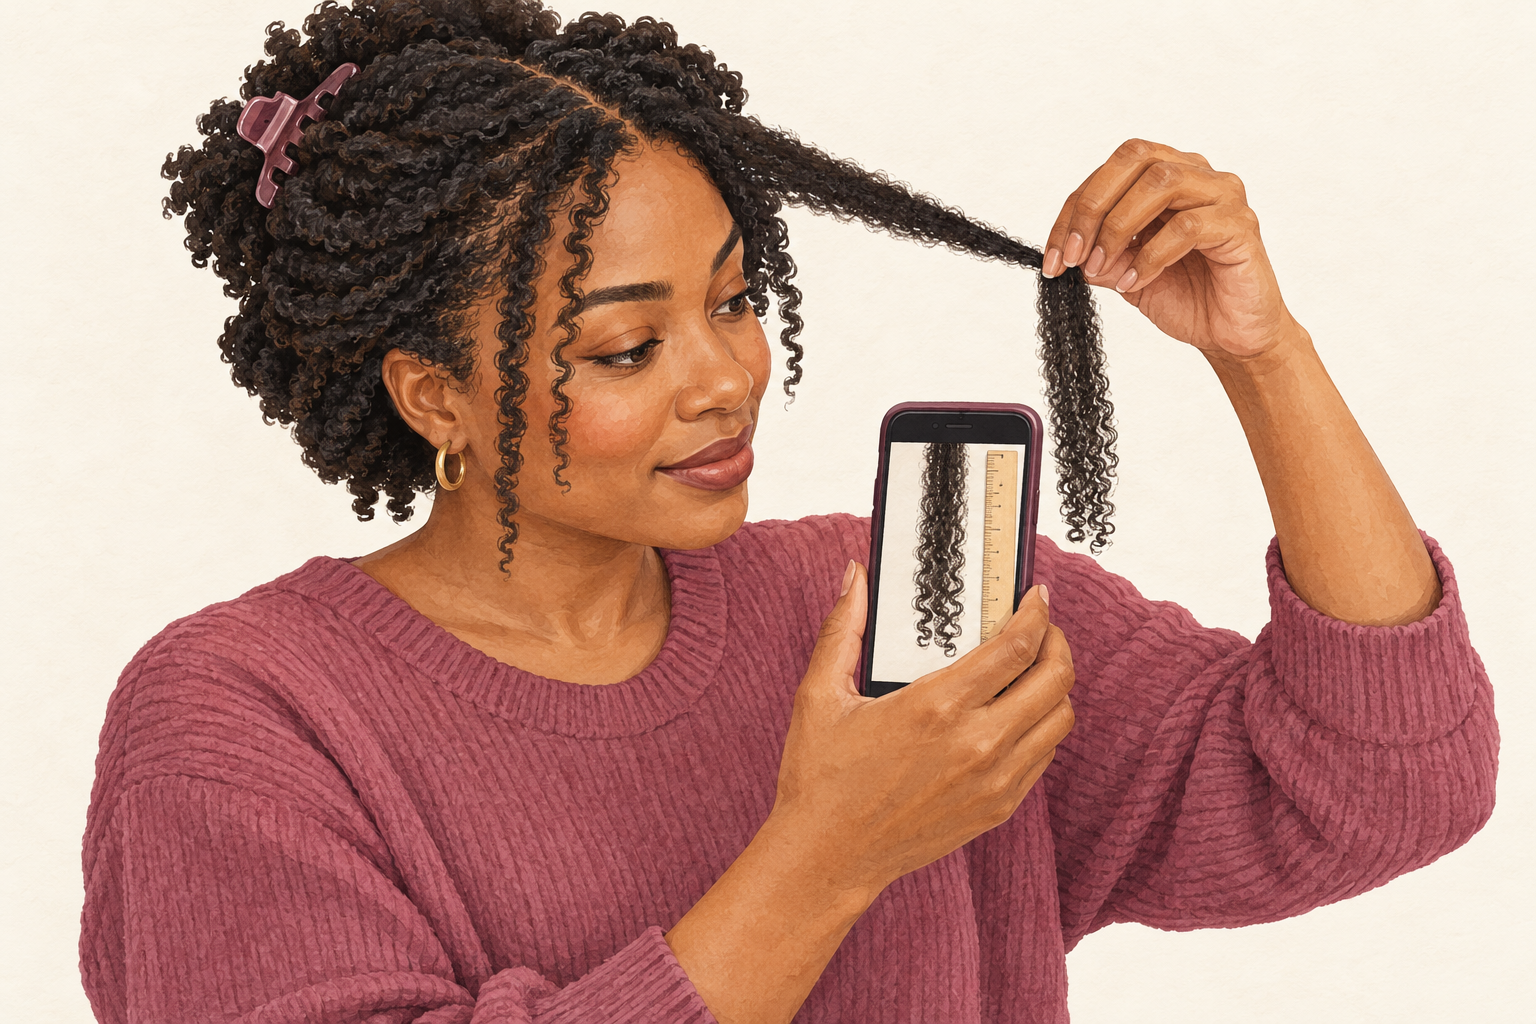
Check your hair in daylight and note where it is worst, usually the ends, the front or any spot you color. Run a damp strand between your fingers and notice rough patches, mushy stretch or snapping. Hair that feels gummy when wet and snaps when it stretches is crying for moisture and gentleness. Rough but strong hair needs smoothing. Take a quick photo of your ends and hairline now. In eight weeks, the picture will tell you what a mirror cannot, since you see your hair every day and miss slow change. Check your hairline, too, where breakage often shows first as a fuzzy halo.
3. Wash less, and only the scalp
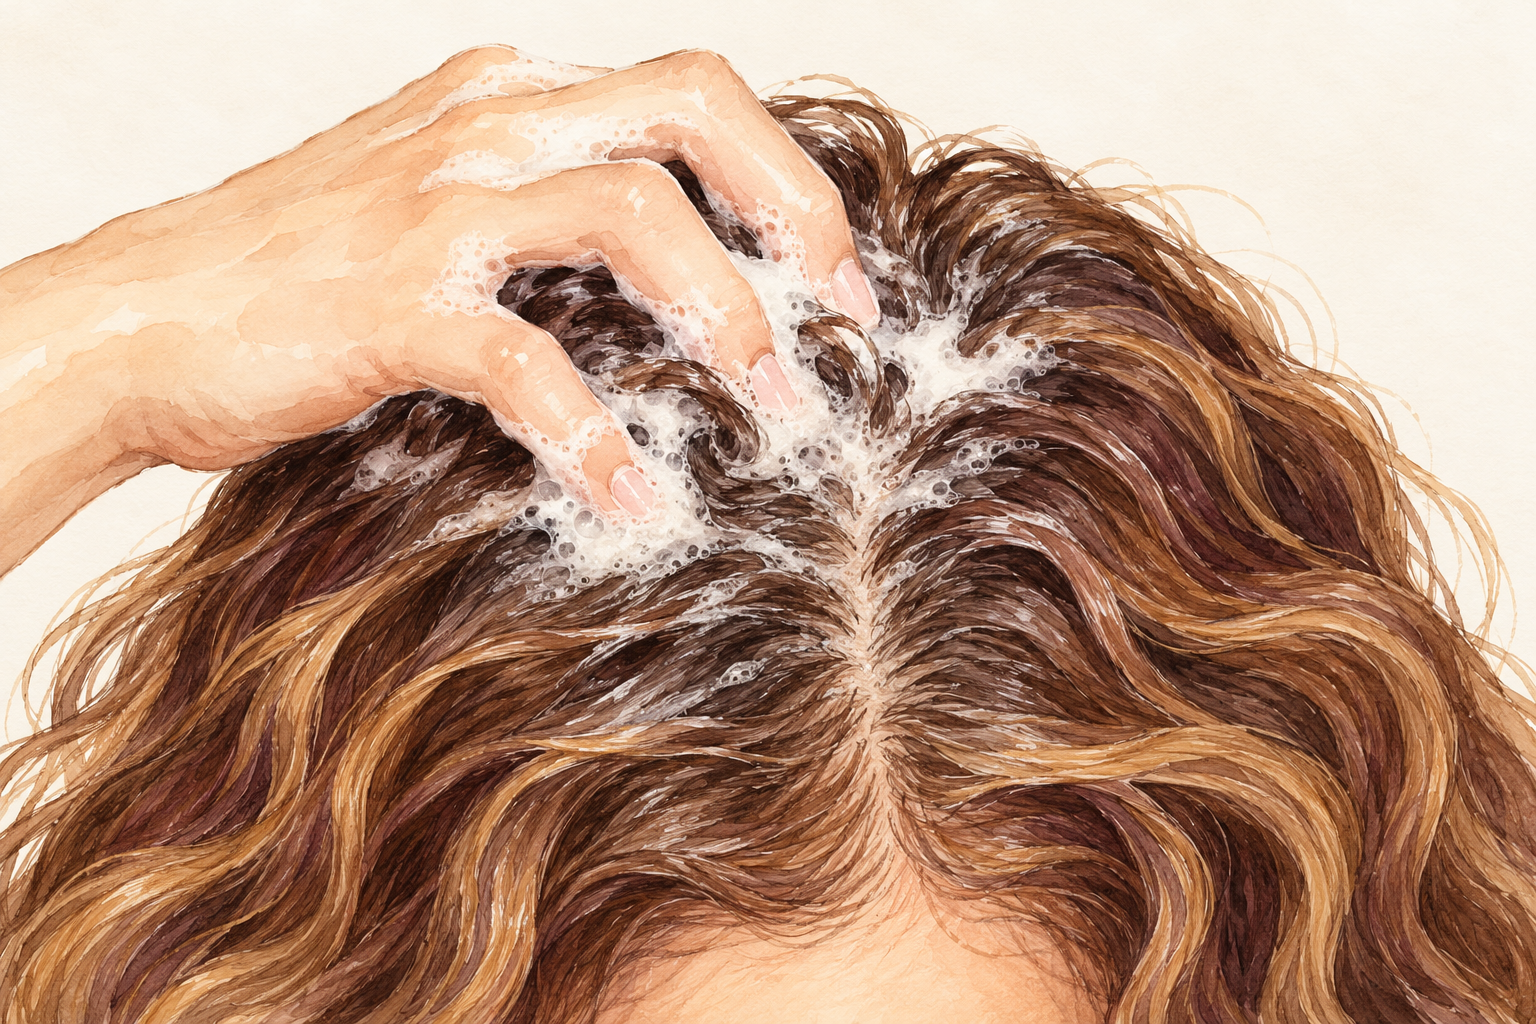
Wash two or three times a week with lukewarm water, and shampoo the scalp only. Let the suds rinse down through the lengths on their way out, because that is all the cleaning your ends need. Hot water roughens the surface of the hair, so test it on your wrist. If your scalp gets oily on the days between, rinse with water and massage gently, which costs your hair nothing. A shampoo that is too strong dries damaged ends to straw, so choose a mild one. Rinse for a full minute so no foam is left. Caring for damaged hair starts at the scalp, so be thorough there and gentle everywhere else.
4. Condition the lengths every wash
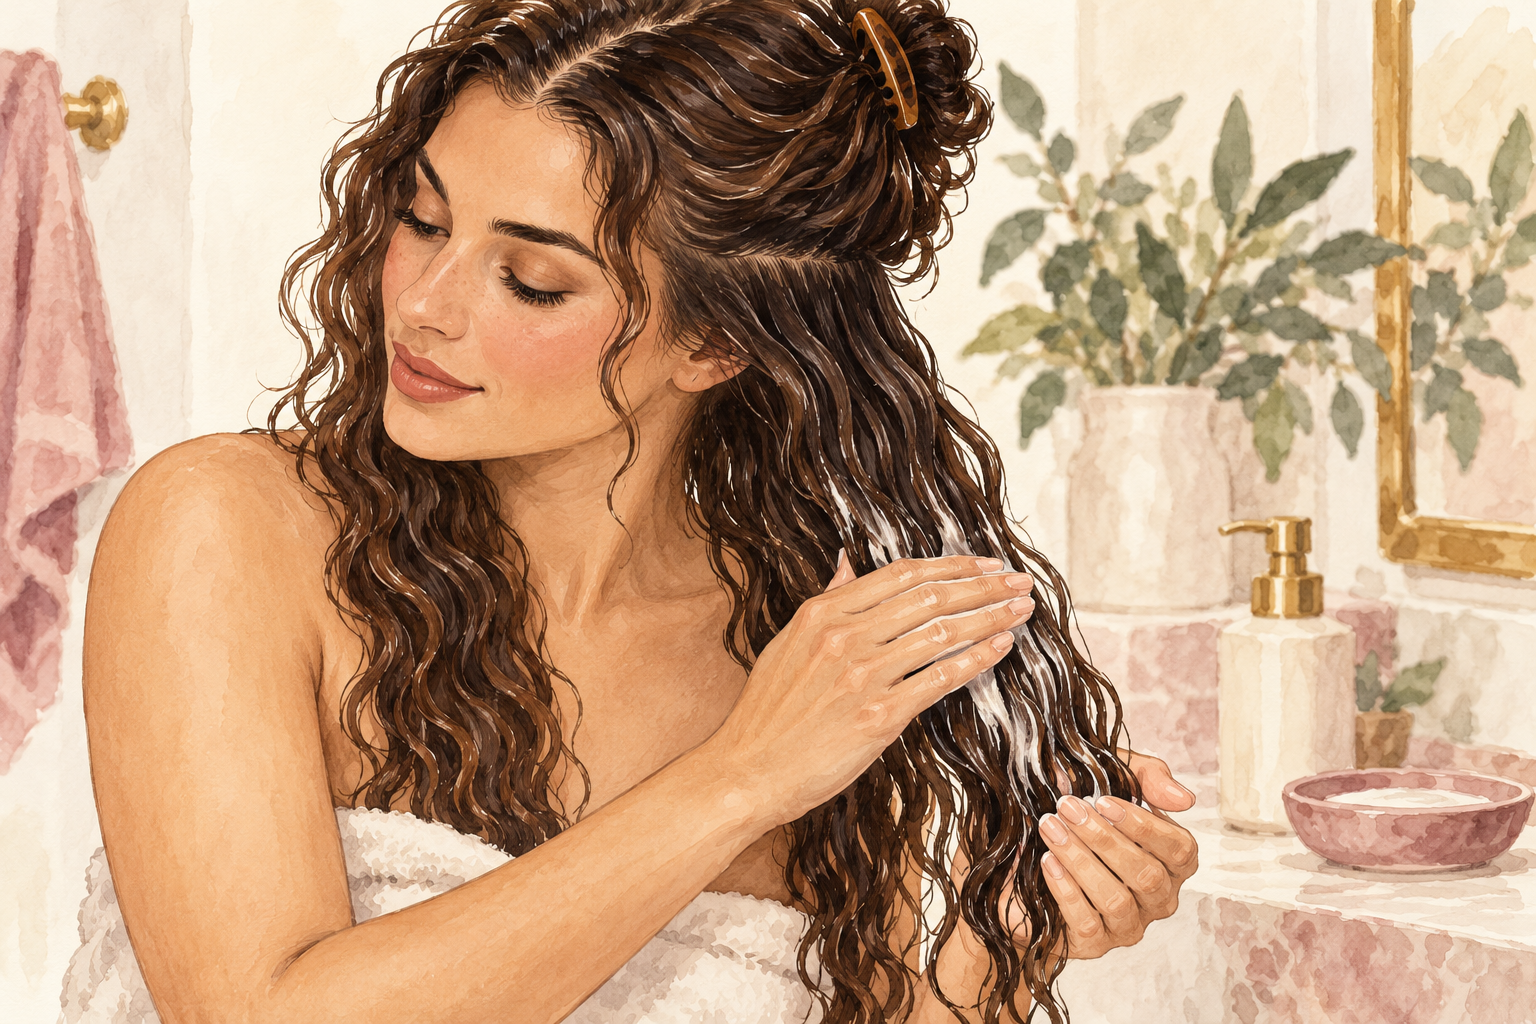
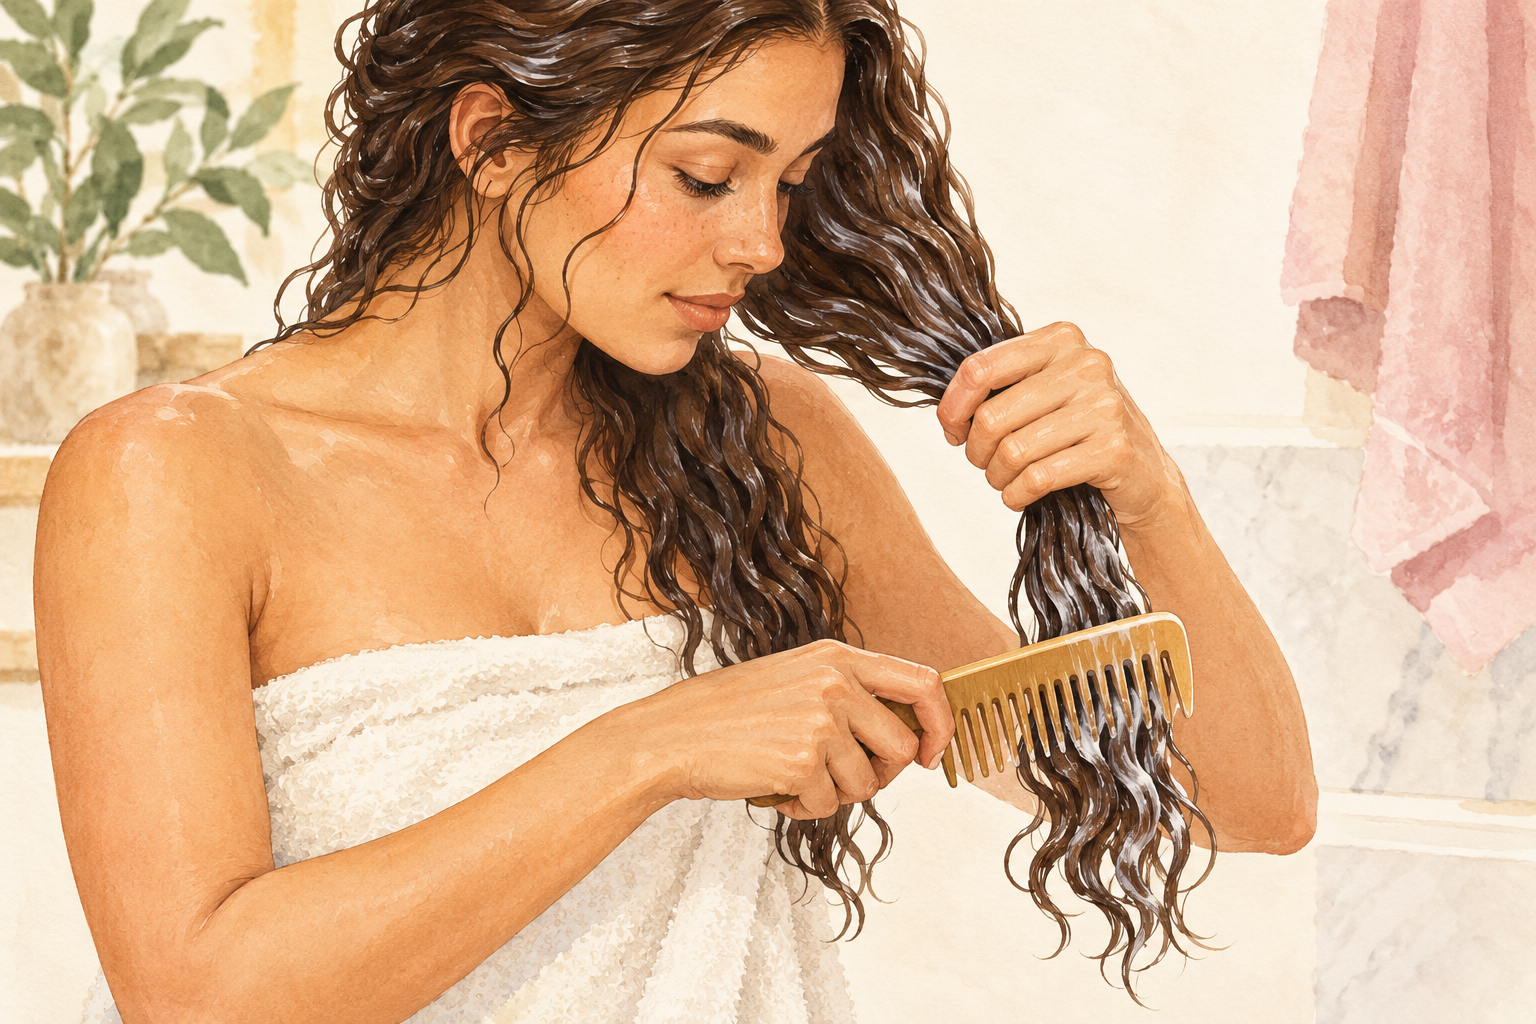
Smooth a palmful of conditioner from the mid lengths to the ends and leave it for three minutes. Comb it through with your fingers or a wide tooth comb so it coats every strand. Rinse with cool water at the end, since cool water helps the surface lie flat and look shinier. Never put conditioner on the scalp, because it makes roots limp and itchy. If your hair is very dry, leave it on for five minutes under a shower cap. Hair should feel slippery in the shower and soft, not coated, once it dries. If it feels heavy or greasy, you used too much, so cut the amount by a third.
5. Squeeze dry with a tee shirt
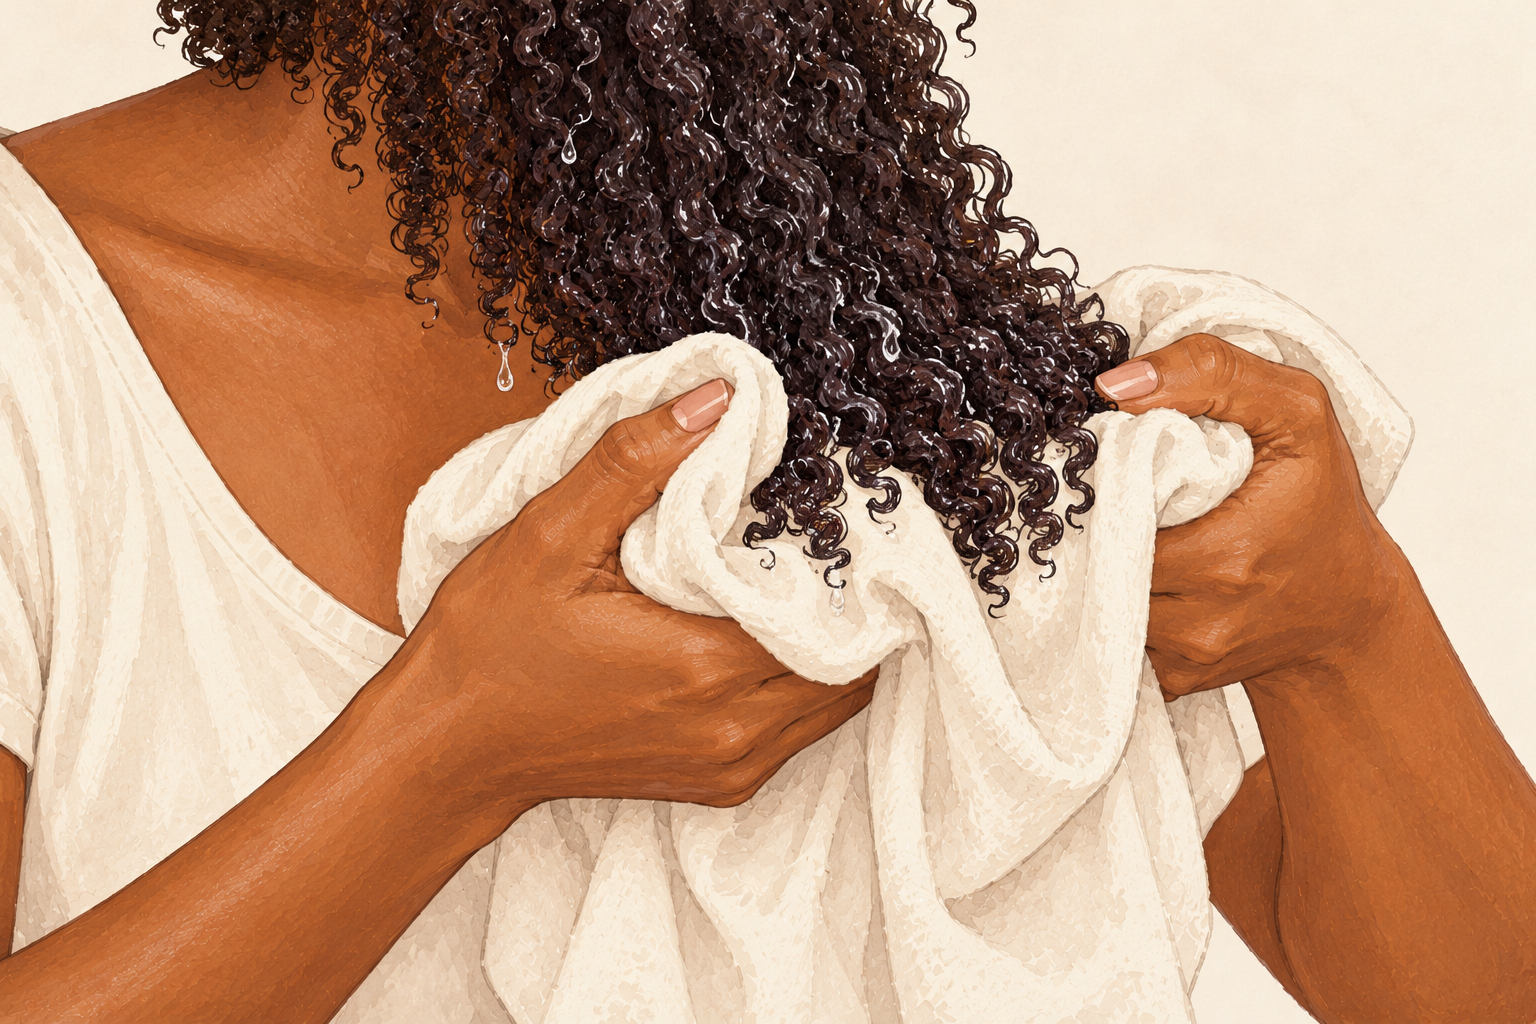
Press and squeeze the water out with a soft tee shirt, and never rub with a rough towel. Rubbing lifts the outer layer of the hair and creates frizz and breakage. Wrap the shirt around your hair for ten minutes, or until it stops dripping, then let it go. Scrunch upward gently rather than pulling. Wet hair is at its weakest, so treat it like wet silk. You will notice less frizz and fewer loose hairs on the shirt than you used to find on a towel, which is the easiest proof it works. Do this the moment you step out, before frizz sets in.
6. Detangle from the ends upward
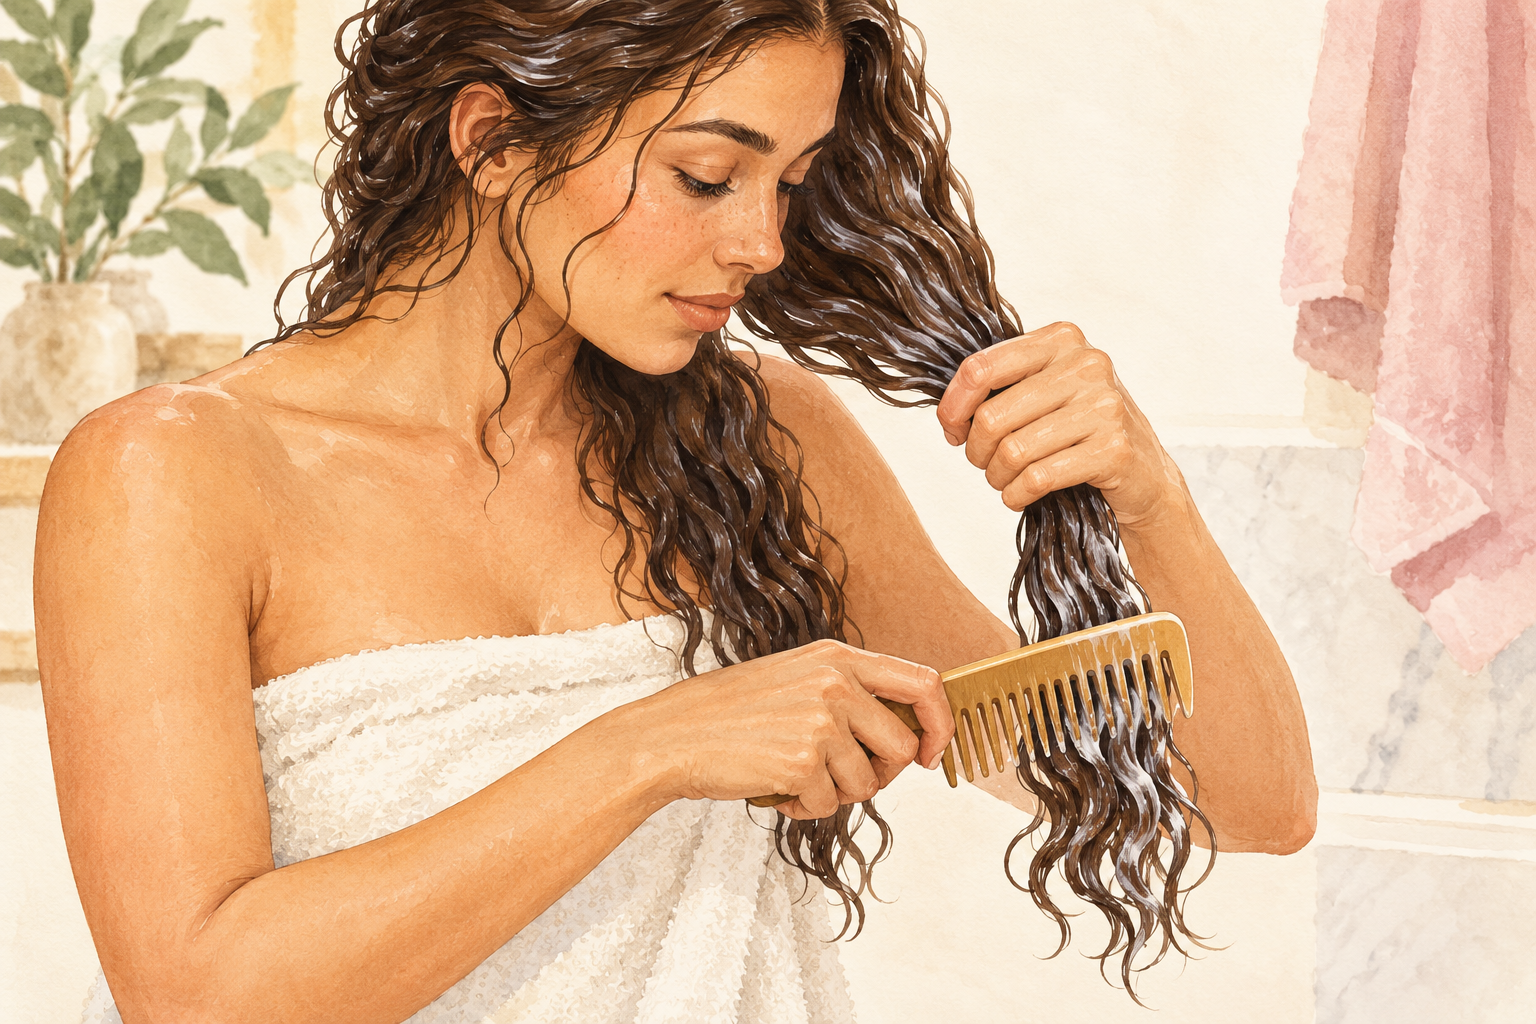
Start at the bottom with a wide tooth comb and work up in short strokes, never from the roots down. Dragging from the top pushes every knot onto your ends and snaps them. Hold the hair above the knot so your scalp takes none of the pull. Detangle when the hair is damp and has conditioner in it, not dry and not soaking. Give stubborn knots a bit more slip and pick them apart with your fingers. A little patience at this step prevents more breakage than any product ever will. Work in sections if your hair is long, and take as many minutes as it needs.
7. Seal with a leave in on damp ends
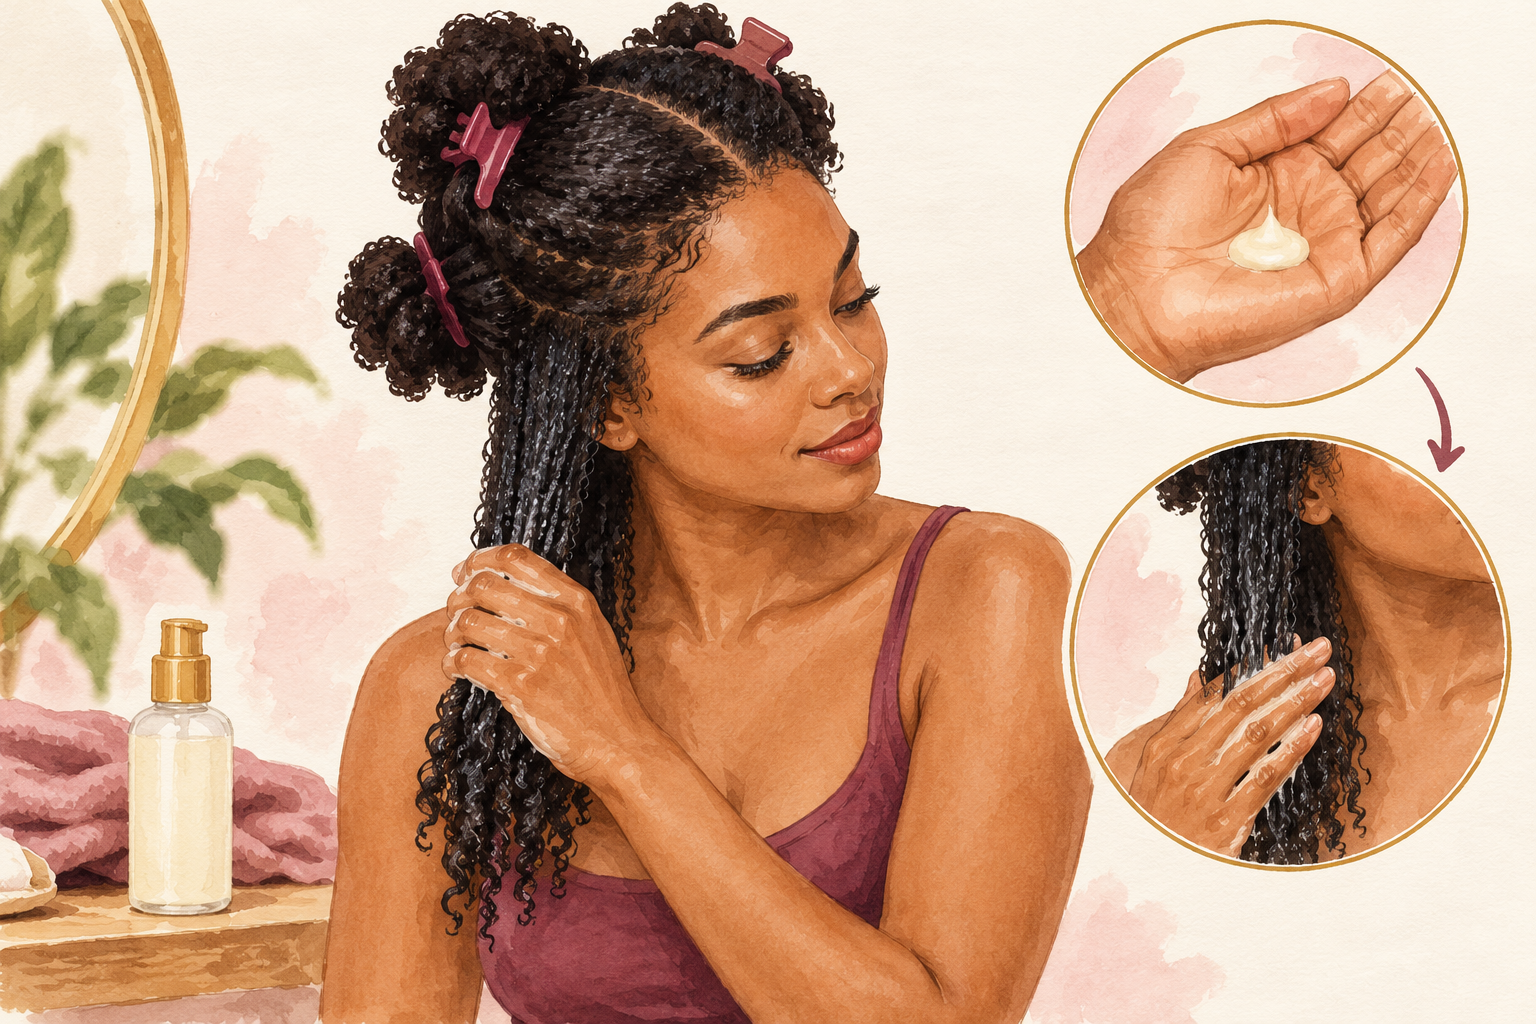
Press a coin sized amount of leave in through the bottom half of your hair while it is still damp. Fine hair needs half a coin, thick hair may take two. It coats the ends so they snag less on your clothes and on each other. Avoid the roots, which will turn greasy. If you like oil, add two drops after the cream, never before. This is the step that keeps your hair soft between washes. Your ends should feel smooth when you run your hand down them, with no sticky film. If you can feel it on your palms an hour later, use less.
8. Air dry first, and treat heat like a guest
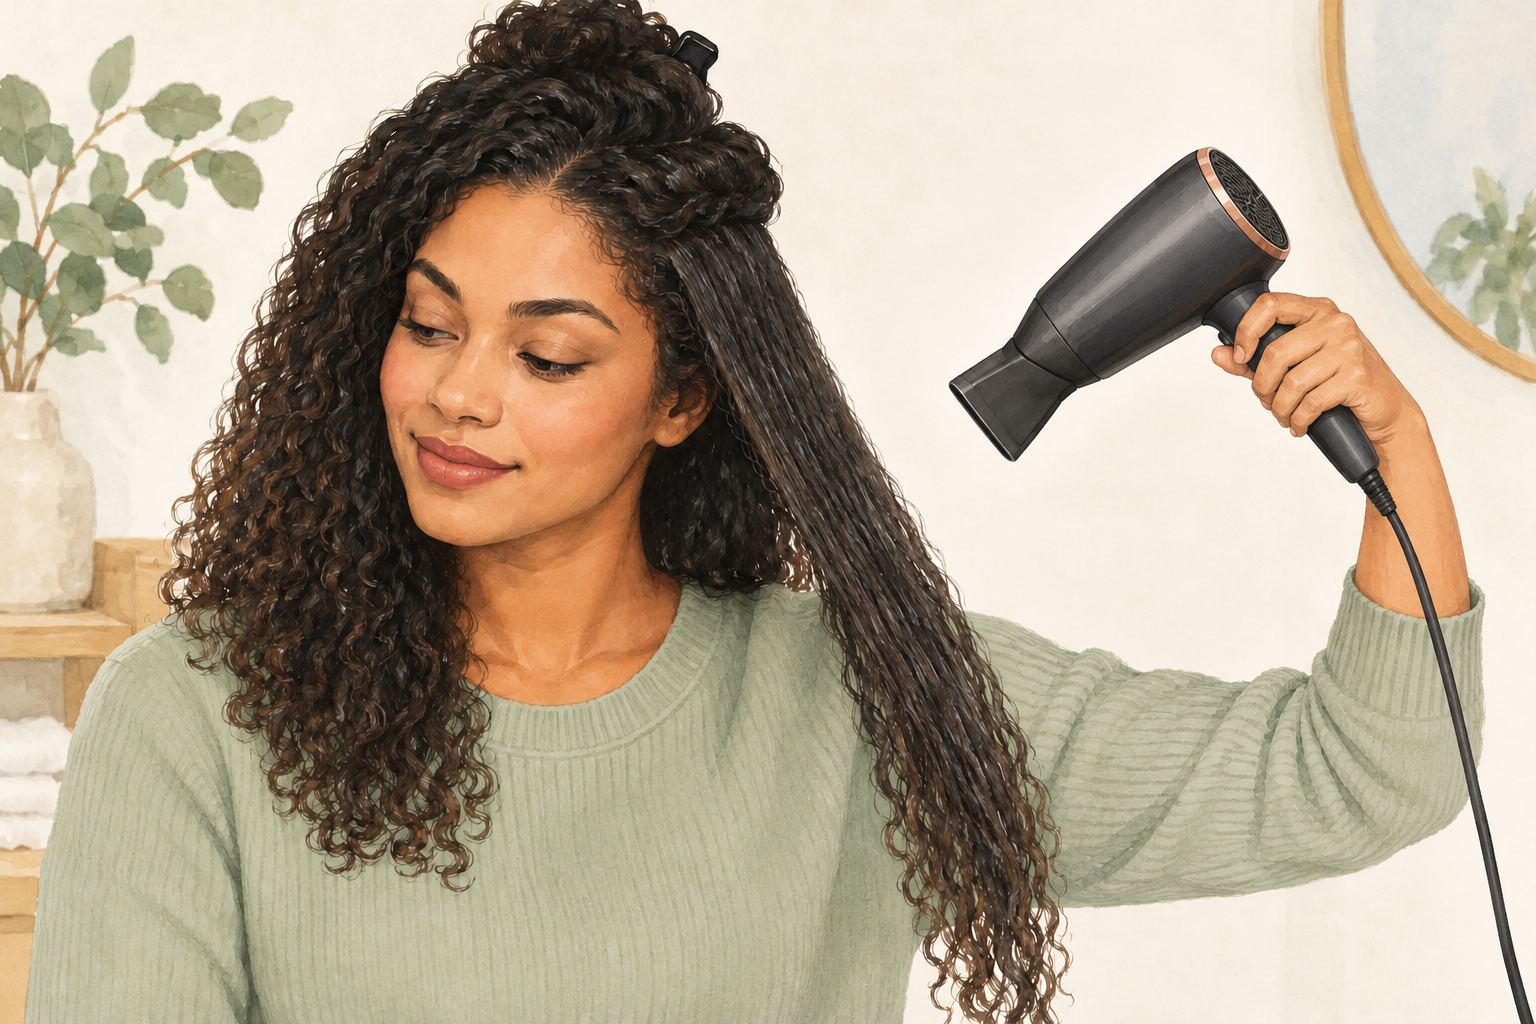
Let your hair air dry about eighty percent of the way, then finish with a low heat setting and a protectant. Keep the dryer a hand’s width away and keep it moving. Heat tools are the biggest daily enemy of damaged hair, so keep them for once or twice a week. Use the lowest setting that works. If your hair smells toasty or sounds crackly under the iron, it is too hot. Pick one heat day and enjoy it, then leave the rest of the week alone. Always let a hot tool cool fully before you wrap the cord, and never press the same strand twice.
9. Protect your hair while you sleep
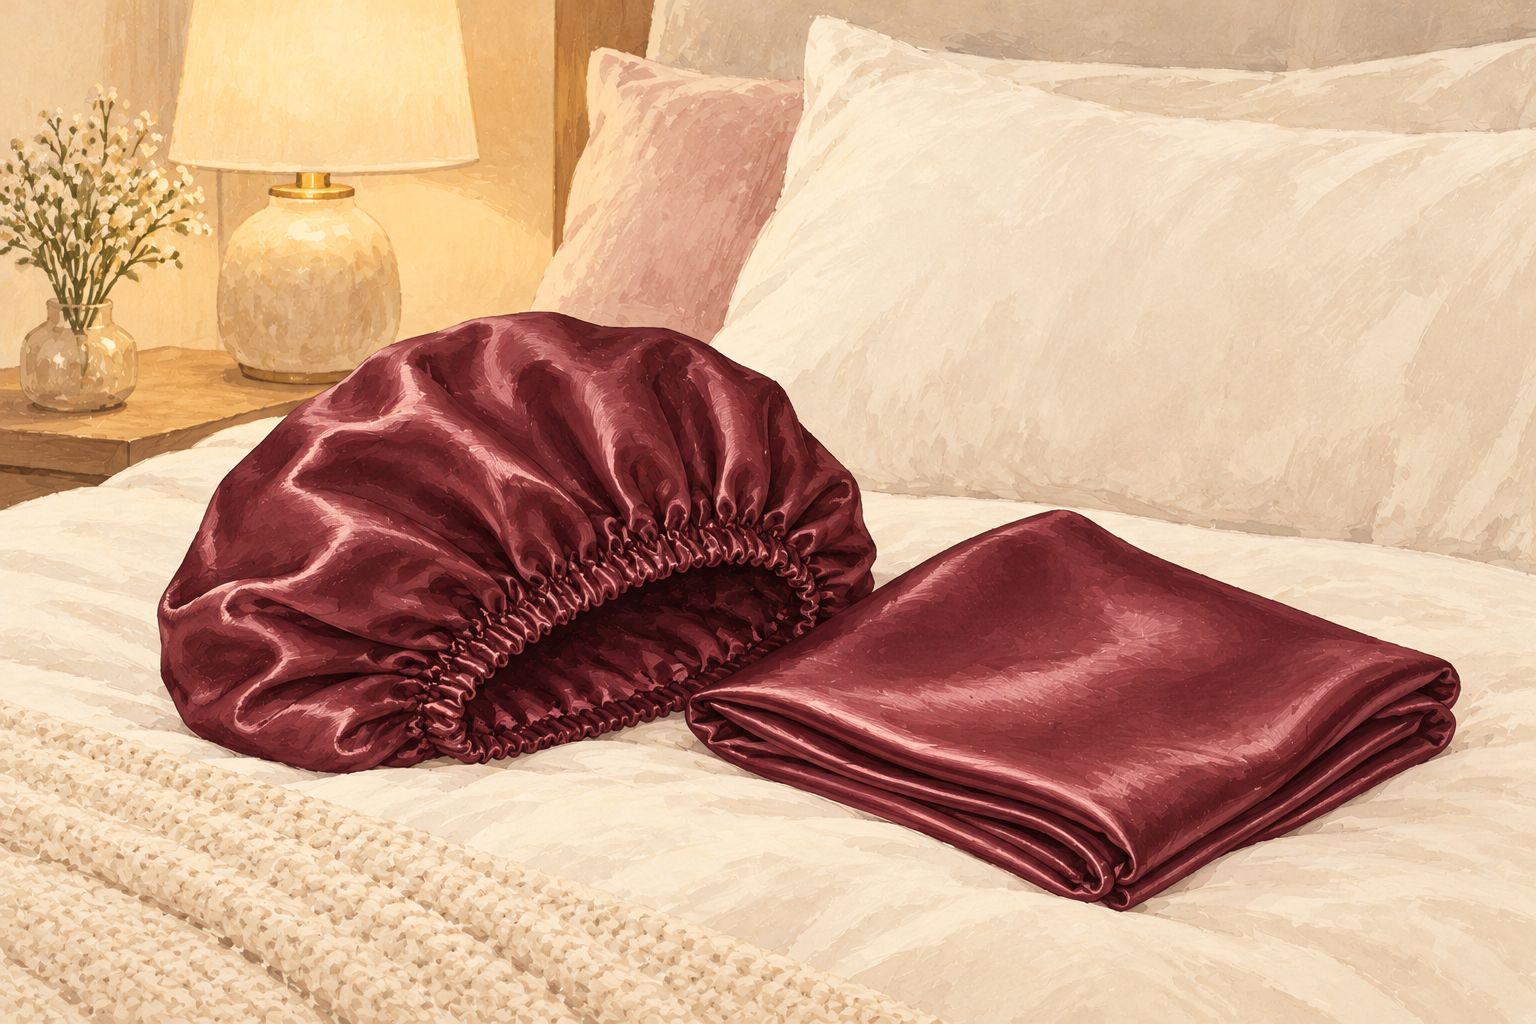
Sleep on satin or silk, or loosely braid your hair and tie it with a soft scrunchie. Cotton grabs at the hair and frays the ends as you toss and turn. Never go to bed with wet hair tied up, because it stretches and snaps. A loose, high bun on top of your head also keeps the ends off the pillow. Expect to wake up with smoother hair and fewer tangles at the back. This is the easiest step on the list, because it works while you are asleep. Change the pillowcase weekly, since oil and product soak into the fabric.
10. Give your hair a weekly mask
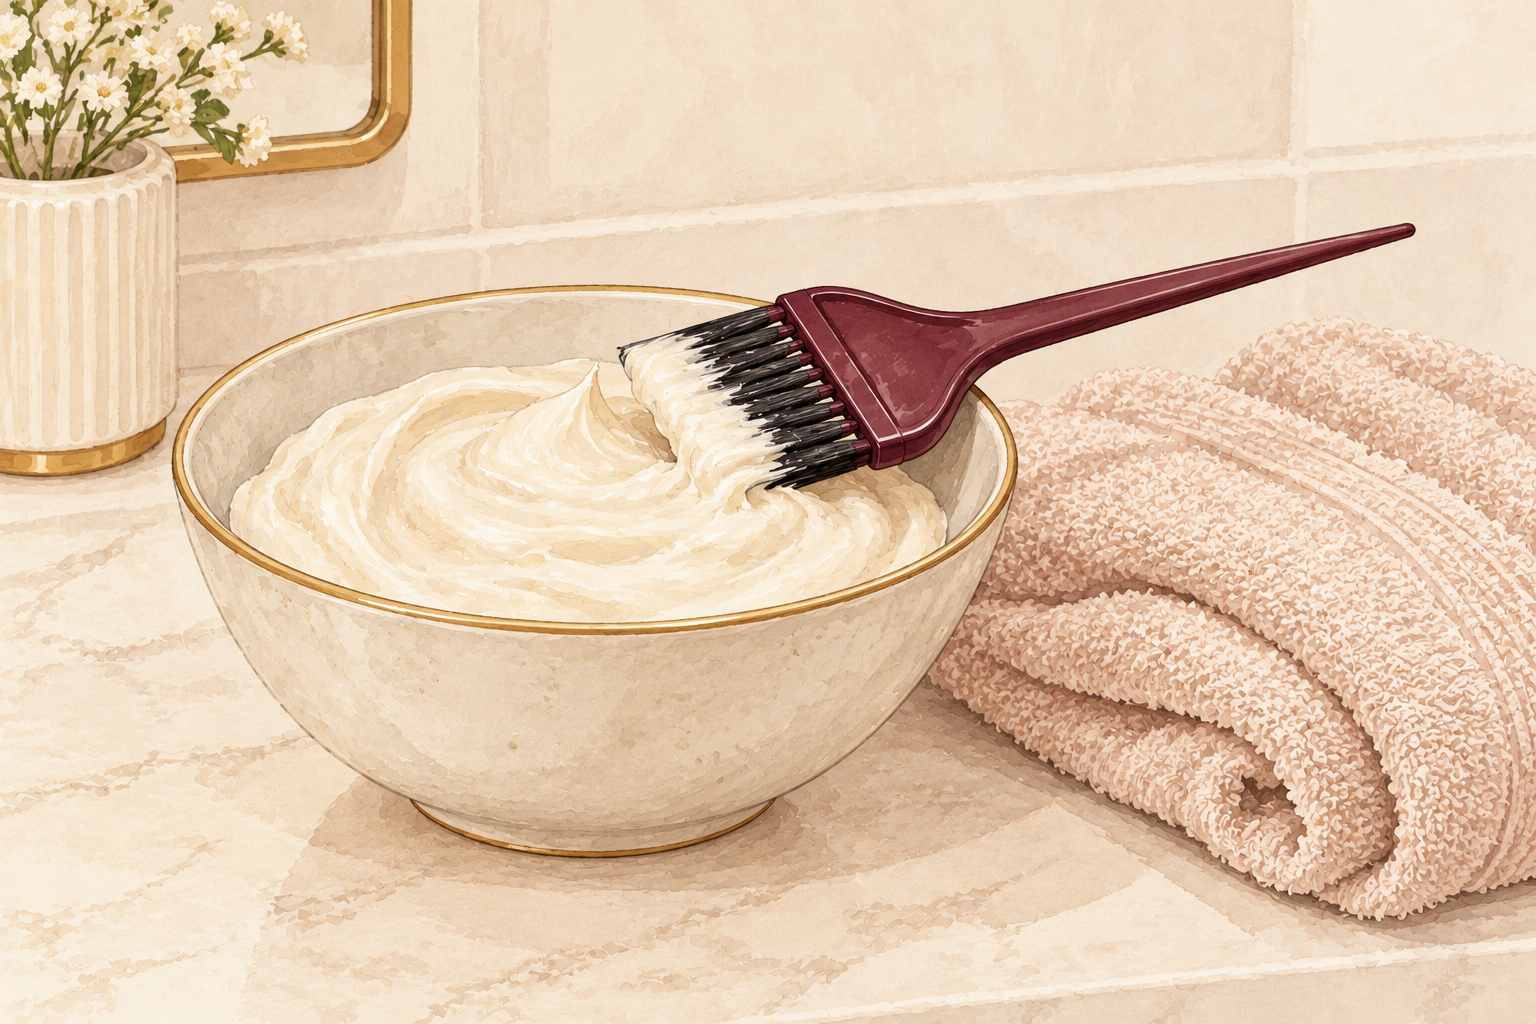
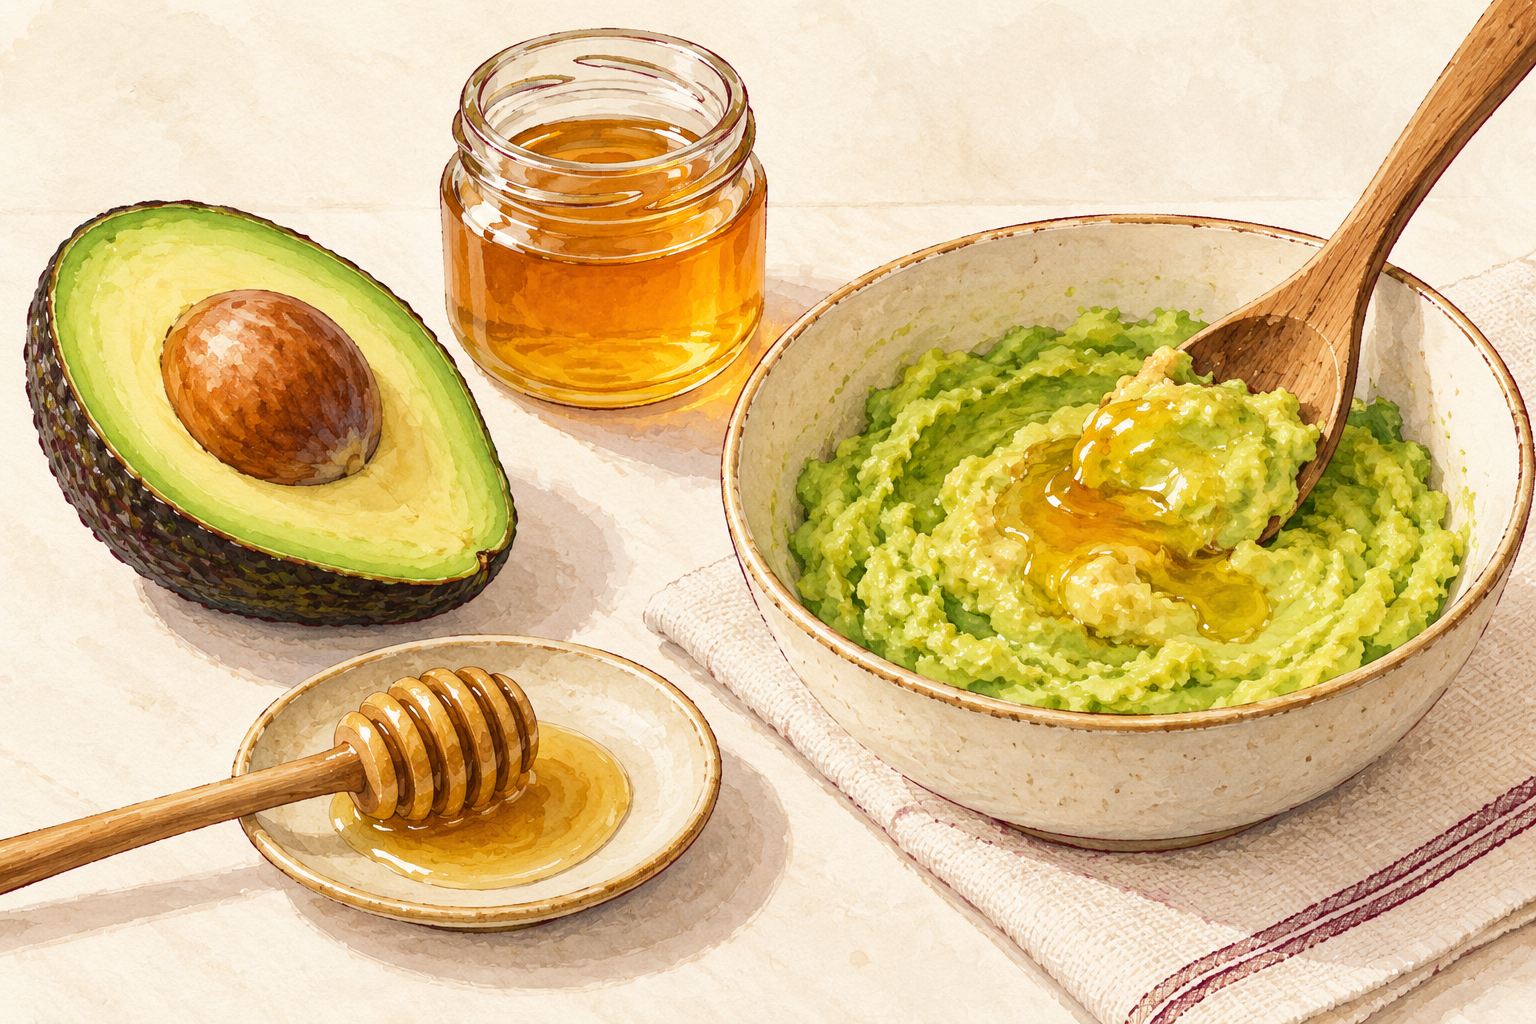
Once a week, spread a thick mask over damp, clean lengths and leave it for twenty minutes. Put a shower cap on, because trapped warmth helps it soak in. Rinse with lukewarm water until it runs clear. Skip your scalp, and keep the mask to the mid lengths and ends, where the damage lives. Very damaged hair can take twice a week for a month, then drop back to once. Do it on a quiet evening, and your hair will feel thicker and bouncier by the next morning. If your hair feels limp or heavy afterwards, rinse a little longer next time and use less.
11. Swap the habits that snap hair
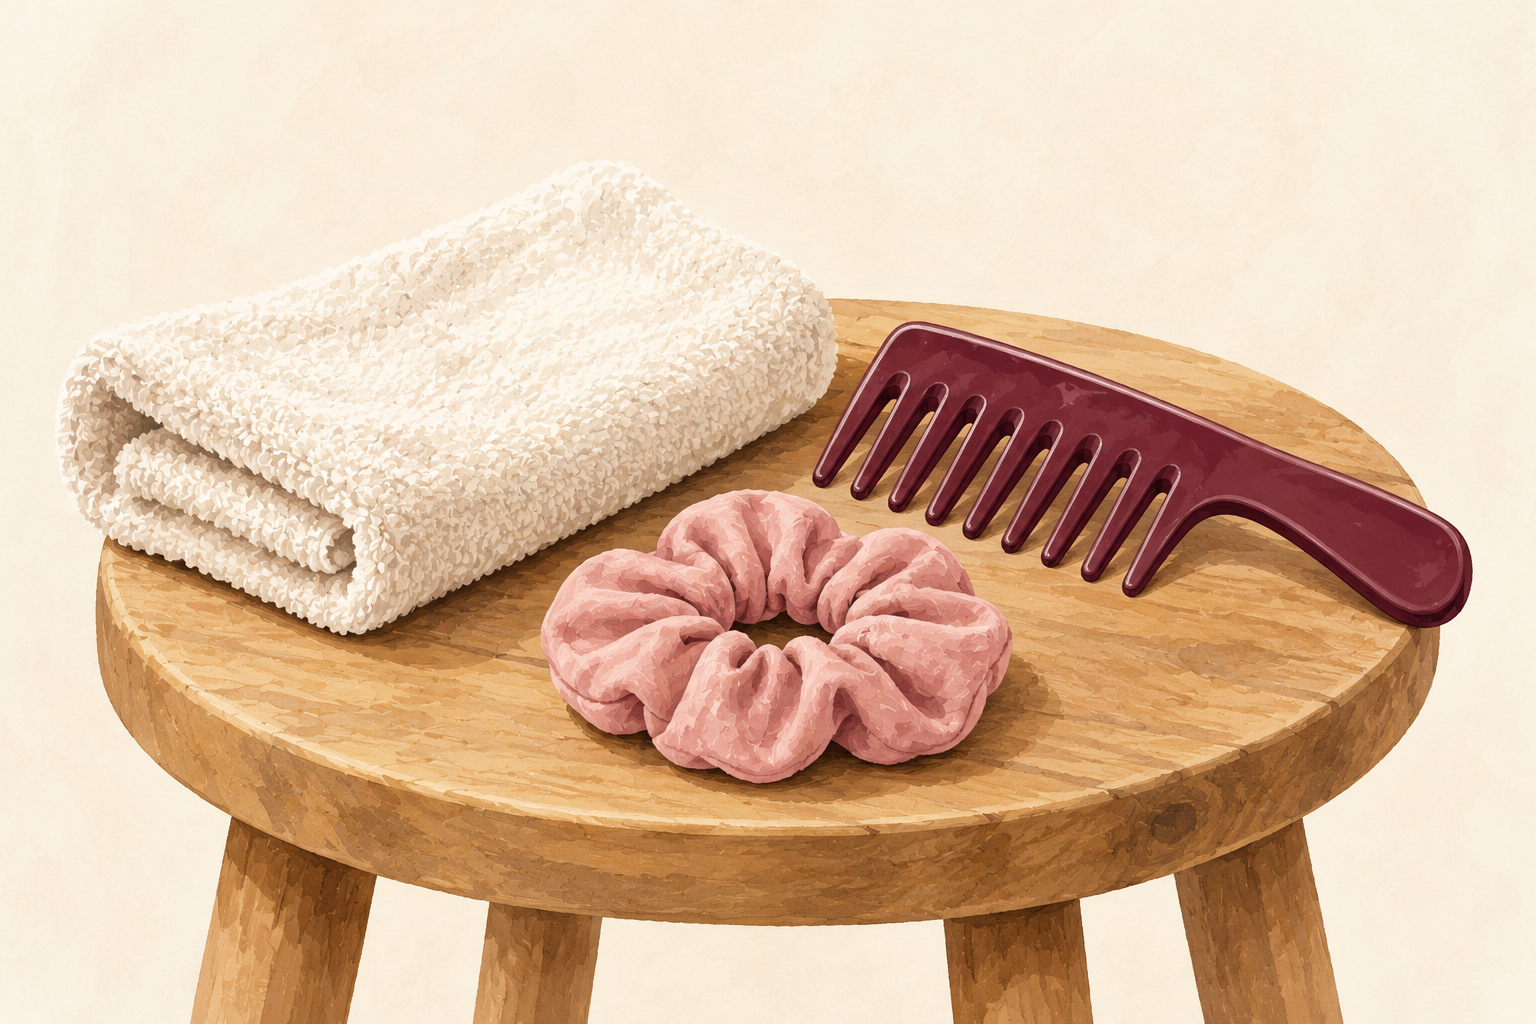
Trade tight elastics for soft scrunchies, and move your ponytail to a different spot each day. Brush with a wide tooth comb or a cushioned brush, and never rake wet hair. Wash your pillowcase once a week and your brush every two weeks. Limit tight styles like braids pulled hard at the edges. Small swaps feel fussy for a week and natural by the third. They add up faster than any bottle, because they stop the damage before it starts. Choose the ones you will keep, and add the next swap only when the first feels natural.
12. Expect small changes by week eight
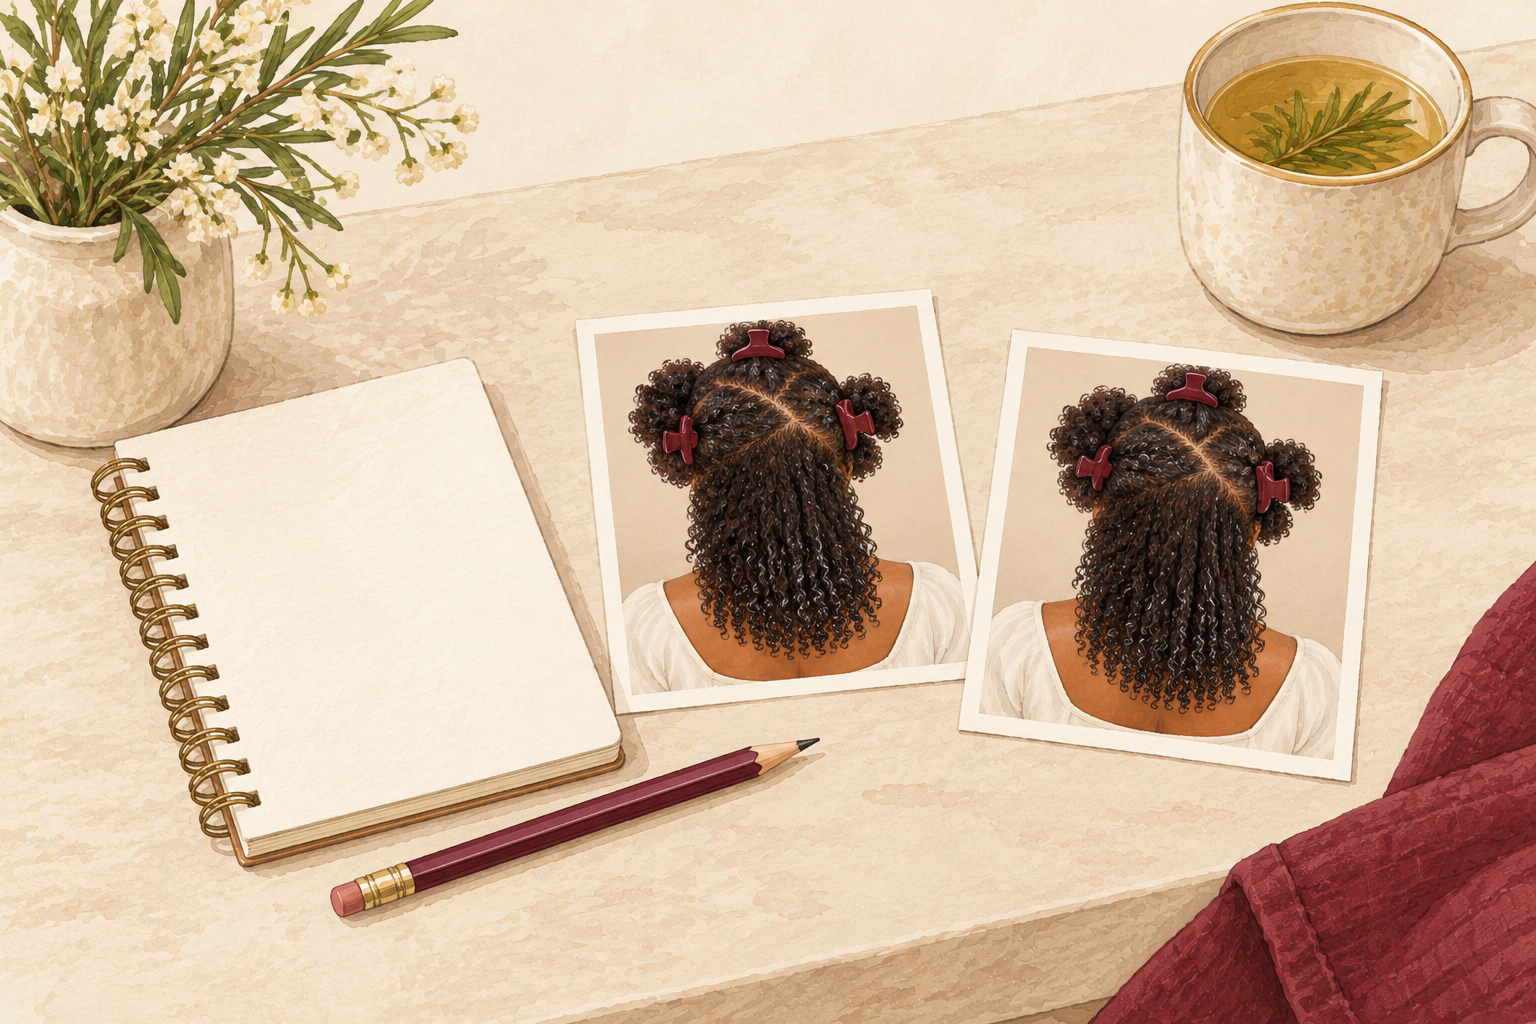
In the first two weeks you will mostly notice softer, less tangled hair after washing. By week four there should be fewer snapped strands in your brush, and your ends will look smoother. By week eight your photo comparison should show a shinier, fuller look. Damaged hair never heals, so the real change is that new hair grows in stronger while old lengths stay protected. Trim a little off the oldest ends every couple of months. Be kind to yourself on a missed day, because steady care wins. Take your week eight photo in the same light and parting as the first one, so the comparison is fair.
Complete the Routine: Caring for Damaged Hair Week by Week
Start tonight with three steps: a gentle wash, conditioner on the lengths and a satin pillowcase. When you are ready for more, read about damaged hair repair and a hair mask for damaged hair.