You scoop out a thick, creamy mask, sit with it for half an hour, and your hair still feels rough or strangely limp once it dries. The jar is rarely the problem, the match is. These 12 rules show you how to choose a hair mask for damaged hair and use it properly, so start at number one tonight.
1. See a mask as care, not a miracle
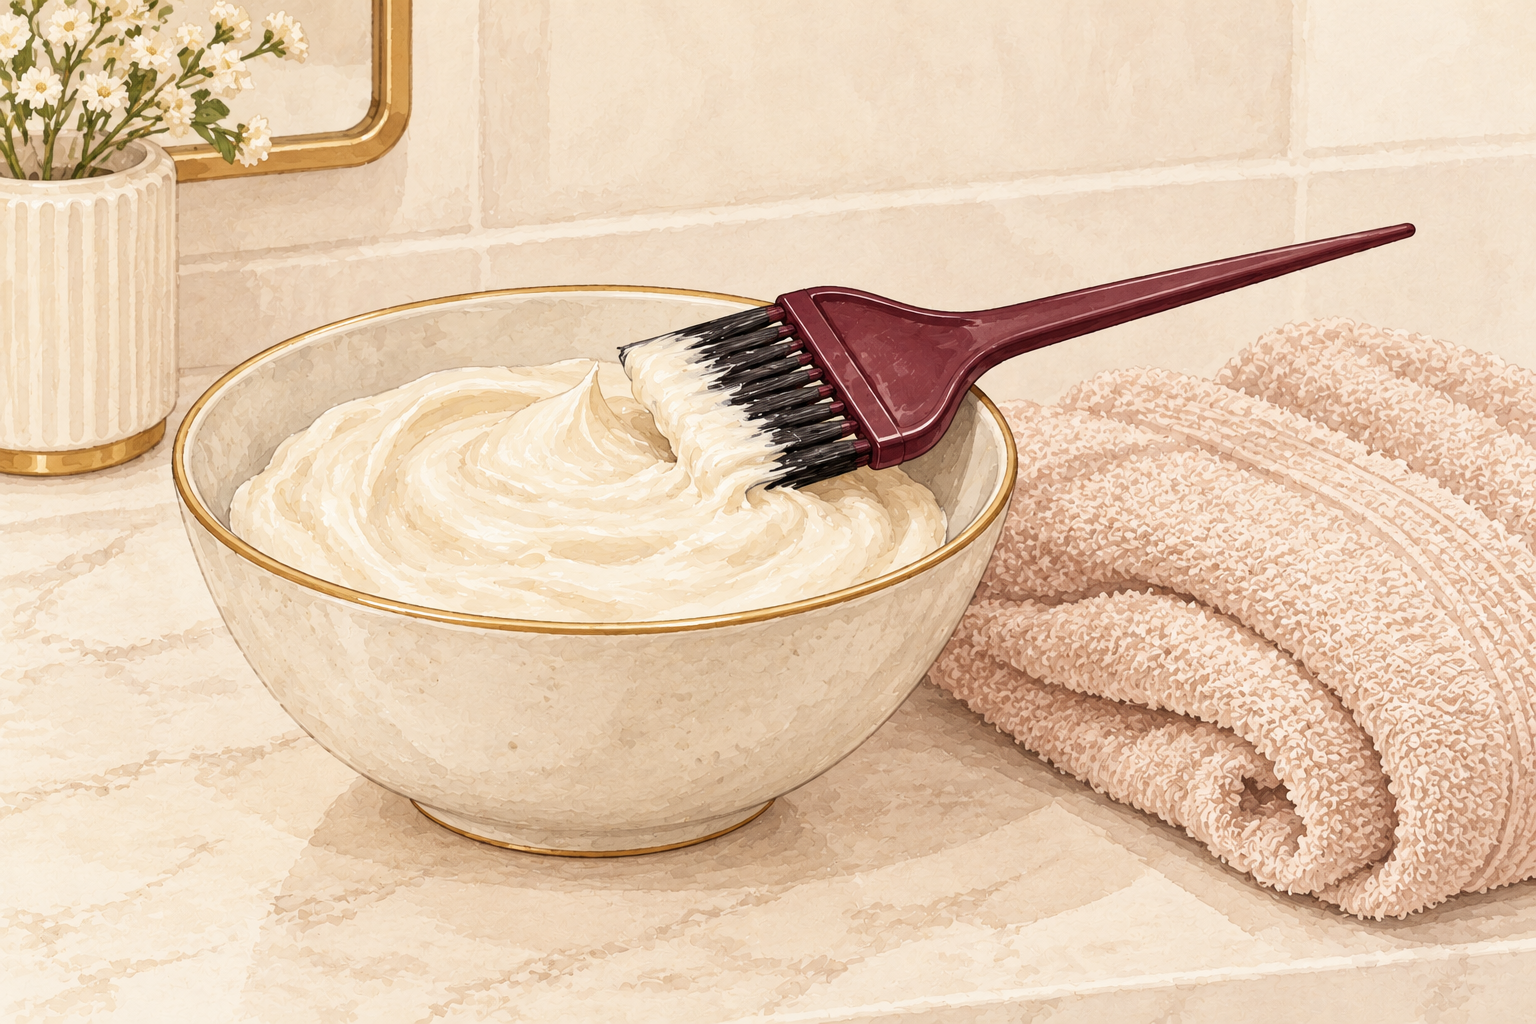
Expect a mask to make your hair softer, shinier and easier to comb, and nothing more. It coats the outside of each strand and smooths it down for a few days. It cannot glue a split end back together, and no jar can. Snapped ends need a small trim, so plan one every couple of months. Treat a promise of full repair on a label as a pleasant extra and judge the jar by how your hair feels at the next wash. Soft hair that combs through without a fight means the mask is doing its job. Wash day goes faster too, because there are fewer knots to fight at the sink.
2. Do the wet strand stretch test
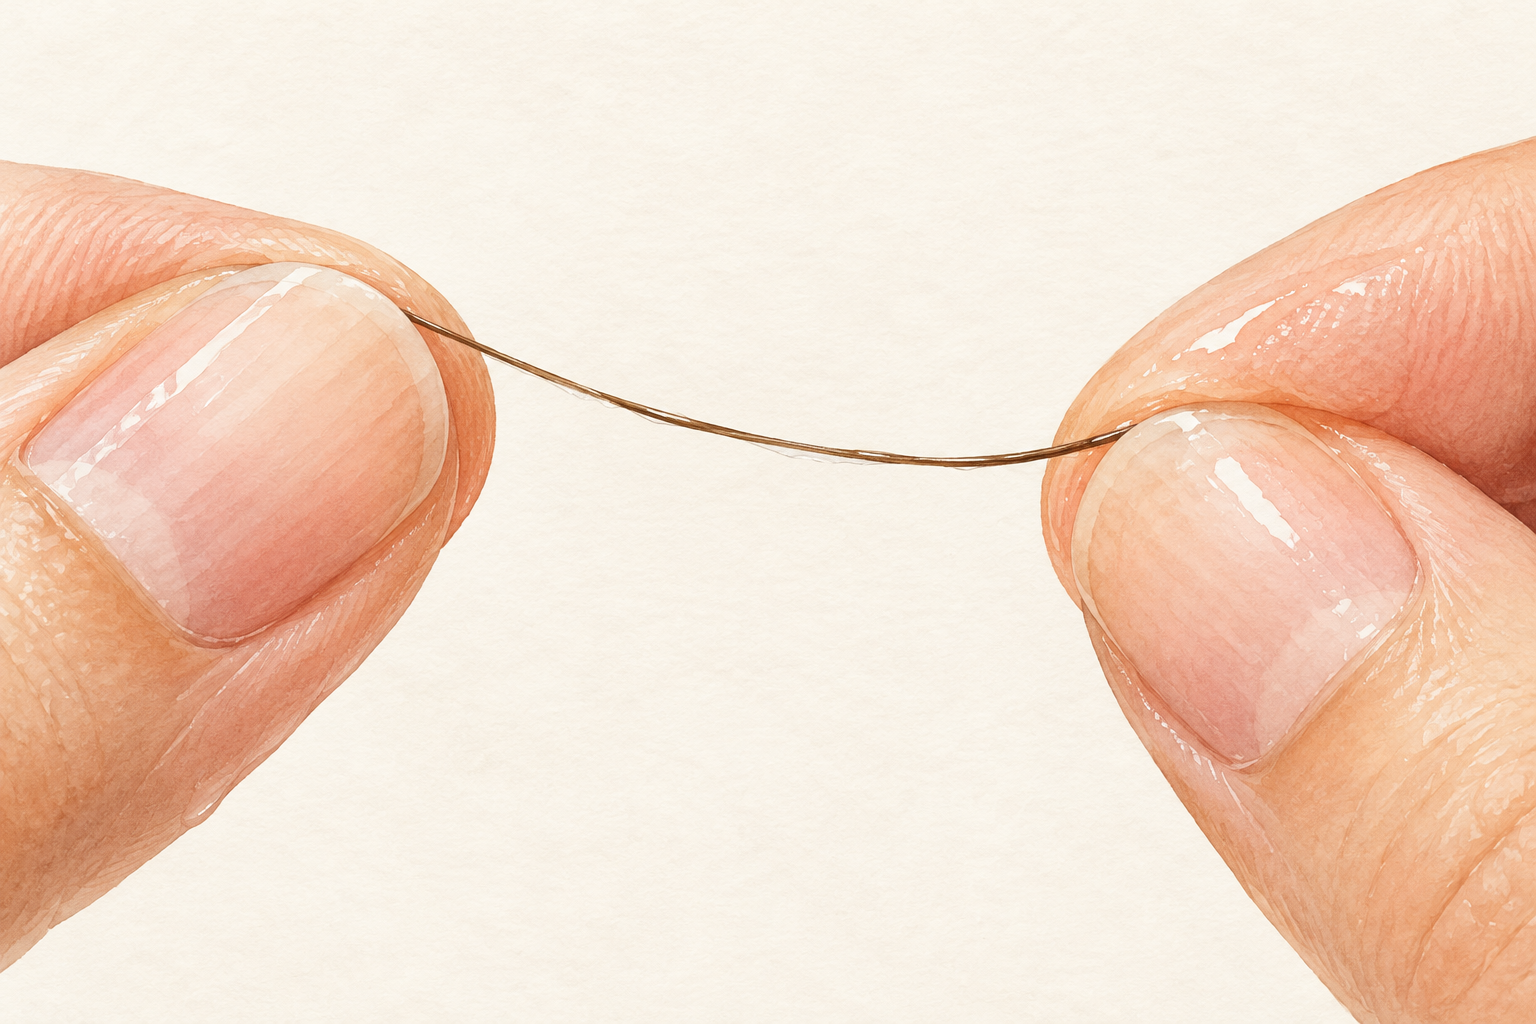
Pull one clean, wet strand from the back of your head and stretch it gently. If it stretches a long way and feels gummy or limp, it is probably short of protein. If it snaps fast with hardly any stretch and feels rough, it is asking for moisture. A strand that feels weak wet and brittle dry may want both. Test two or three spots, because the ends and the crown often behave differently. This takes one minute, and it saves you from buying the wrong jar for months. Do it on a wash day, before any conditioner goes on, so the result is clear.
3. Match the mask to what hurt your hair
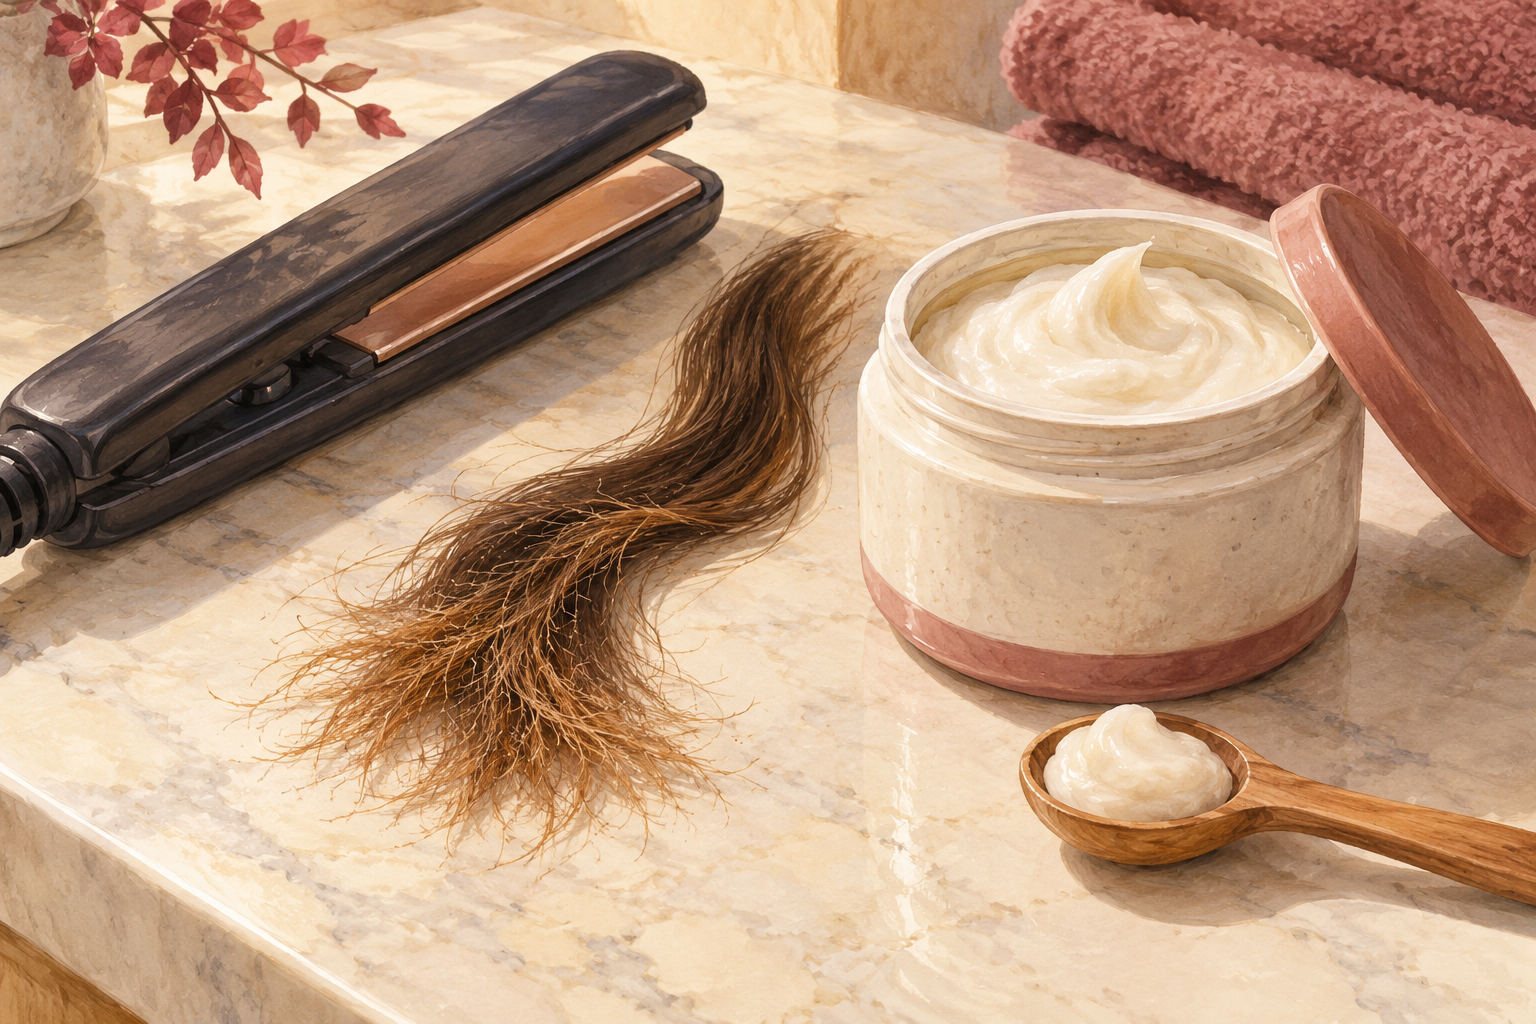
Write down the main reason your hair got hurt, then let it point you to the jar. Bleach and strong color leave hair rough and tangly, and that usually wants moisture first. Daily heat dries hair out until it snaps, so moisture again with a little protein now and then. Hair that has been over conditioned can feel soft but flat and stretchy, which hints at protein. A sticky note on the mirror helps you remember what you decided. If two causes apply, start with whichever one you notice more each morning. Your hair will tell you which one is louder if you pay attention for a week.
4. Choose a moisture mask for rough, snapping hair
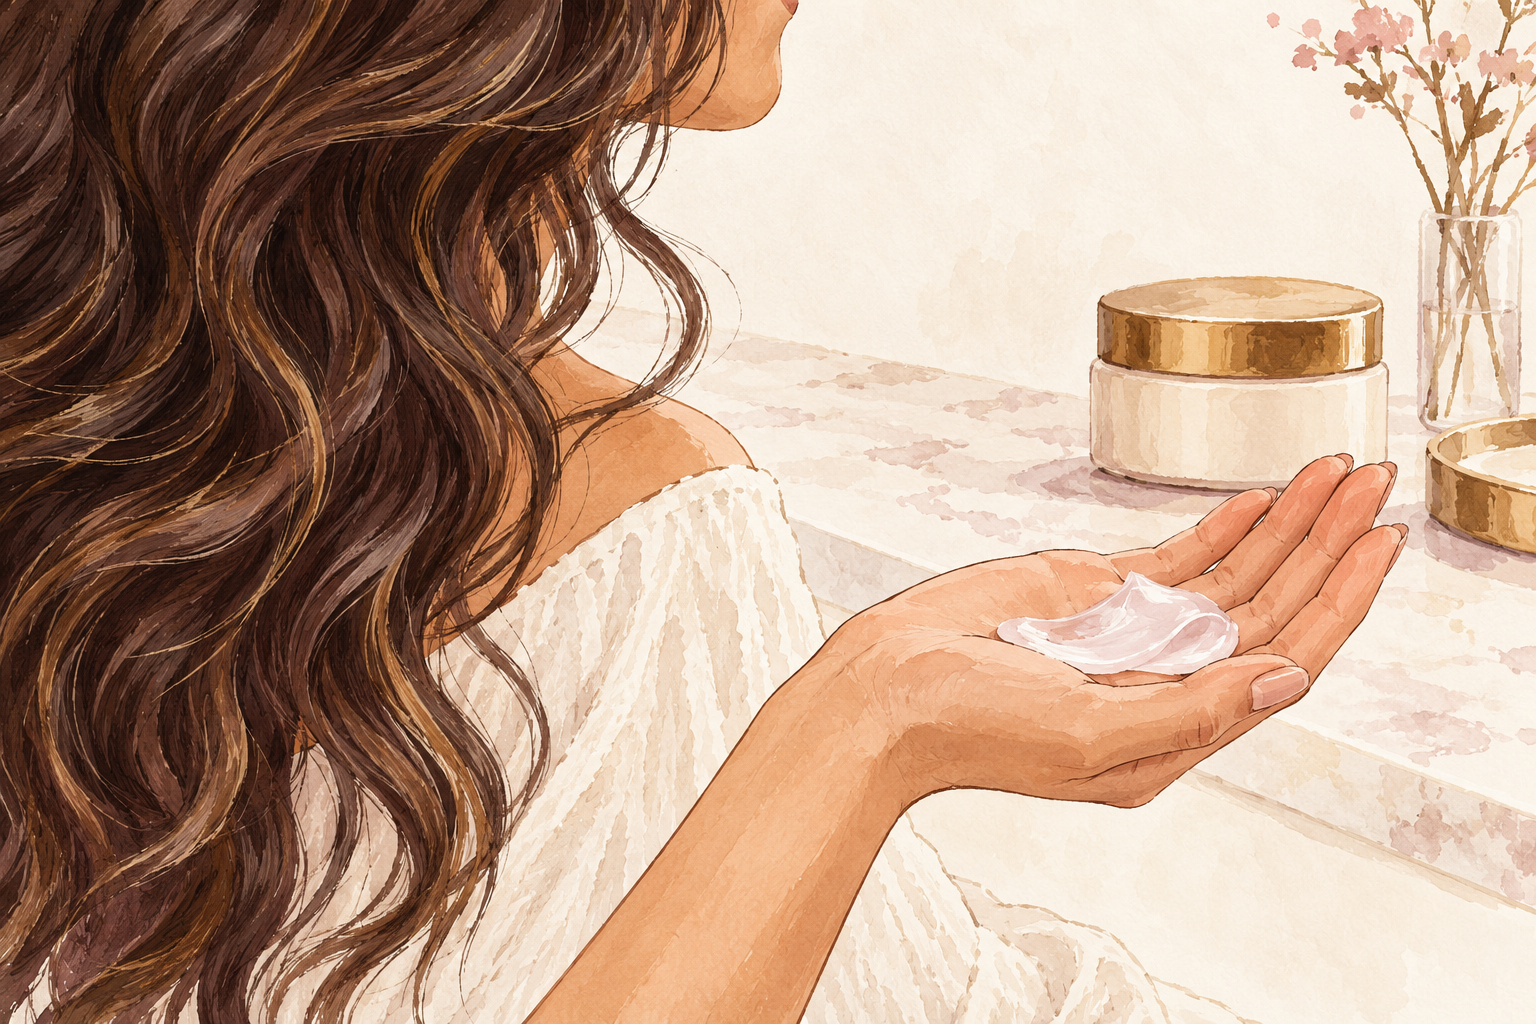
Look for glycerin, honey, shea butter or plant oils near the top of the ingredient list. These help hair hold on to water and feel bendy again, like a dry sponge that has finally been soaked. This kind of mask suits dry, frizzy or colored hair that snaps with little stretch. It will not undo breakage that already happened, but it makes strands less likely to break at the next combing. If your hair goes limp afterwards, use less or rinse it out sooner. Read the label, because the first few ingredients tell the whole story. A good hair mask for damaged hair should feel rich between your fingers, but still rinse out clean.
5. Choose a protein mask for limp, stretchy hair
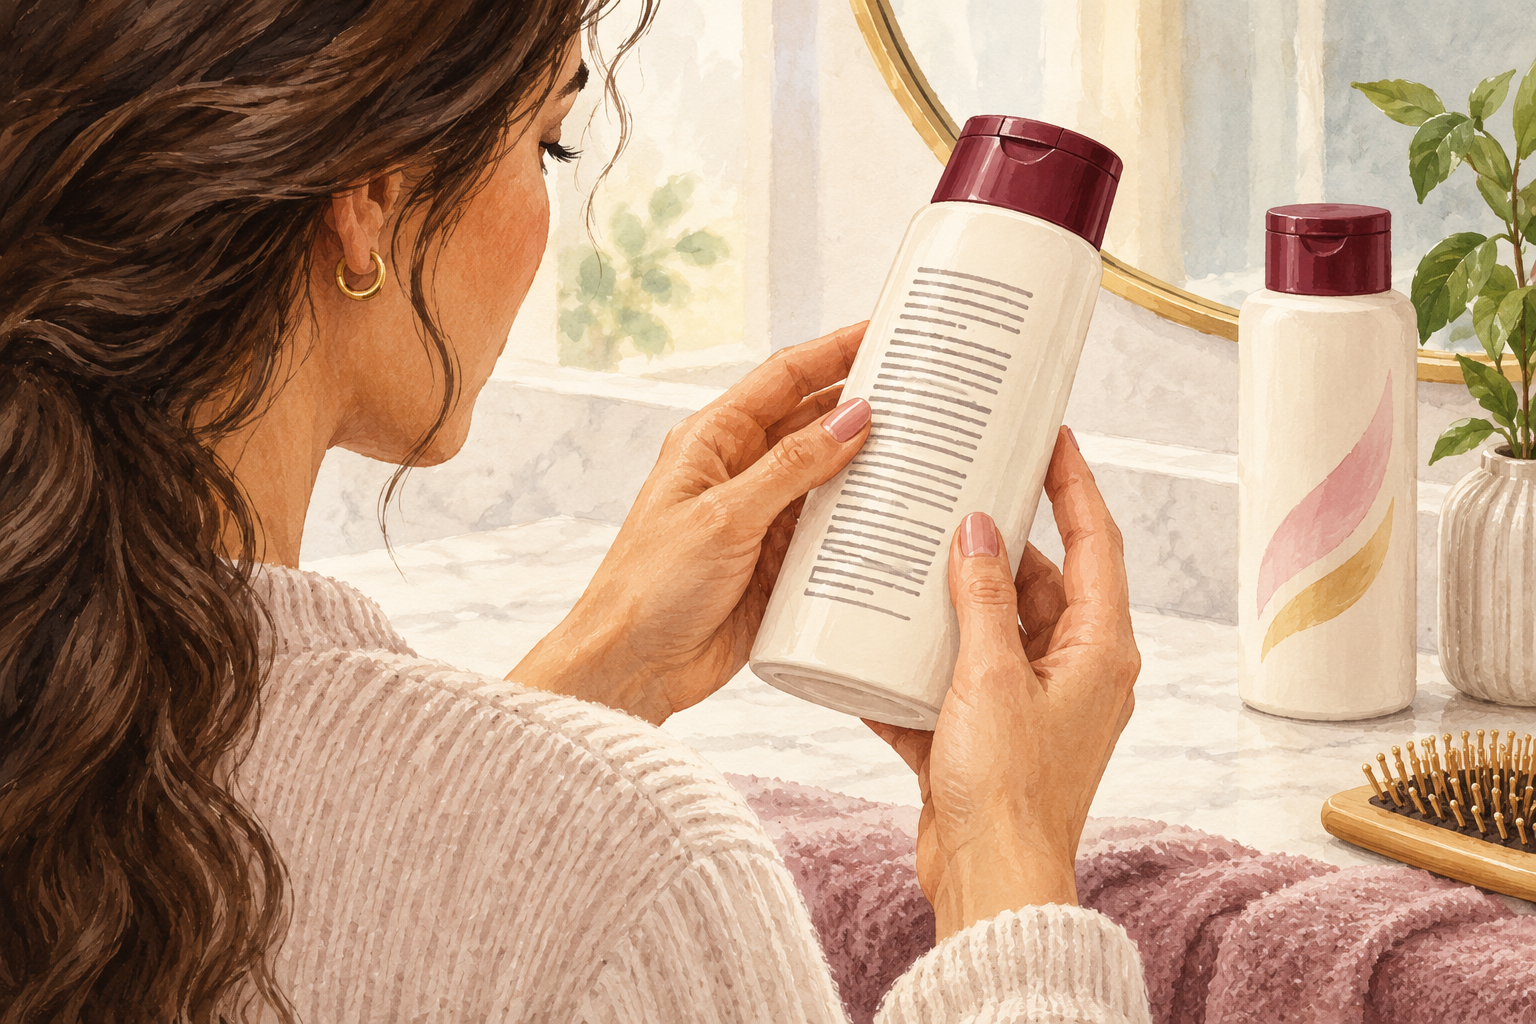
Pick a protein mask only when the stretch test said limp and gummy. Look for keratin, amino acids or hydrolyzed protein on the label. These tiny pieces fill rough spots on the strand, so hair feels firmer and less soggy. Too much protein leaves hair stiff and straw like, and stiff hair snaps. Use it once, then check how your hair feels on the next wash day. Follow it with a moisture mask the next time, so the two balance each other out and your hair stays bendy. Never stack two protein masks in a row, however tempting a rough patch feels.
6. Alternate both if your hair wants both

Start with a moisture mask for two weeks, then add a gentle protein mask every third or fourth week. Hair that is weak when wet and brittle when dry usually needs this pattern. It suits bleached, relaxed or heavily heat styled hair, which swings between the two. Do the stretch test before each protein week and skip it if your hair already feels stiff. Mark your mask days on a calendar so you can see the rhythm at a glance. Keep it steady for a month before you change anything. Changing jars every week only confuses the result.
7. Smooth it on damp hair, middle to ends

Shampoo first, squeeze out the dripping water, then apply the mask from mid length to the tips. That is where the damage lives. Split your hair into four sections and comb it through with a wide tooth comb so every strand gets coated. Keep it off oily roots, because it weighs them down and leaves them flat by evening. Clip your hair up and cover it with a shower cap, so the mask stays moist instead of drying on the surface. Use about a palmful for shoulder length hair. Longer hair may need a little more, and shorter hair a little less.
8. Leave it twenty to thirty minutes, rinse cool
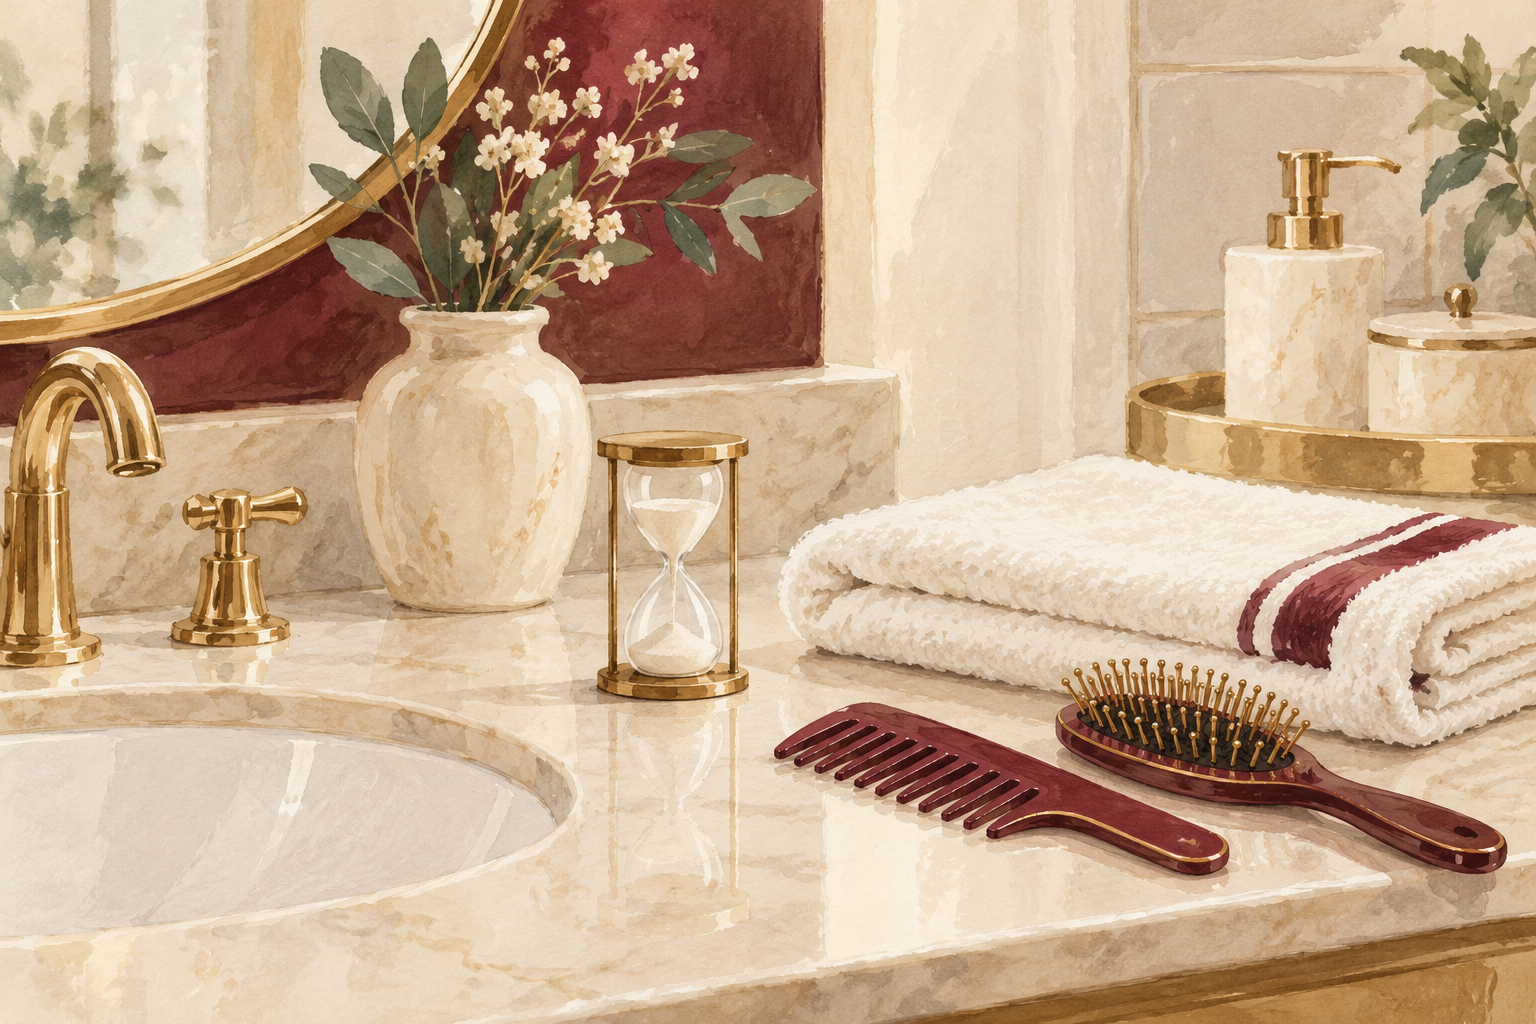
Set a timer for twenty to thirty minutes and rinse with lukewarm or cool water. Hot water lifts the mask right back off the strand. Leaving it for hours adds nothing for most masks and can leave fine hair flat. Rinse until the water runs clear and the strands no longer feel coated or slippery. If the mask makes your scalp itch, rinse it off at once and skip it next time. A cold splash at the end makes hair look glossier, and your hair will feel calmer under your fingers. Squeeze the water out gently, and never wring your hair like a wet cloth.
9. Mask weekly, then step down to every two weeks

Use a hair mask for damaged hair once a week at first, especially if your hair is dry and frizzy. Oilier or finer hair does better with one every other week. After four to six weeks, if your hair feels softer and detangles easily, drop to every second week and see if it holds. If it goes limp or greasy, step down faster. More masking is not more repair, and too much leaves hair heavy. Keep your normal conditioner for the other washes. On the weeks you skip the mask, a quick conditioner on the ends is enough.
10. Know what week one, four and eight look like

Check your hair at week one, week four and week eight, and write down what you see. In week one your hair should feel softer and comb with less pulling. By week four you should notice less snagging and fewer rough ends catching on your sweater. By week eight the new growth near your scalp looks healthier, while the oldest ends are still damaged and still need trimming. If nothing has changed at week eight, switch from moisture to protein or the other way round before you give up. Hair grows slowly, so a quiet eight weeks does not mean you failed.
11. Drop the habits that cancel the mask

Swap hot water for lukewarm, rough towel rubbing for a gentle squeeze, and mask on greasy roots for mid lengths only. Do not use a mask in place of conditioner every single wash, because heavy products build up. Do not use a protein mask every week without testing first. And do not keep switching jars, because you cannot tell what helps. Pick one, use it for a month and judge from there. A mask cannot beat a flat iron on full heat every morning. Turn the heat down and your mask works twice as well.
12. Patch test any kitchen mask first
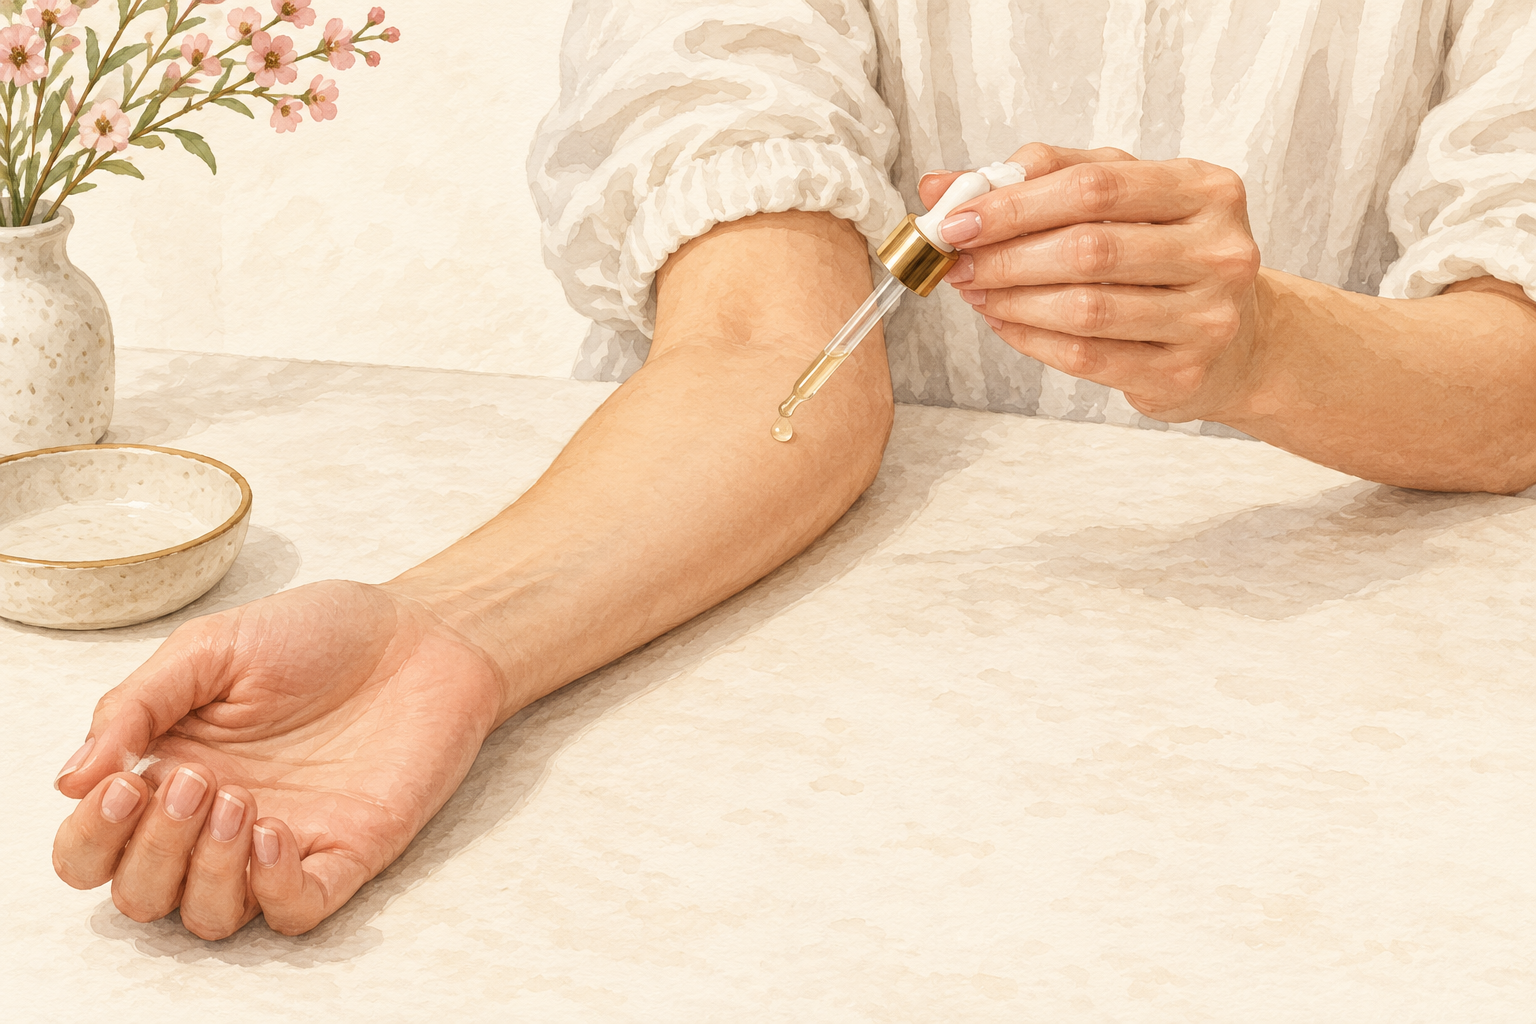
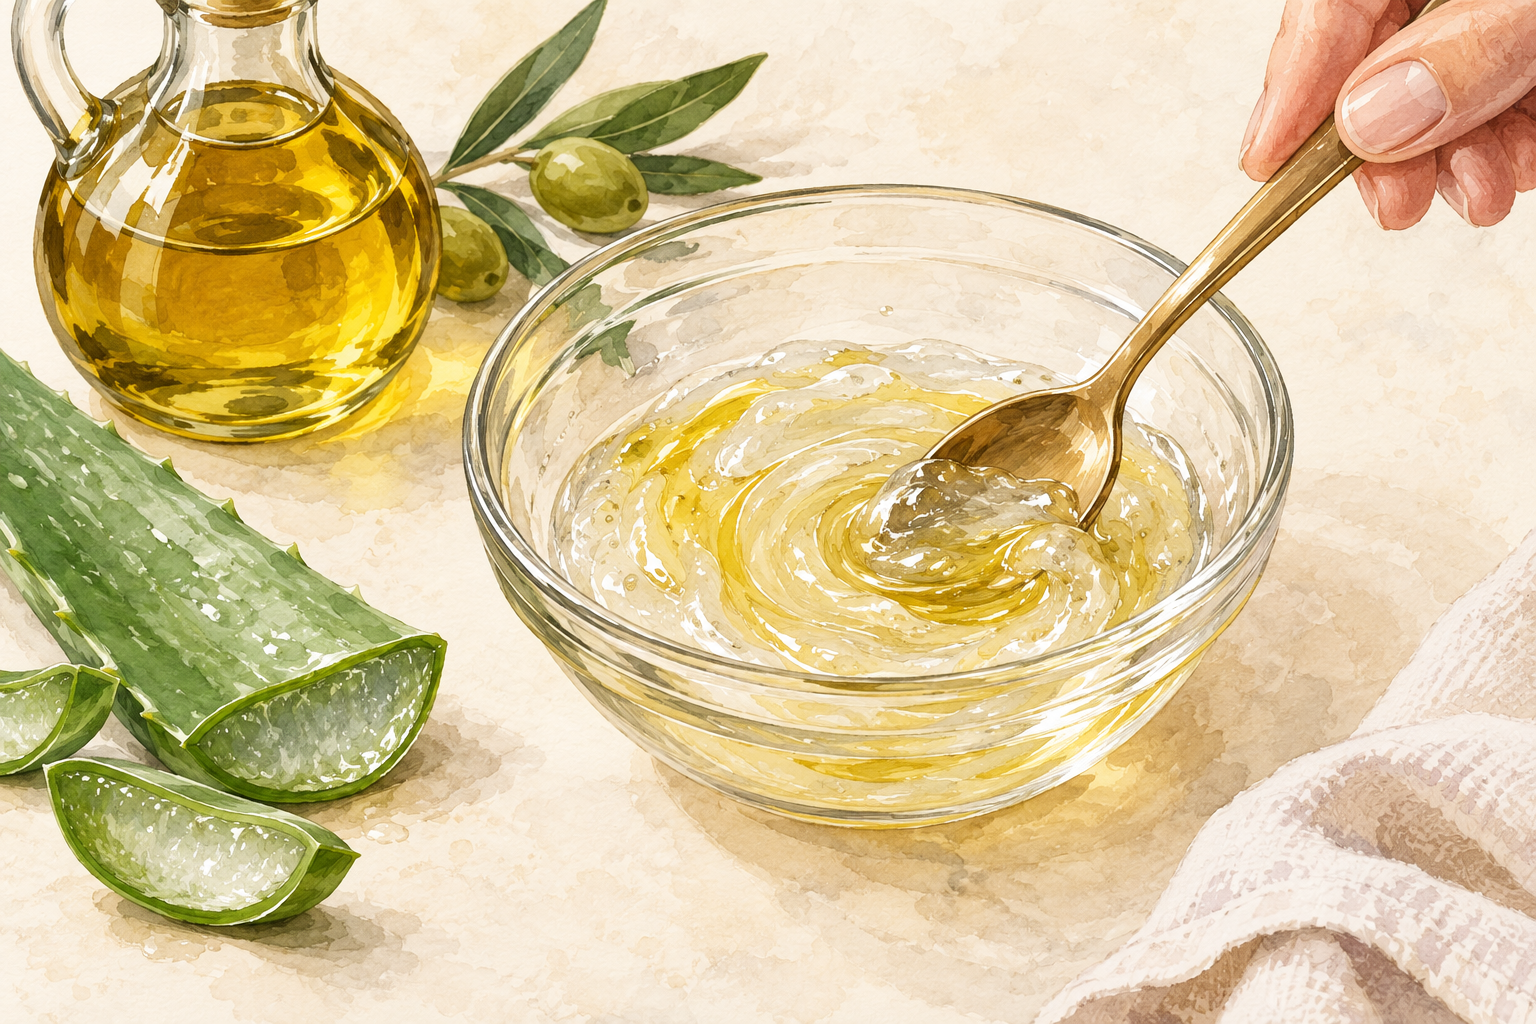
Dab a little on the inside of your forearm and wait a day before it goes near your head. Redness, itching or swelling means that ingredient is not for you. Egg masks need cool rinse water, because hot water can cook egg into your hair. Keep homemade mixes to two or three ingredients, and make only what you will use, because fresh food does not keep. A kitchen mask is a nice conditioning treat, not a protein repair. Whatever you mix, rinse it out fully, because leftover food starts to smell by the next day.
Complete the Routine: Your Hair Mask for Damaged Hair This Week
Tonight, do the stretch test, choose moisture or protein, and mark one mask day in your week. Ends still frayed? Read about hair breakage, or the damaged hair repair plan.