You paint the white tips and one smile line sits higher than the rest, another wobbles, and the whole hand looks like a rough draft. How to do french nails neatly is not about a steady hand, it is about using something to steady the line for you. Here are 12 tricks for clean smile lines, so start at number one.
1. Pick a sheer base and a friendly shape
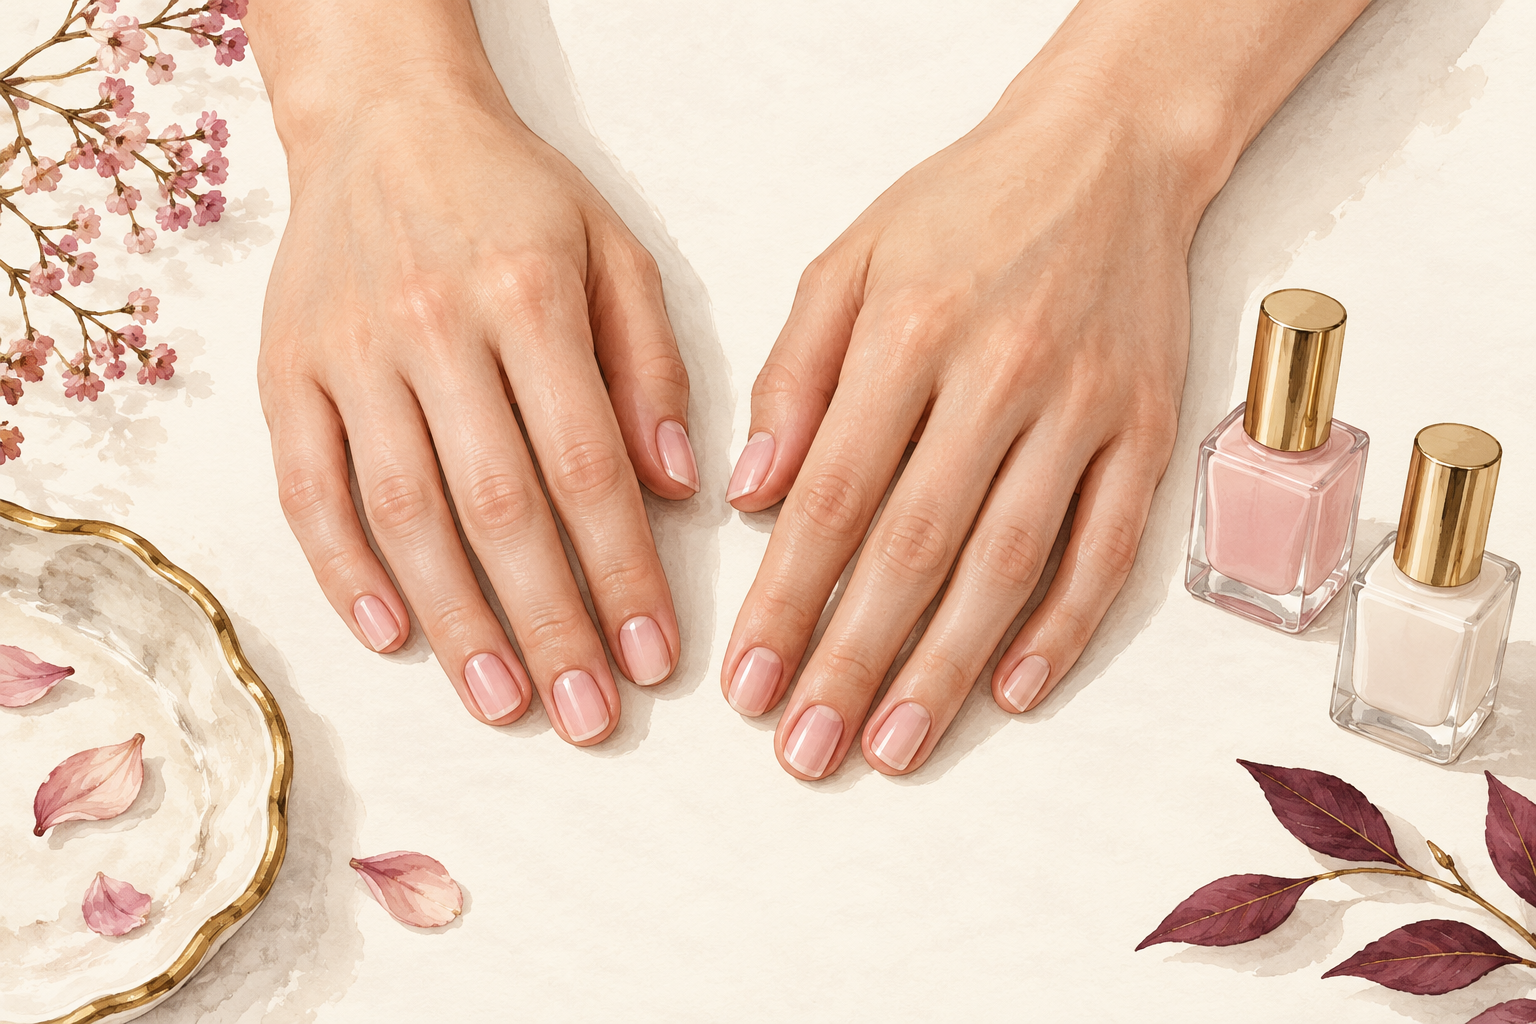
Choose a sheer pink or milky base and file all ten nails to a gently rounded or squoval shape. A sheer base hides the odd wobble far better than a bare nail or an opaque color. A softly curved tip is easier to follow than a sharp square, because the smile line can copy the curve. Make the lengths match first, since uneven nails give uneven tips. Short nails work too, but keep the white band narrow so it does not swallow the nail. Check the shape in good light before you paint. Buff any ridges lightly so the polish lies flat.
2. Prep so the white does not smudge
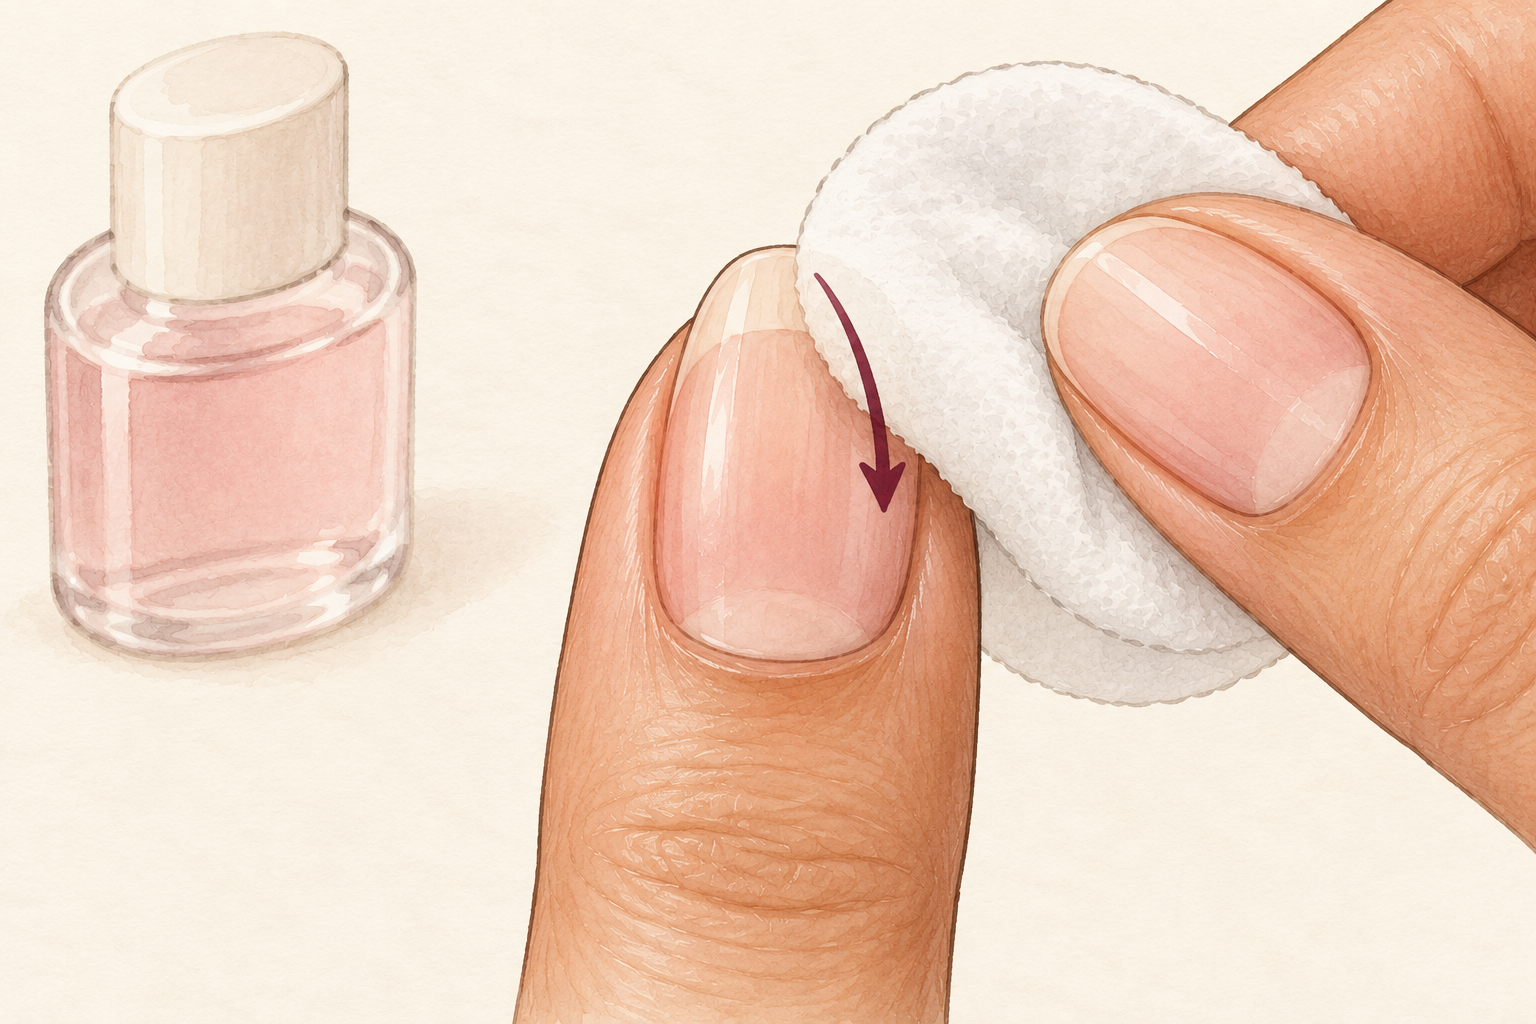
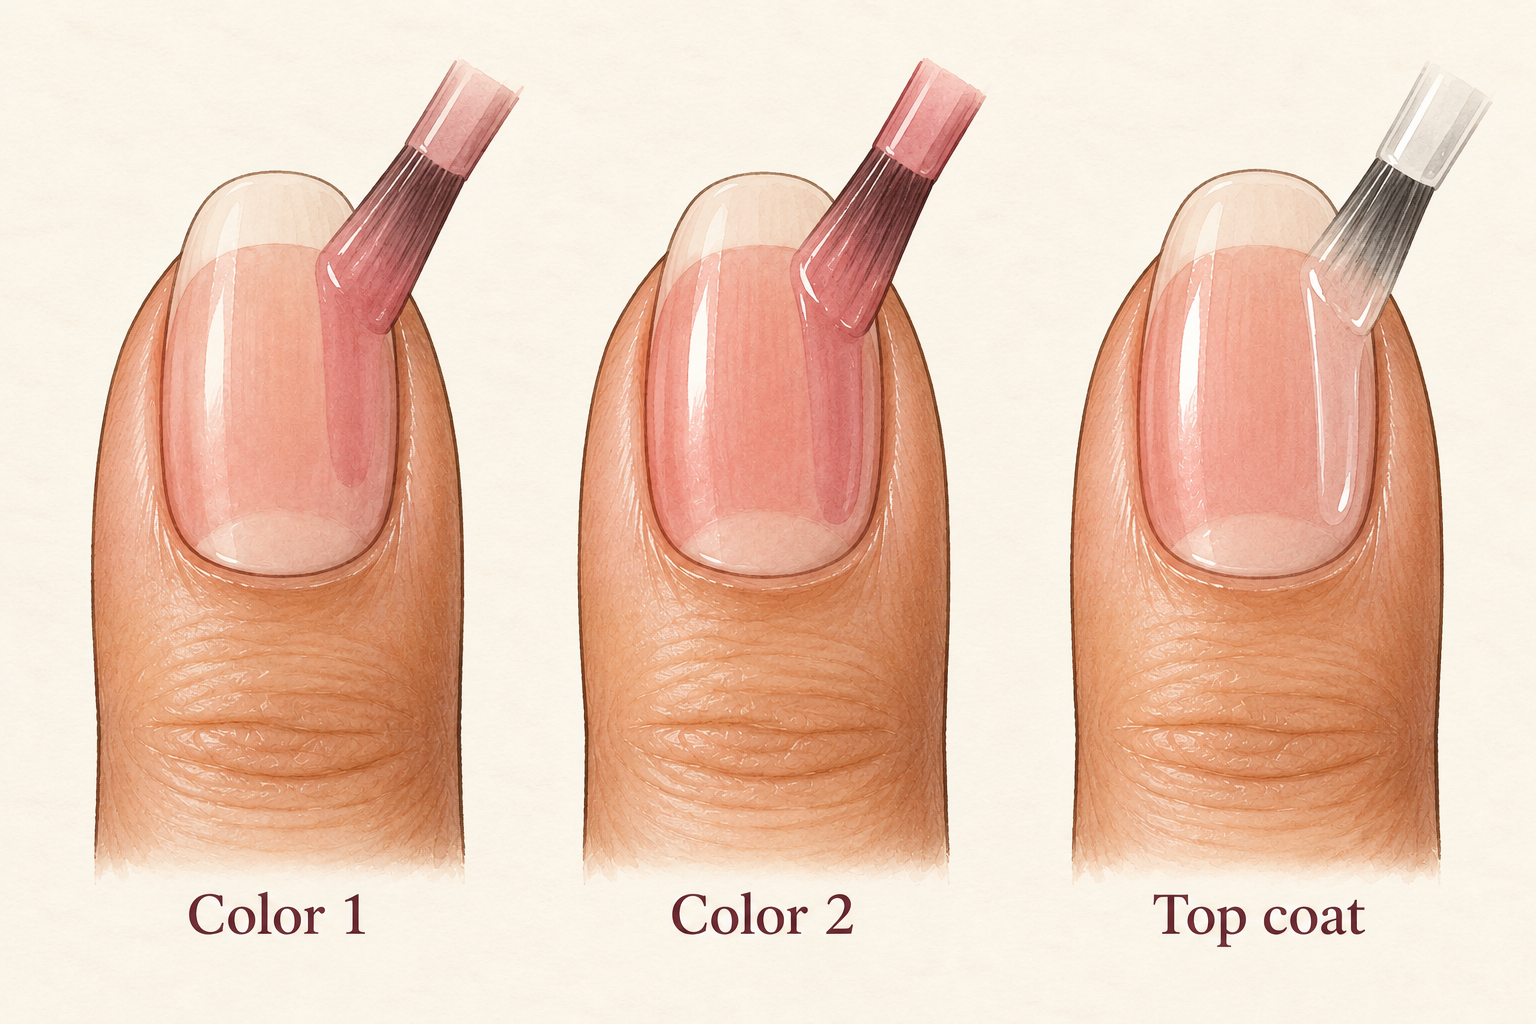
Wash and dry your hands, ease the cuticles back gently, then wipe each nail with remover. That last wipe takes off the oil that makes white polish skid. Apply a thin base coat, then one or two thin coats of the sheer pink, and let each one dry before the next. Oily nails and thick pink coats are the two reasons a white tip slides. Hold off on hand cream until the whole set is finished, since cream on the nail is the enemy of a crisp line. Take your time here, because five calm minutes of prep saves fifteen of cleanup. Prep pays off, and if you are new, how to do nails at home is a friendly place to start.
3. Let the pink dry before any guide touches it
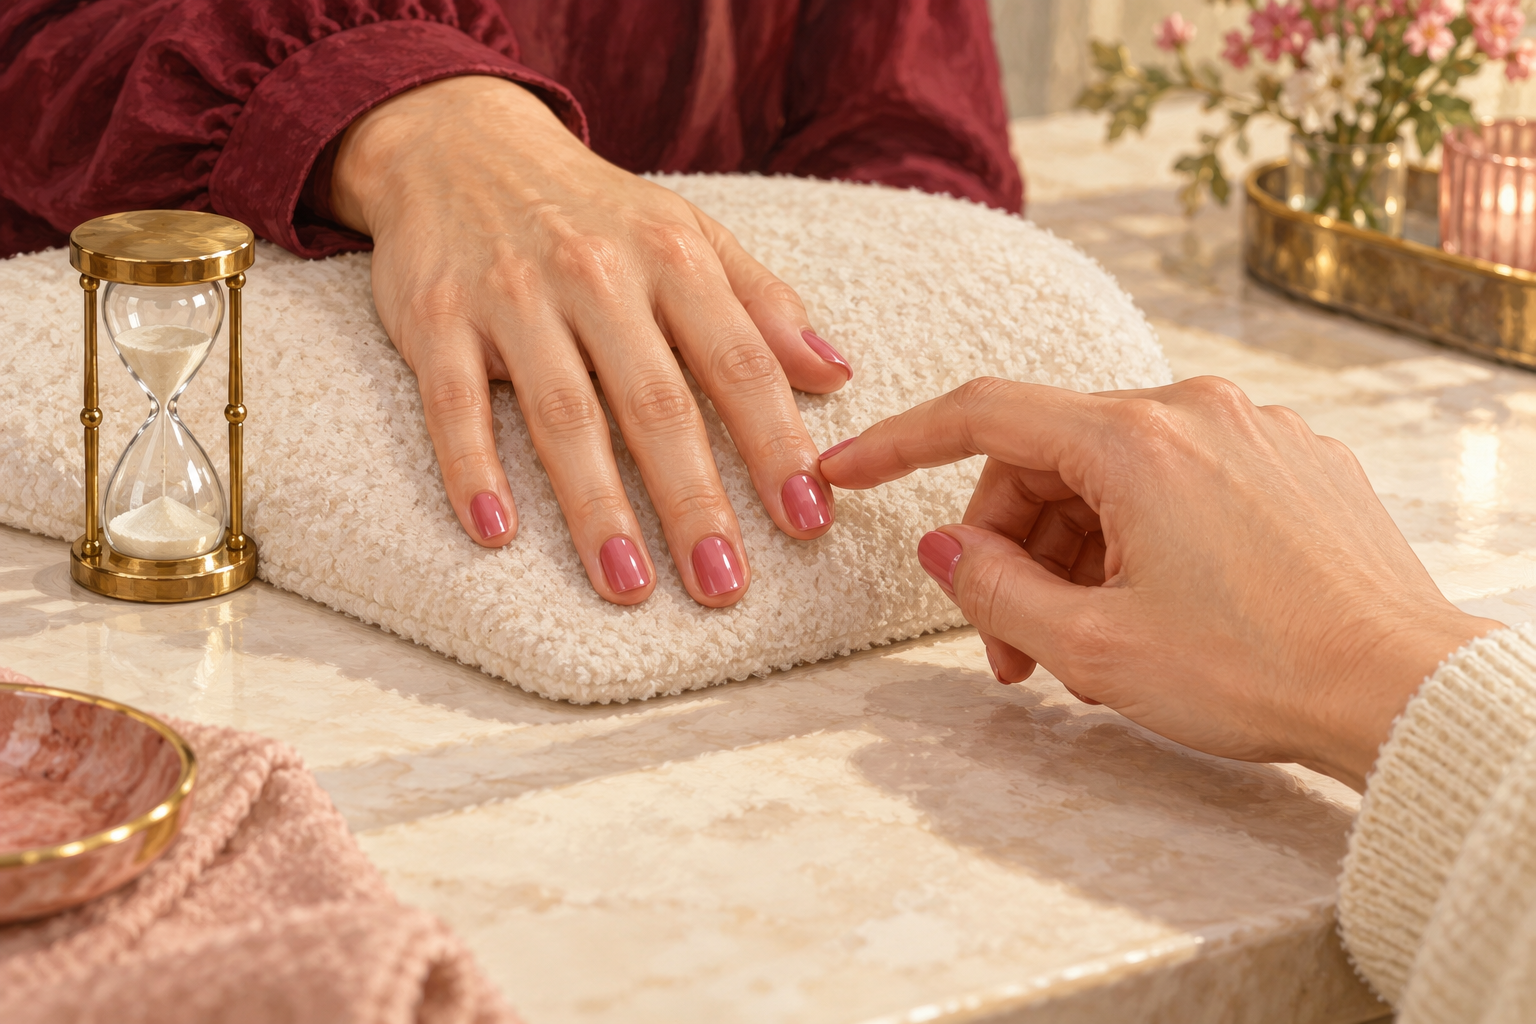
Wait at least ten minutes after the pink, longer if the coats were thick. Stickers and tape pull up wet or tacky polish, and a ragged line looks worse than a wobble. Touch the very edge of one nail lightly. If it leaves a print, give it five more minutes. It is the dullest step and the one that makes all the others work. Use the time to tidy the table, wipe your brush and shake the white onto a scrap of foil. A cool, still room helps polish harden faster. Do not blow on the nails to hurry them, since that only ripples the surface.
4. Use tip guide stickers for the easiest curve
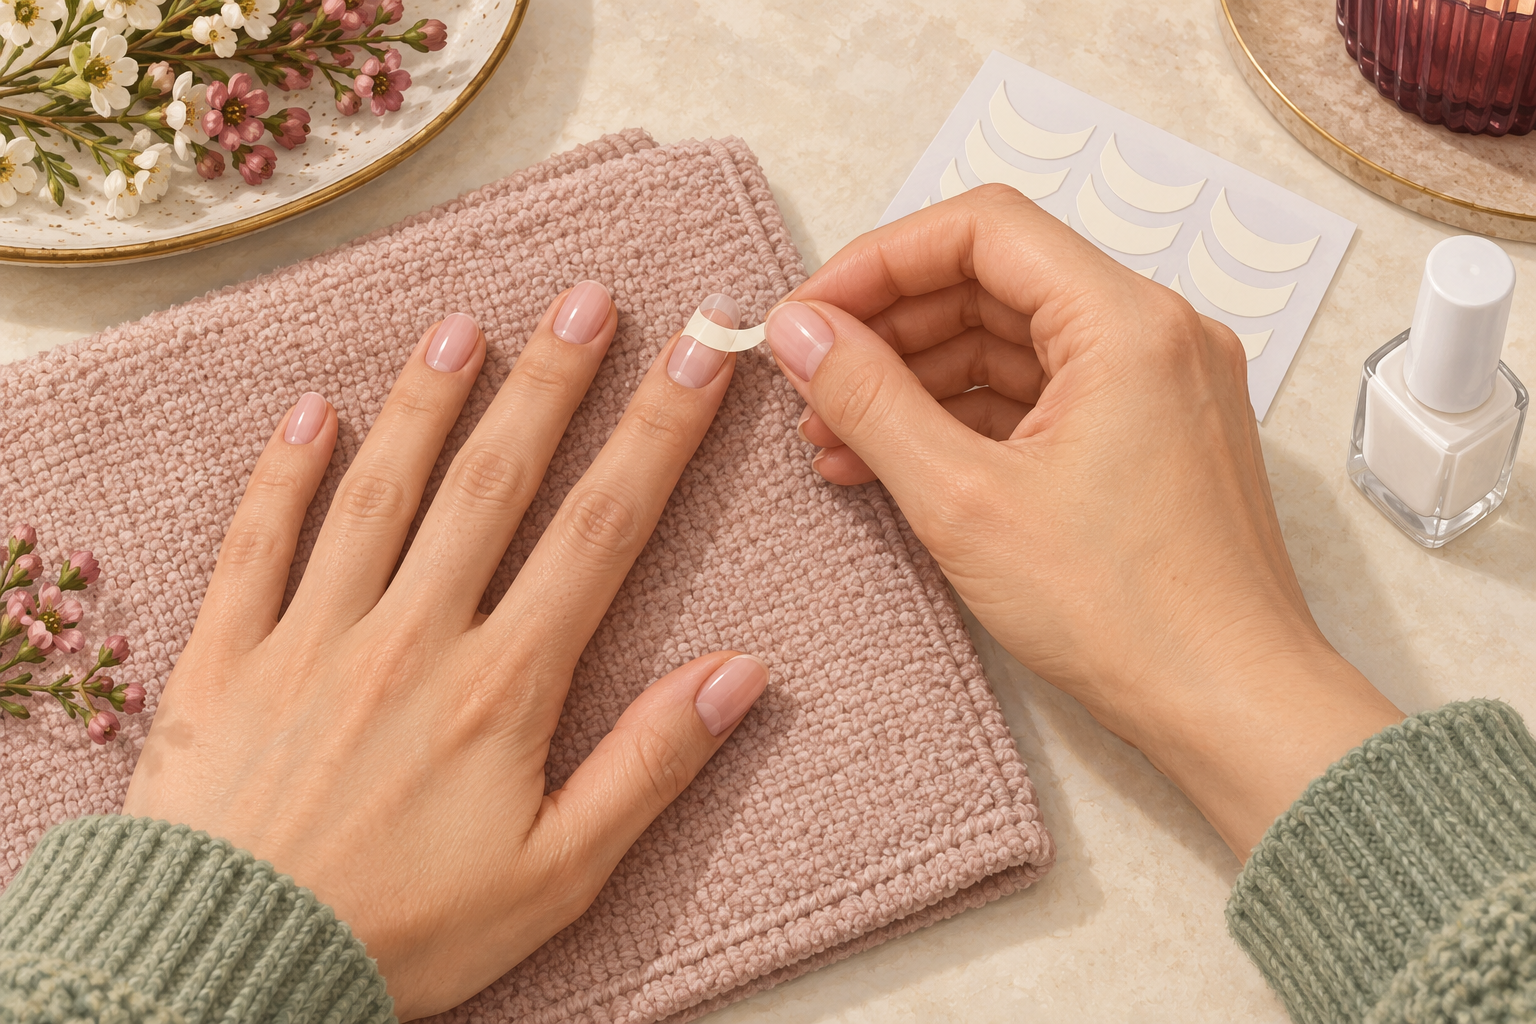
Press a curved sticker across the nail so its edge sits where you want the smile line. Smooth it down so no gap is left, then paint the white across the exposed tip. Pull the sticker away while the white is still slightly wet, slowly and toward the tip. Stickers are the simplest answer for a shaky hand, because the curve is already built in. Let the white dry fully before you touch it again. Do one nail at a time, so the polish does not dry on the sticker before you lift it. A fresh sticker grips better than one reused three times, so peel a new one for each hand.
5. Cut your own guide from tape
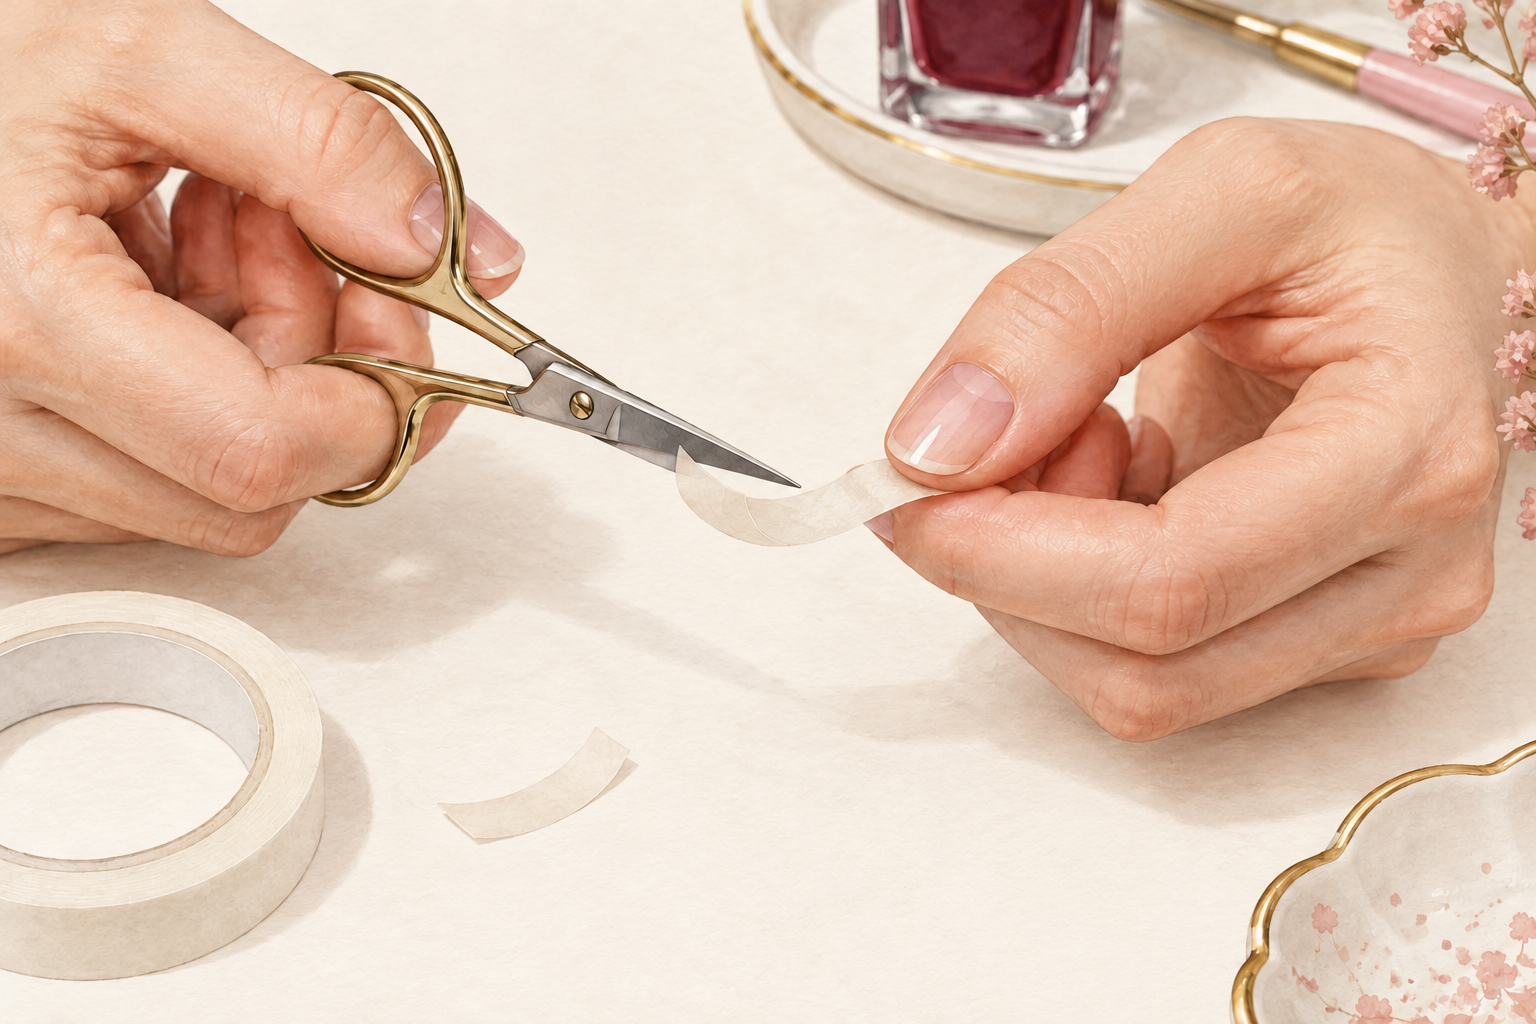
Cut a thin strip of low tack tape and trim a gentle curve into one edge with small scissors. Press it across the nail where the line should sit. Dab the tape on your sleeve first to make it a little less sticky so it does not lift the pink. Paint the white tip, then peel the tape away as soon as the white feels dry to the touch. Waiting too long makes the edge crack. Keep a few pre cut strips in a small tin for next time. Tape works best on short nails, where one strip covers the whole tip.
6. Freehand with a dotting tool and an anchored hand
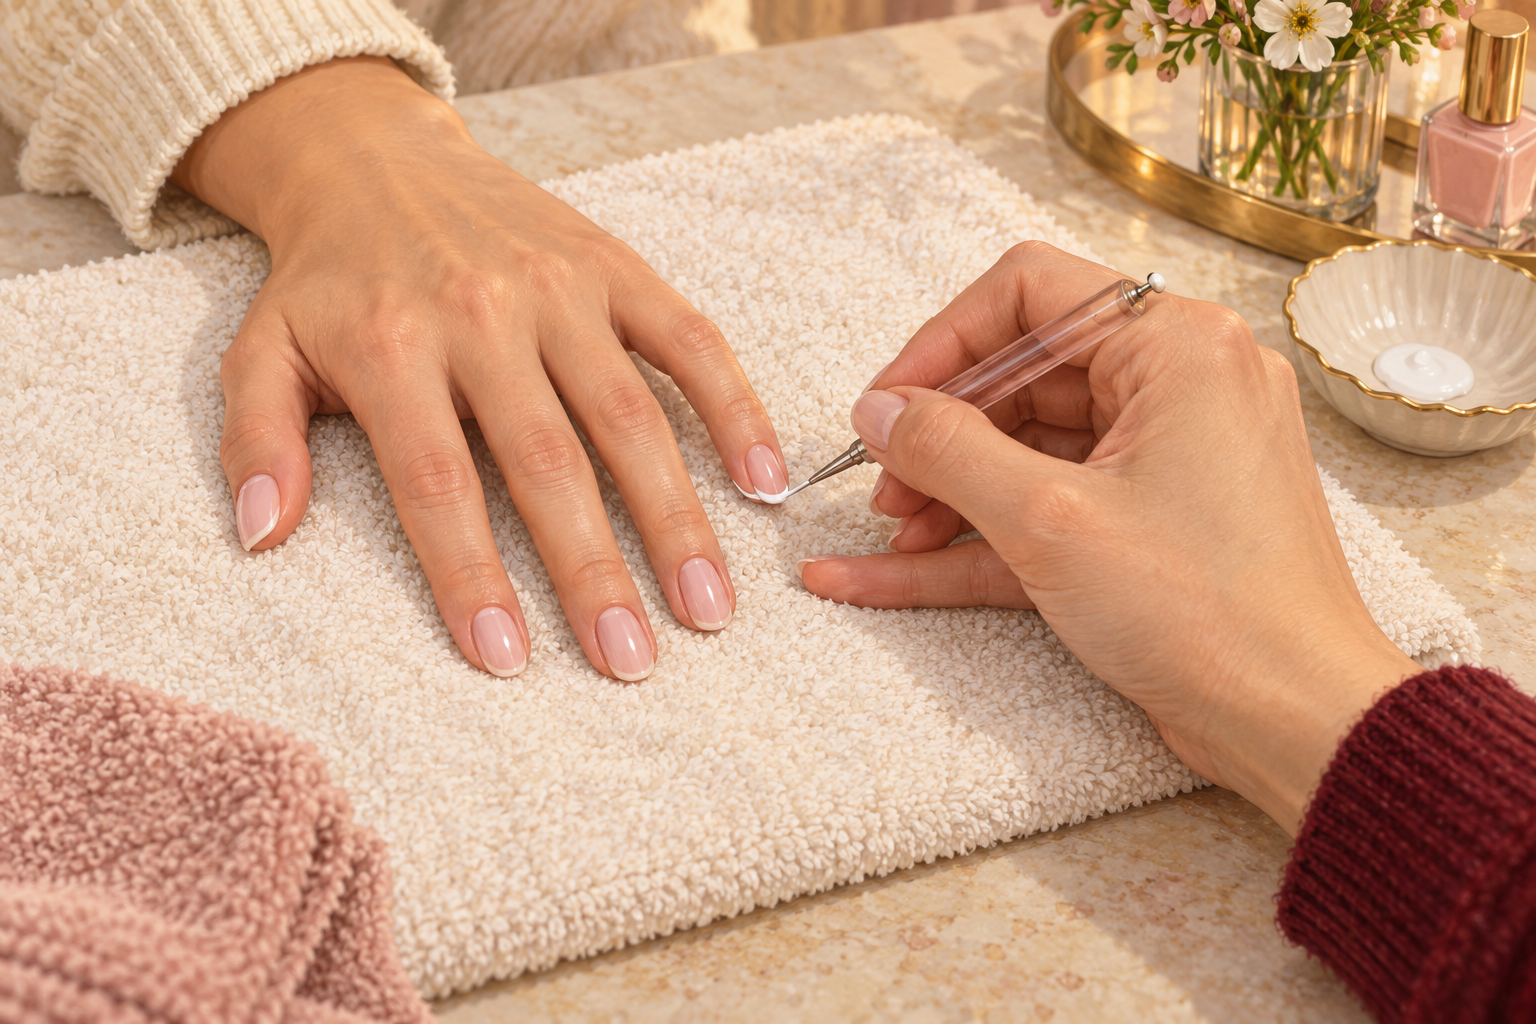
Put a small bead of white on foil, pick it up with a dotting tool or a very thin brush, and rest the heel of your hand on the table. Tuck your pinky against the next finger so your arm is not floating. Anchoring your hand is the real answer to a shaky line, more than any brush. Draw from one side of the nail toward the center, then from the other side to meet in the middle. Short strokes beat one long one, and a card to practice on first helps. This is the method for anyone who likes a thinner, more delicate line.
7. Paint from the sides into the center
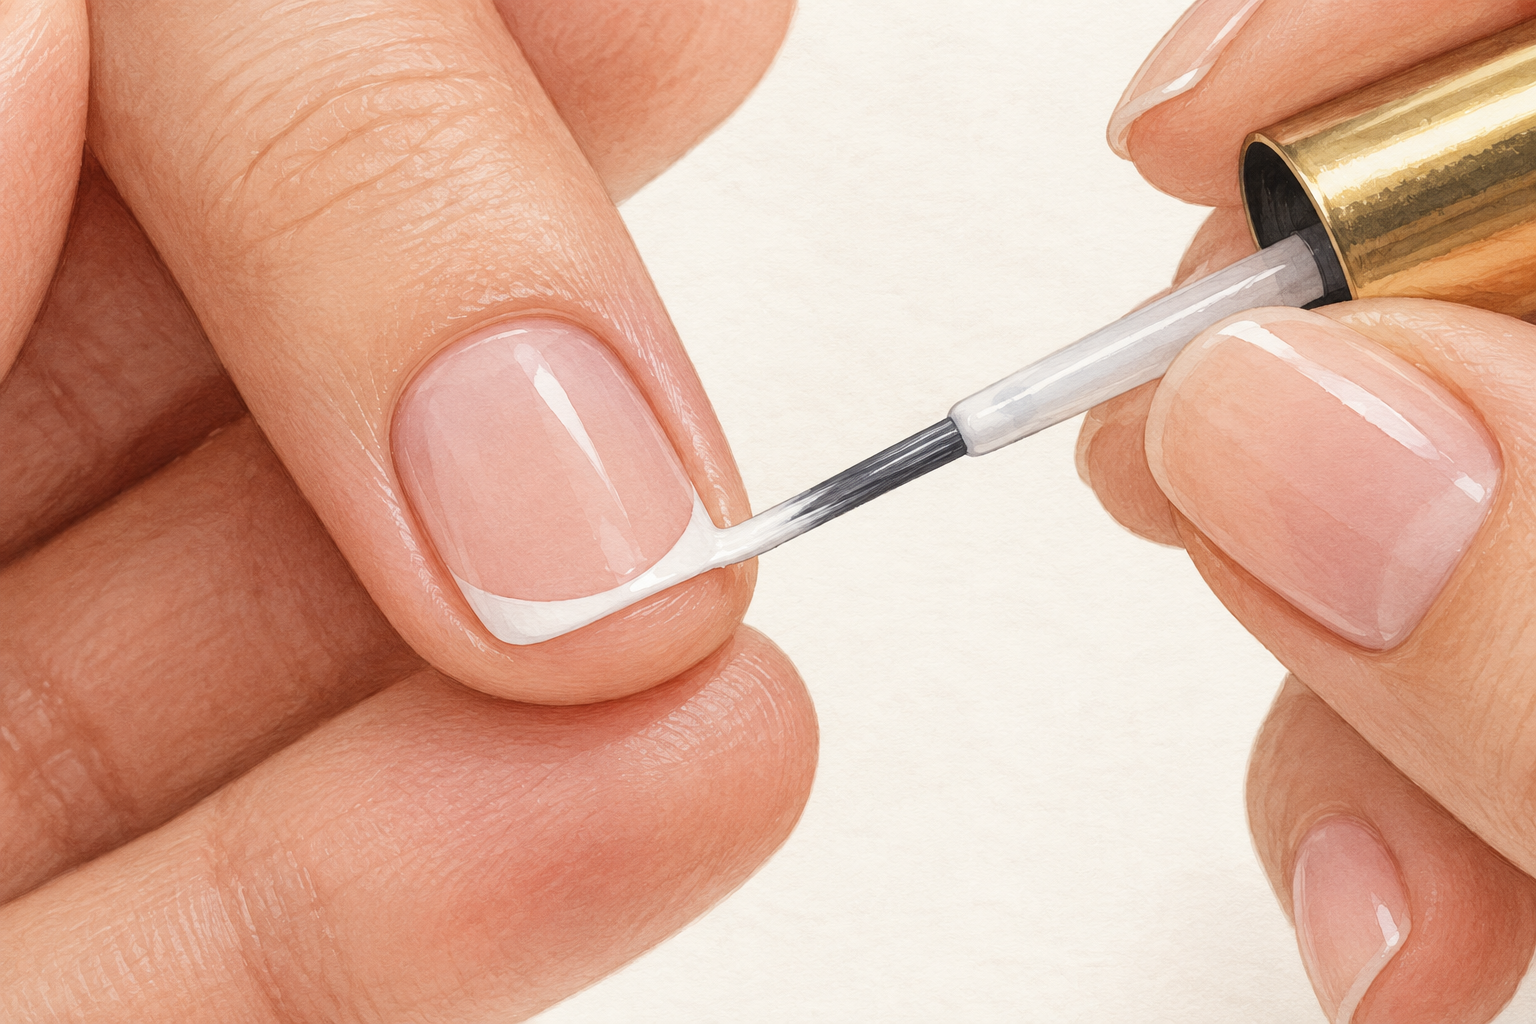
Start at the outer edge of the nail, follow the curve of the free edge and move toward the middle. Then do the same from the other side and let the two strokes meet. This keeps the line symmetrical and stops it bulging at one corner. Use a small amount of polish each time and wipe the brush if you load too much. Keep the band no deeper than the last couple of millimetres. If you see the line sit crooked, stop and fix it now, before the white dries. Say it out loud if it helps: edge, edge, middle.
8. Build the white in two thin coats
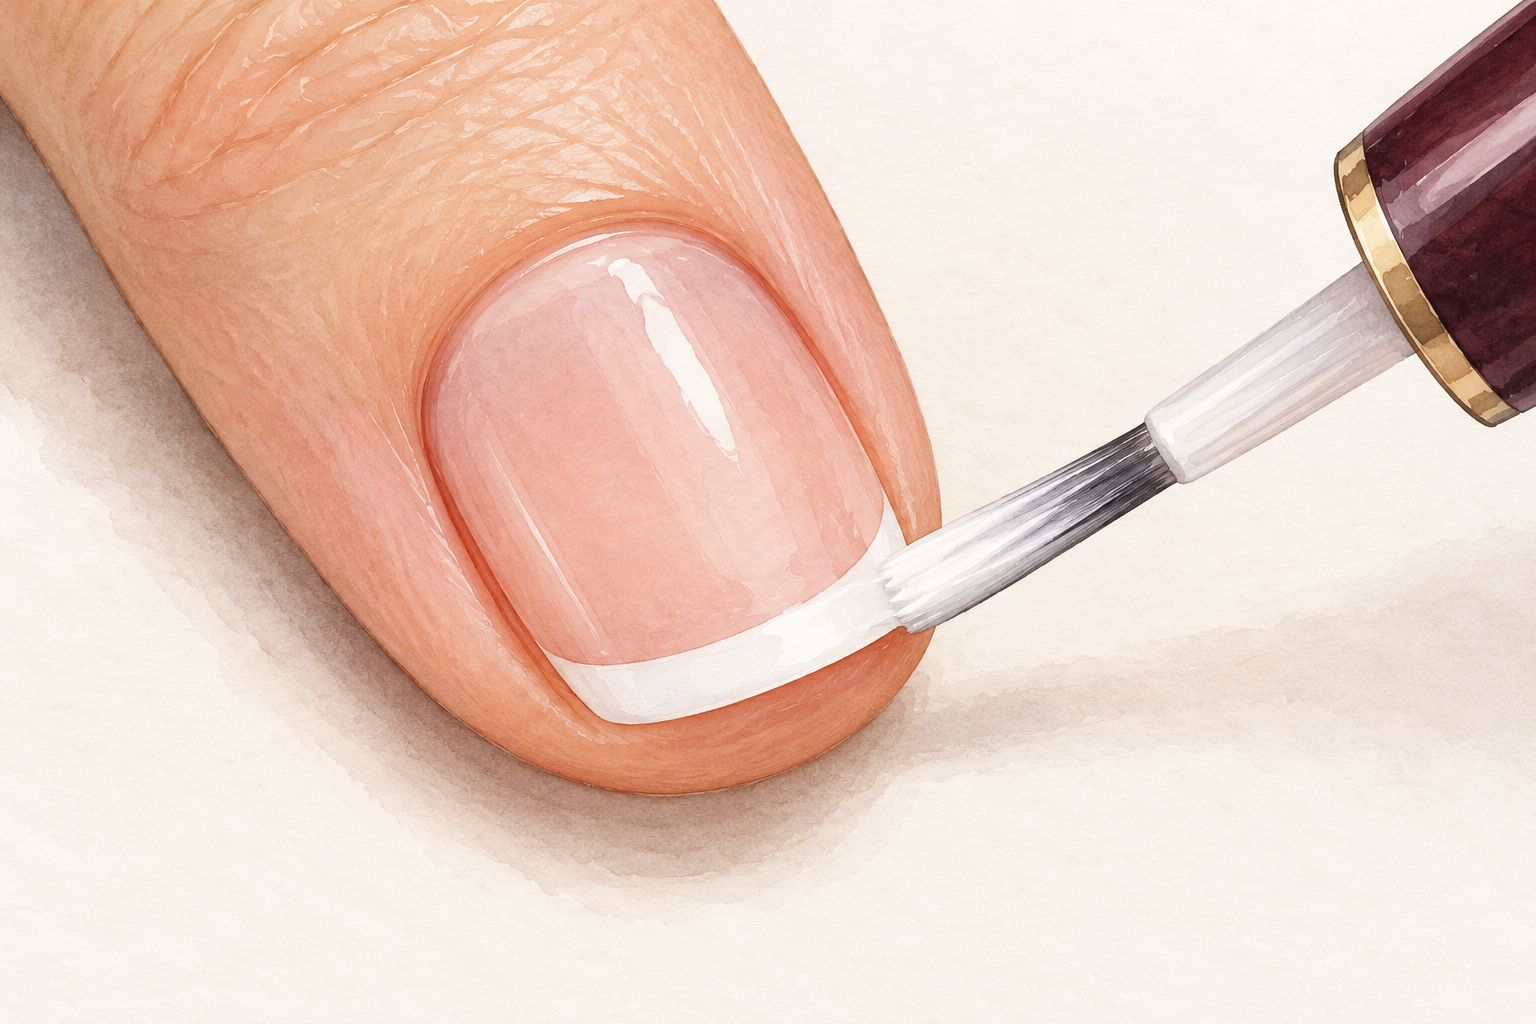
Wait two minutes after the first white pass, then add a second thin coat. White polish looks streaky at first and the instinct is to go thick. Thin layers dry flat and give a crisp edge, while thick ones round off at the edge and smudge. If your white is old and gloopy, replace it, because a good consistency matters when you work out how to do french nails with a clean line. Wipe the neck of the bottle so the brush does not catch crusty bits. Roll the bottle between your palms rather than shaking it, so no bubbles sneak in. Two thin passes beat one thick one, which is the heart of how to paint nails perfectly.
9. Sharpen the line with a tiny brush
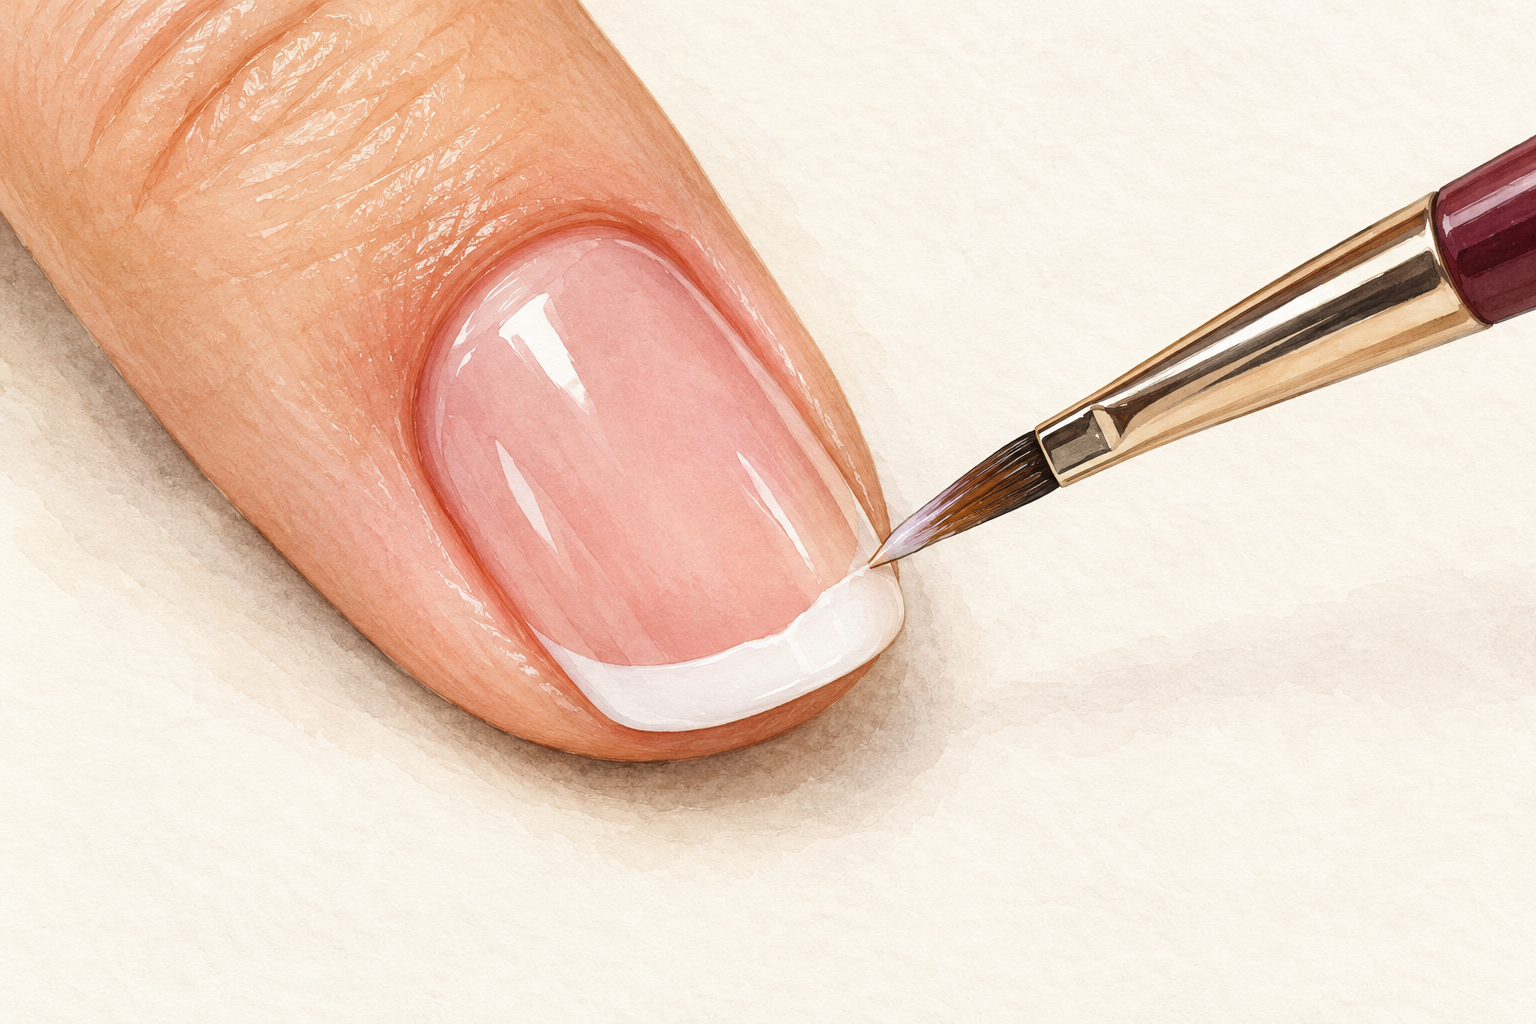
Dip a flat angled brush in a little remover and trace along the edge of the white. Wipe the brush on a pad between strokes so it does not drag white onto the pink. Work only on the edge, and stop when the line looks right, because going over it again and again lifts the pink beneath. Most removers dry the skin, so rub in a little cream when you finish. A cotton swab leaves fluff behind, which is why a brush is better here. Set a small cup of remover to one side and dip only the very tip of the brush, so the pink stays untouched.
10. Seal with two thin top coats
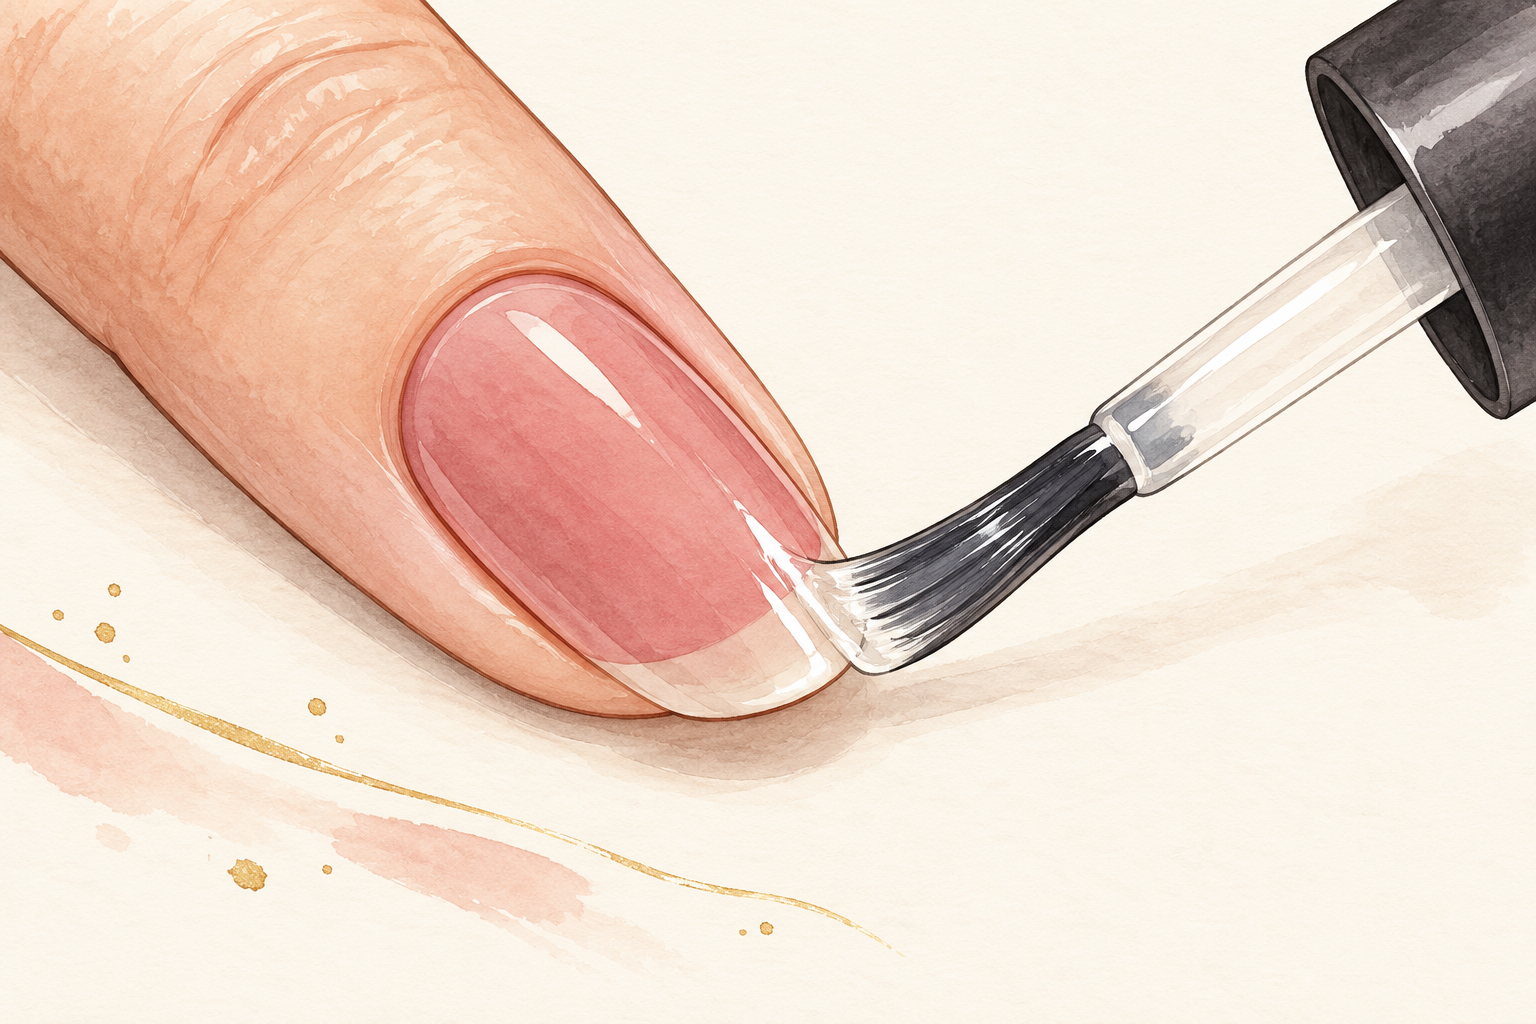
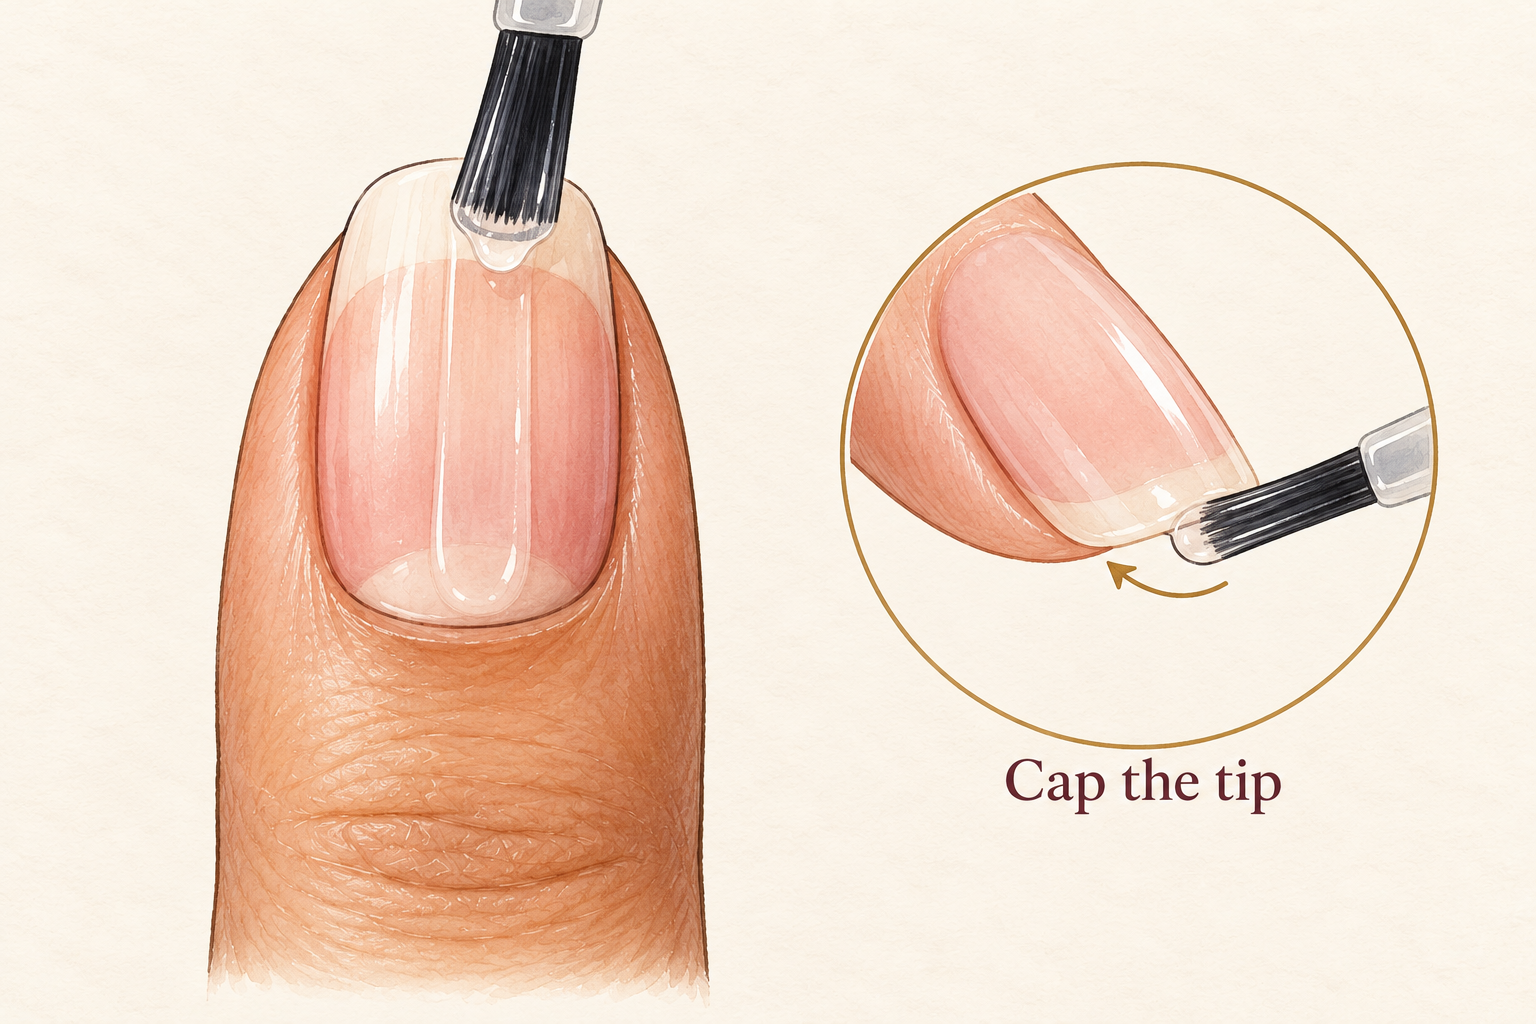
Float a thin coat of top coat over the nail without pressing, then add a second after a few minutes. White on pink leaves a very slight ridge, and top coat levels it. Run the brush along the free edge to seal the tip. A smooth finish makes the line look sharper than it is. Do not use one thick top coat to hide a bad line, since it dries wavy and makes the ridge worse. Wait twenty minutes before you touch anything. Cap the tip in the final stroke and the white will resist chipping for days.
11. Fix the usual slips
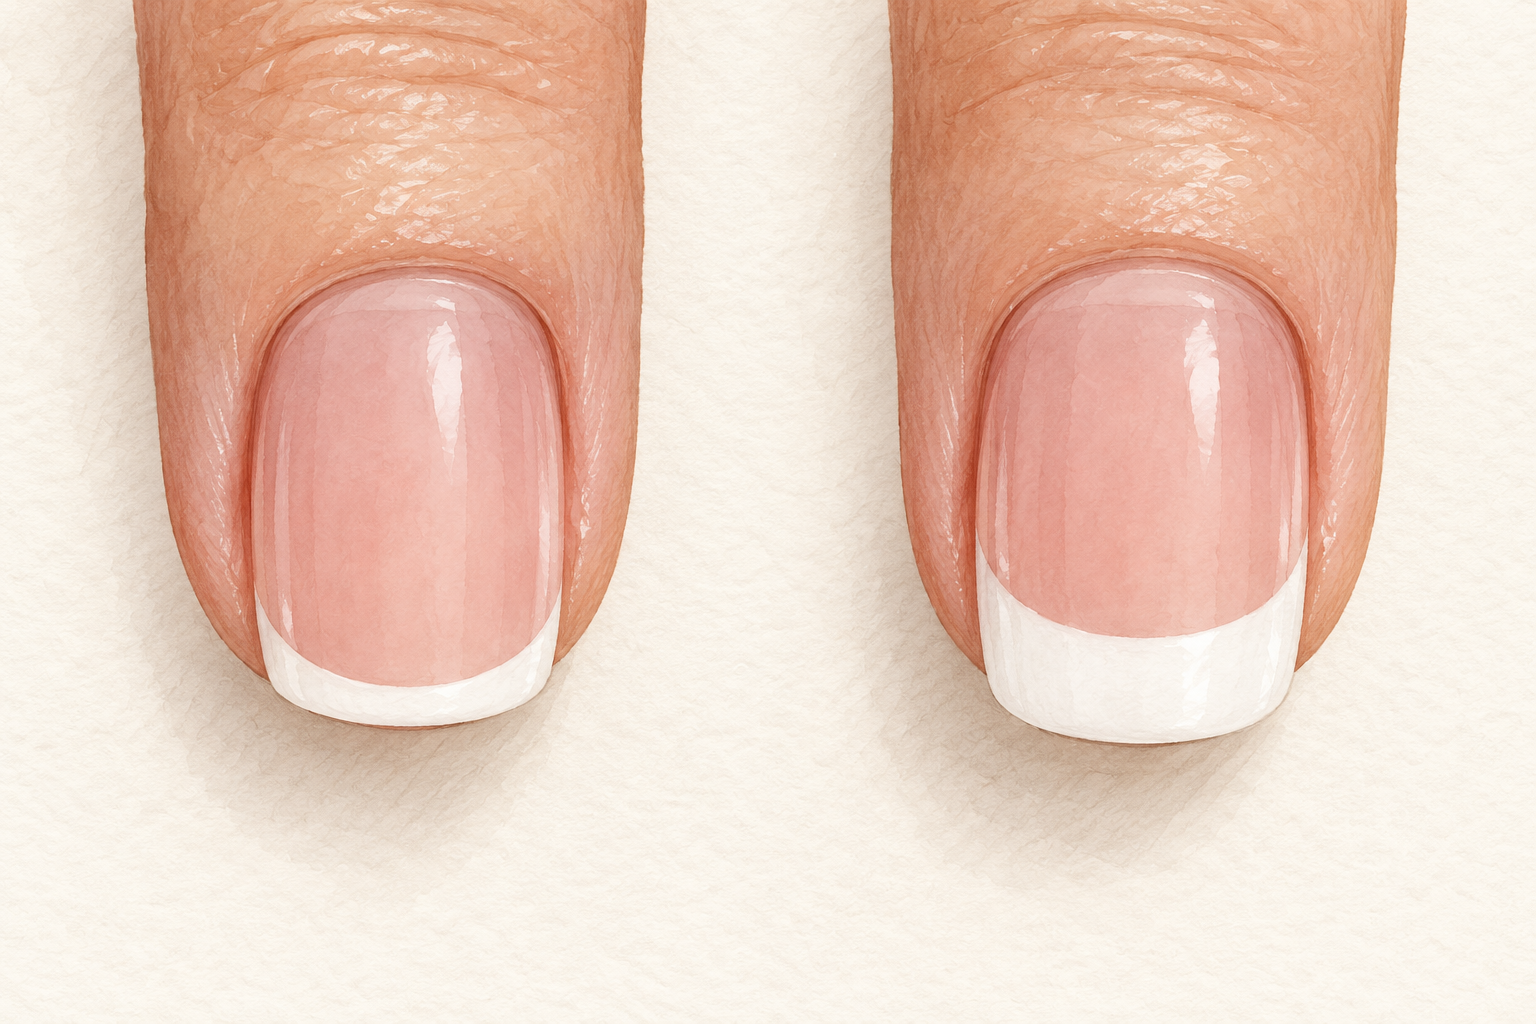
Keep the white to the last few millimetres, because a deep band looks heavy. A thick coat bubbles, and a guide placed on a tacky base leaves a ragged edge. If one nail goes wrong, wipe that nail and redo it instead of the whole hand. Most problems here are small, and a calm second try beats a rushed hand. A wobbly line can often be nudged straight with the remover brush while the white is still soft. Photograph each set so you can see how your line improves. A tiny dab of remover on a toothpick can rescue one stray dot.
12. Learn what attempts one, two and three look like
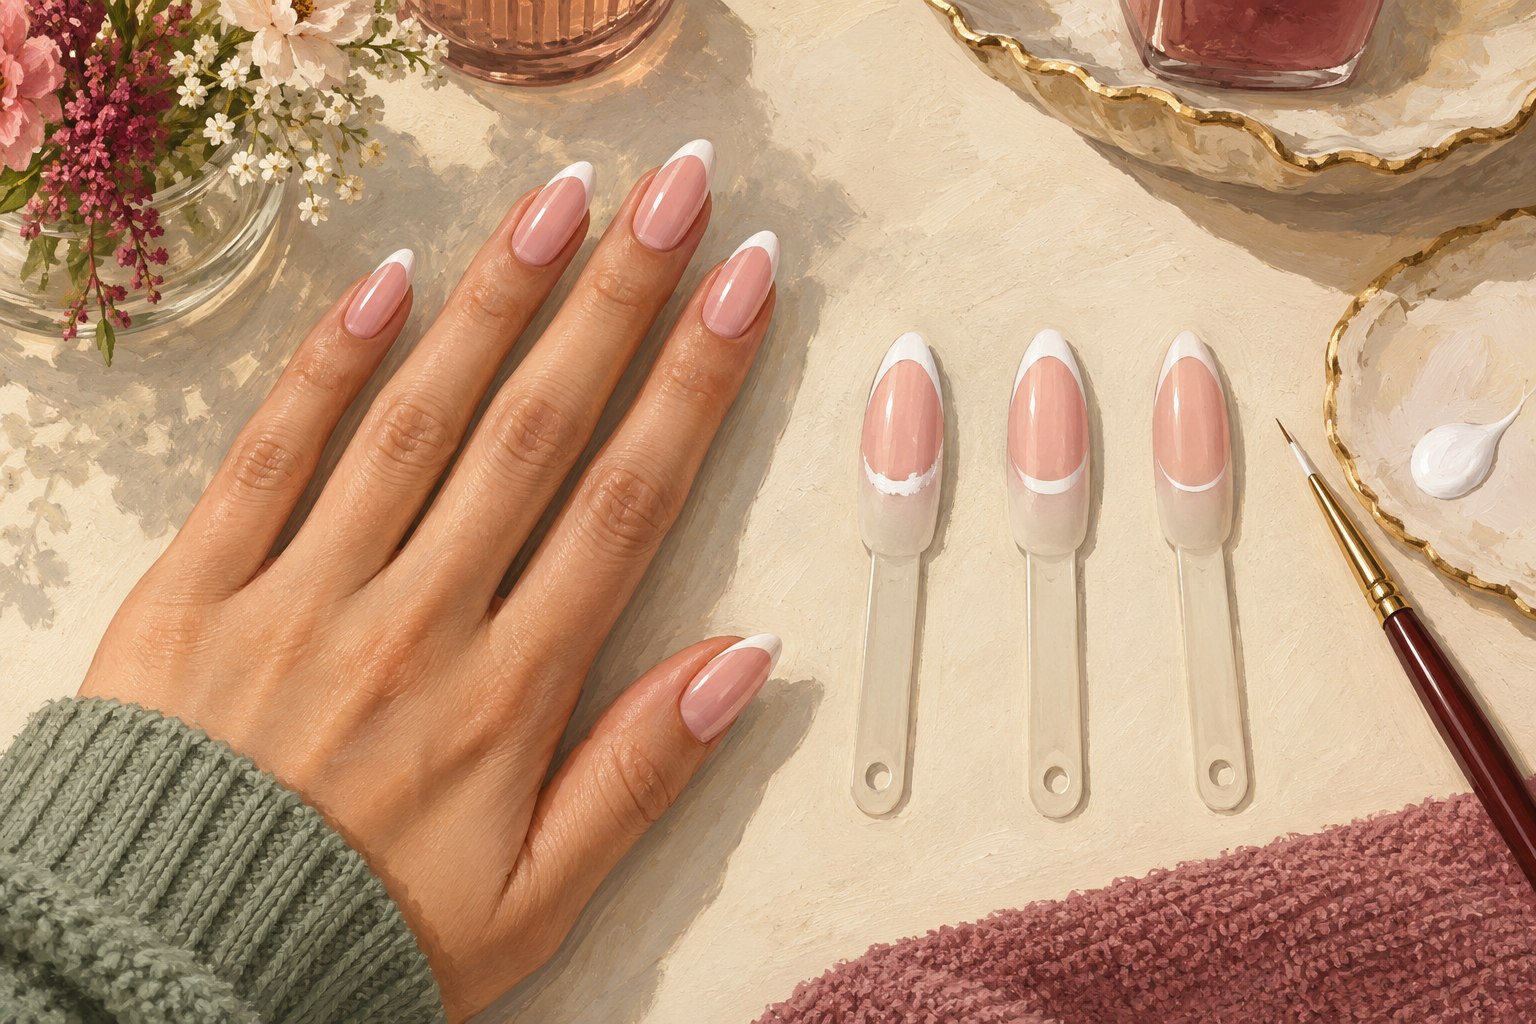
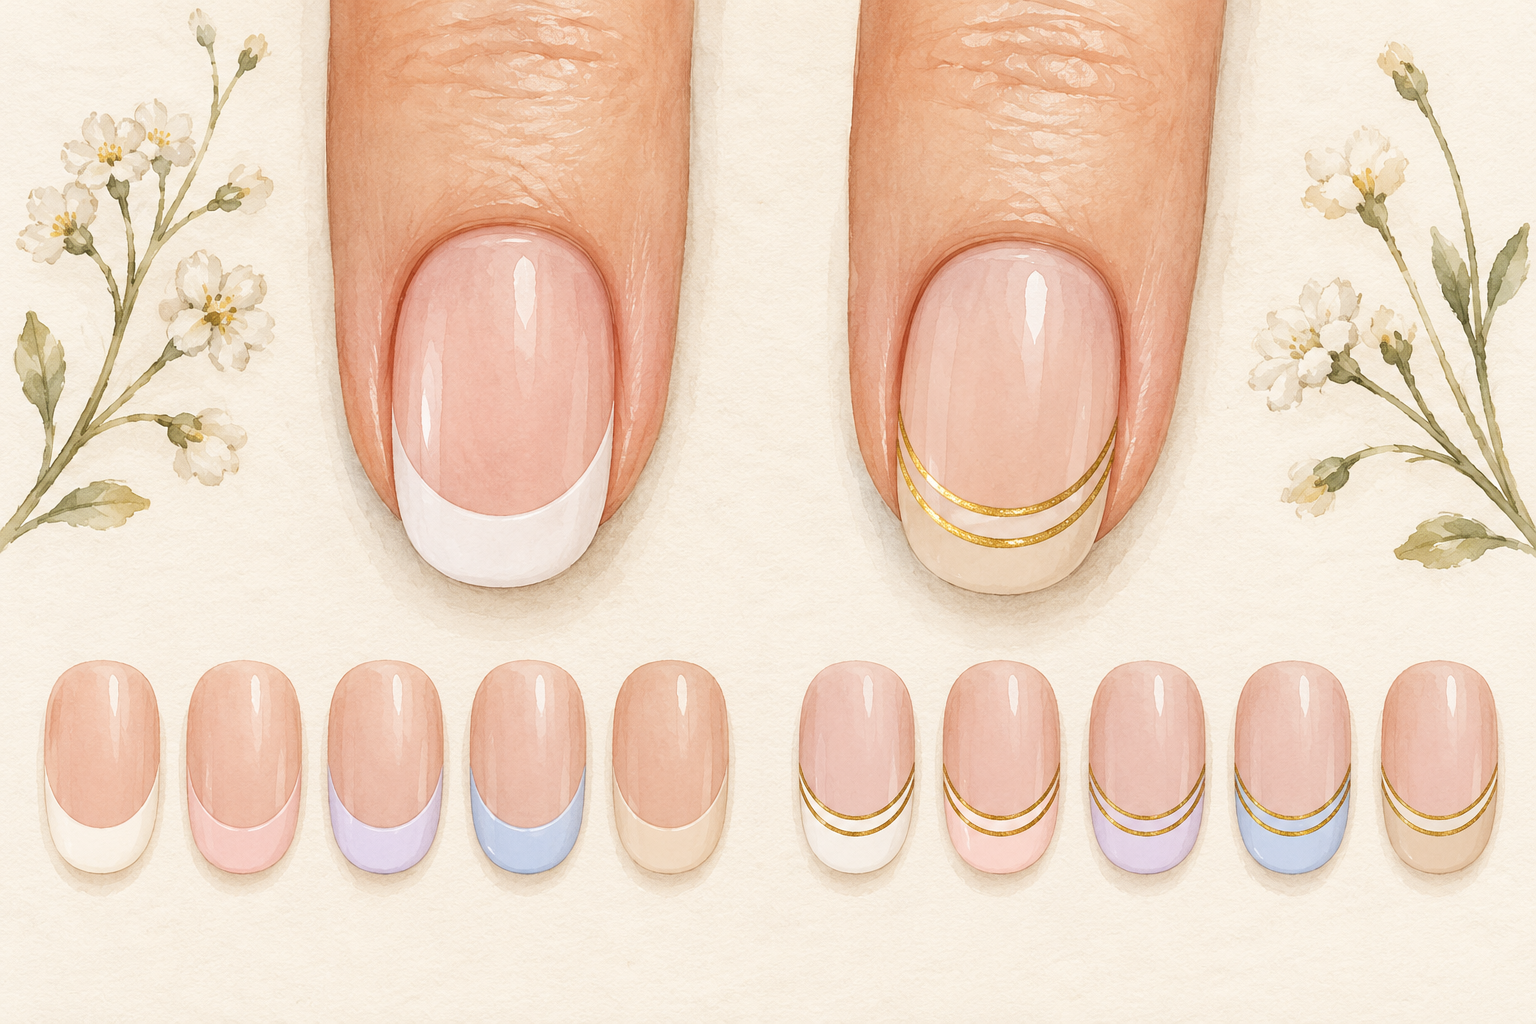
Expect one or two crooked tips and some cleanup on your first attempt. By your second go, your guide and pressure will be steadier. By your third, most people get the line done in about five minutes a hand. A full session with prep and drying takes roughly an hour. Once the classic white feels easy, try a thin micro line or a soft pink tip for something new. The skill carries over, because every variation uses the same guide and the same sides to center stroke. Keep a note of what worked, so the next set starts from your best attempt.
Complete the Look: How to Do French Nails This Weekend
Tonight, cut a strip of tape, press it across one dry nail and paint a white tip as practice. Clean smile lines come from practice and a steady hand, so enjoy the process and let the guides below help you pick your next set.