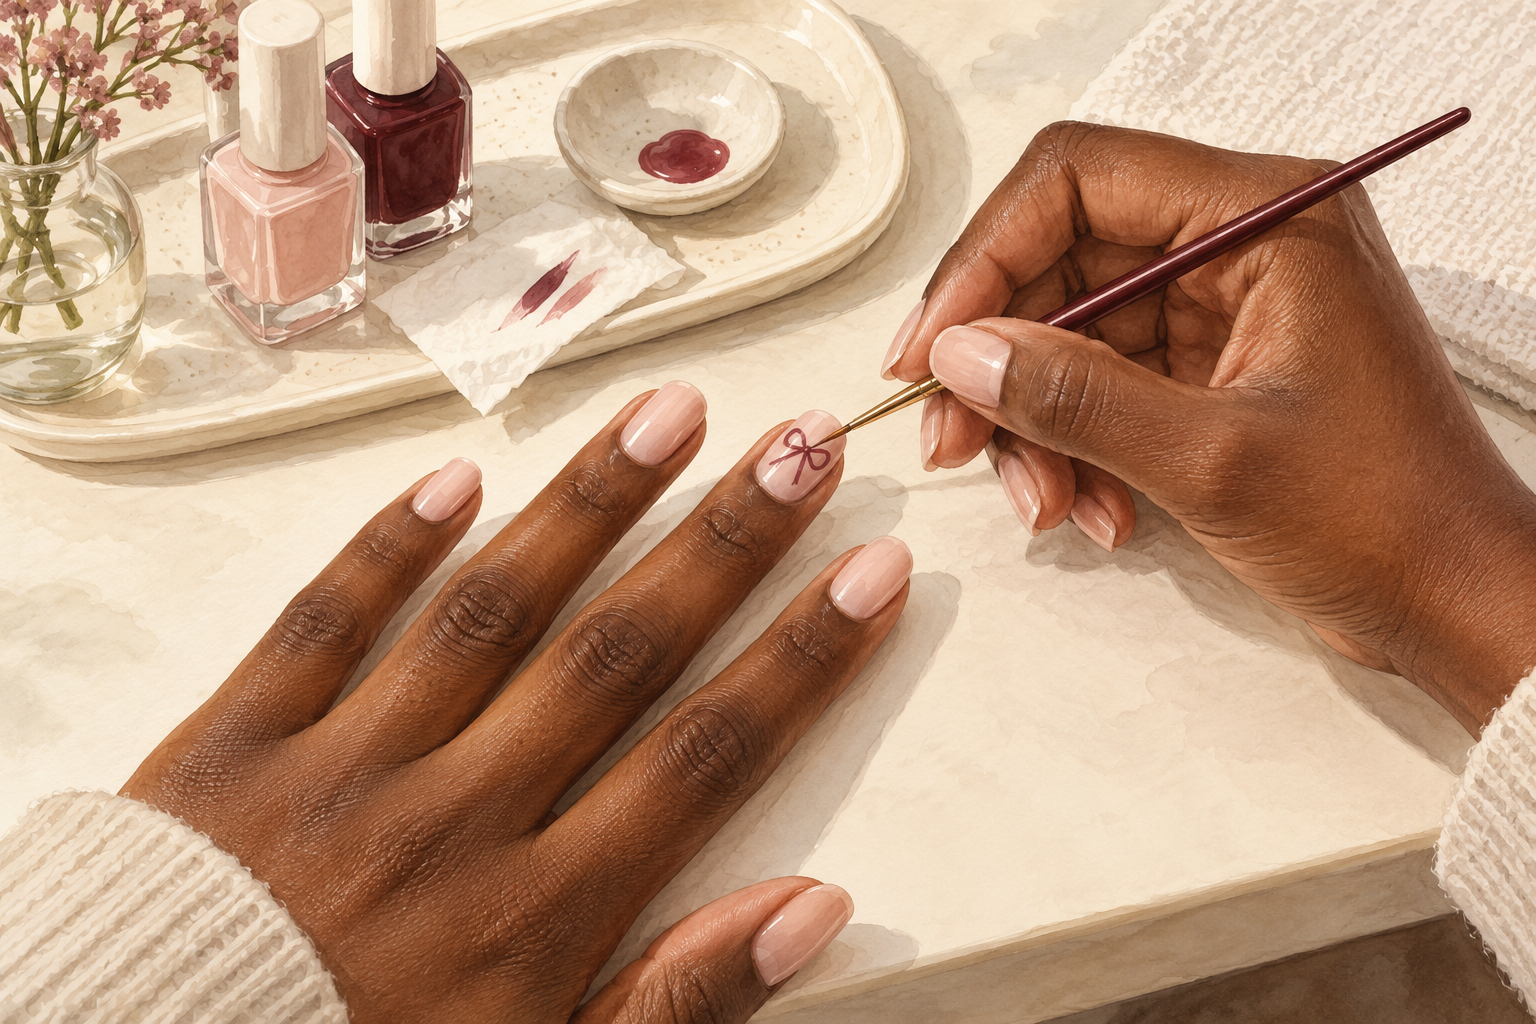
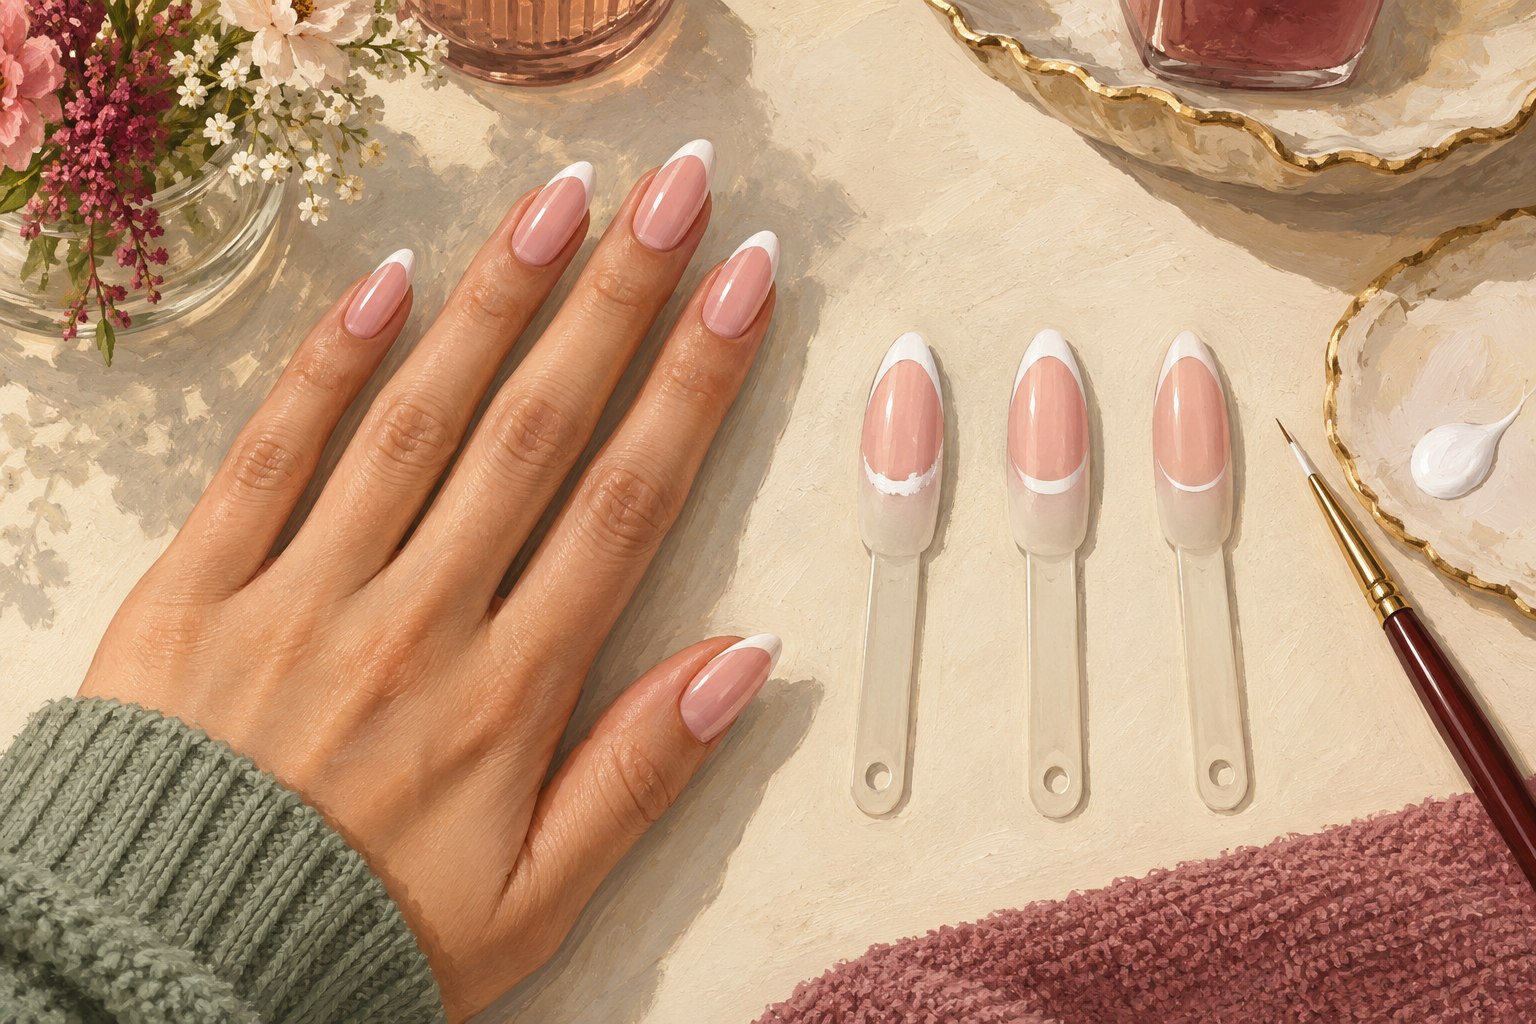
You paint the white tip, and one side comes out thick, the other thin, and the smile line wobbles like a bad signature. French tips look easy on other people’s hands. They get easy for you once the brush, the polish and your hand rest are right. Here is how to draw french tip nails in 12 steps, so start at number one tonight.
1. Start with a sheer base that dries fully
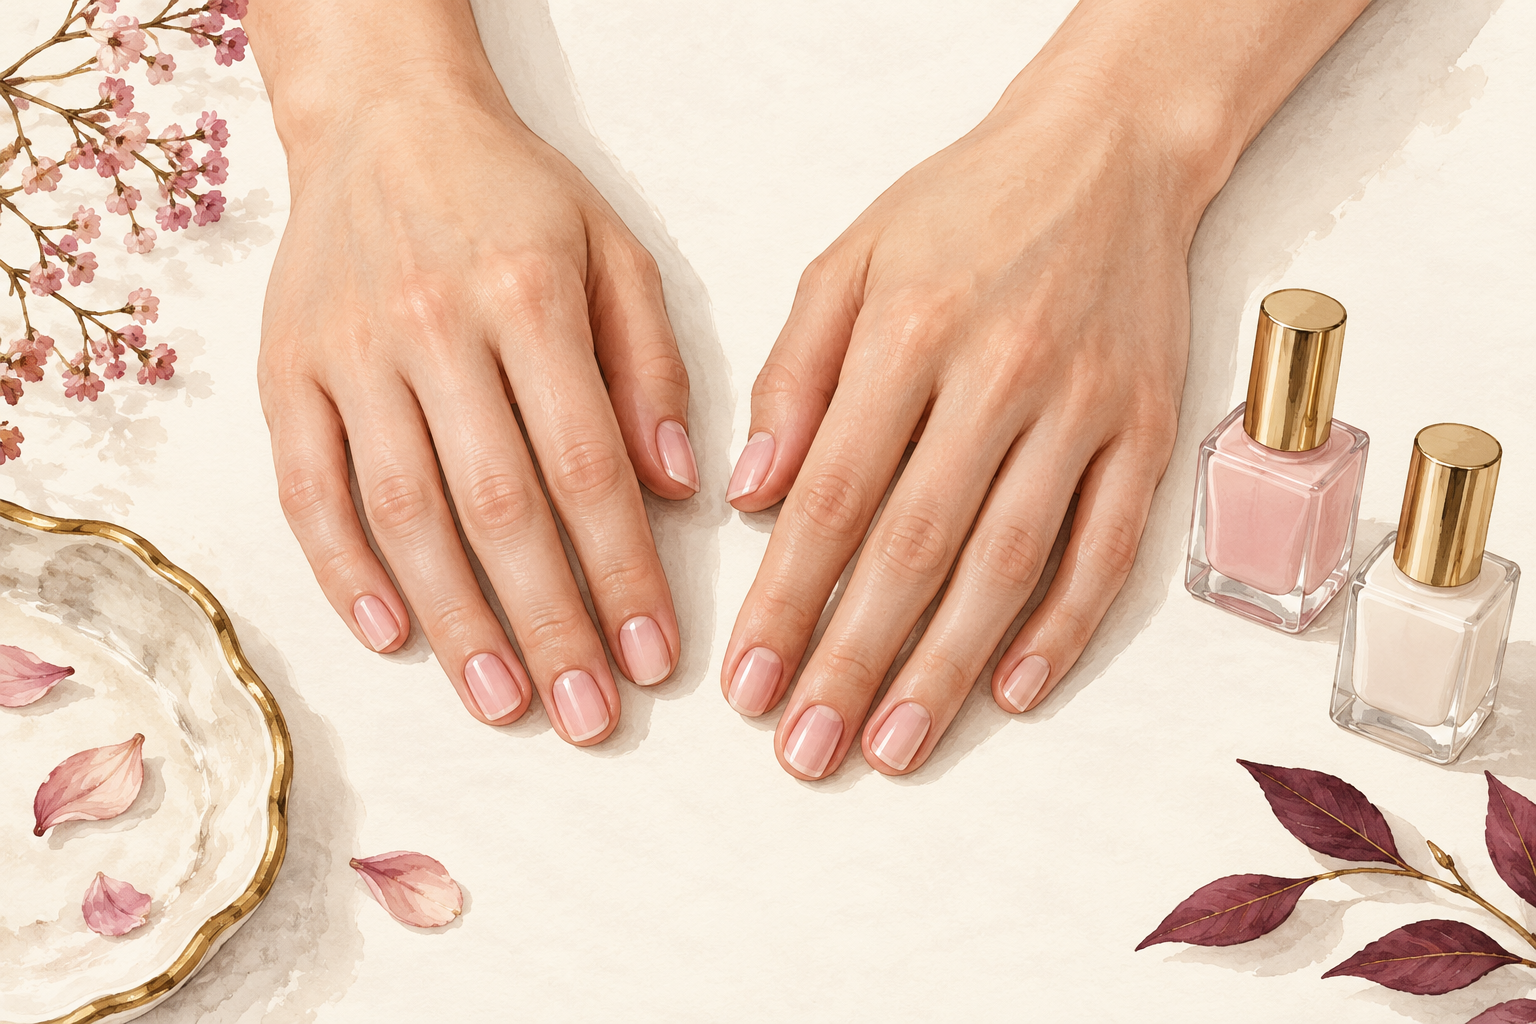
Paint two thin coats of a sheer pink or milky nude and wait ten minutes before you touch the tip. A sheer base makes the white pop and hides small flaws on the nail. A wet base will drag and smudge when your brush crosses it, which ruins the line. Shape the nails first, because a neat edge makes the tip look neat as well. Press a fingertip lightly against the very edge to check it is dry. If it feels tacky, give it another five minutes. Look at the nail from the side, and the surface should look glassy with no ridges before you go on.
2. Choose a long thin brush over the bottle brush
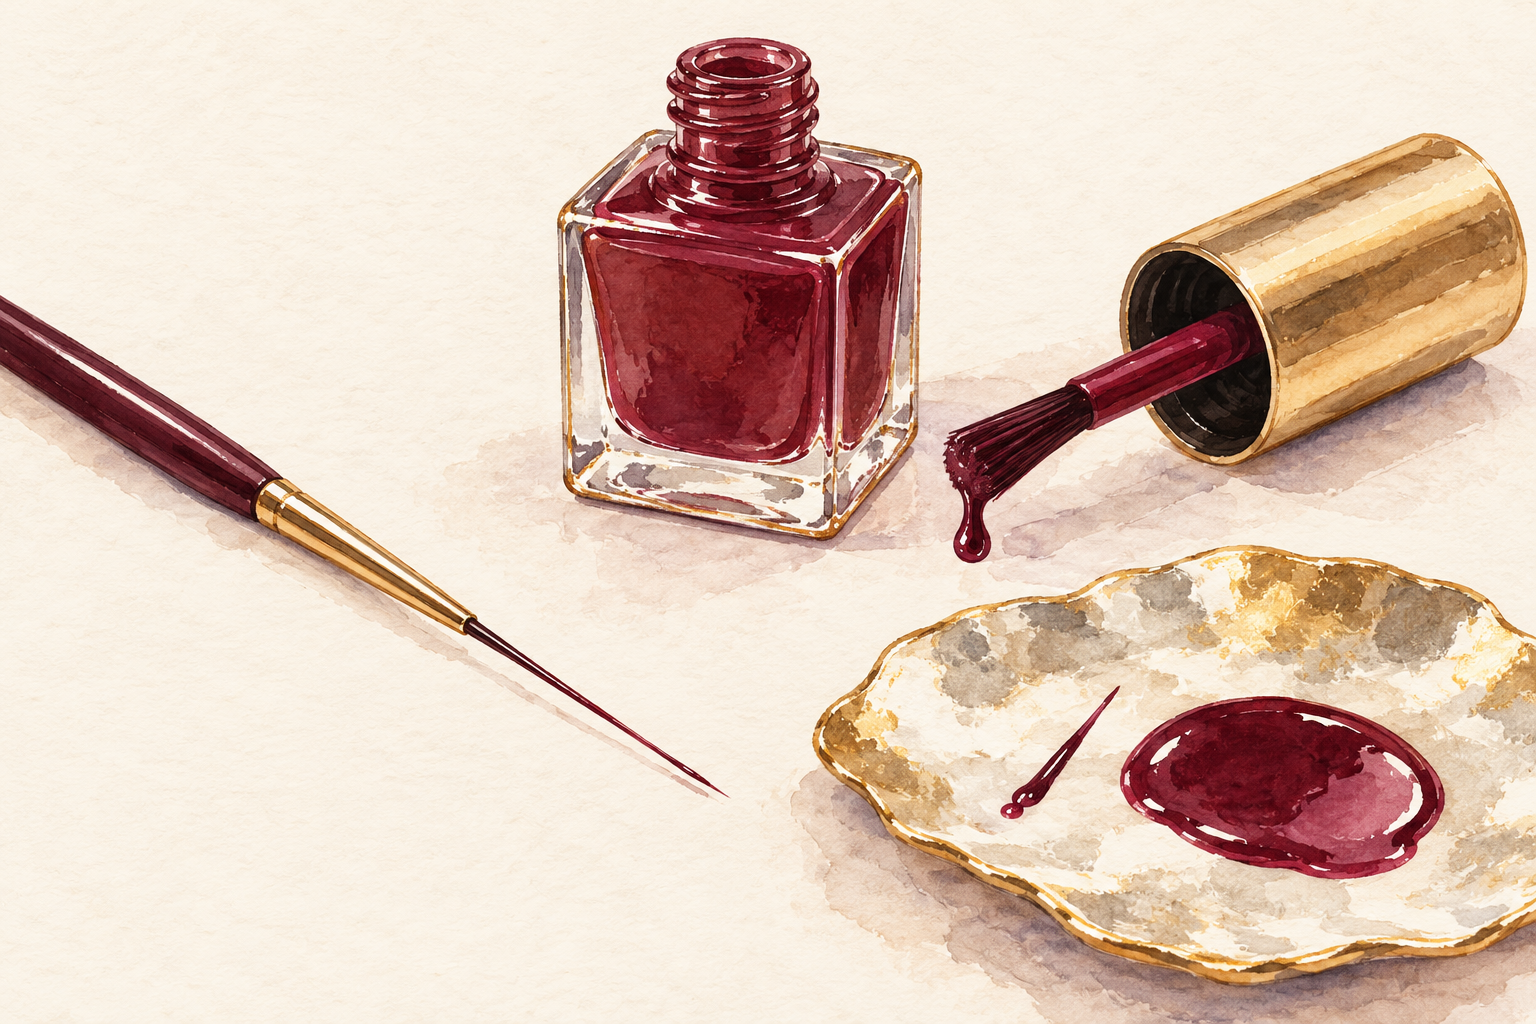
Use a striper brush with long, fine bristles to draw the line, not the brush inside the bottle. A bottle brush is too wide and too stiff, so it leaves a thick, flat stripe. Long bristles hold enough polish to draw one smooth line without refilling. Any craft shop sells a fine nail art brush, and a clean old liner brush works too. Keep a small cup of remover nearby to wipe the brush between nails. Treat the brush gently and it will give you clean lines for months. Press the bristles flat on foil first to see how thin a line they make.
3. Put the white on foil and load only the tip
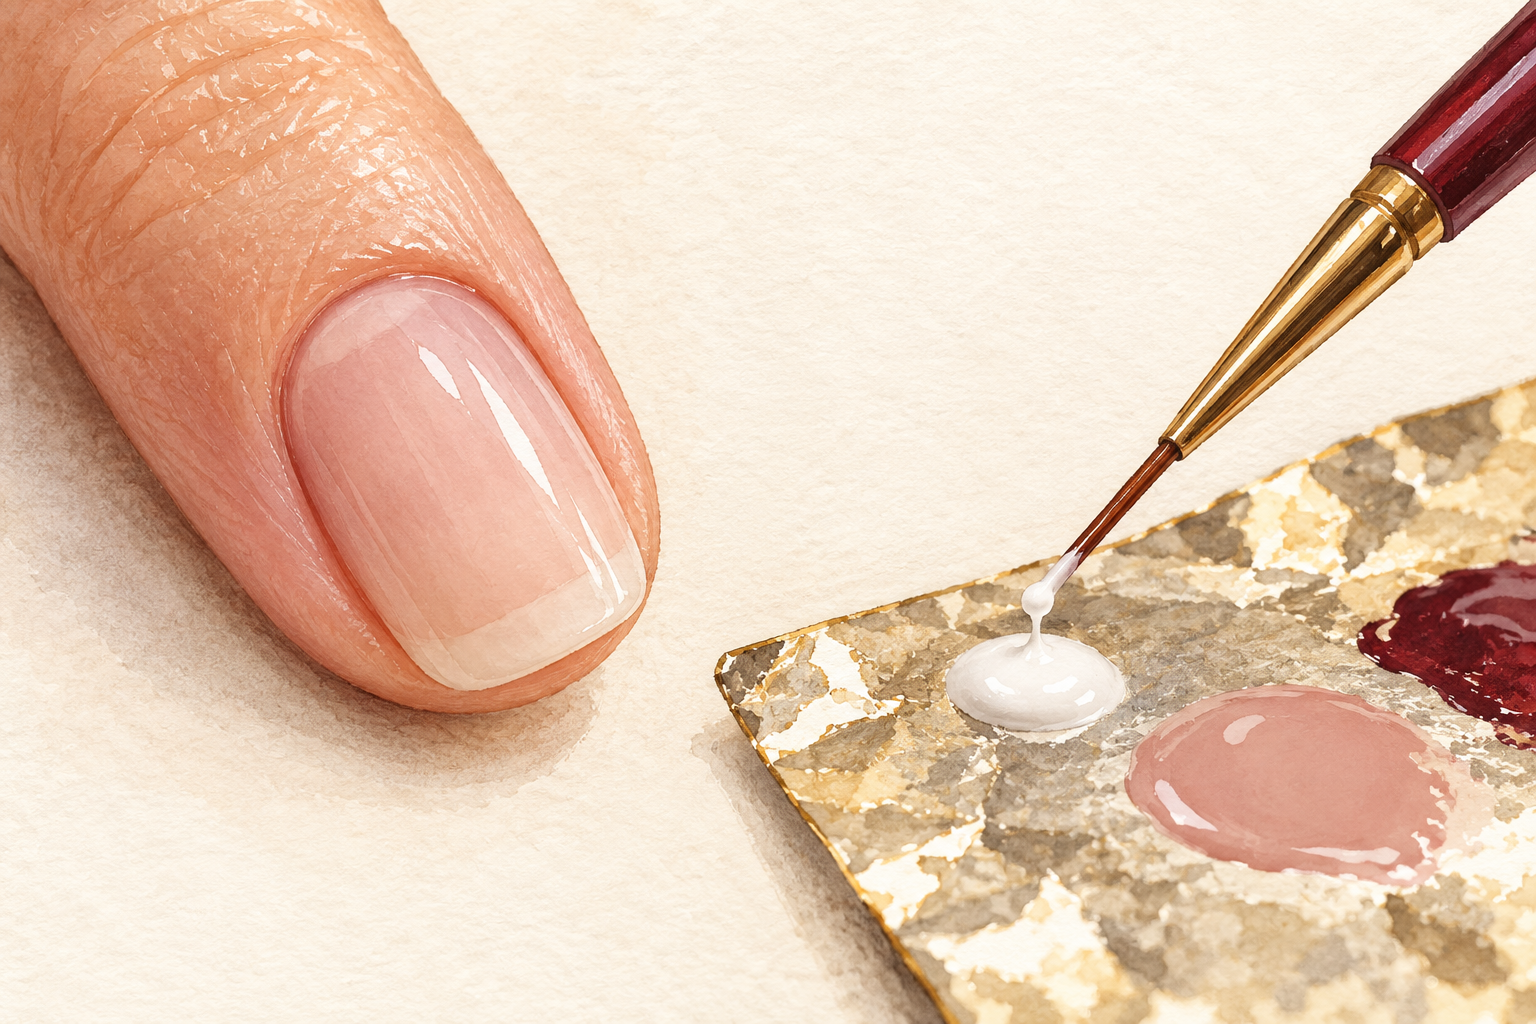
Pour a blob of white polish onto a square of foil and dip only the very end of the brush. Too much polish floods the line and pools in the corners. You want just enough to draw one nail, and then a little more. Wipe the side of the bristles against the foil so the brush holds a neat point. Thick white from a nearly new bottle goes on brighter and streaks less than thin, old polish. If the polish starts to dry on the foil, add a drop of thinner and stir. Reload for each nail, not halfway across one, so every tip gets the same width.
4. Mark how deep the white will go
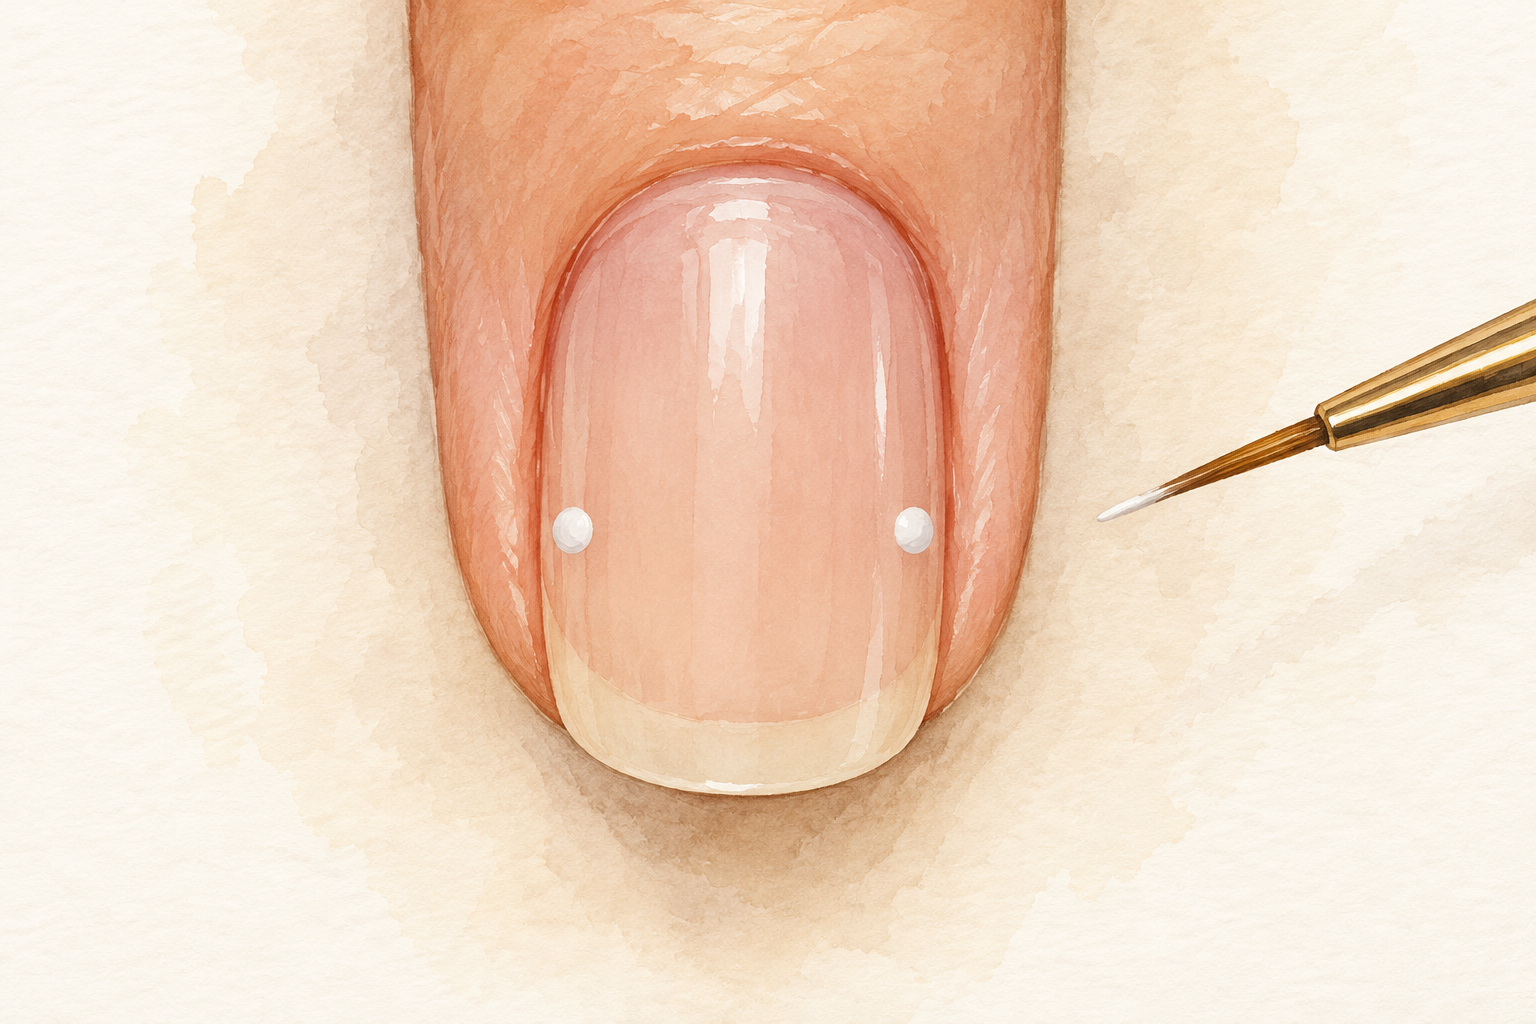
Dab a tiny dot on each side edge of the nail, the same height on both sides. The dots show where the smile line will begin and end, so the tip comes out even. A shallow tip looks classic and keeps nails looking longer, while a deep one looks bold. Start with about two millimeters of white on short nails. Look at the nail from the front to check the dots match before you join them. This tiny step is the difference between a crooked line and a neat one. Hold your hand at arm’s length to double check, because a crooked pair of dots shows from there.
5. Draw the smile line in one pull
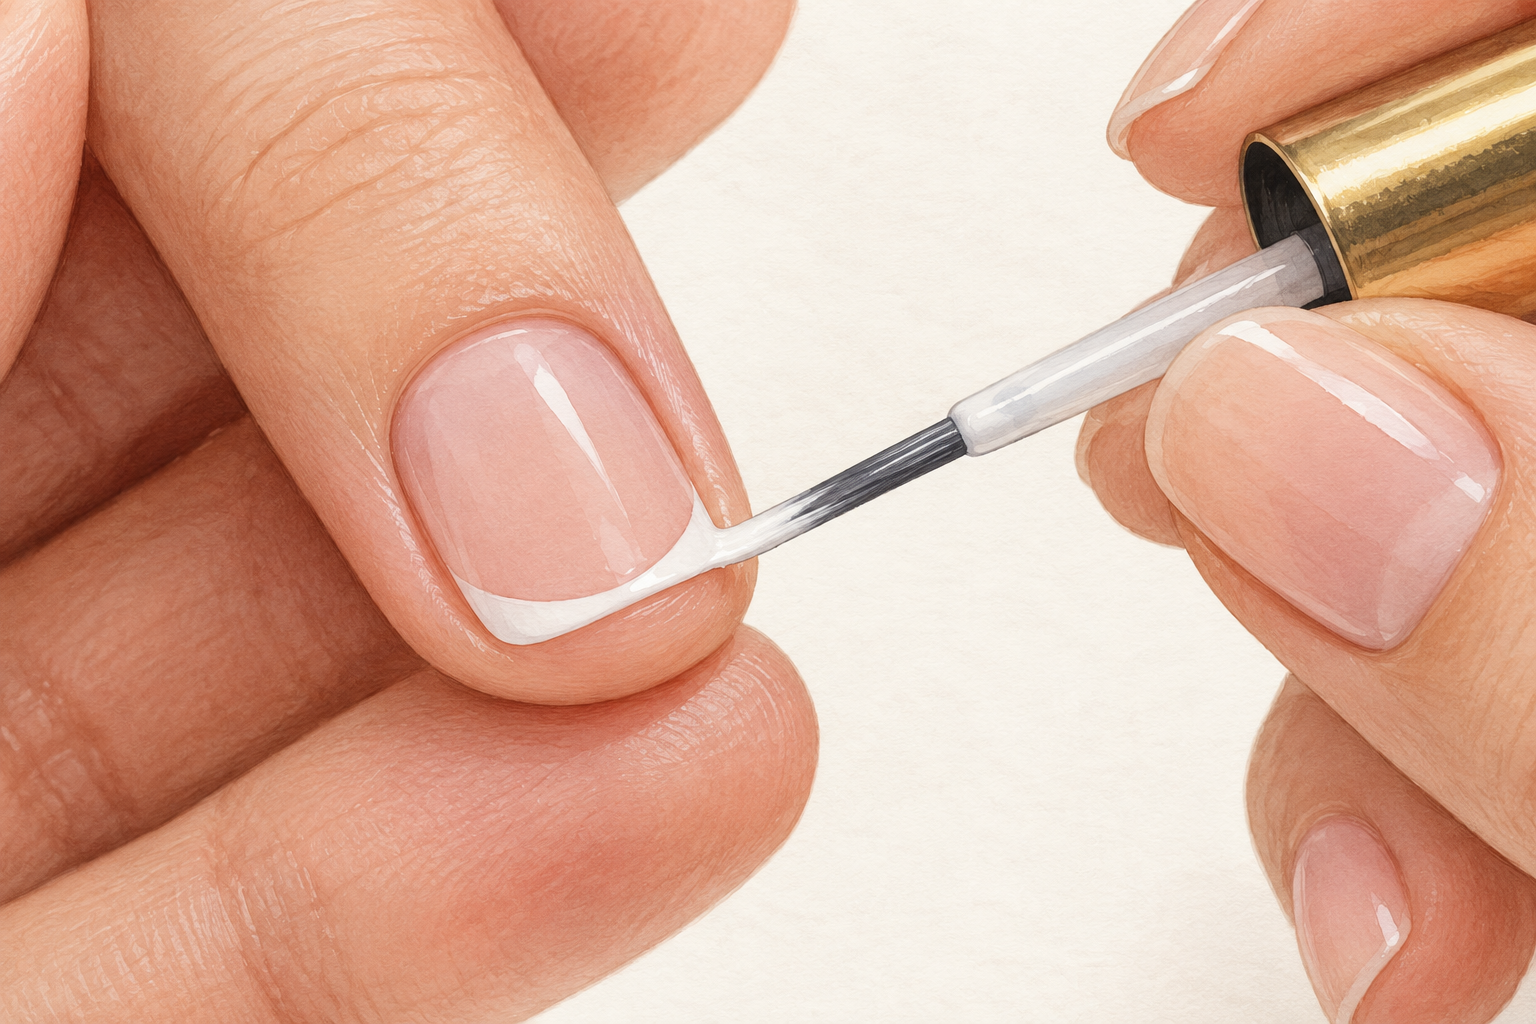
Join the two dots with one smooth curved stroke, moving the brush from one side to the other without stopping. Stopping mid line makes a bump or a wobble. Rest the side of your hand on the table and let your forearm do the moving. Press lightly so the bristles flatten just a little, then lift at the end. If the curve looks off, wipe it away with a cotton bud and try again before it dries. Breathe out as you draw, which sounds silly but really does steady the hand. Let the line run slightly past each dot, since you can tidy the corners later.
6. Fill the tip and add a second thin coat
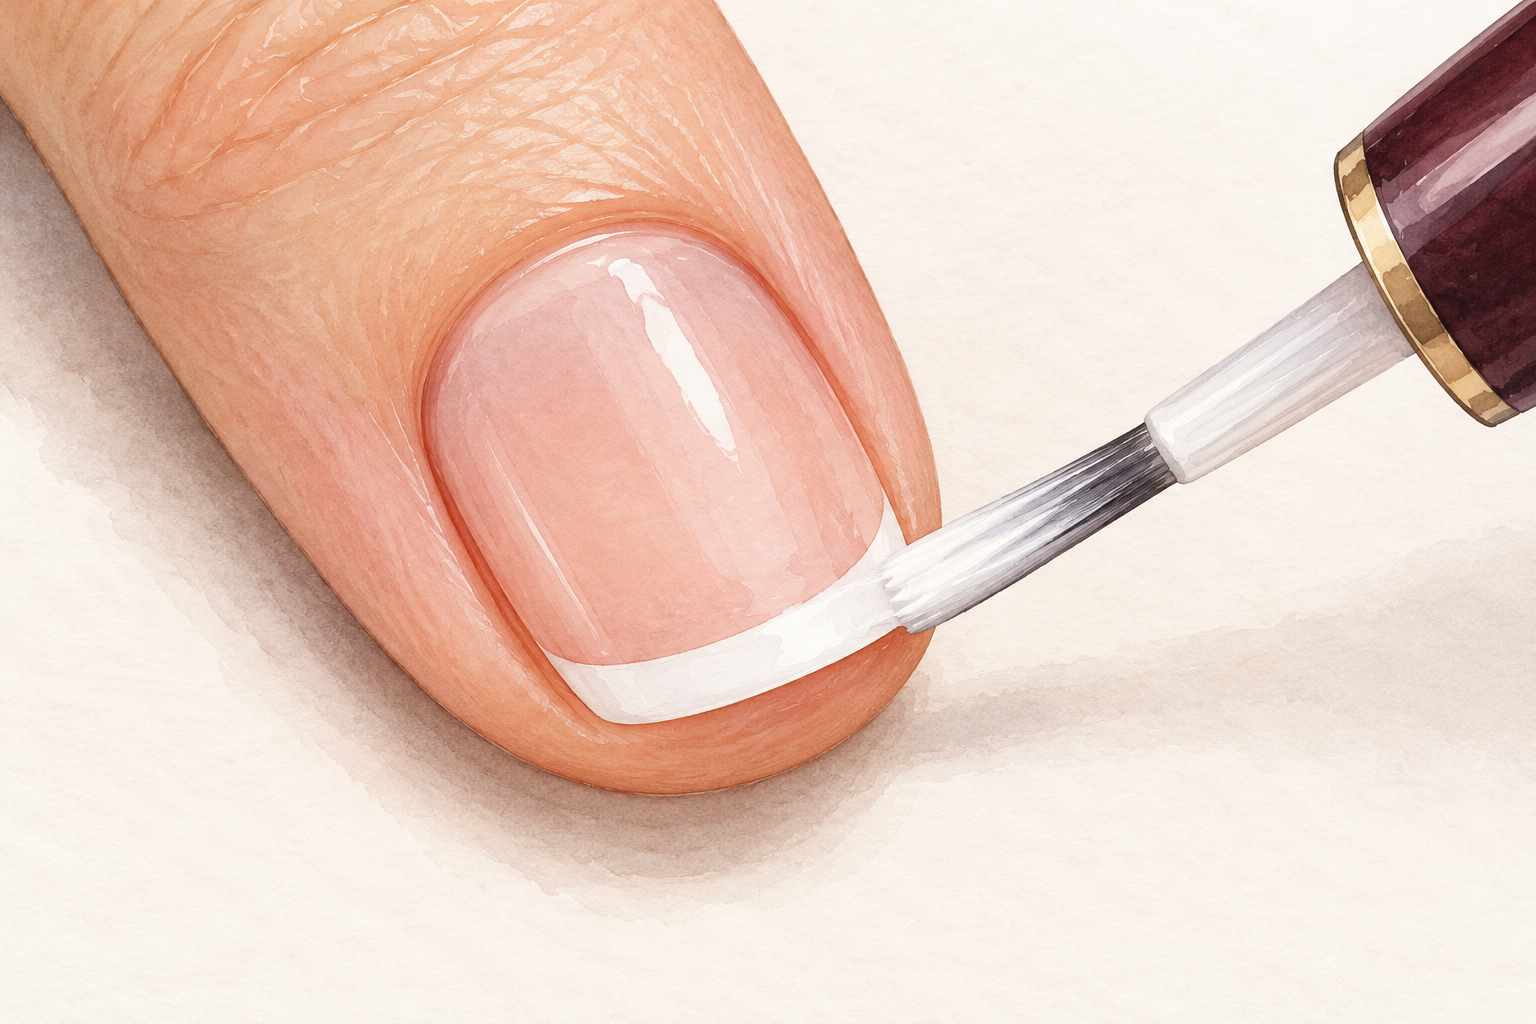
Fill the space between the smile line and the free edge with a thin coat of white. Cover the corners first, then sweep across. Let that layer dry for two minutes, then add a second thin coat for solid color. Two thin coats look smoother than one thick coat, which bubbles and stays tacky. Cap the edge of the nail by brushing along the very tip. Stay steady on the line the second time, since the first coat is now your guide. The finished white should look creamy and even, with no see through patches near the corners.
7. Try a guide sticker or a strip of tape
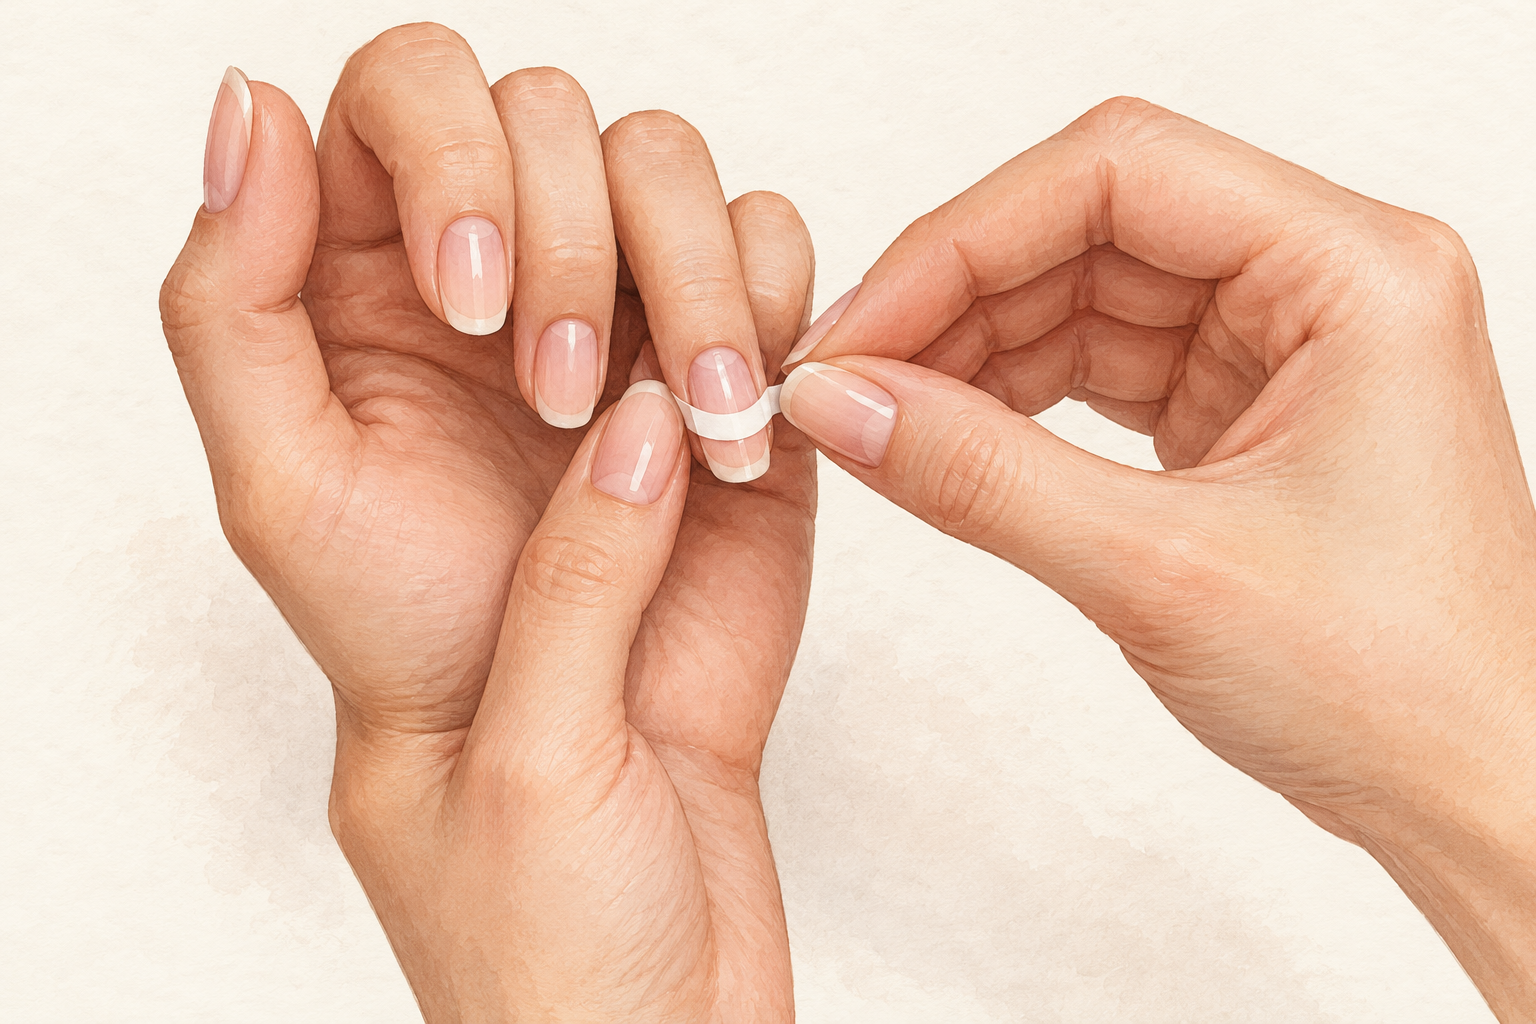
Press a curved French tip sticker across the nail where the smile line should be, then paint over the edge. If you have no stickers, a thin strip of tape, cut with a small curve, works nearly as well. Press the edge down firmly so no polish creeps underneath. Paint away from the sticker, and peel it off while the polish is still slightly wet. Waiting for it to dry can chip the line. Guides are a gentle way to learn, and your hand will remember the shape. Press a guide on only after the base has been dry for a full ten minutes.
8. Steady your hand and turn the nail, not the brush
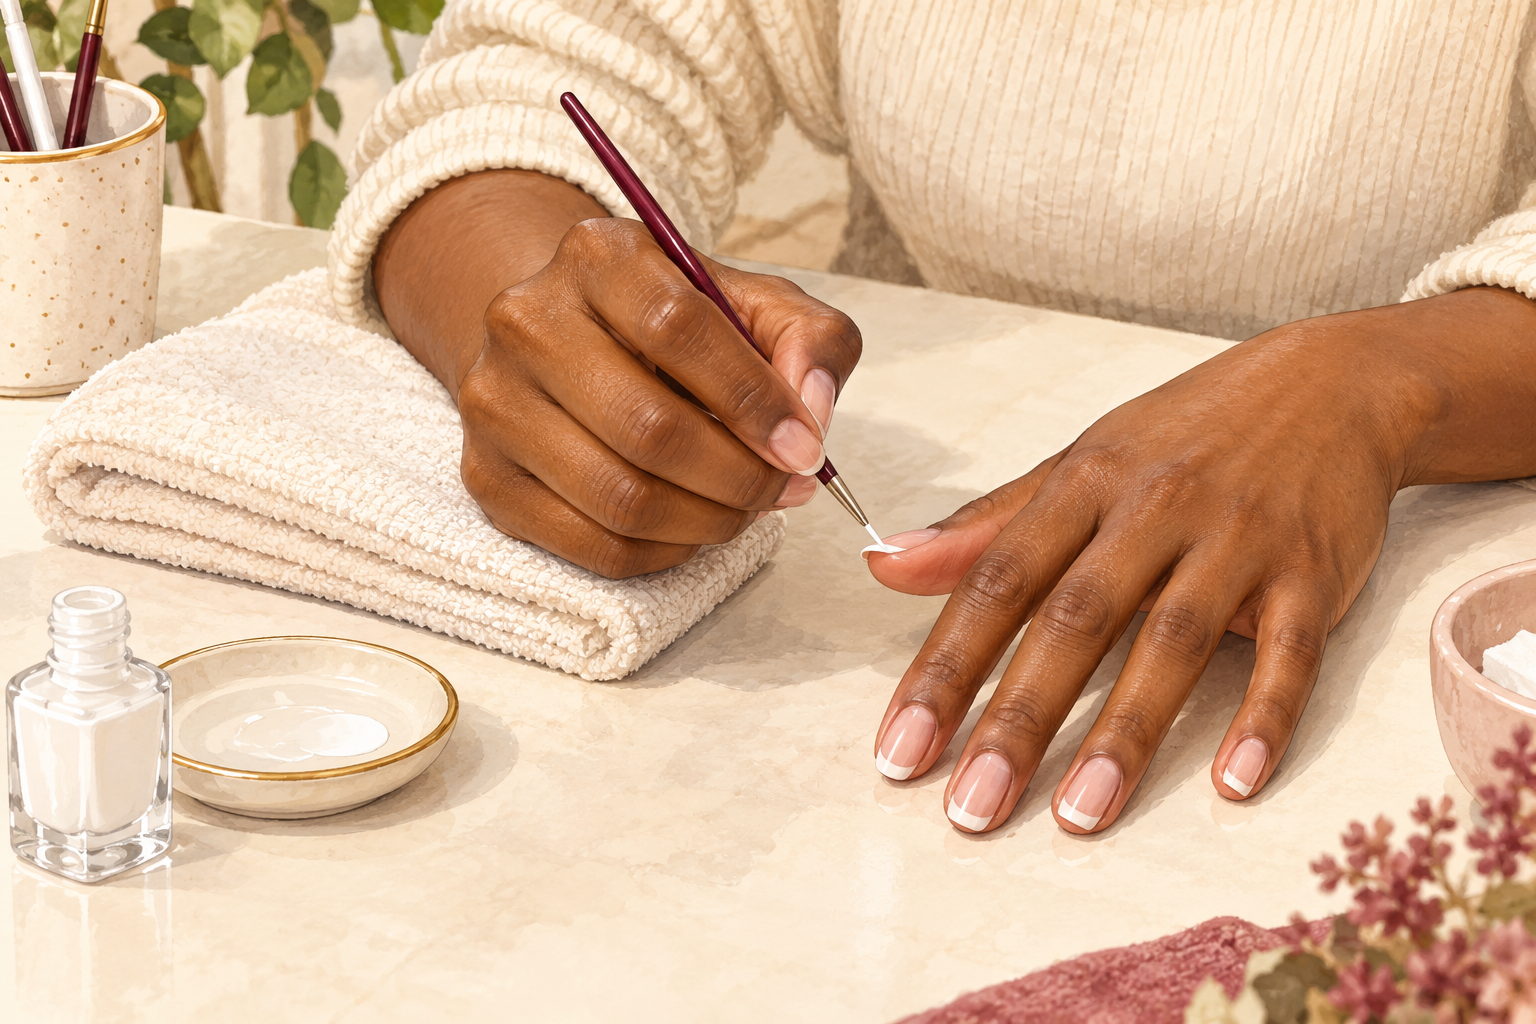
Rest your painting hand on the table and move the finger you are working on. Hold the brush like a pencil, and let the heel of your hand anchor you. Turn the finger toward you instead of twisting the brush, because turning your wrist wobbles the line. Paint your weaker hand first, while your steady hand has the most energy. Take a breath, and do one nail at a time. If you get tired, take a break instead of pushing through. A folded towel under your wrist lifts your hand to a comfortable height.
9. Tidy the line with a brush dipped in remover
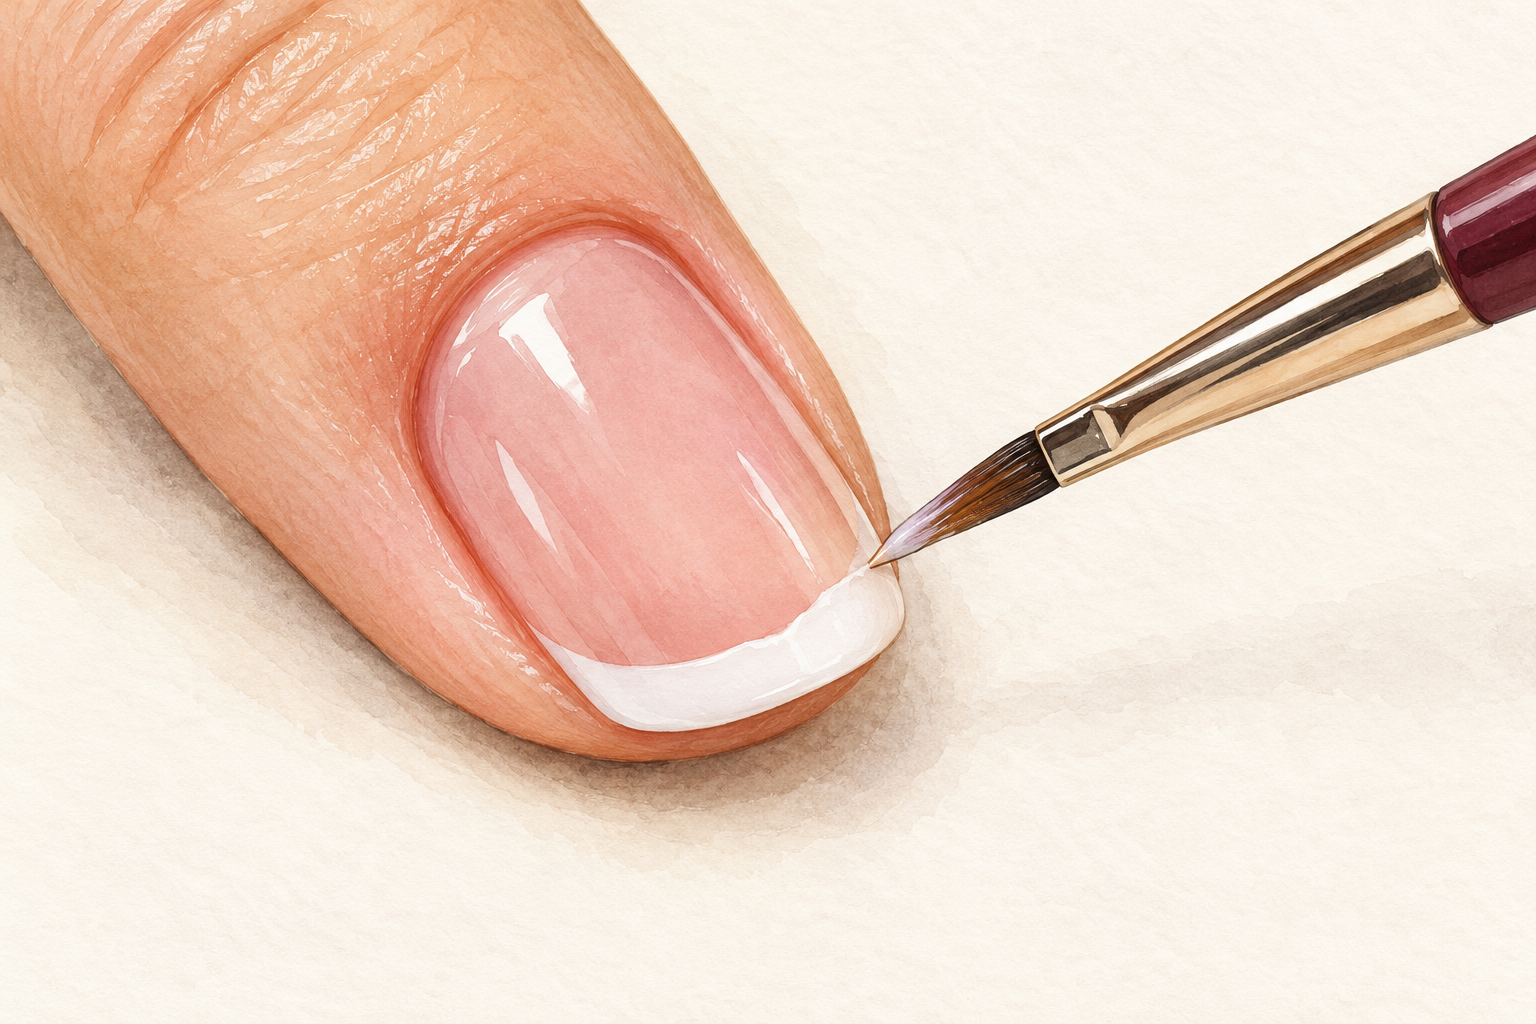
Dip a small flat brush in remover, wipe off the extra and trace along the line to sharpen it. Work from the middle outward, using the brush like an eraser. This cleans any wobble and gives the smile line a crisp edge. Clean the skin around the nail the same way. Do not soak the brush, or the remover will run onto the pink base. Wait until the white is dry to the touch before you tidy, so it does not smear. Rinse the brush in remover between nails so the clean edge stays clean.
10. Wait ten minutes, then float top coat over the tips
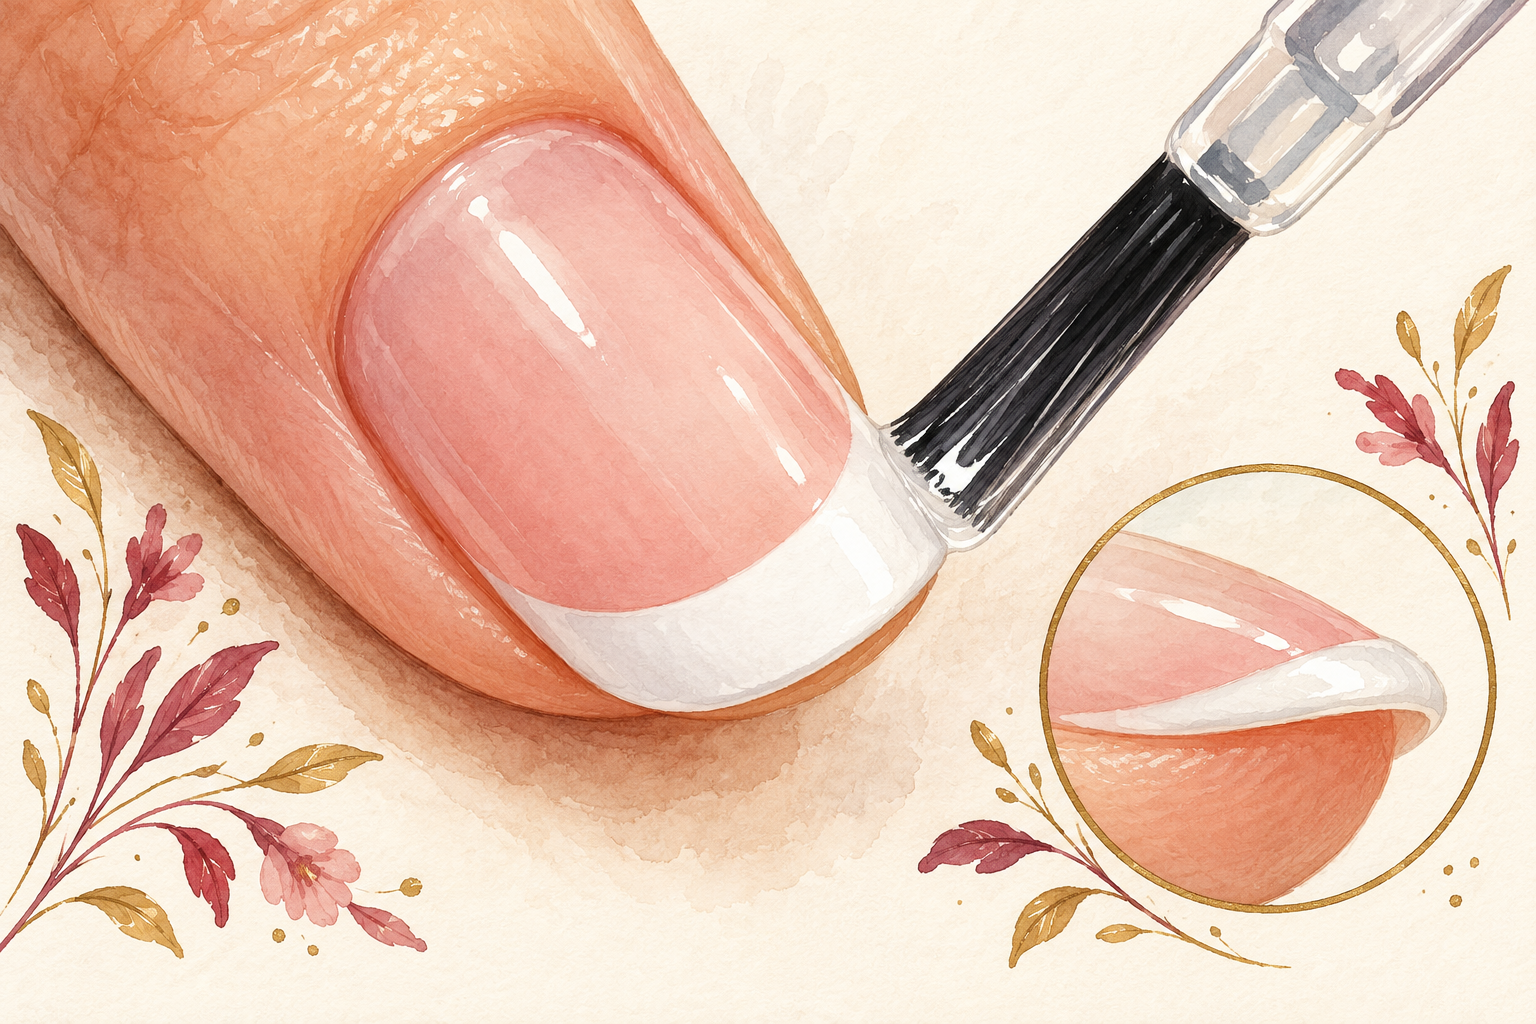
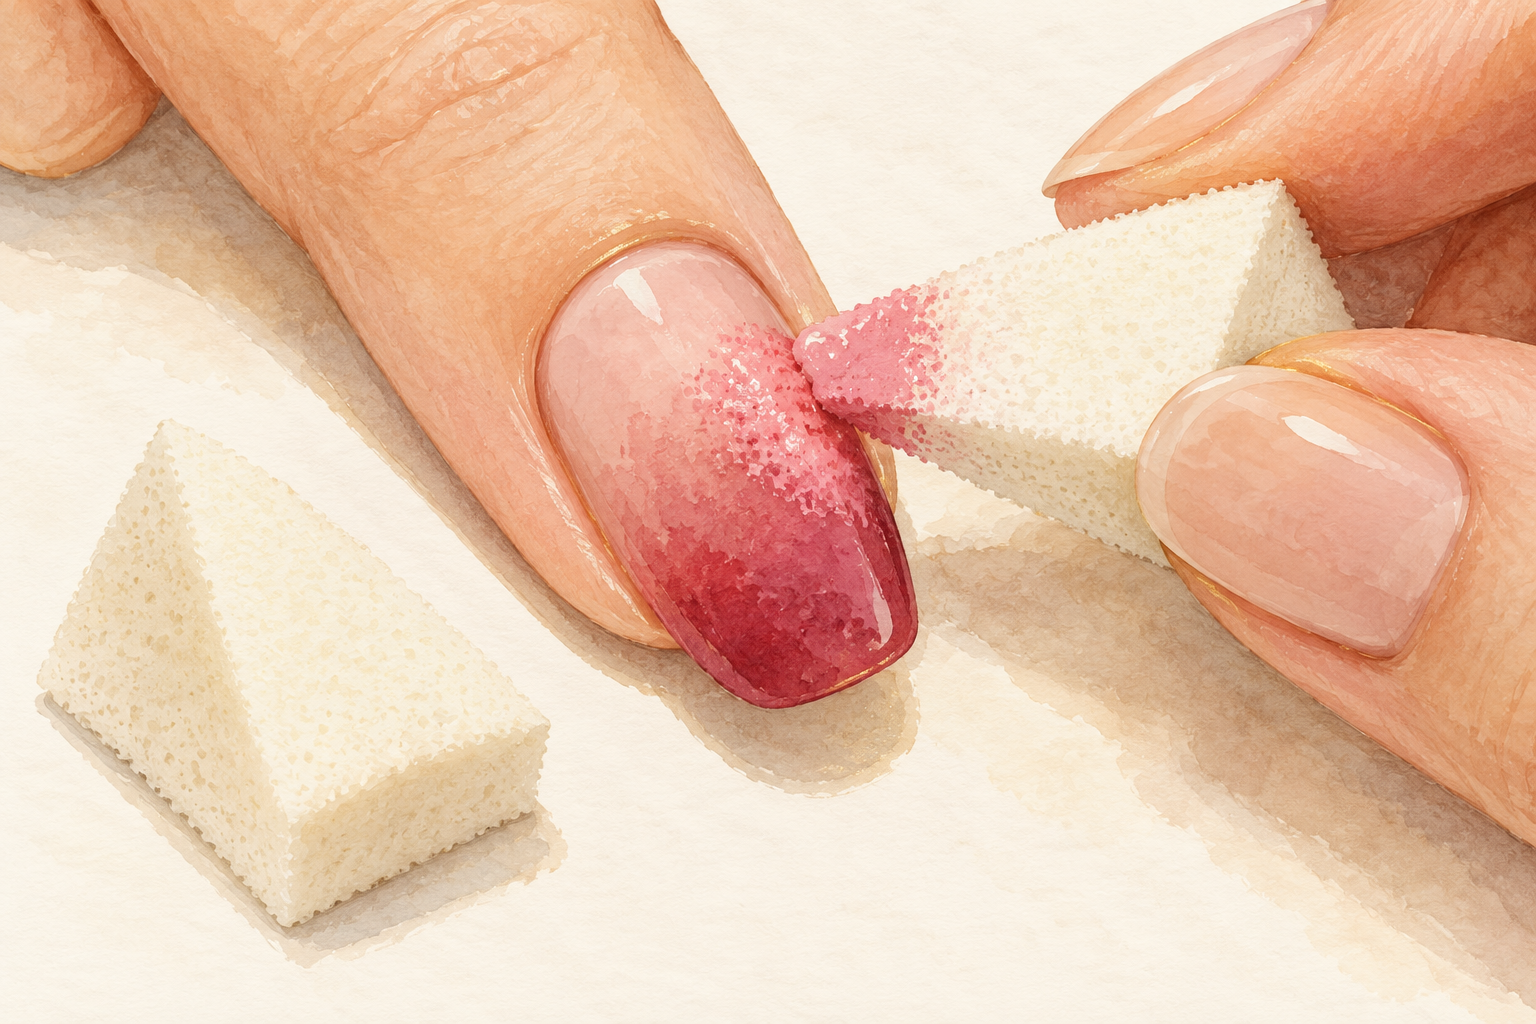
Let the white dry for ten minutes, then brush a generous bead of top coat over the whole nail. Do not drag the brush, just float it. Cap the free edge to seal the tip, which is the first place a French manicure chips. A thick top coat also levels out any small ridge between the white and the pink. Wait about twenty minutes before touching things. Do not run your hands under the tap for the first hour. Keep a hair dryer away from it, since heat makes thin white lines bubble. Soft fades are a different finish, so for a gradient take how to do ombre nails next.
11. Fix crooked tips and practice on a lid
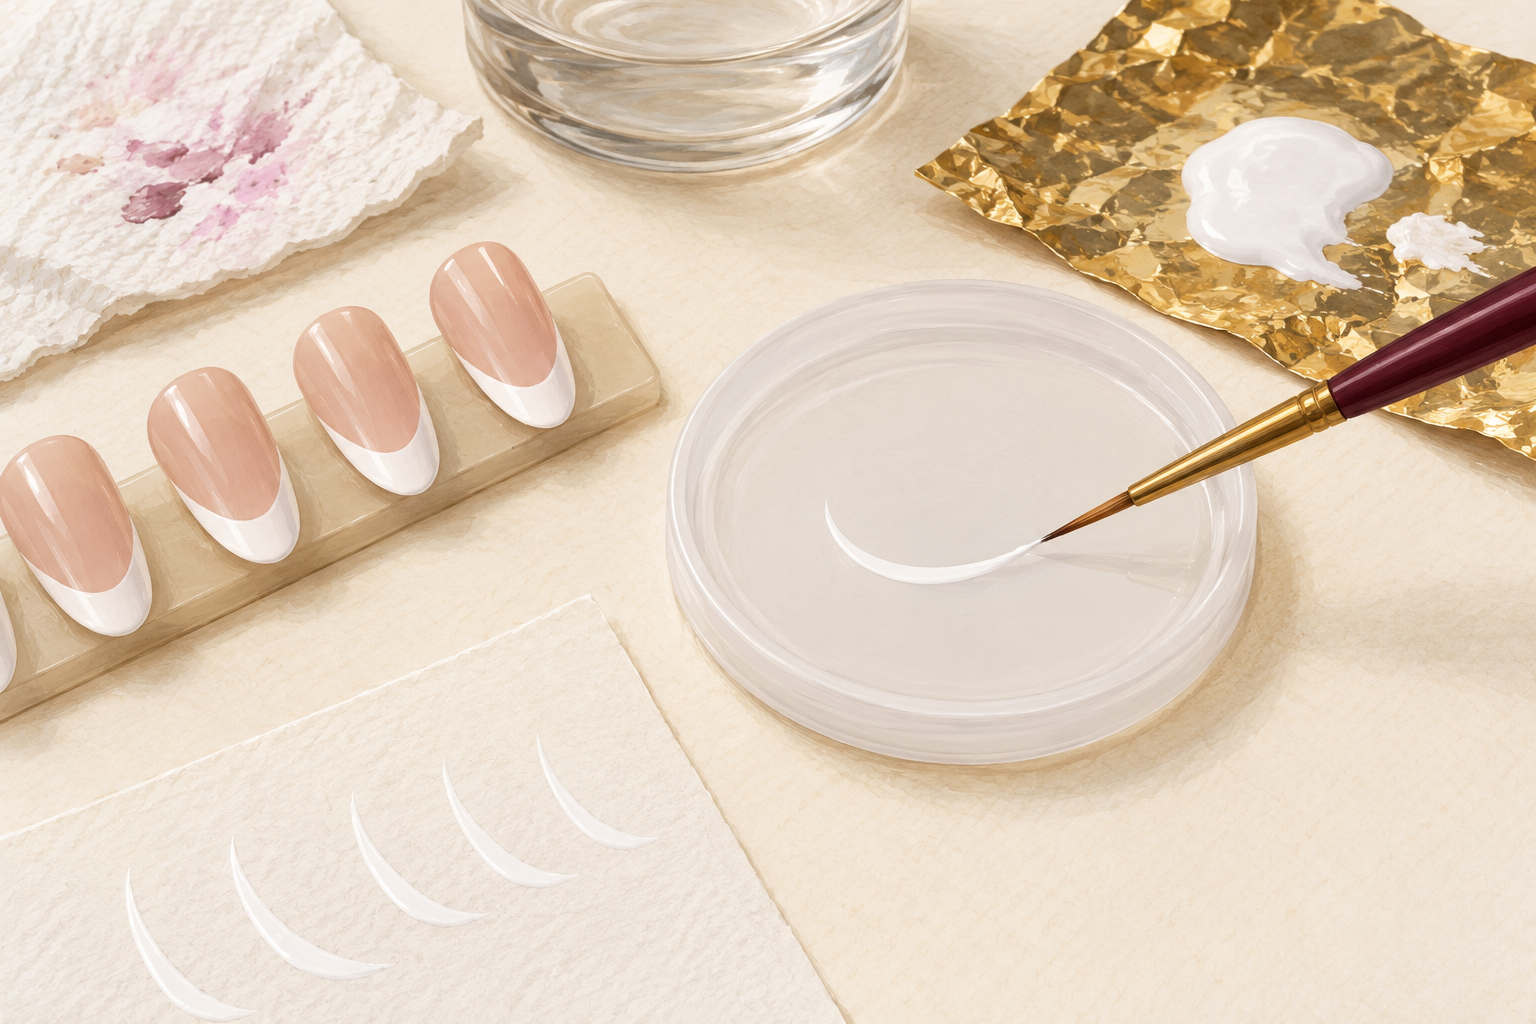
If a tip is thick or crooked, wipe it off with a cotton bud and redraw it instead of painting over it. Painting over a bump only makes it bigger. Practice the smile line on a plastic lid or a sheet of paper before your nails. Draw ten curves in a row, and the next ones will be smoother. Mistakes usually come from too much polish, so wipe the brush more. If you are stuck, a French tip sticker for one nail will give you a pattern to copy. Stop when the brush starts to drag, because drag means the polish has thickened. Controlled lines carry over to bows, and for that look you can open how to draw a bow on nails.
12. Try a new tip once you can draw the line
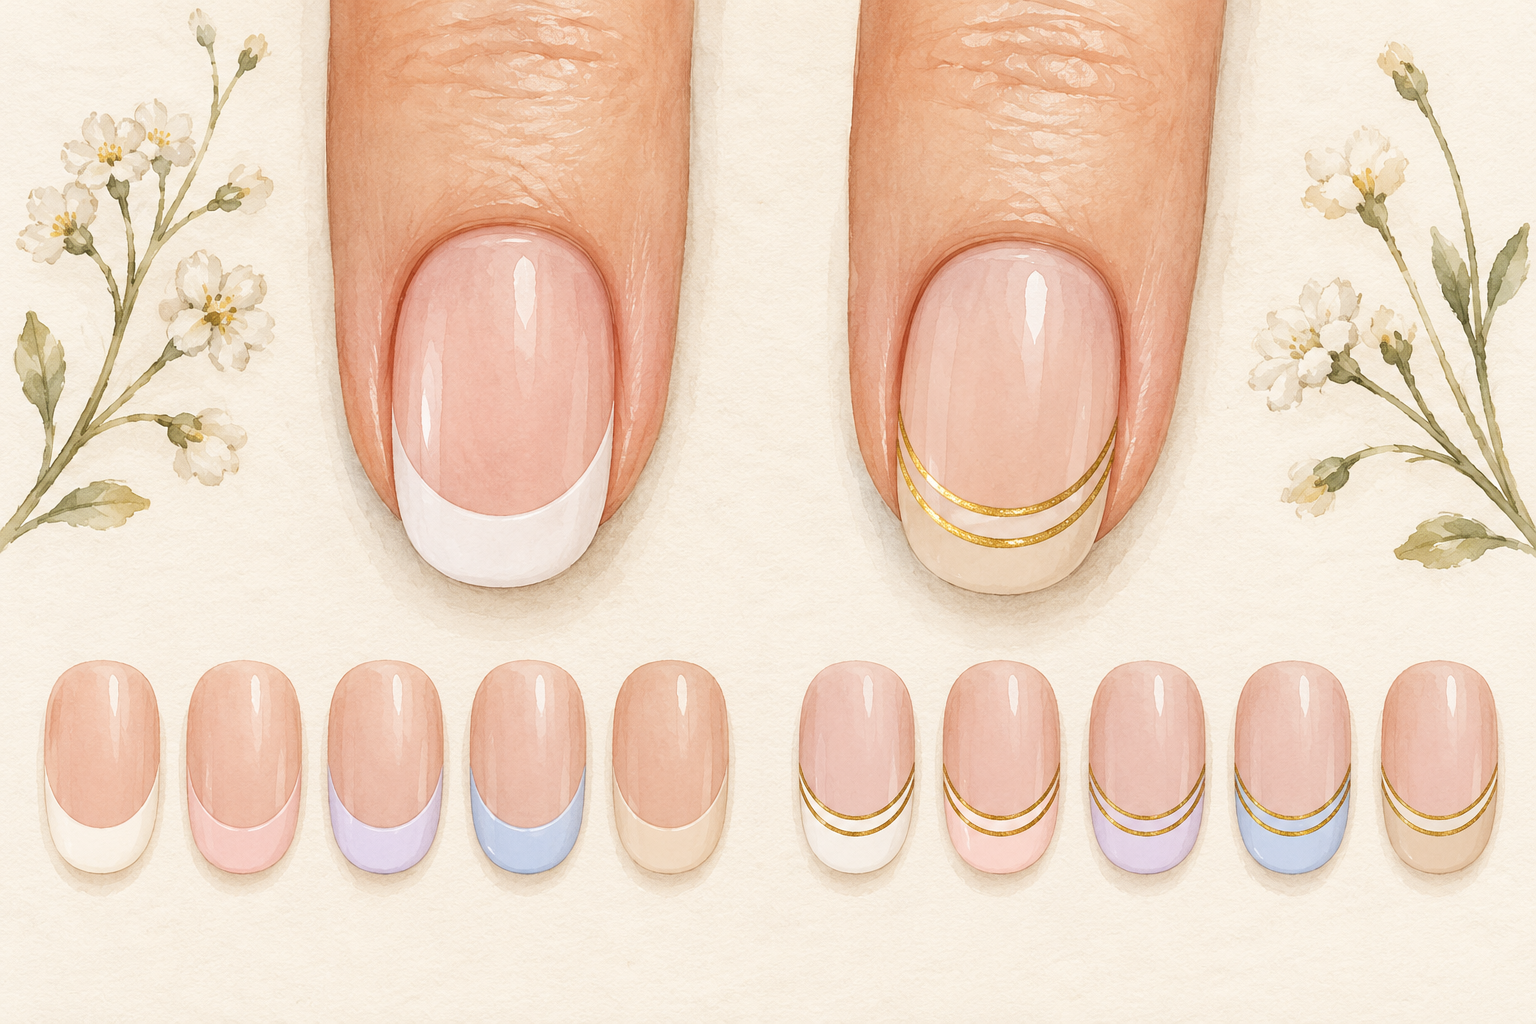
Switch the white for a soft pink, a pastel or a thin double line once your hand is steady. The same smile line works with any color. Reapply top coat every three or four days to keep the tips glossy and chip free. Rub a drop of cuticle oil into your nails each night so the skin around them stays neat. Once you know how to draw french tip nails in one color, a new one only needs a new bottle. Take a photo of your best set to copy next time. Try a thin gold line along the smile edge for a simple twist.
Complete the Look: How to Draw French Tip Nails Tonight
Practice the smile line on a lid tonight, then try one real nail tomorrow. French tips reward patience, so there is no need to be perfect yet. More looks wait in the guides below for when your hand feels steady.