Your set has grown out, one corner has started to lift, and you are staring at it thinking you could just peel it off. Please don’t. How to remove acrylic nails safely is a slow job of soaking, not pulling, and patience is what protects the nail underneath. These 12 steps walk you through it, so start at number one tonight.
1. Decide if home removal suits you
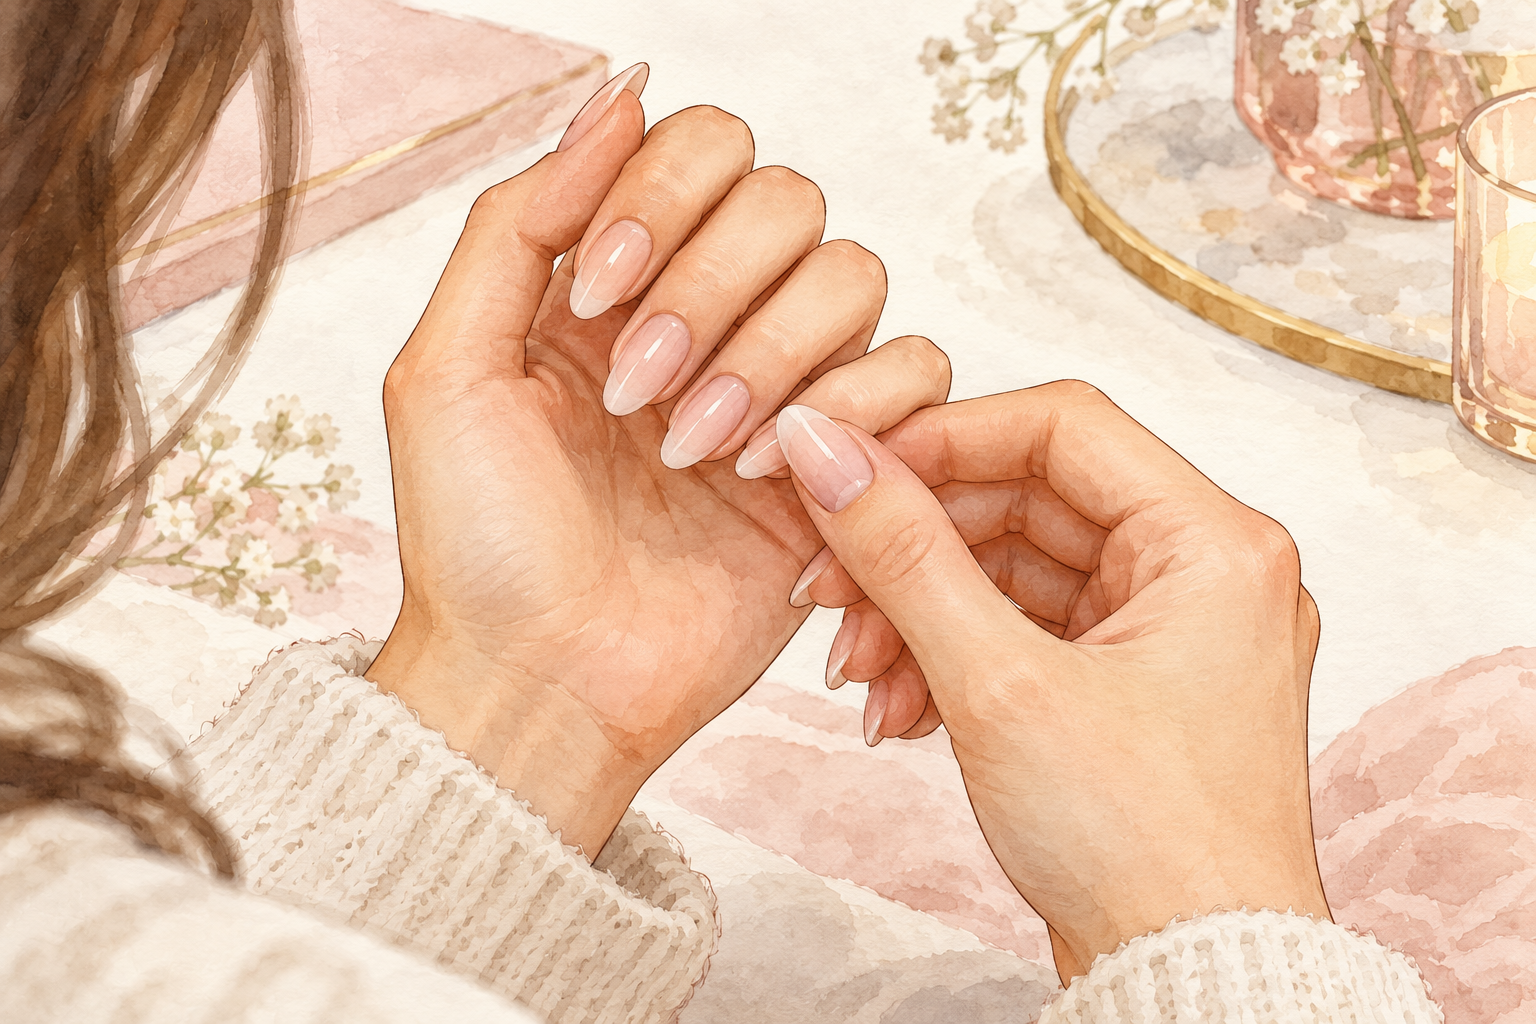
Soak at home only if your nails feel normal, with a little lifting from growth and nothing that hurts. If the nail is painful, red or swollen, or you see green or dark patches under the acrylic, do not soak it, because acetone will only make a sore nail angrier. If your nails are already sore from past removals, go slower, soak longer and never rush the push. Mild lifting and plain grow out are perfectly fine to handle yourself. Give the whole job one calm hour, with nowhere to be afterwards. Healthy nails are firm and a normal pink, with no heat or throbbing.
2. Open a window and gather everything
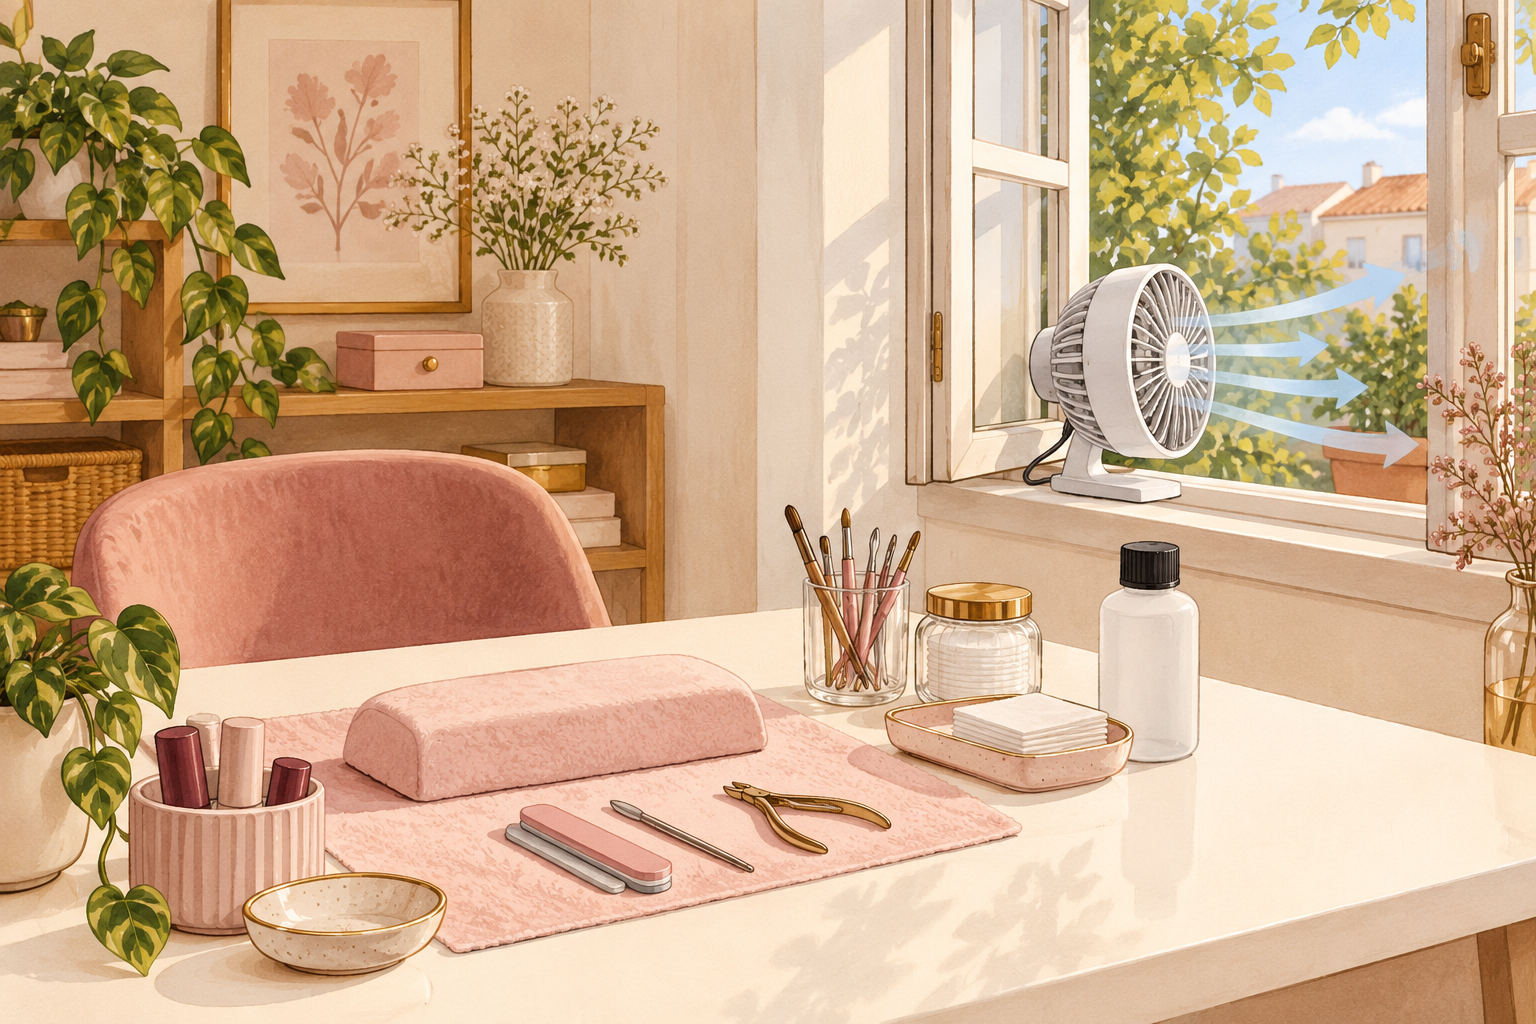
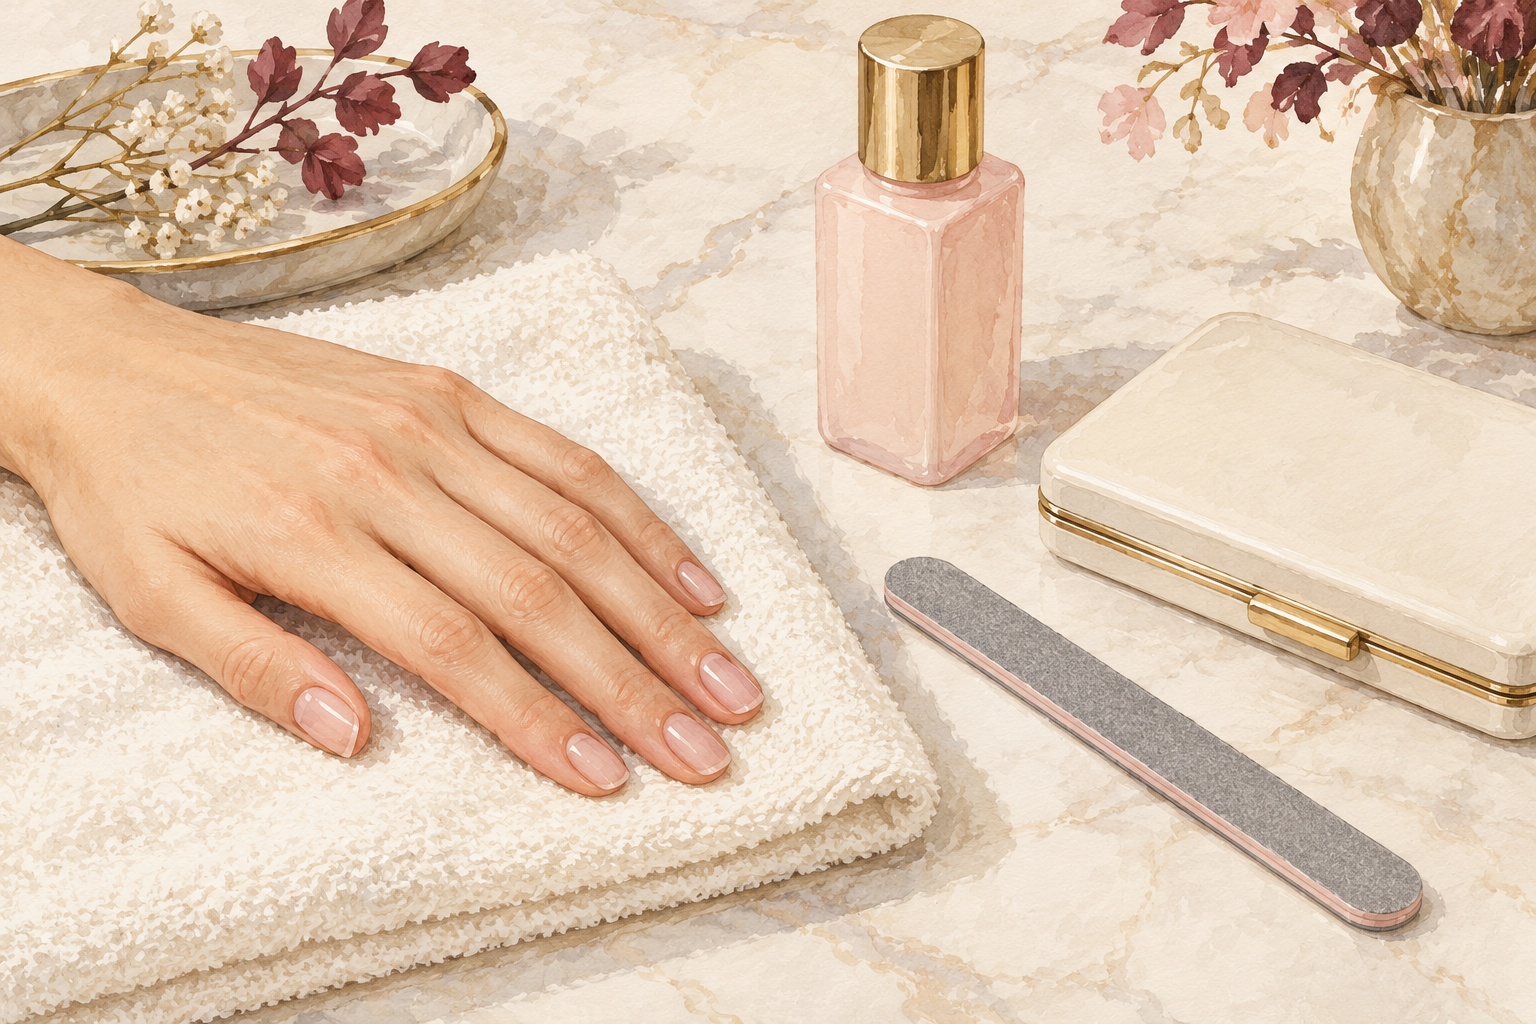
Work by an open window, keep acetone away from flames and candles, and never do this in a small closed room. The fumes are strong and the liquid burns easily. Use pure acetone, not a gentle remover with added oils, because pure acetone dissolves acrylic best. Cut ten squares of foil and ten pieces of cotton before you begin. Lay everything on a towel so a spill does not reach the table, since acetone can mark wood and plastic. Keep the bottle on a tray and cap it between uses. Put on a film for company. Tie your hair back, too, because acetone smells strong on strands. Acetone and fumes are a lot to manage at once, so keep how to remove fake nails open beside you.
3. Trim the overhang and skip the pulling
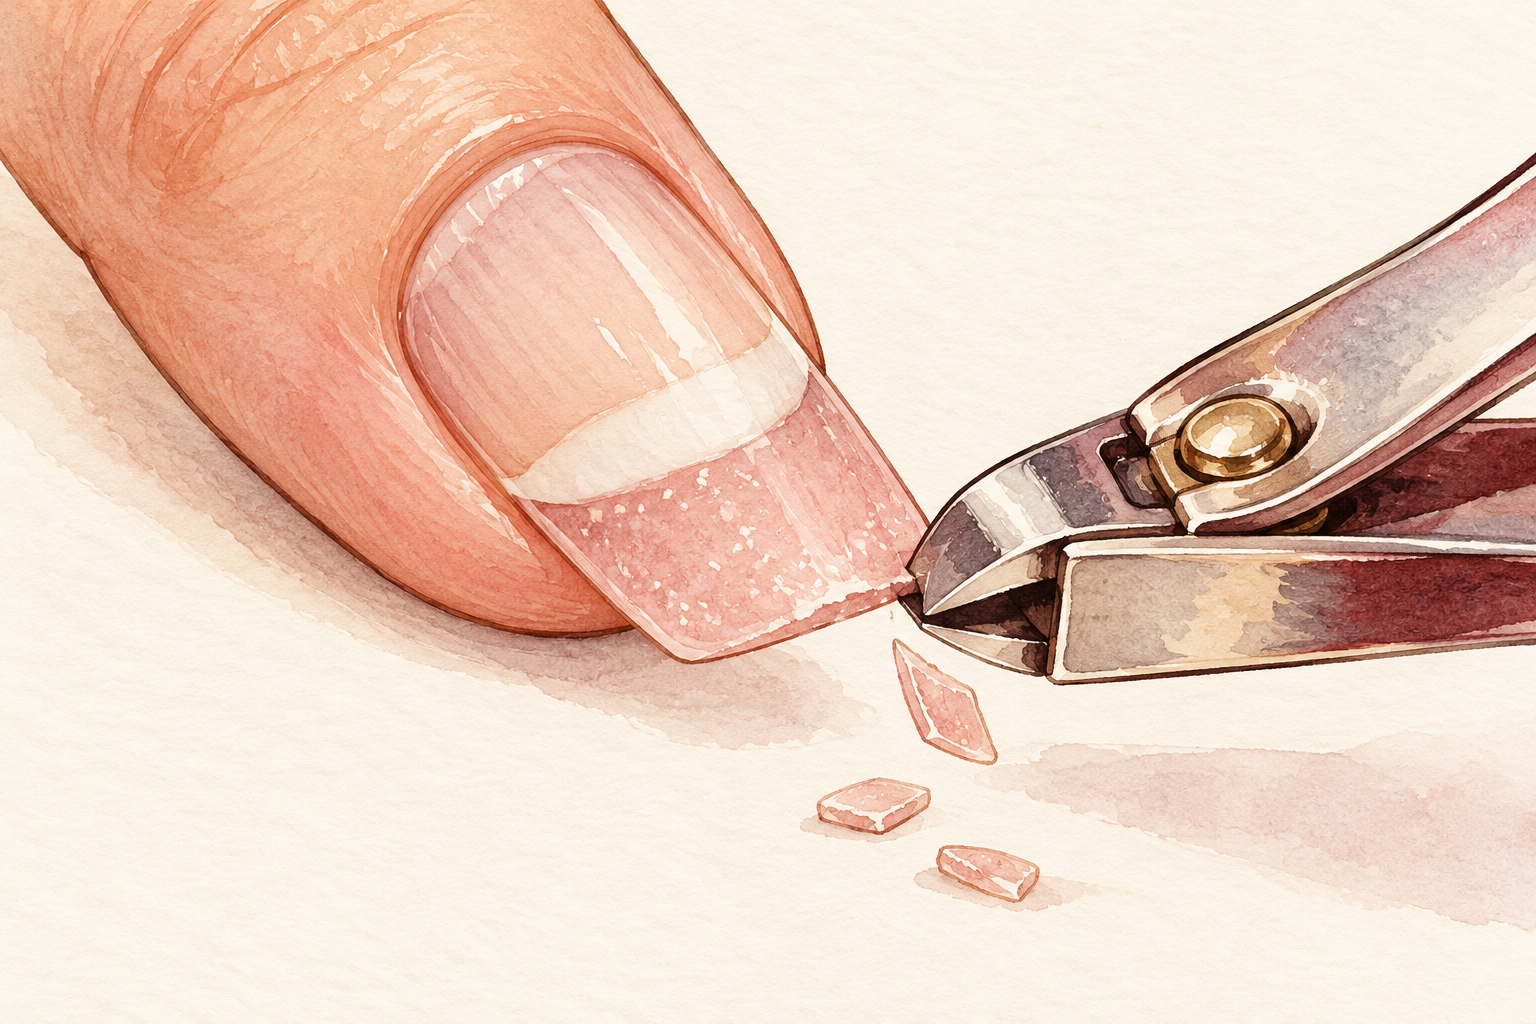
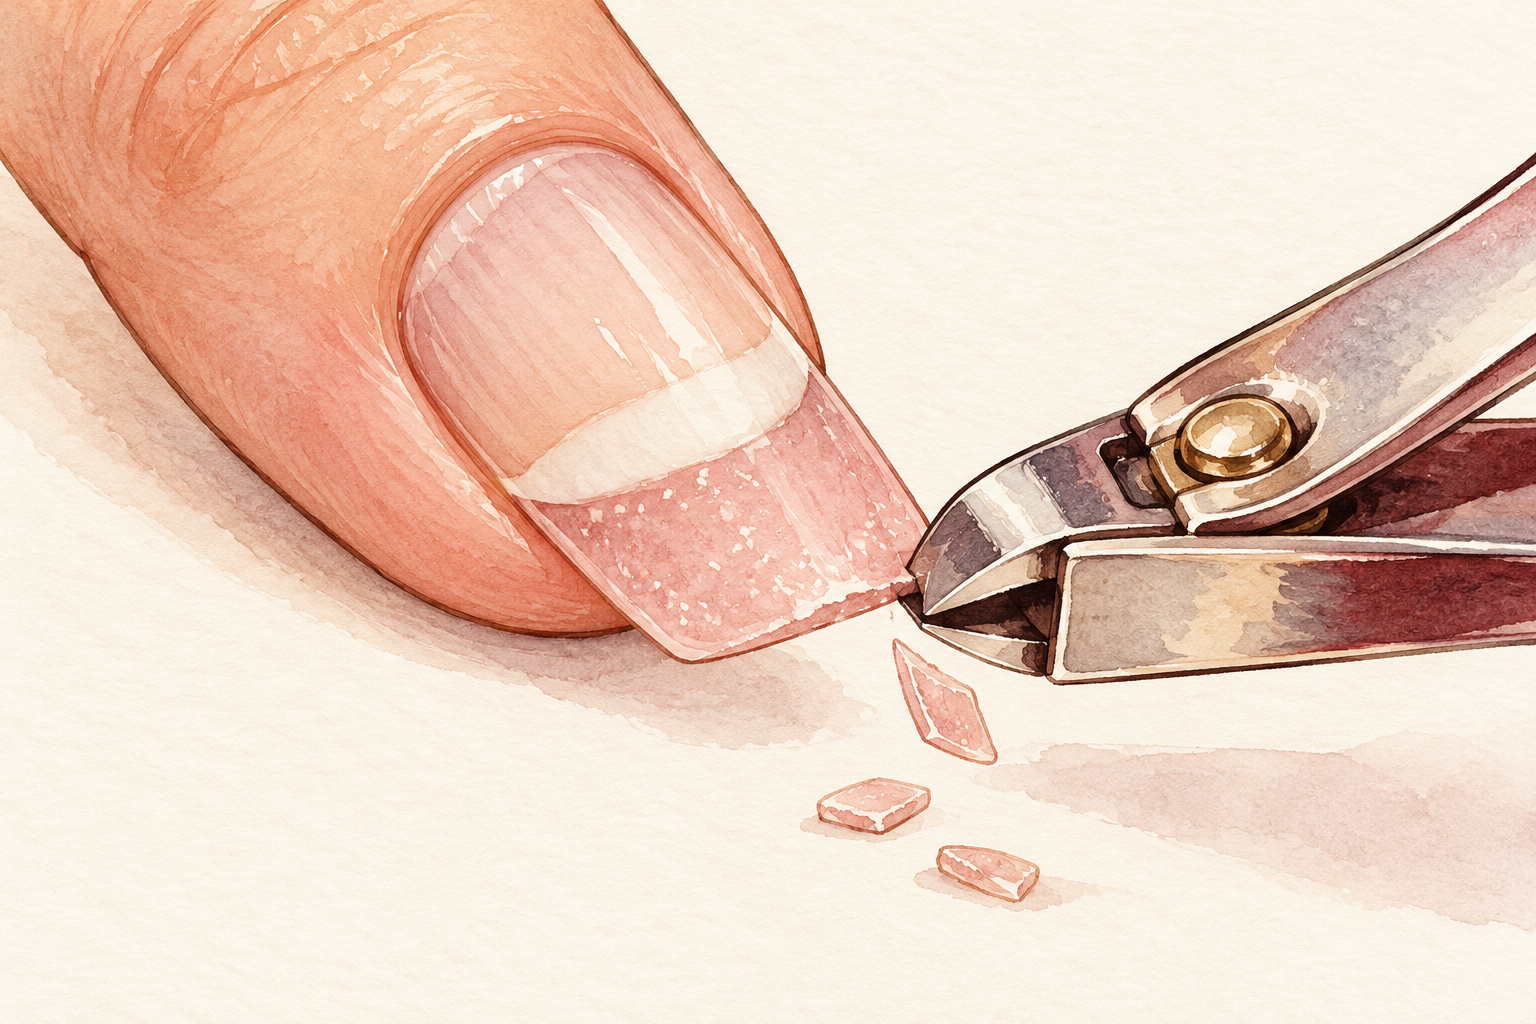
Clip off only the part of the acrylic that sticks out past your fingertip, in small snips. Small snips keep you from twisting or cracking the nail underneath. The less acrylic there is to dissolve, the shorter your soak will be. Do not clip close to the nail bed or bend the nail upward. If a snip pulls, stop and file it down instead. A file takes longer, but it puts no twisting force on the nail bed. Keep the clippings in a tissue so they do not scatter. Stop clipping when you reach the line where your own nail ends.
4. File off the shiny top layer
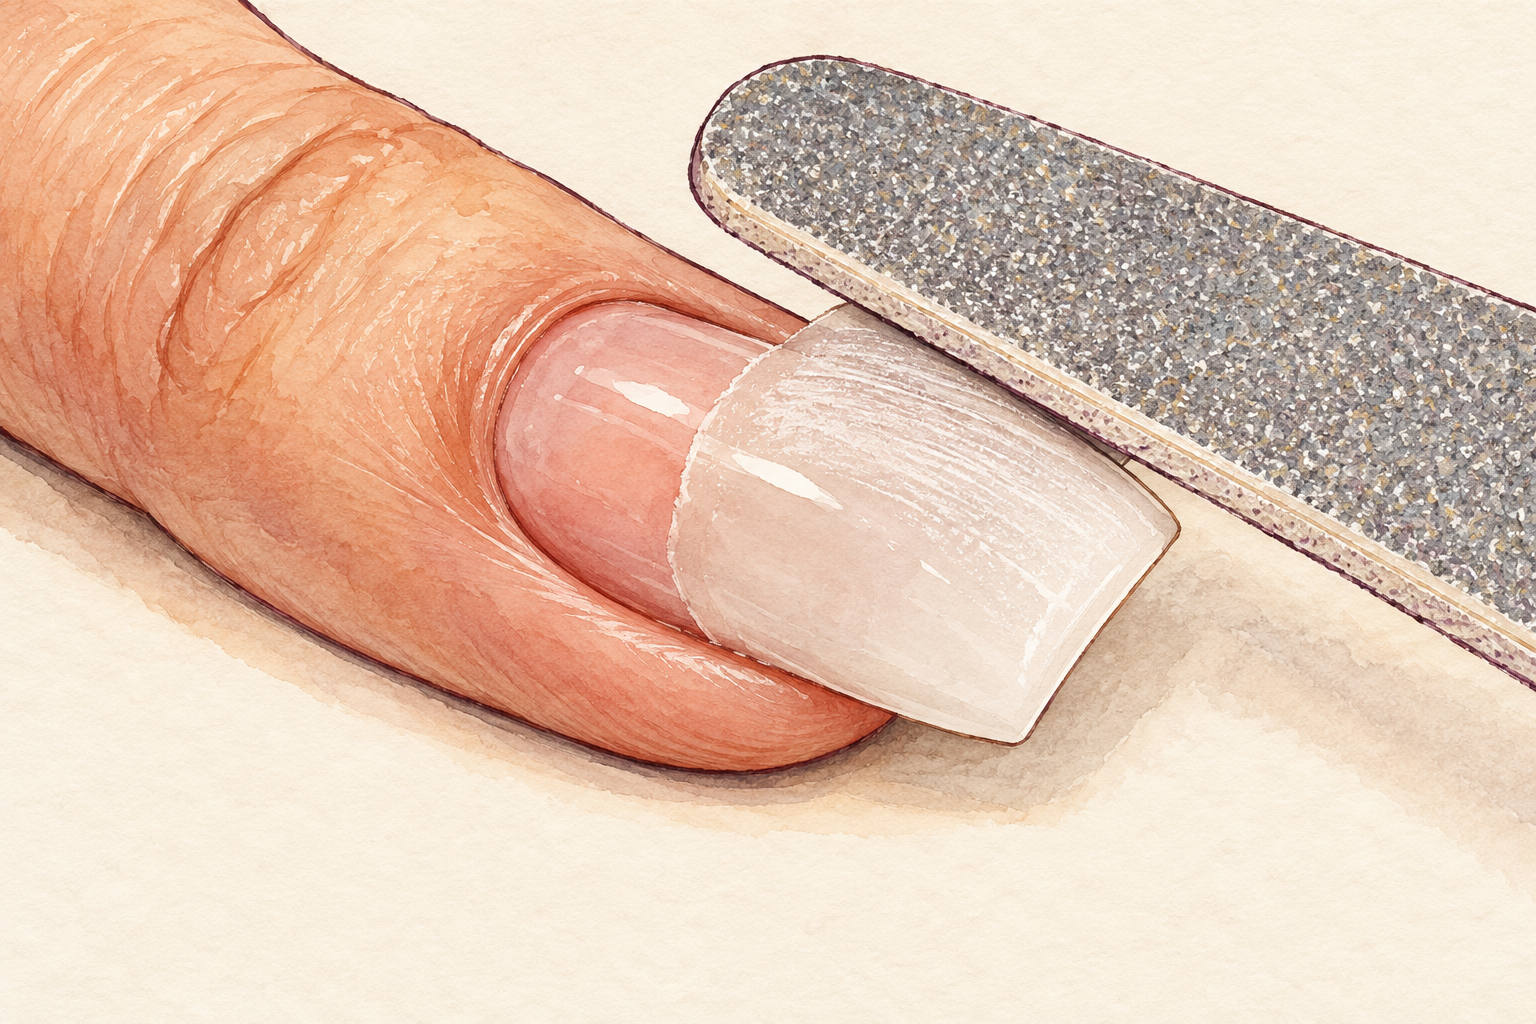
File the surface of each nail until it looks dull and slightly scratched. Acetone cannot get through the gloss on top. Stay on the acrylic and keep the file away from your skin and cuticle. A few firm strokes are plenty, and a coarse file saves time. Wipe off the dust with a dry pad. This step shortens the soak more than any other, and skipping it is the most common reason a set refuses to budge when you try how to remove acrylic nails for the first time. You should see the shine disappear from the whole surface.
5. Protect your skin with petroleum jelly
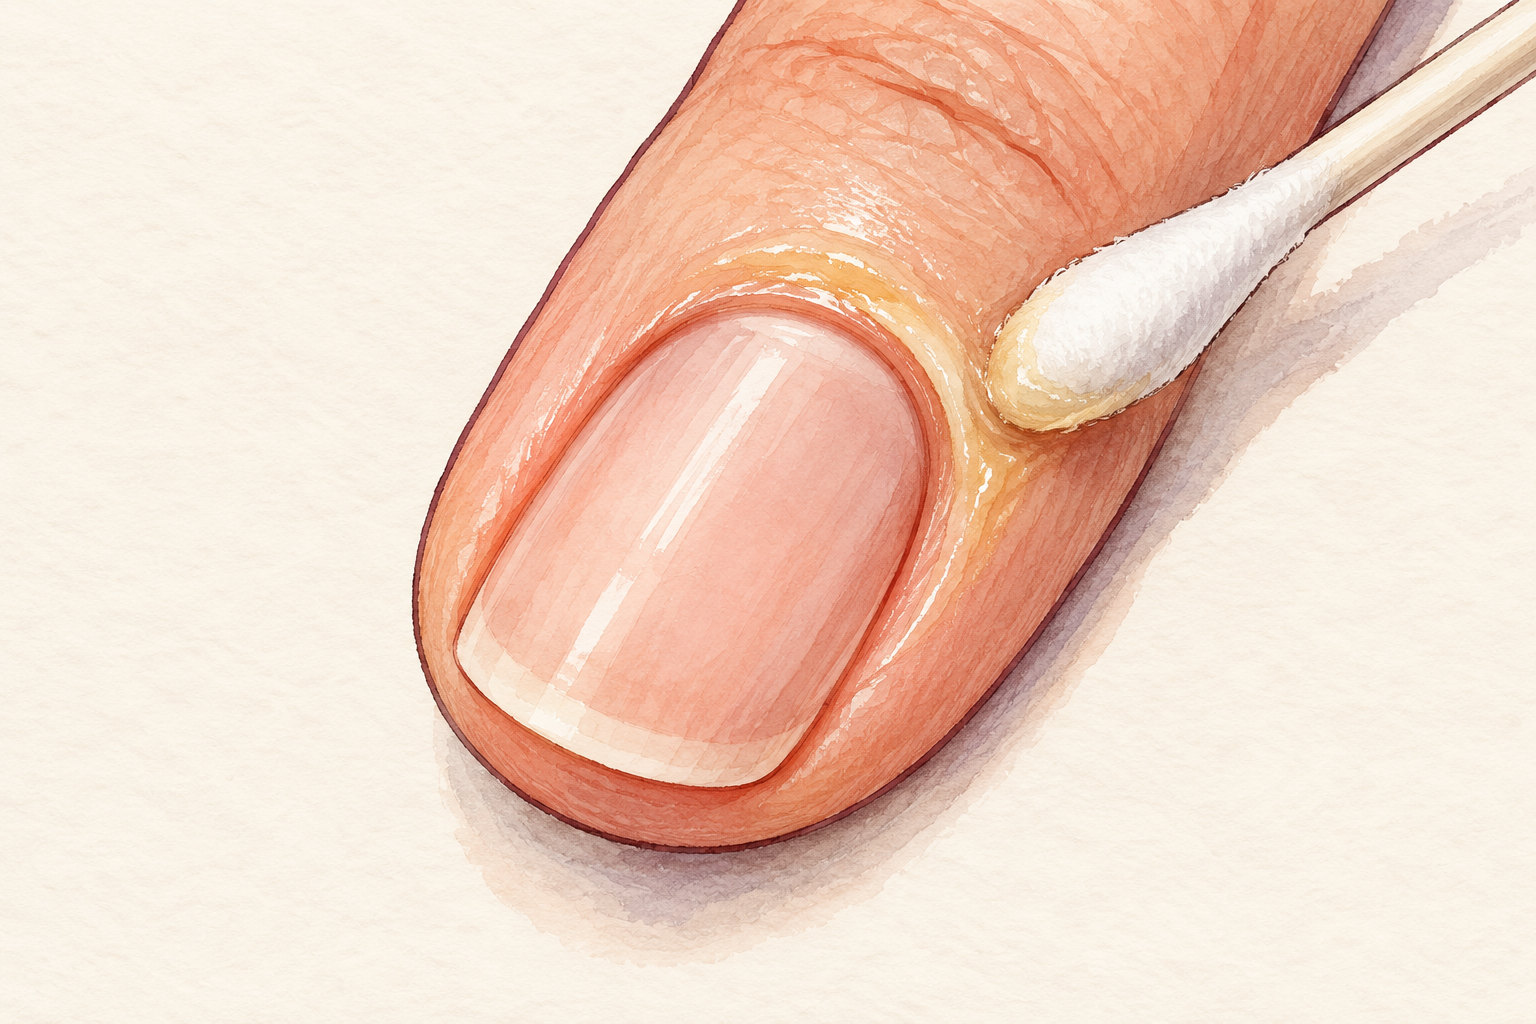
Coat the skin around every nail with a thick layer of petroleum jelly, keeping it off the acrylic. Acetone dries and stings, so cover the cuticles, the sidewalls and the pads of fingers that will touch the cotton. It takes one minute and makes the next hour far more comfortable. Wash and dry your hands first, since jelly over damp skin slides off. If your skin is already sore or cut, wait a day or two. Hold your hands in a warm, dry spot while you work. Put the jelly on thickly, like icing, and rub in the rest later.
6. Wrap each nail and set a ten minute timer
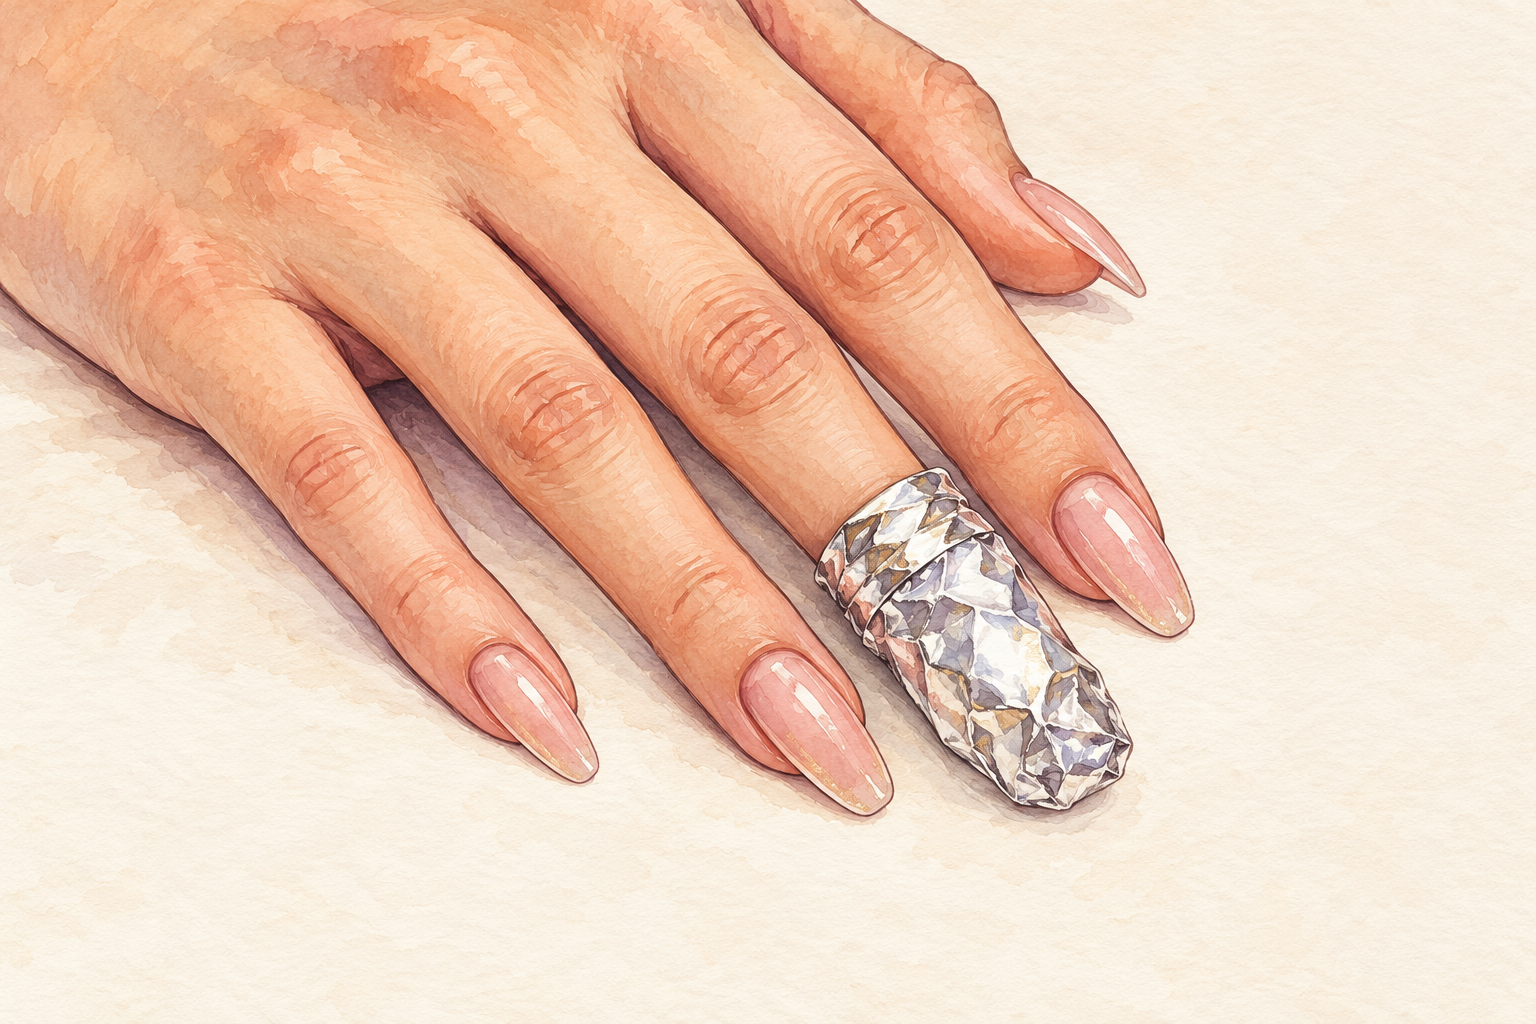
Soak a cotton ball in acetone, press it onto the nail, and wrap the fingertip tightly in foil. Set a timer for ten to fifteen minutes and sit still. Do one hand at a time so you still have a free hand. Check one nail around the ten minute mark, without unwrapping all of them, so you learn how long your set takes. A small bowl of acetone also works, but it uses more liquid and lets more fumes escape. Wrapped fingers look funny, and the foil is doing its job. Keep your wrapped hand resting flat on the towel so the cotton stays pressed against the nail.
7. Push gently with a cuticle pusher
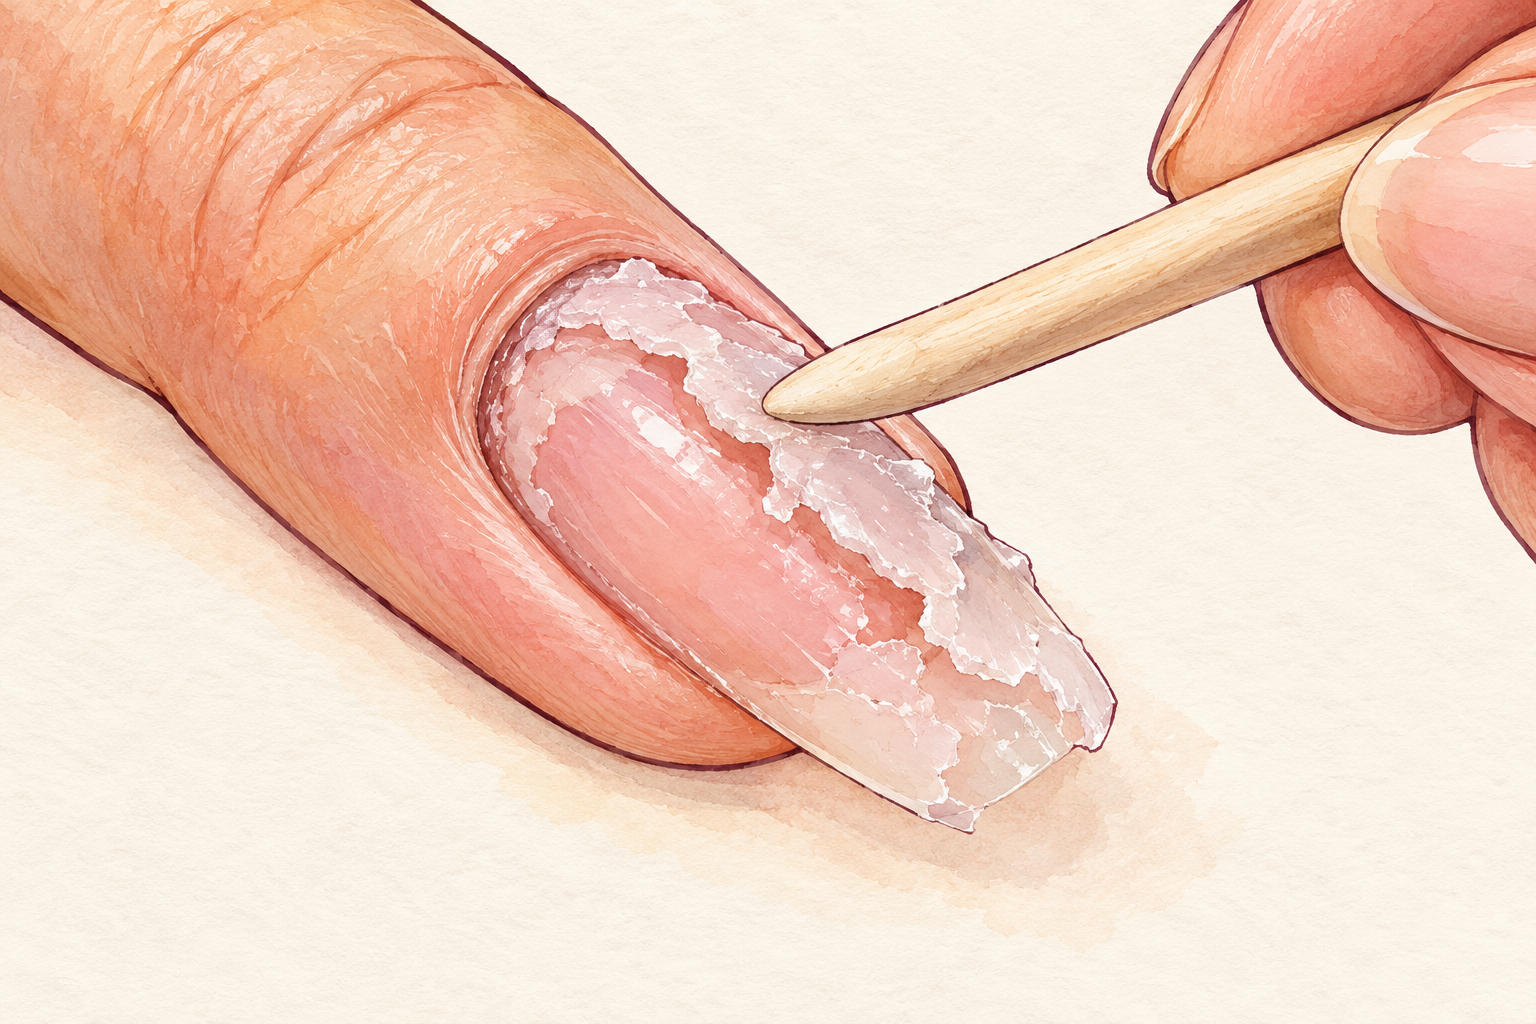
Unwrap one nail and press the pusher against the acrylic near the cuticle, sliding toward the tip. If it comes away in soft flakes or a gooey layer, you are on the right track. Use a gentle push, and stop if you feel any pulling. Avoid metal tools that dig, because they scratch and gouge the nail. Brush the flakes away with a pad as you go, and keep your other fingers wrapped so they keep softening. Work one nail at a time, so none of them dry out and set again. A good push feels smooth, with no resistance and no tugging at the skin.
8. Re-wrap any nail that is still hard
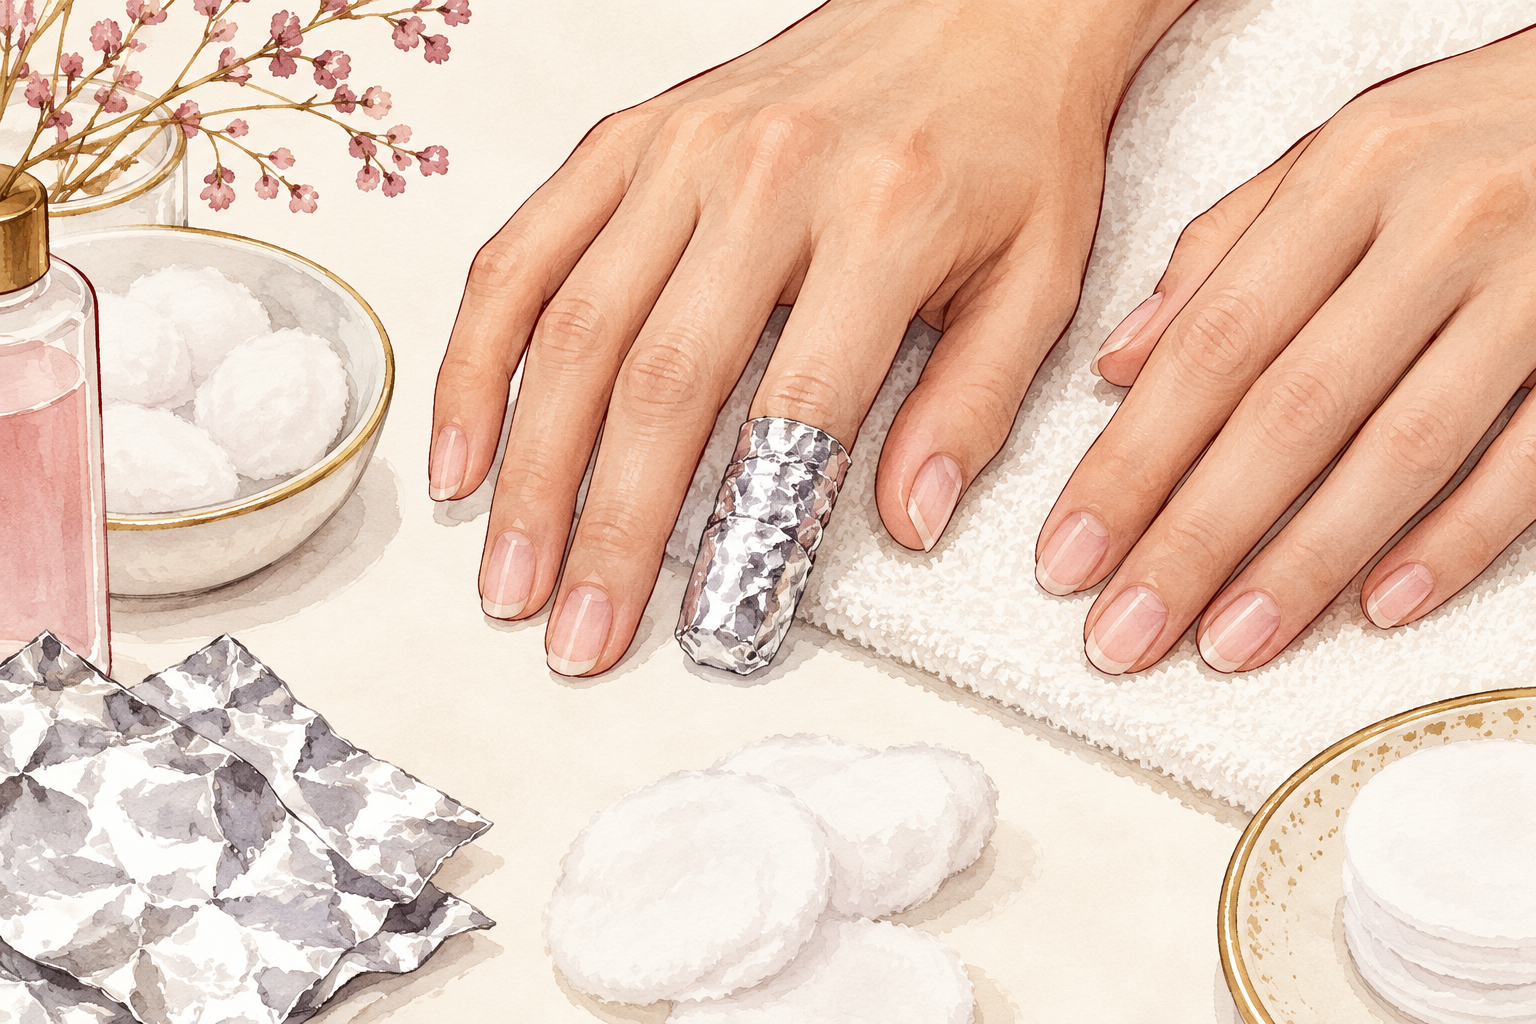
Put fresh acetone cotton and foil on any nail that has not softened, for another ten minutes. Thick sets with many layers often need two or three rounds, and that is normal. It does not mean you did anything wrong. Rewrap only the nails that need it and let the others rest, with a dab of jelly on the skin again. Learning how to remove acrylic nails without damage usually means more soaking and less scraping. Resist the urge to scrape harder, because the soak is still working. Expect the last stubborn nail to take longest, and plan the extra time.
9. Try a warm water and oil soak for loose sets
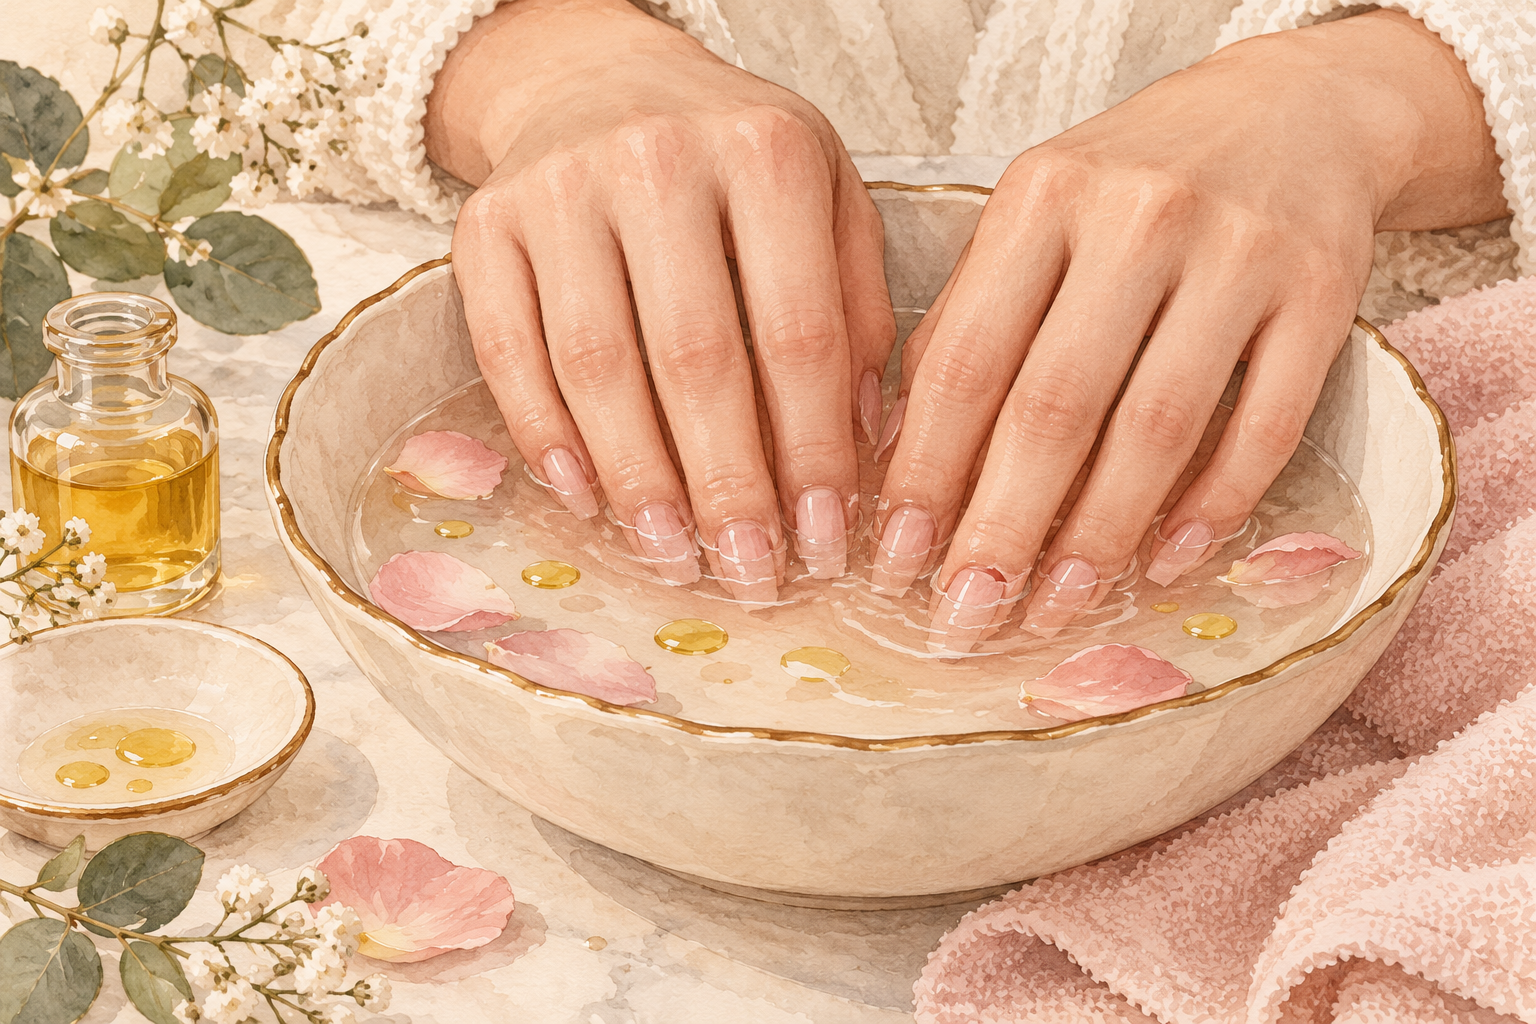
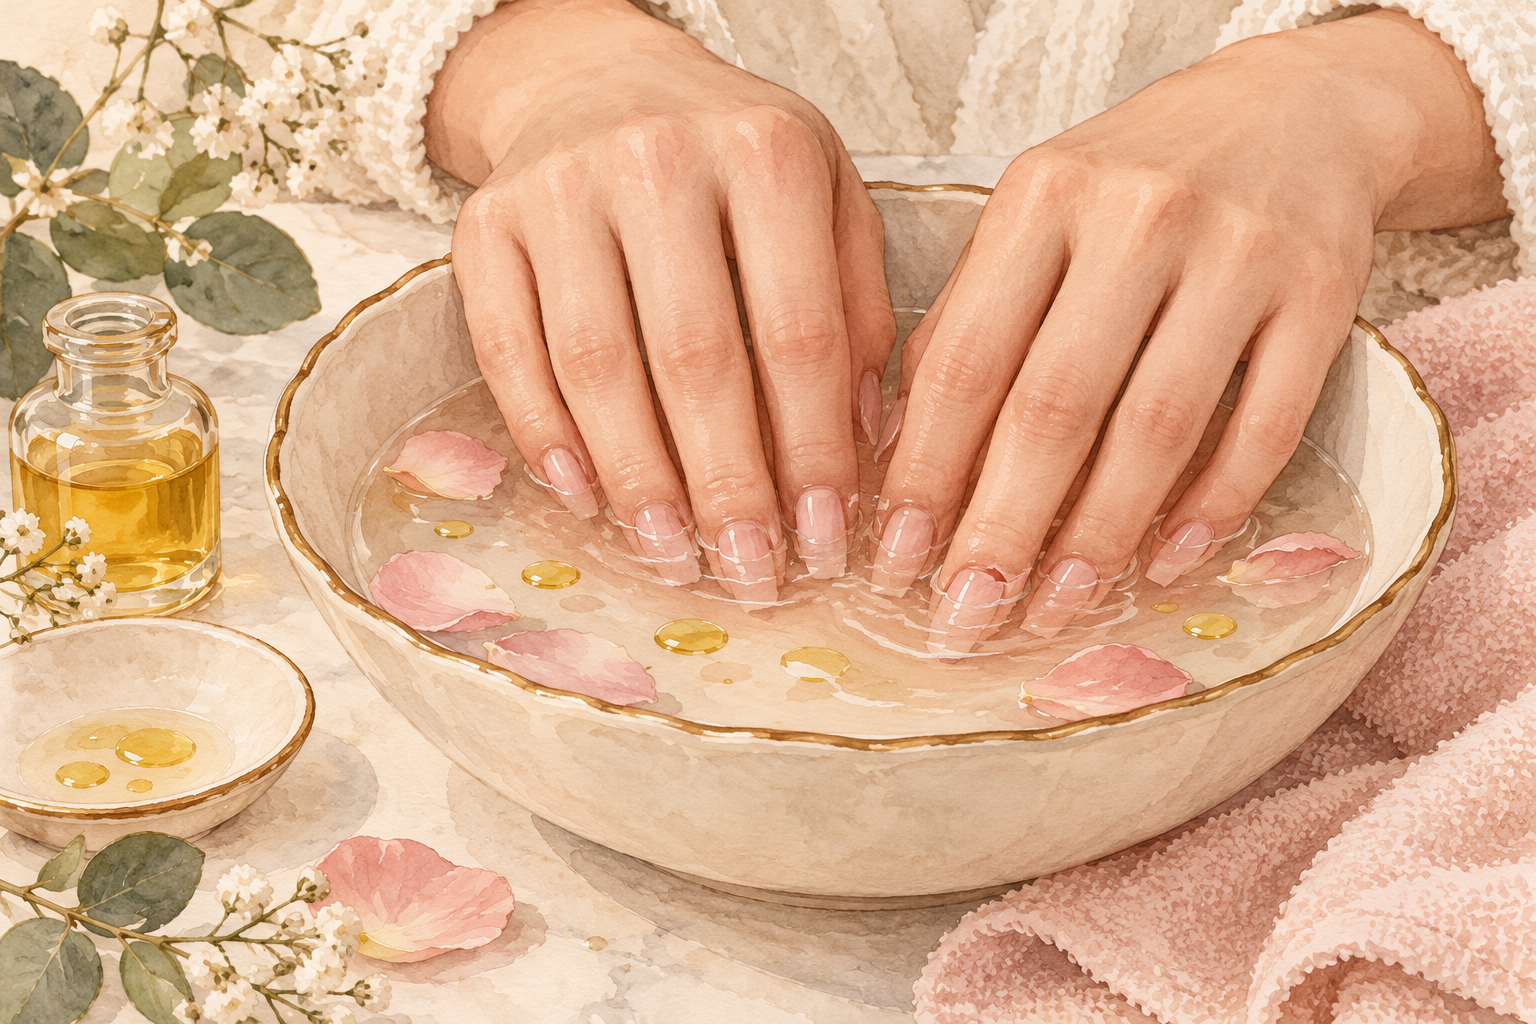
When the acrylic is already lifting at the edges, soak your fingertips in hot water with a little oil for twenty to thirty minutes. Test the water first so it is hot but comfortable, not scalding. Then try lifting an edge with a wooden stick. This works far less well on a tightly bonded set, so do not expect it to dissolve a fresh one. Follow it with an acetone soak if any acrylic stays behind. Pat dry and start with the loosest nail. Warm water also softens your dry cuticles, which helps afterwards.
10. Never pry, pull or bite a stubborn nail
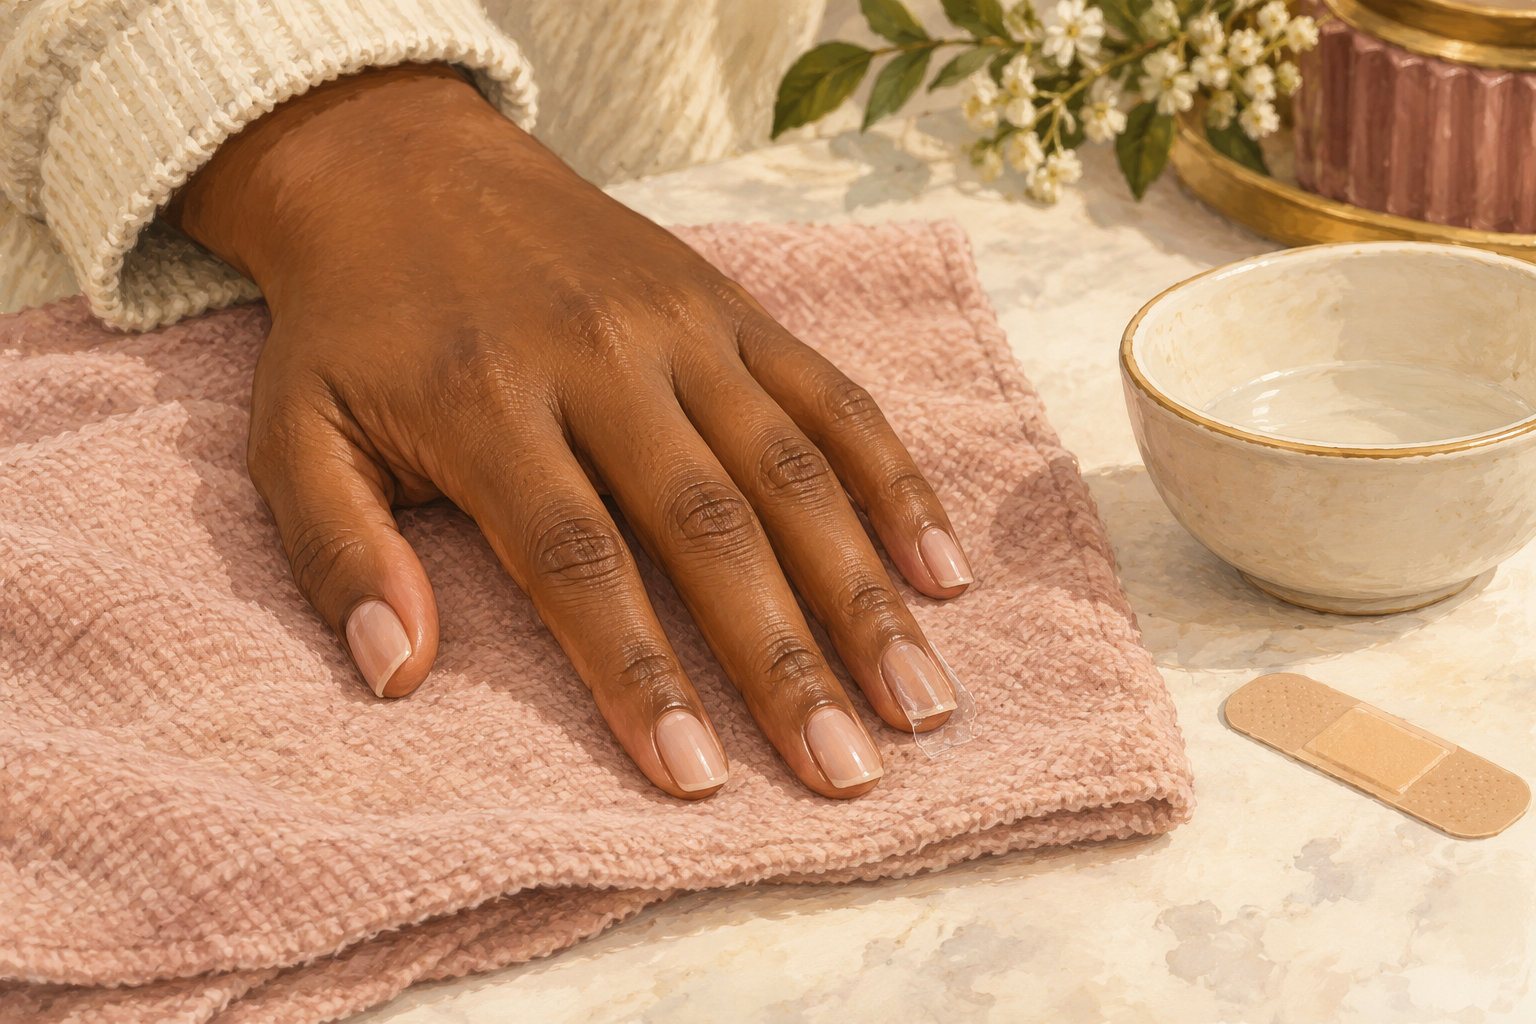
If a nail will not budge after three soaks, stop and leave it for tomorrow. Prying, pulling or biting acrylic peels layers off the natural nail and can leave it thin, sore and bleeding. A nail technician can take a stubborn one off in minutes, and that beats wrecking the nail. Waiting a day does no harm. Cover it with a plain bandage if it catches on things. The answer to a nail that will not lift is plain: stop, rest and try again. If a corner lifts but the rest stays glued, snip nothing and soak that nail again tomorrow.
11. Wash, oil and know what the next two weeks look like
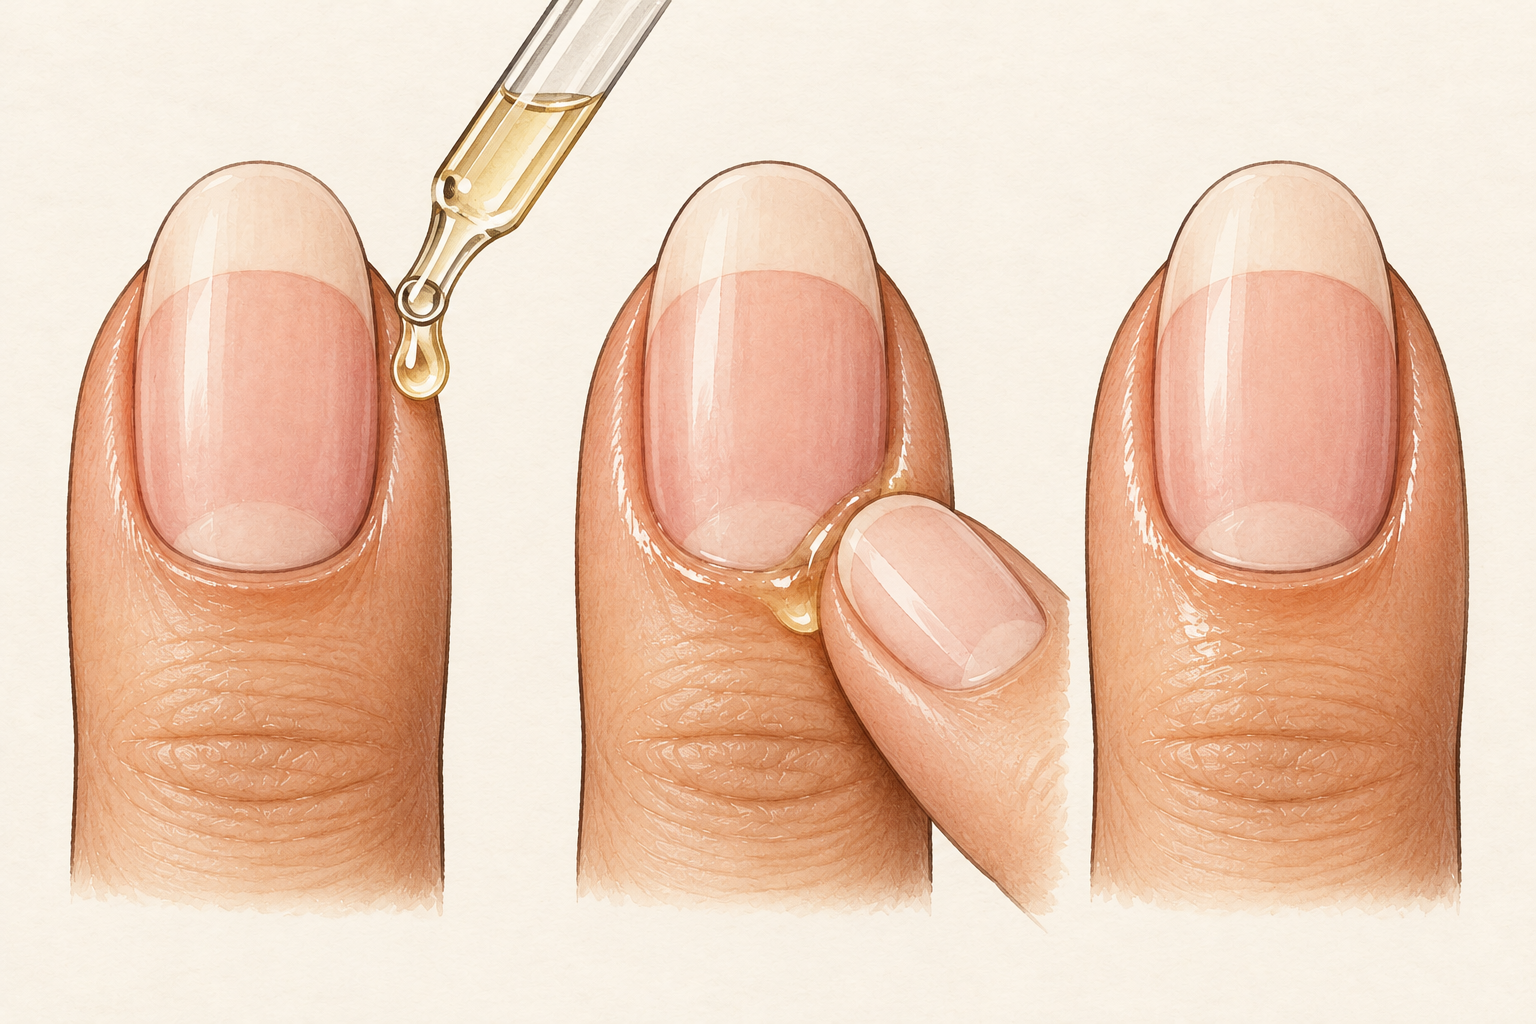
Wash your hands with mild soap, then rub cuticle oil or thick cream into every nail. On day one the nails feel thin, dry and slightly rough, and the skin may feel tight. By day seven they should feel firmer, and you can buff any ridges very gently. By day fourteen most nails look much better, though full recovery takes months of growth. Keep them short while they toughen. Give them a break of a couple of weeks before any new set. Cotton gloves over a thick layer of cream overnight help dry hands recover. When your nails feel tired after a removal, damaged nails after acrylics is worth a read before the next set.
12. Avoid the mistakes that cause the damage
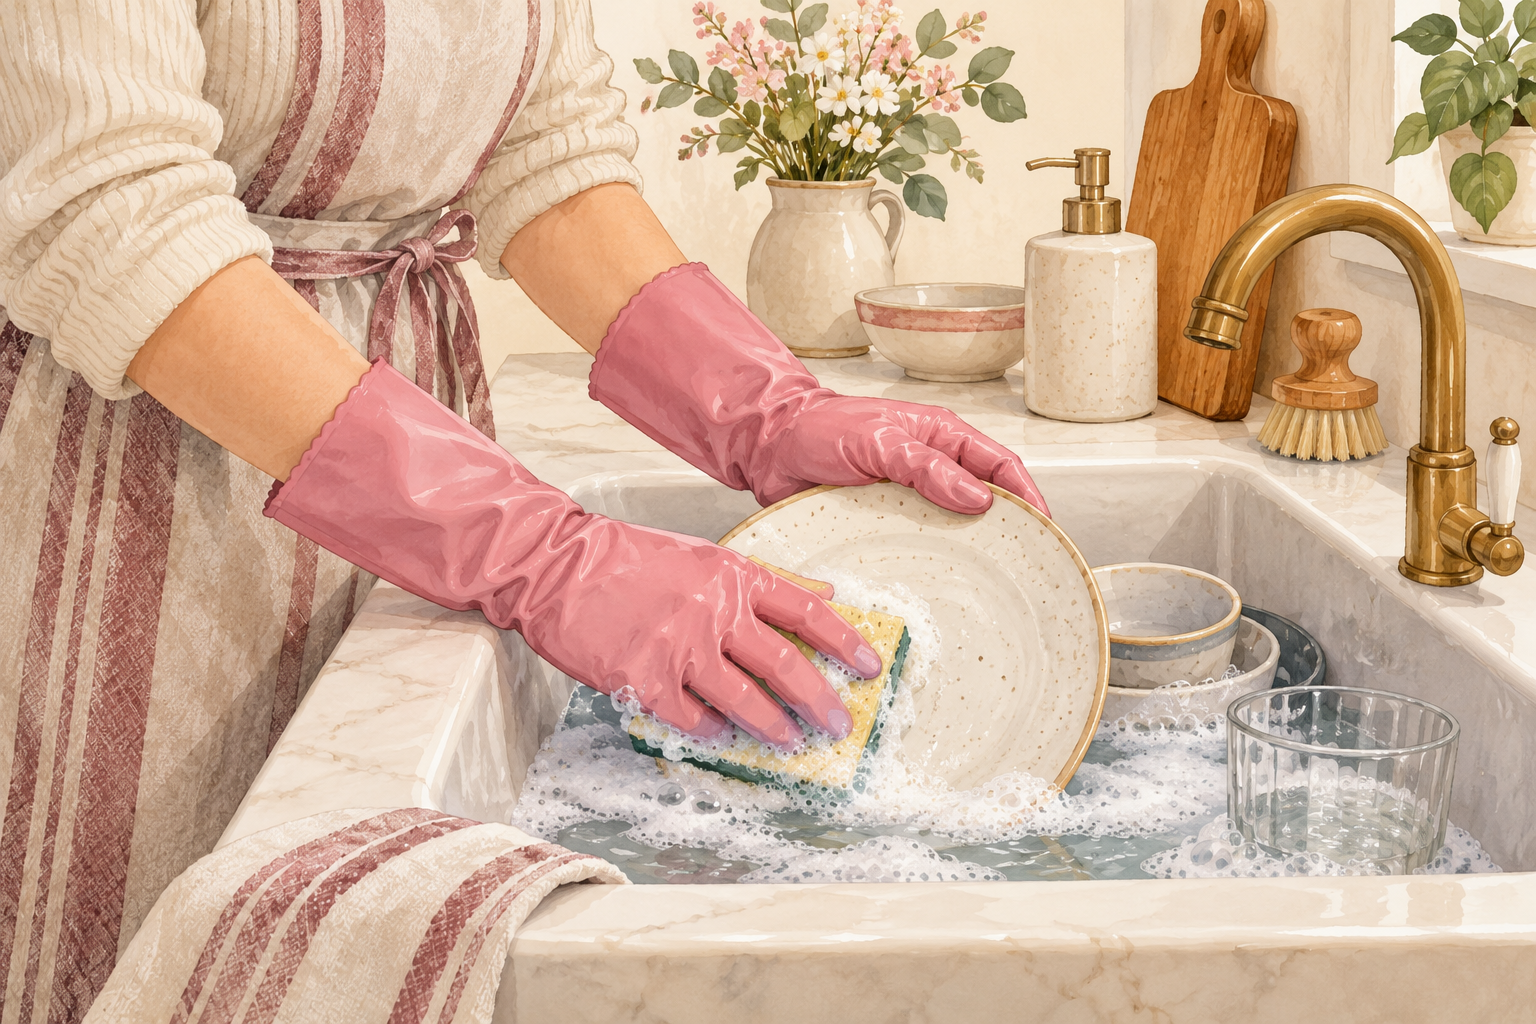
Don’t peel, skip the filing step, use a remover with additives or soak your whole hands in acetone. Those are the common ones. Also resist rushing into a new set the same day. Leave the bare nails alone for a week or two and keep them moisturized. If one stays thin, yellow or sore after a few weeks, keep it short and oiled until it grows out. Wear gloves for washing up in the meantime. Kind care now gives you a stronger base for your next manicure. Keep a bottle of cuticle oil in your bag and use it each night for a month.
Complete the Routine: How to Remove Acrylic Nails and Rest Your Nails
Tonight, gather your tray, open a window and file the top layer of one nail to see how it behaves. Nails do not need a perfect routine overnight, so take it one nail and one step at a time. The guides below are there for when you are ready for the next part, with no rush at all.