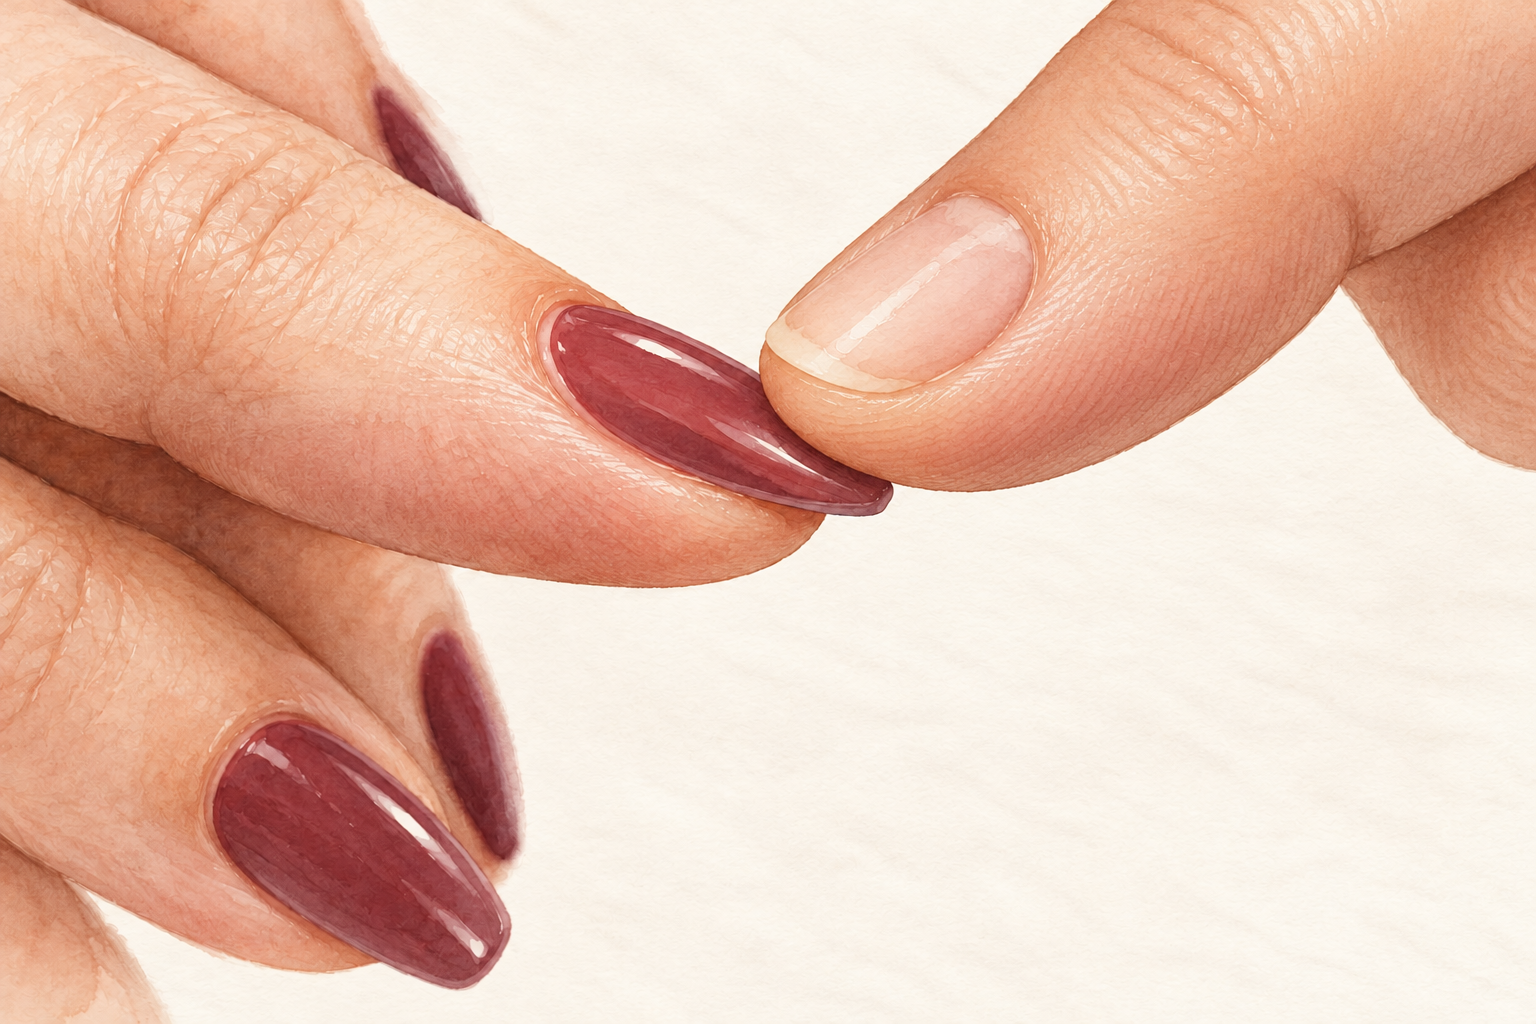
One acrylic is lifting at the corner, the rest look tired, and you are very tempted to just pull. Please don’t, because that is how a thin, sore, peeling nail happens. Knowing how to remove acrylic nails at home means trading force for patience. Here are 12 gentle steps that take about an hour, so clear a quiet evening and start at number one tonight.
1. Set out everything before you start
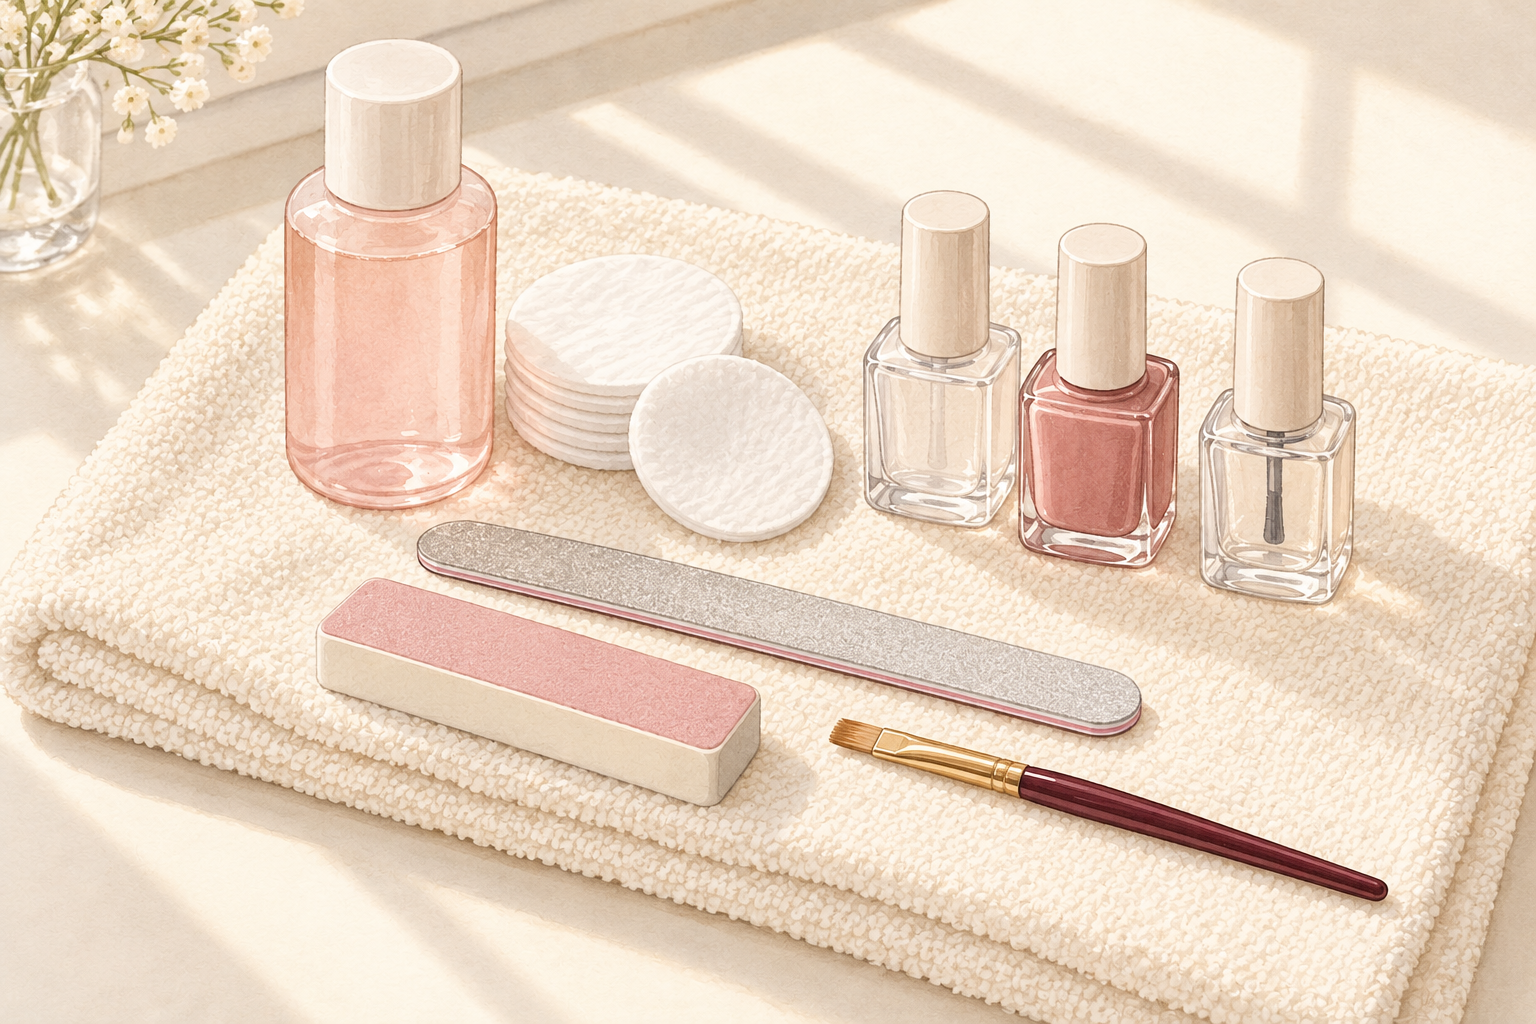
Lay out acetone, cotton balls, foil, a coarse file, an orange stick, a buffer, cuticle oil and a towel. Once your fingers are wrapped, you cannot go searching for the missing thing. Cut the foil into ten squares, each big enough to wrap around a fingertip, and tear a cotton ball into ten small pads. Use pure acetone, because the gentle kind takes twice as long. Sit near an open window, since the smell is sharp and the fumes build up fast. Put on a podcast, because you will be sitting still for a while. Knowing how to remove acrylic nails at home well is mostly about being ready. Before the foil comes out, check how to remove fake nails for the wider process.
2. Clip the length down short
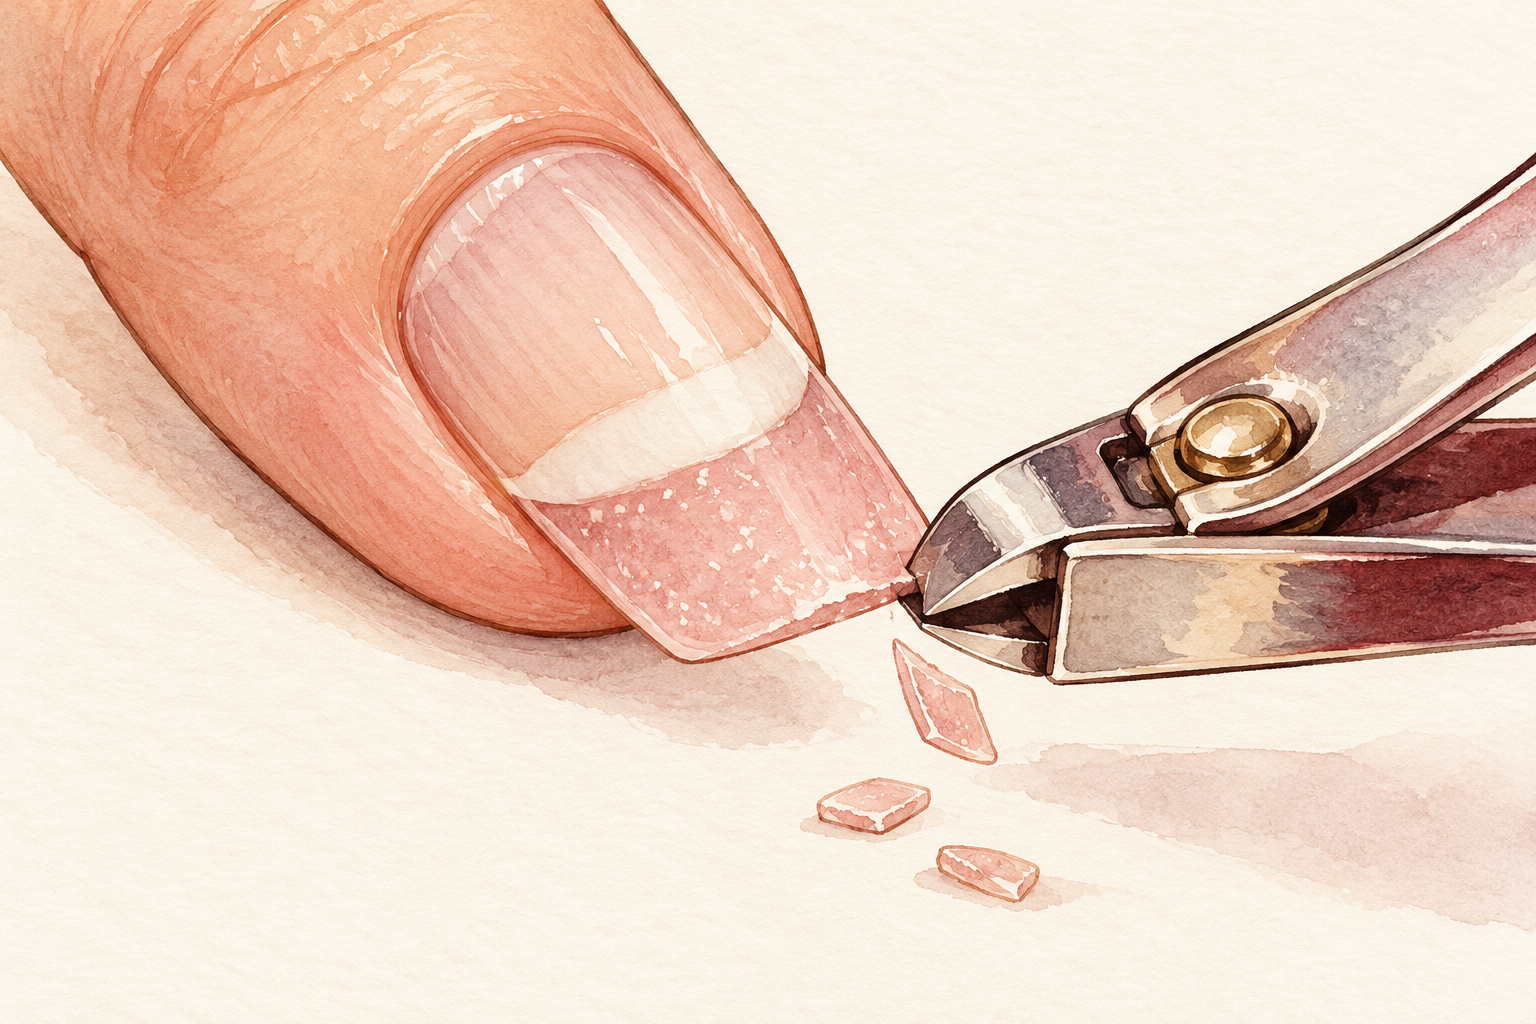
Trim the acrylic to just past your fingertip, one small snip at a time. Long acrylic takes much longer to dissolve and is heavier to wrestle with. Hold the nail steady with your other hand so it does not wrench sideways, because a sudden twist can pull the nail beneath it. Cut from the edge toward the middle in tiny bites, and stop when you reach the end of your natural nail. If you hear a crack, pause and check that nothing has lifted. Short nails also mean smaller foil wraps and less acetone, which is gentler on your skin. Clip over a sheet of paper so the pieces do not fly across the room.
3. File off the shiny top layer
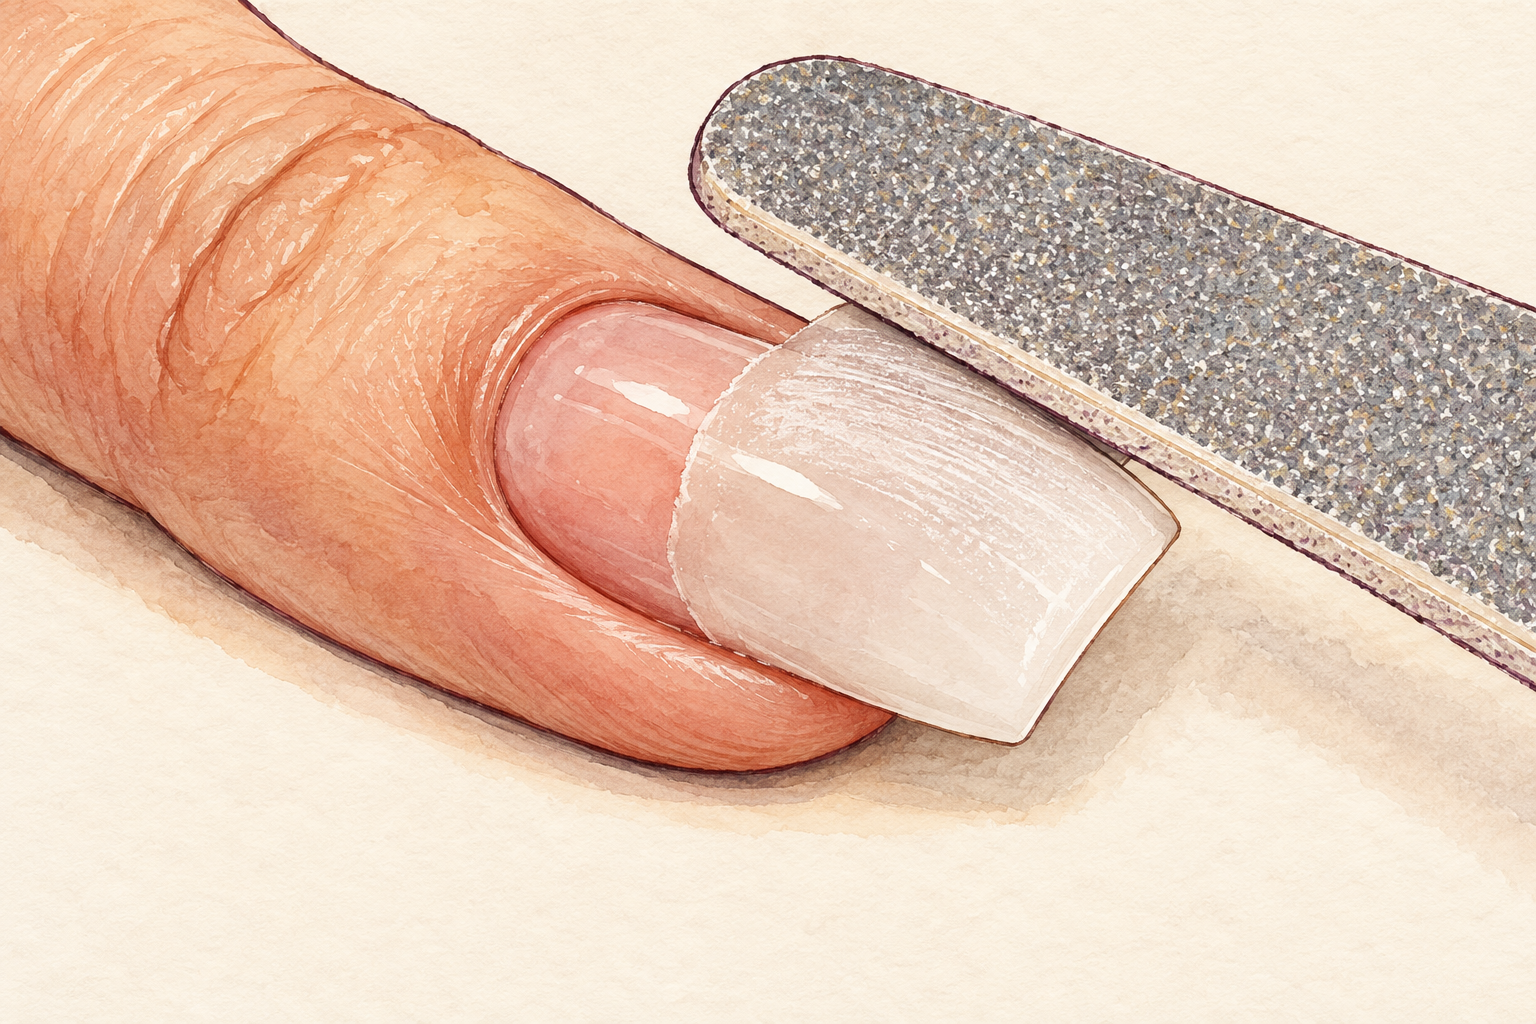
Use a coarse file to rough up the top of every nail until the gloss disappears. The shine is a sealed coat, and acetone cannot soak in through it. Work in short, even strokes and keep the file flat, so you do not dig into your skin. You want the surface dull and powdery, with a good part of the thickness taken down. Stop before you see your own pink nail, because filing into it makes it thin and sensitive. This single step cuts the soak time in half, so do not skip it. Brush off the dust with a soft cloth before you wrap. A good filing session takes about two minutes per hand. Gel sets have their own timing, so compare remove gel nails at home with this list.
4. Guard the skin around each nail
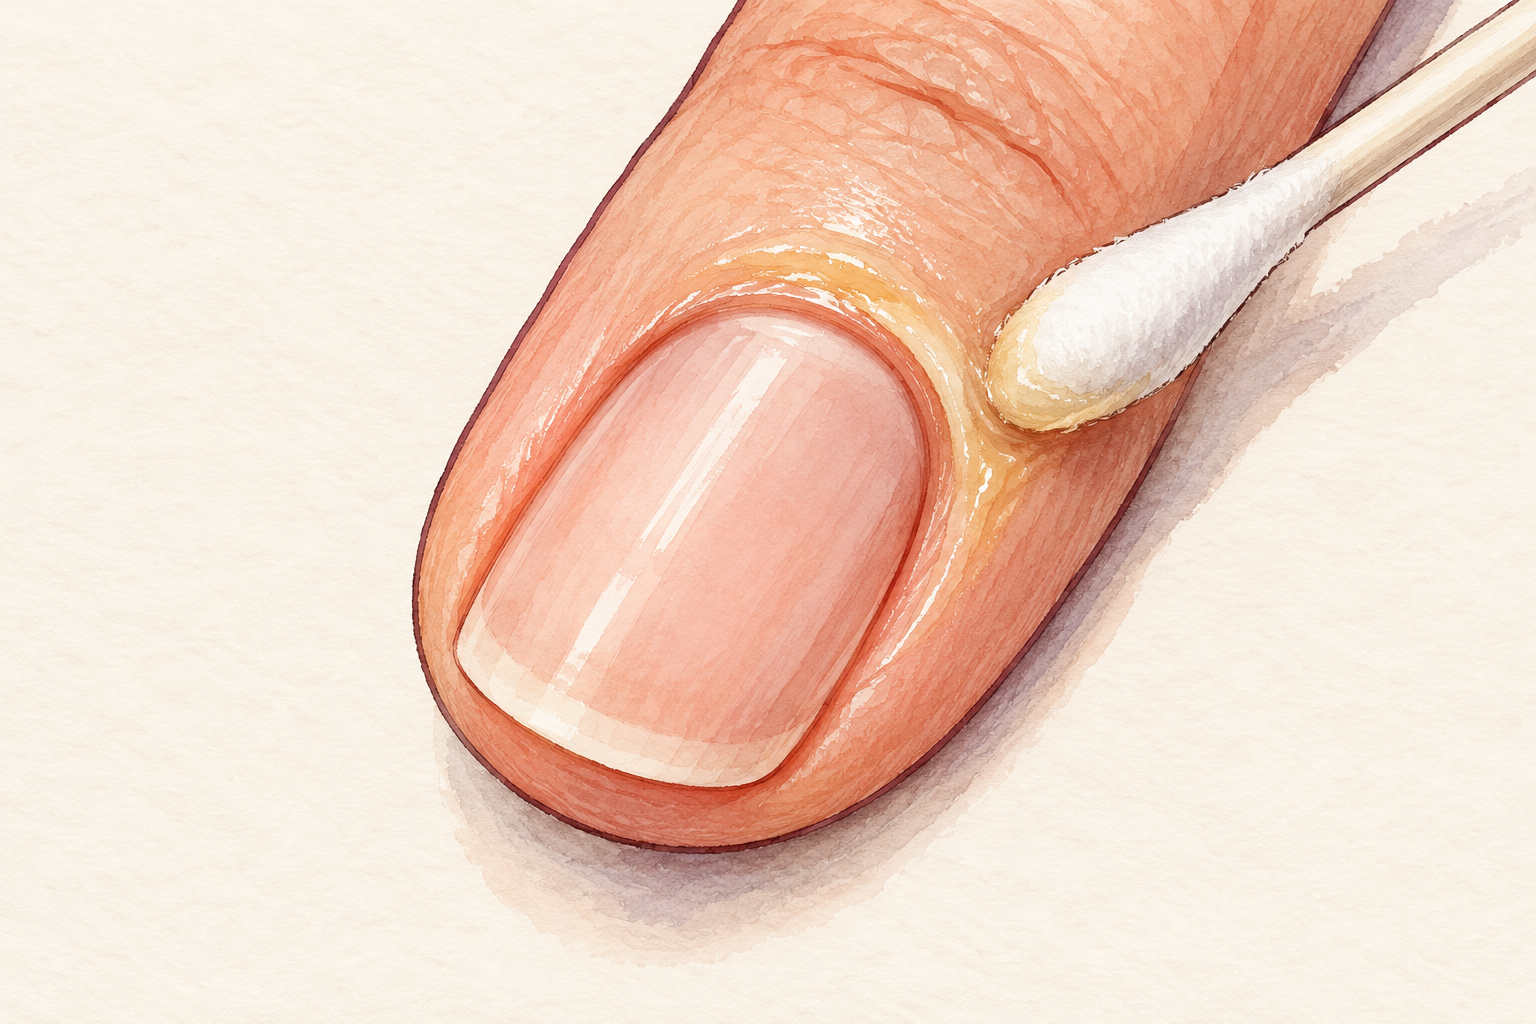
Rub petroleum jelly or a thick balm on the skin around the nail, keeping it off the nail itself. Acetone dries skin quickly, and your cuticles will crack if you leave them bare. Take a little on a cotton bud to reach the sides where the skin meets the nail. If the balm lands on the acrylic, the acetone slides off and nothing dissolves, so wipe the nail clean. Add a thin coat on the finger pads too. It feels greasy, and that is exactly the point, because your skin will thank you tomorrow. Pay extra attention to the cuticle, where the acetone sits longest.
5. Wrap each nail in soaked cotton and foil
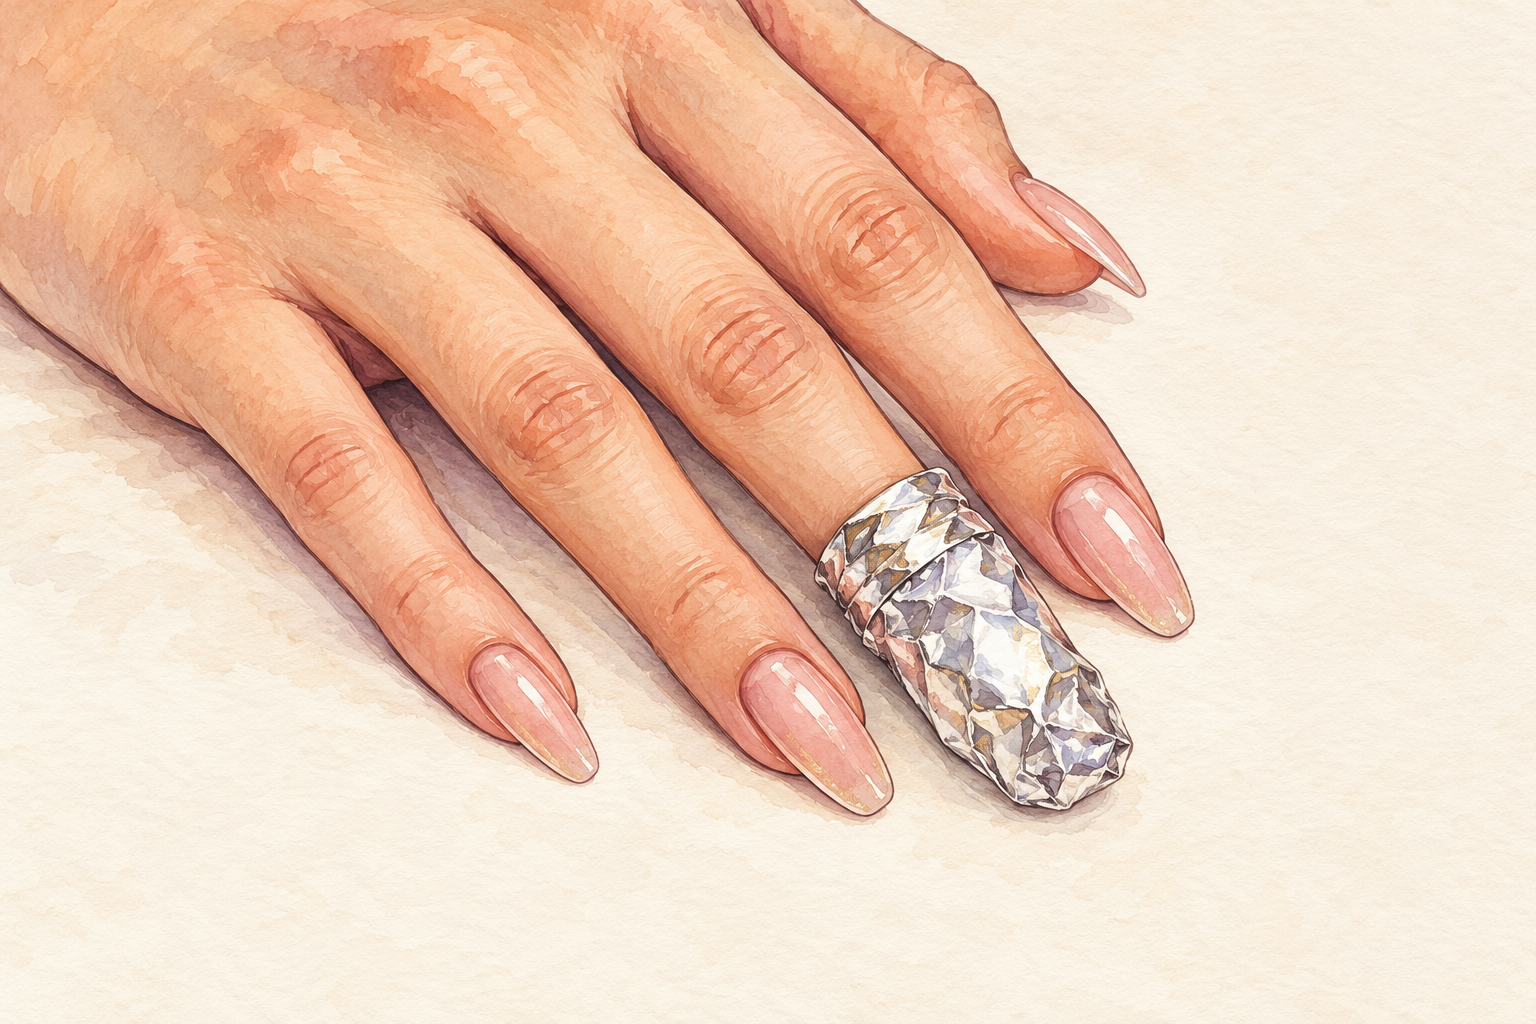
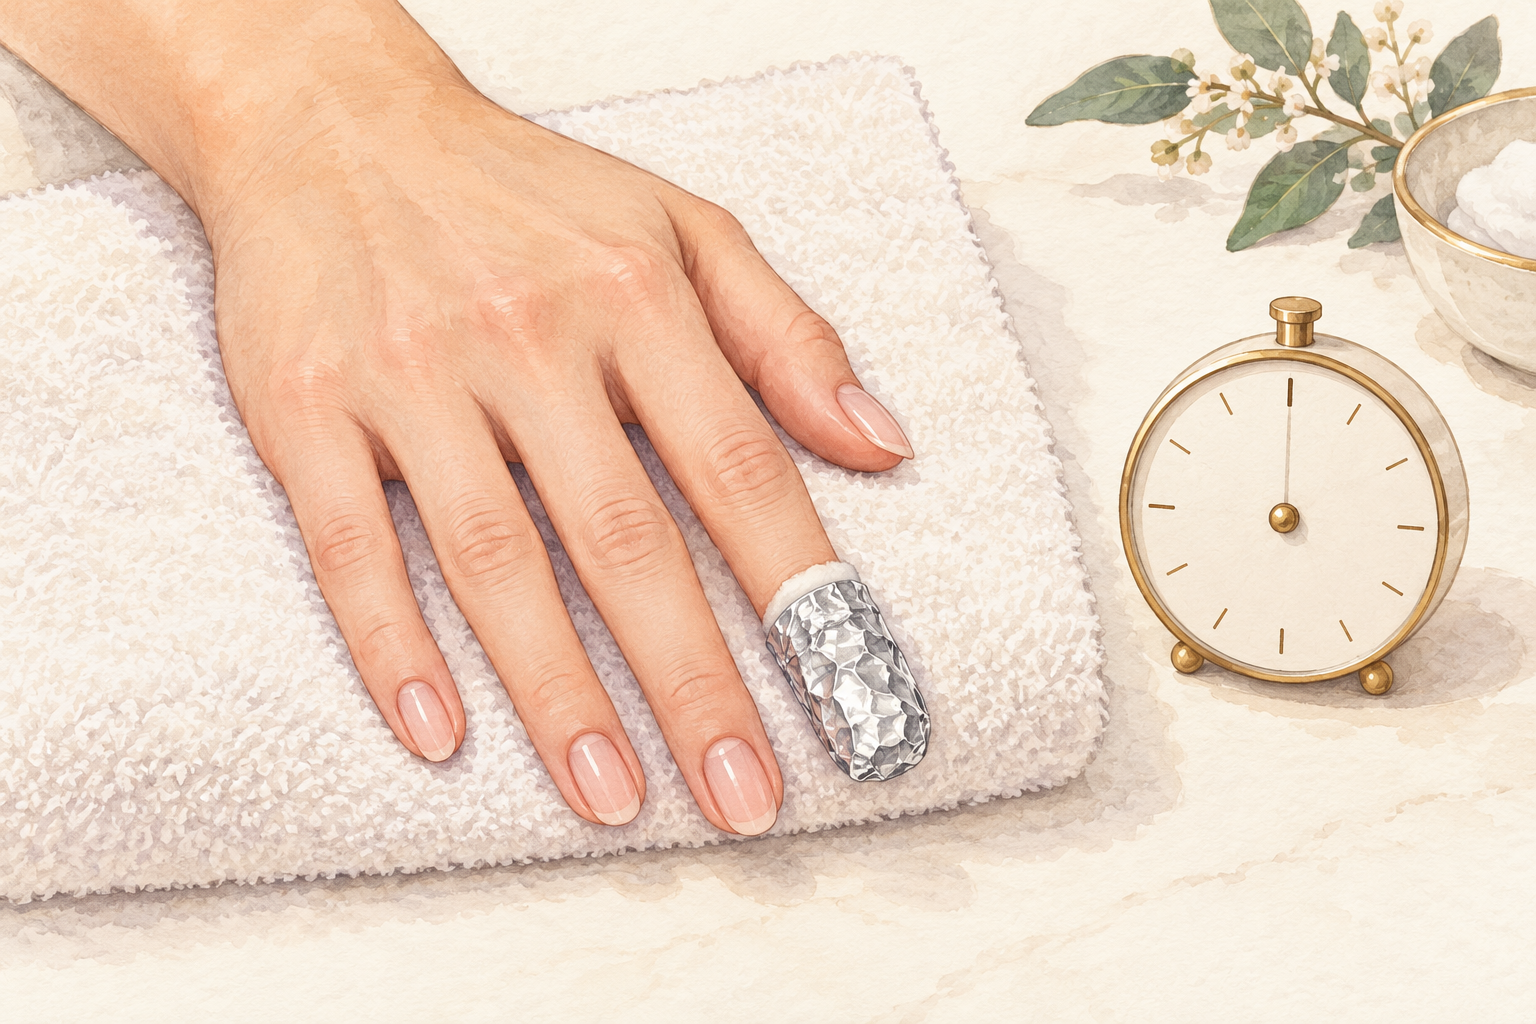
Soak a cotton pad in acetone, press it on the nail, and fold a foil square tightly around your fingertip. Do one hand first and keep the other hand free to hold the bottle. Wrapped snugly, the foil traps the warmth and stops the acetone evaporating. Set a timer for fifteen to twenty minutes and resist peeking early, as every peek lets the fumes out. If you cannot manage the second hand with your fingers wrapped, ask someone to help. Your nails will feel slightly warm, which is normal. Keep your hands flat on the towel and avoid touching your face, since acetone stings the eyes.
6. Or soak in a bowl set in warm water
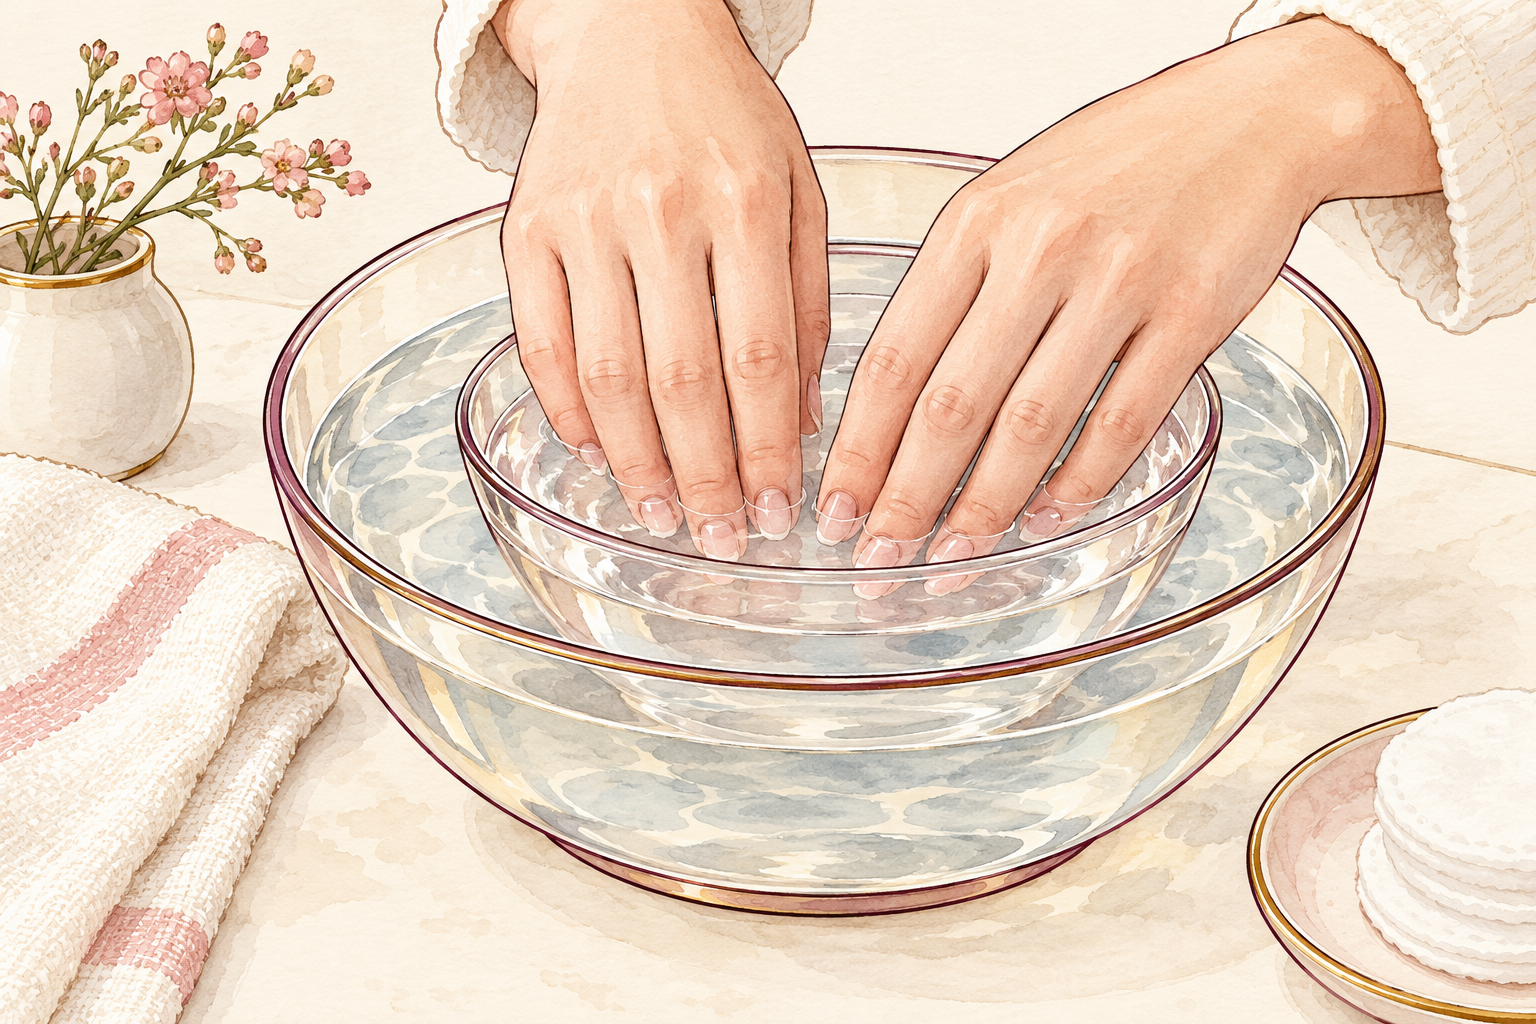
Pour acetone into a small glass bowl, set that inside a larger bowl of warm water, and rest your fingertips in it. The warm water gently heats the acetone without any flame or kettle, which is much safer. Never heat acetone directly, because it ignites easily. Soak for fifteen to twenty minutes with the window open. Bowl soaking suits you if you are doing all ten nails at once, and foil suits you if you want to move around. Keep a lid or a plate over the bowl between soaks. Wipe any spills straight away, because acetone strips the finish from furniture.
7. Slide the softened acrylic off
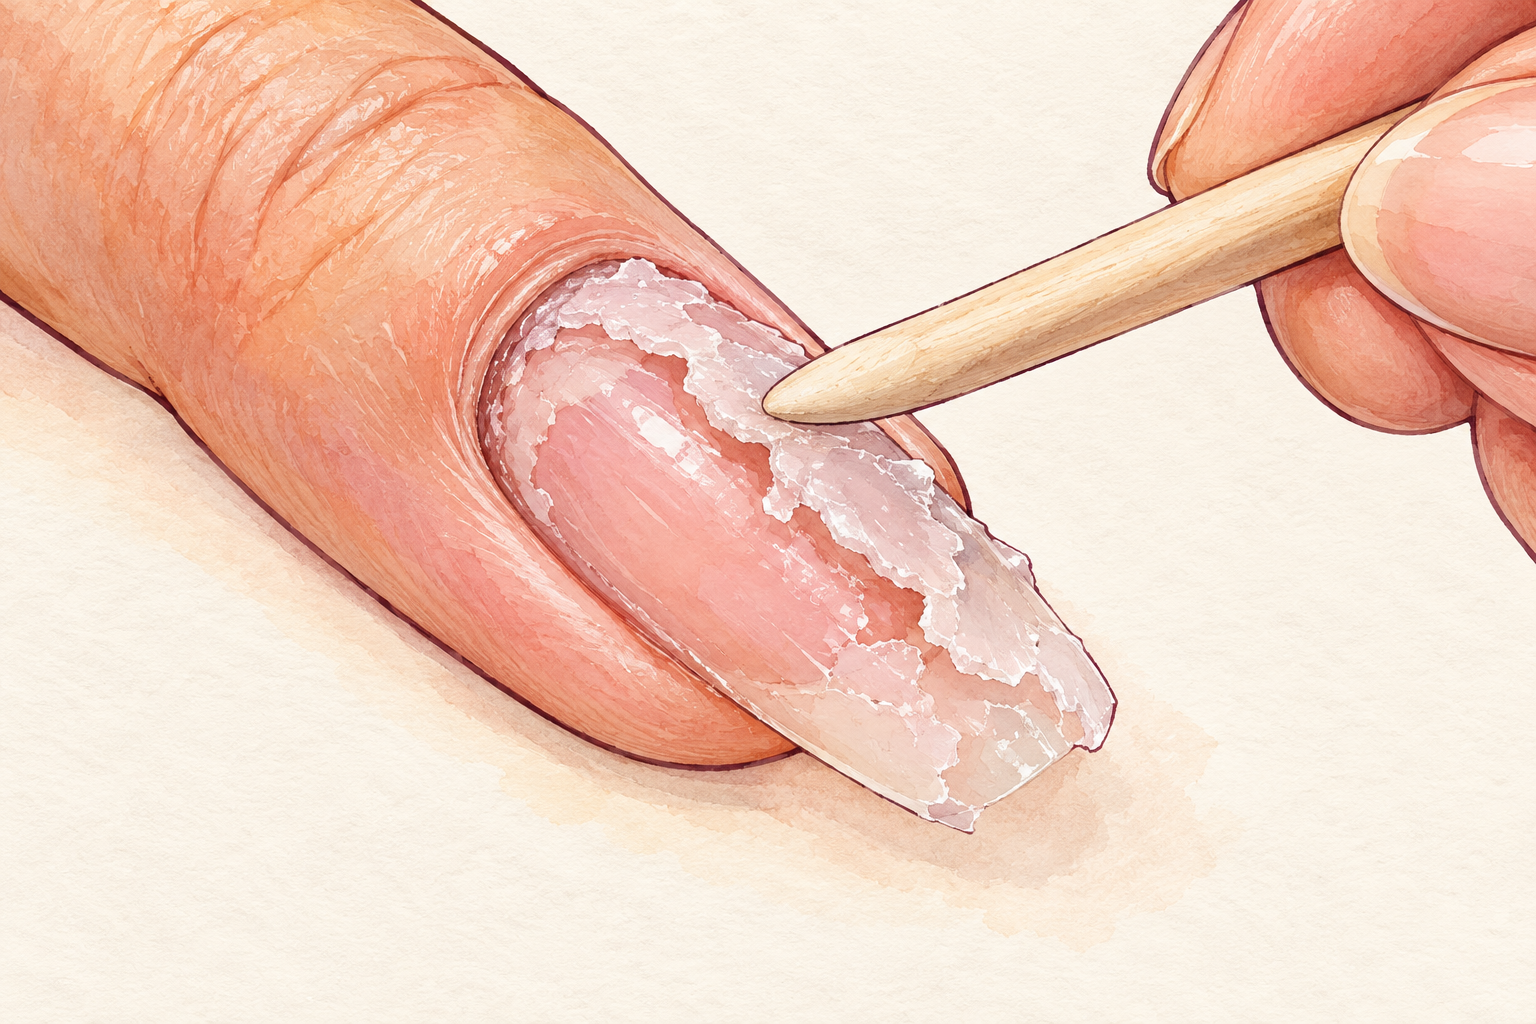
Check one nail after fifteen minutes and nudge the acrylic with the soft tip of an orange stick. It should look gummy and wrinkled, and flake away in thin curls. Push from the cuticle toward the tip in light strokes. If it comes off easily, great, and if it resists, stop. Never scrape hard or lever it up, because that tears layers off your natural nail along with it. Wrap the stubborn ones again and wait another five minutes. A little patience here saves you weeks of recovery. Work on one nail at a time so the rest stay wrapped and wet.
8. Soak the stubborn spots again
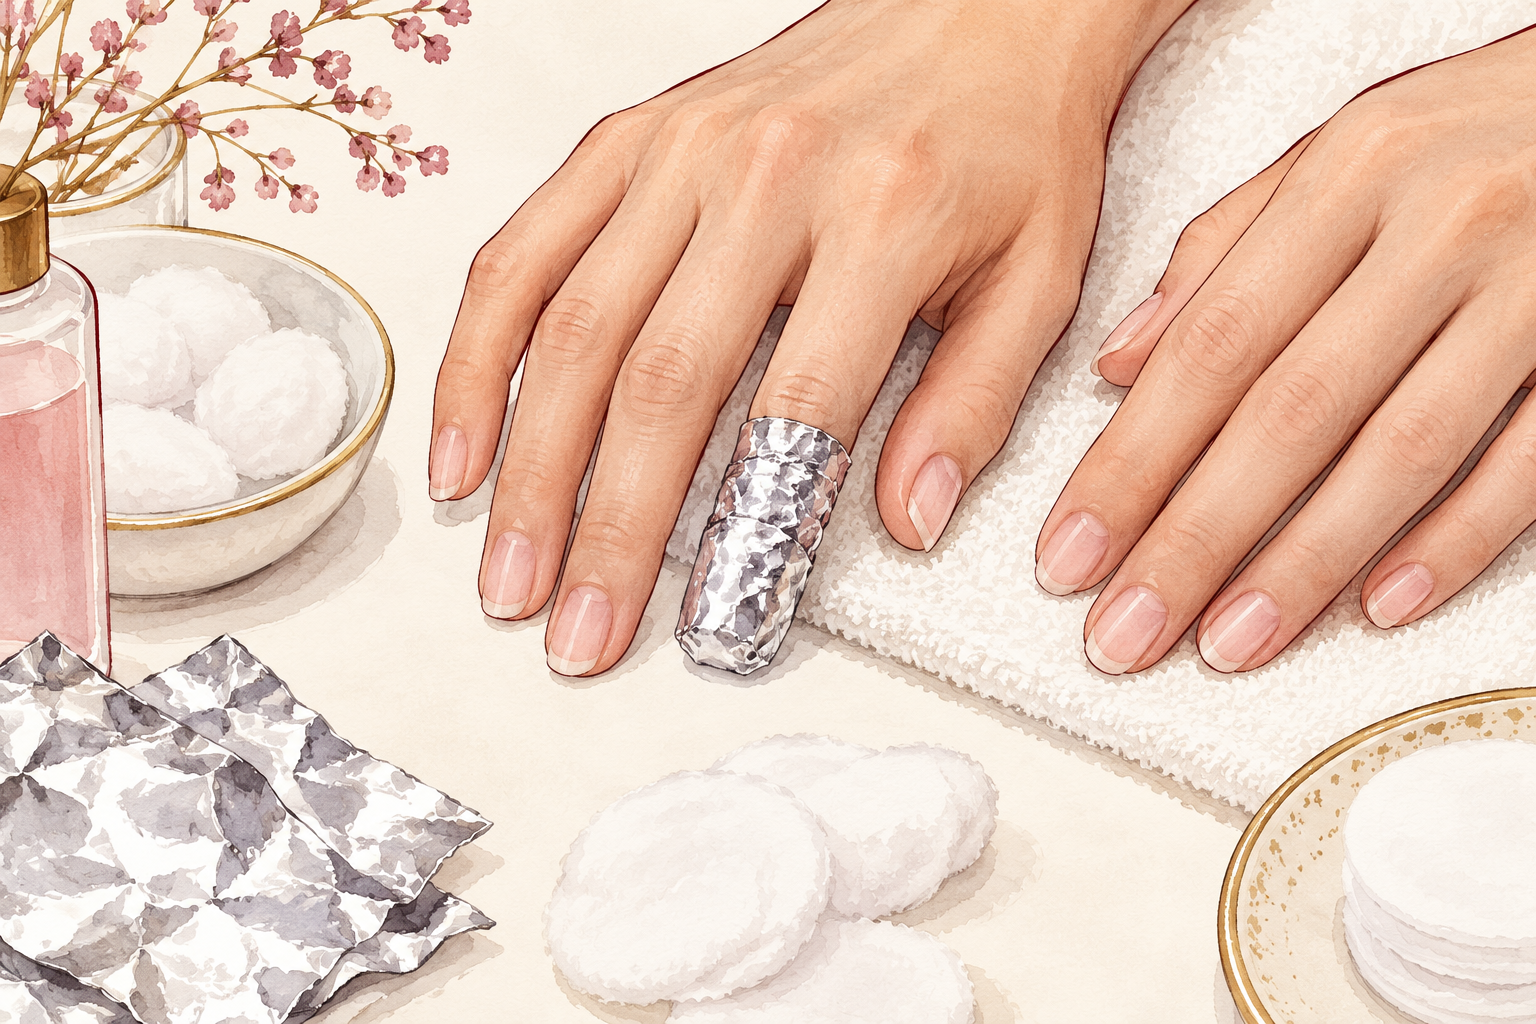
Wrap any patch that will not budge for another ten minutes, and keep repeating until it is soft. Thick areas near the cuticle usually take the longest, because that is where the acrylic is deepest. A second filing pass over the stubborn patch also helps the acetone get in. Never pick at a piece that is clinging, however tempting. If your skin starts to burn or look white, wash your hands and take a break. Two short soaks do far less harm than one long, rushed pull. Check the clock, because soaking longer than thirty minutes only dries your skin.
9. Buff away the leftover glue
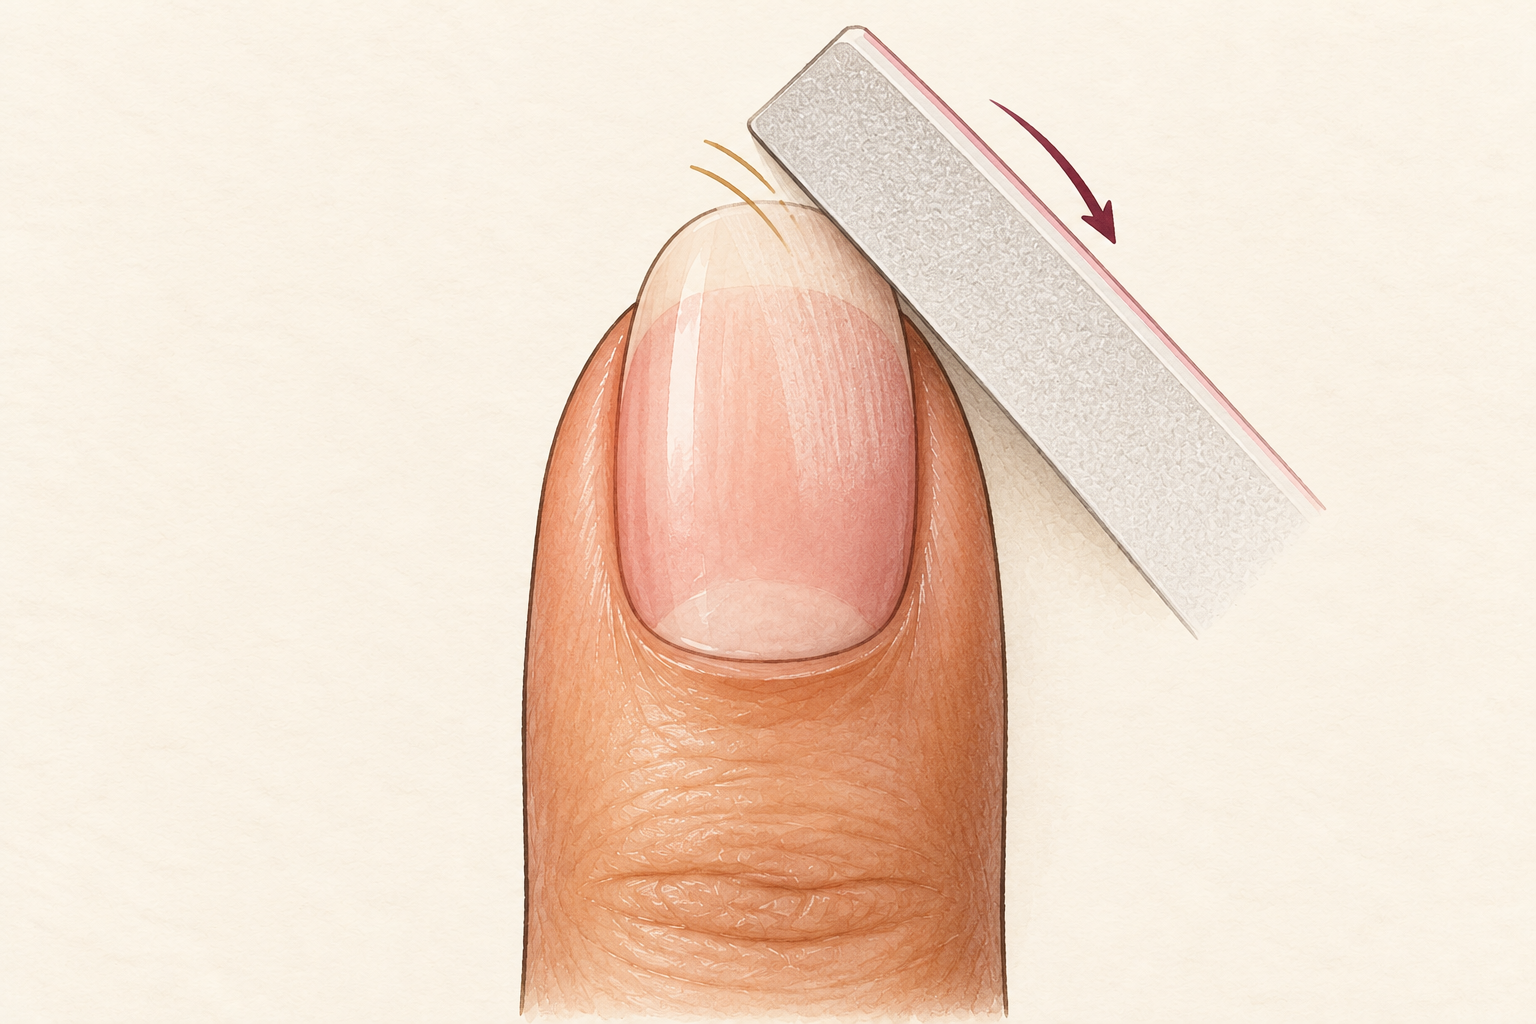
Use the softest side of a buffer to smooth off any last film, with very light strokes. A few passes are enough. The nail underneath will look dull and a little chalky, and that is normal. Do not buff until it shines, since the surface is already thin from the soak and the filing. Rub the pad of your thumb across the nail, and if it feels rough anywhere, give that spot one more gentle pass. Stop the moment it feels smooth, because pressing on is how nails get hot and sore. Soft pink, matte nails mean you got it right.
10. Wash off every trace of acetone
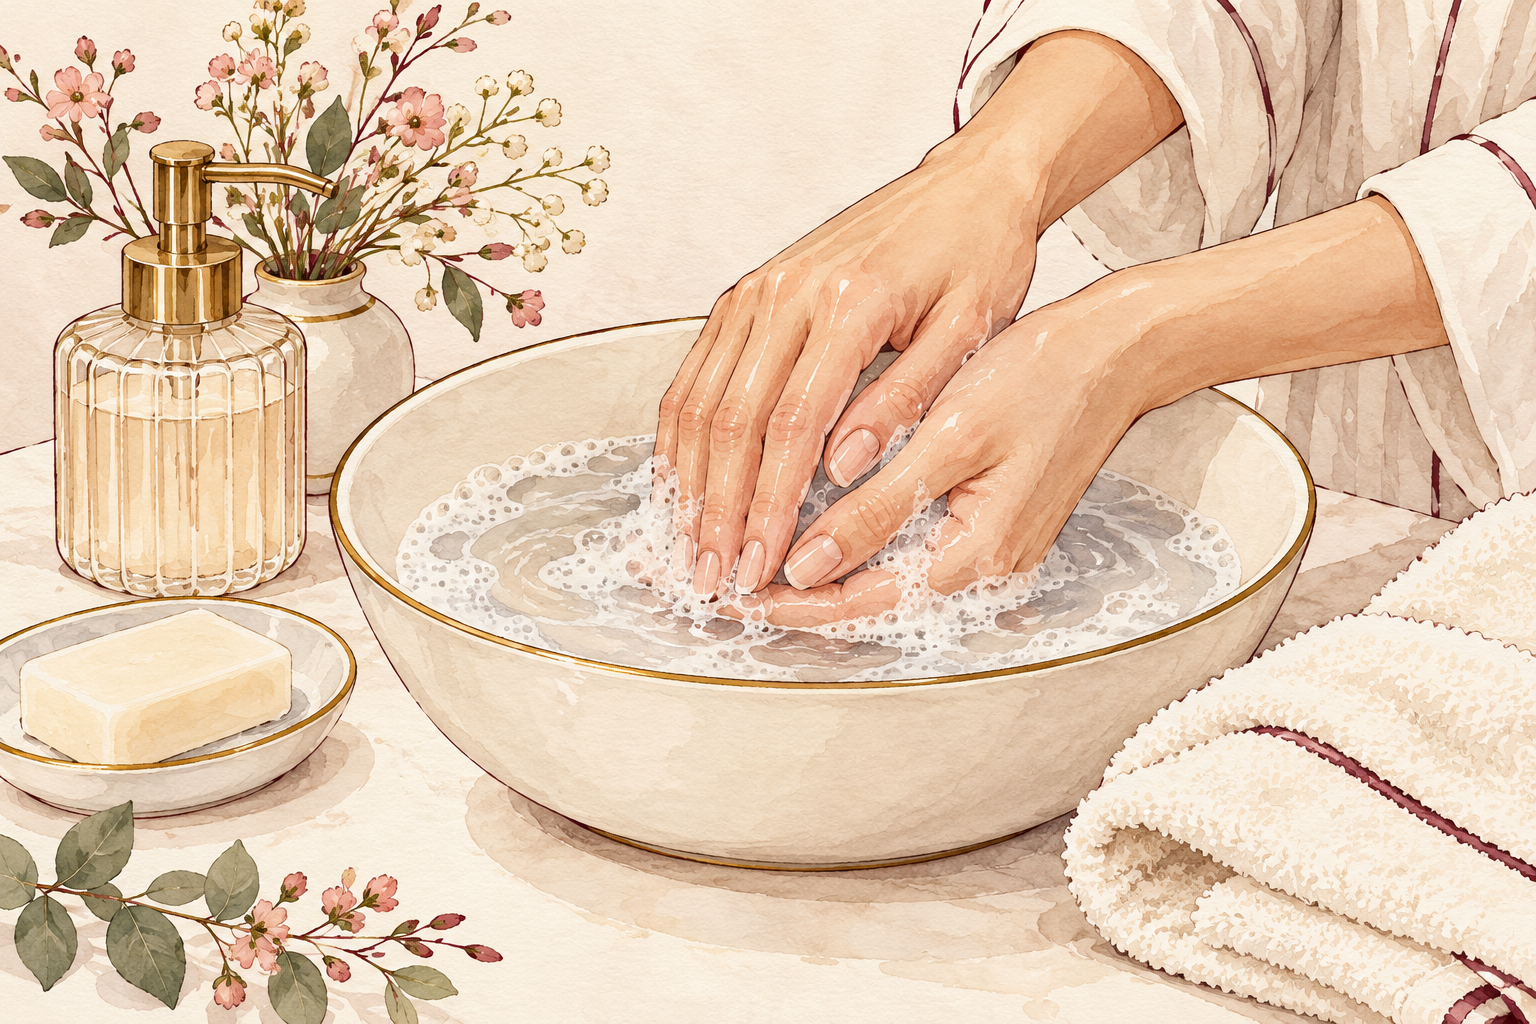
Wash with mild soap and warm water for a full thirty seconds, then dry your hands properly. Acetone left behind keeps drying out your nails and the skin around them. Scrub gently under the nail edge with a soft brush, because bits of acrylic hide there. Pat dry rather than rub. Your hands may feel papery and a bit tight, which is normal and will pass. Don’t paint anything on yet, because the nail needs air and moisture first. A cool rinse at the end also calms any warmth in the fingertips.
11. Feed your nails with oil and cream
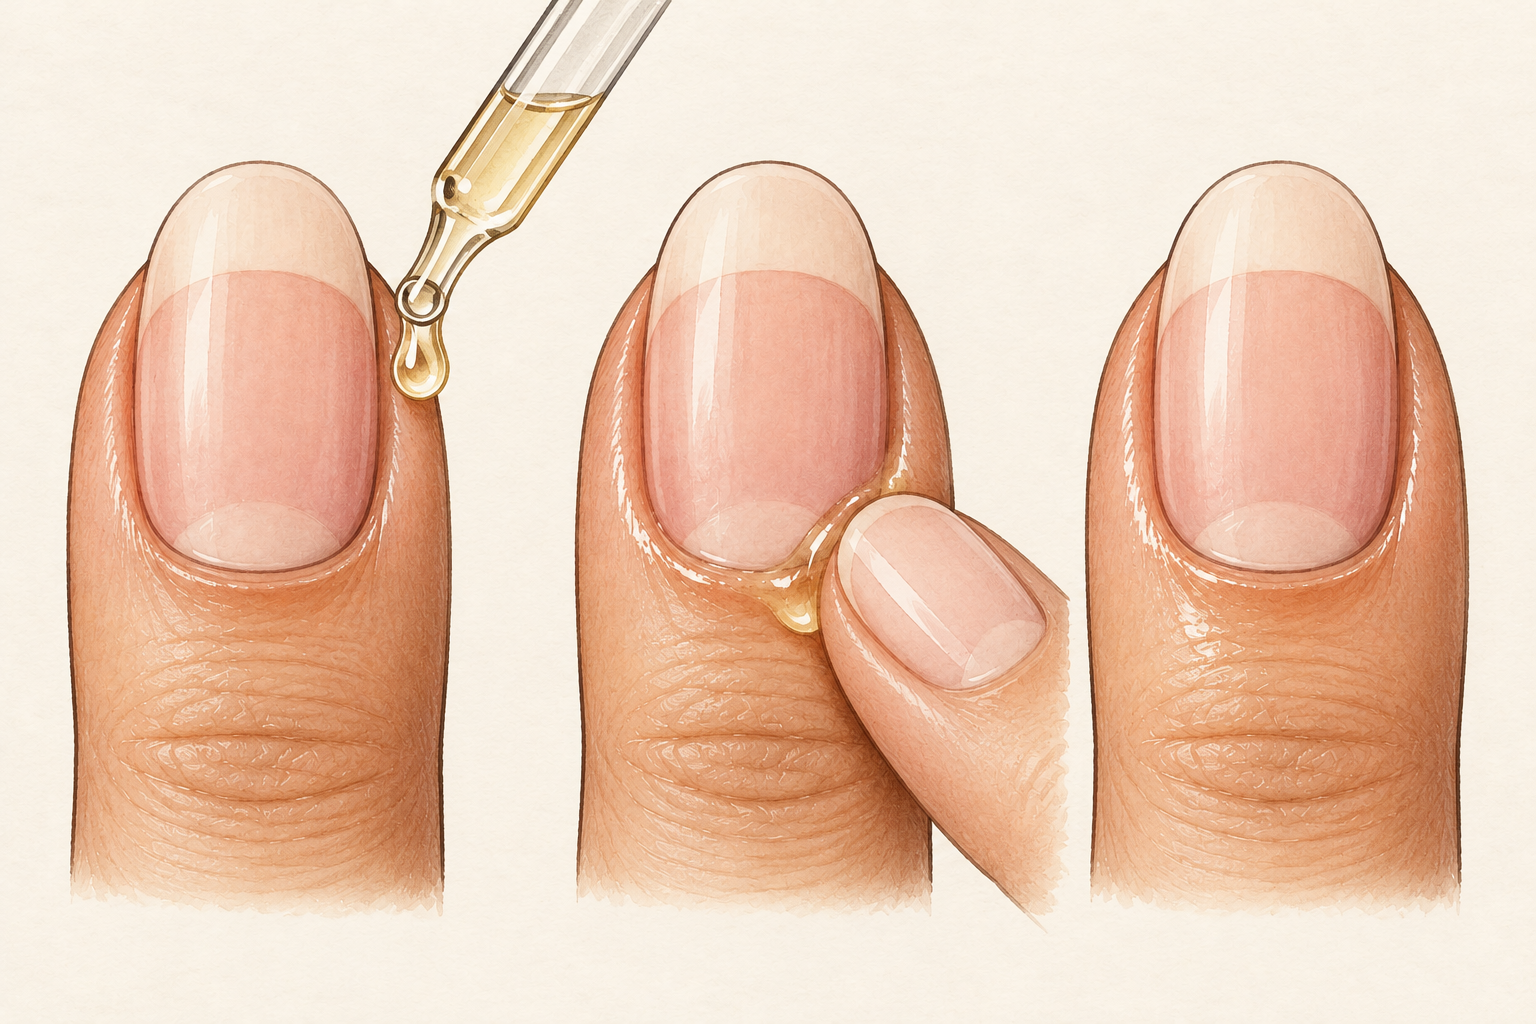
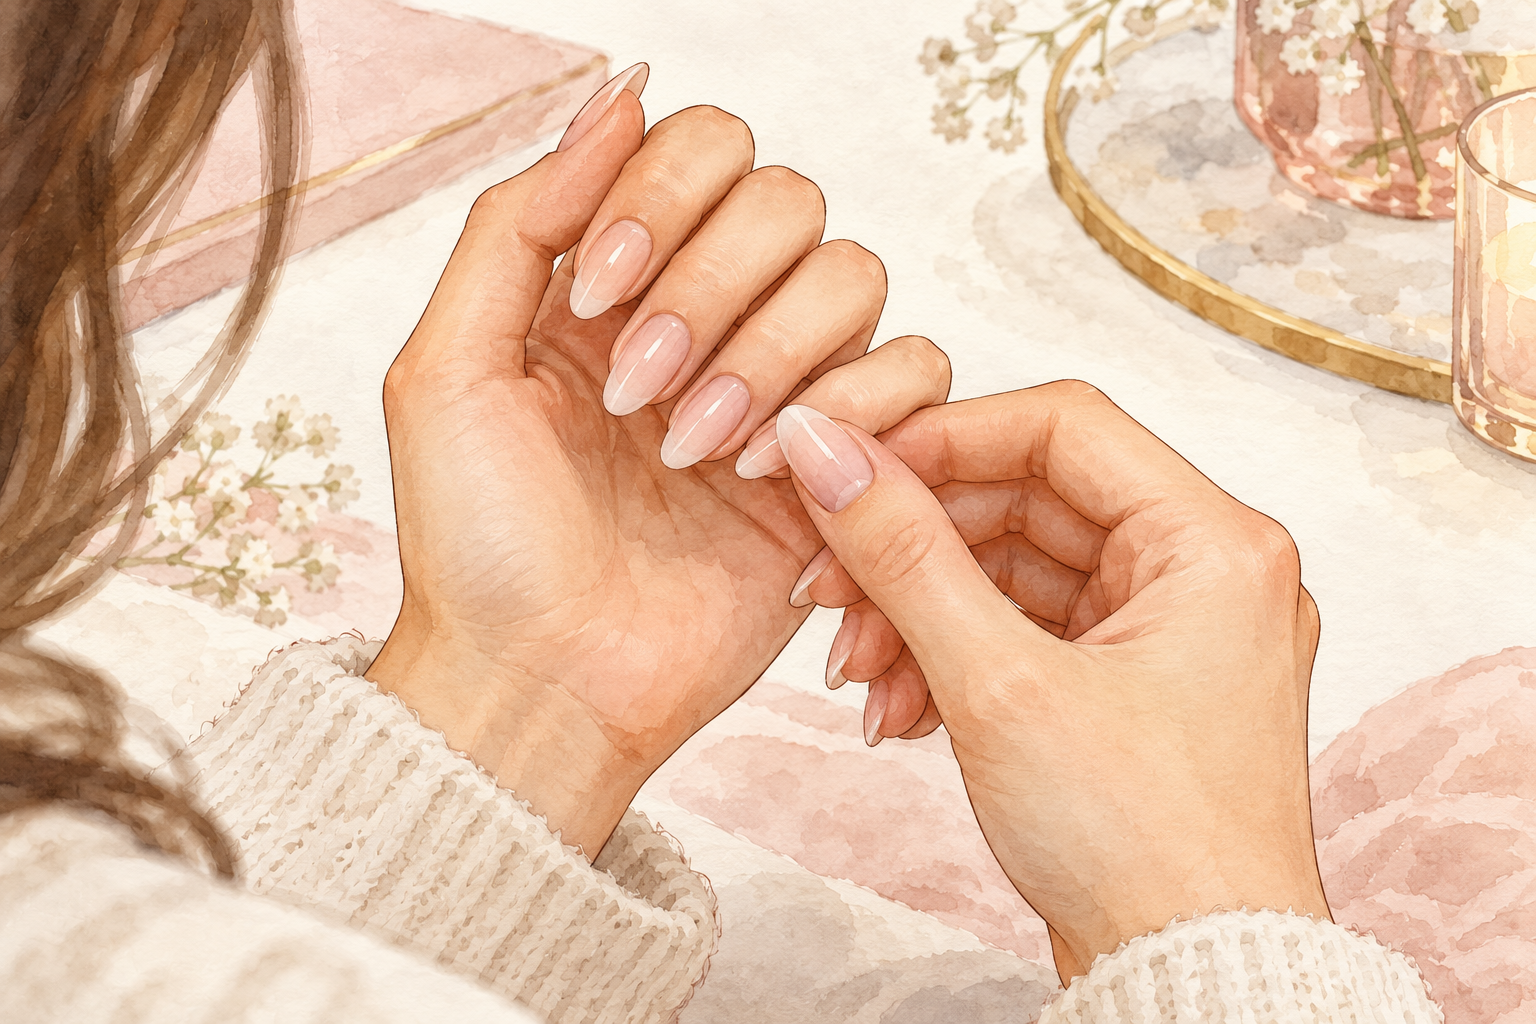
Massage one drop of cuticle oil into each nail, then smooth on a rich hand cream. Repeat this every night for at least two weeks. Freshly freed nails are thin and bendy, and oil stops them splitting while they toughen up. Keep them short and filed straight across, and wear gloves when you wash up. Skip polish for a few days if you can, and then choose a gentle one. Sharp pain, swelling or a green or dark patch under the nail means you should see your doctor before you carry on. Soft and glossy is the sign it is working.
12. Give your nails a rest
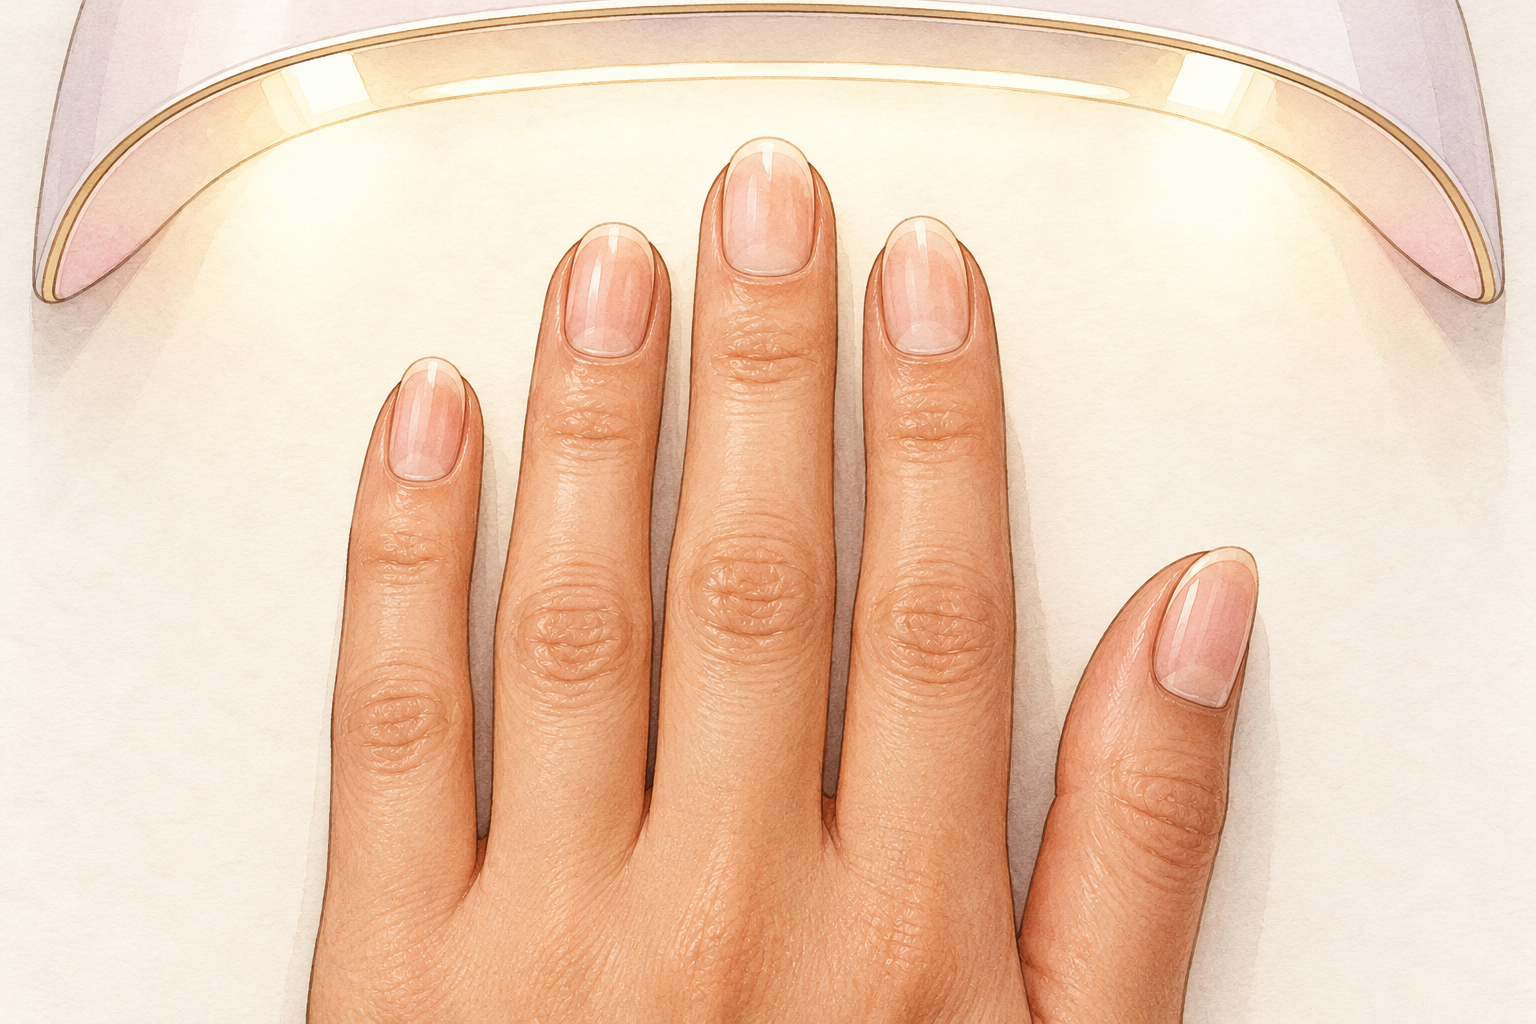
Wait one to two weeks before putting anything hard on again. Your natural nails are thinner right after removal, and that is expected. In the first few days they may bend and feel sensitive. By week two they should feel firmer, with less peeling at the tips. Replace the habit of picking with gloves and oil, and you will notice a stronger nail growing from the cuticle. If you love the look of acrylics, ask yourself whether you want the next set at all, or whether a break feels better. Short, healthy nails grow back faster than you think. Keep your photo from today, and compare it with a new one in a month.
Complete the Routine: How to Remove Acrylic Nails at Home Gently
Whatever the set is made of, the guides below will help you plan what to do for your nails once it is off.