You saved a photo of glossy, honey and brown tortoise shell nails, tried to copy it, and ended up with muddy brown blobs on a flat yellow nail. The secret is thin layers and soft edges, not a steady hand. Here is how to do tortoise shell nails in 12 steps, so start at number one tonight.
1. Accept that it is a layered look
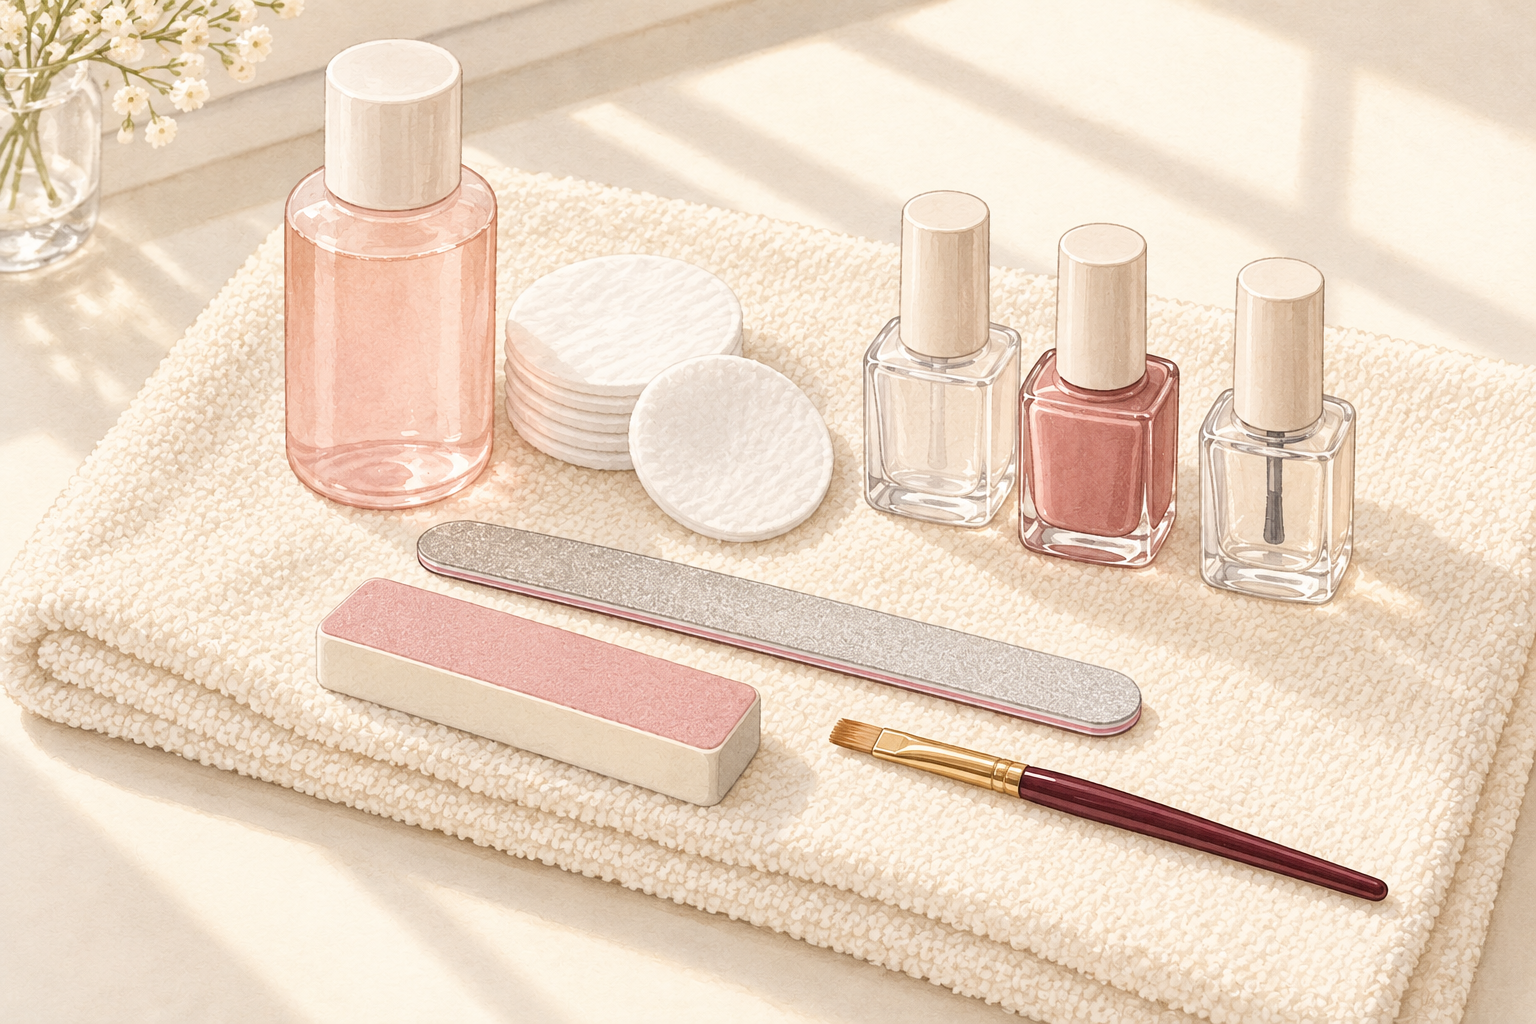
Block out about forty minutes, because tortoise shell is built in thin layers that each need to dry. Rushing is the number one reason it ends up looking like a dirty puddle. Lay out your polishes, a clean base coat, a top coat, a small detail brush or a dotting tool, cotton buds and remover before you start. Think of it as painting a shadow, not a pattern. The finished nail should look deep and glassy, like real shell held up to the light. Keep the cotton buds dry and ready, since a fast fix beats a slow rescue.
2. Choose a sheer amber, a warm brown and a dark accent
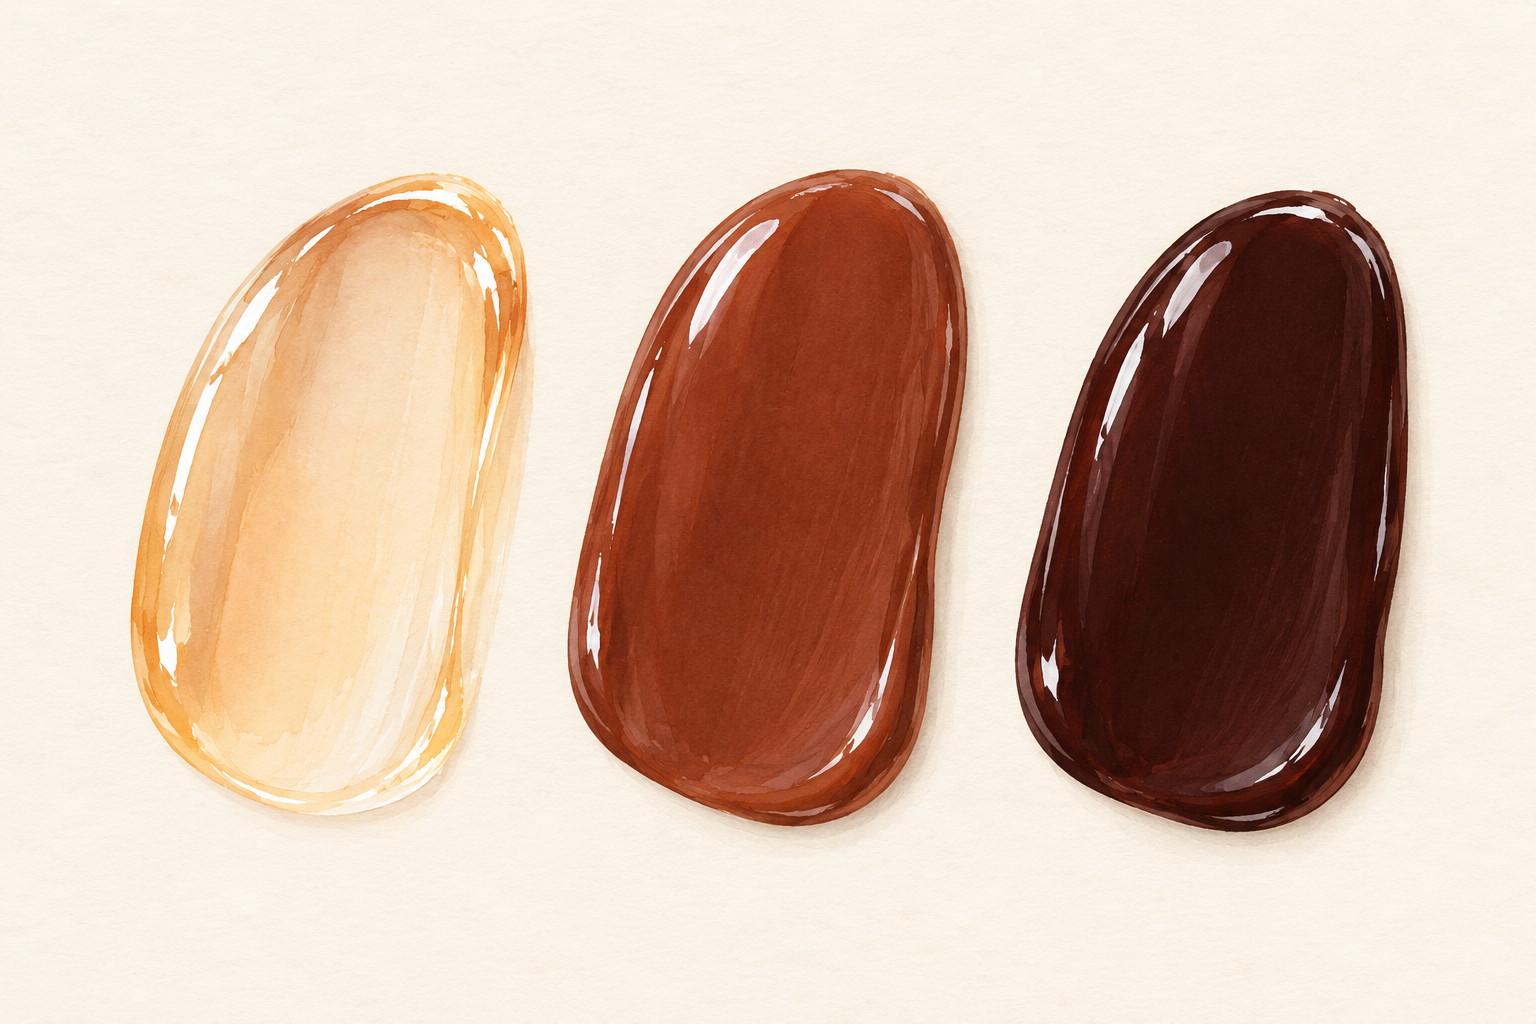
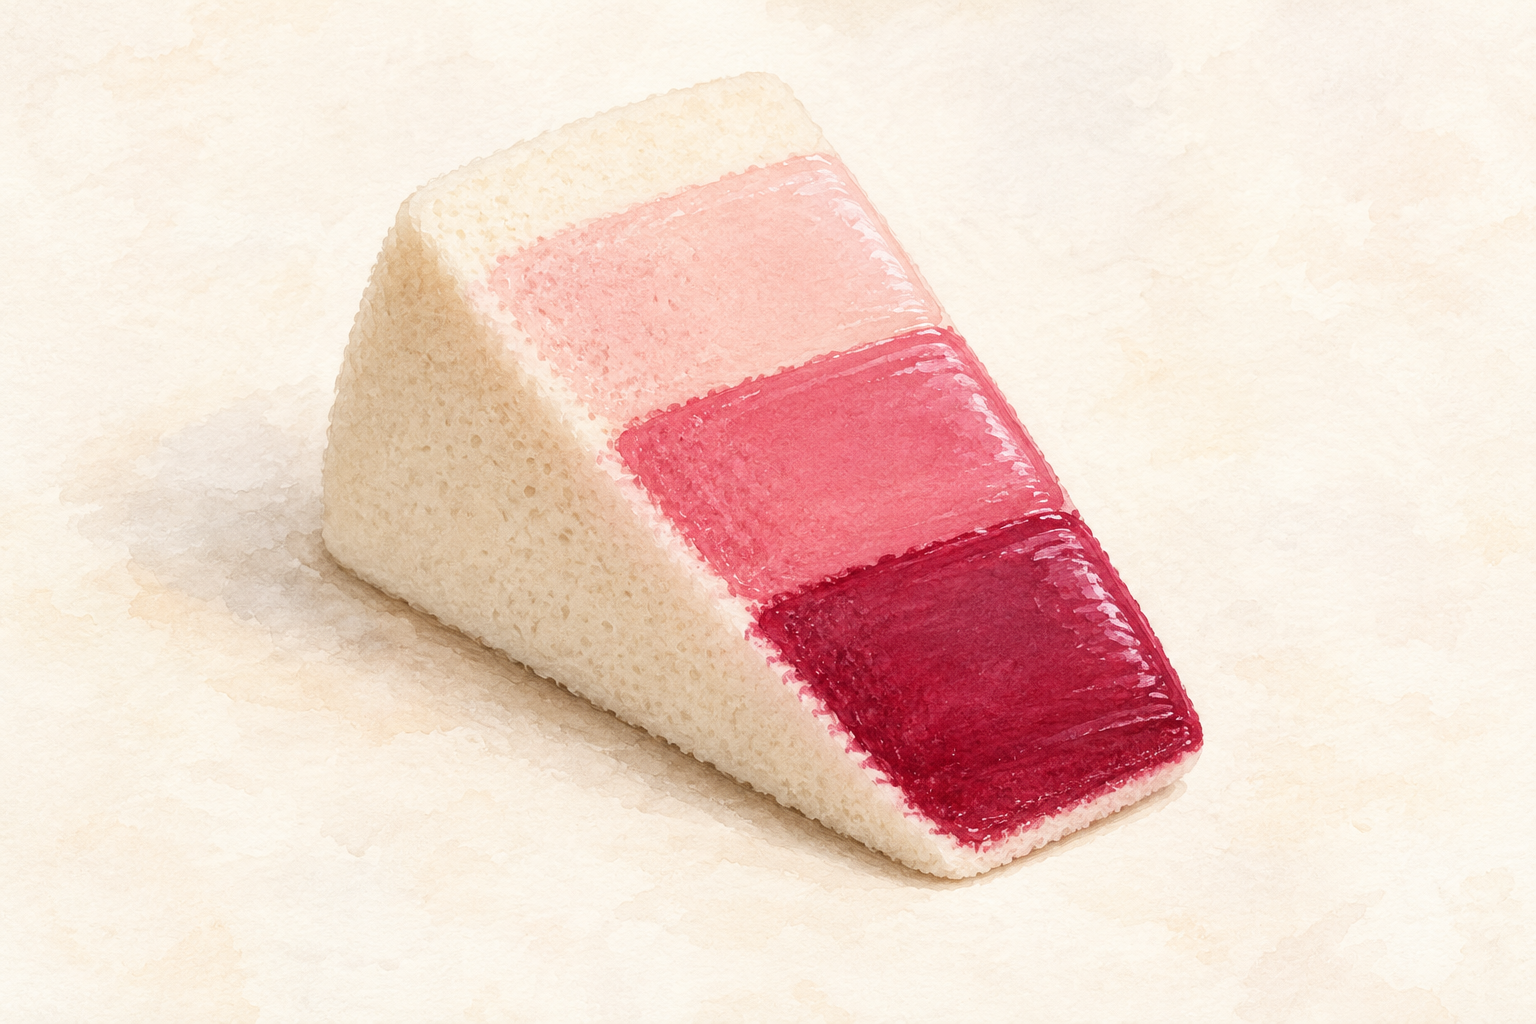
Pick a see through honey or amber, a warm chestnut brown and a near black or deep espresso. The amber is your glow, the brown is your pattern and the dark shade adds depth. Sheer polish matters, because a thick opaque amber hides the layers and flattens the look. Test the three on a scrap of paper or a fingertip. If the brown looks cold or gray next to the amber, swap it for a warmer one. A jelly style amber gives the best glow. Buy the amber first, because it is the shade the whole look depends on. If the glassy finish is your favorite, pair it with how to do jelly nails.
3. Prep the nail and apply a base coat
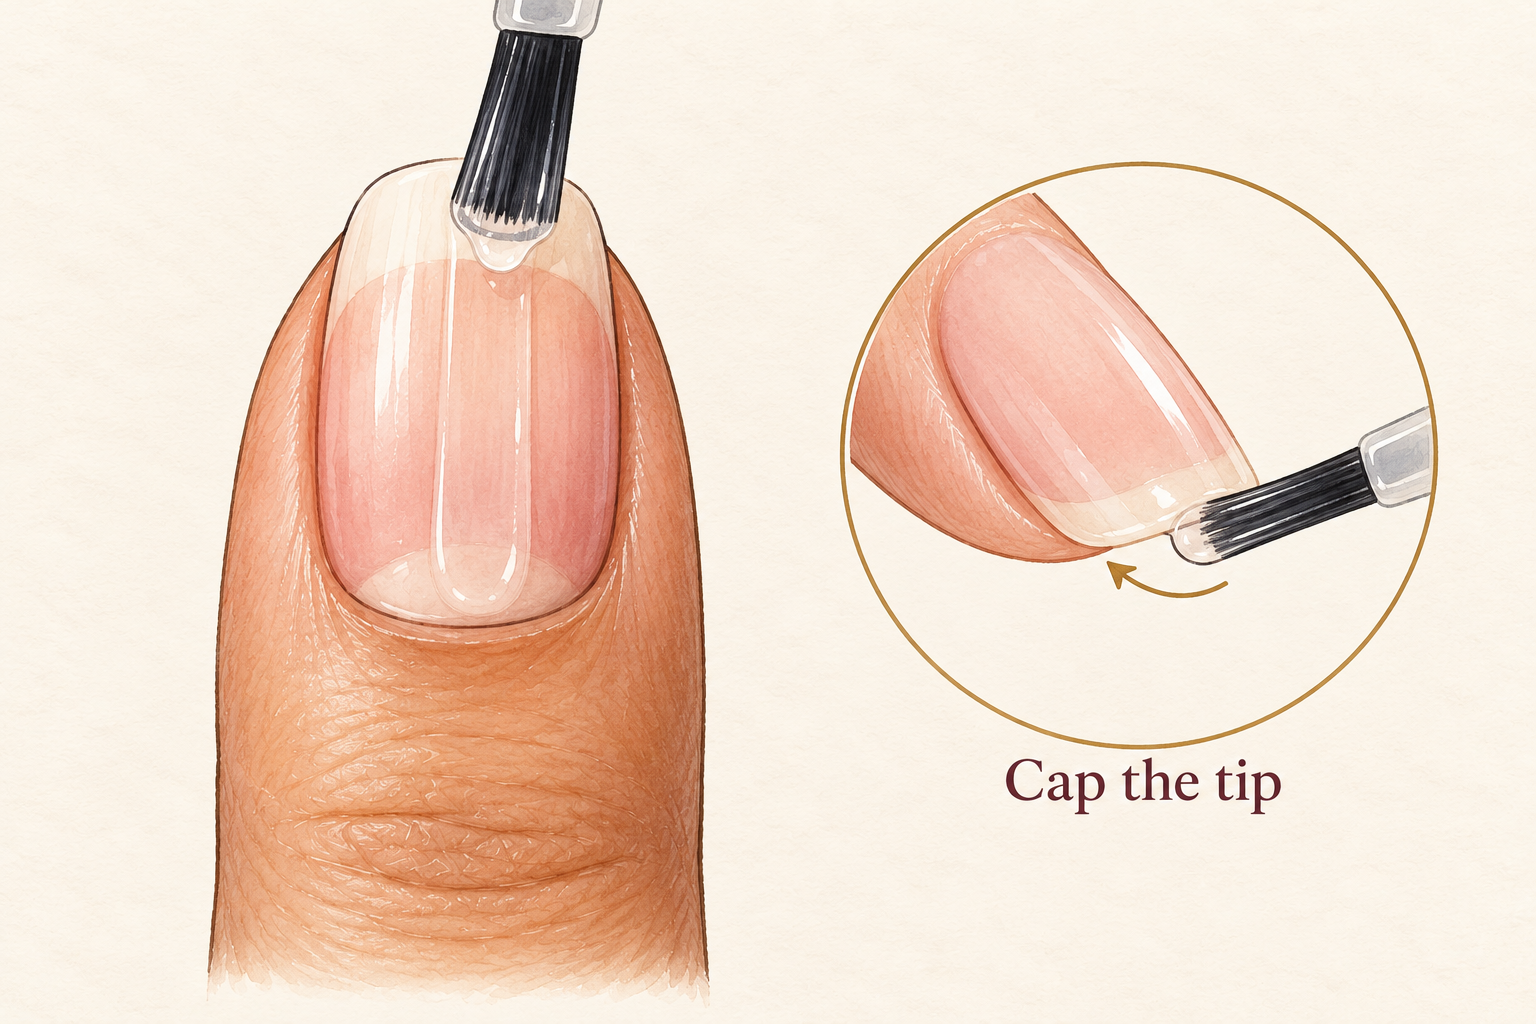
Push back the cuticles, shape the nails, wipe off any oil with a pad of remover and brush on one thin layer of base coat. Oil on the nail makes the polish slide and pool, which ruins thin layers. Let the base dry fully, about two minutes. Short almond or short square nails show the pattern best, because there is less length to hide mistakes. A base coat also keeps the amber from staining your nails yellow when you take it off. Skip a nude base for now, since the sheer amber needs the natural nail to glow through.
4. Lay down two thin coats of amber
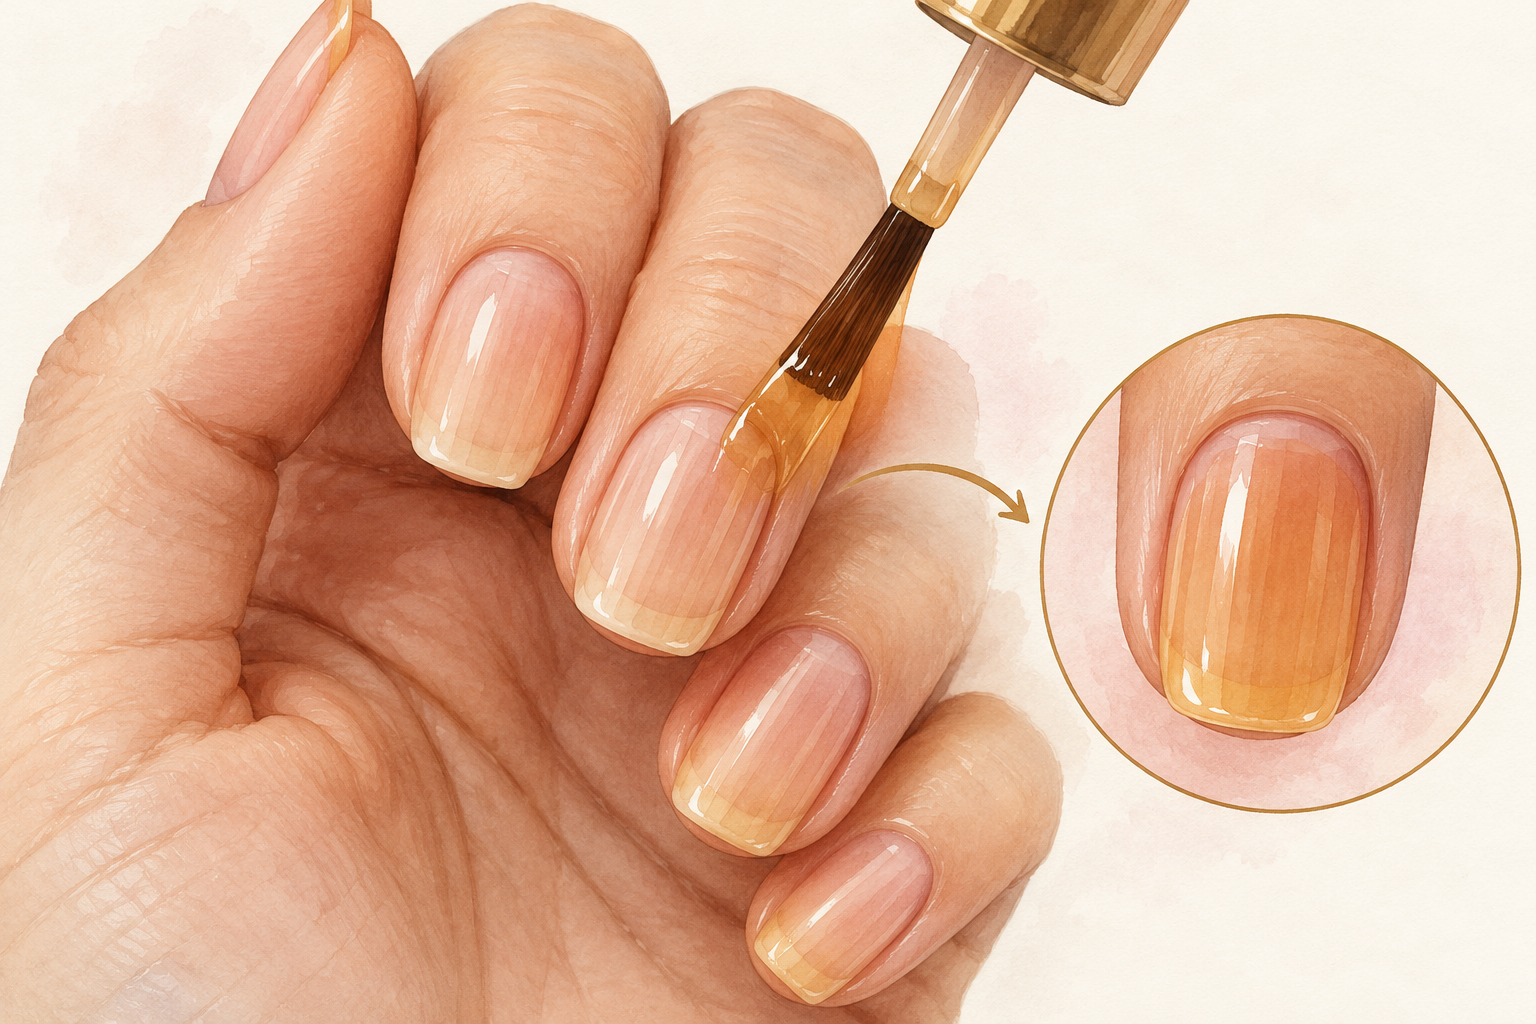
Brush on a thin coat of sheer amber from the cuticle to the tip, wait two minutes, then add a second. Thin layers build color slowly and stay clear, so the nail glows instead of looking painted. Leave a hair’s width of space around the cuticle so the polish does not flood onto the skin. Cap the free edge with your brush on the second coat. Dry fully before moving on. The result should look like warm, clear honey, with no streaks and no thick patches. If a bubble forms, leave it alone, because poking it only drags the polish.
5. Dab irregular brown spots, never lines
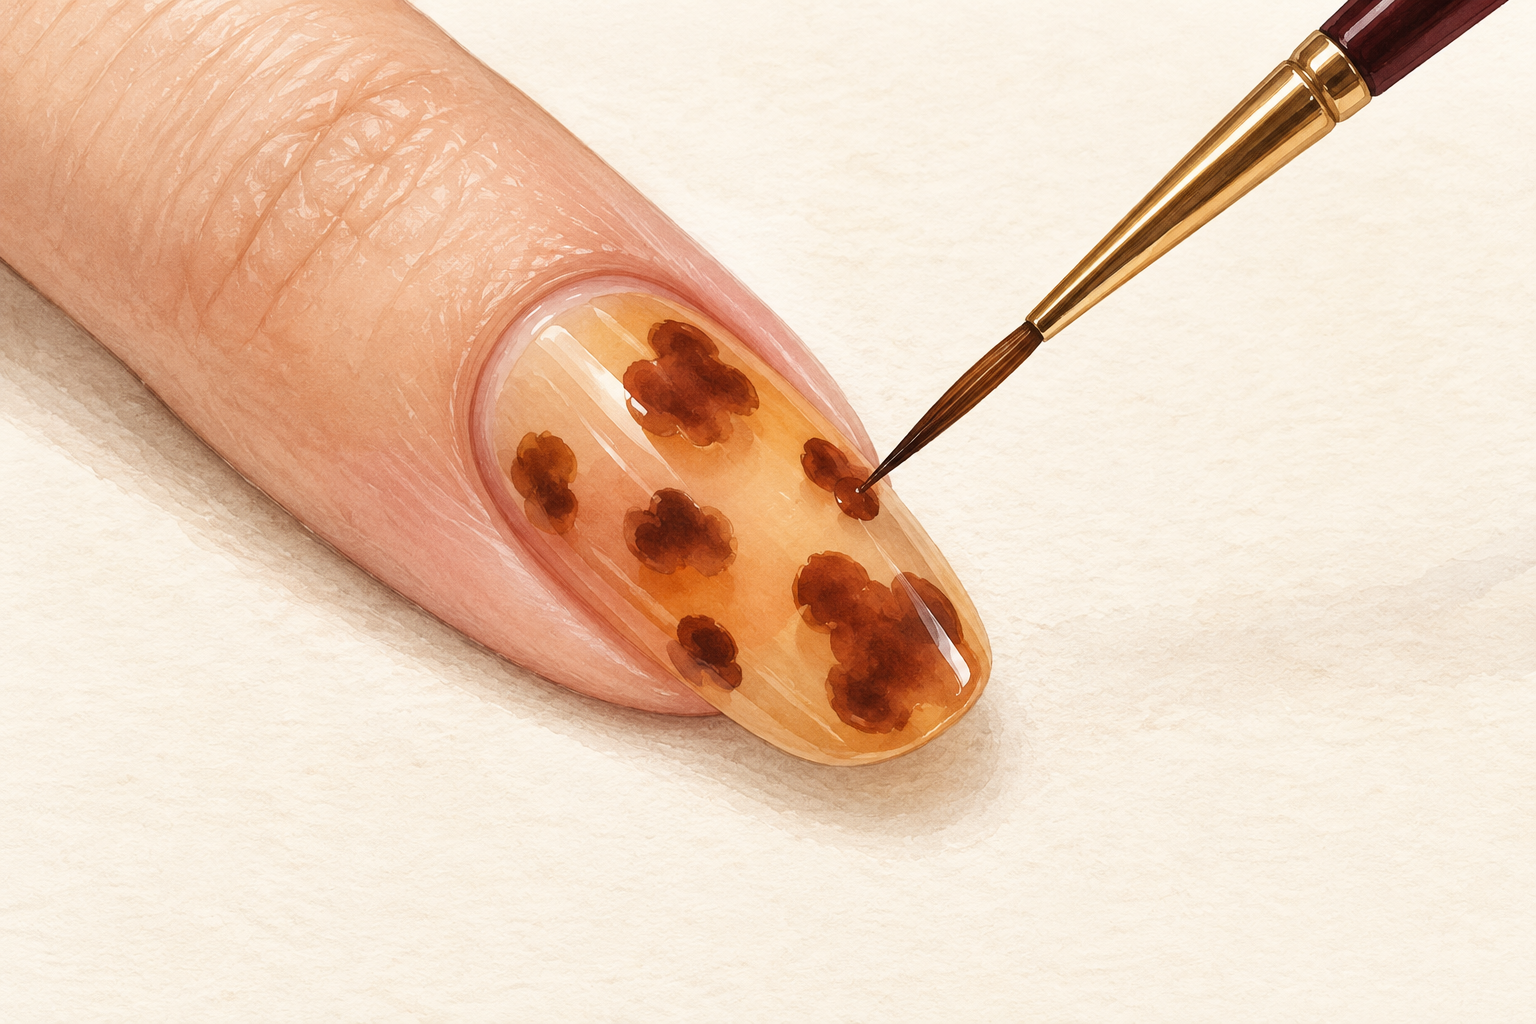
Dip the tip of a small brush in brown, wipe most of it off on the bottle neck and dab four or five uneven spots onto each nail. Make them different sizes, with some touching and some apart, like clouds. Real shell has no straight lines or perfect circles, so avoid both. Leave plenty of amber showing between the spots. The edges can look sharp for now, because you will soften them in a moment. Fewer, larger spots look more natural than lots of tiny ones. Hold the brush almost upright and tap rather than sweep, which keeps the spot edges soft.
6. Tuck small dark accents inside the brown
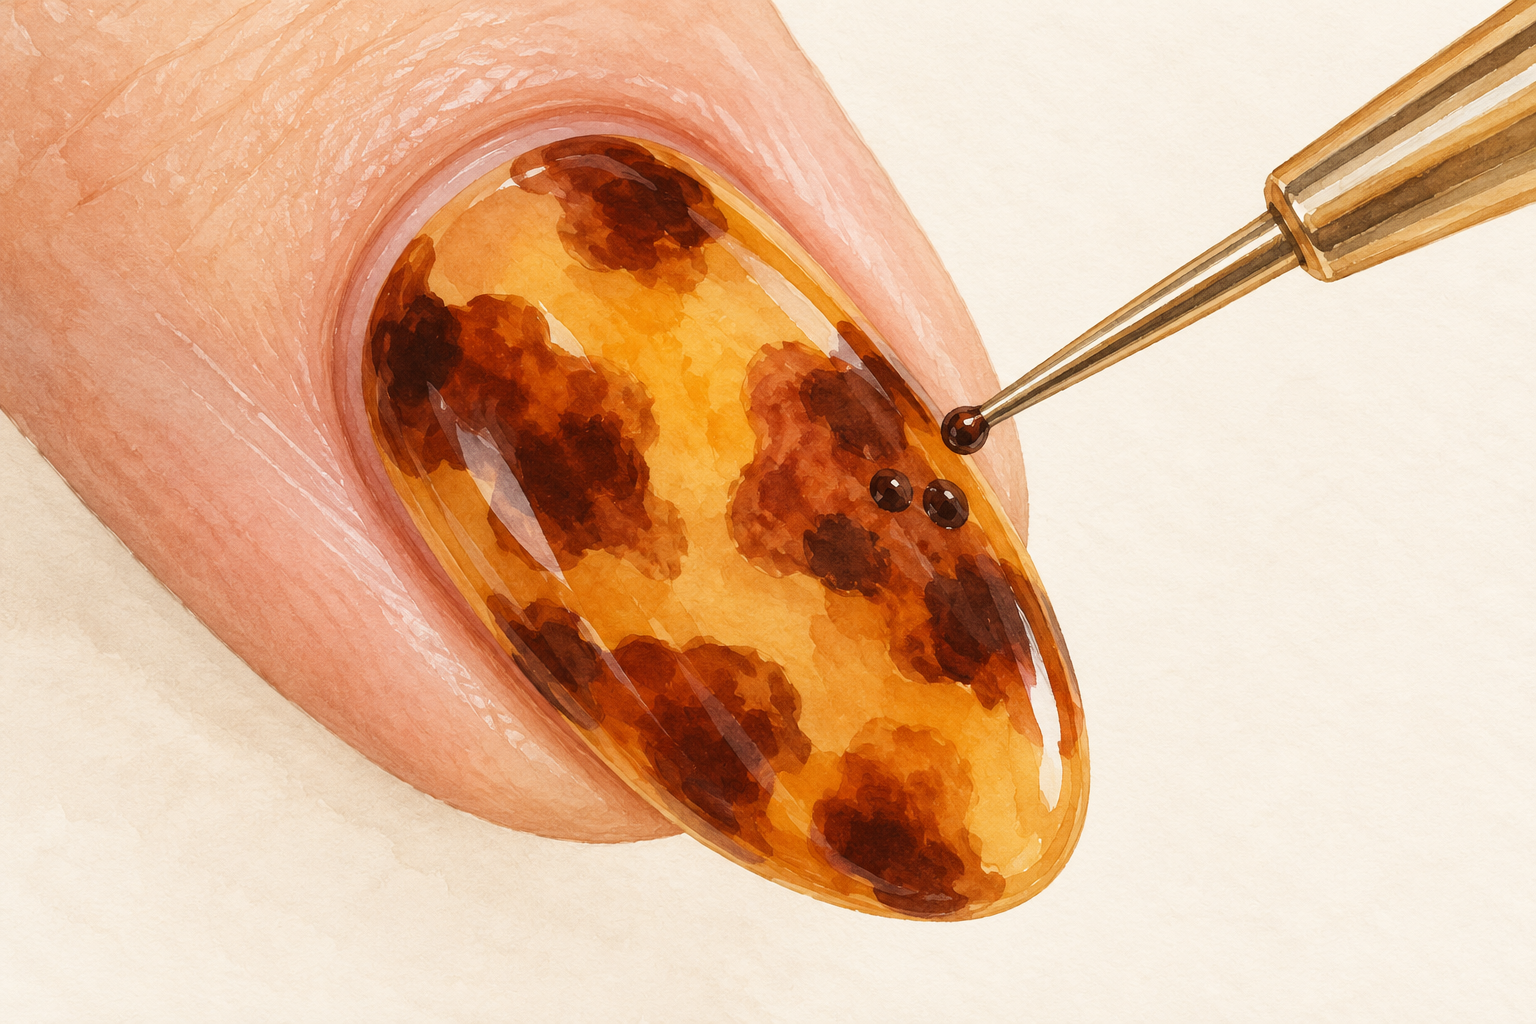
Dip a dotting tool or the tip of a toothpick in your darkest shade and place two or three tiny dots inside the larger brown patches. Keep them small and keep them inside. Dark accents add depth like shadows in the shell, but too many make the nail look dirty. Wipe the tool between nails. Do not press hard, since a light touch makes dots with soft edges. If you place one too far out, leave it for the blur step and see how it settles. Look at the nail from arm’s length, because that is how everyone else will see it.
7. Blur the edges with one more thin amber coat
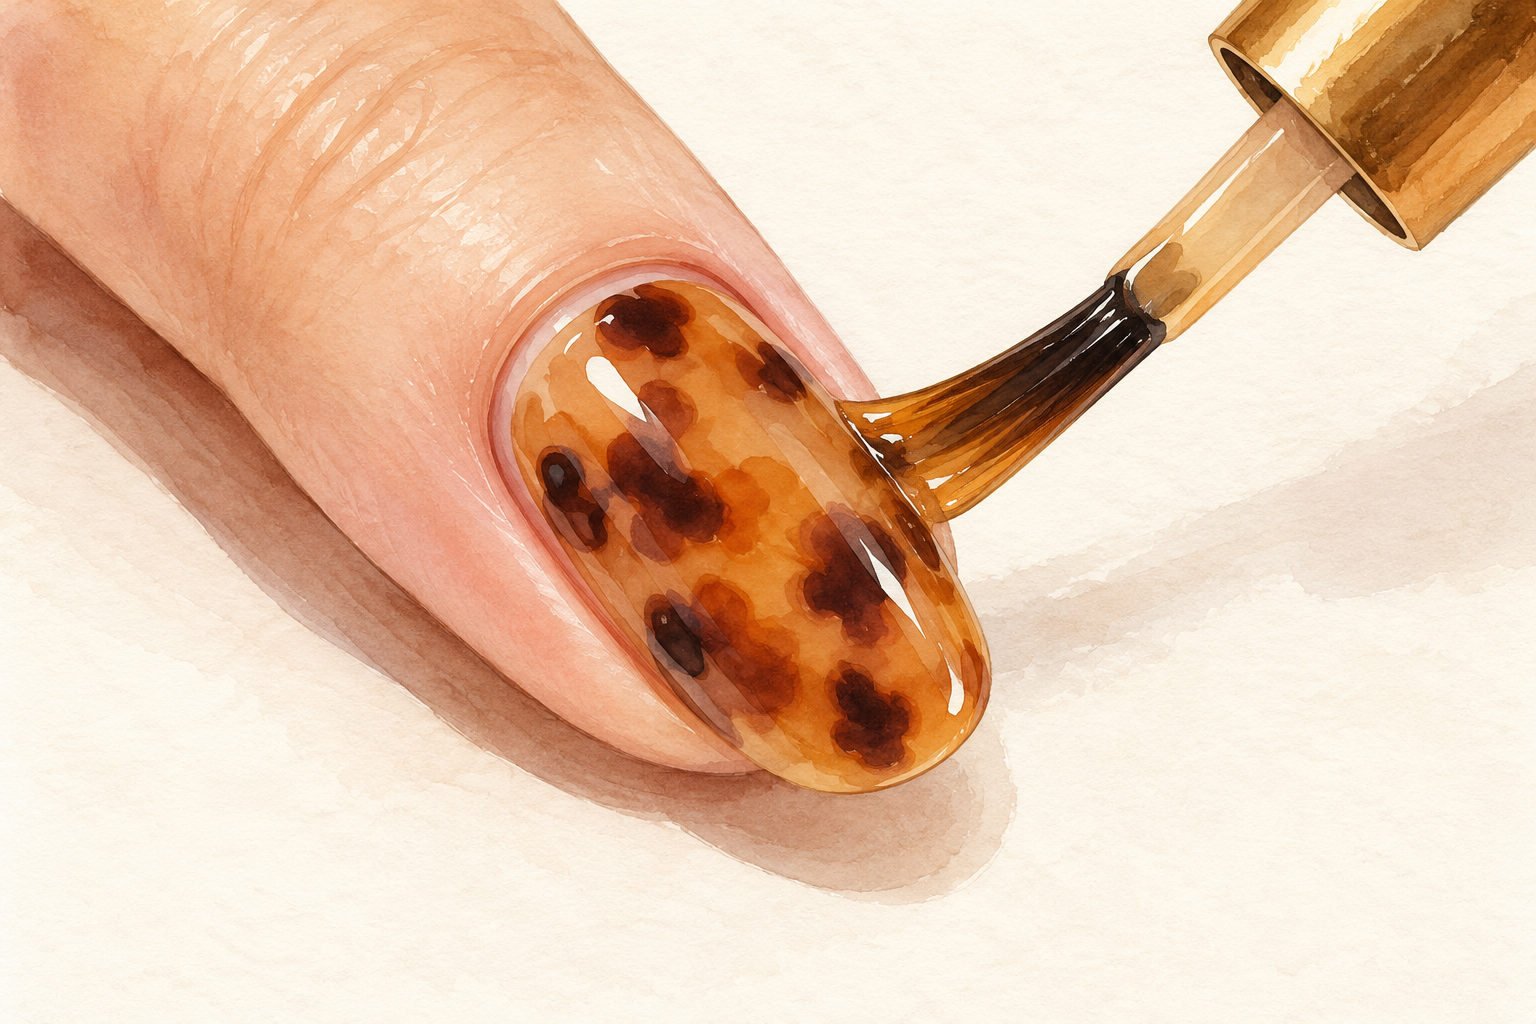
Wait a minute, then brush a single very thin coat of amber over the whole nail. The sheer layer melts the hard edges of the spots and makes them look like they sit inside the nail. Use light strokes and do not go back over the same place. This is the step that turns blobs into a real shell effect. If the spots still look harsh, repeat once more after a two minute wait. Stop when the edges look misty, not smeared. Check the shine under a lamp, since a missed patch shows up as a dull spot. Once your edges look soft like this, try how to do ombre nails next for a full fade.
8. Float on a generous glossy top coat
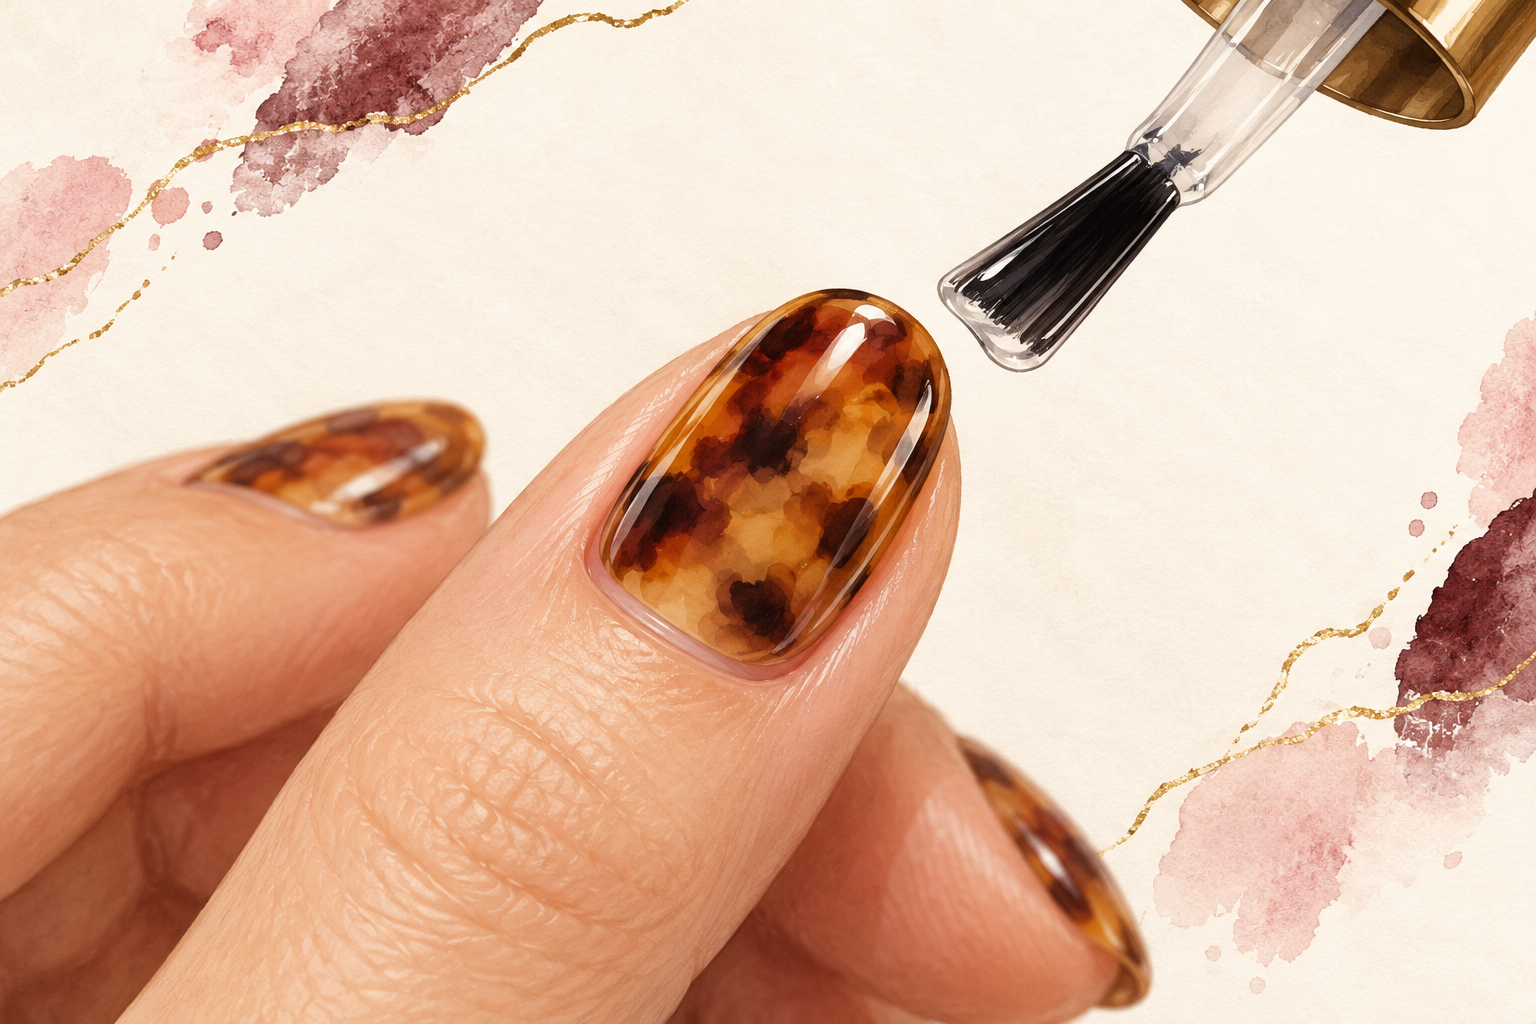
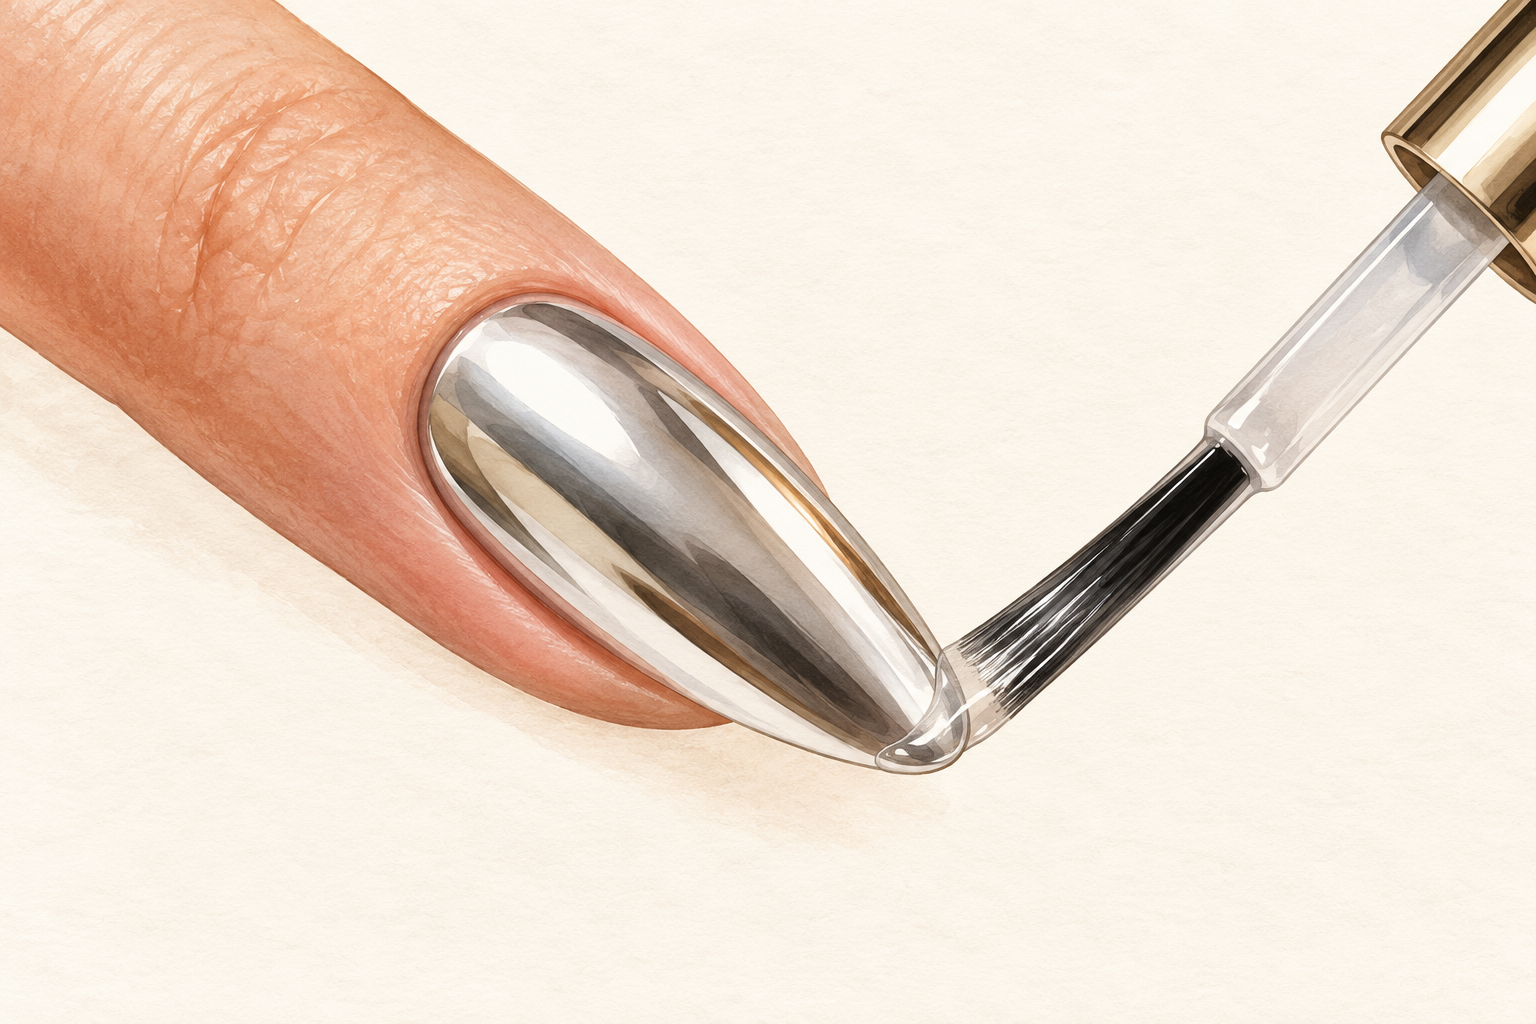
Load your brush with a big bead of top coat and float it over the nail without pressing the brush down. Cap the tip, then give it a few minutes to level itself. A thick top coat is what gives that deep, glass like shine and hides the tiny ridges between layers. Do not wipe the brush off first. If you drag it hard, it pulls the spots across the nail. Wait at least twenty minutes before touching anything, because the layers under are still soft. Start the bead just below the cuticle and guide it toward the tip in one calm stroke.
9. Clean up stray color with a small brush
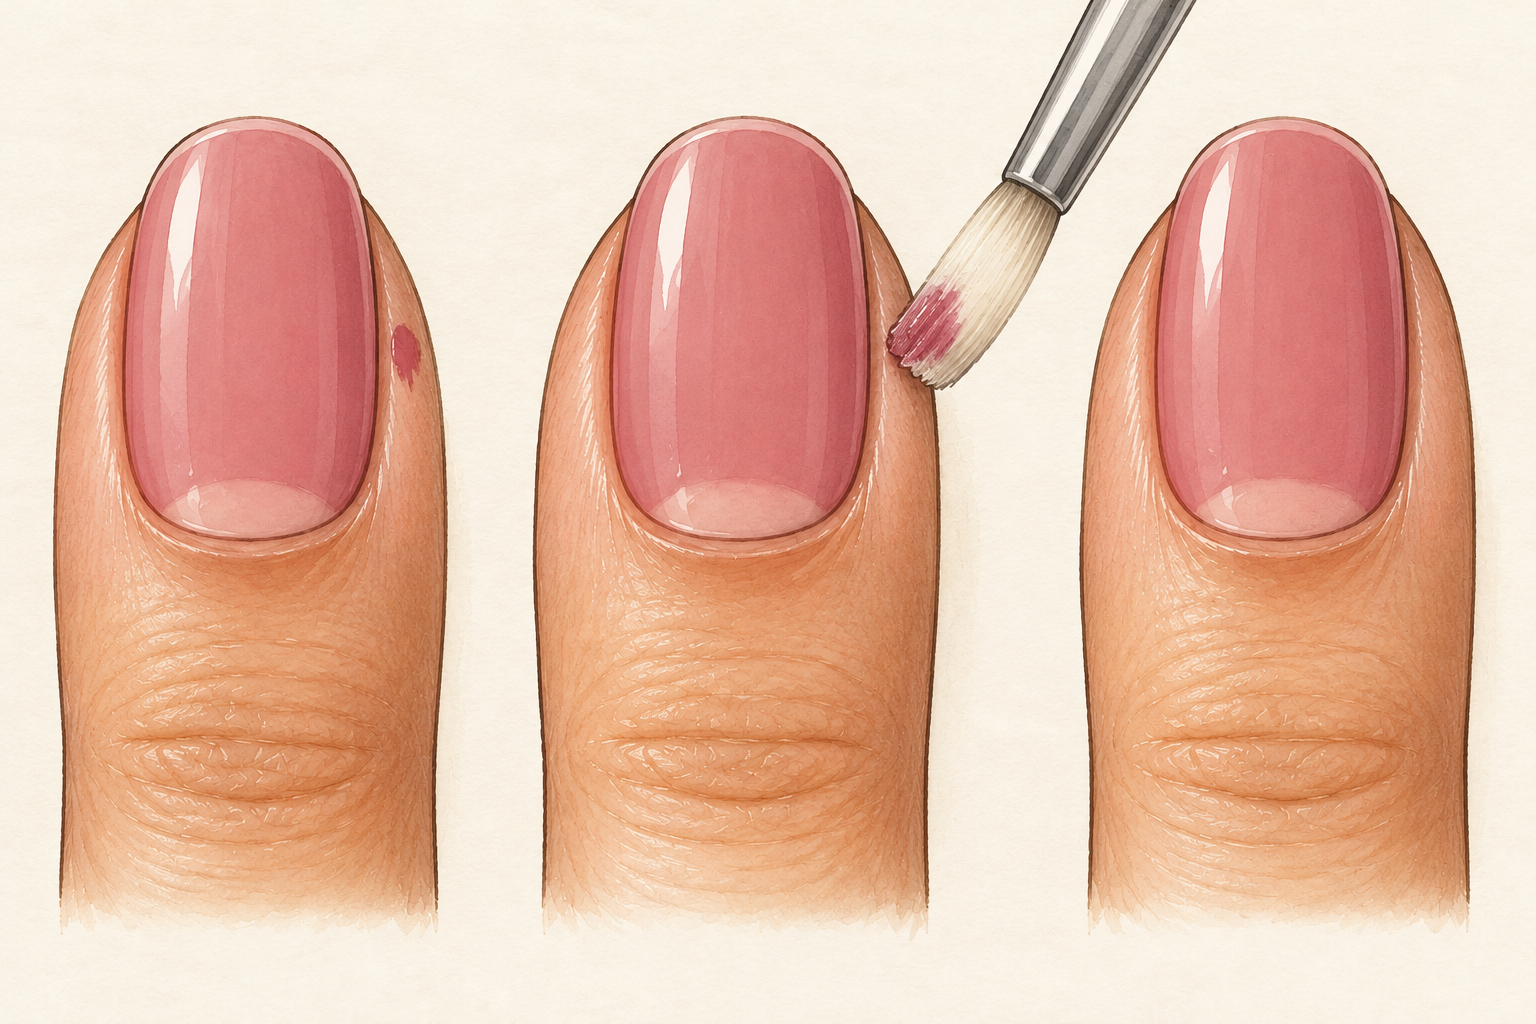
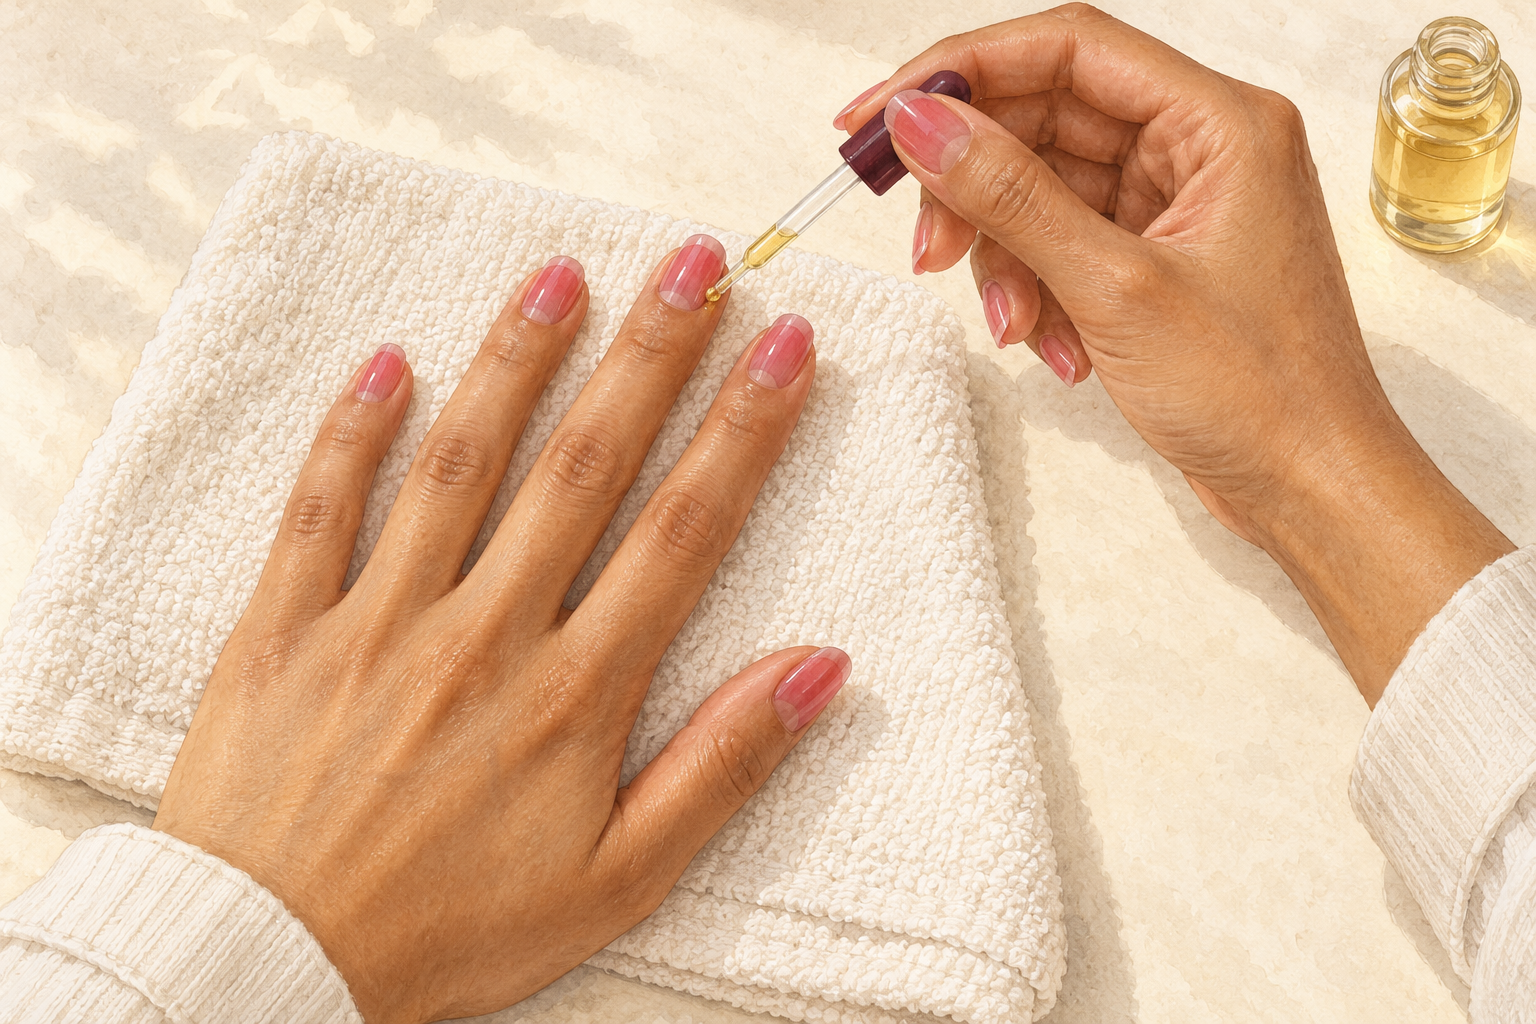
Dip a thin brush or cotton bud in remover, squeeze out the extra and trace around the edge of each nail. Hold the brush flat against the skin and glide it along the edge. Brown polish stains the skin if you leave it, so do this soon after finishing the top coat. A flat angled brush gives the crispest edge. Use very little remover, because too much runs under the polish and lifts it. Wash and dry your hands, then rub in a drop of cuticle oil. Keep a spare bud in your other hand for quick wipes along the sides.
10. Rescue a smudge or a muddy streak
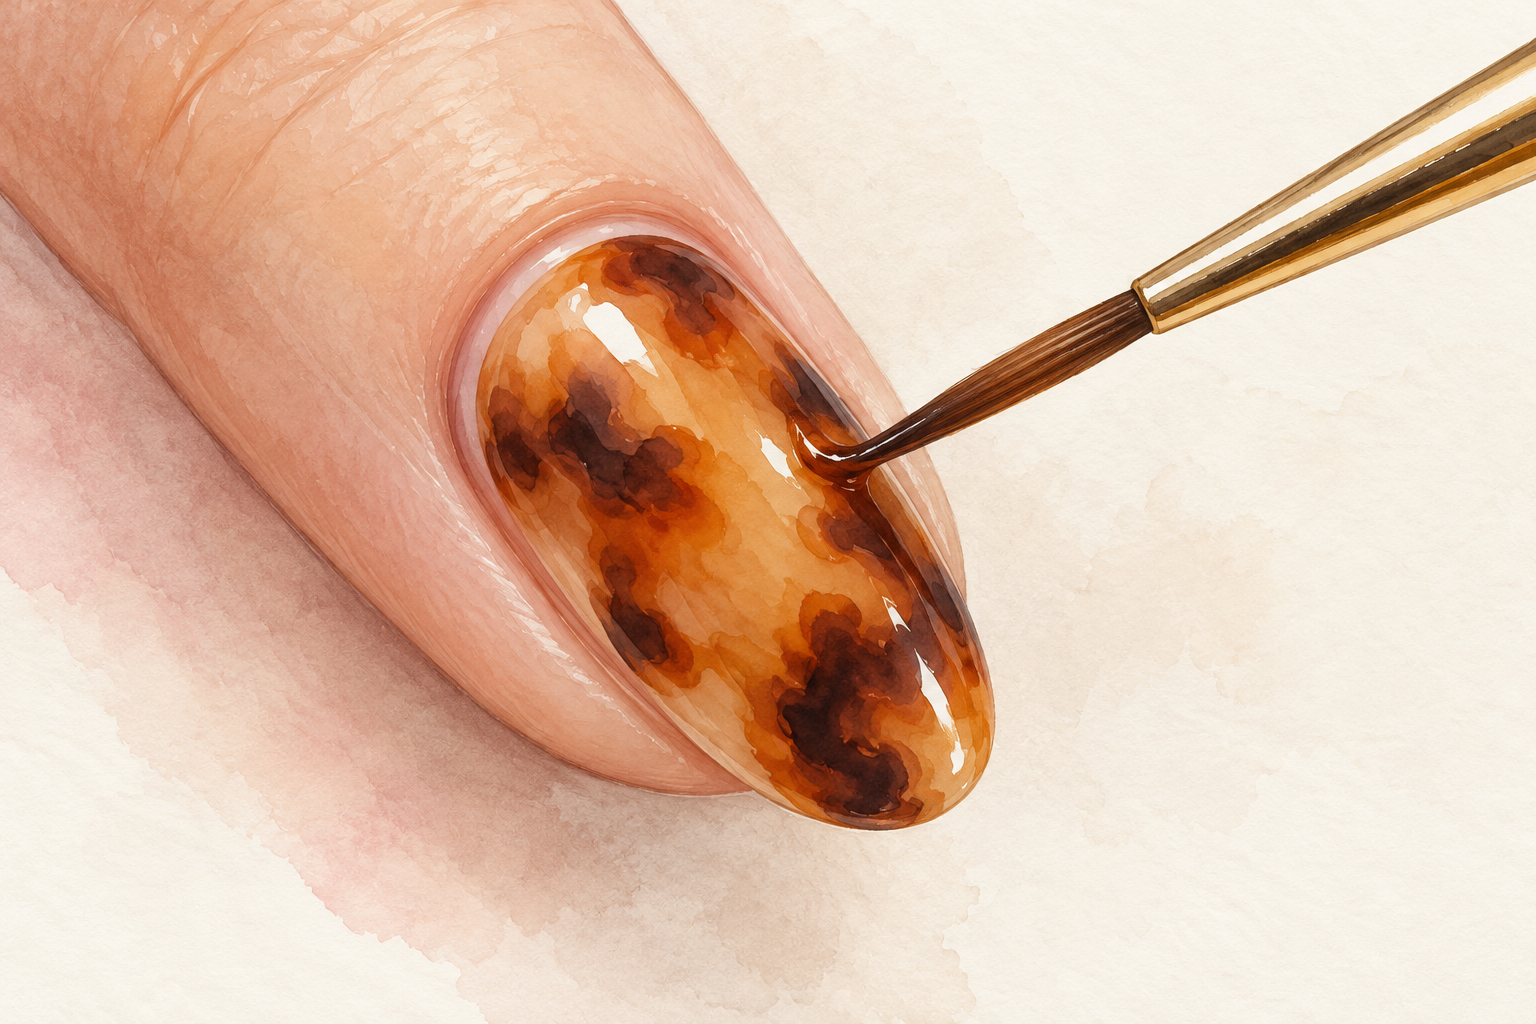
If a spot smears while wet, stop, wait a minute and brush a thin coat of amber over it. If it has dried, dab a drop of top coat on a clean brush and smooth it over the smear, then wait. Muddy usually means the layers were too thick or the polish was still wet. When in doubt, add less and wait longer. A drop of remover on a cotton bud can lift a small mistake before it dries. Never scrub a wet nail with a dry brush. Wipe the brush on a tissue between fixes so you do not carry brown onto the amber.
11. Make it last: what to expect at one hour, three days and a week
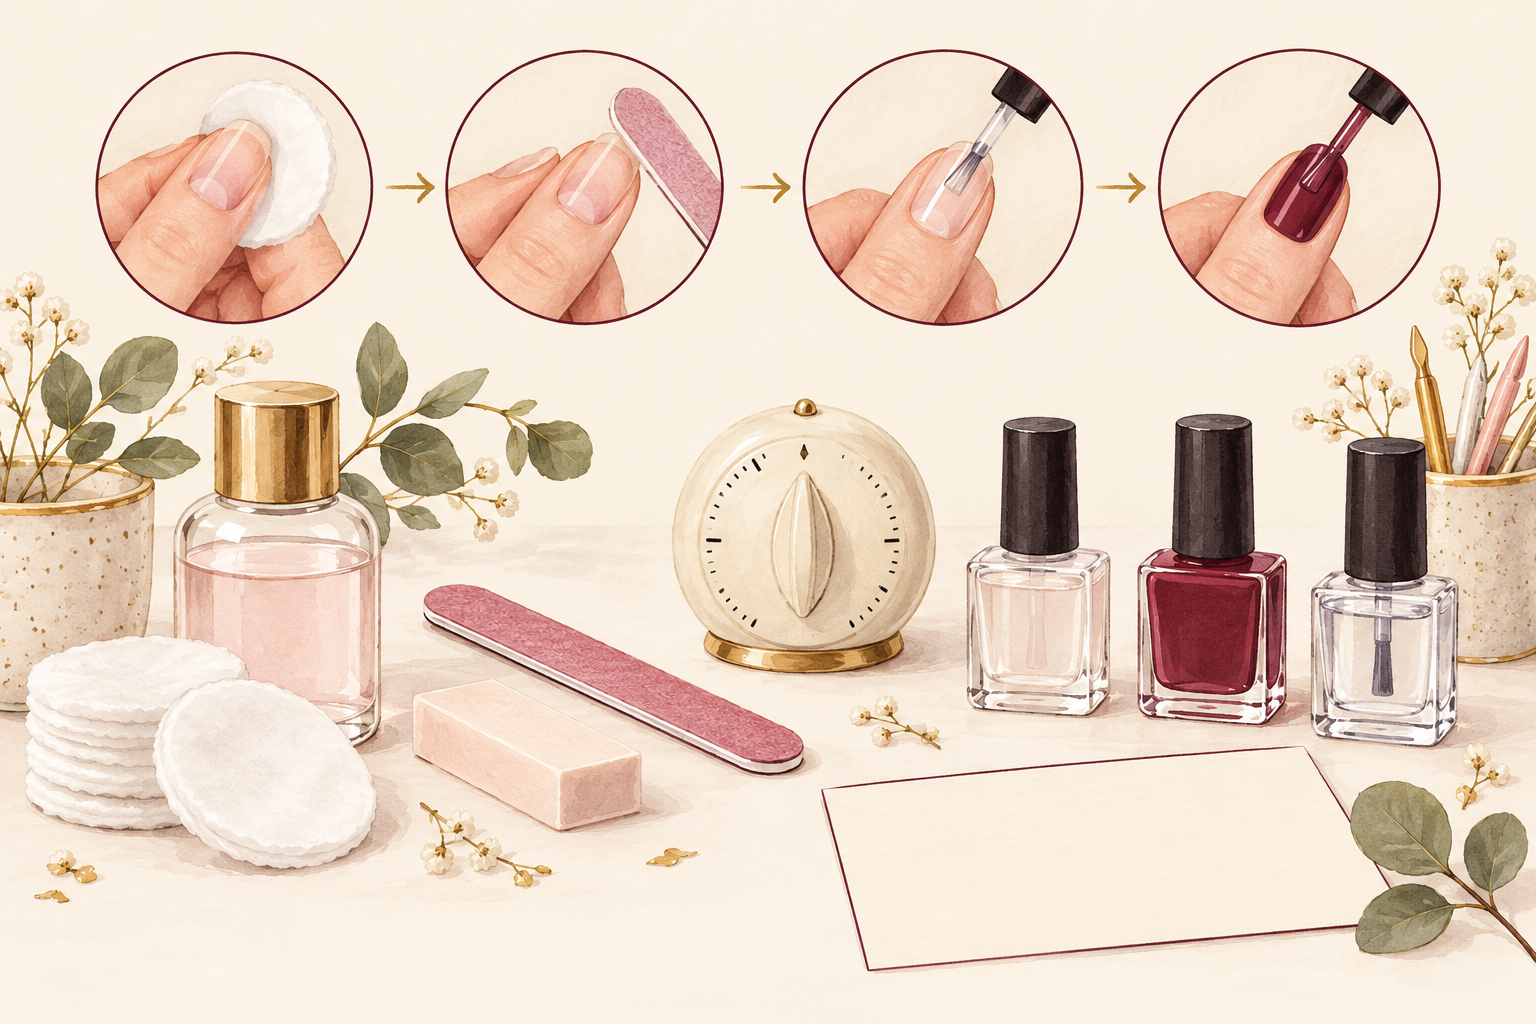
After an hour the top coat is firm to the touch but not fully hard, so go easy. On day three, brush a thin fresh layer of top coat over the nails, especially the tips. Wear gloves when you wash up. By day seven you should see slight wear on the tips but the shine should hold. Brown spots show chips quickly, so a fresh top coat keeps the look sharp. Keep your cuticle oil handy, because dry skin around the nails spoils glossy polish. Touch the free edge lightly with a fingertip to test it, and it should feel smooth, not sticky.
12. Try a new tone next time
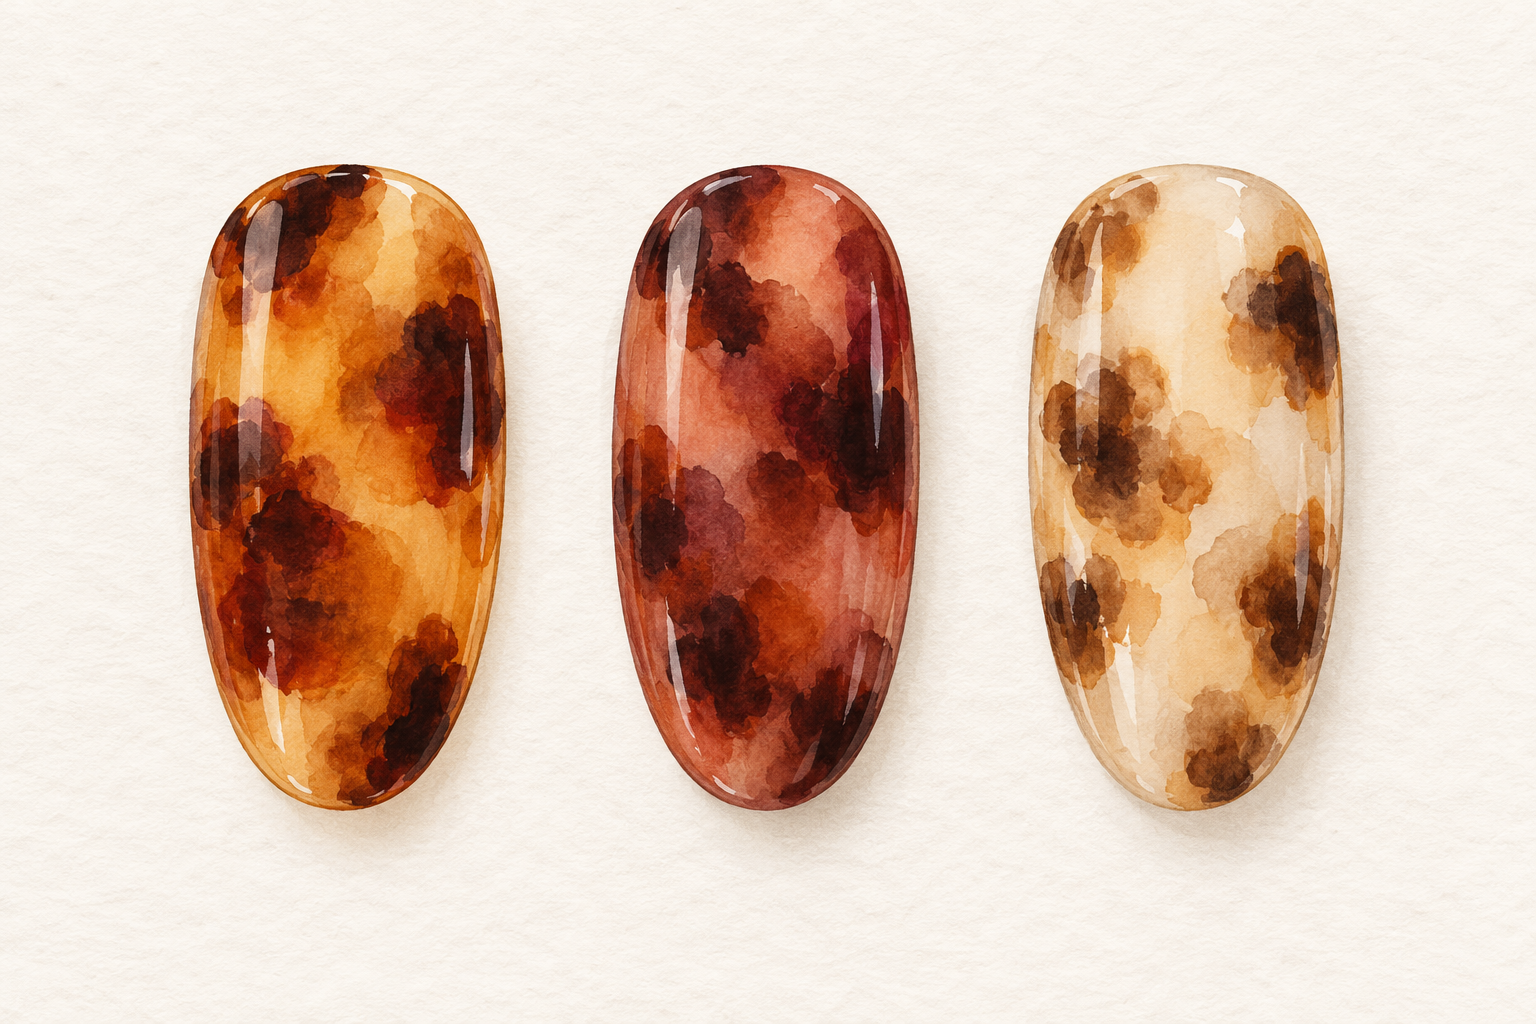
Once the layering clicks, swap the amber for a deep red brown, a smoky green or a pale beige. Use the same steps and keep the spots a shade or two darker than the base. A matte top coat turns the whole set soft and velvety. A single accent nail left plain gives the set room to breathe. Write down the shades of any set you love, so you can repeat it. Once you know how to do tortoise shell nails in one palette, a new palette is just a new bottle. A pale beige base with brown spots suits everyday wear, while red brown is a good fit for autumn.
Complete the Look: How to Do Tortoise Shell Nails Again
Practice on one hand first, then do the other. Tortoise shell looks busy at first, but each thin layer makes it easier to see. Whenever you feel settled, the guides below are a friendly next stop.