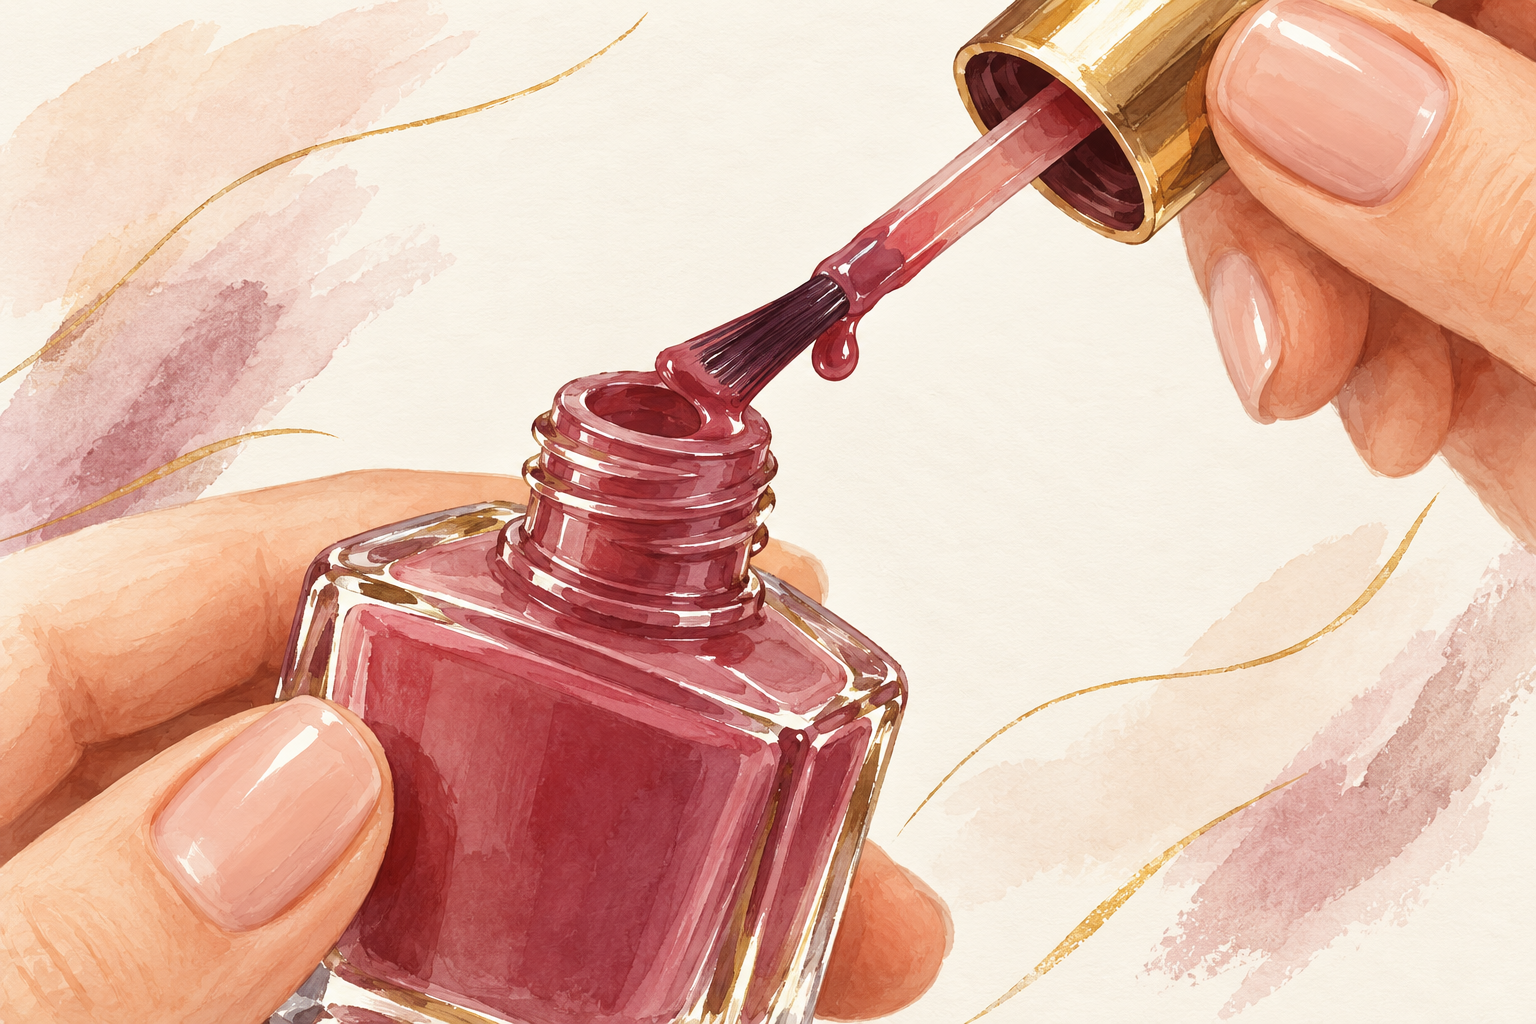
You watched a thirty second video on how to do ombre nails, pressed a sponge to your nail, and ended up with three flat stripes and a hard line across the middle. The blend always looks easy on screen. Here are 12 steps for a soft, smooth ombre with no harsh lines, so start at number one.
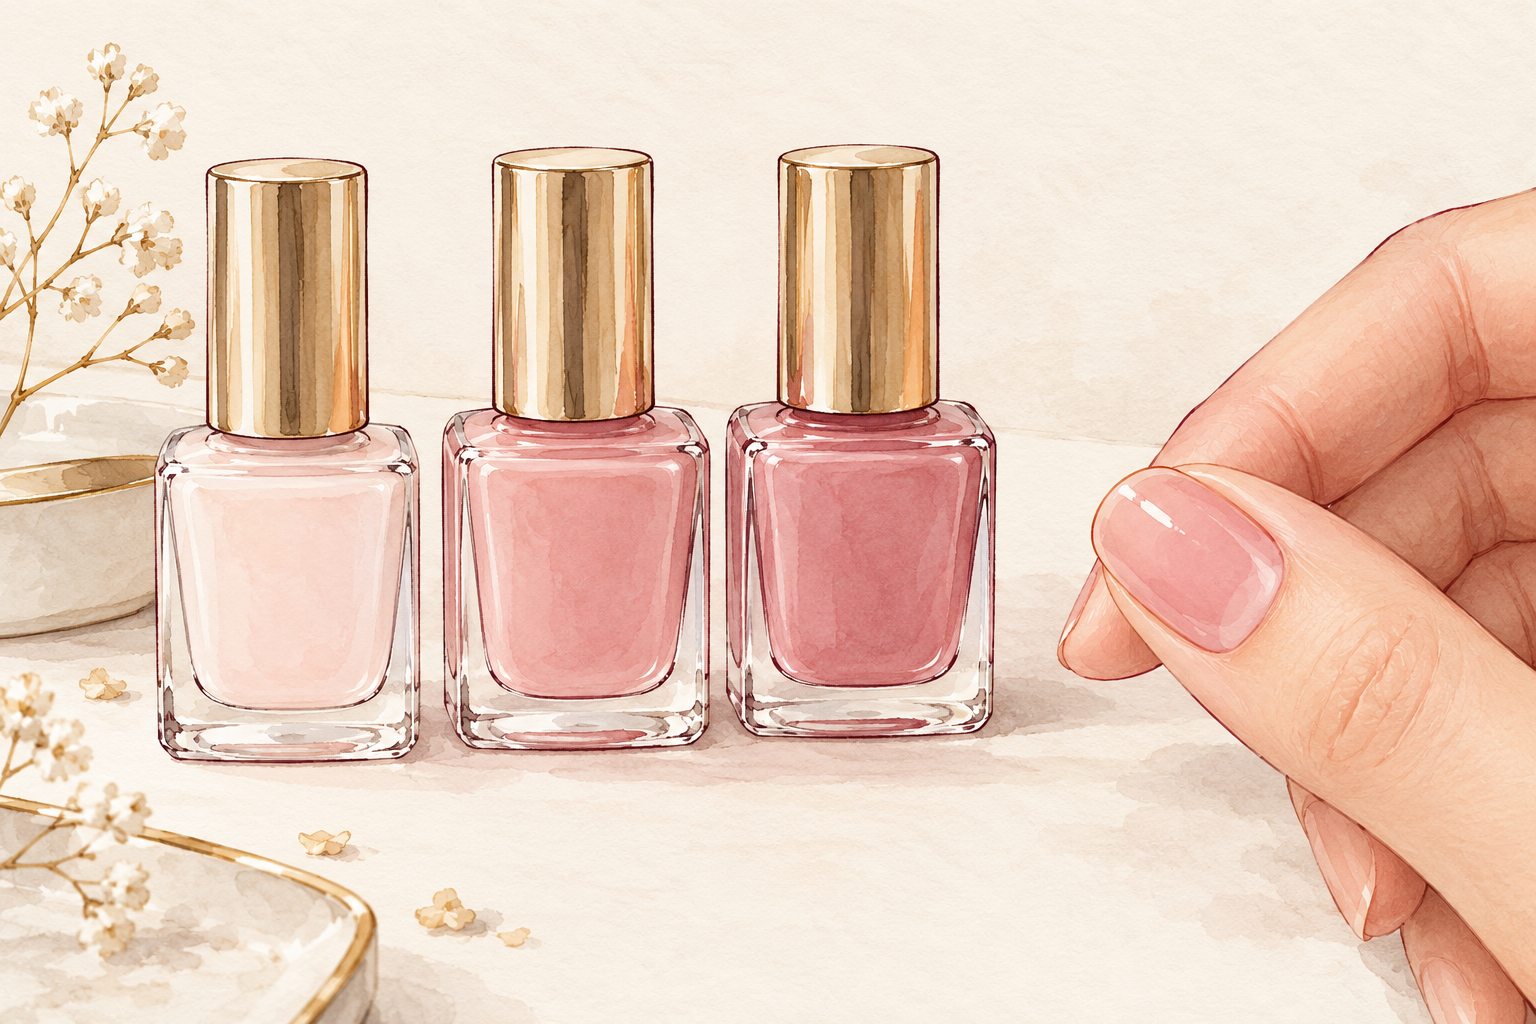
1. Choose colors that blend well
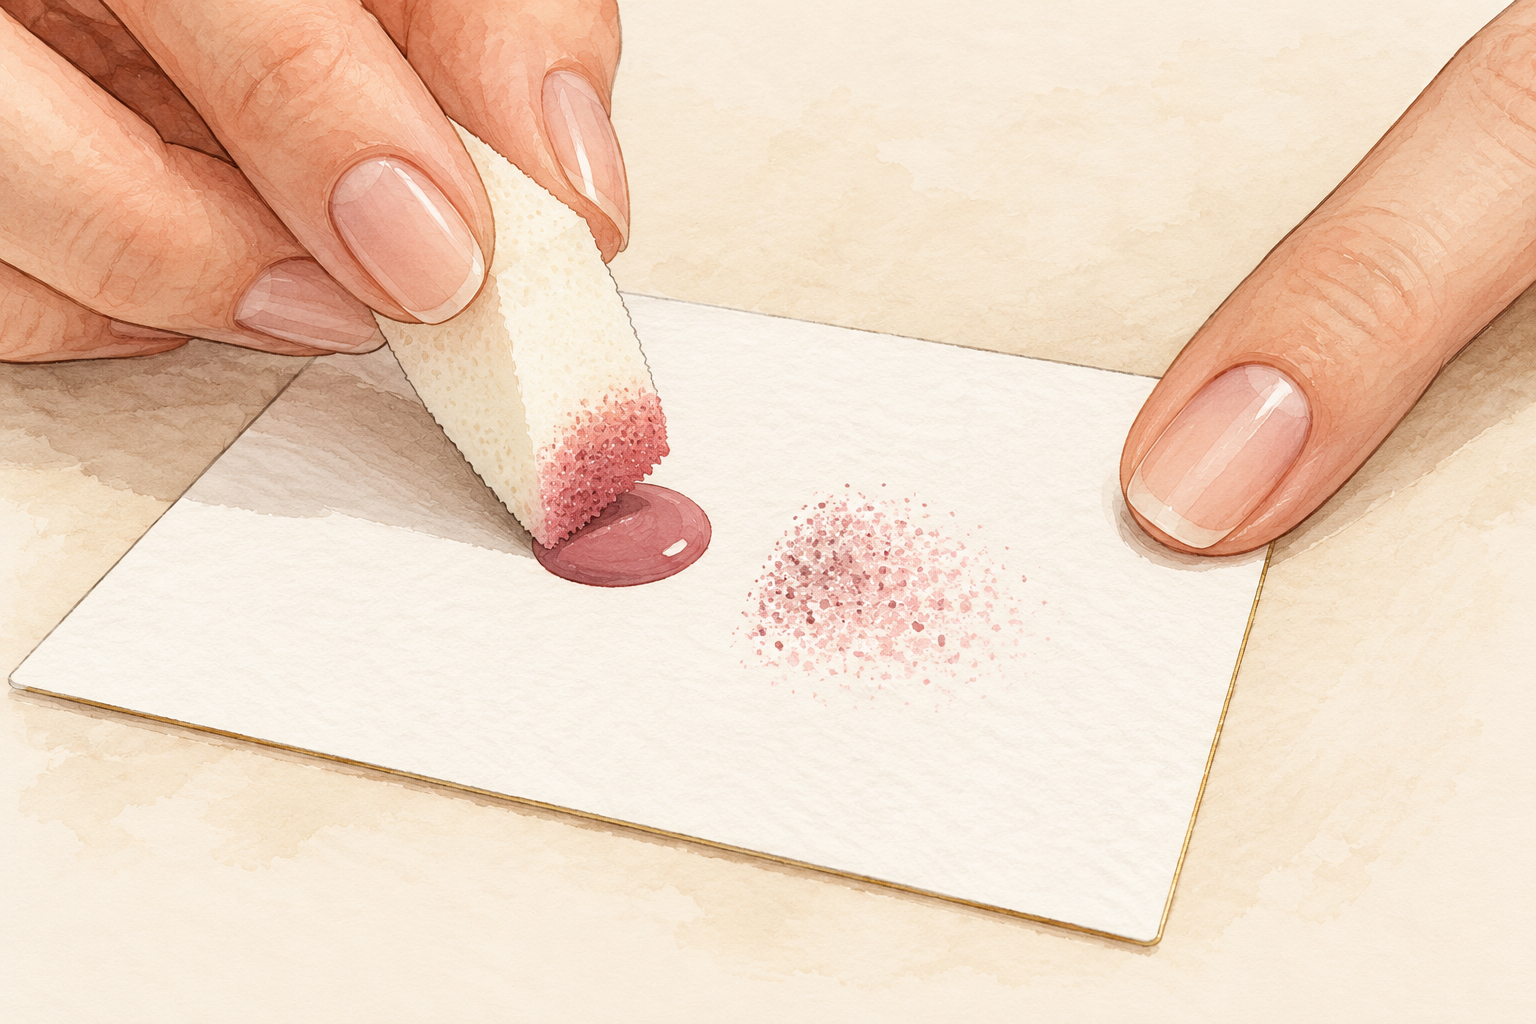
Pick two or three shades that sit next to each other, such as a pale pink, a rose and a deeper berry. Colors close together blend softly, while very different ones can turn muddy where they meet. Cut a regular makeup sponge into a small wedge, and use a fresh bit for each set. Keep a bottle of remover and a cotton bud close for cleanup, because everything needs to be within reach before the polish touches the sponge. Creamy, opaque polishes blend best, and sheer ones leave patches. Test the colors on a scrap of paper first to see how they look side by side.
2. Start with a clean, even base
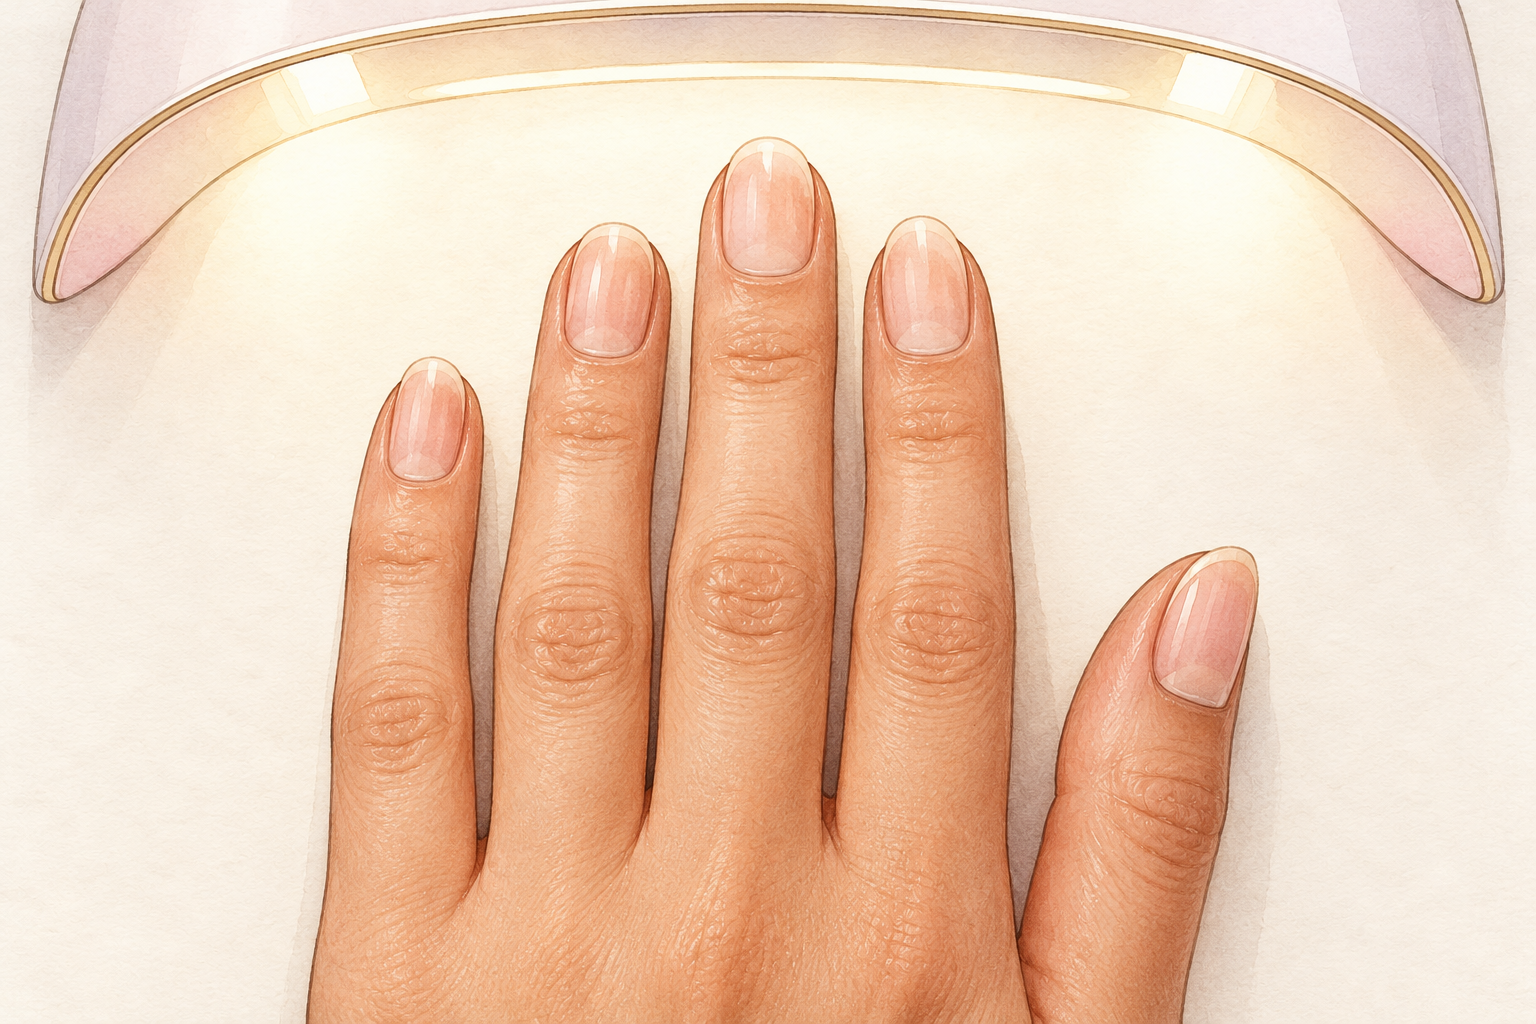
Apply a thin base coat and let it dry fully before you do anything else. The base protects your nails from staining and gives the sponge something smooth to work on. Rub a bit of oil on the skin around your nails if you want a no mess finish, then wipe it off before you paint. Dry means no tackiness when you touch the very edge. If you are in a hurry, a quick drying drop can help, though a few extra minutes is better. A slightly rushed base is how stripes begin. Wipe any excess oil off the nail itself, or the polish will slide right off.
3. Paint your lightest shade as a full coat
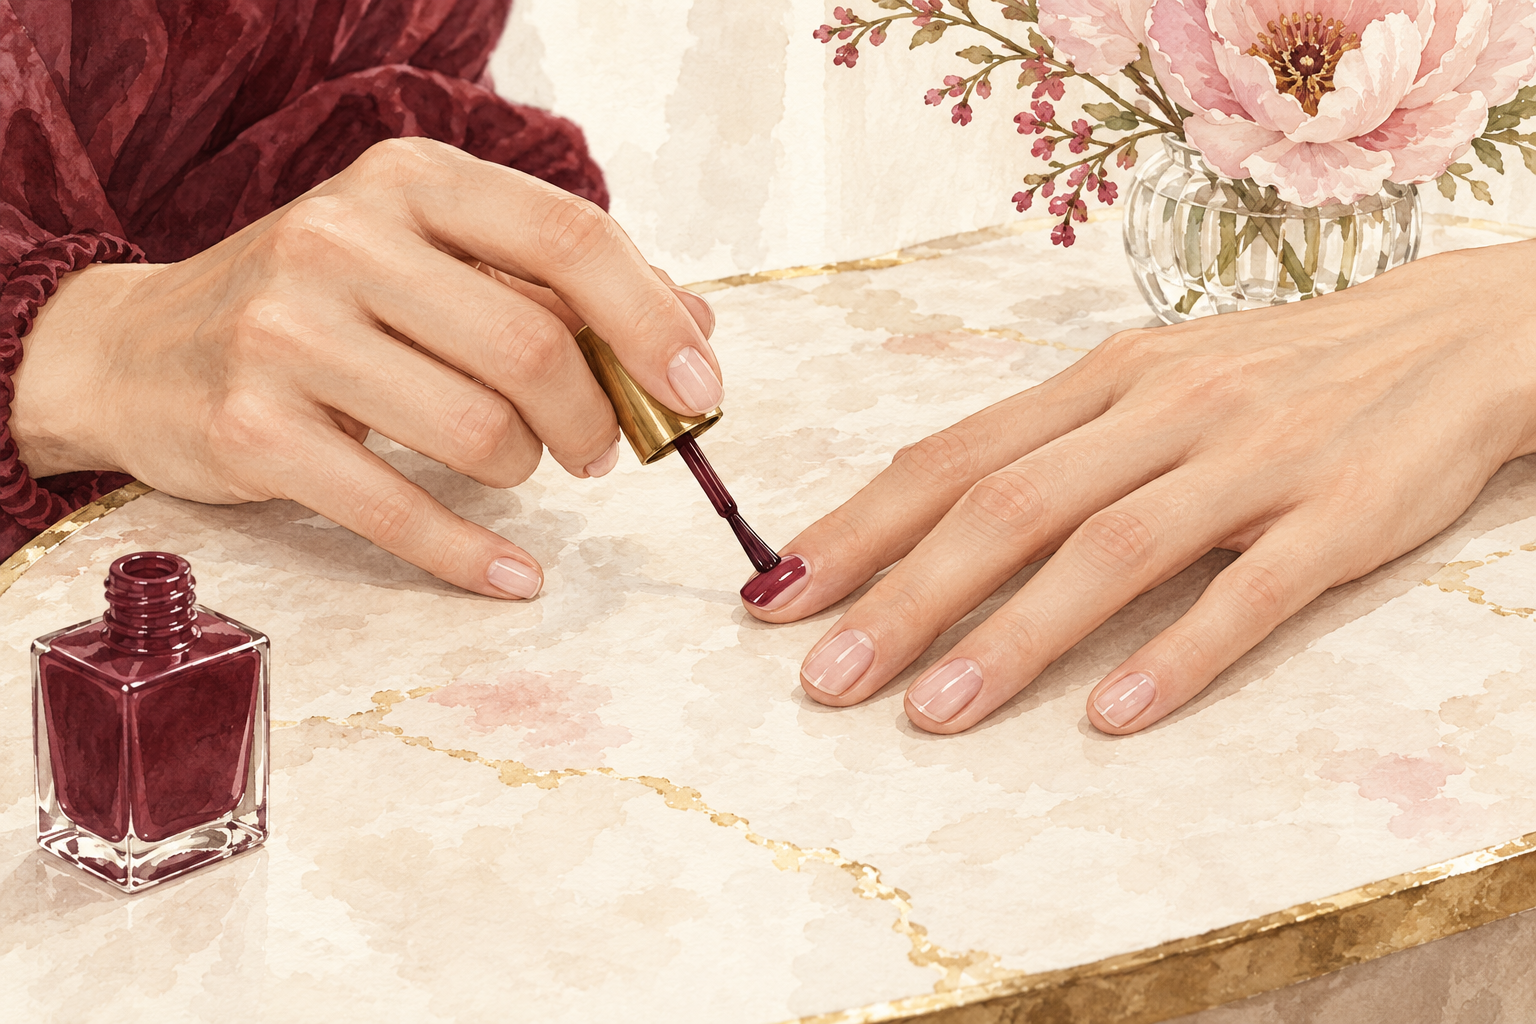
Cover each nail with two thin coats of your lightest color. This acts as the canvas, and it makes the darker shades show up clearly when you sponge them on. Let both coats dry for several minutes. Rushing this step is where most ombre sets go wrong. A smooth, opaque background makes the blend look soft instead of patchy. Stay off the skin as much as you can, but do not worry about perfection, because you will clean the edges at the end. Two thin coats beat one thick one every time. If the first coat looks streaky, that is fine, because the second one evens it out.
4. Paint your stripes on the sponge
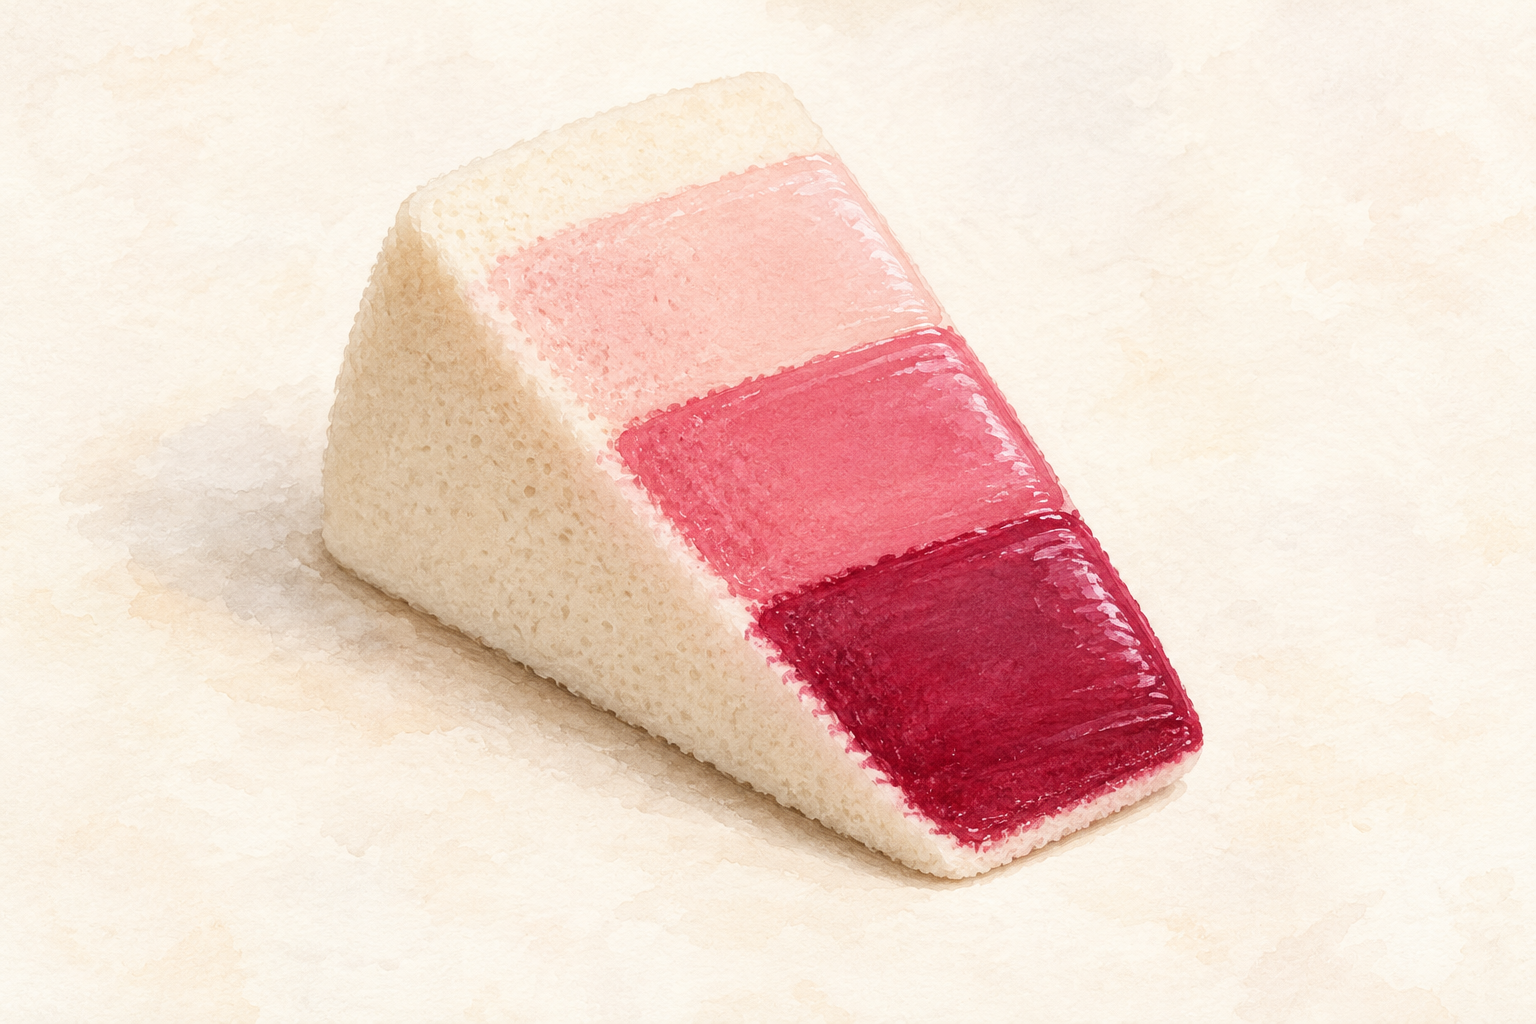
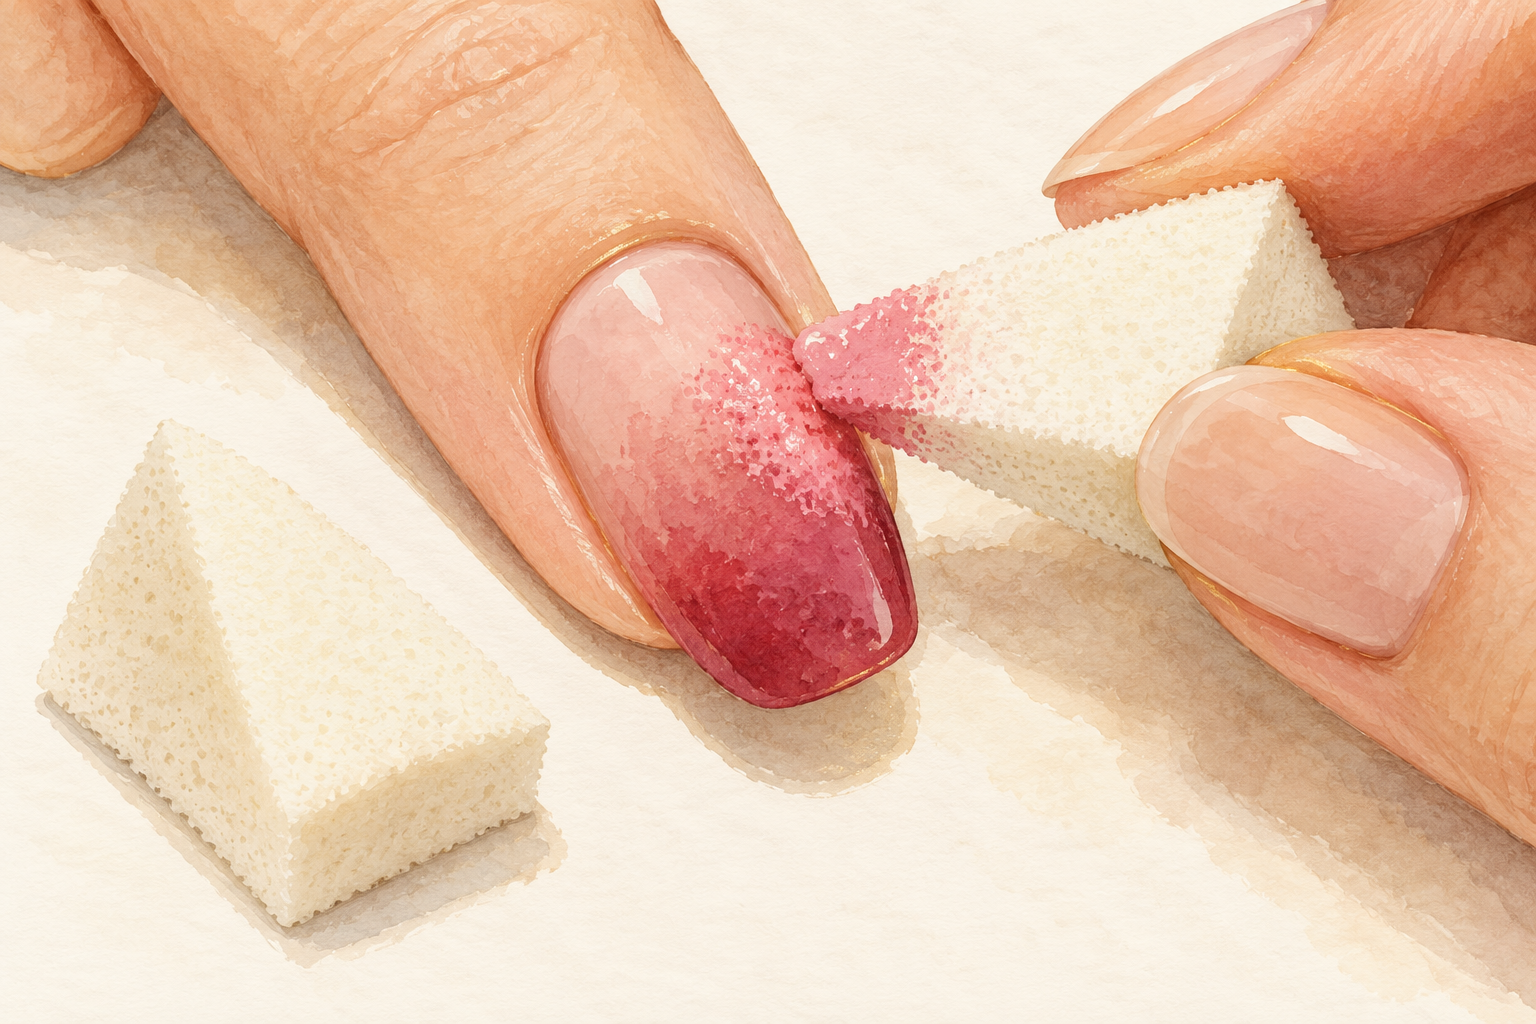
Brush two or three bands of polish side by side onto the sponge, with the edges just touching. Work fast, because polish dries quickly on the sponge, and a tacky sponge drags instead of dabbing. A small amount is better than a big blob. The order from top to bottom should be the same as the order you want on your nail. Light at the cuticle and dark at the tip is the classic way, and flipping it gives a sunset look. Paint a fresh set of stripes on the sponge for each nail. Wipe the sponge edge on a tissue if a blob forms, then go back to the nail.
5. Dab, don’t swipe
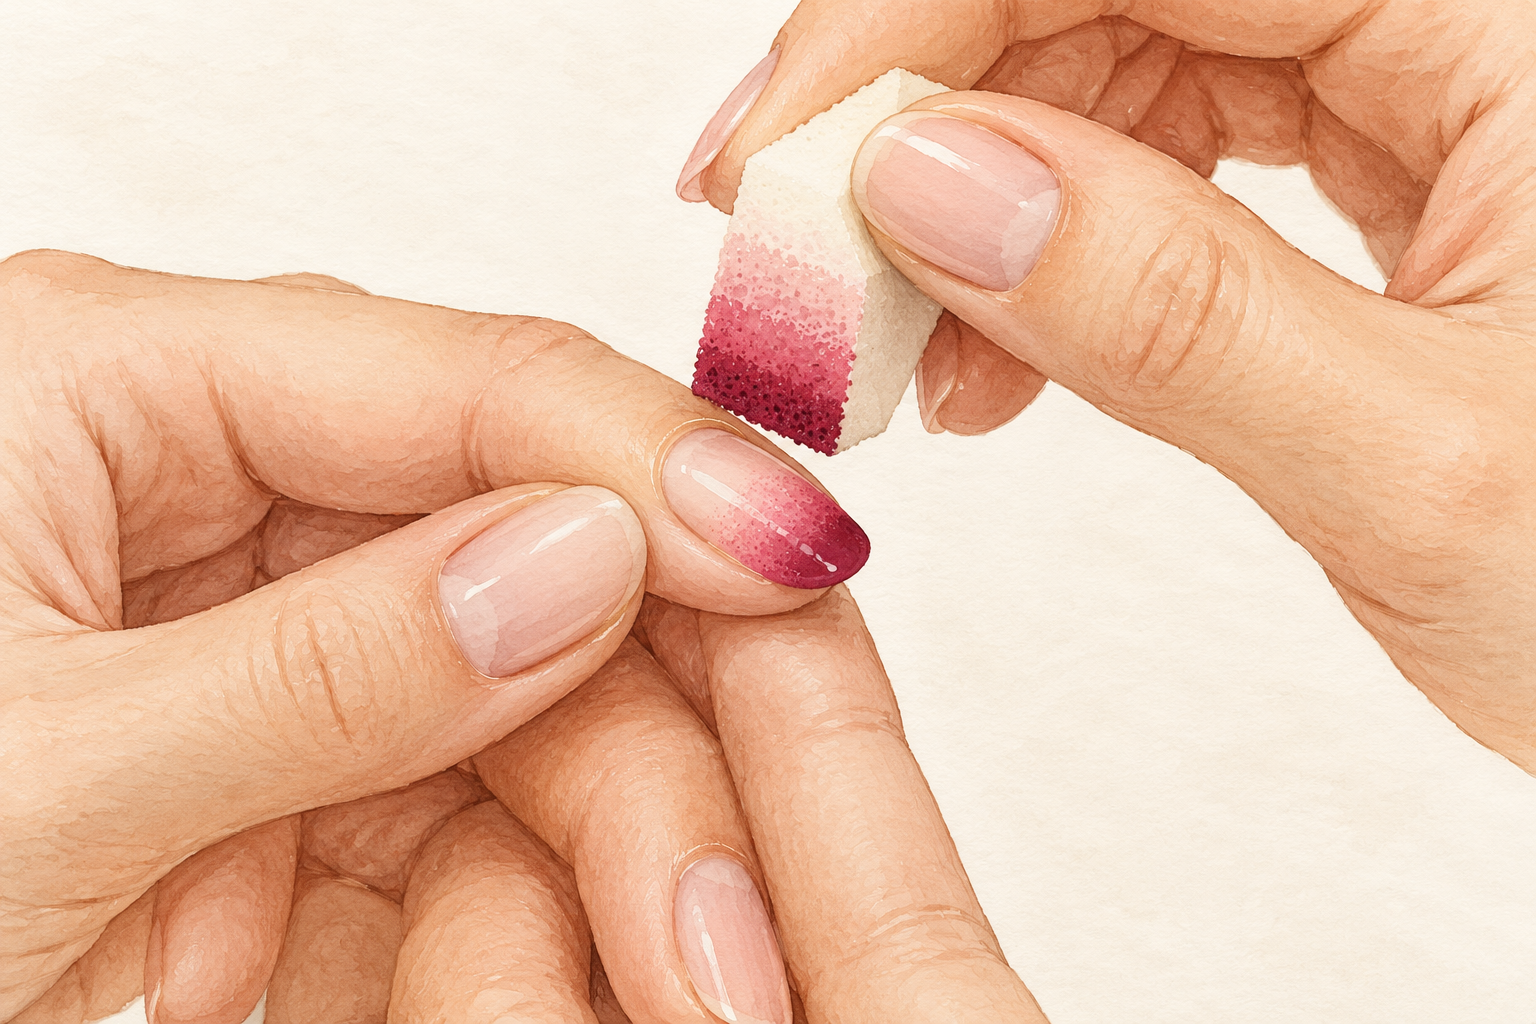
Press the sponge on the nail and lift it right away, using a gentle bounce. Dragging the sponge across the nail smears the colors into a stripe. Dab four or five times, shifting the sponge a hair each time. Each dab melts the colors together a little more. Hold your breath for the lift, because a wobbling hand smears the edge. If the sponge gets sticky, press it onto a clean tissue before the next dab. Rest your hand on the table so it stays steady while you work. The bounce should feel like tapping a drum lightly, not pressing a stamp.
6. Build up in thin layers
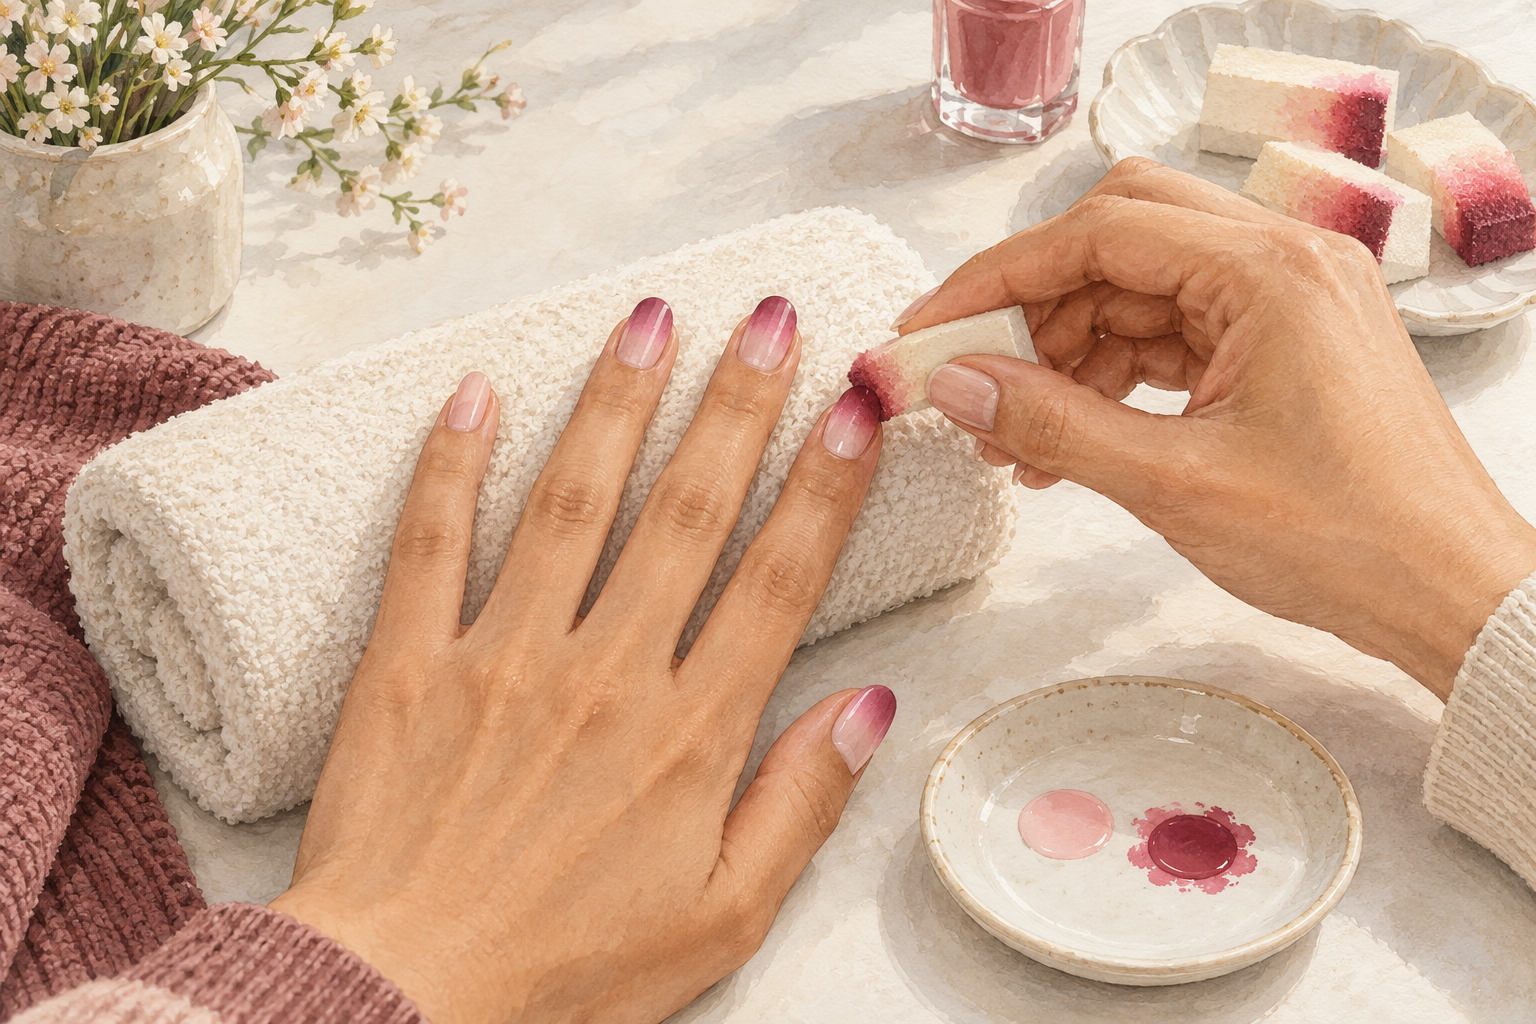
Repeat the dab step two or three times, letting each layer dry for a minute. One heavy layer will leave a hard edge, while several thin layers deepen the color gently. Re-load the sponge every time. Stop when the shade looks the way you want it to look. It is tempting to keep going, but over working it is the quickest way to a muddy mix. A nail that looks slightly too soft is better than a nail that looks overdone. Patience is the real secret of how to do ombre nails. Check the blend in natural light, since indoor bulbs hide uneven patches. Gel users can try how to do ombre nails with gel once a few light taps feel easy.
7. Clean up around the edges
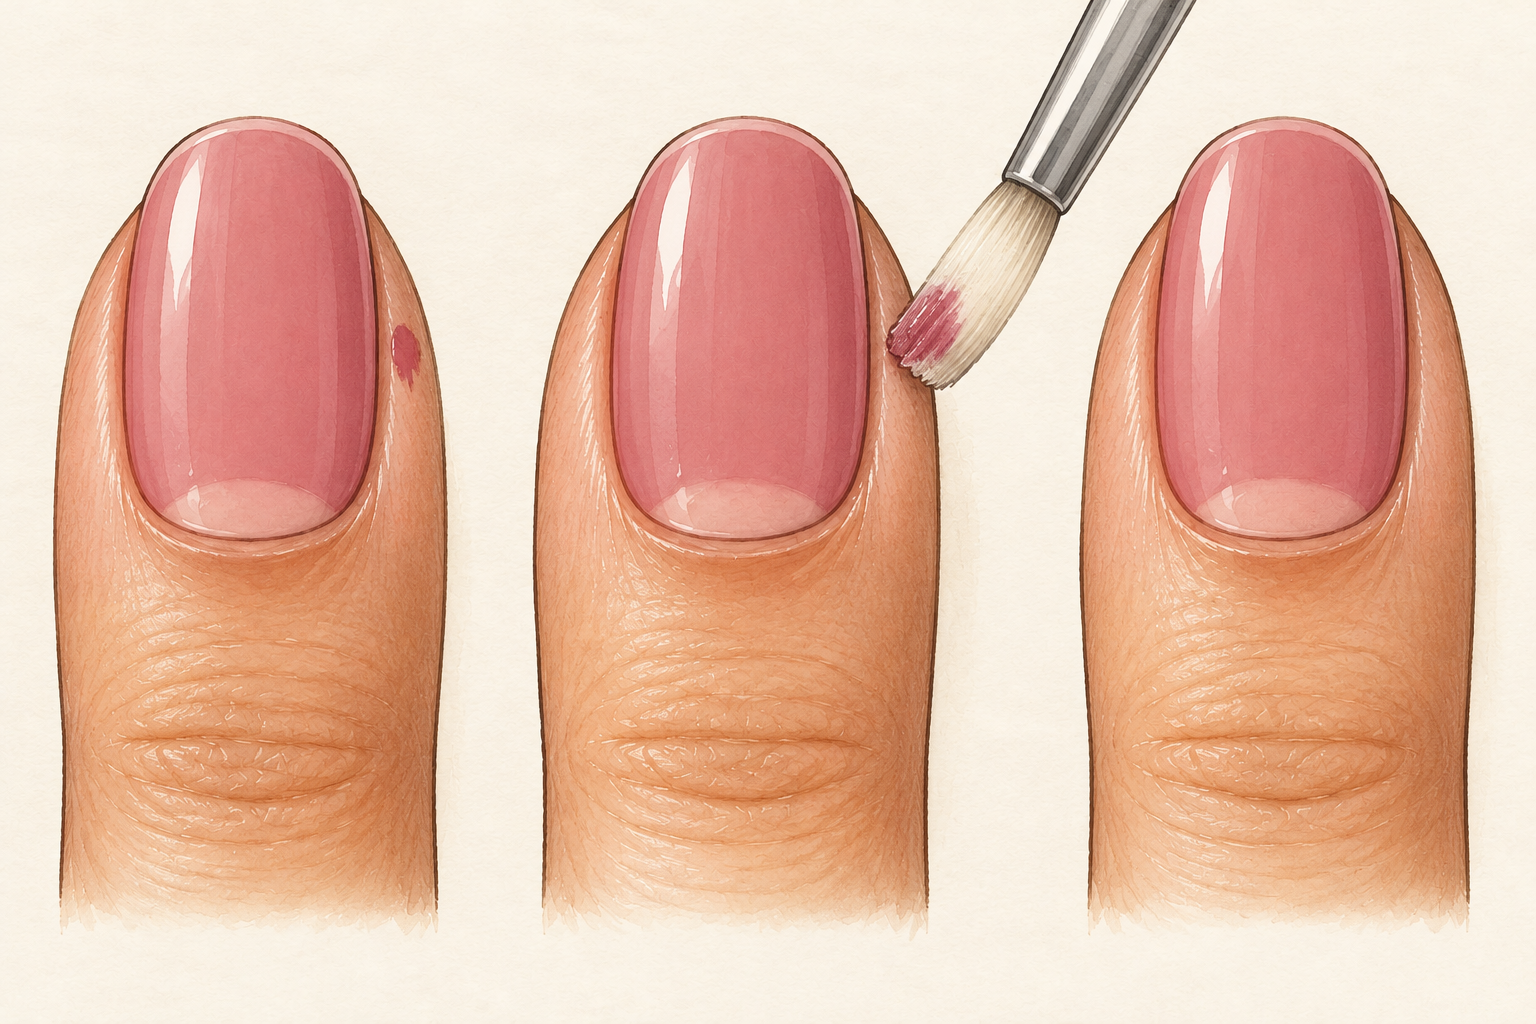
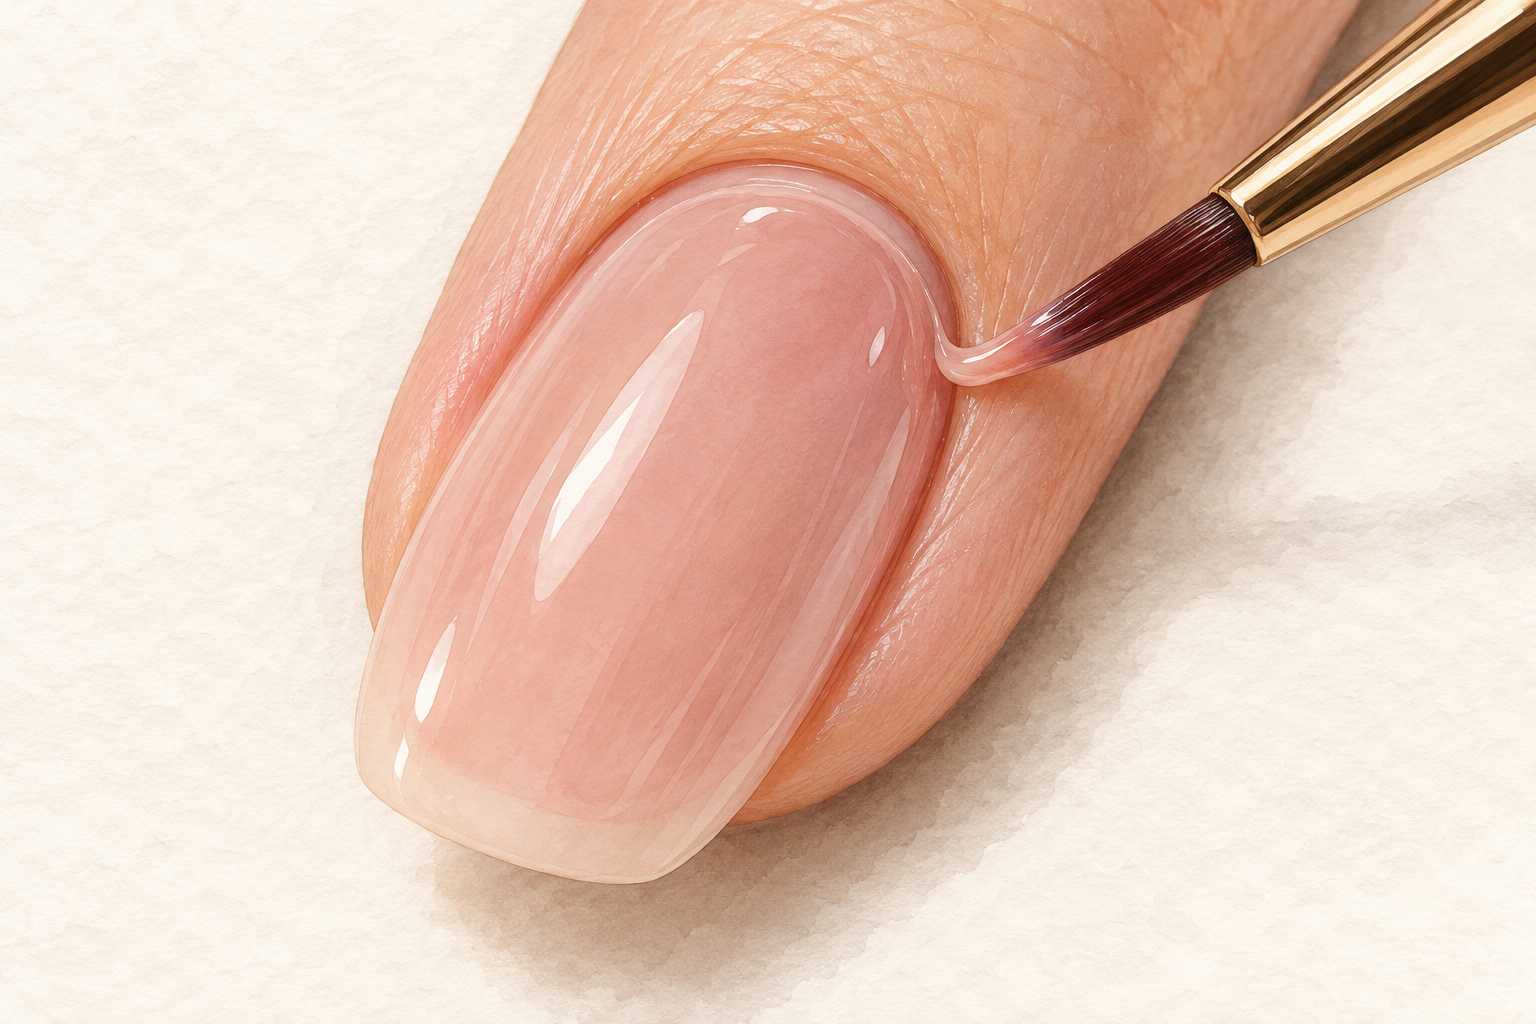
Dip a thin brush or cotton bud in remover and trace around each nail. Sponging always leaves color on the skin, which is easy to fix. Work slowly and take off only what is on your skin. A flat angled brush gives the cleanest line, though a cotton bud is fine for a first try. A crisp edge makes the whole set look polished and neat. Do this before the top coat goes on, so the remover does not dull the shine. Wash your hands afterwards. Use a small amount of remover so it does not run into the polish you want to keep. Clean edges like these make a neat finish, so read how to paint nails perfectly before the next set.
8. Seal with a generous top coat
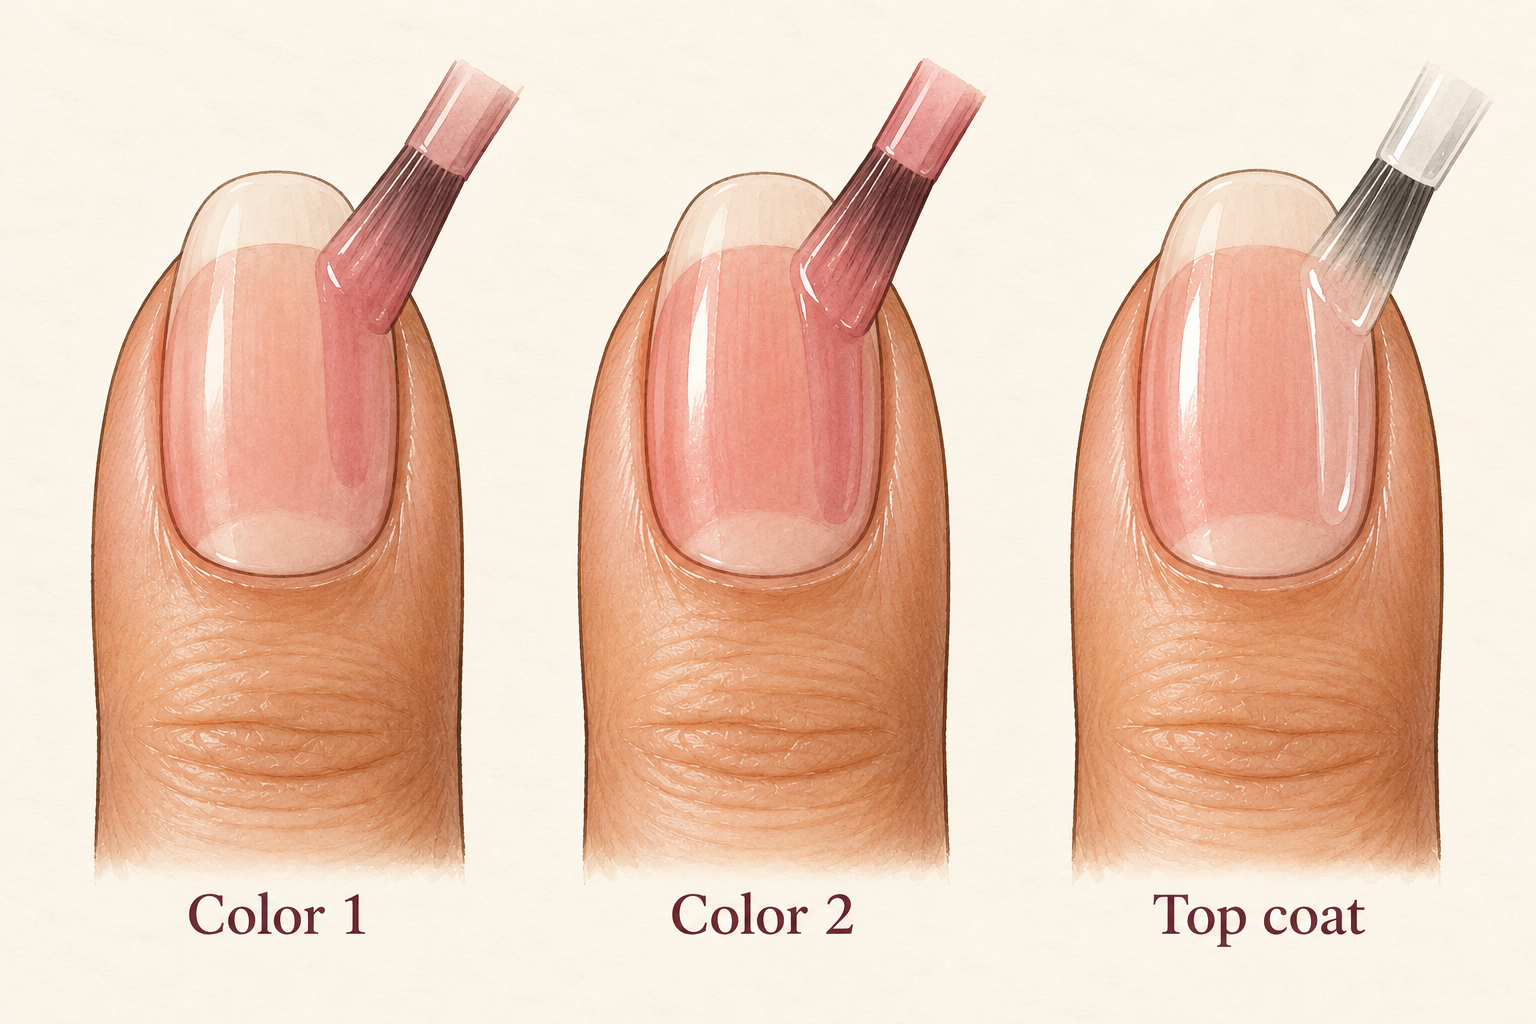
Brush a thick, smooth layer of top coat over the whole nail, and cap the free edge. The sponge leaves a slightly bumpy texture, and top coat levels it into glass. Let a bead of it sit and self level for a moment. Wait twenty minutes before touching anything. If you smudge, do not panic, since a drop of top coat on a fingertip smooths a fresh dent. Float the next layer over it rather than dragging. Capping the tip also stops the polish from chipping early. Brush the top coat in three strokes, one down the middle and one on each side.
9. Fix a harsh line with a clean sponge
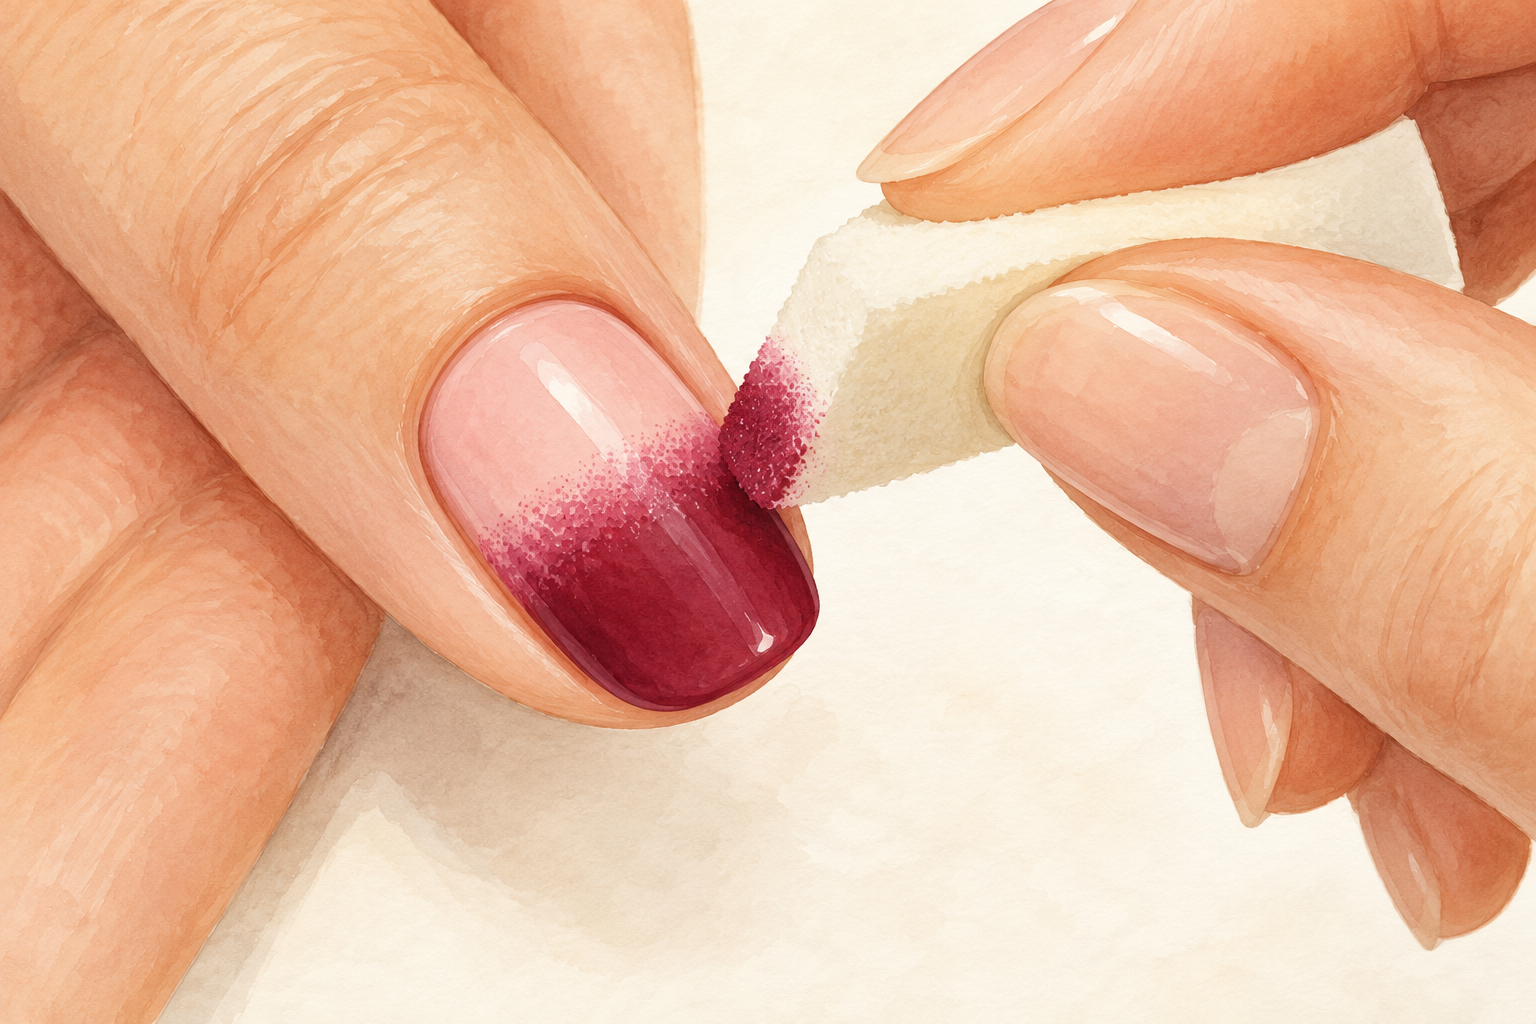
Dab a clean sponge or a bit of top coat over the line to melt it. A visible stripe means the layers were too heavy or too dry. Tap lightly right over the meeting point until it softens. If the polish is dry already, brush a thin coat of top coat over it and dab again. This one trick saves most sets, and it works because the wet top coat lets the colors move. Be gentle, and stop as soon as the line fades into the colors around it. If the line stays stubborn, add a little of the lighter shade over it and dab again.
10. Rescue a patchy or muddy blend
Wipe the sponge, add a fresh layer of the lighter shade, and dab again. Patchy usually means the colors were too sheer, so use creamy, opaque polishes. Muddy usually means too many dabs on a wet layer, so wait a minute between rounds. When in doubt, add less and wait longer. The fix for almost every ombre problem is a pause. Knowing how to do ombre nails also means knowing when to stop dabbing and let the nail dry before you judge it. Keep a spare sponge nearby so you always have a clean one for rescues.
11. Reapply top coat every few days
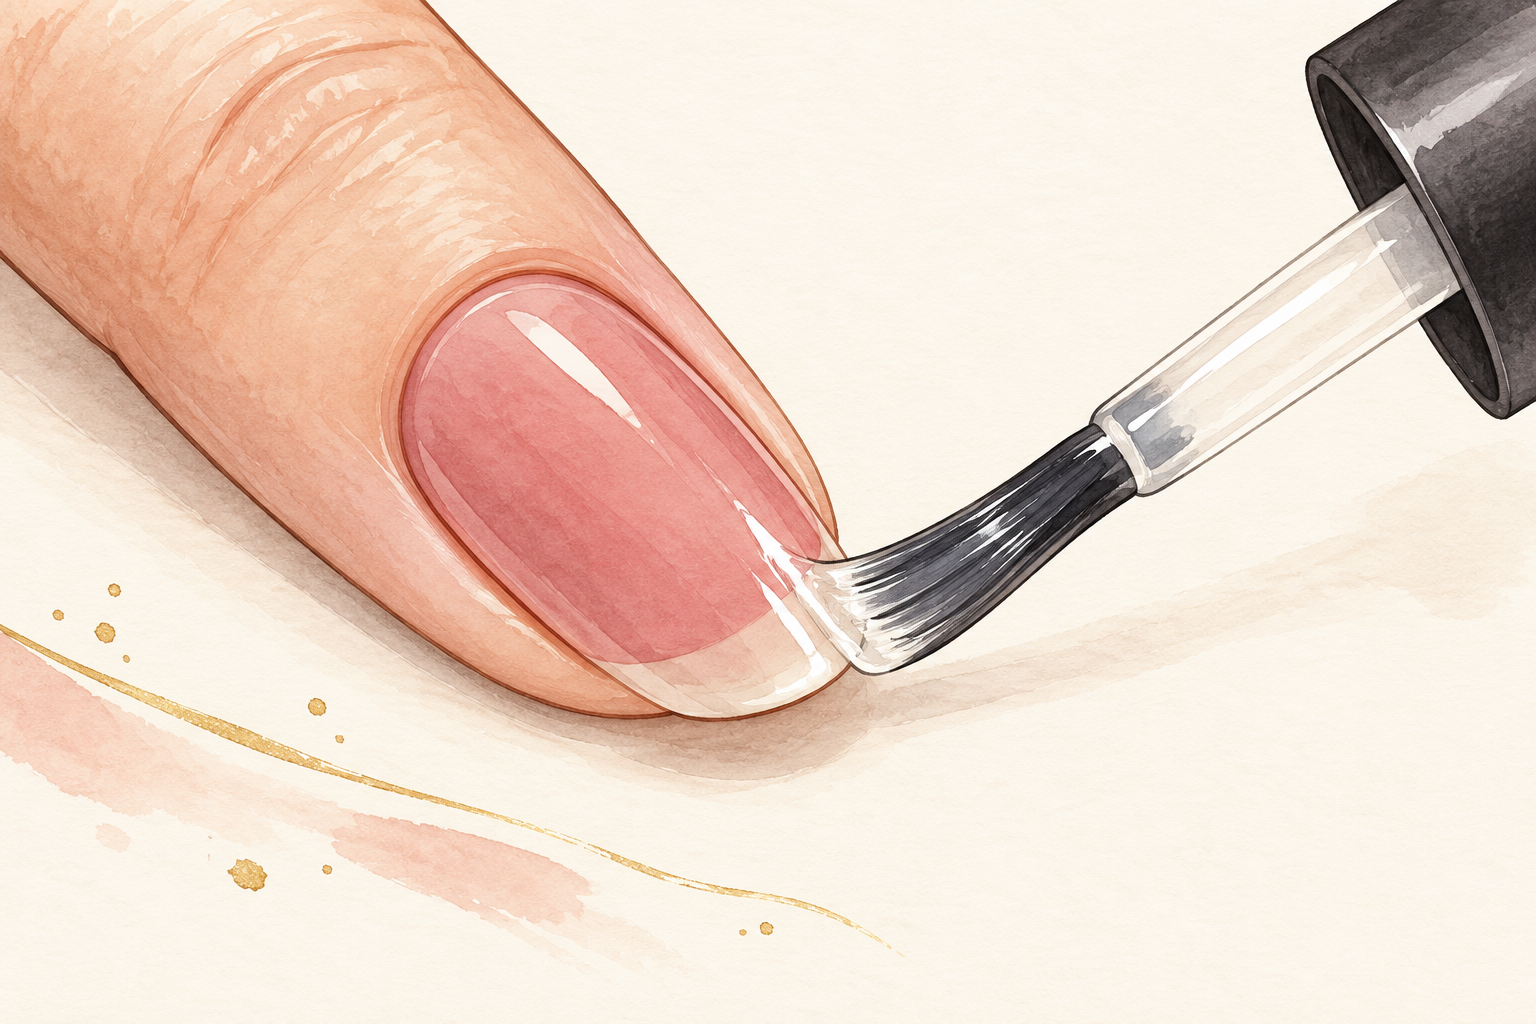
Brush on a fresh thin layer of top coat on day three or four. It refreshes the shine and protects the tips, which are the first place to chip. Wear gloves for washing up. Your ombre can last a full week or more. Anyone learning how to do ombre nails will find touch ups easy, because the blend hides small chips. Keep your cuticle oil handy too, since dry skin around a lovely manicure ruins the effect. A drop of oil each night keeps the whole set looking fresh. Run a fingertip over the tips before you reapply, to catch rough spots early.
12. Try a new color story next time
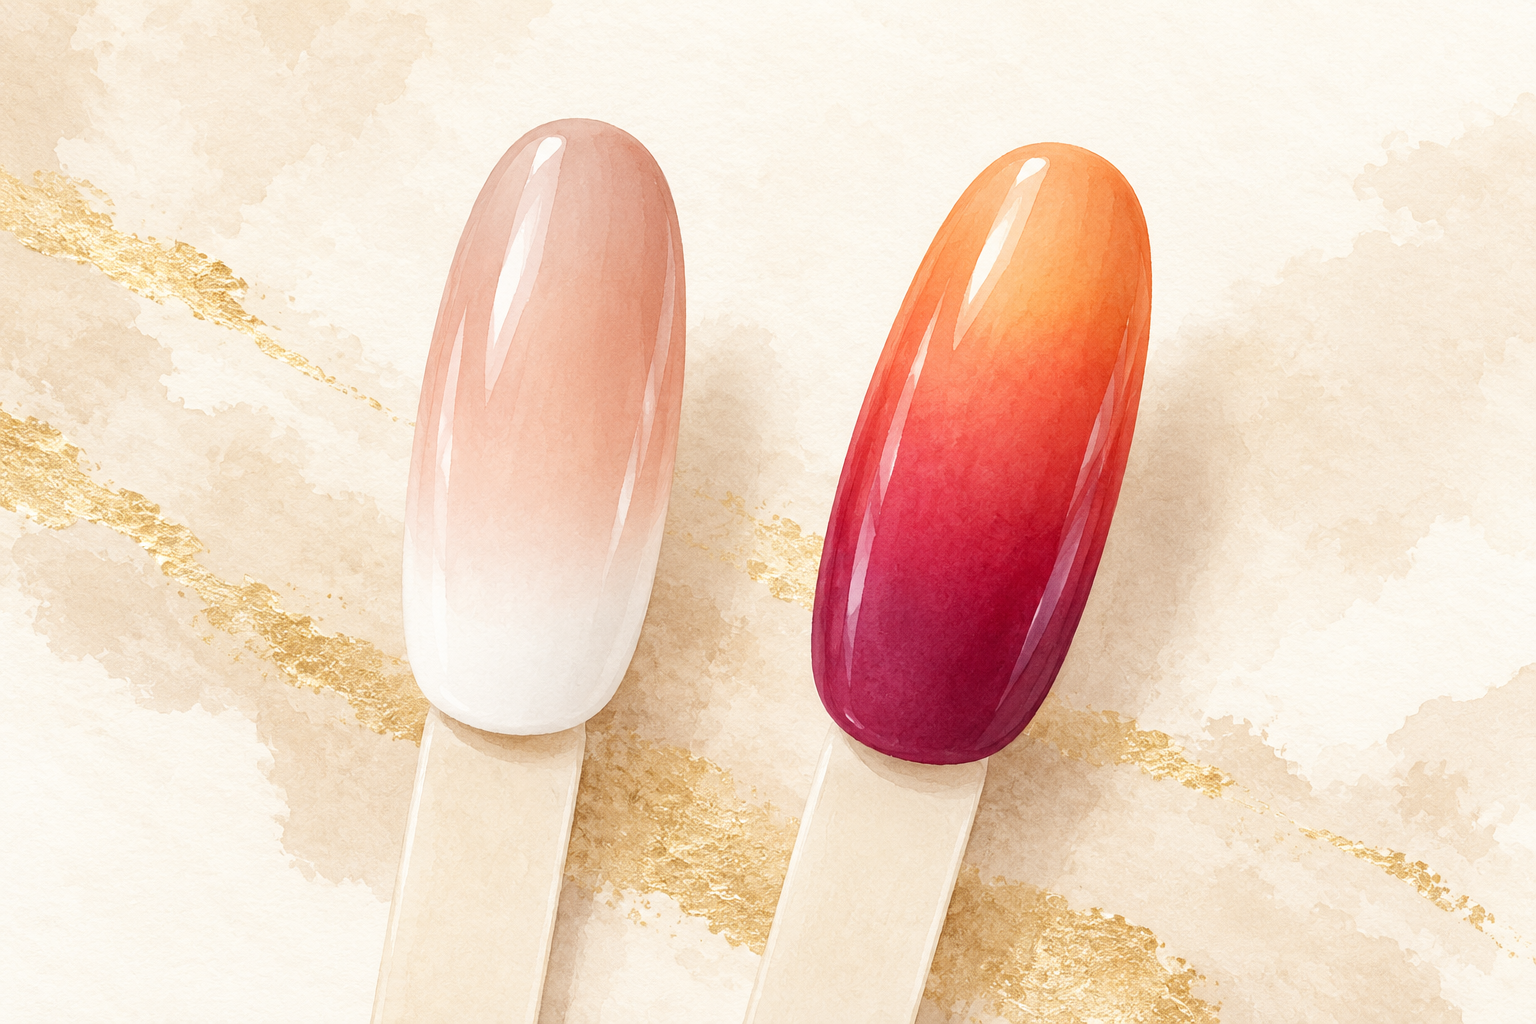
Swap in a soft nude with white for a French fade, or try sunset oranges and lilac blues. Once you have the dab and the pause, any colors work. Keep the shades close together, and write down the combinations you love so you can repeat them. A glitter top coat over the fade is a pretty extra, and so is a single accent nail left solid. Once you know how to do ombre nails in one palette, a new one only takes a fresh bottle. Take a photo of every set you love, so you can copy the exact shades later.
Complete the Look: How to Do Ombre Nails Again
Practice on one hand first, then do the other. Blends get smoother each time you try, so give yourself a few sets before you judge. A relaxed approach keeps things fun, and the guides below are there when you want something new.