Your fake nails are lifting at the edges, chipped and well past their date, and you cannot tell whether to soak, file or just pull. How to remove fake nails depends on what is stuck to your fingers, and the wrong method on the wrong type is how natural nails end up thin and sore. These 12 steps sort acrylic, gel and press ons, so start at number one tonight.
1. Look at the thickness and the join at your cuticle
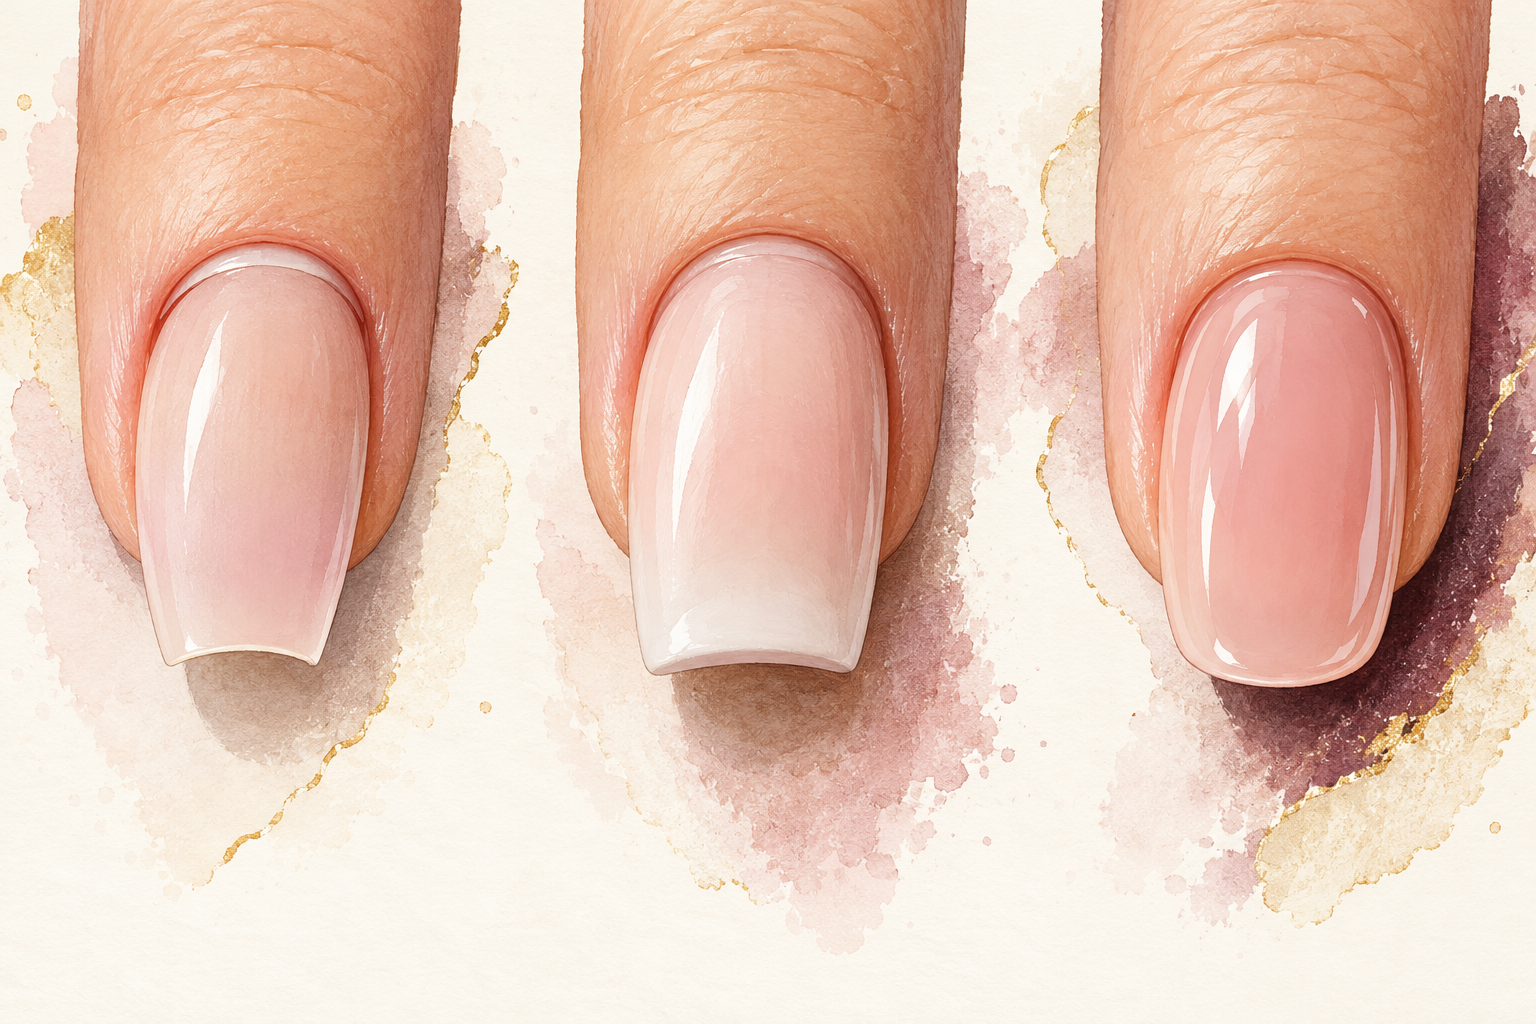
Study the base of each nail for two minutes before you pick a single tool. Press ons are a pre shaped piece of plastic with an even thickness and often a small gap above the cuticle. Acrylic looks thicker, with a smooth ramp that blends into your own nail. Gel looks glossier and slightly more flexible, with the same shine all over. If a nail has chipped, look at the broken edge, because a clean plastic edge points to a press on. Photos from the day you got them, or an old receipt, will answer it faster than guessing. Check every finger, since sets are sometimes mixed.
2. Press the tip and feel what is holding it
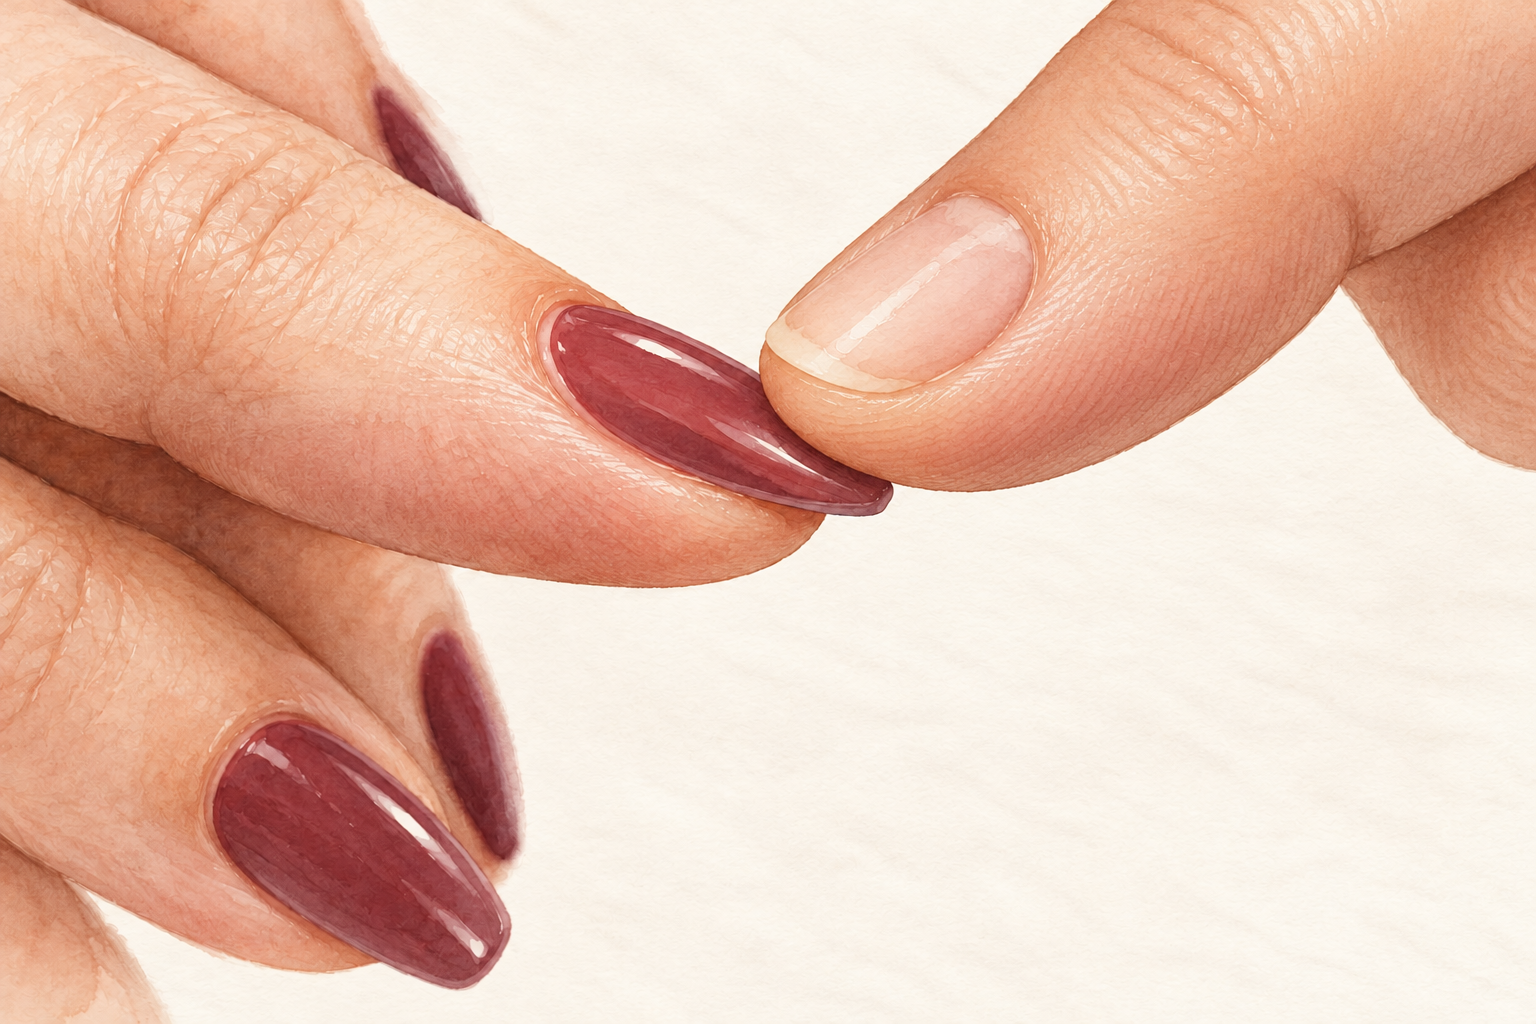
Press gently on the free edge of one nail and notice how it moves. A press on flexes a little and usually lifts at the corners first, which tells you glue or a sticky tab is the only thing holding it. Acrylic does not flex at all and feels welded to the whole nail. Gel gives slightly, yet stays stuck. If one nail is already loose, leave it alone for now, because pulling it takes layers of your own nail with it. Still not sure? Treat it as the toughest type and go slow, starting with the gentlest method and moving up only if it fails.
3. Gather your supplies and block out an hour
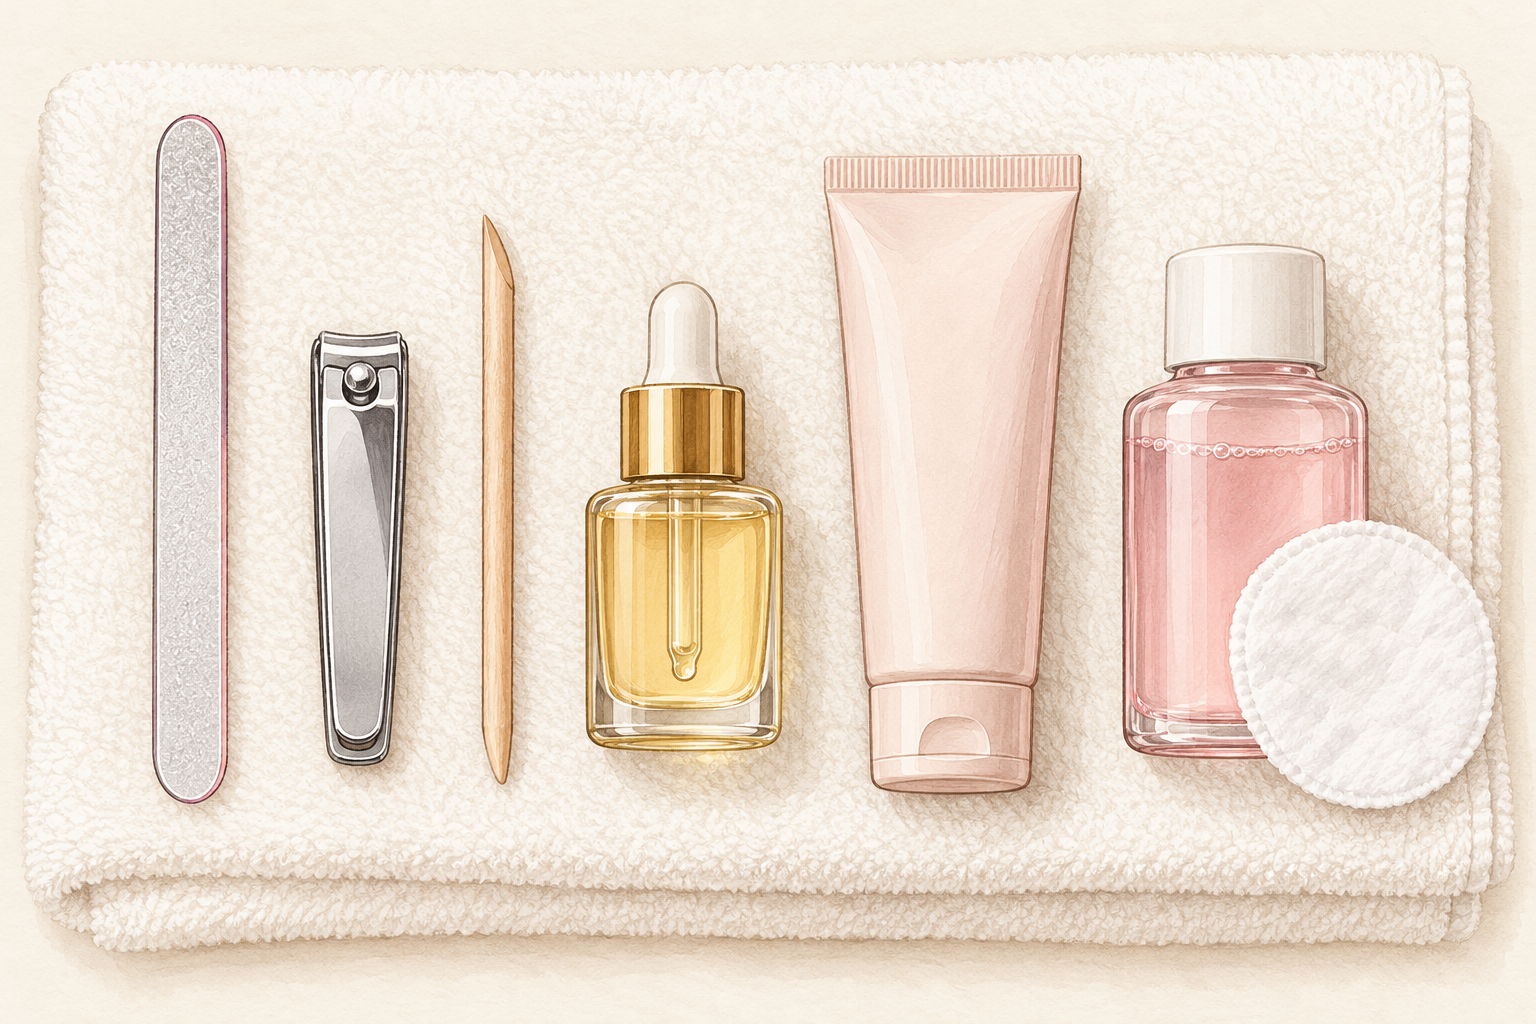
You need pure acetone, cotton, foil, petroleum jelly, clippers, a glass file and an orange stick. Ordinary polish remover with added oils is too weak for acrylic or gel. Put on a show, because how to remove fake nails safely is mostly about not rushing, and rushing is how people end up prying. Open a window and keep acetone away from candles and heat, since the fumes are strong and flammable. Never warm the bowl in the microwave. Set a timer on your phone so you are not guessing, and keep a glass of water close by.
4. Clip the extra length off the free edge
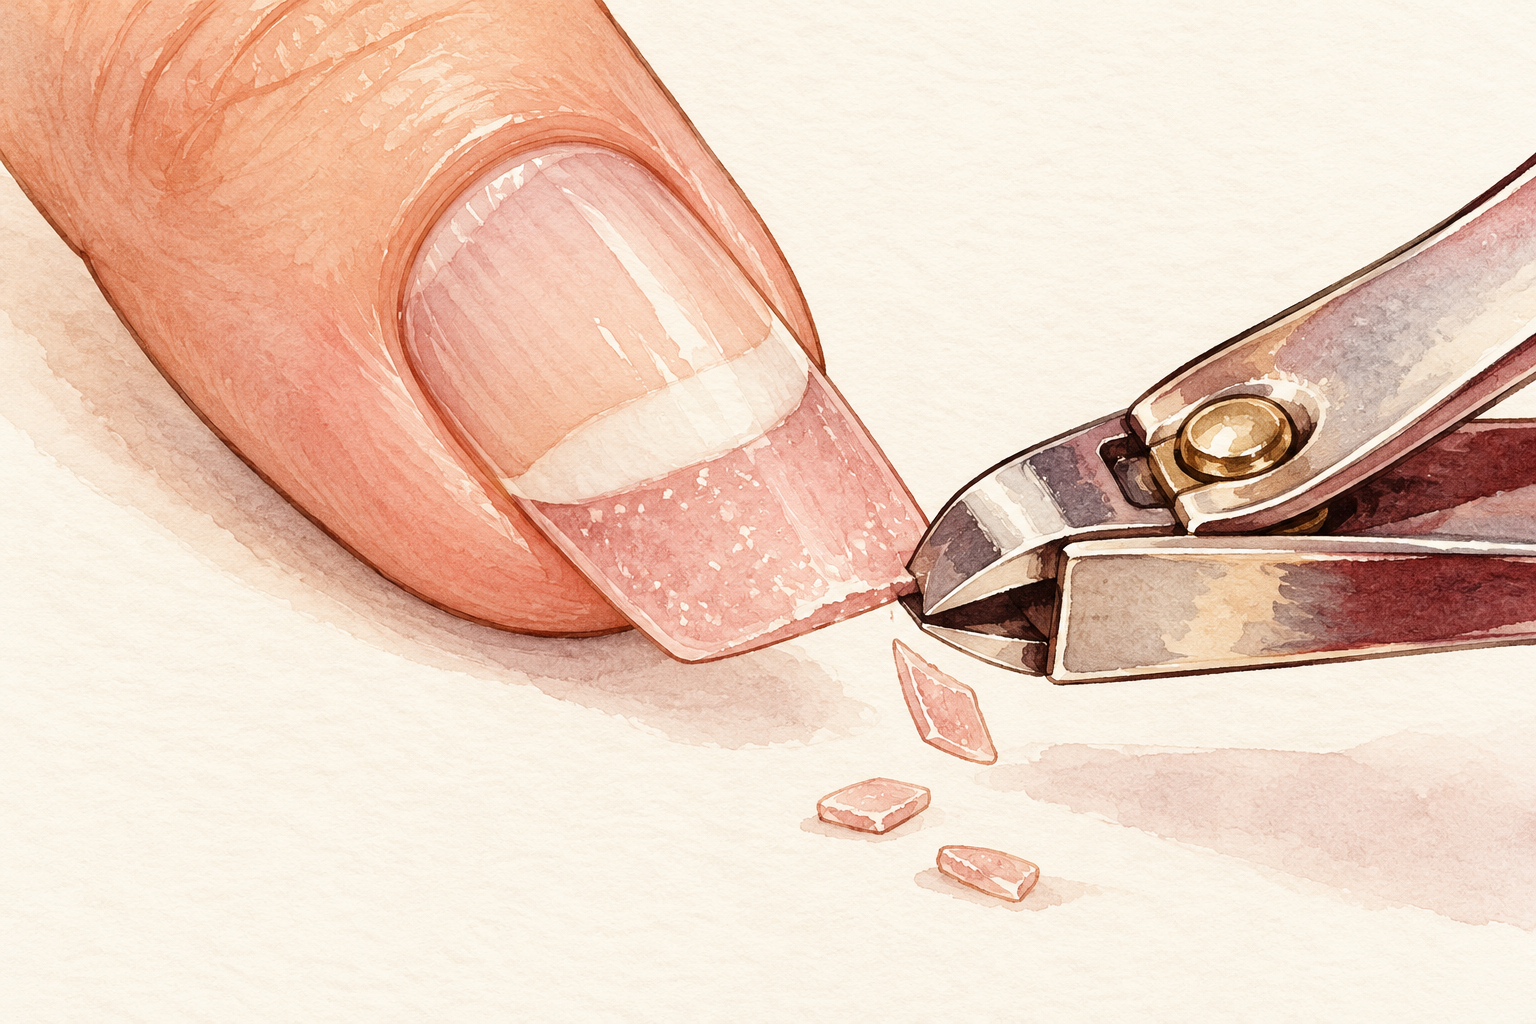
For acrylic and gel, cut the overhanging tip short with clippers so there is less product to dissolve. Cut slowly in small snips and stop well before the pink part of your own nail. Never twist or yank the clippers, since that can crack the real nail underneath. For press ons, clipping is optional, and you can skip it if you plan to reuse them. Short leftovers soak faster and slide off more easily. Catch the clippings on a paper towel, because sharp bits of acrylic travel. Sweep the pile into the bin before you start the soak.
5. File the shine off acrylic only
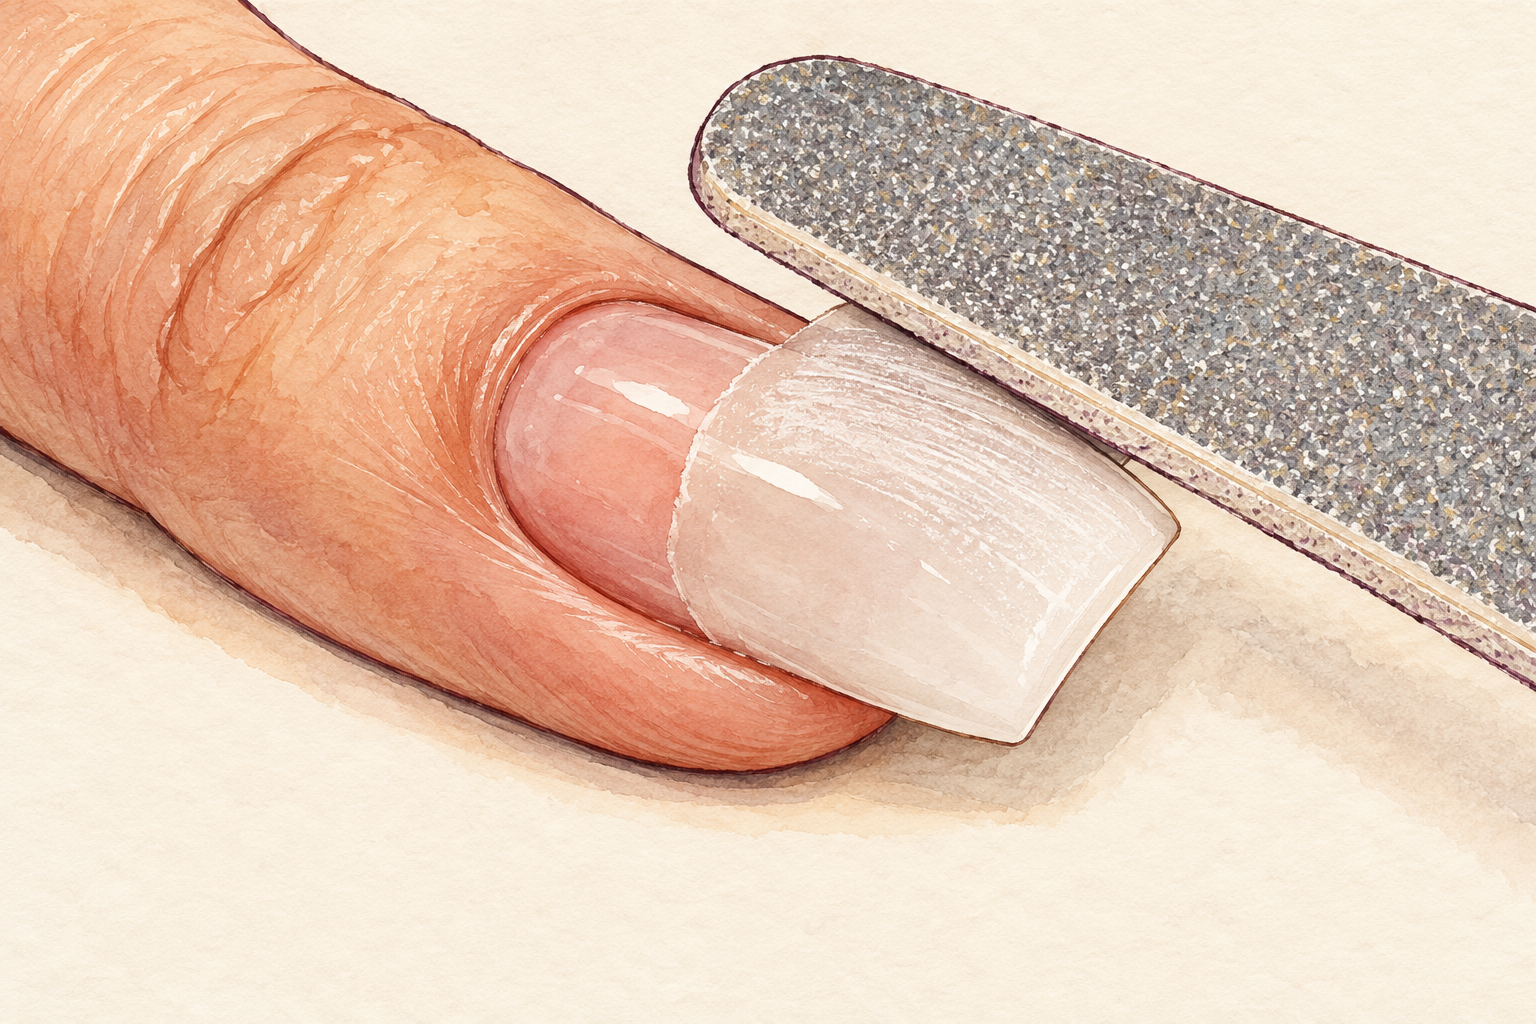
Buff the glossy top coat off acrylic with light strokes until it looks dull, and stop there. That breaks the seal so the acetone can sink in. Do not file down toward your own nail. Gel polish is different, because picking or filing it tears layers of your own nail away with it. If you are not sure which you have, skip filing and give the acetone more time. Wipe off the dust with a dry brush afterwards, because dust blocks the soak. The nail should look dull and chalky, not glossy.
6. Protect your skin with petroleum jelly
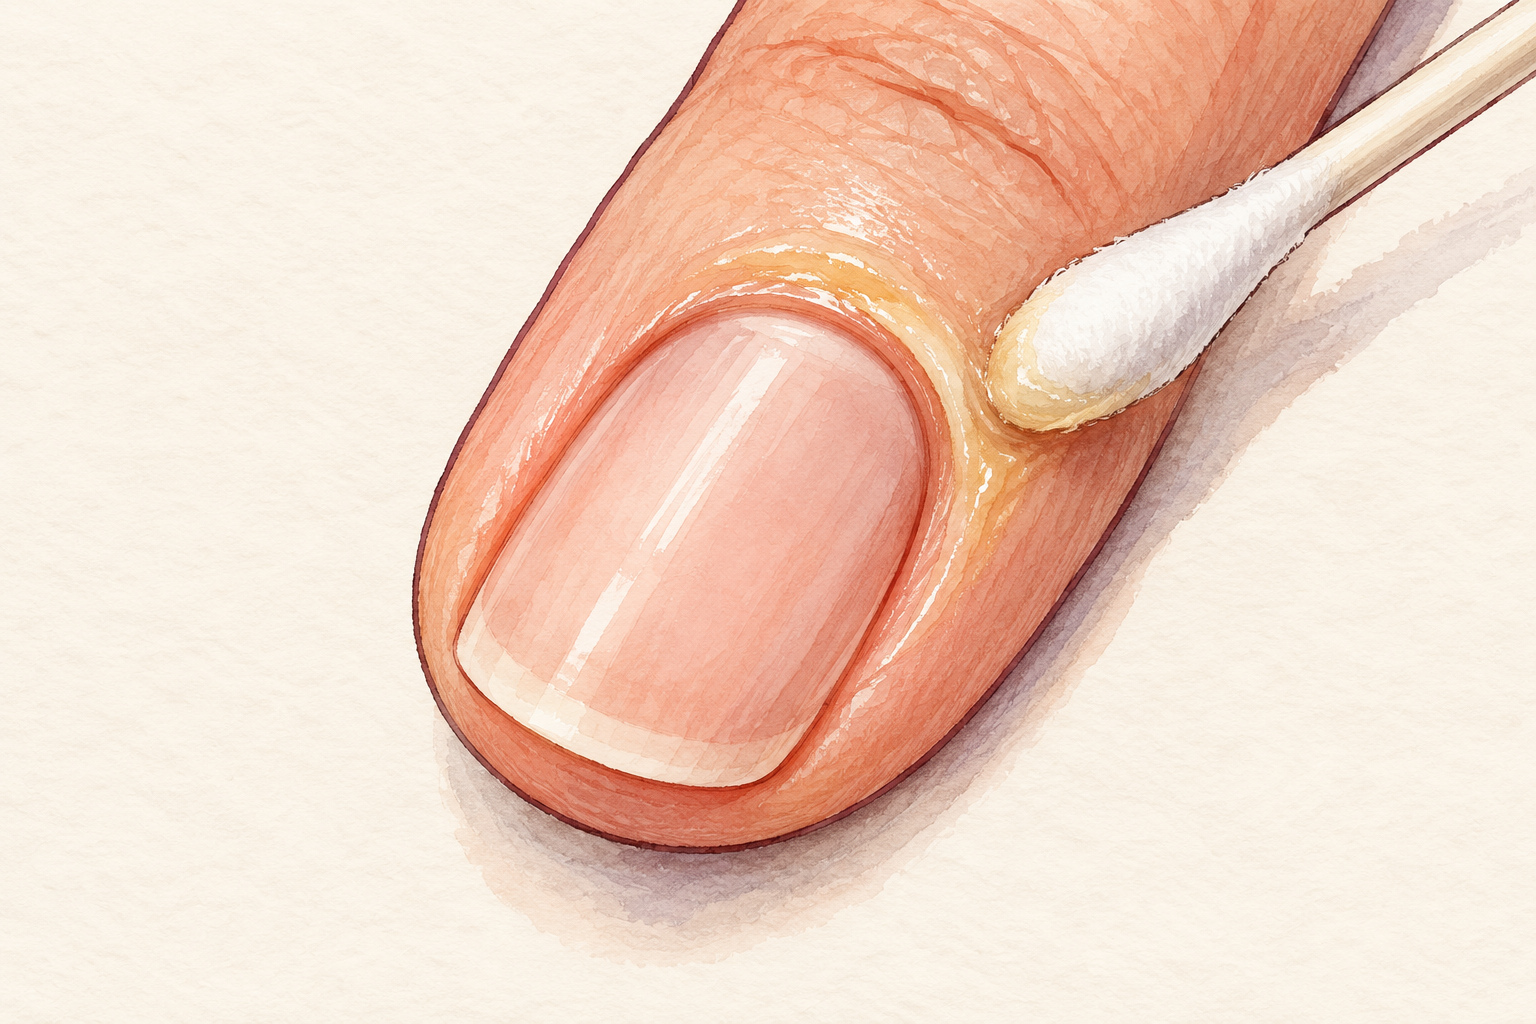
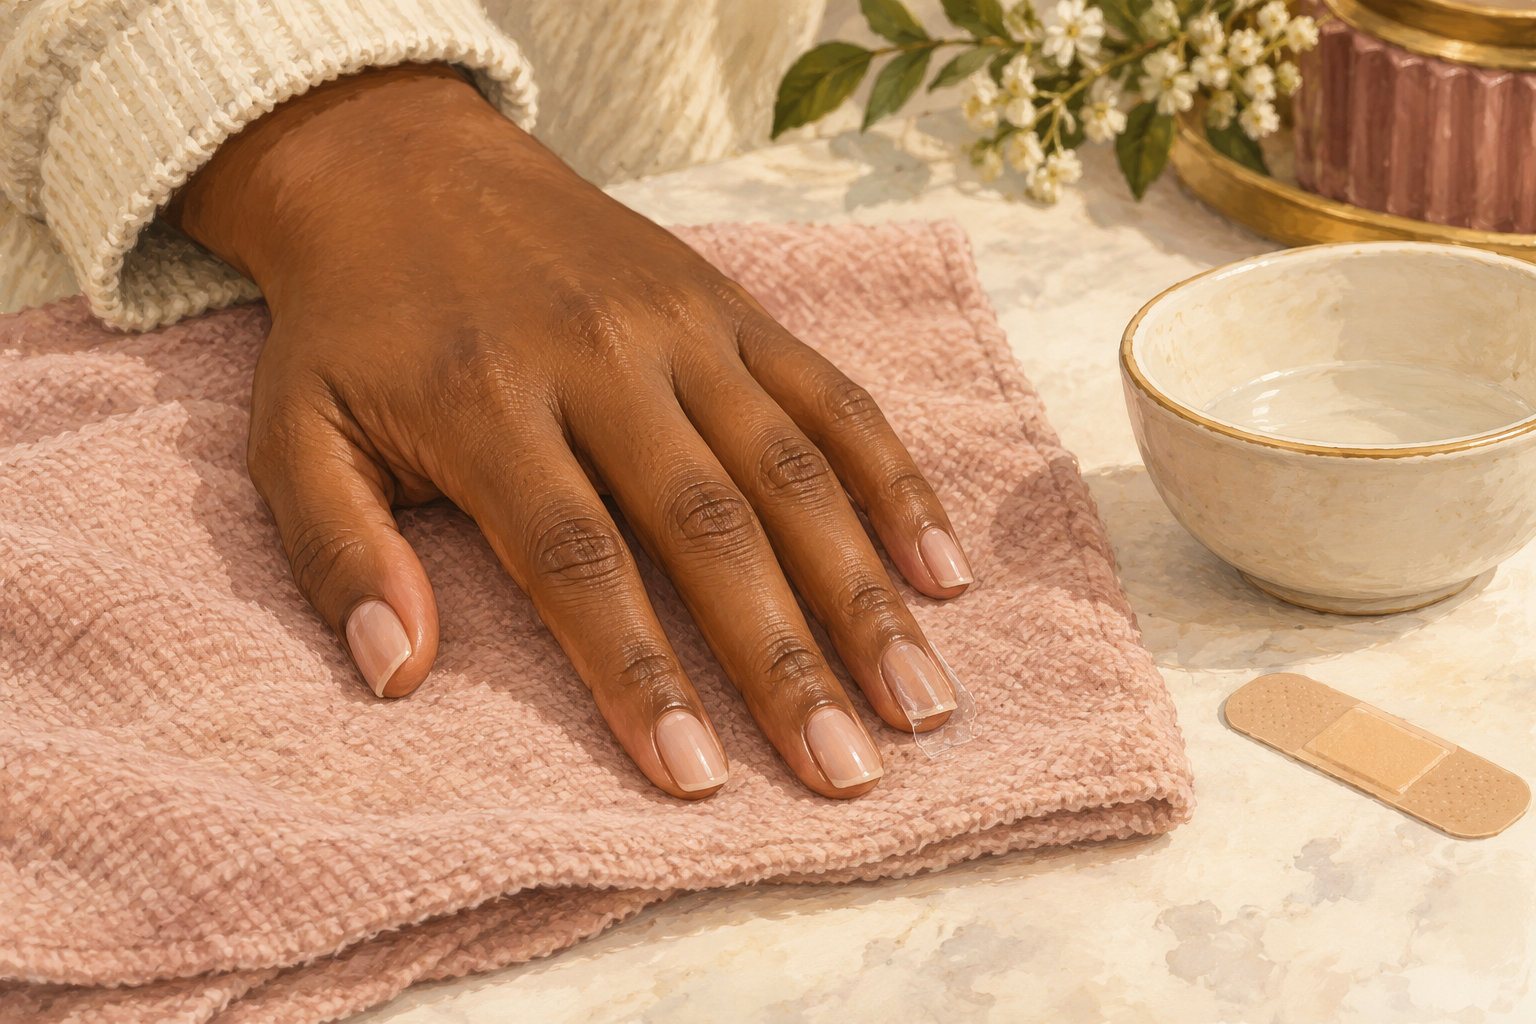
Rub a thin layer around each nail, over the cuticle and along the sides. Keep it off the nail surface, or the acetone cannot reach the product. This barrier cuts how much acetone dries your skin. Use a cotton bud for the tight corners. After the soak, wash your hands with plain soap. If you notice stinging or redness, rinse straight away and stop for the day. Acetone is strong, so a little extra care now saves cracked fingertips tomorrow. Give the thumbs a little longer, because the wider nails take more time to soften.
7. Start press ons with a warm soapy soak and a drop of oil
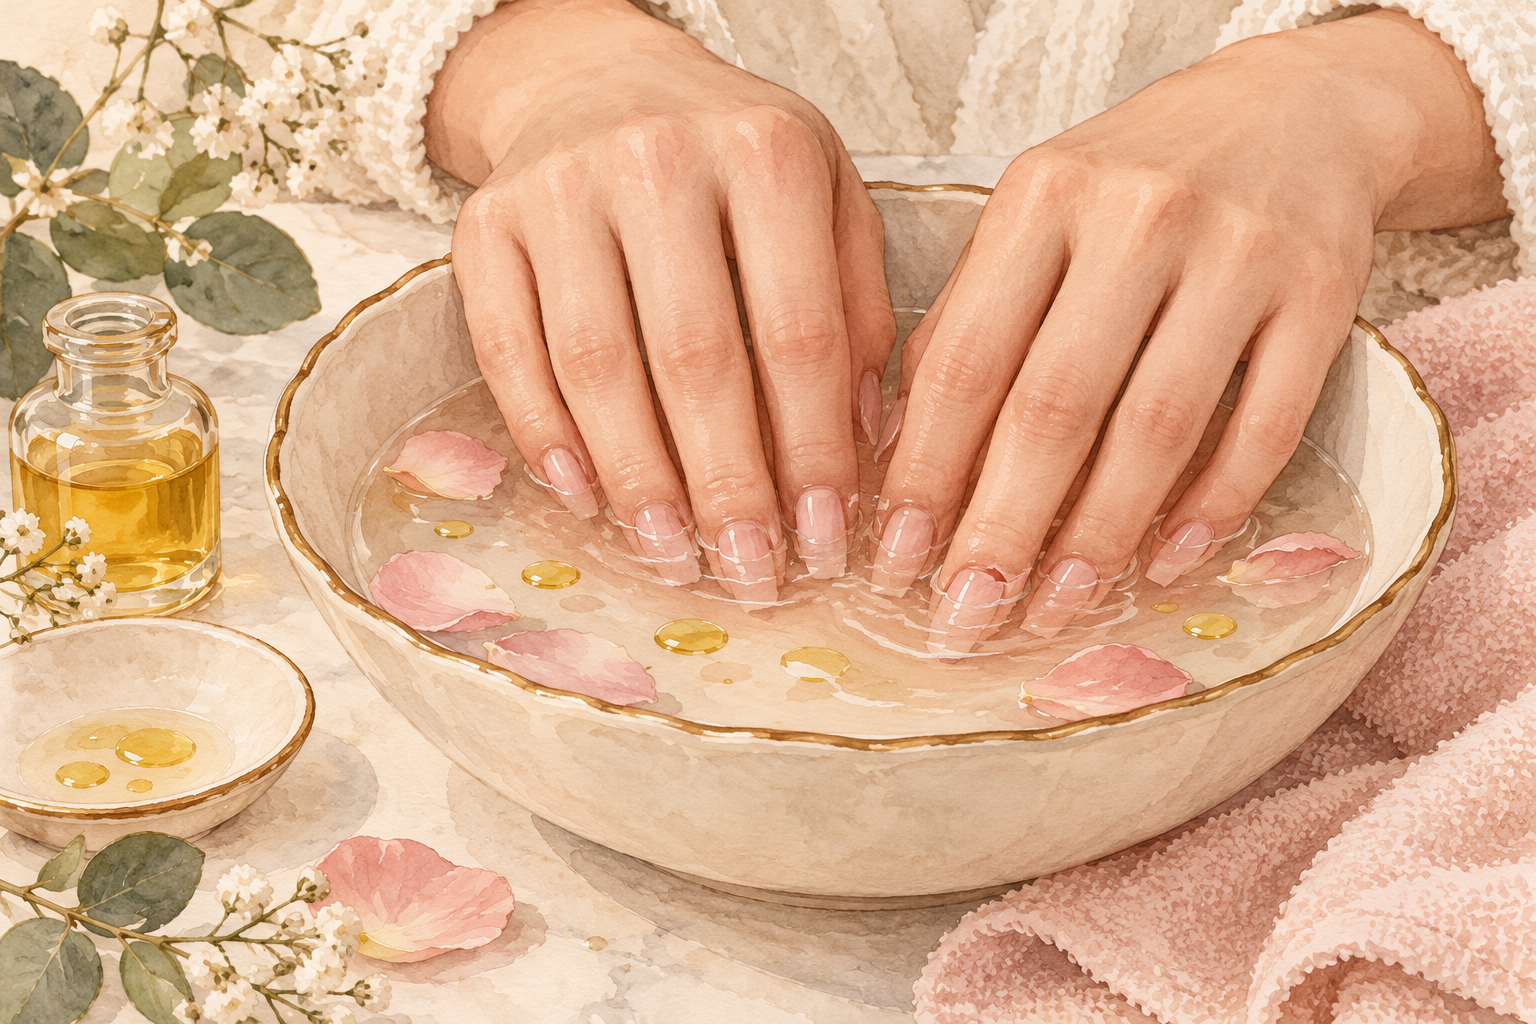
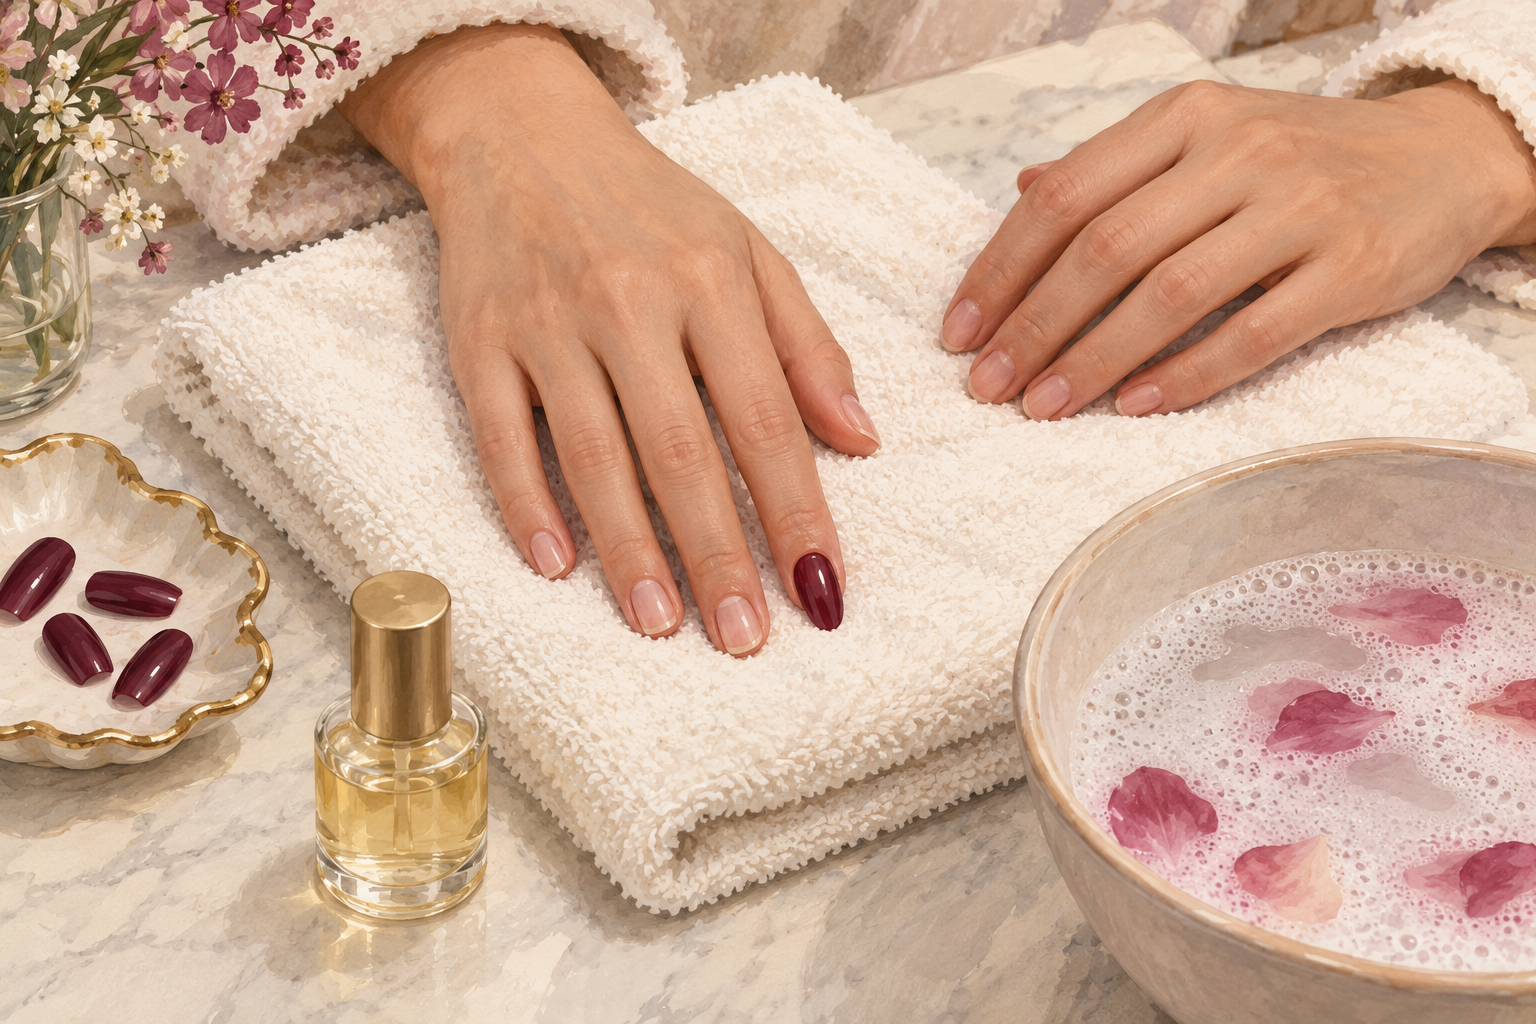
Soak your fingertips in warm soapy water for ten to fifteen minutes to soften a tab or light glue. Then work a drop of oil under the lifted edge and ease each nail up from the side. If one resists, soak again rather than tugging. This usually leaves the press ons intact enough to reuse. It is the right method for sticky tabs but weak against strong liquid glue. Wipe any leftover tab residue off with a little oil on a pad. Lay the lifted nails on a tissue in order, so each one finds its own finger later. Glue and tabs need separate handling, and if you are unsure, open how to remove press on nails.
8. Use an acetone wrap when strong glue will not budge
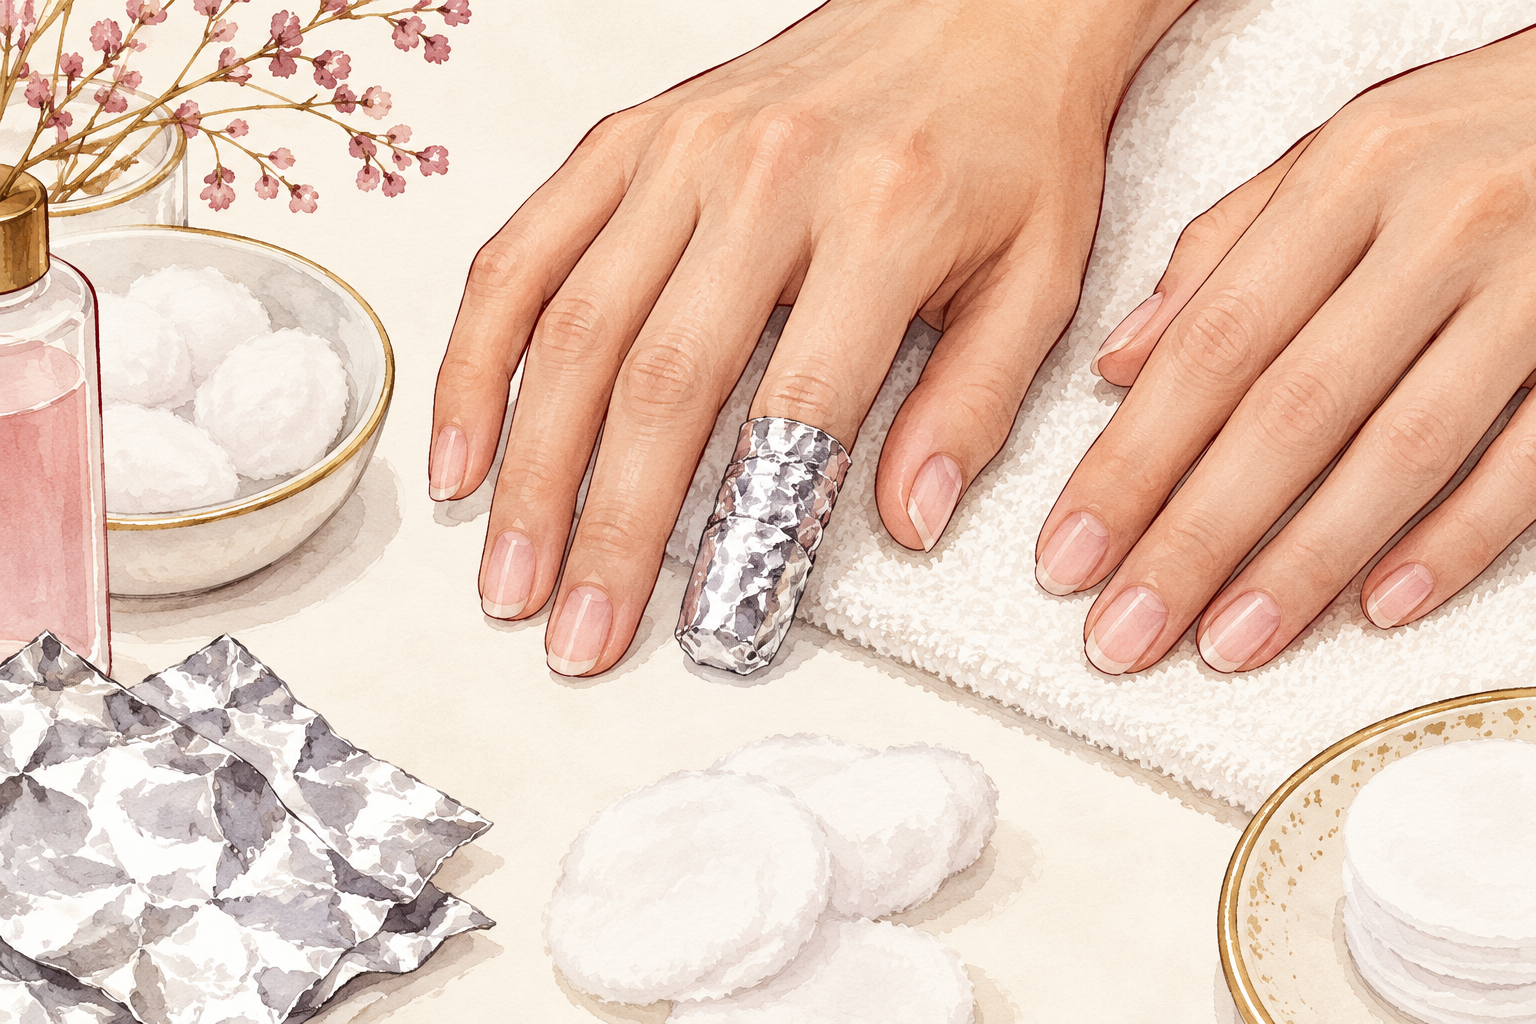
Soak a cotton ball in acetone, press it on the nail and wrap the fingertip in foil for ten to fifteen minutes. Strong glue often needs this, and the press ons will usually be ruined, so only do it if you will not reuse them. Check at ten minutes and gently push the nail off with the orange stick. Any leftover glue buffs away with a very light pass. Never scrape glue off with a metal tool. If the glue is still stuck, wrap again for another five minutes rather than digging at it.
9. Wrap acrylic and let it dissolve
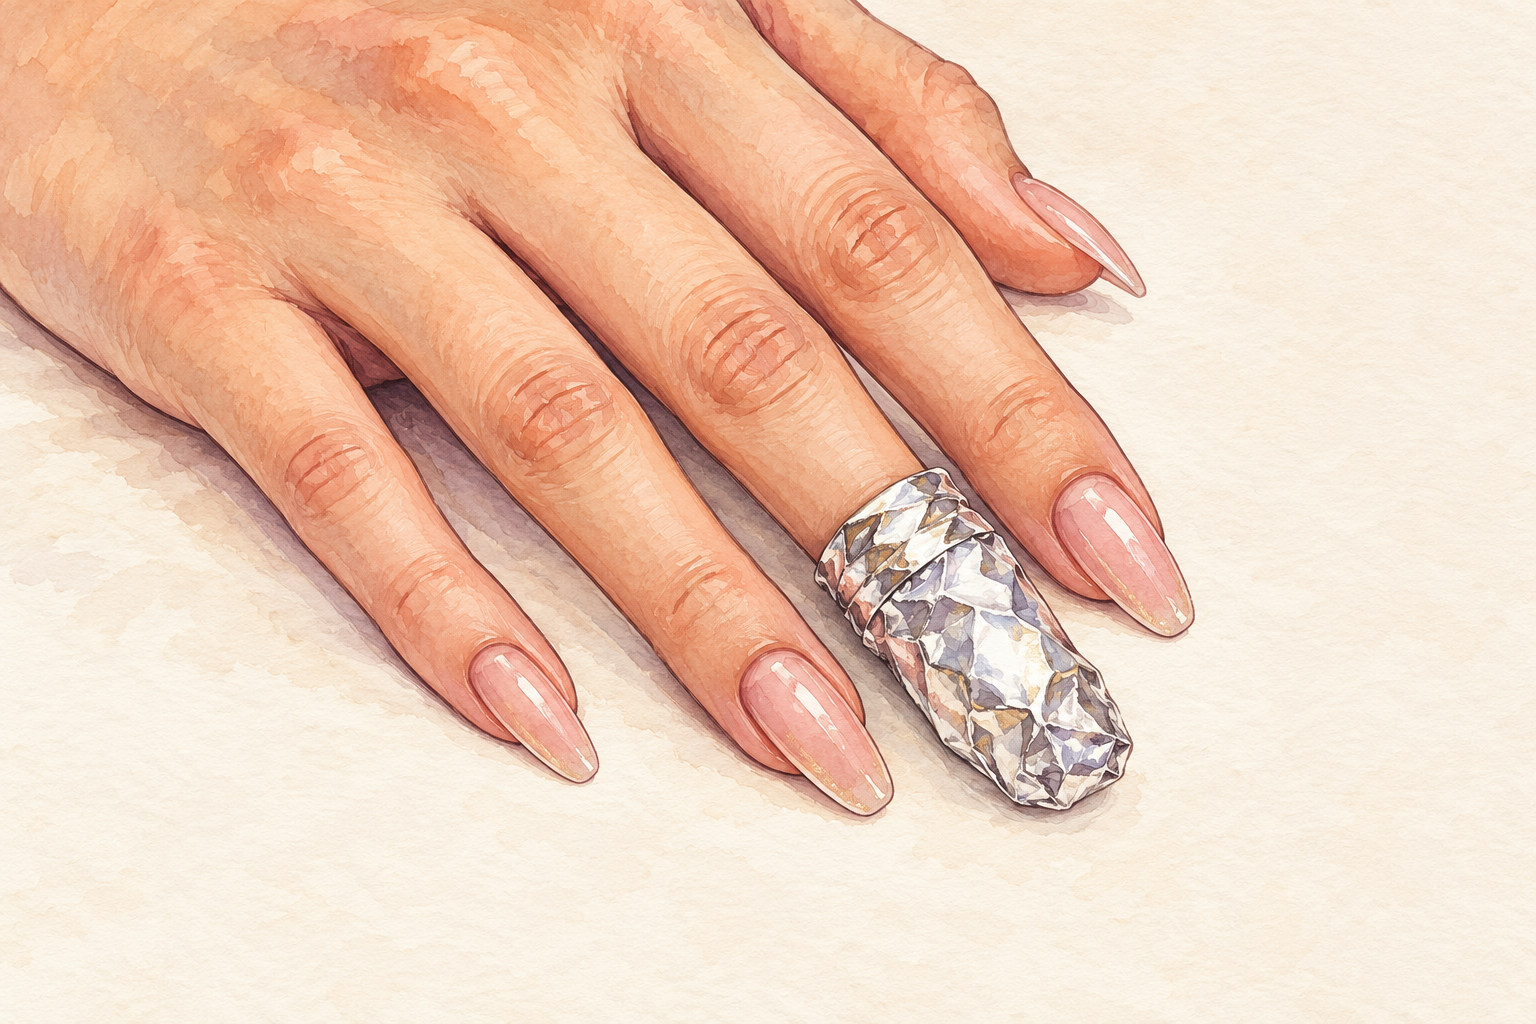
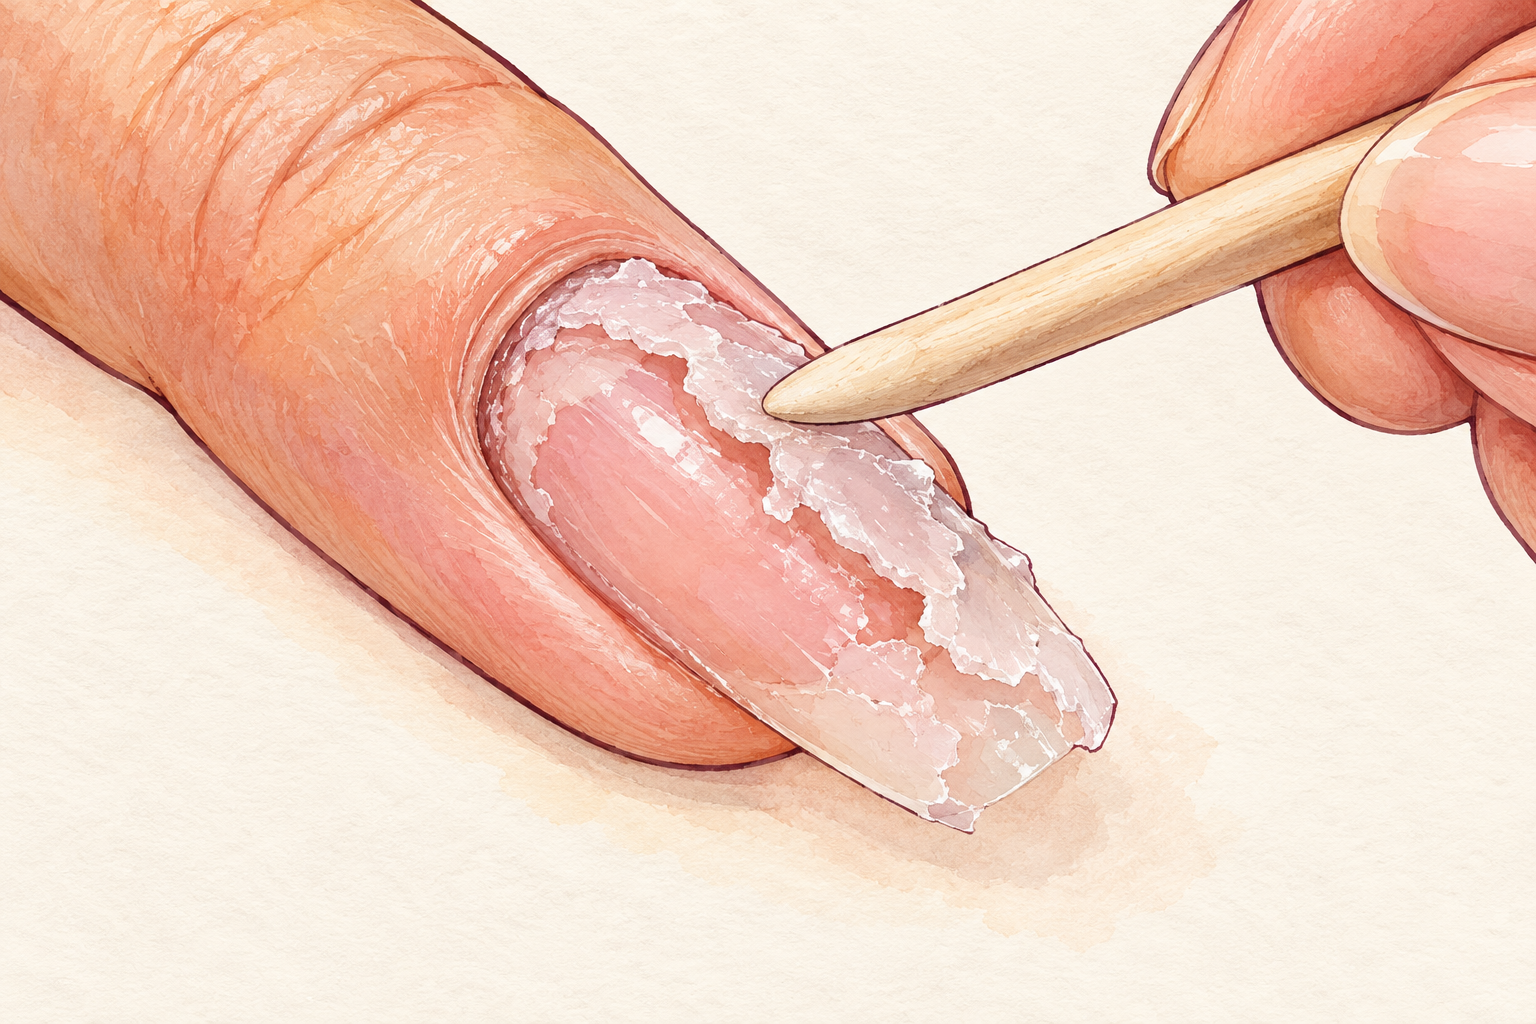
Place a dripping wet cotton ball of pure acetone on each filed nail, wrap each fingertip in foil and set a timer for ten to fifteen minutes. Slide the softened acrylic off gently with an orange stick, never your fingernail. Repeat the wrap for stubborn bits instead of scraping them. Do not pry with anything metal. Patience beats force every time with acrylic, and the wait is what protects your own nail. Keep your hands still, because moving them loosens the foil and lets the soak go cold. When acrylic is thick and stubborn, how to remove acrylic nails at home is the fuller guide.
10. Treat soft gel gently and stop if it will not budge
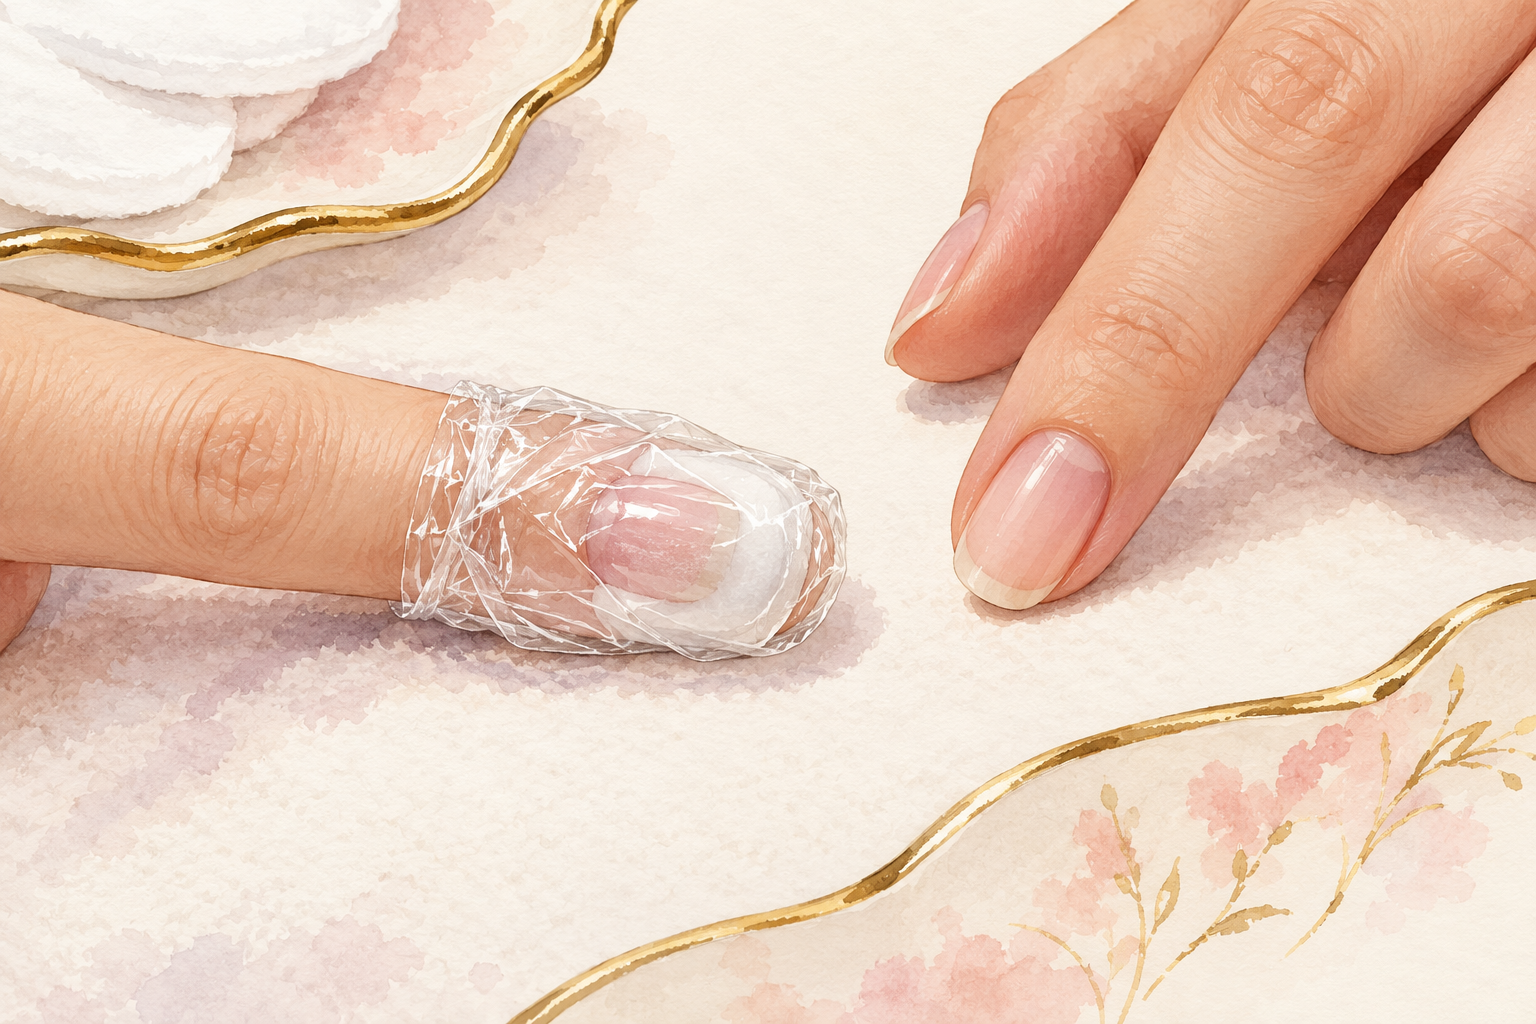
Soft gel that is meant to soak off lifts after about ten minutes of acetone under a tight wrap. Plastic wrap seals better than foil here. Test one nail first and look for the gel to crinkle and lift. If the gel is the hard kind, thick or built over a form, it will not soften, and that is your sign to stop rather than file it down yourself. Book a nail technician for a hard gel set, who can take it off in minutes. It is far kinder to your nails than a home attempt.
11. Smooth the leftovers and skip the five common slips
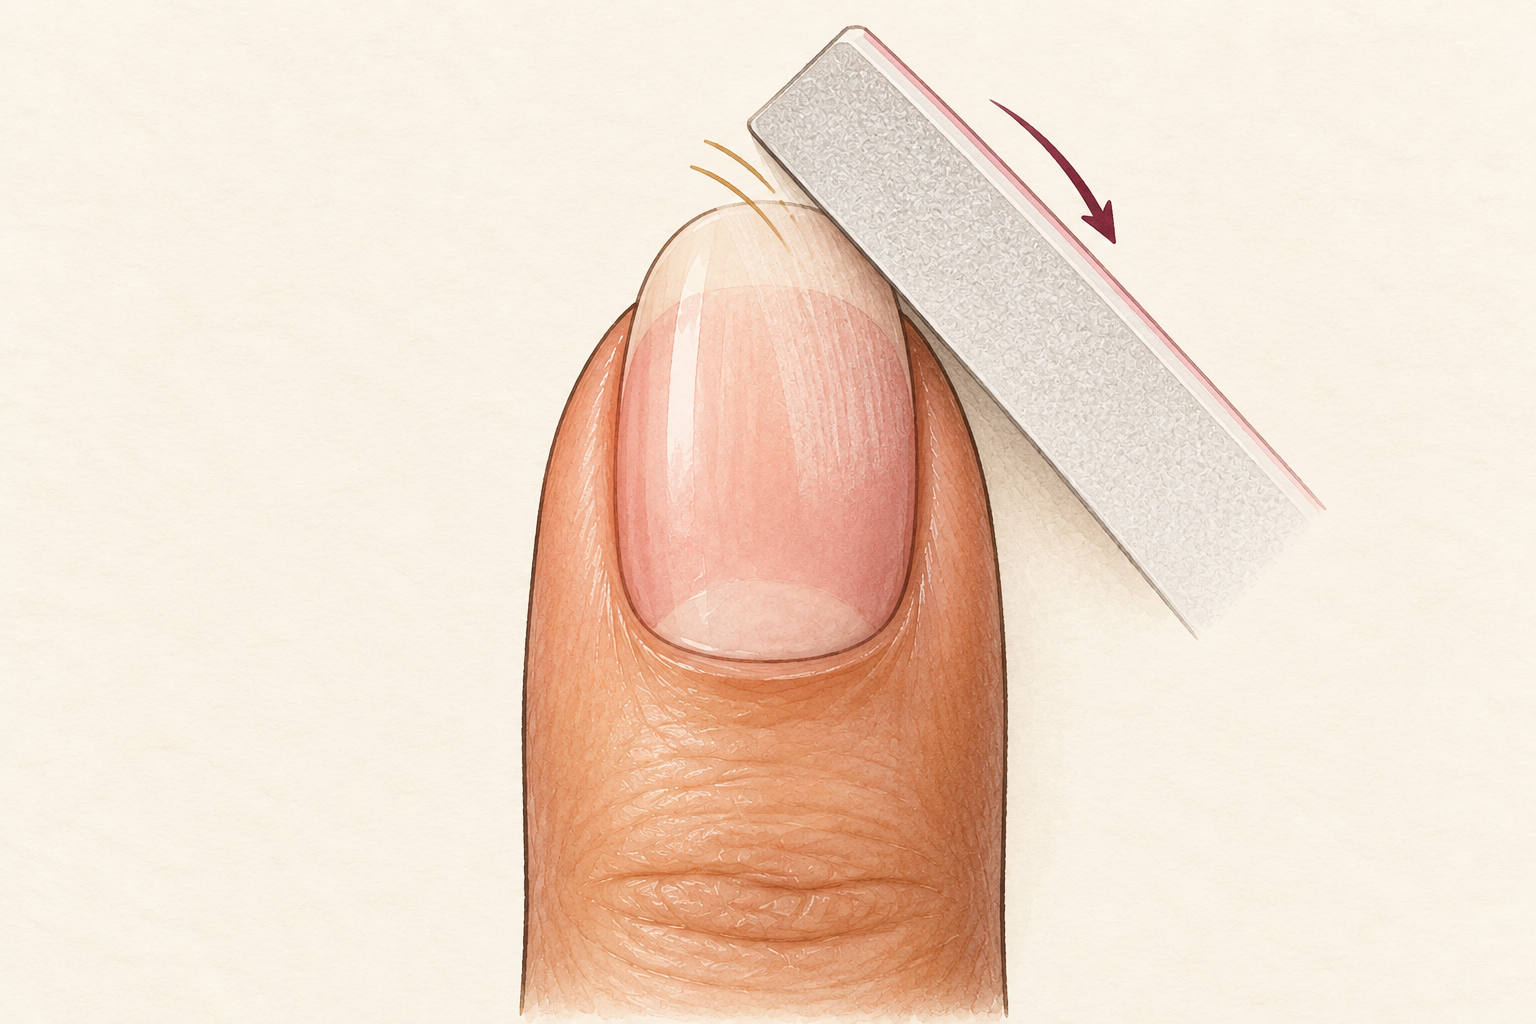
Buff any leftover residue with one or two very light passes, and no more. Skip prying, pulling, biting, deep filing and doing it all in five minutes, since how to remove fake nails fails every time it is rushed. If something is stuck, soak longer. Wash your hands, then press cuticle oil into each nail and cuticle. Your nails will look thin, dull and a bit bendy at first, and that is normal. Keep the shape short and plain for a few weeks. Press oil into the cuticles again at bedtime, while the skin is still soft and thirsty.
12. Give your nails a rest and watch the weeks
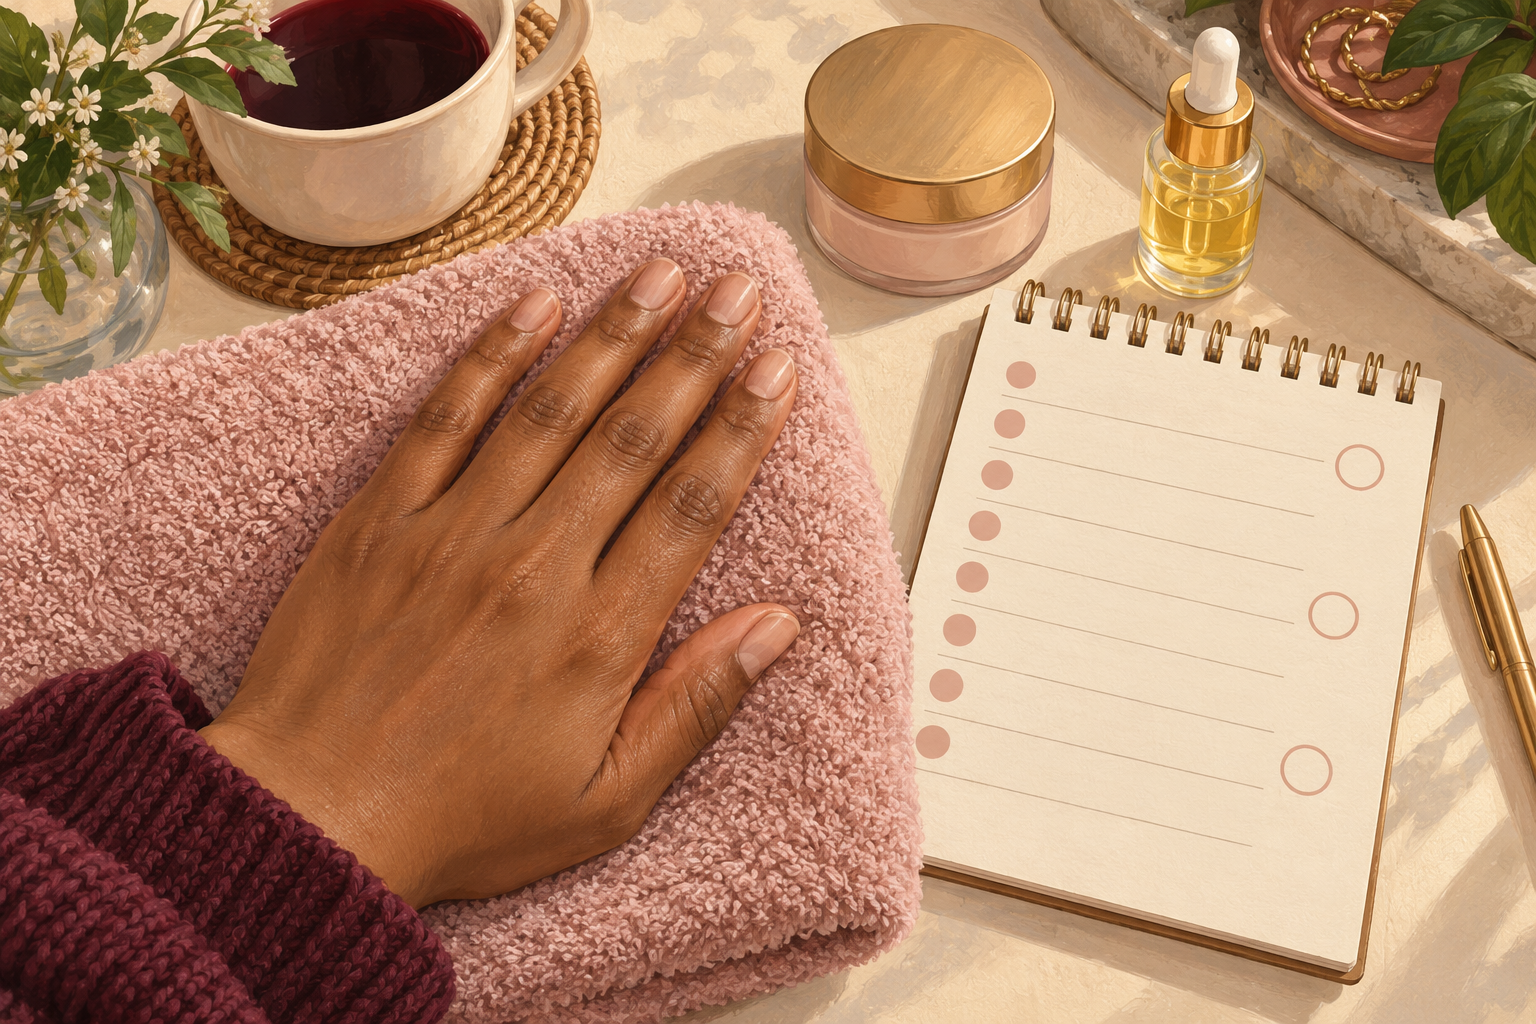
Rub oil and thick hand cream in every day, and wait a couple of weeks before putting anything new on. In week one, nails often look thin and the skin feels tight from acetone. By week four, the shine returns and the thin layer begins to move toward the tip. By week eight, most of the rough part can be trimmed off. A nail that throbs, turns red or oozes is one to see your doctor about. A fingernail takes about six months to grow out fully, so full recovery is slower than the surface suggests.
Complete the Routine: How to Remove Fake Nails and Recover
Tonight, trim and prep one hand to practice how to remove fake nails, and see how your nails react before you do the second hand. Taking the removal slowly keeps your nails in good shape, even when the job feels long. Nothing here needs to be done in one sitting, and the guides below can help when you are ready.