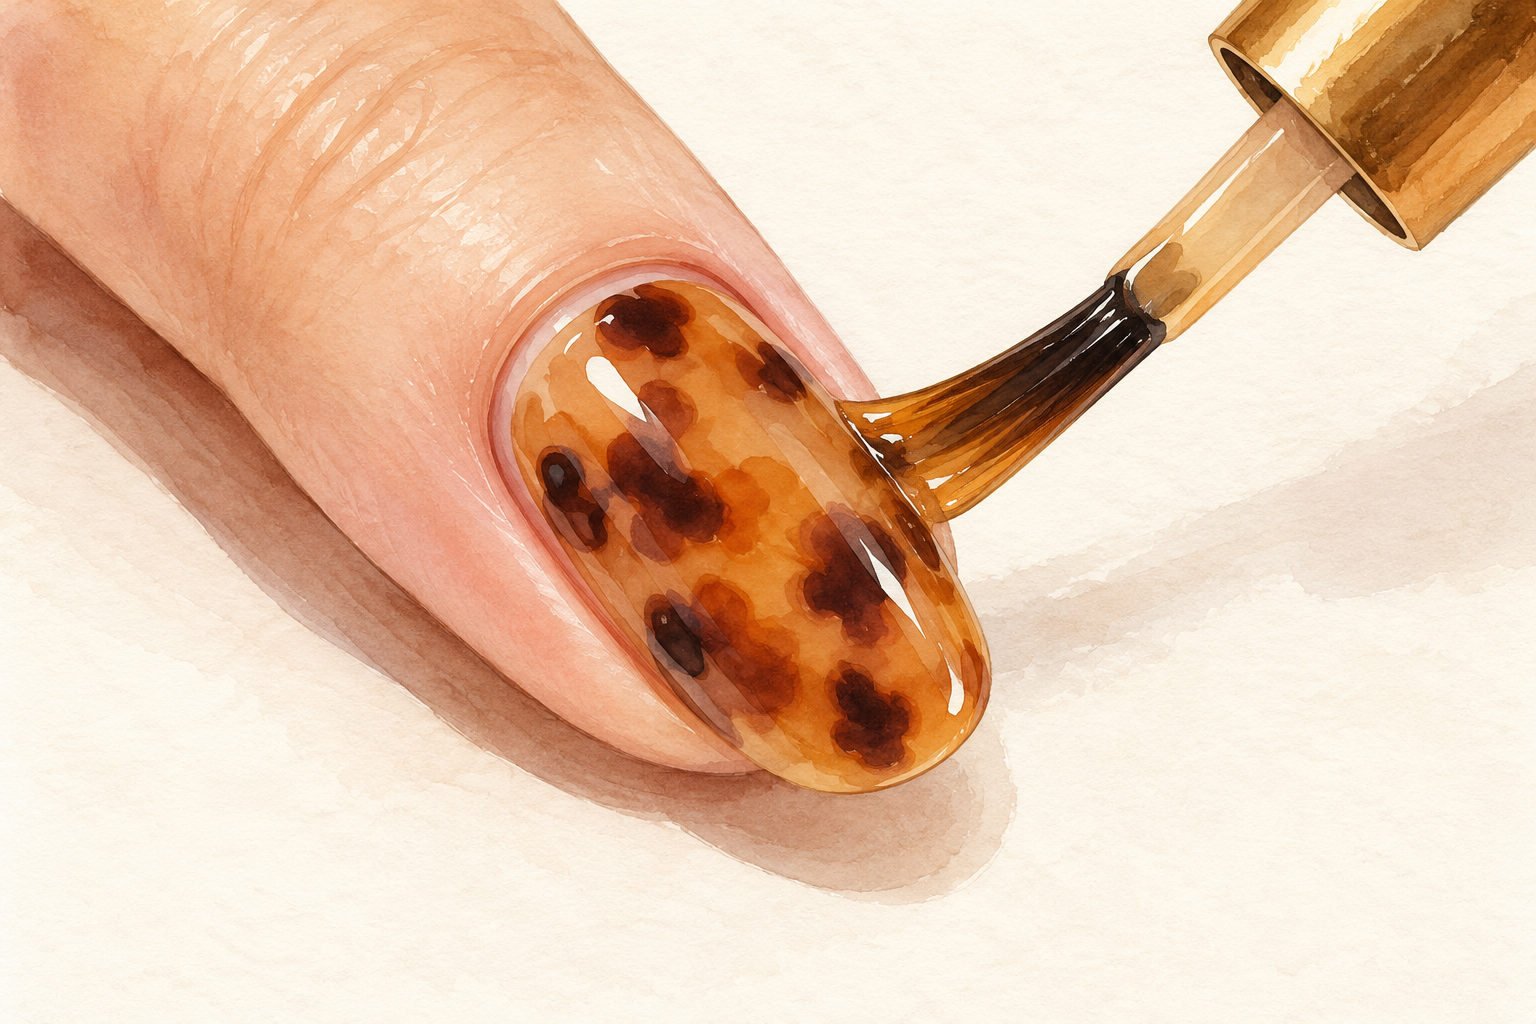
You copied a pretty video on how to do cheetah print on nails, and your spots ended up as one brown smear, or as neat identical dots that look like a polka dot sticker. It happens to almost everyone, and it is usually the order of the layers, not your hand. Here are 12 steps for natural spots, so start at number one tonight.
1. Gather your tools and polishes
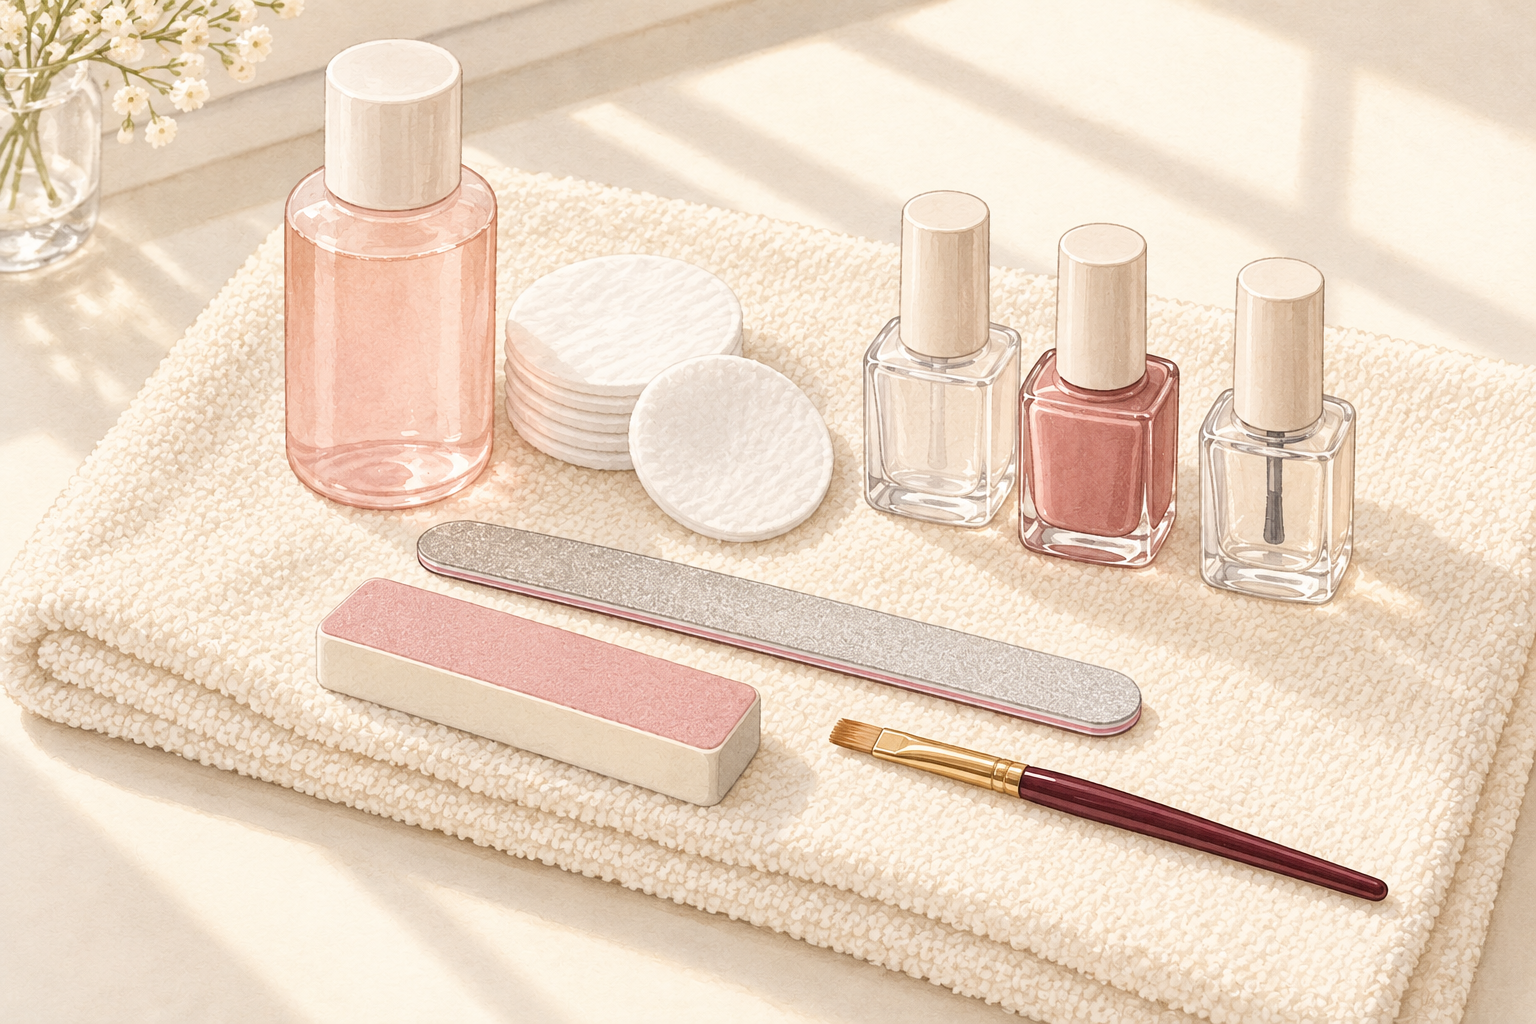
Set out a dotting tool, a toothpick, a thin detail brush, a small piece of makeup sponge and a piece of foil to use as a palette. Add a sand or tan base color, a mid brown, a dark brown or black, a base coat and a top coat. Keep a small flat brush and a bottle of remover for clean up. Pour a tiny puddle of each polish onto the foil so the tools can dip without a bottle brush. Everything within reach means the layers never sit and dry while you search. Spread a towel under your hands, because tiny dots of brown love to land everywhere.
2. Choose a warm base with some contrast
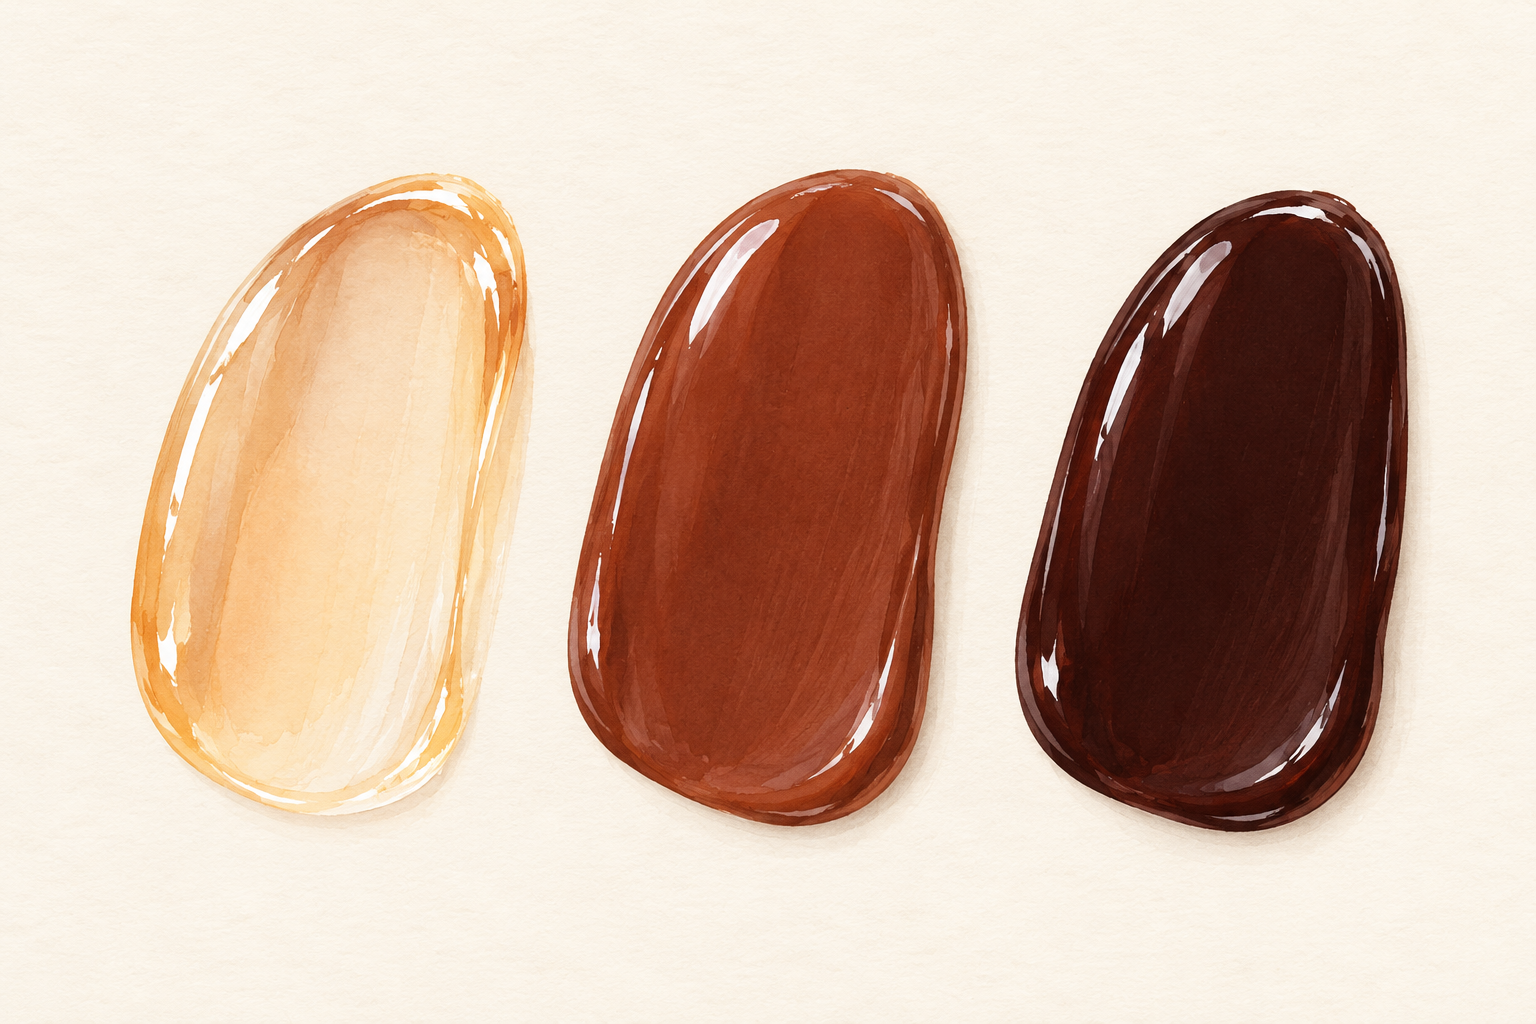
Pick sand, tan, honey or caramel for the base, because these warm shades sit between white and brown. The base shows through between the spots, so it matters more than the spot color. Dark spots vanish on a base that is already deep brown, so keep the base lighter than your spots. Cream and nude bases give a soft, quiet print, while a pale yellow gives a brighter cheetah. Test the base beside the spot color on a scrap of paper before you touch your nails. Two or three bottles in the same family is all this look needs.
3. Paint two thin base coats and let them dry fully
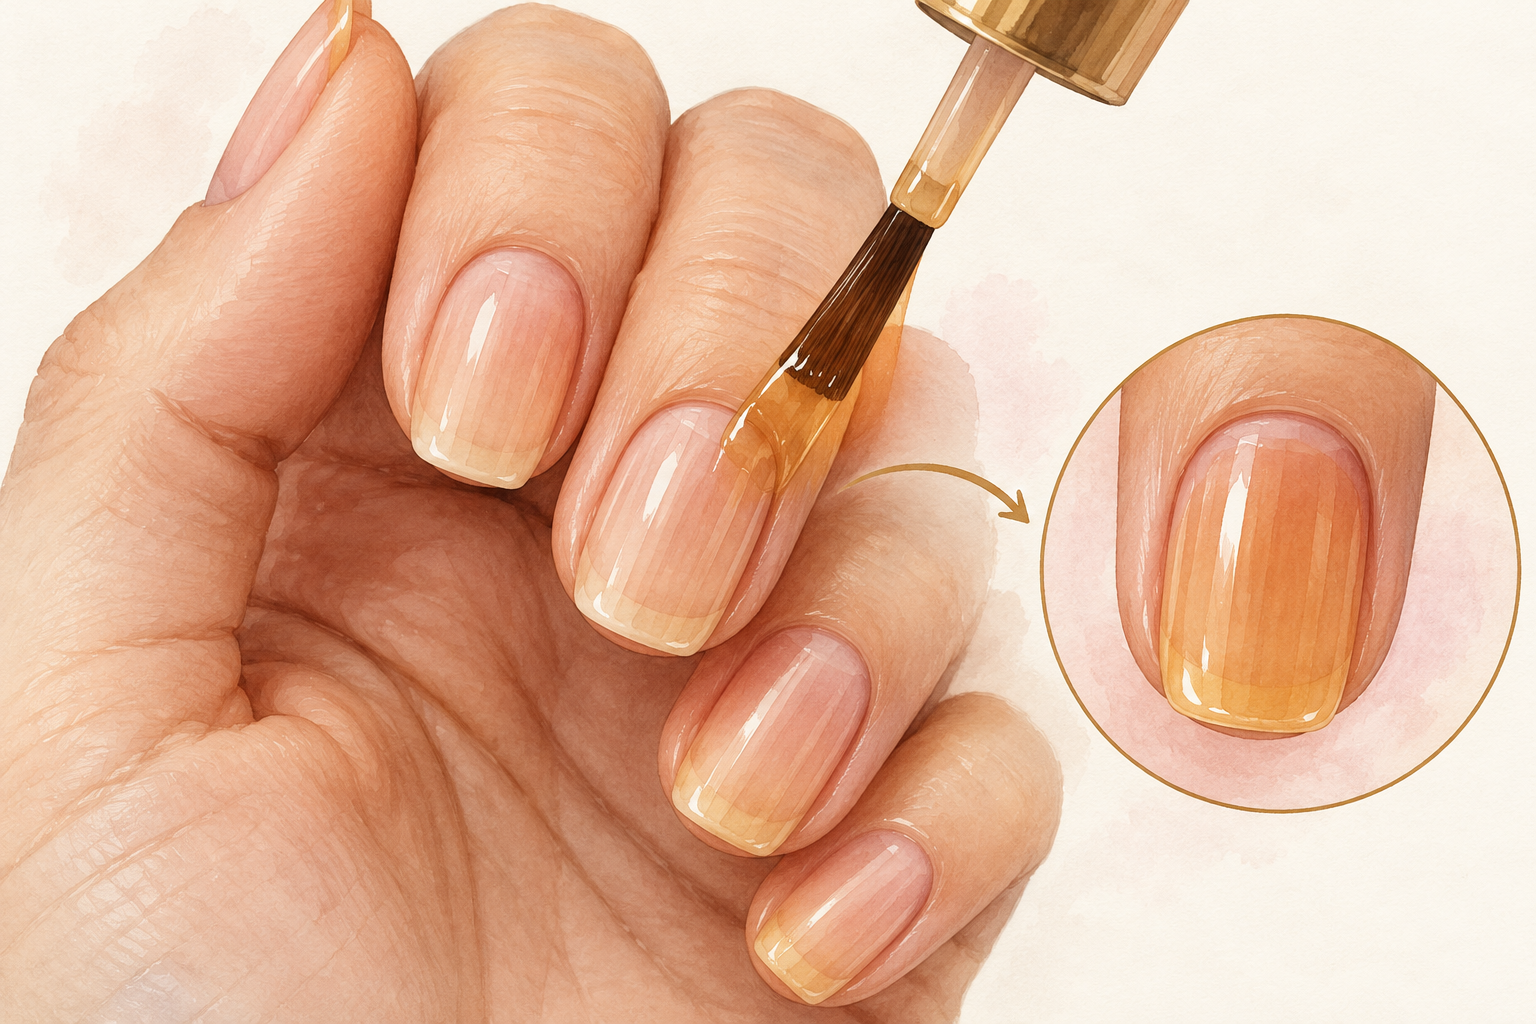
Paint two thin coats of your base, then wait about ten minutes after the last one. Thin layers dry right through, while a thick coat stays soft underneath and drags when the spots go on. Touch the very edge of one nail with the back of a fingernail, and if it feels cool or tacky, wait longer. This wait feels slow, and it is the step that saves your spots. Rushing here is the most common reason spots bleed into the base. Use the time to wash your tools and set up the foil palette.
4. Dab on soft brown patches
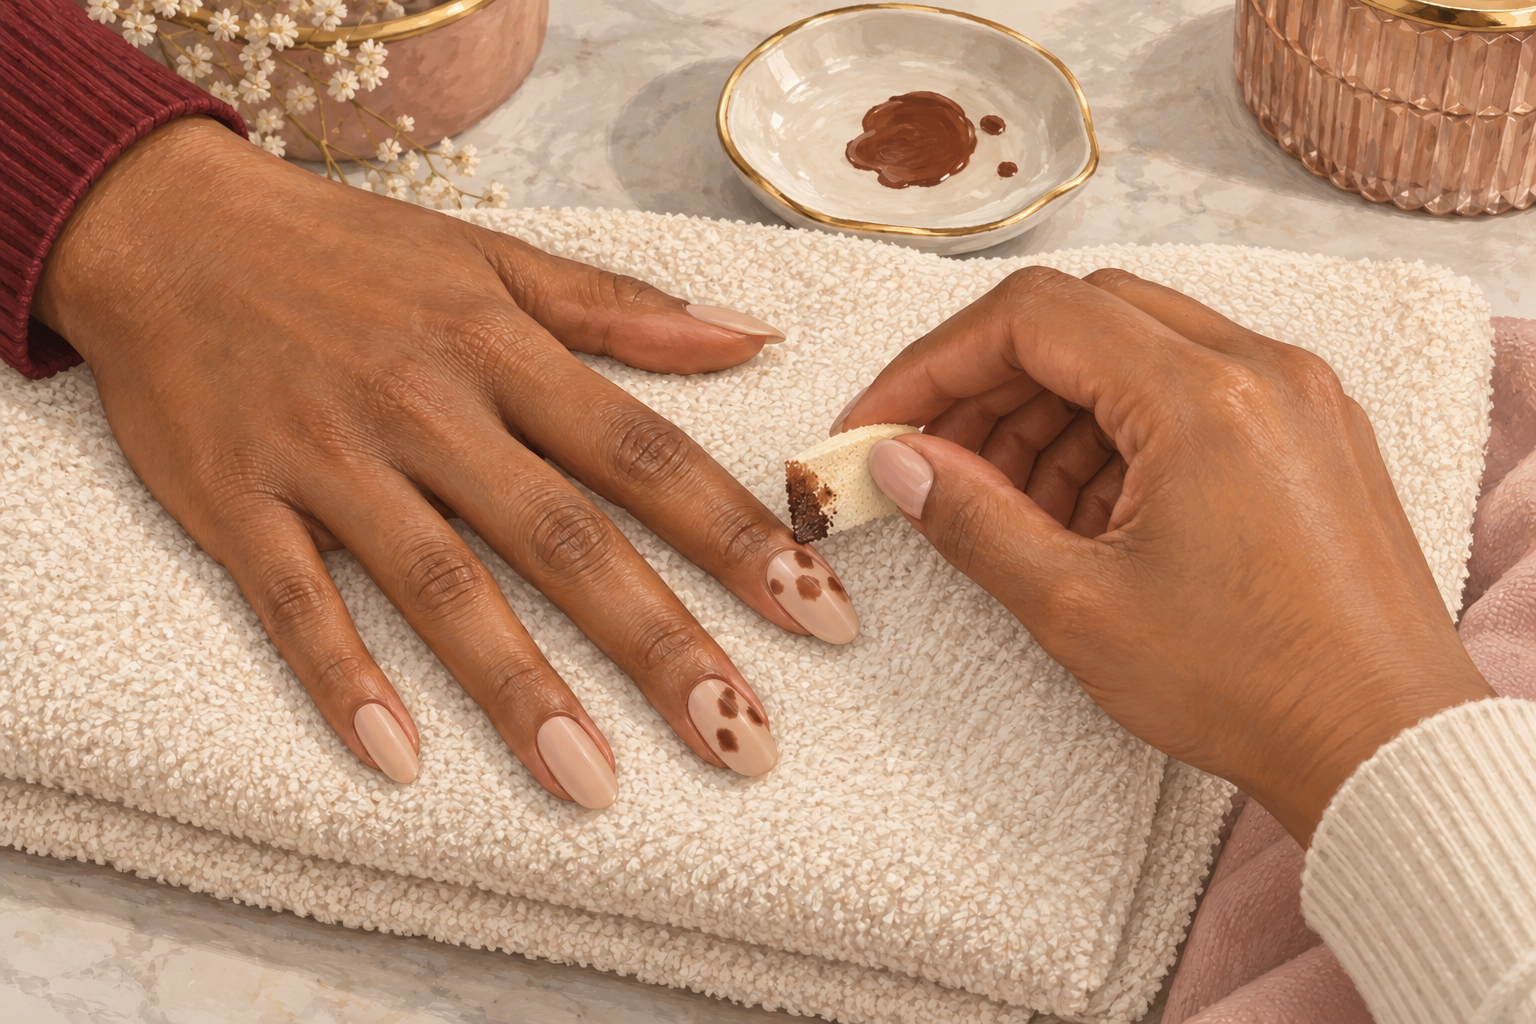
Dab a few irregular patches of mid brown onto the dry base with a torn bit of sponge. Press lightly and lift straight up, using a different spot on the sponge each time. These patches give the base shading like fur, so the dark spots sit on something that looks real. Let them dry for a few minutes before you move on. Keep the patches uneven and keep them away from the very edge of the nail. The dark spots always go over the top, never under. A torn sponge edge gives a softer, furrier look than a cut one. Warm brown patches are the heart of that look, so keep how to do tortoise shell nails handy.
5. Make spots with a dotting tool
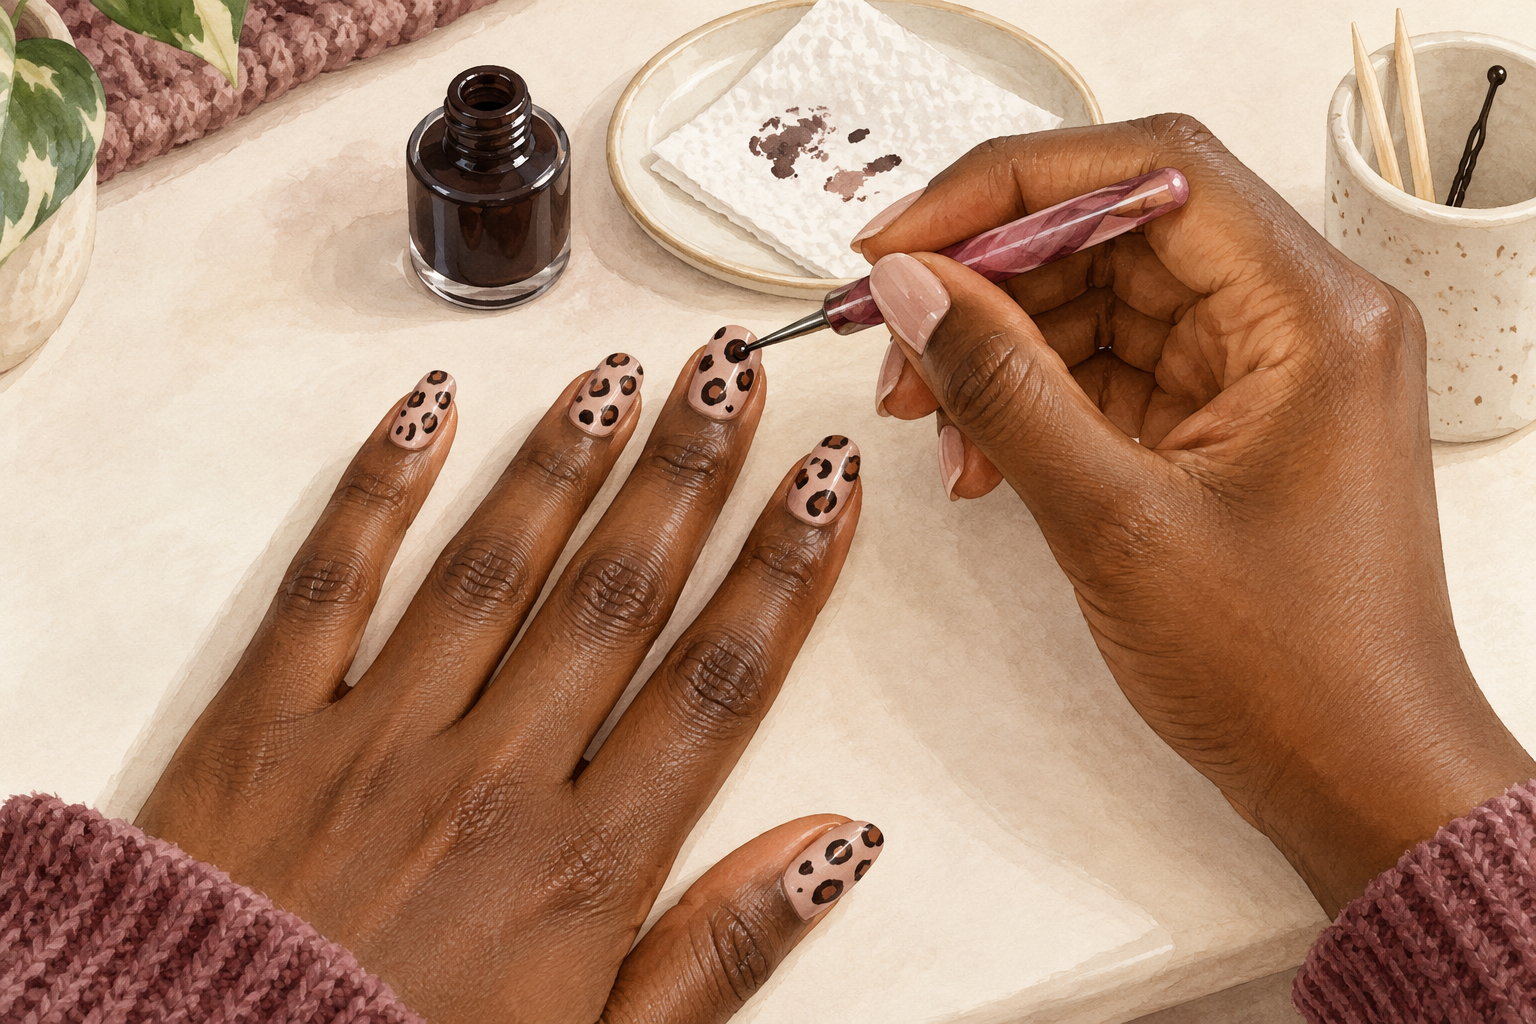
Dip the tip of the dotting tool in the dark polish, touch it to the nail and lift straight up. Wipe the tool between dots so polish does not build up into a blob. Press lightly and only once, because a second press smears the first dot. A toothpick works for tiny spots, and the rounded end of a bobby pin makes decent small dots too. This is the heart of how to do cheetah print on nails. Start in the middle of the nail and work outward. Let each dot dry for a few seconds before you place a neighbor beside it.
6. Vary the size and shape of every spot
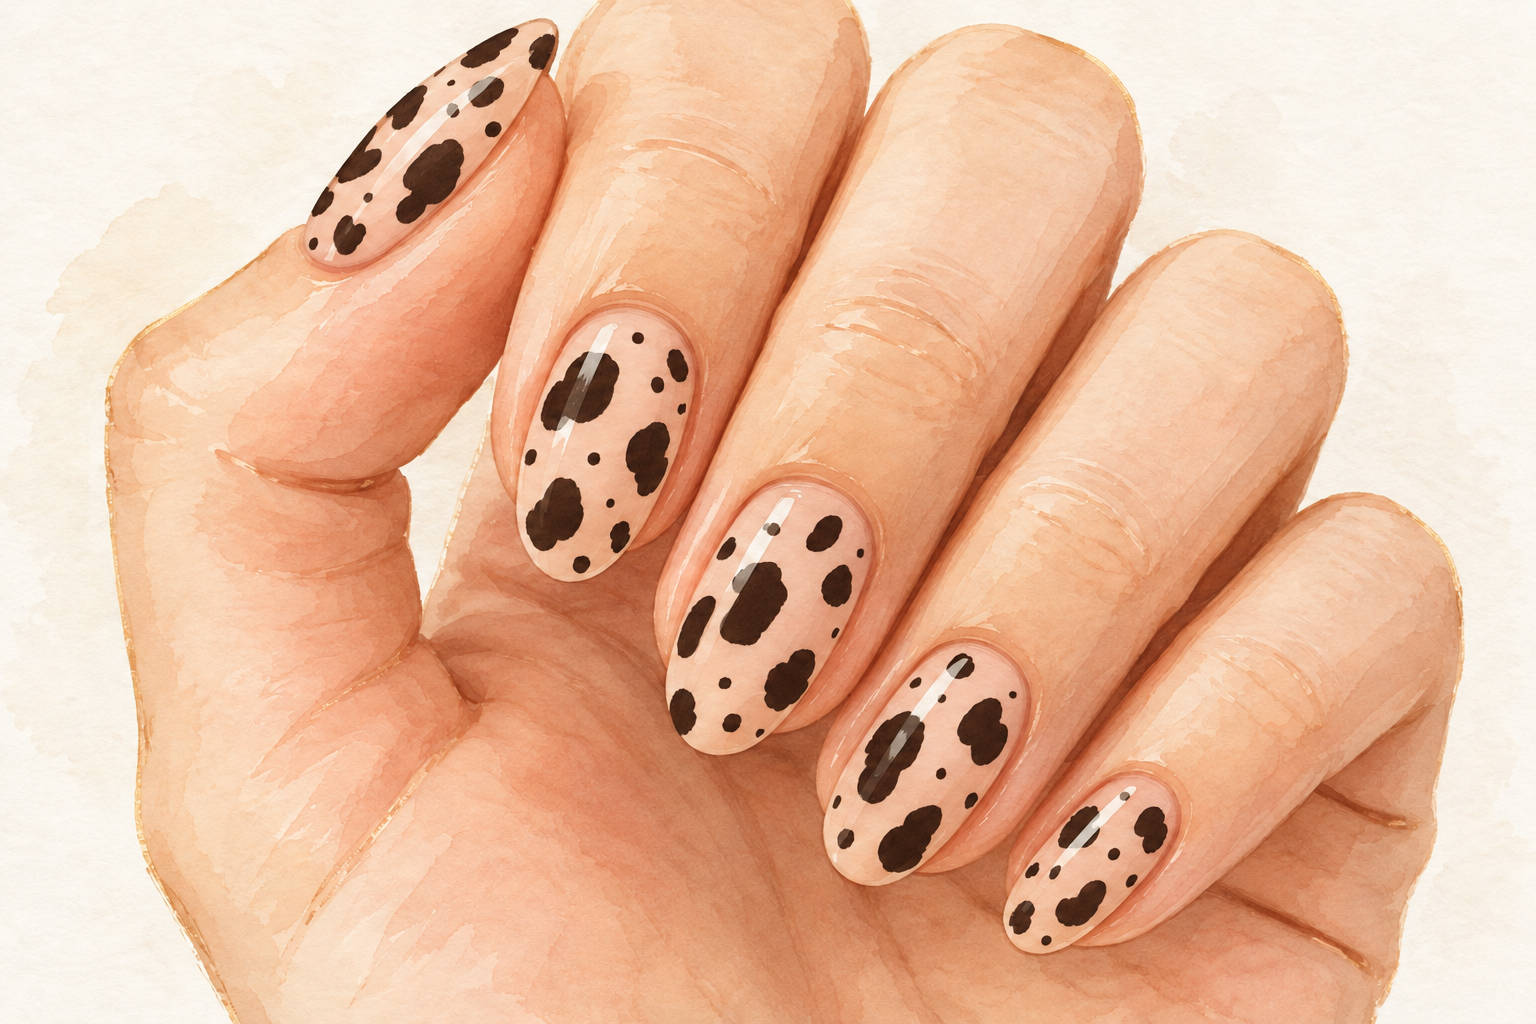
Use three sizes, with a few big spots, more medium ones and several tiny ones. Make some spots slightly oval and others a little bent, like a comma, and leave a few half open. Real cheetah spots are never perfect, and uneven ones look natural. Avoid lining them up in rows or columns, which reads like a pattern from a shop. A few big spots with many tiny ones looks better than the other way round. Change your pressure to change the size, instead of changing tools every time. Tilt the tool slightly to make the oval ones.
7. Leave space and run spots off the edge
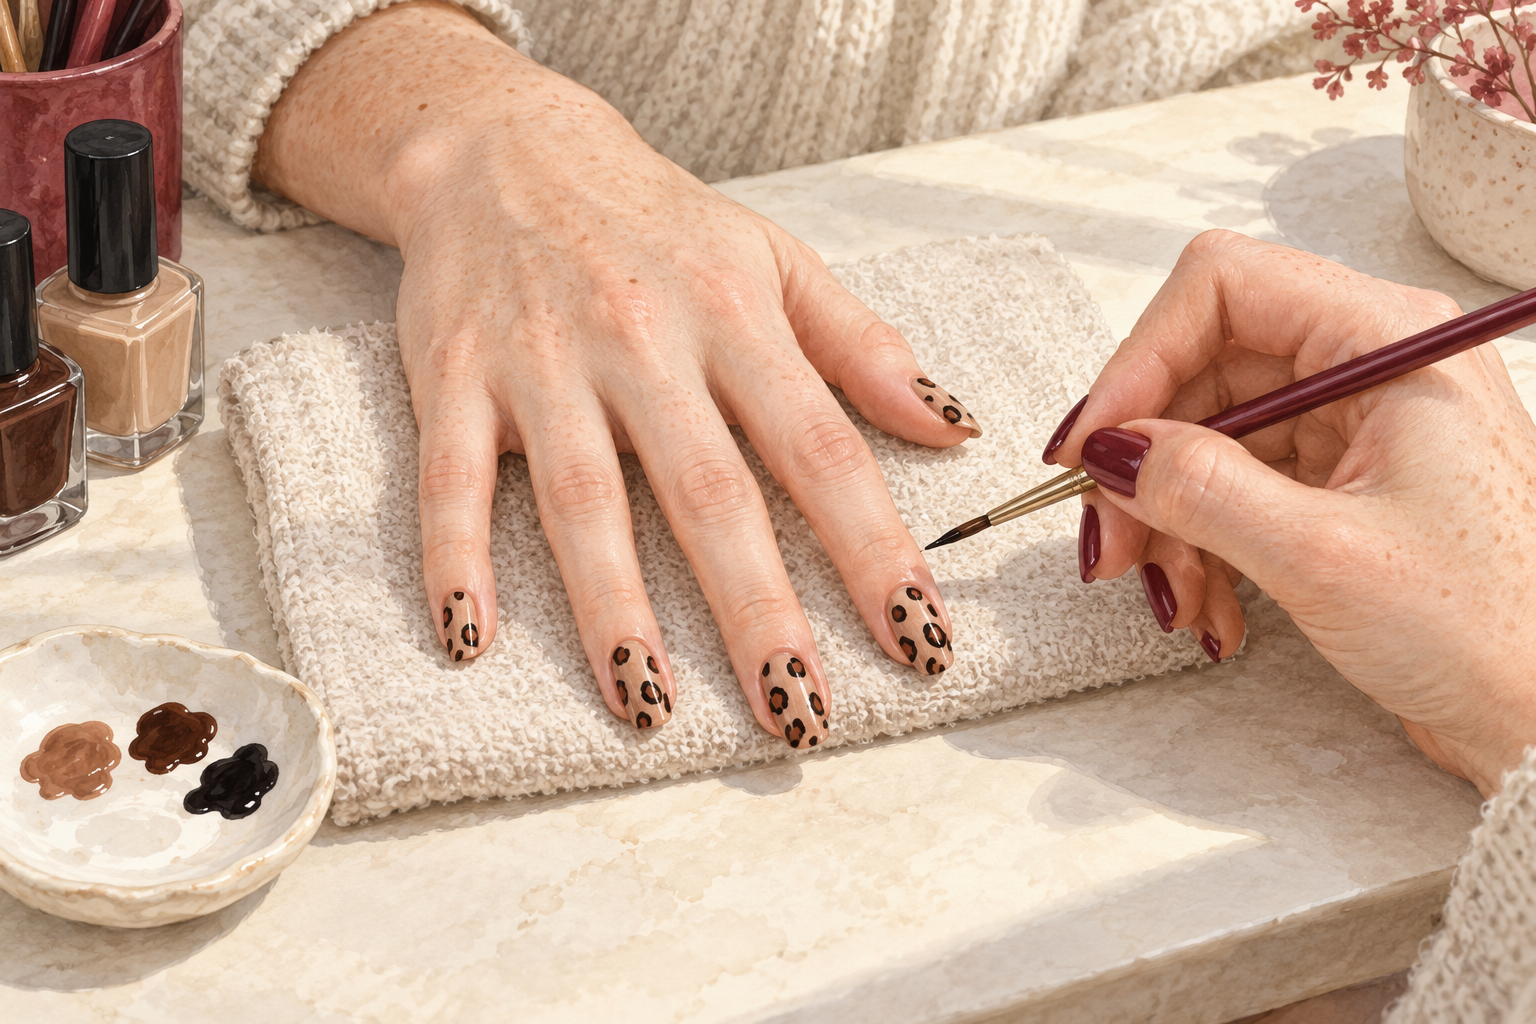
Leave a gap about as wide as a spot between neighbors, and let a few spots run off the side or the tip. Spots that touch look like a stain. Running a few off the edge makes the print feel like it keeps going around the finger. If a nail looks crowded, stop, because you can always add one more spot later but you cannot take one away. Pull your hand back every few spots and check the balance from a distance. Less is more here. Keep your wrist relaxed and rest your hand on the table as you work.
8. Add tiny black flecks to finish the fur
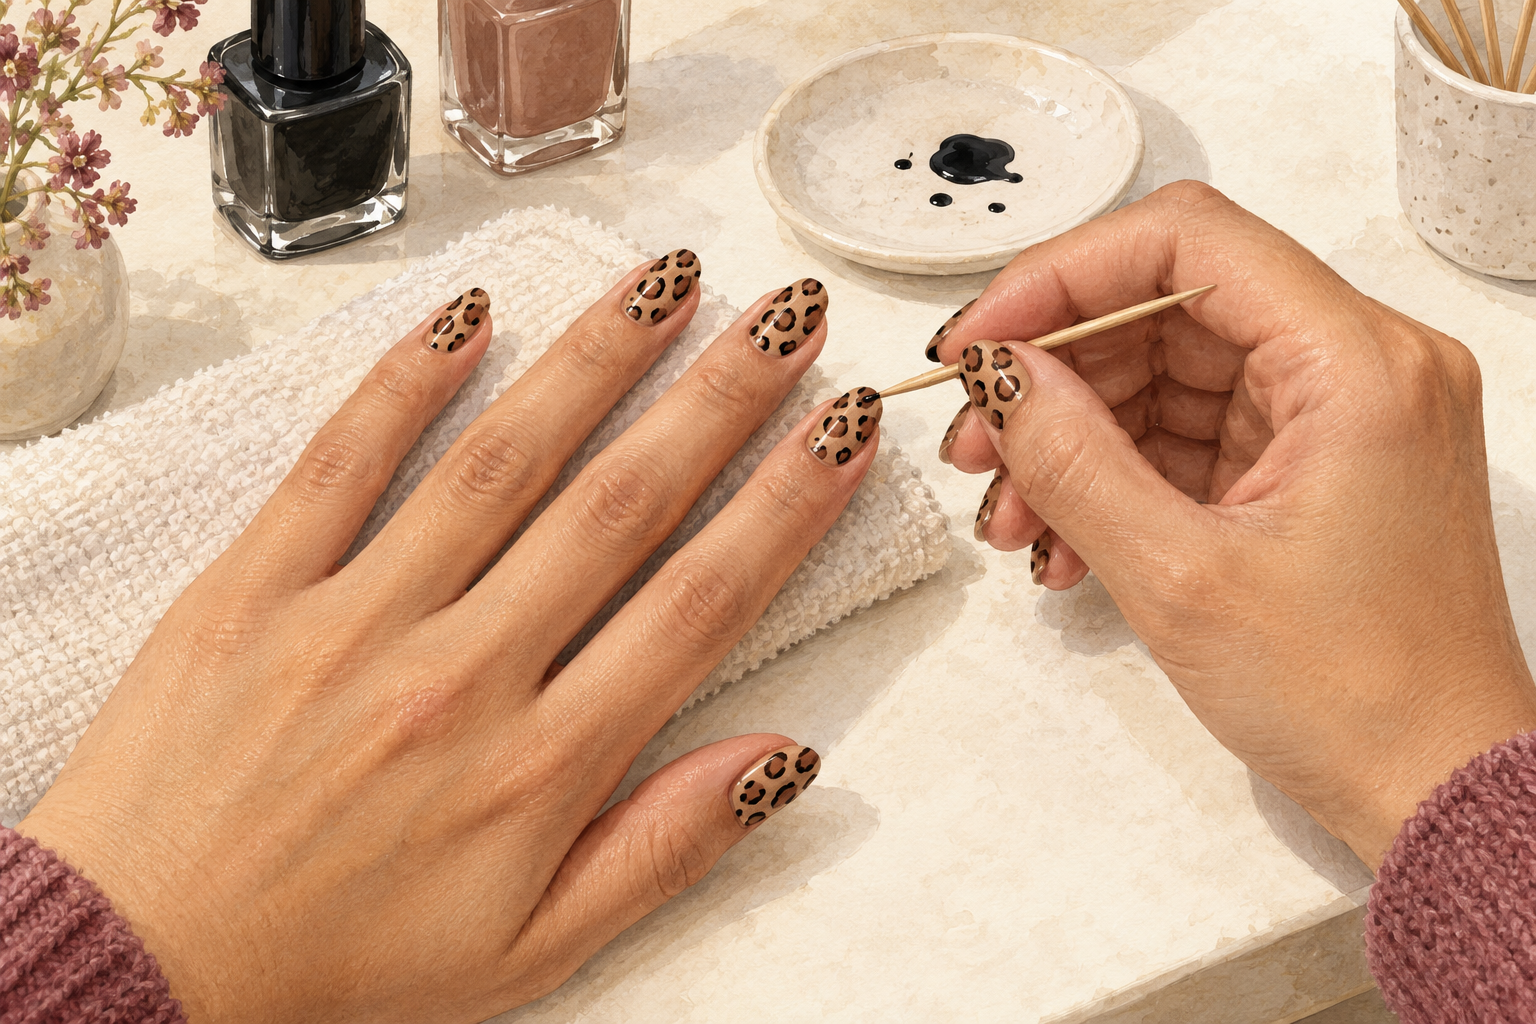
Use the toothpick to dot a few tiny black flecks in the gaps and beside the bigger spots. Keep them very small and very few, since they are the finishing touch. With a thin brush, add a small curved stroke next to a couple of spots to look like a fur line. The black adds depth that the brown alone cannot. Wait until the brown spots are dry before the black goes on, or the colors will mix. Stop as soon as the nail looks full, because over working it makes the print muddy. Even four or five flecks across a whole hand are enough.
9. Fix a smudged spot after it dries
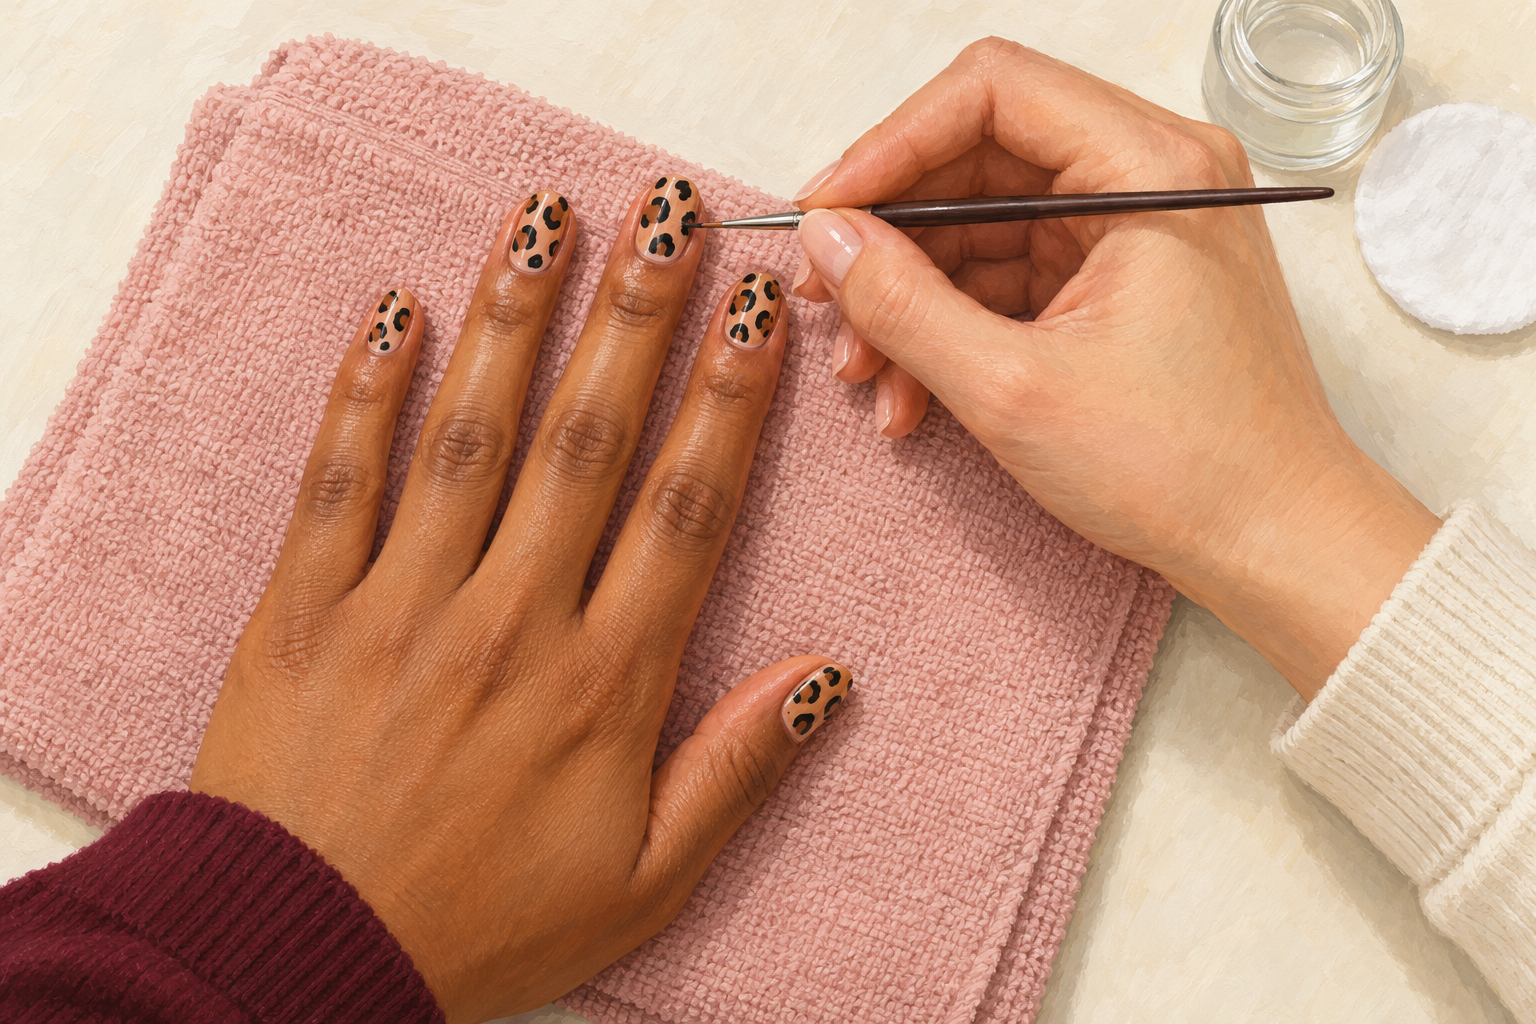
If a spot smears, stop and let the layer dry fully. Then dab the smudge with a thin brush dipped in remover, wipe it clean and repaint it as a smaller dot. Do not rub, because rubbing drags the base color along. Using less polish on the tool prevents the next smear. If the smudge is on your last spot, a slightly bigger spot on top often hides it. A smudge you cannot reach can become a new patch of shading. Spots forgive more than straight lines do. Work in good light so you can see exactly where the smear sits.
10. Clean the edges with a small brush
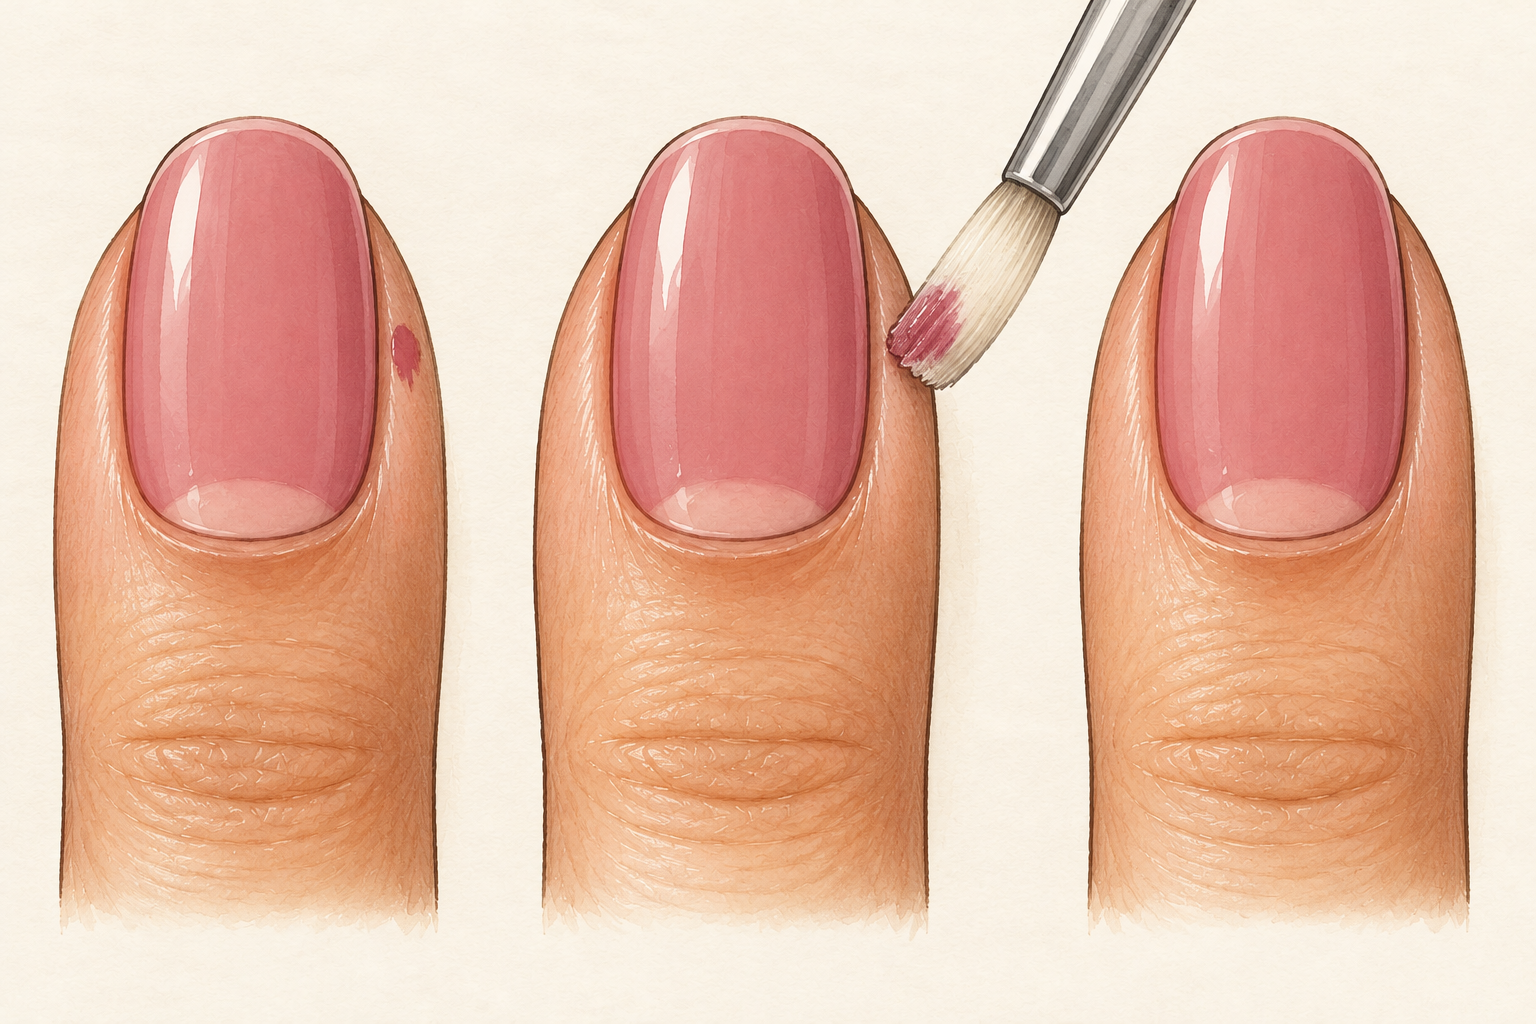
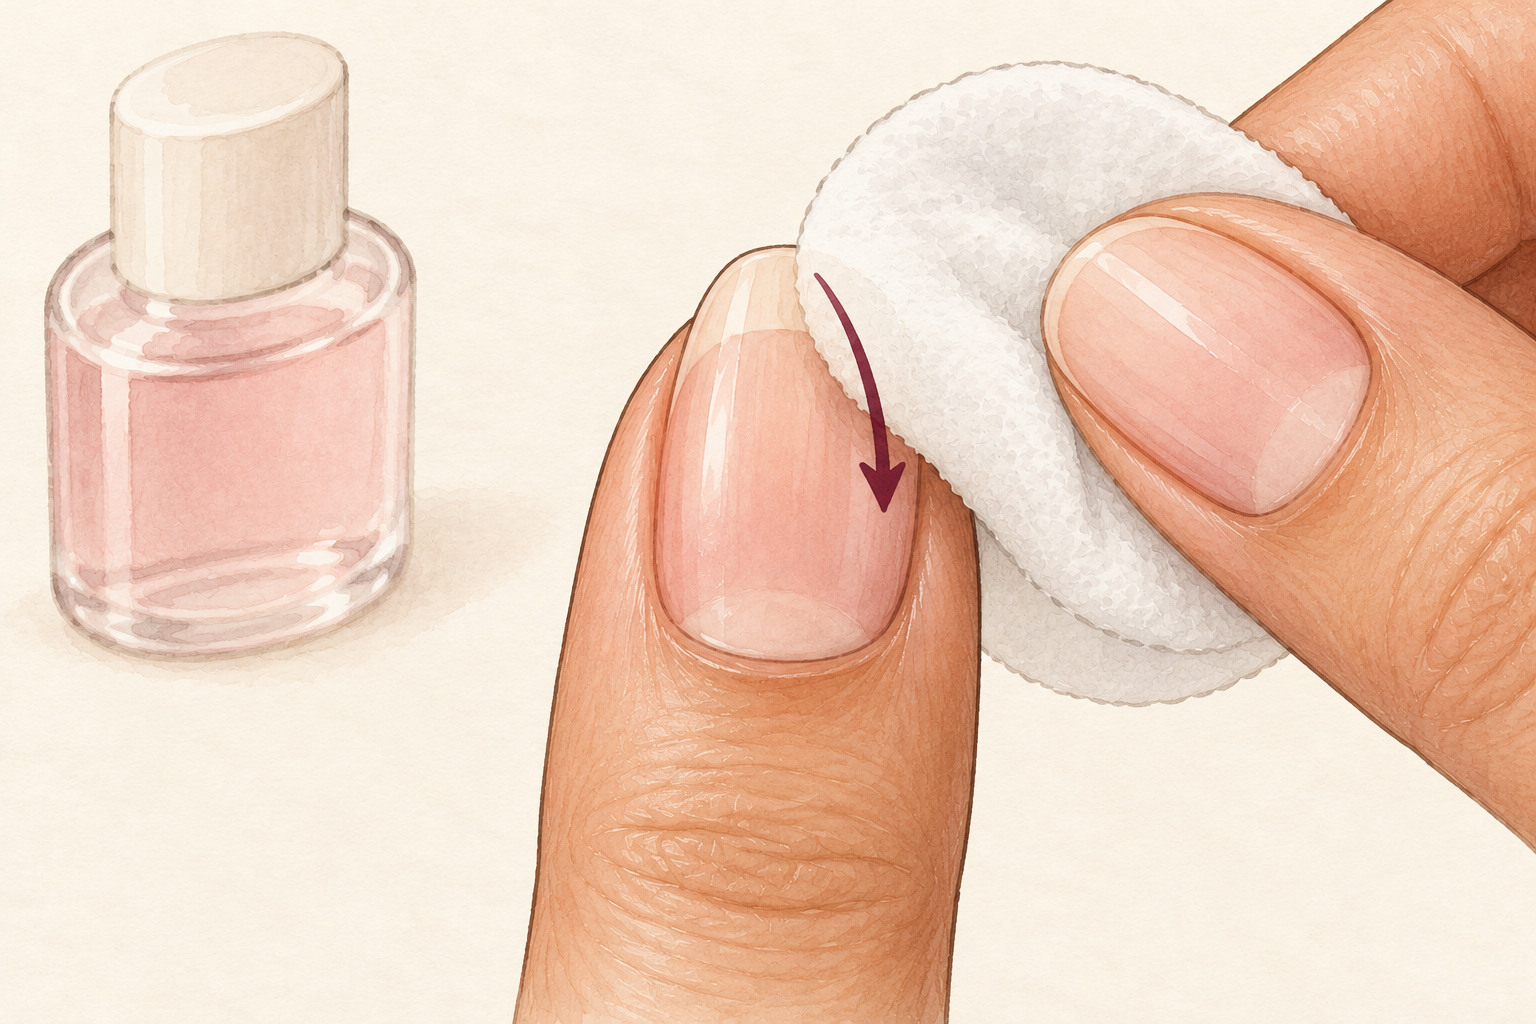
Dip a small flat brush in remover, wipe off the extra on a tissue and trace along the skin, nail by nail. Doing one nail at a time stops the polish from drying on the skin first. Keep the remover off the print itself. A tiny angled brush gives the most control. Clean edges make the animal print look sharp, like a drawing on a clean page. Wash your hands afterwards and rub in a little oil, because remover dries the skin. Tidy the thumb last, because it is the widest edge and the easiest to smudge.
11. Float a thin top coat on top
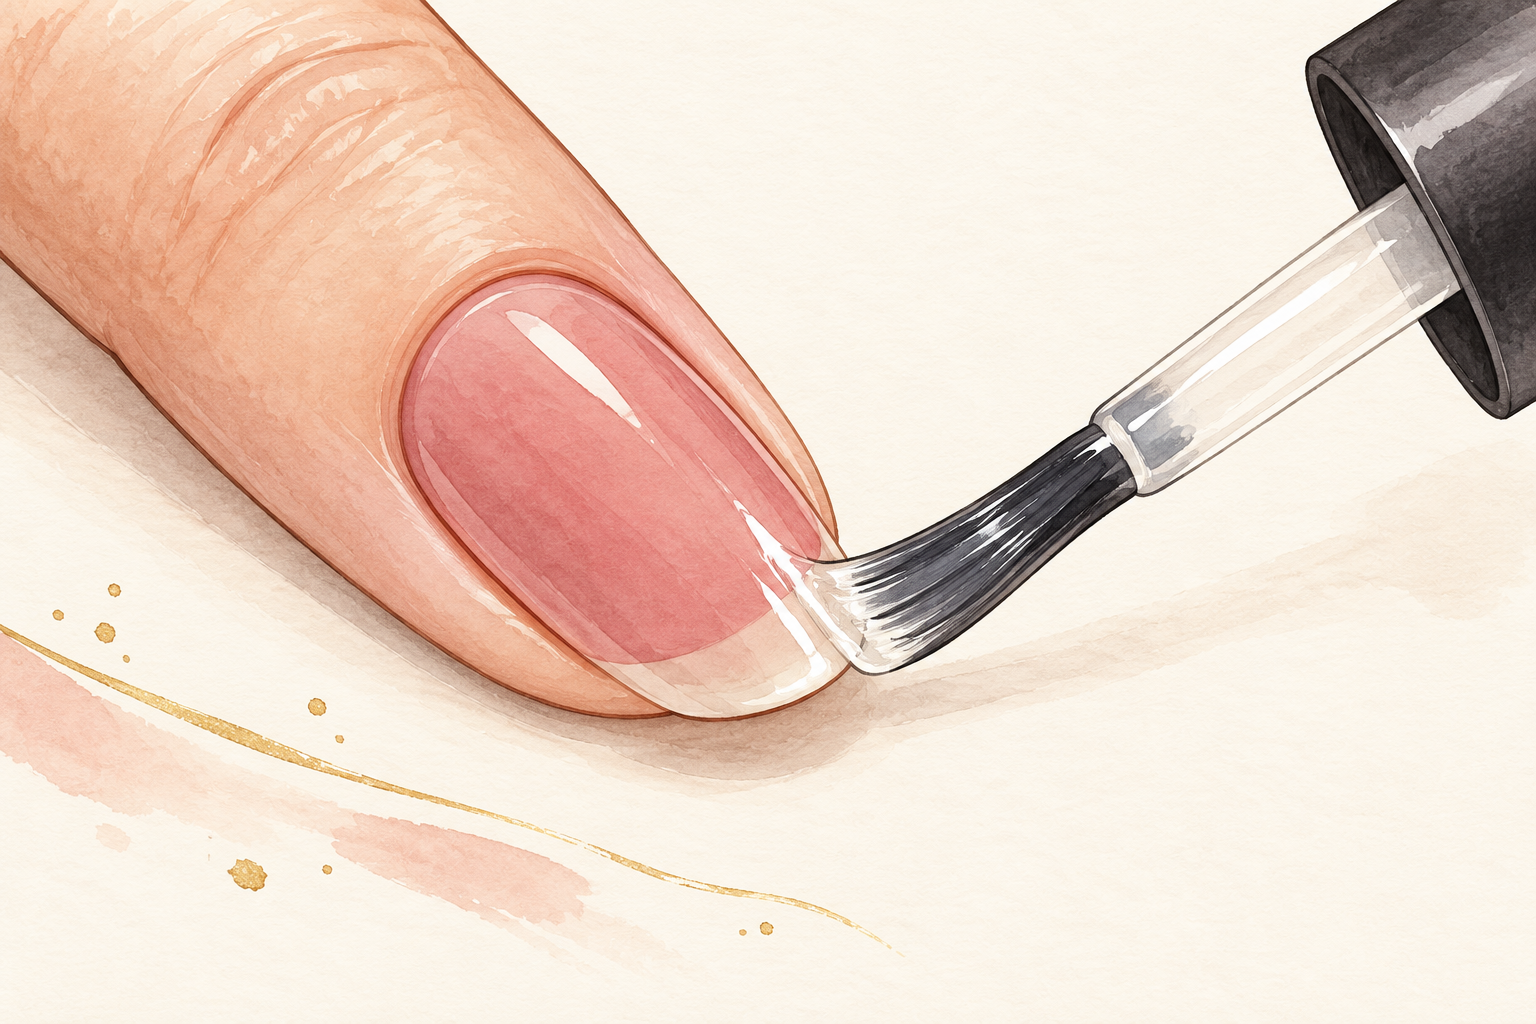
Wait at least ten minutes, then load the brush and let a thin layer float over the print rather than pressing down. A pressed brush drags the spots and pulls the dark color into the base. Cap the free edge by running the brush along the tip. A thick top coat makes the spots look raised and blobby, so keep the layer thin. Let it dry for twenty minutes before you touch anything. Reapply a thin top coat every two or three days to keep the print fresh. Float the brush from the cuticle toward the tip in three light strokes.
12. Try leopard rosettes and new base colors
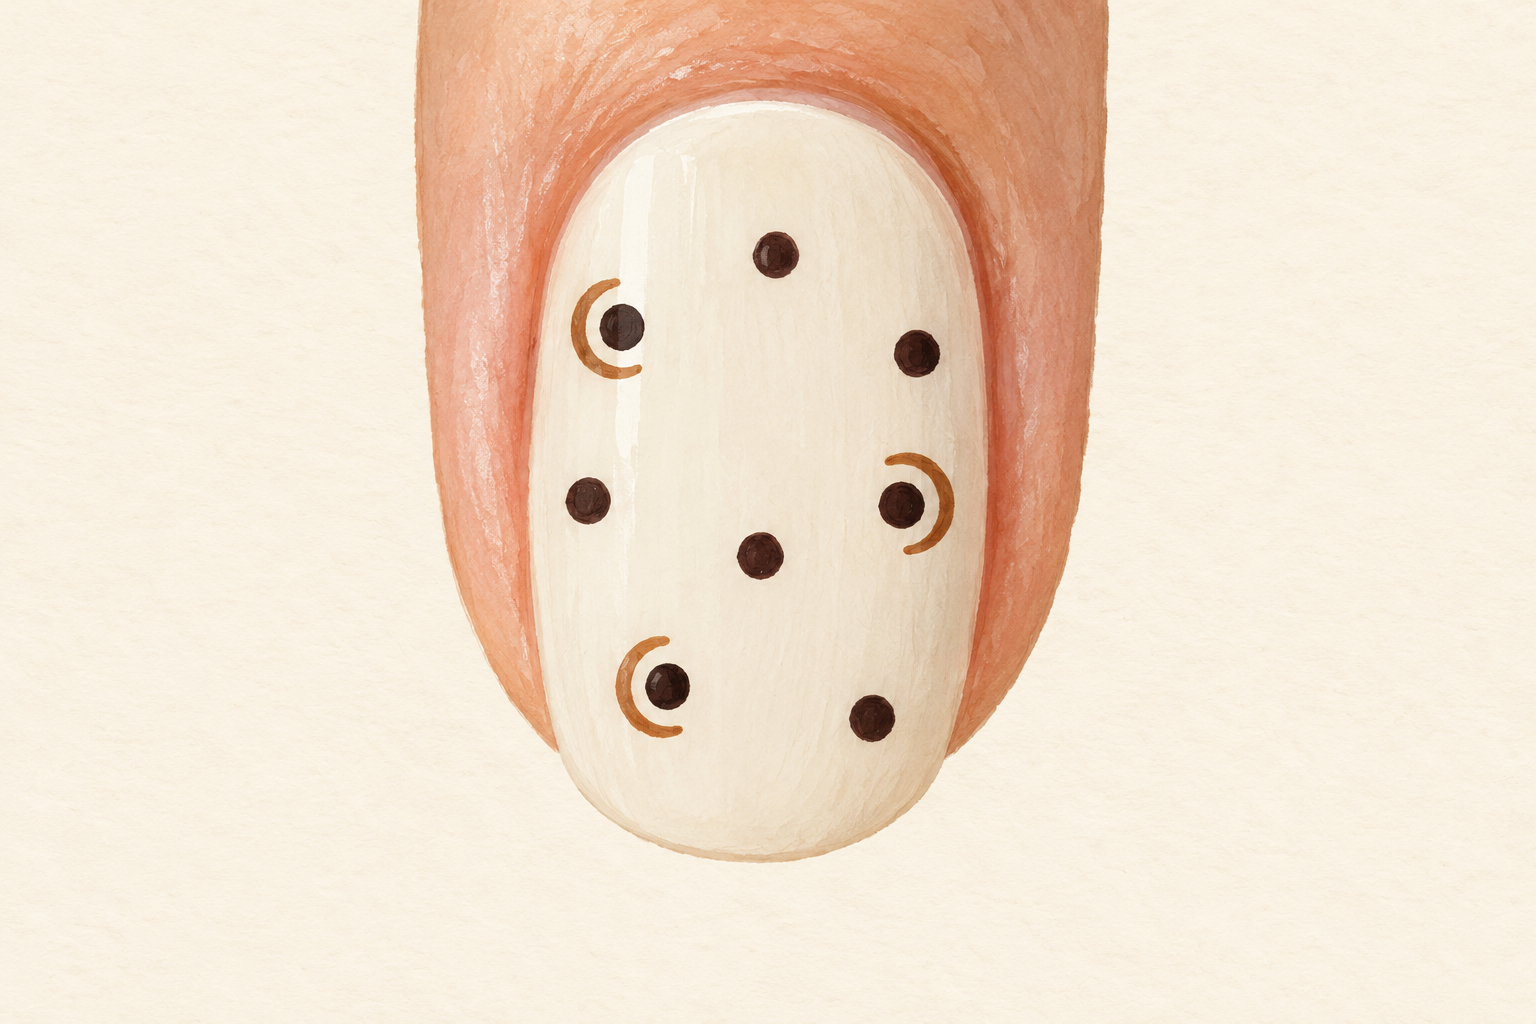
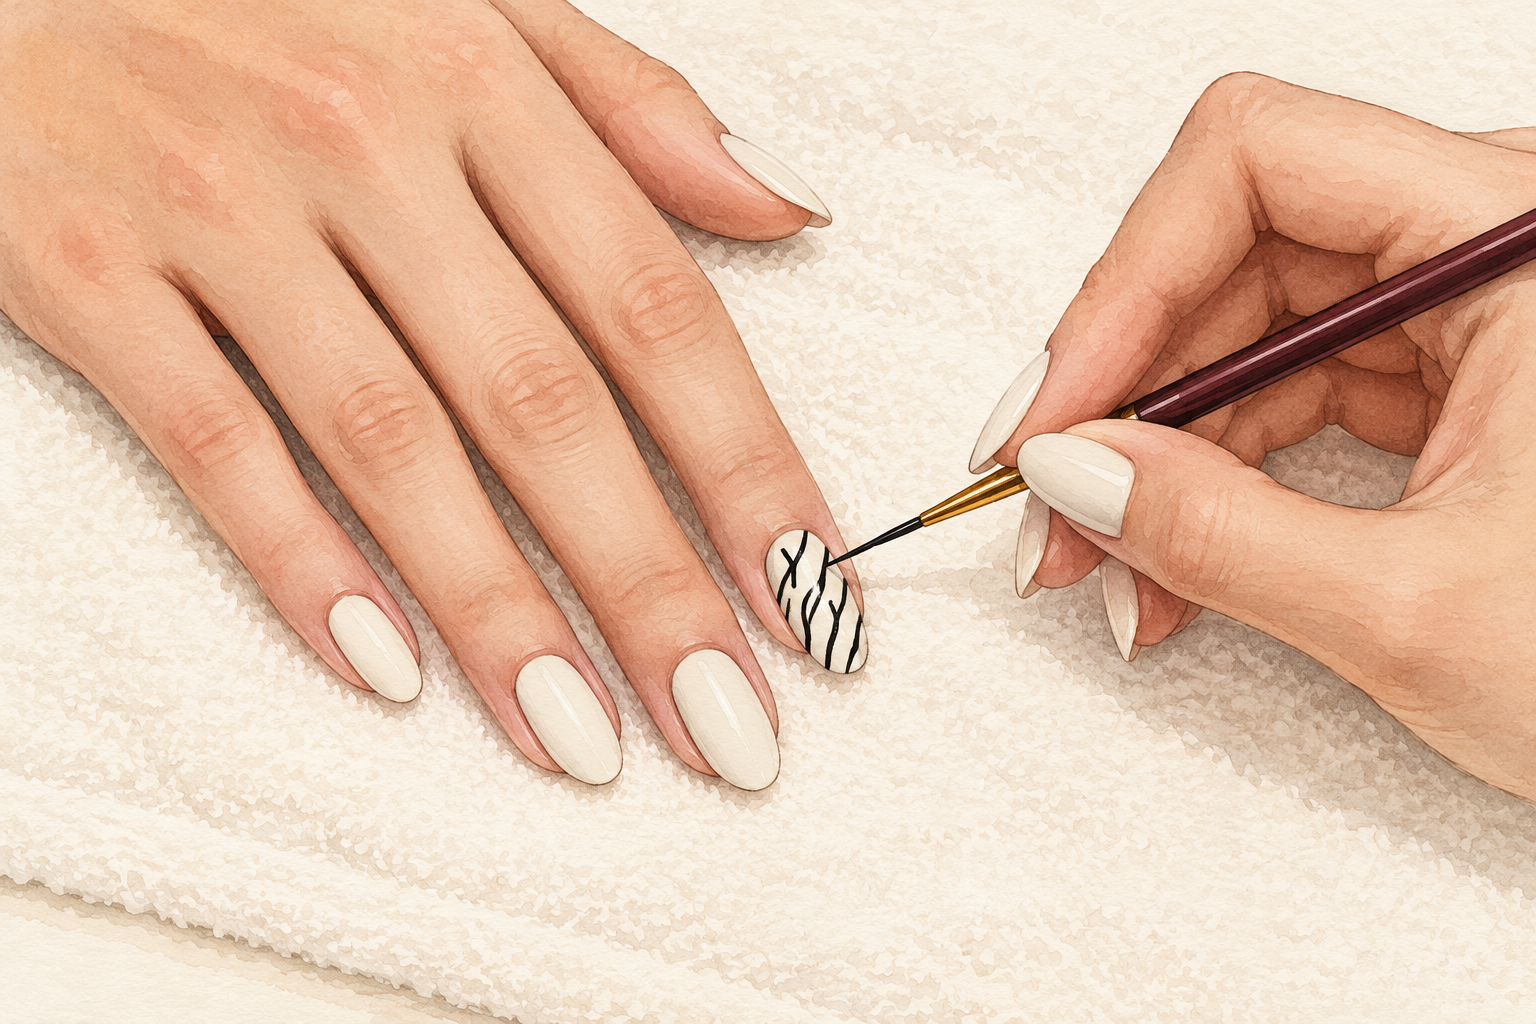
For leopard print, paint a thin, broken brown ring around some of the dark spots. Leave the ring open, because the gap is what makes it look like a rosette. Do rosettes on only a few nails to keep the set calm and quick. Try a pale pink, cream or soft lilac base for a new mood. Photograph every set you love so you can copy the exact shades later. Your first set will look good from a few feet away, and by the fifth you can finish a hand in half an hour. Keep a note of which combination you liked best. A bolder pattern is the next challenge after a few sets, so look at how to do zebra print nails.
Complete the Look: Finish How to Do Cheetah Print on Nails
Tonight, paint just the base and the soft brown patches, leave them overnight and add the spots tomorrow when everything is firm. Print work is patient work, and every spot you add makes the set more your own. Ready when you are, the guides below have more designs to try next.