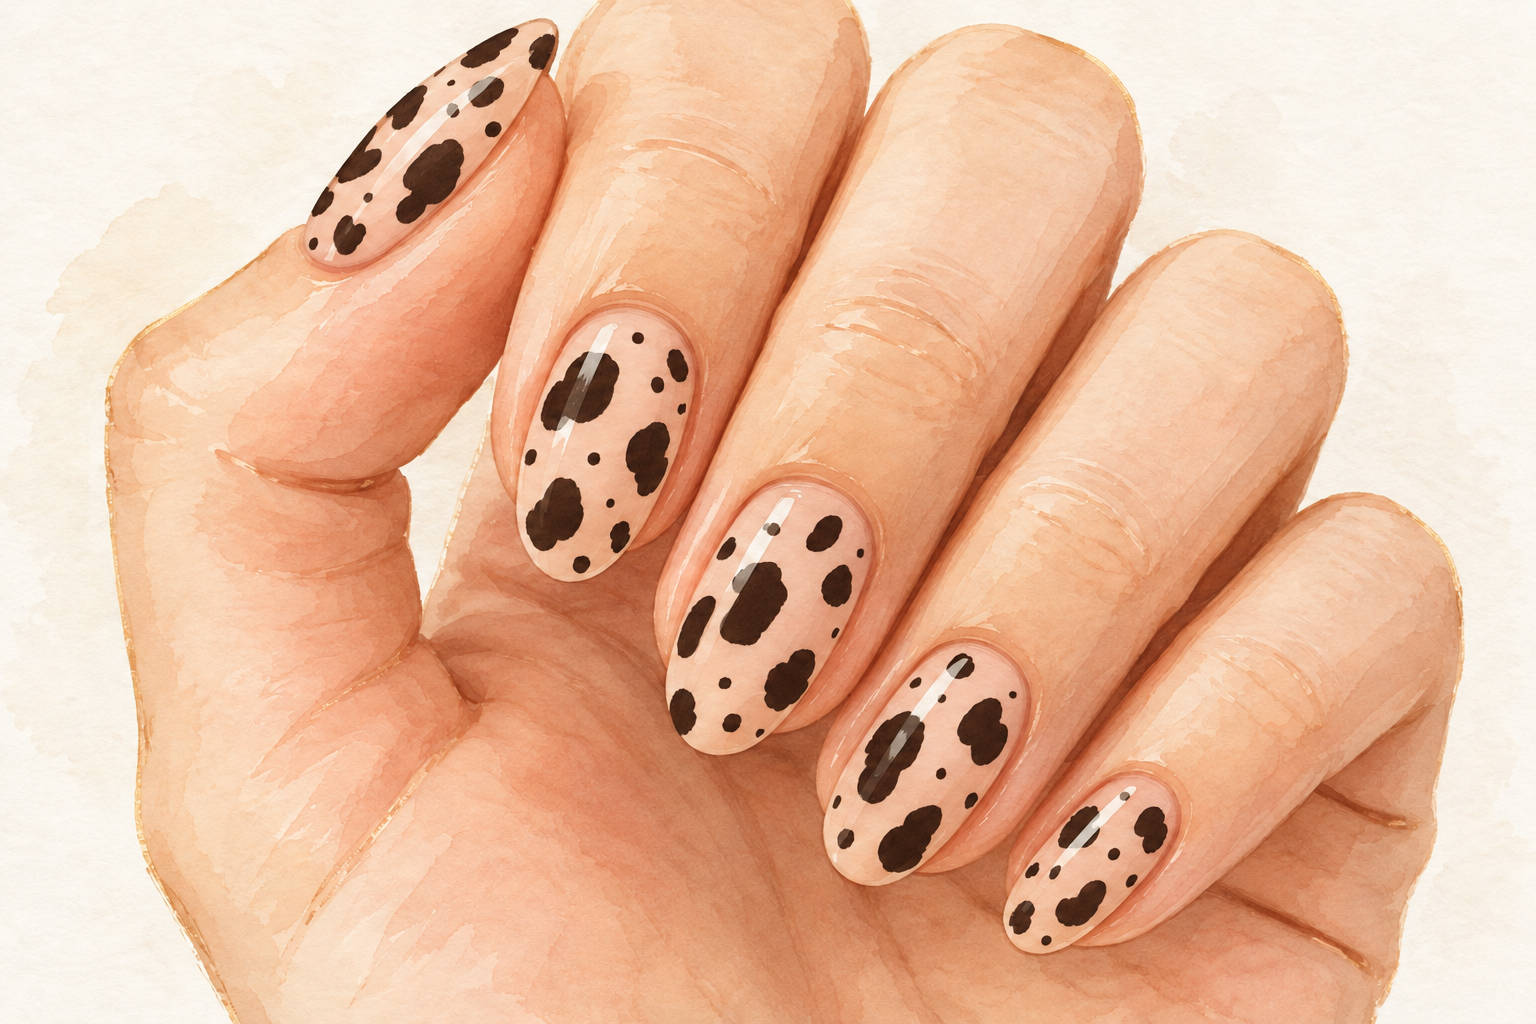
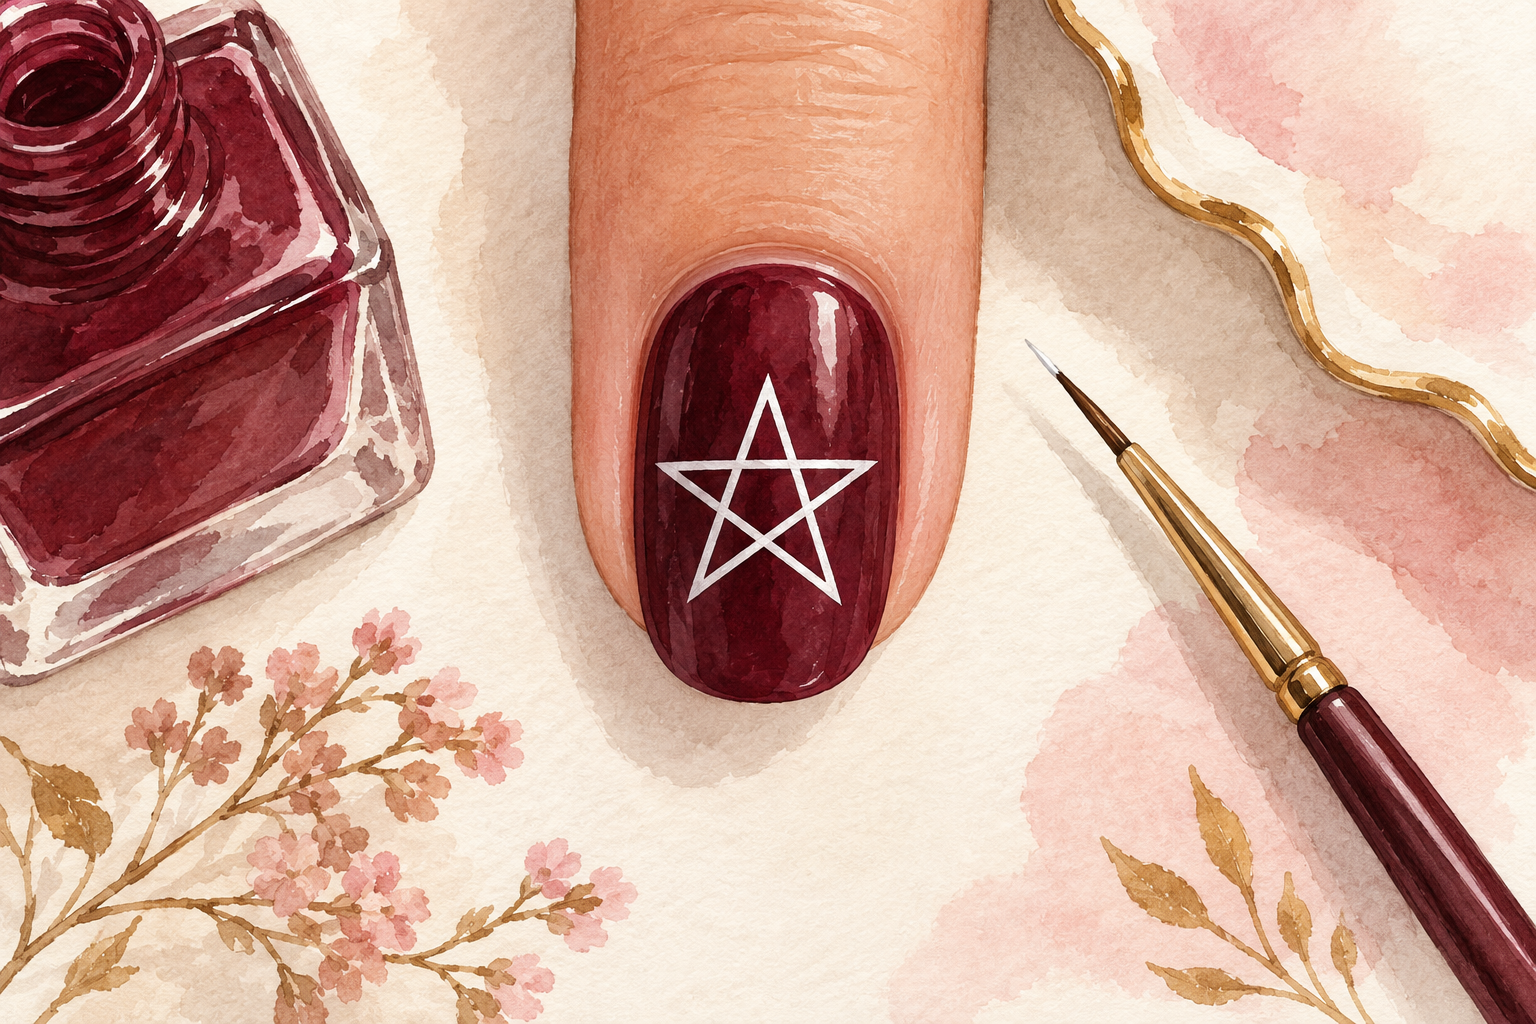
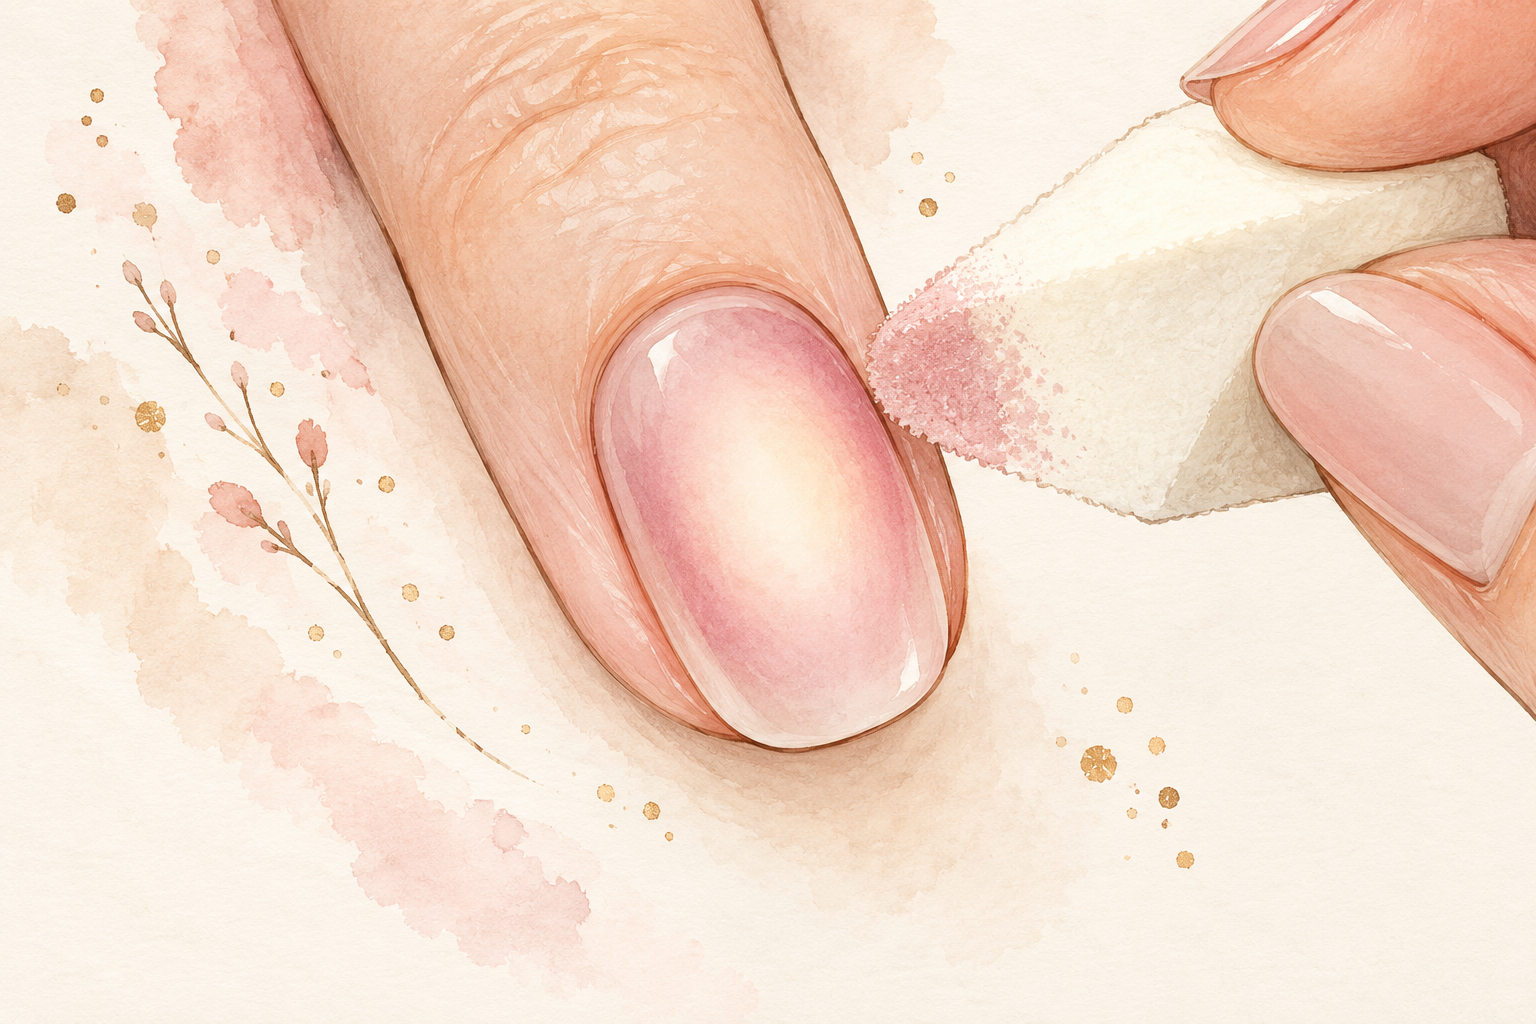
You pictured sleek, sharp zebra stripes, and your first try looks more like scribble after a long day. Wobbly lines are normal when your hand is not supported and the polish is thick. This guide on how to do zebra print nails gives you 12 easy steps for a thin brush and a steady hand, so start at number one.
1. Gather a thin brush and two polishes
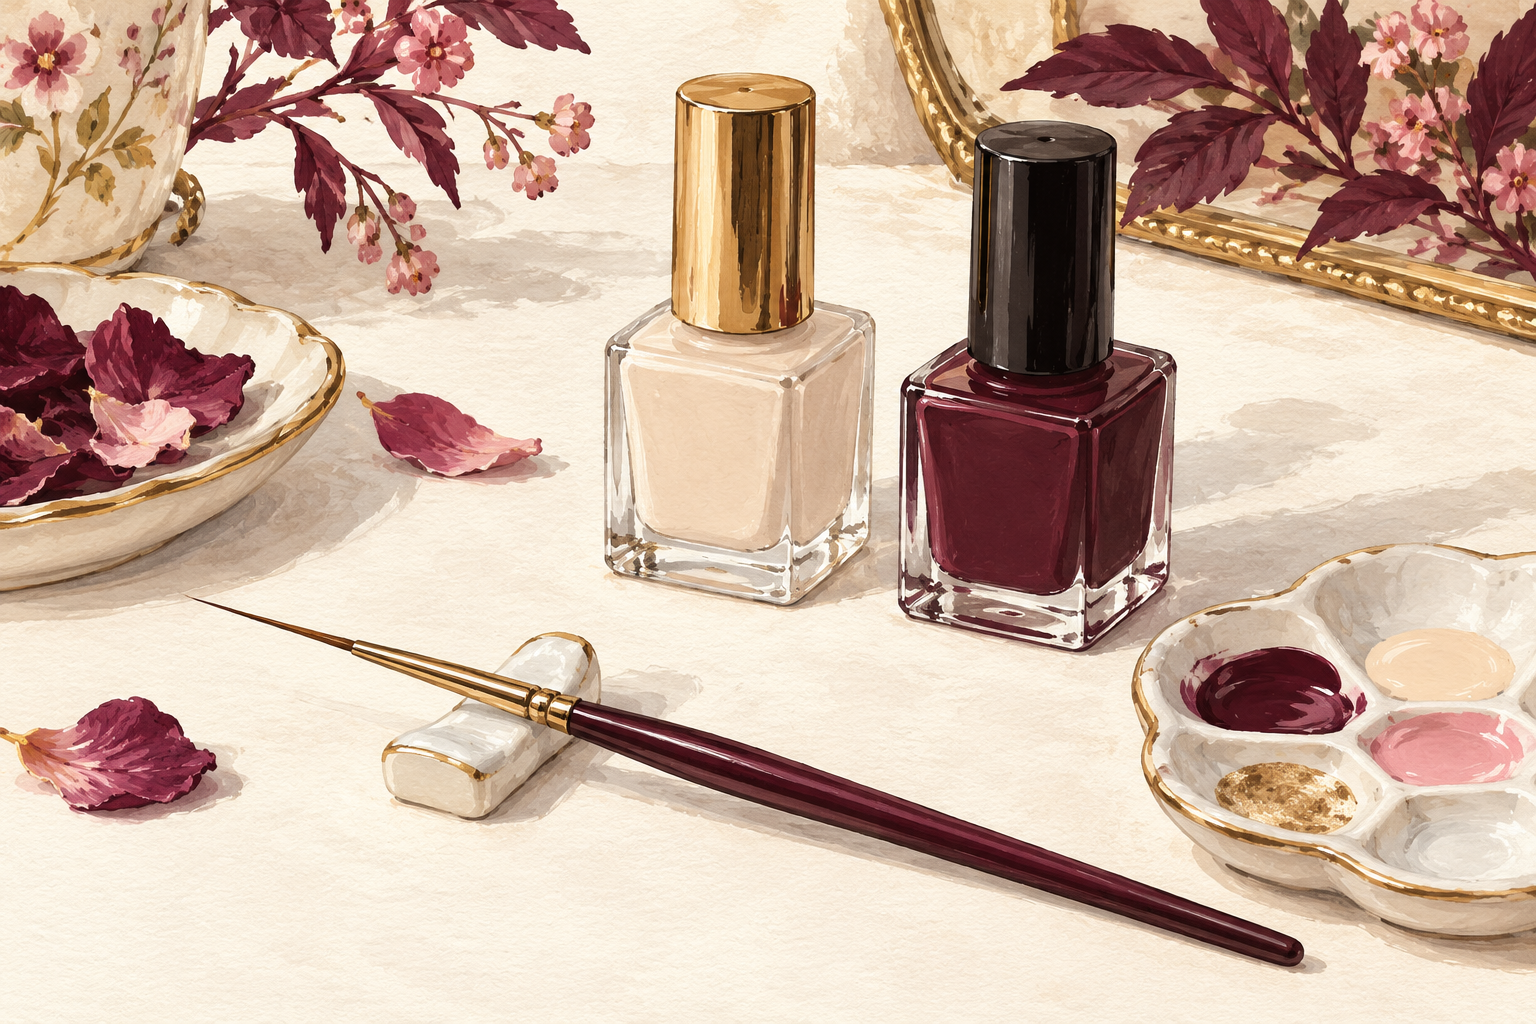
You need a very fine detail brush, a black polish, a white or cream polish for the base, a clear top coat and a scrap of foil. A striping brush has long, thin bristles that hold polish and draw a smooth line, so it is worth having one. A brush that came with a regular polish is too thick for stripes. Add a bottle of remover, a few cotton buds and a clean towel. Set out everything before you start, because stripes need to be drawn while the black polish is still wet on the foil. If you cannot find a striping brush, a sharpened toothpick can draw thin lines in a pinch.
2. Prep and shape your nails
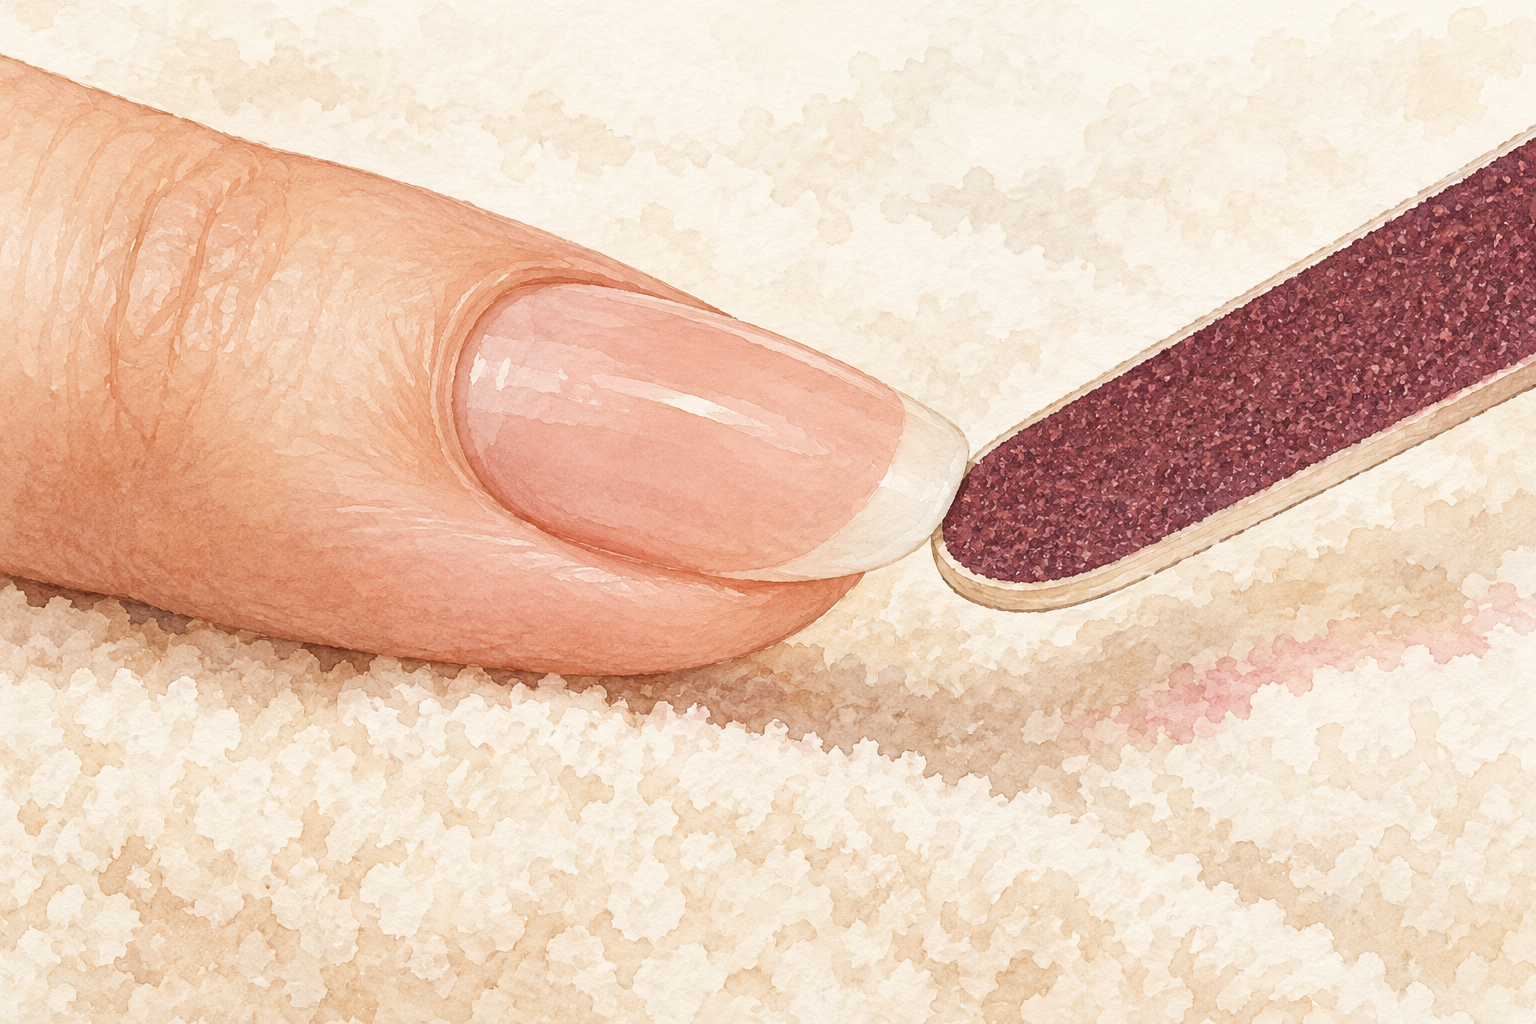
Wash your hands, push the cuticles back, and file each nail into a short oval or square. Zebra stripes look best on a short or medium nail, because the lines stay small and sharp. Buff lightly across the surface so the polish grips, and wipe off the dust with a cotton pad. Skip lotion until the manicure is done, because oil makes polish slide. Brush on a thin layer of clear base coat and let it dry for two minutes. Clean nails give the brush a smooth surface to glide across. Take your time here, because a smooth surface is half of the finished look.
3. Paint a smooth base color
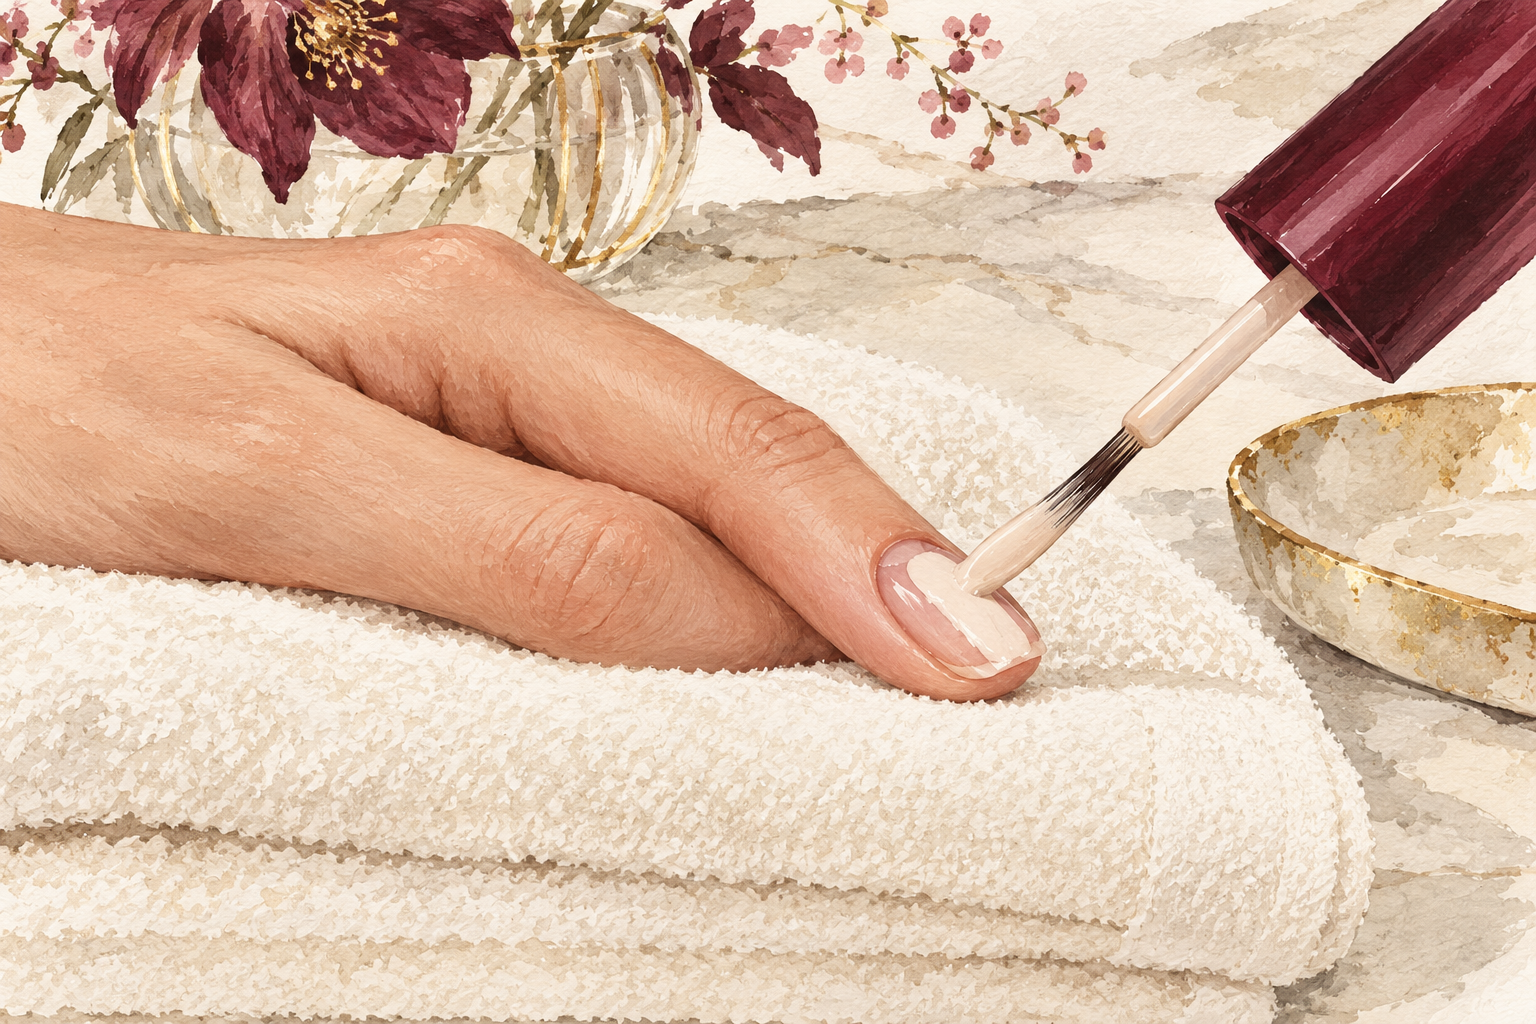
Paint two thin coats of cream, white or pale nude and wait until each coat is fully dry. The base is your canvas, so it should be smooth and opaque with no streaks. A pale color shows off black stripes, but you can also try a soft pink or lilac. Wait at least five minutes after the second coat, because the brush will drag wet polish and ruin the base. Test with the very edge of one nail. If it feels cool and smooth, you are ready to draw. Pick one base color for the whole hand, so the stripes are the only thing doing the talking.
4. Set up a steady hand
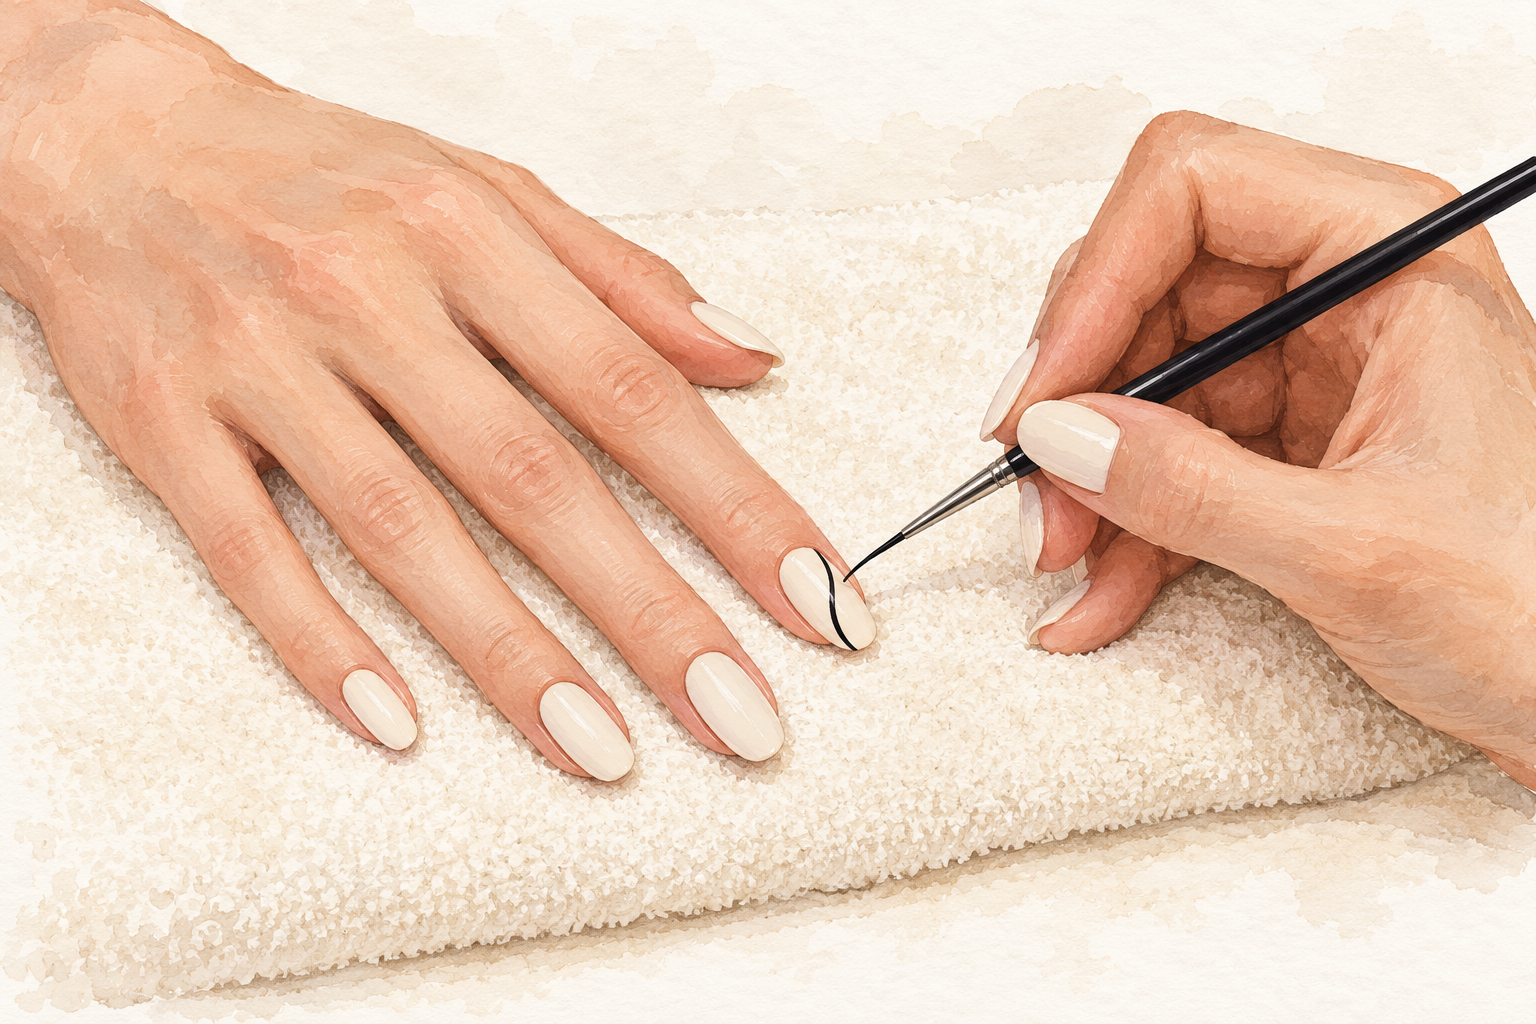
Rest your forearm and your little finger flat on the table, and hold the brush near the end like a pencil. Your hand shakes less when it is anchored, because the small muscles stop working so hard. Paint your non dominant hand first, while your dominant hand is the steady one. Turn the nail toward you instead of twisting your wrist. Take one slow breath before each stripe and draw on the exhale. If your hand still feels shaky, put a rolled towel under your wrist for support. Practice a few lines on the foil before you touch a nail. Anchoring your hand works just as well for how to draw stars on nails, so the skill transfers neatly.
5. Load the brush the right way
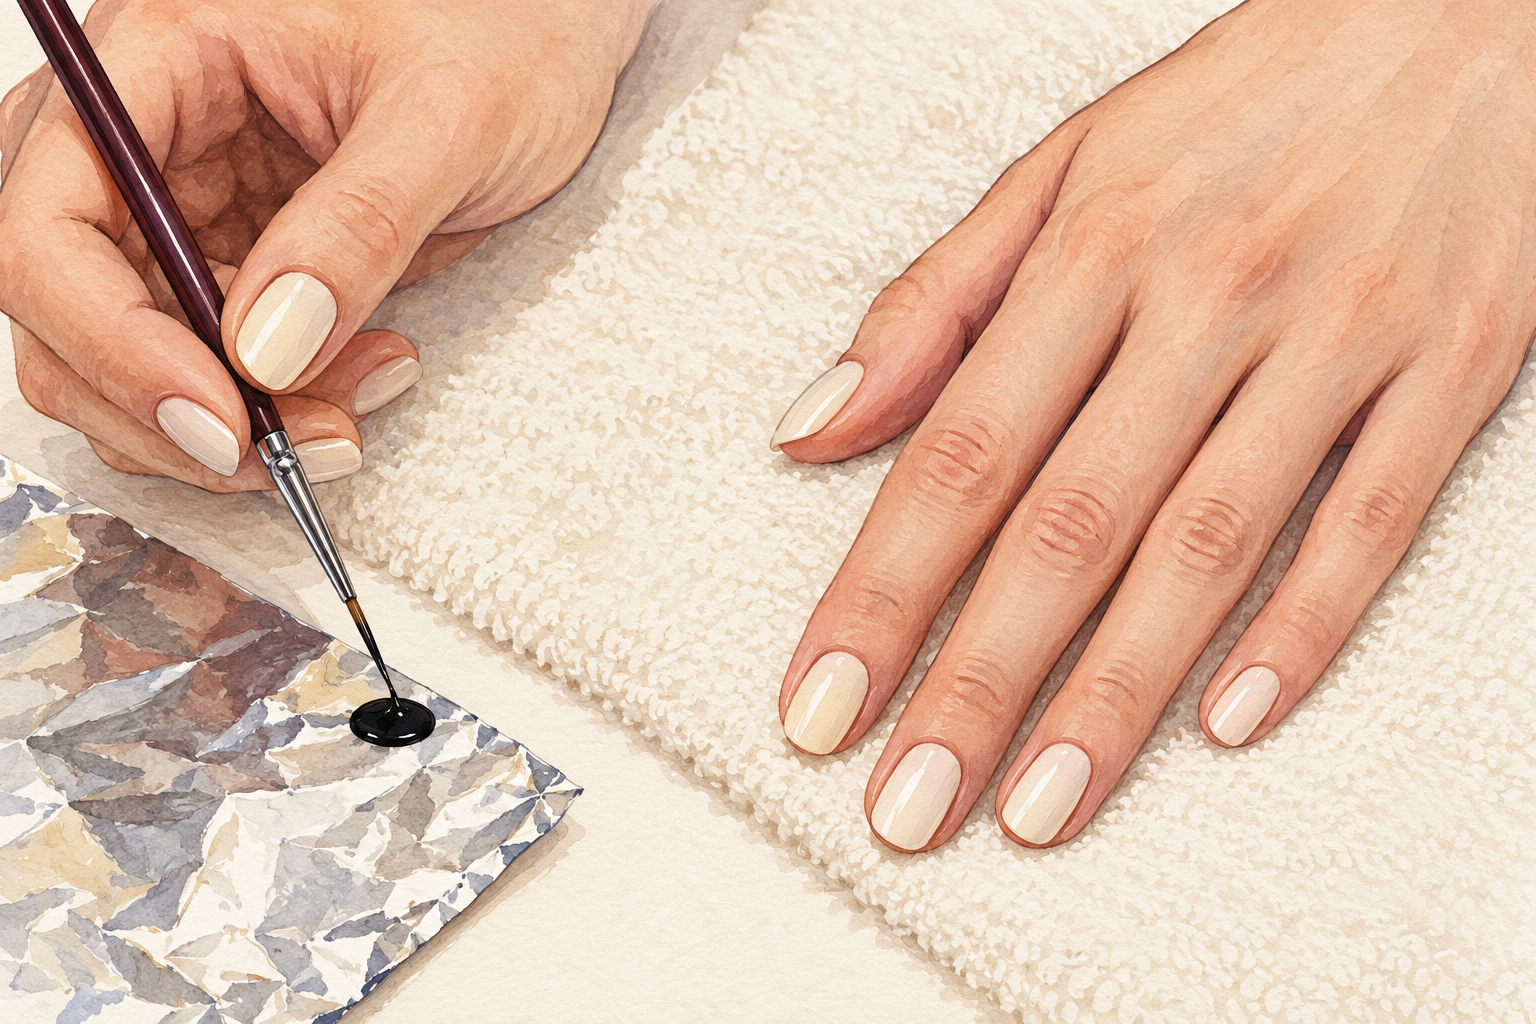
Put a small drop of black polish on the foil and roll the tip of the brush through it until it is just damp. Too much polish makes thick, blobby lines, and too little skips. Wipe the brush on the edge of the foil until the tip comes to a fine point. If the polish gets thick, add a drop of polish thinner. Reload after every two or three stripes. Work quickly, because polish dries fast on foil, and a sticky brush will drag across the nail. Keep a lid on the polish bottle between loads, so it stays thin and easy to work.
6. Draw the first stripes from the sides
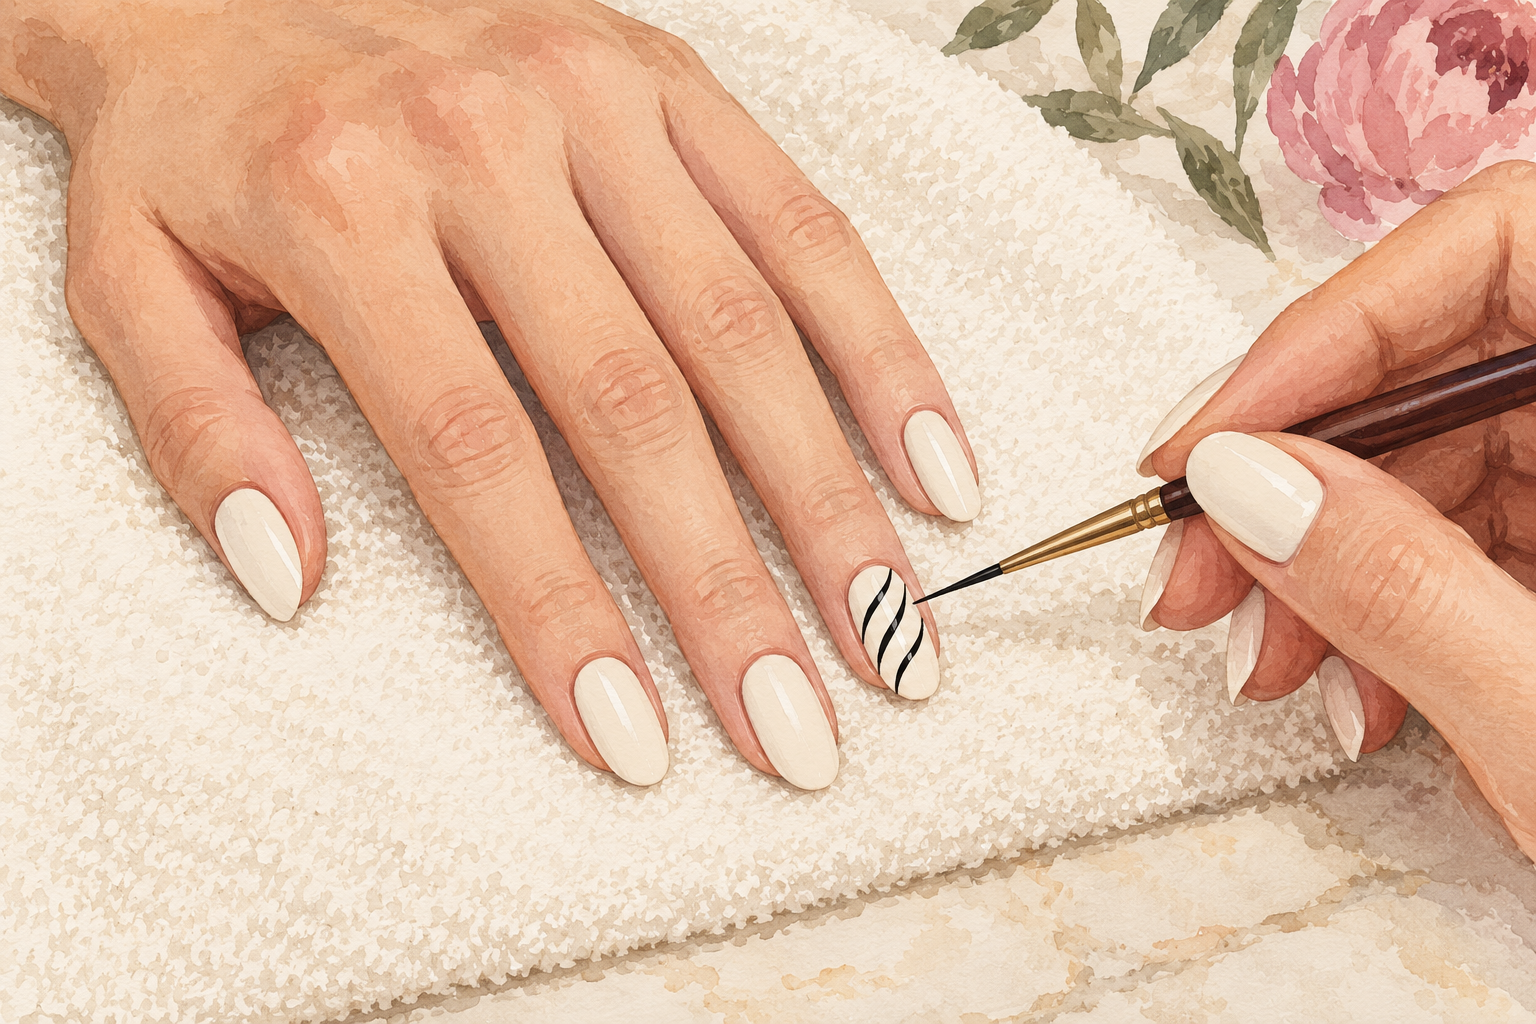
Start at the outside edge of the nail and pull a curved line inward, pressing at the edge and lifting as you move. Zebra stripes look best when they taper, thick where they begin and thin where they finish. Make the first two stripes on one side, then two on the other, and leave gaps in between. Do not try to match each side exactly, because real zebra stripes are not mirror images. Use the tip of the brush, with light pressure, and keep your wrist loose. Three or four stripes per side is enough to start. Practice the pressure and lift on the foil first, until the tapered line feels natural.
7. Add forks and vary the spacing
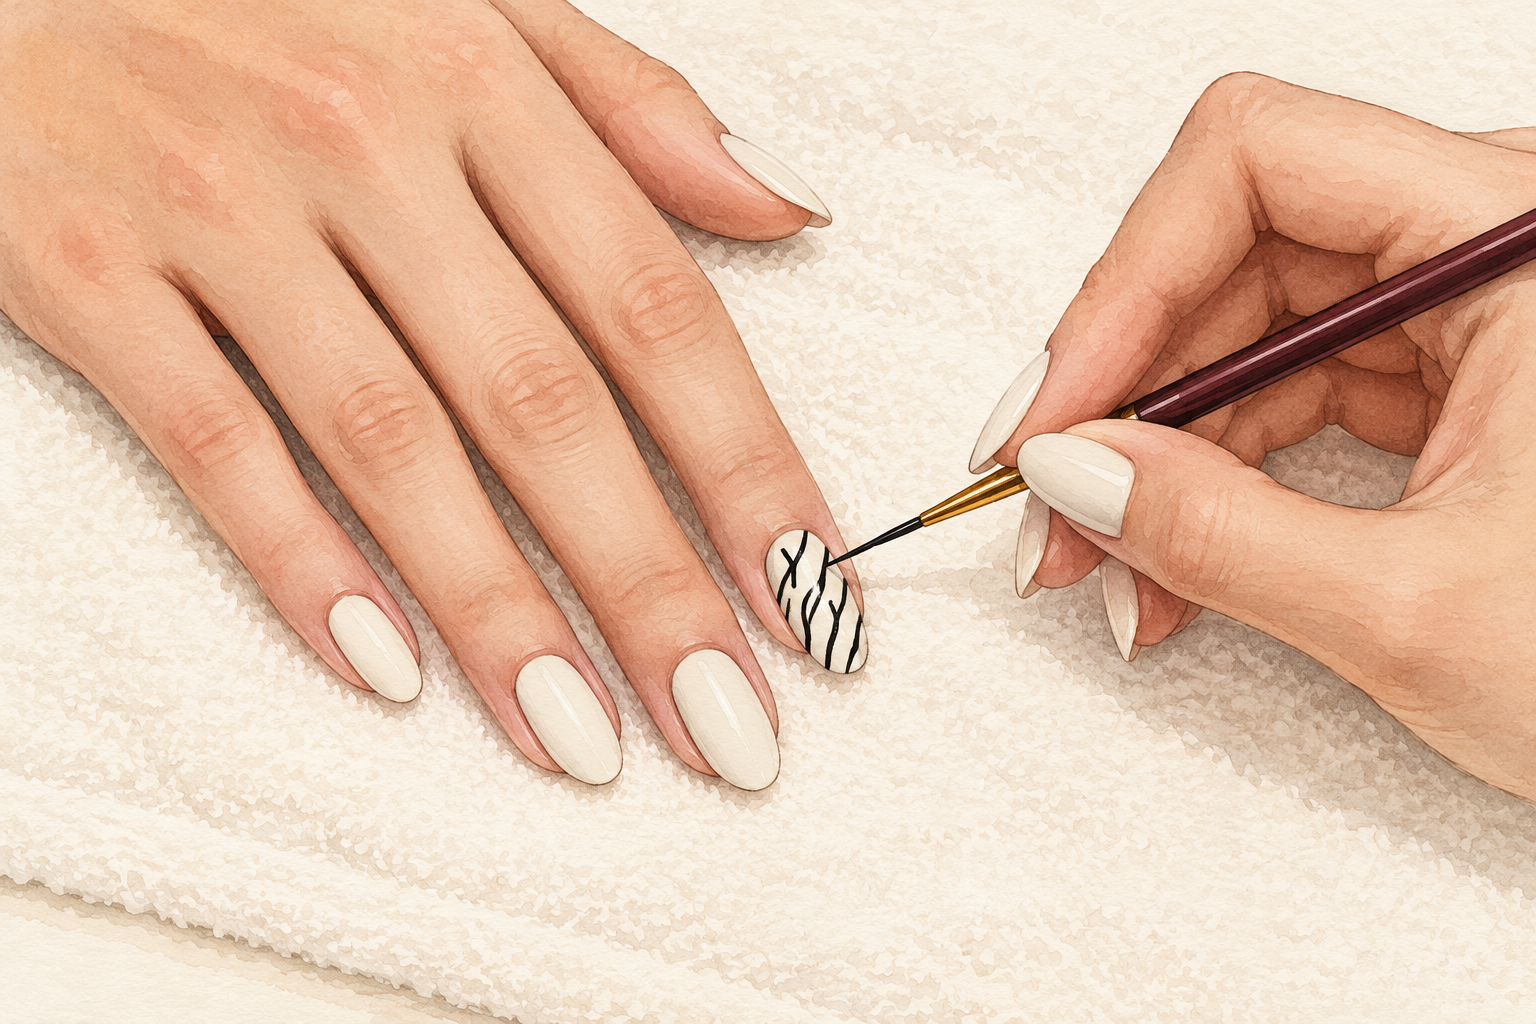
Branch some of the stripes into small Y shapes, and leave a few lines short or broken. Parallel stripes look like a barcode, while uneven spacing looks like real zebra print. Draw a short line off the main stripe, then flick the brush up to thin the tip. Place thicker stripes near the edges and finer ones in the middle. Step back and look at the whole nail before you add more. The empty white space between stripes is just as important as the black, so do not fill every gap. A few tiny dots near the stripes can add a natural, hand drawn touch. Once uneven spacing feels easy, how to do cheetah print on nails is the next one to try.
8. Clean up wobbles right away
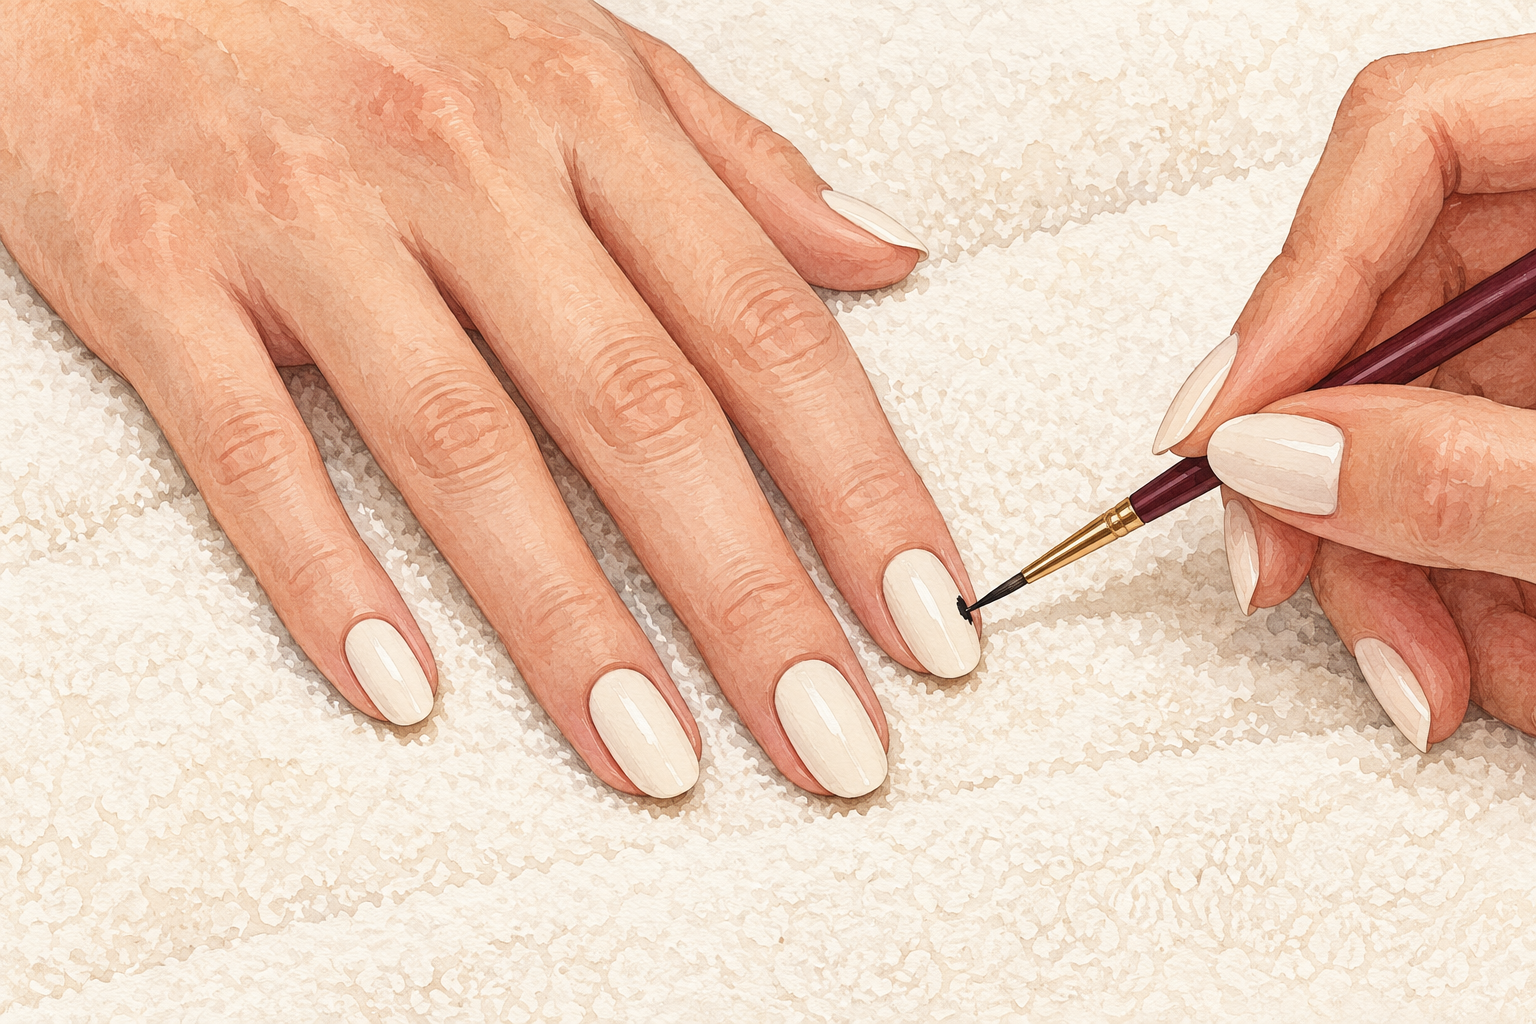
Dip a clean thin brush in a little remover and trim any wobbly edge before it dries. Dab off the excess on a tissue first so the brush is damp and not dripping. Trace along the edge of the stripe and wipe the brush clean after each pass. If a stripe looks too thick, you can carve it thinner with the same brush. Fix your mistakes now, not later, because dried black polish is much harder to fix. Keep a few cotton buds beside you for the skin around the nail. A steady, slow hand matters more than speed when you clean up.
9. Let the stripes dry fully
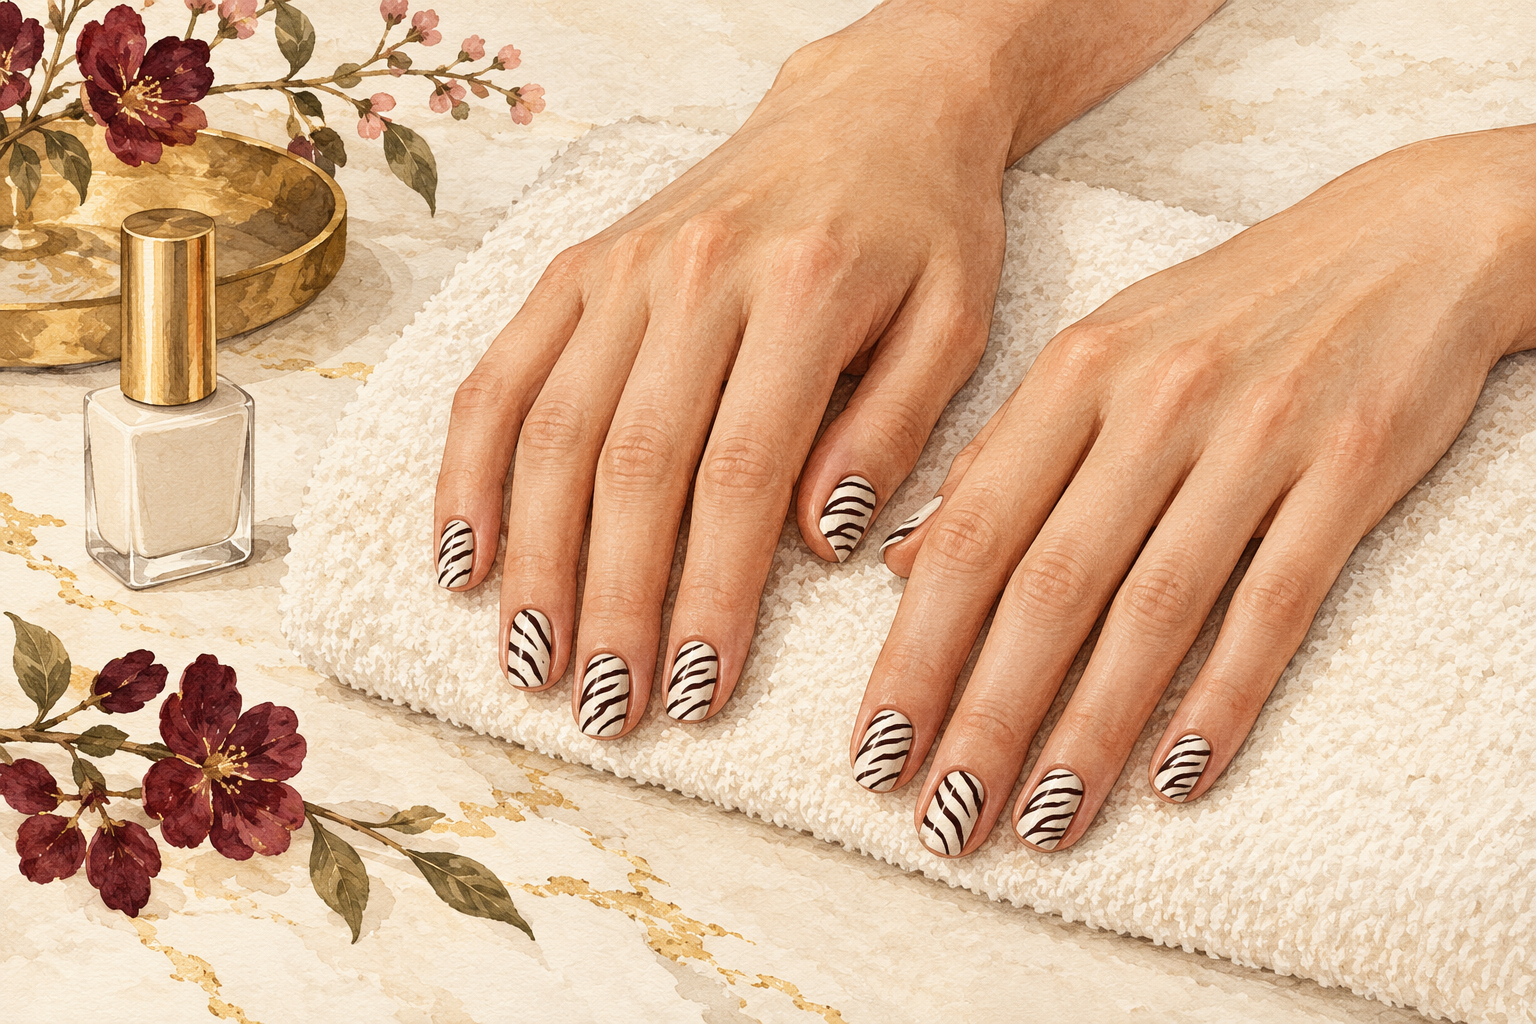
Wait ten minutes before any top coat touches the design. Black polish stays soft under the surface for longer than it feels, and a wet brush will smear it into gray clouds. Sit with your hands still, palm down, and do nothing with them. Touch only the edge of a nail to test. If it feels tacky, give it five more minutes. Rushing this step is how a sharp zebra set ends up looking washed out and muddy. Use this time to wash your brush with remover, so it is ready for next time.
10. Seal with a gentle top coat
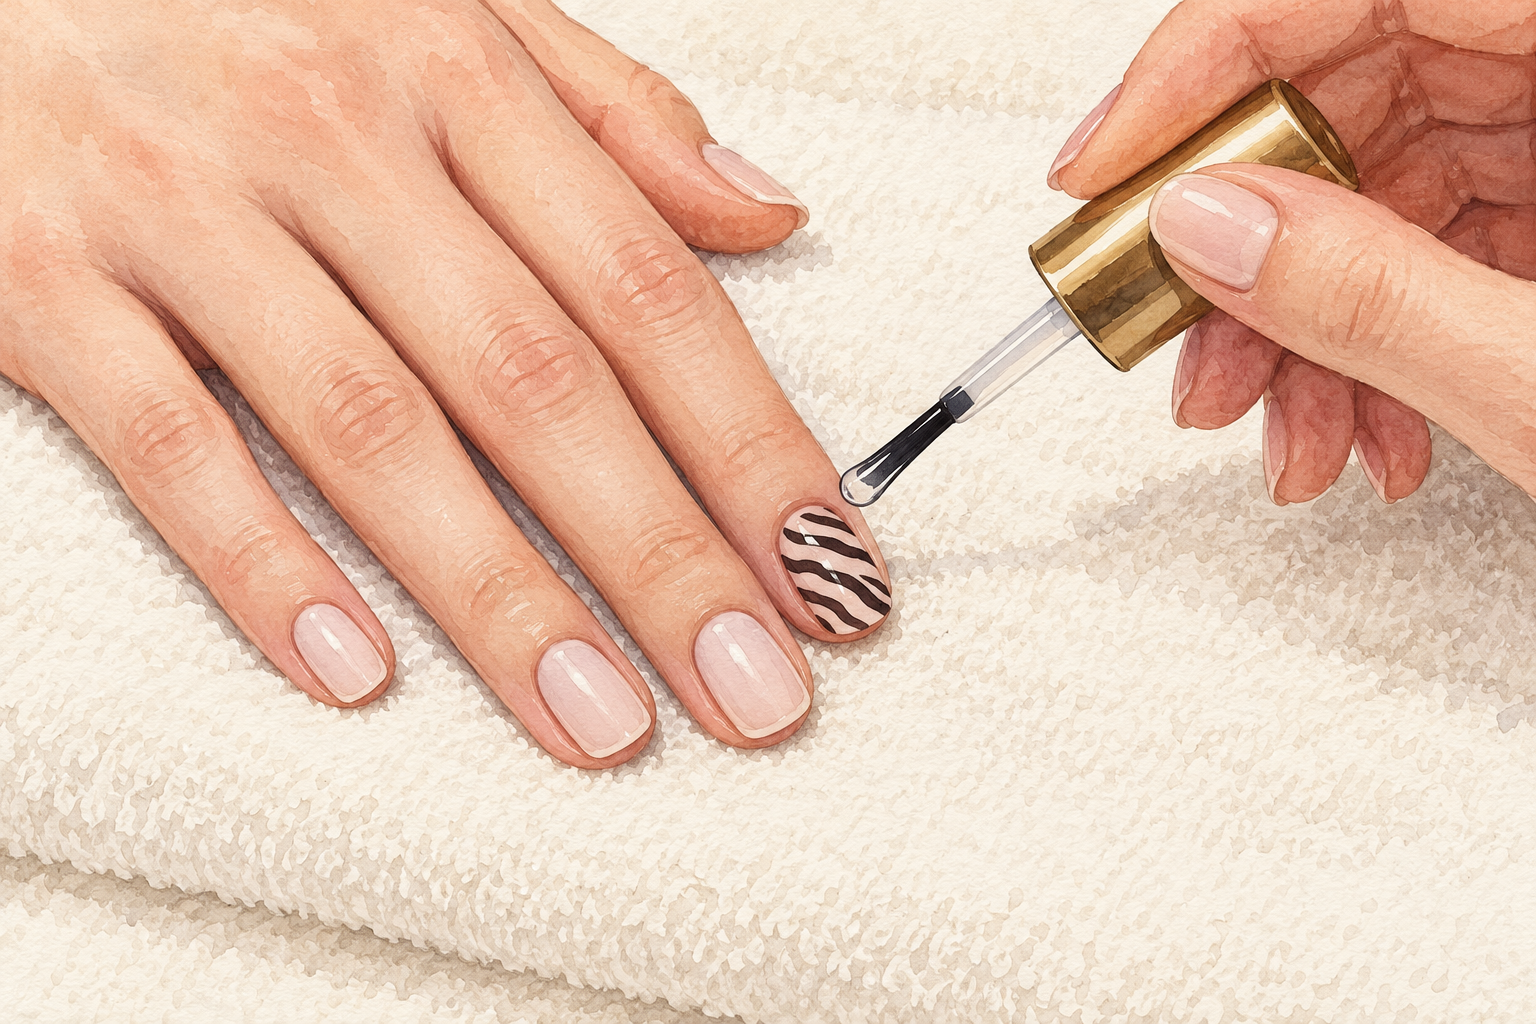
Float a thick bead of clear top coat over the nail without pressing, and cap the free edge. Press too hard and the brush drags the black into the white. Use a fresh, generous bead so the brush never touches the stripes directly. Brush from the middle outward in three strokes. Wait twenty minutes before you pick up anything. If you smudge a stripe, let the top coat dry before you touch it again, then redraw the line with the fine brush. Do not rub the top coat back and forth, since one smooth pass looks best.
11. Make the design last
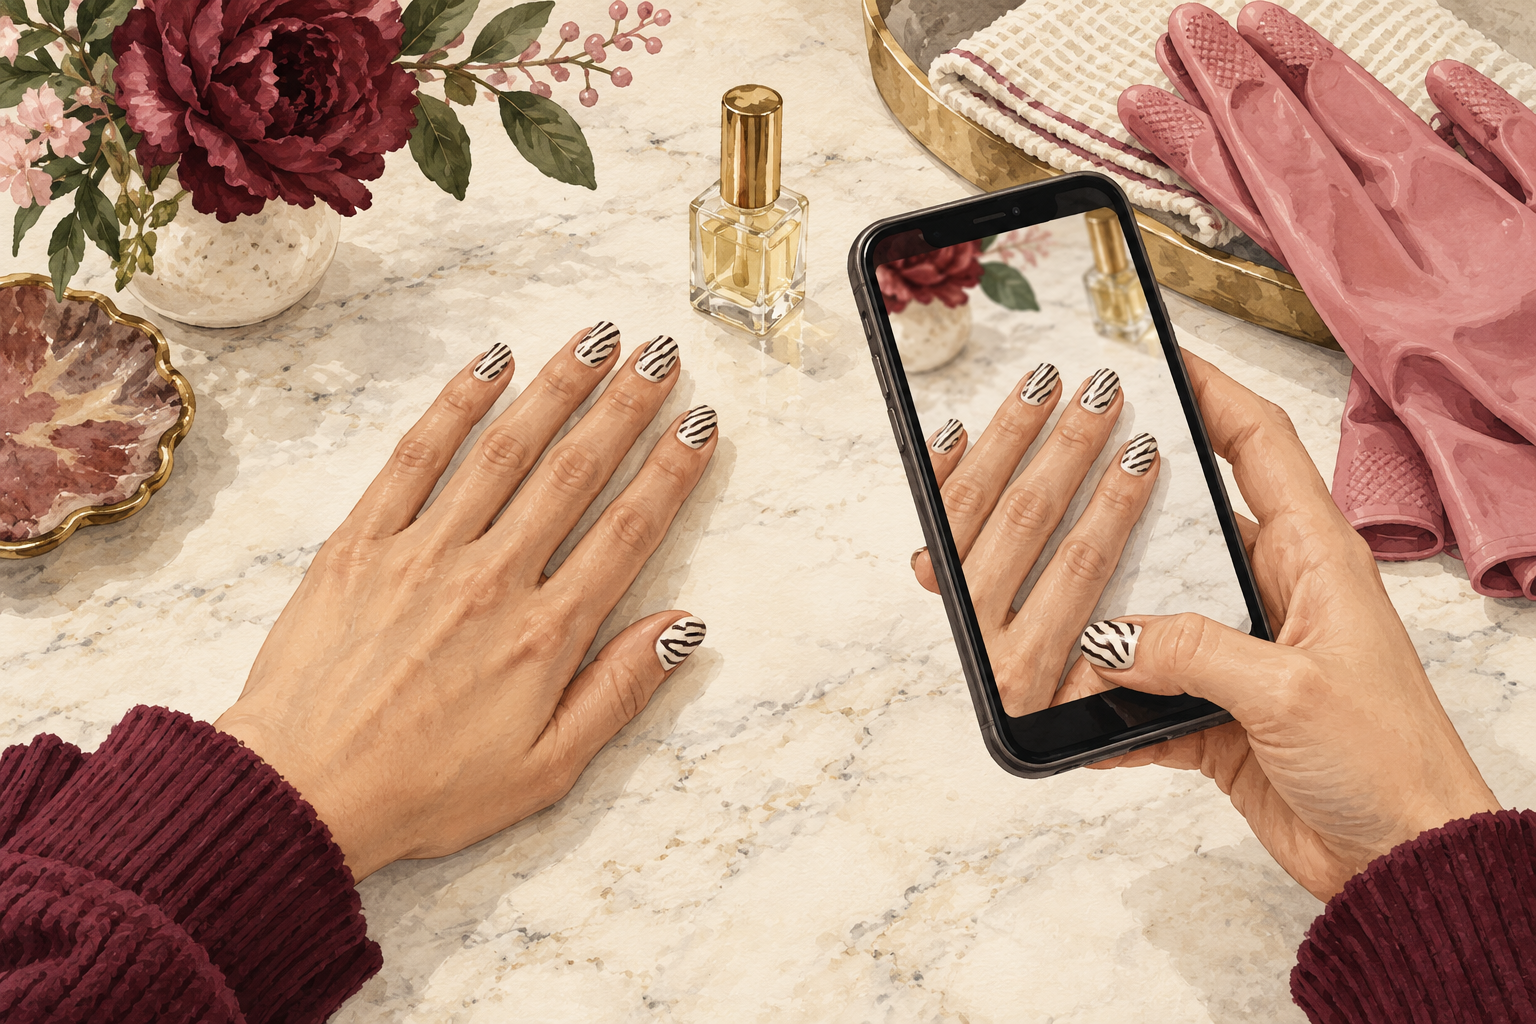
Add a thin layer of top coat on day three, and wear gloves for washing up. Light colors show chips quickly, so protect the tips. Put a drop of cuticle oil on each nail every night, and the skin around the set stays soft. Avoid using your nails to scrape or open things. A zebra set lasts about a week, and sometimes two. Take a photo of the design the day you finish, so you can see how the stripes look as they wear. Wipe your tools and close the polish bottles tightly, so the next set starts clean.
12. Try new zebra color stories
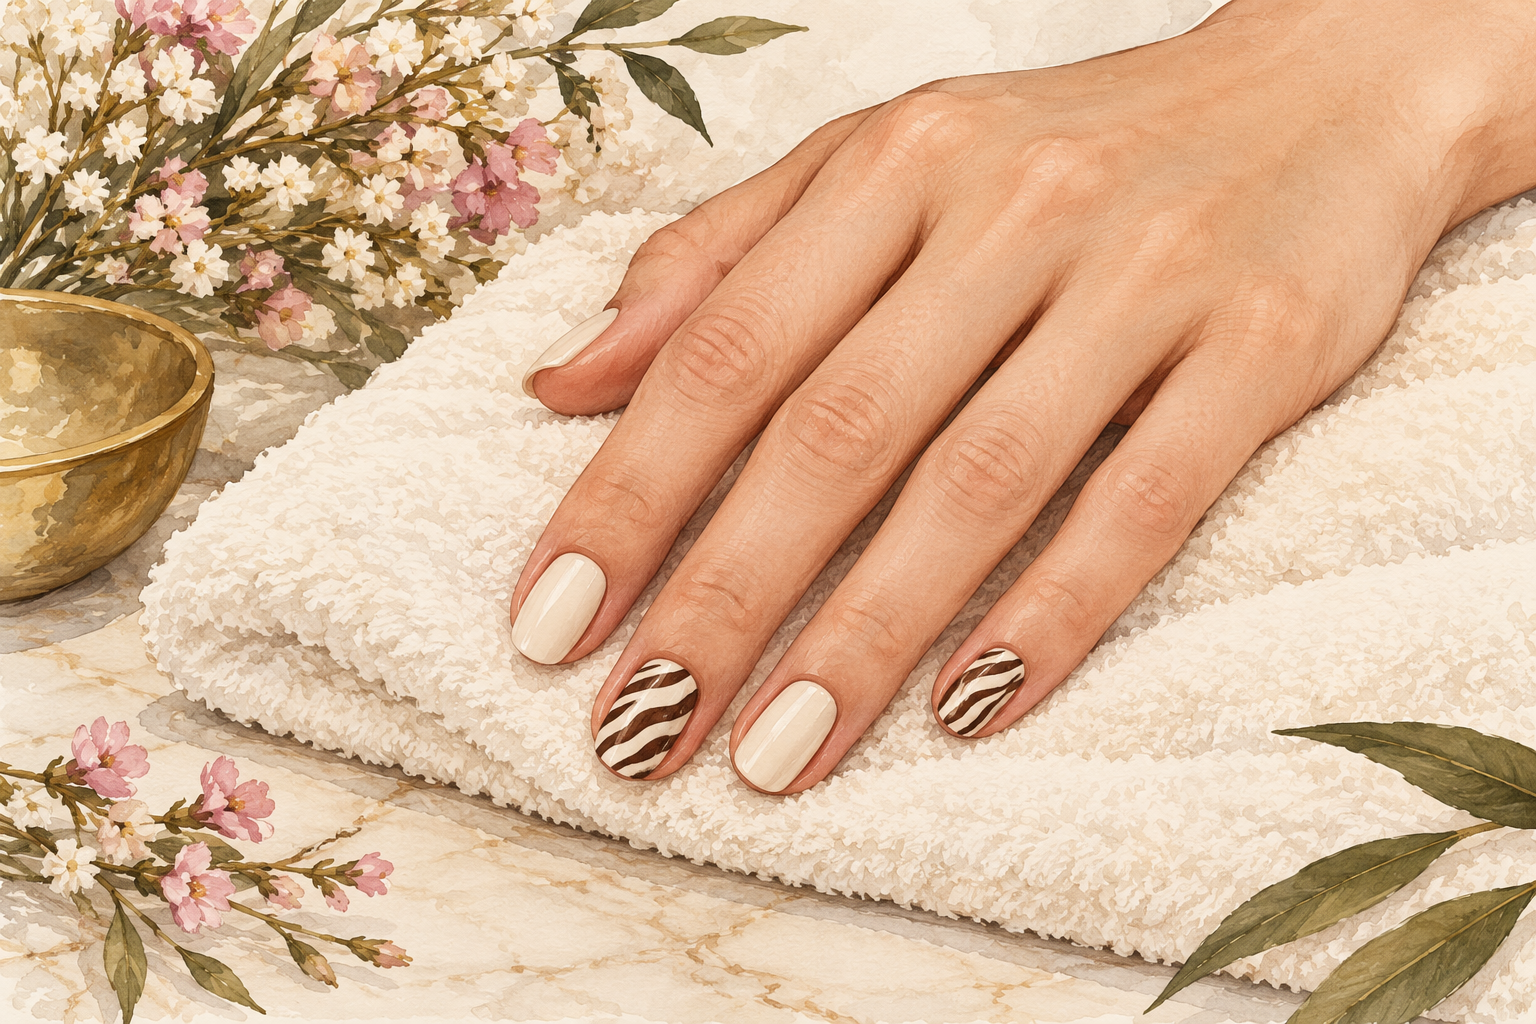
Swap black for chocolate brown on a cream base, or draw deep pink stripes over a pale pink. Paint one accent nail with stripes and leave the rest in a plain base for a softer look. A clear base with stripes only on the tips gives a neat, wearable zebra. You can also finish with a shimmer top coat for a little glow. Once you know how to do zebra print nails in black and white, any color pair works. Write down the shades you love, so you can copy them later. A set with different stripe widths on every nail looks lively and a little playful.
Complete the Look: How to Do Zebra Print Nails Again
Start with your weaker hand while your energy is fresh. Zebra stripes reward a little practice on the foil, so give one more guide below a turn this week and see how it goes.