Your curls look perfect wet, then they dry with a frizzy left side and a flat crown, and no diffuser in sight. Good news: most of the result is decided in the first ten minutes, before any heat comes near your head. Here are 12 steps for how to dry curly hair without a diffuser, so start at number one tonight.
1. Style while your hair is still dripping
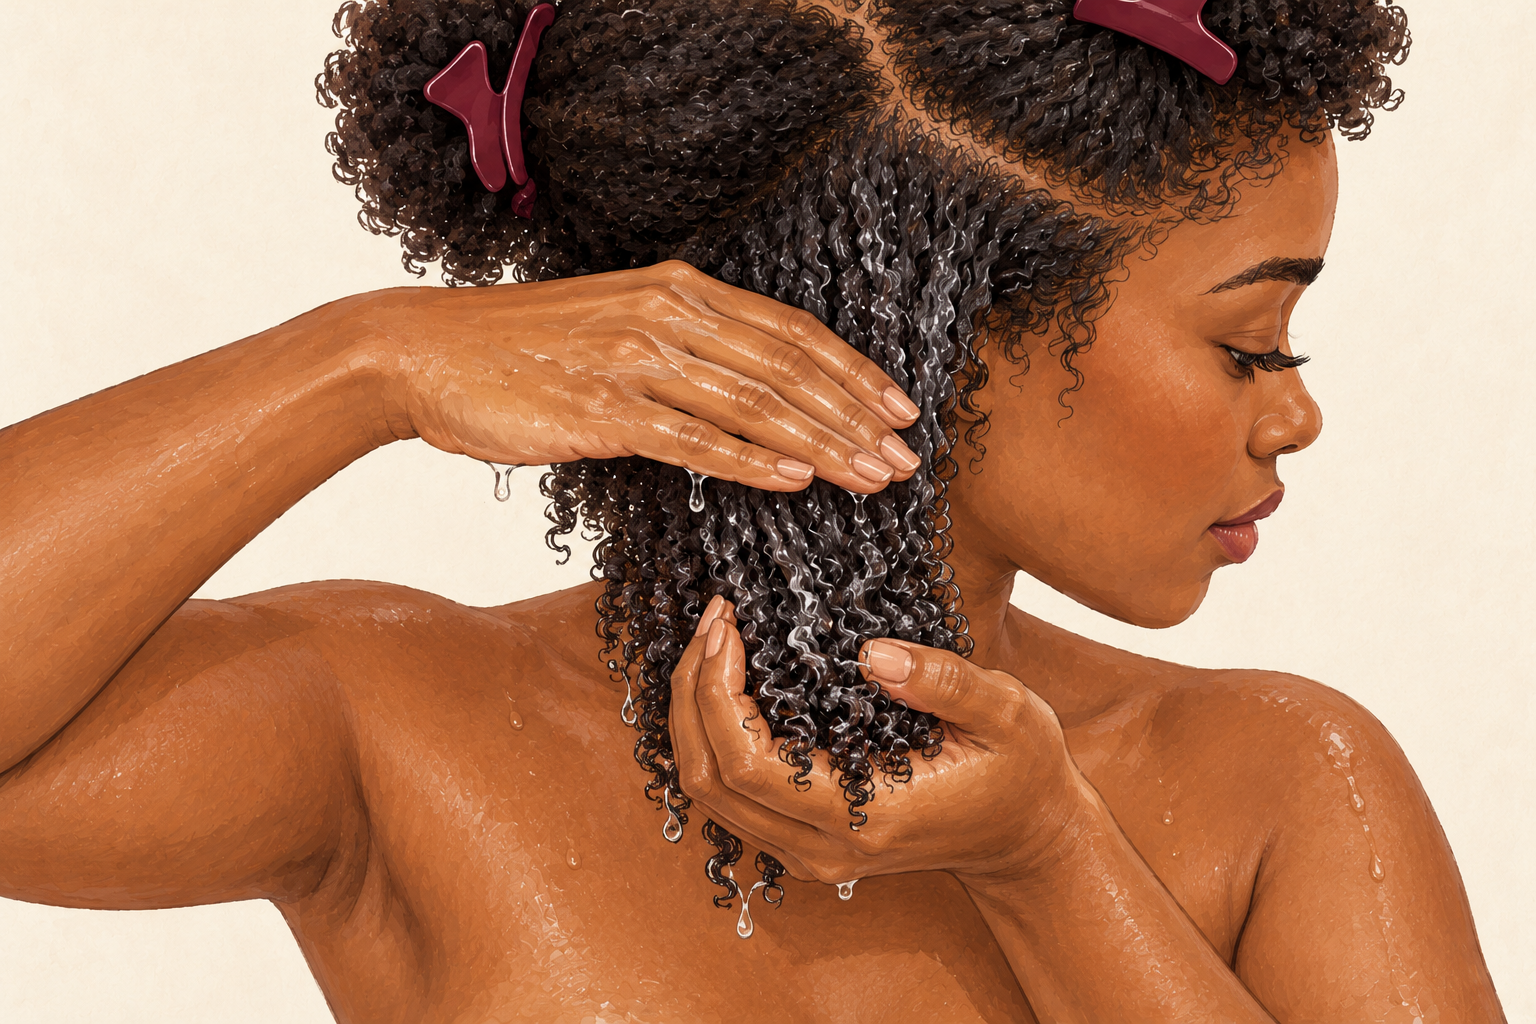
Smooth a coin sized blob of leave in and a coin sized blob of gel through hair that is soaking wet. Rake it in with your fingers, then scrunch upward toward the scalp. Wet hair takes product evenly, so the curls clump together instead of drying as loose, frizzy strands. Waiting until your hair is half dry is the classic slip, because by then the water is gone and the product just sits on top. If your hair feels stiff or sticky later, you used too much, so take less next wash day. Soaking wet means water still runs down your wrist as you work.
2. Press the water out with a t shirt
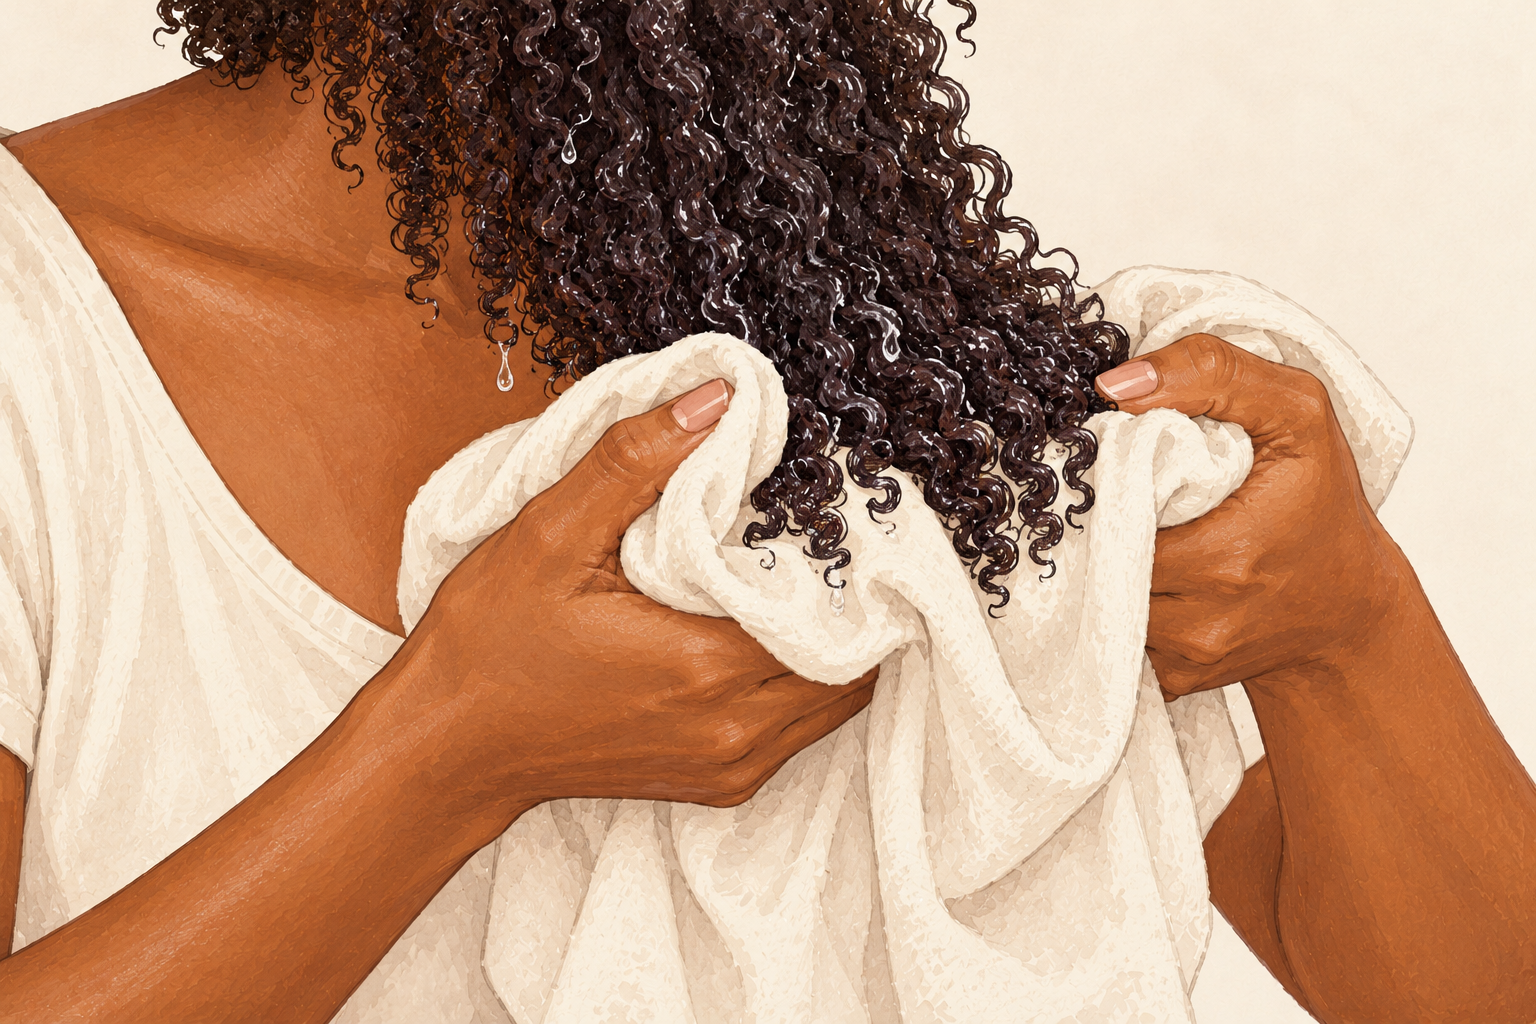
Lean forward, lay a soft cotton t shirt against a section, and squeeze. Rubbing with a rough towel lifts the outer layer of each strand, and on curls that turns into frizz within the hour. Pressing keeps the curl pattern together. Spend one or two minutes on the whole head, moving from the ends up, and stop while the hair is still damp and shiny. Bone dry is not the goal here, and a towel dried head is exactly what we are avoiding. Damp curls still have room to clump, and that clumping is what gives you definition later.
3. Detangle before the styler dries
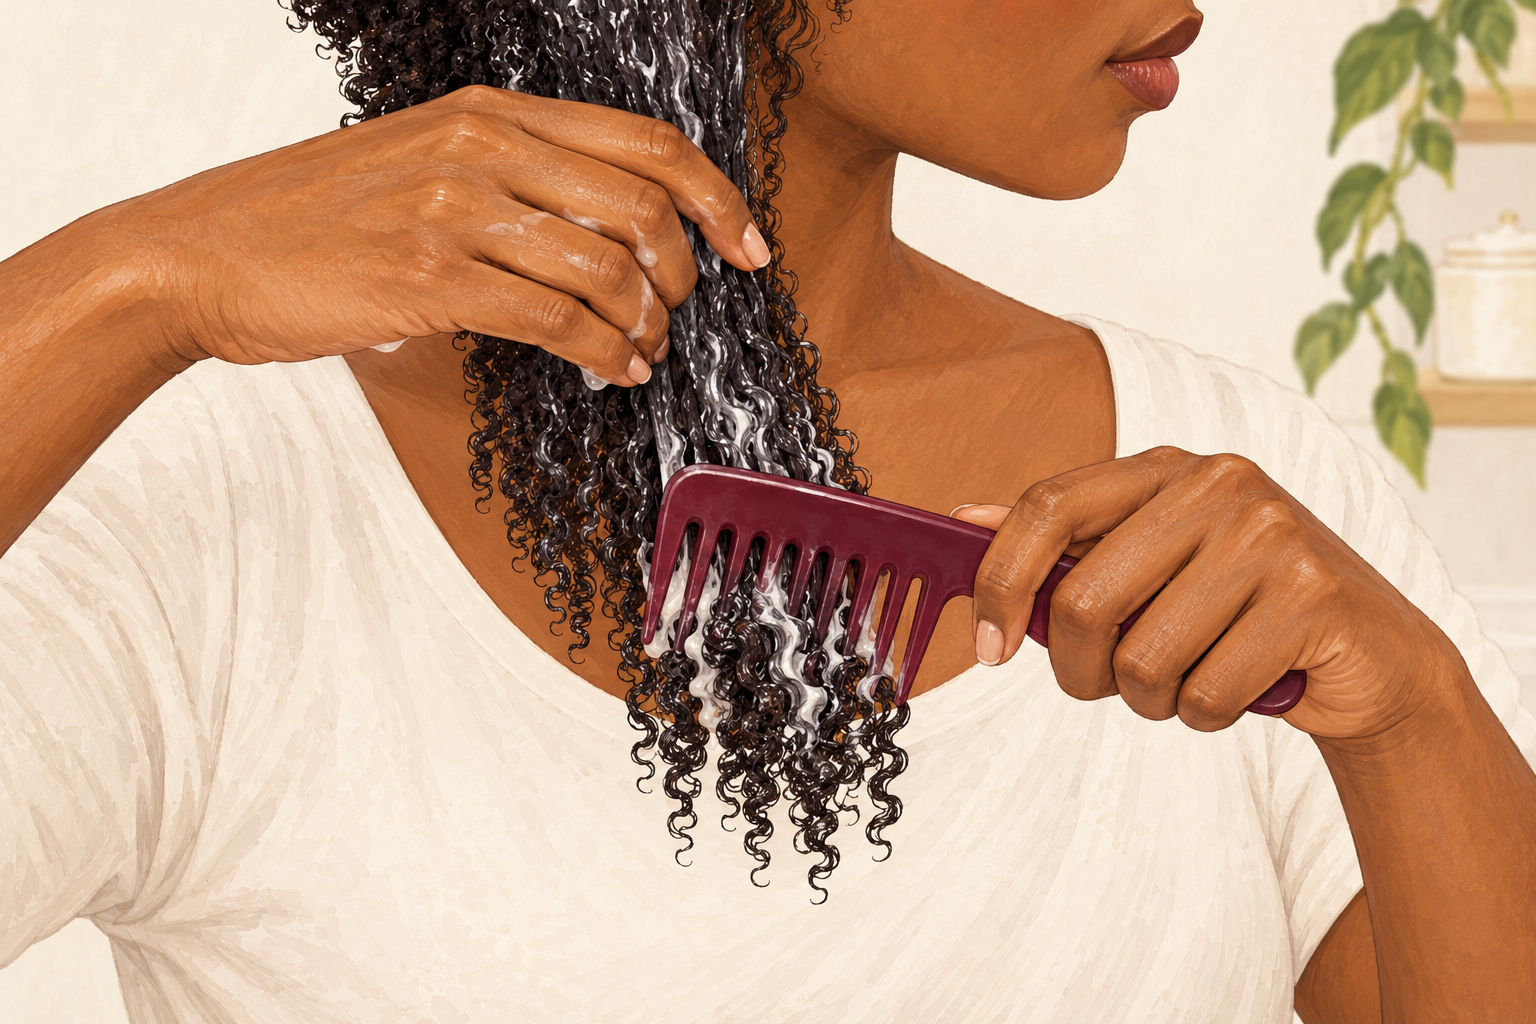
Work through each section with a wide tooth comb, starting at the ends and moving up in small steps. Do this while the hair is damp and slippery with conditioner or leave in. Tangles left in will dry into knots, and pulling them out later snaps strands. If you hit a stubborn one, hold the hair above it and ease it apart with your fingers rather than yanking. After this comb, put the brush away. Every pass through dry curls breaks the clumps you just built. Clip finished sections out of the way so you never comb the same curls twice.
4. Keep your hands out of it while it dries
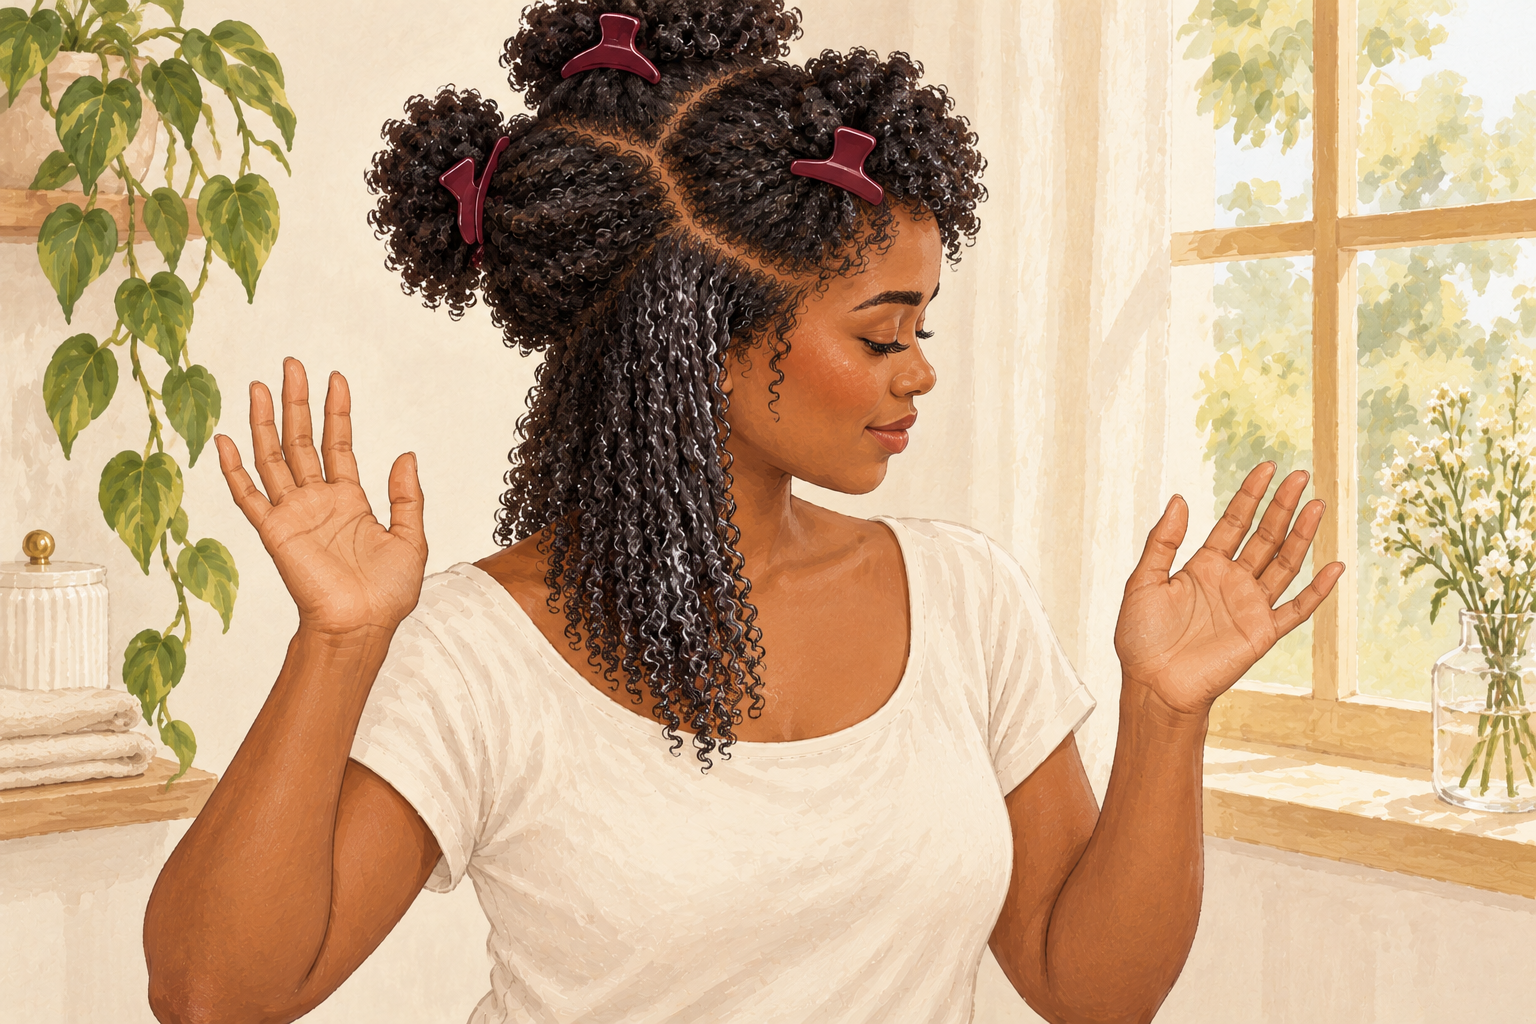
Once the product is in, treat your curls like wet nail polish and do not touch them. Every time you run your fingers through half dry curls you pull the clumps apart, and frizz follows. Most of the frizz people blame on the weather is really disturbed curls. If your hair is thick, expect an hour or two, and check by looking, not poking. Find a job for your hands, like a book or a cup of tea, and resist the urge to fluff the roots. The first hour is the hardest, and then it gets easy.
5. Flip your head once to lift the roots
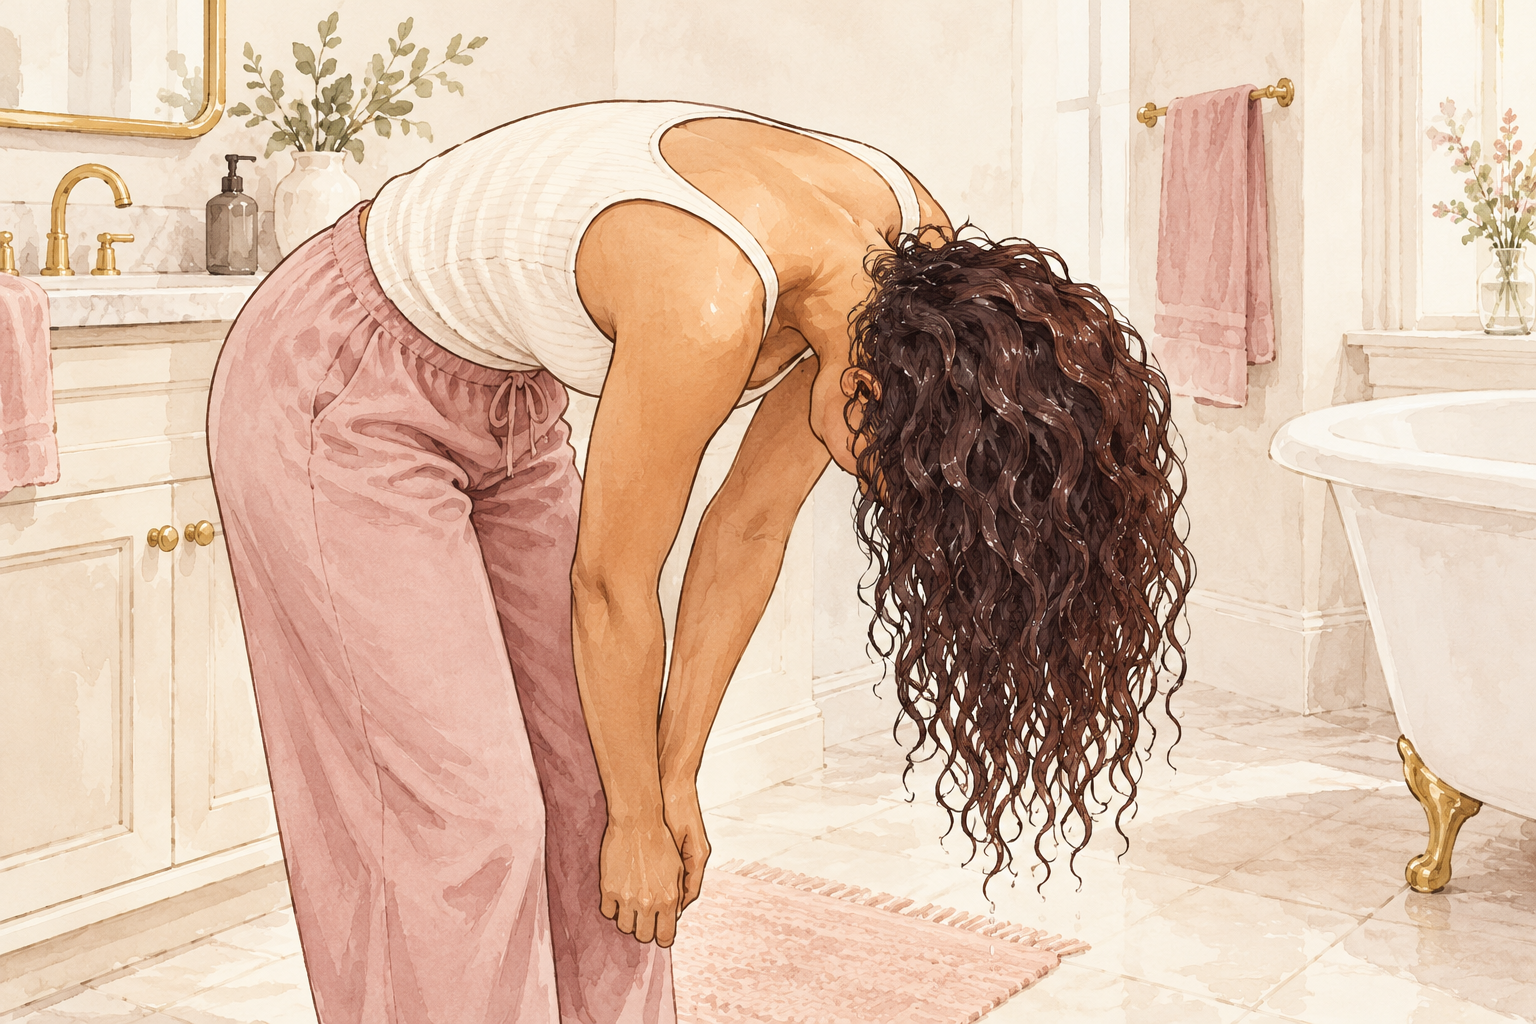
Tip your head upside down for a minute while the hair is wet and let gravity pull the roots up. Then flip back and let everything fall where it wants. Do it once, then leave it. This only works at the start, because once the curls are half dry any movement breaks them. If your crown dries flat every time, this tiny habit gives more lift than any volume product. You can also clip the roots up with a duckbill clip for the first half hour, then take it out gently without dragging.
6. Try plopping for twenty minutes
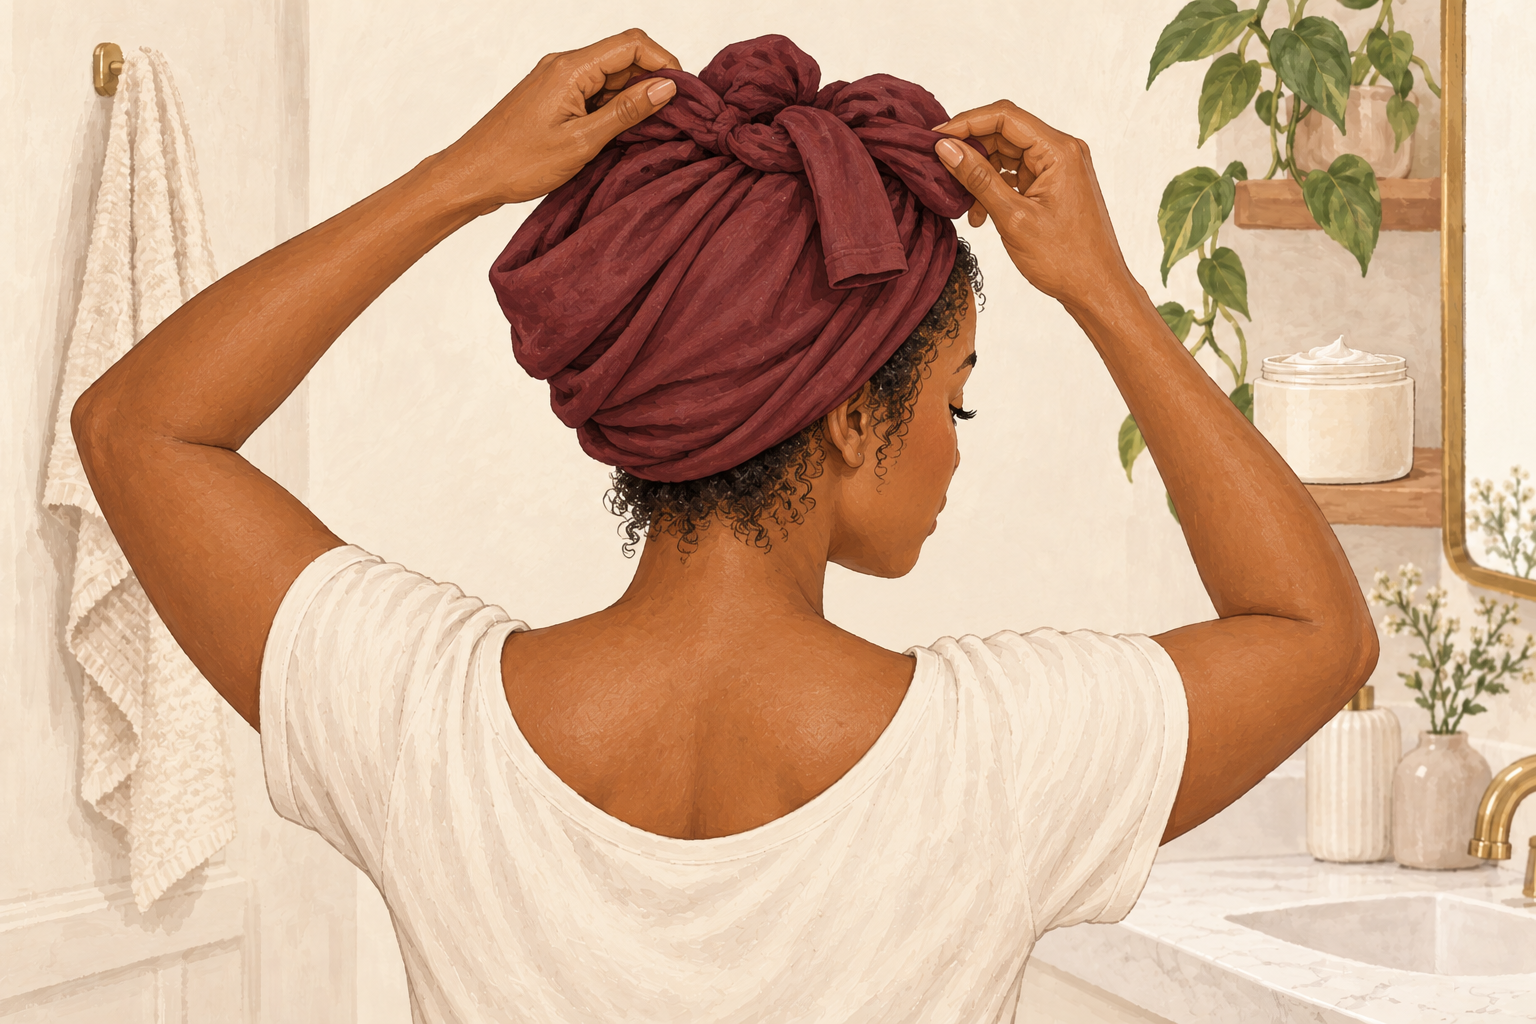
Lay a t shirt flat, tip your hair onto it, and wrap it into a soft turban on top of your head. Leave it for fifteen to twenty minutes, no longer. The shirt pulls out extra water and helps the curls hold their pattern. Then unwrap and let your hair finish drying loose. Do not sleep in a damp plop or wear it for hours, because it gets uncomfortable and cold. It does not suit every head, so if it flattens your roots, skip it and go back to number two. Check the t shirt is clean and dry, so no old lint ends up in your curls.
7. Use low heat and low speed when you need the dryer
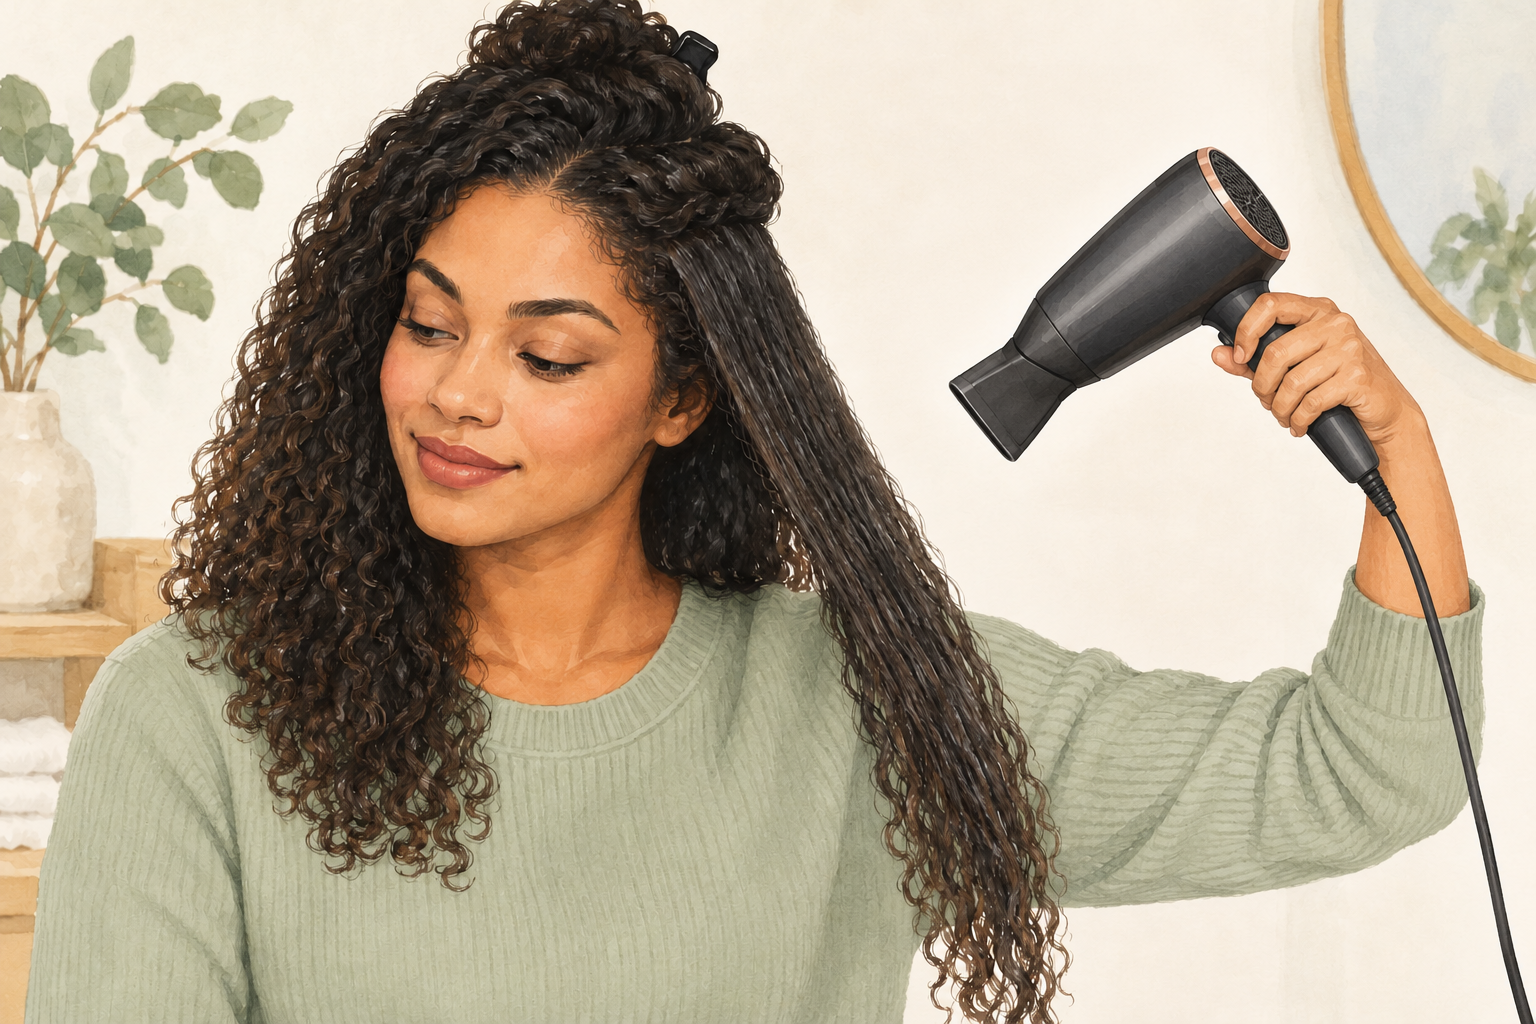
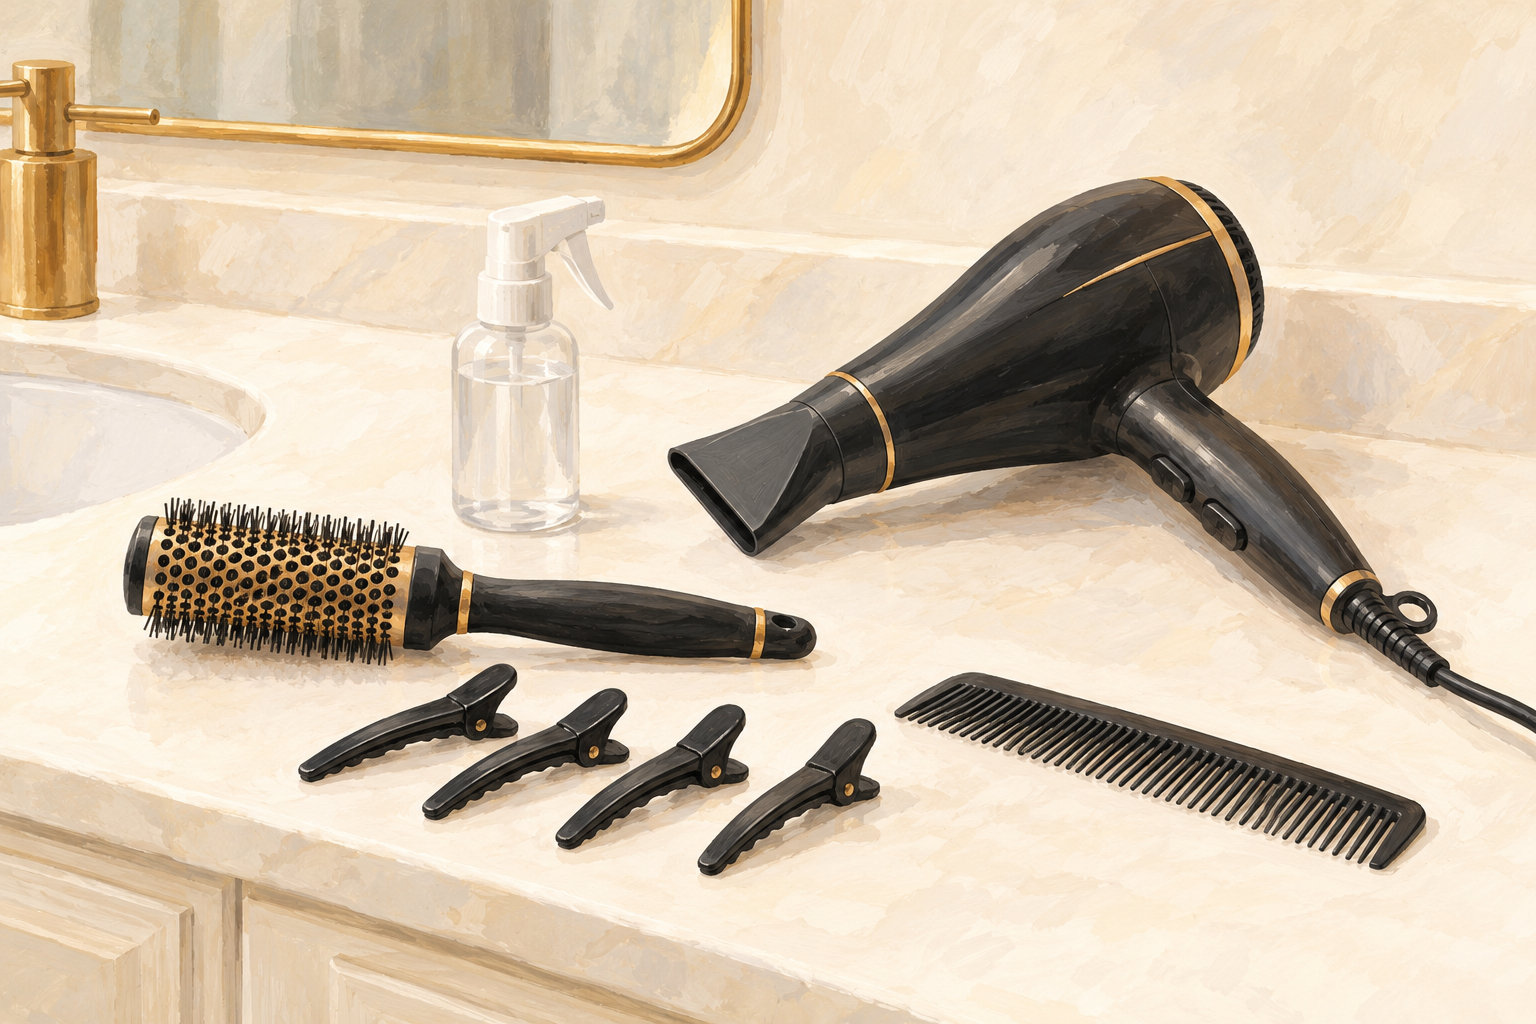
Set the dryer to its lowest heat and lowest speed, hold it a hand’s width from your hair, and keep it moving. A strong jet of air blows curls apart, which is why a plain nozzle needs the gentlest setting. Never aim at one spot for long, because that is where hair starts to dry out and snap. Wait until your hair has air dried about halfway before you start. Using heat once a week or less is a kind rule for curls. Learning how to dry curly hair without a diffuser means treating the dryer as the last helper, not the first.
8. Cup the curls and stop at eighty percent dry
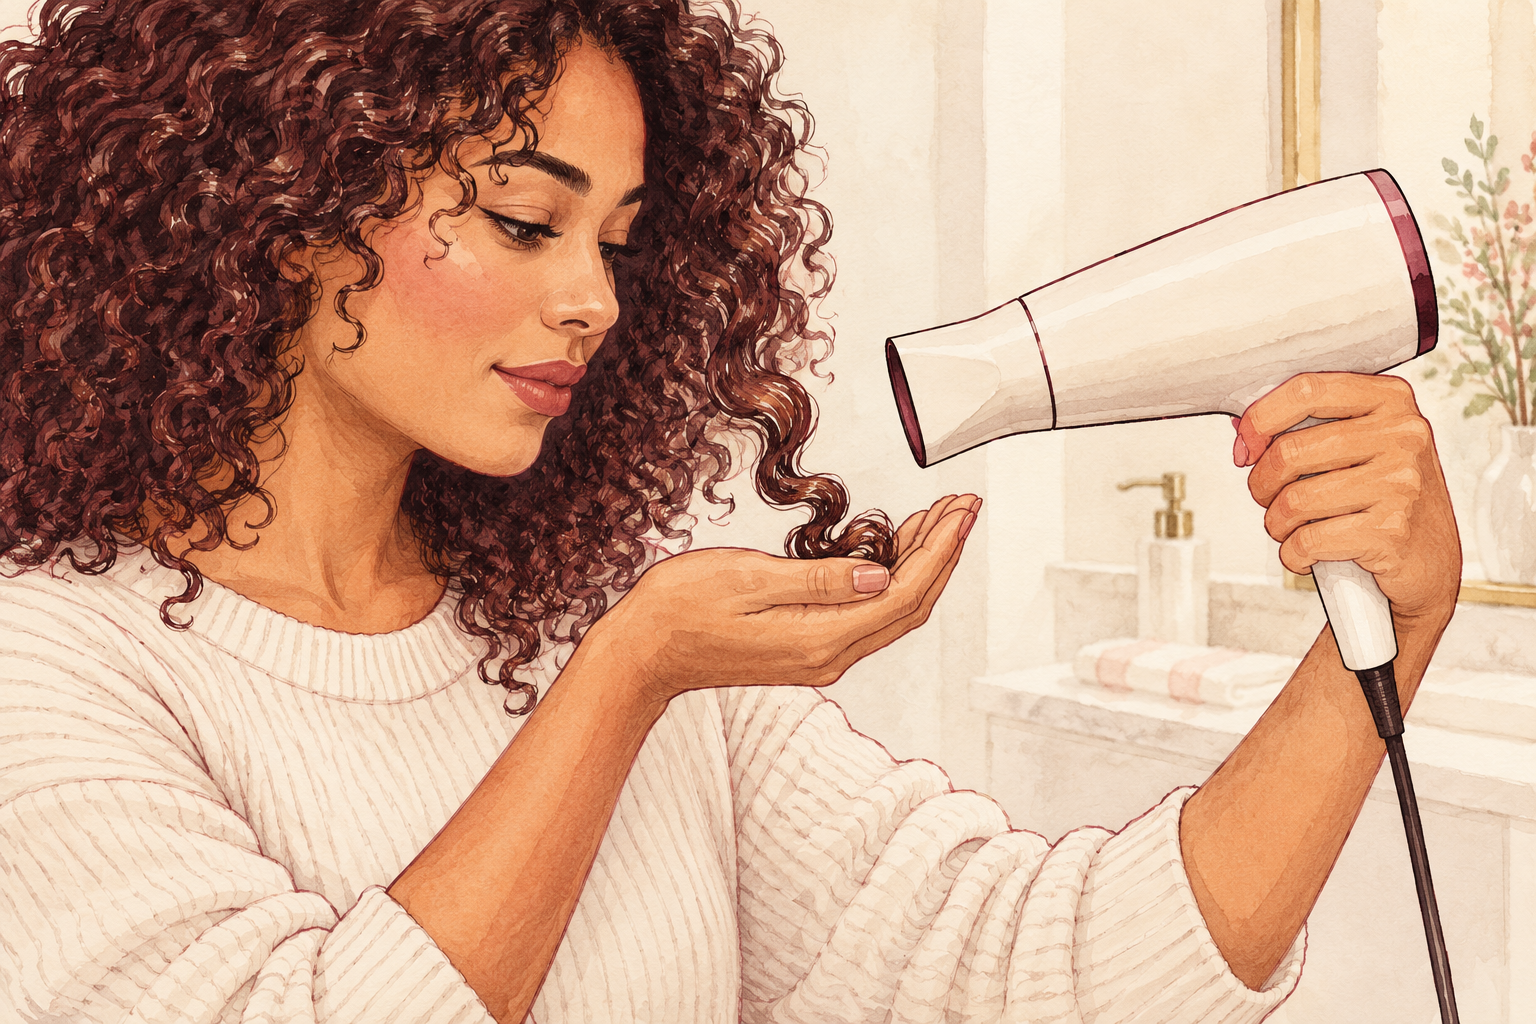
Hold a section in your cupped palm, lift it gently toward the dryer, and let the warm air pass through. Move to the next section when the first one feels mostly dry. Then switch the dryer off while the hair is still slightly damp and let the air finish the job. Drying curls completely with heat is the usual reason they end up brittle and loose. Keep your hand between the nozzle and your hair, and turn the heat down if you feel it on your scalp. Work the back first, then the sides, then the front, which dries fastest.
9. Expect your first few washes to be slower

Give any new method three or four washes before you judge it. The first try will take longer than a diffuser would, and you may see some frizz while you learn the timing. By the third or fourth wash you will know how long your hair takes to dry and where it tends to go flat. After a month you will have a routine that suits your texture, whether that is plopping, air drying or low heat. Jot down what you did each time, and how the curls looked the next morning. Those little notes show you which steps matter most for your texture.
10. Scrunch out the crunch once it is fully dry
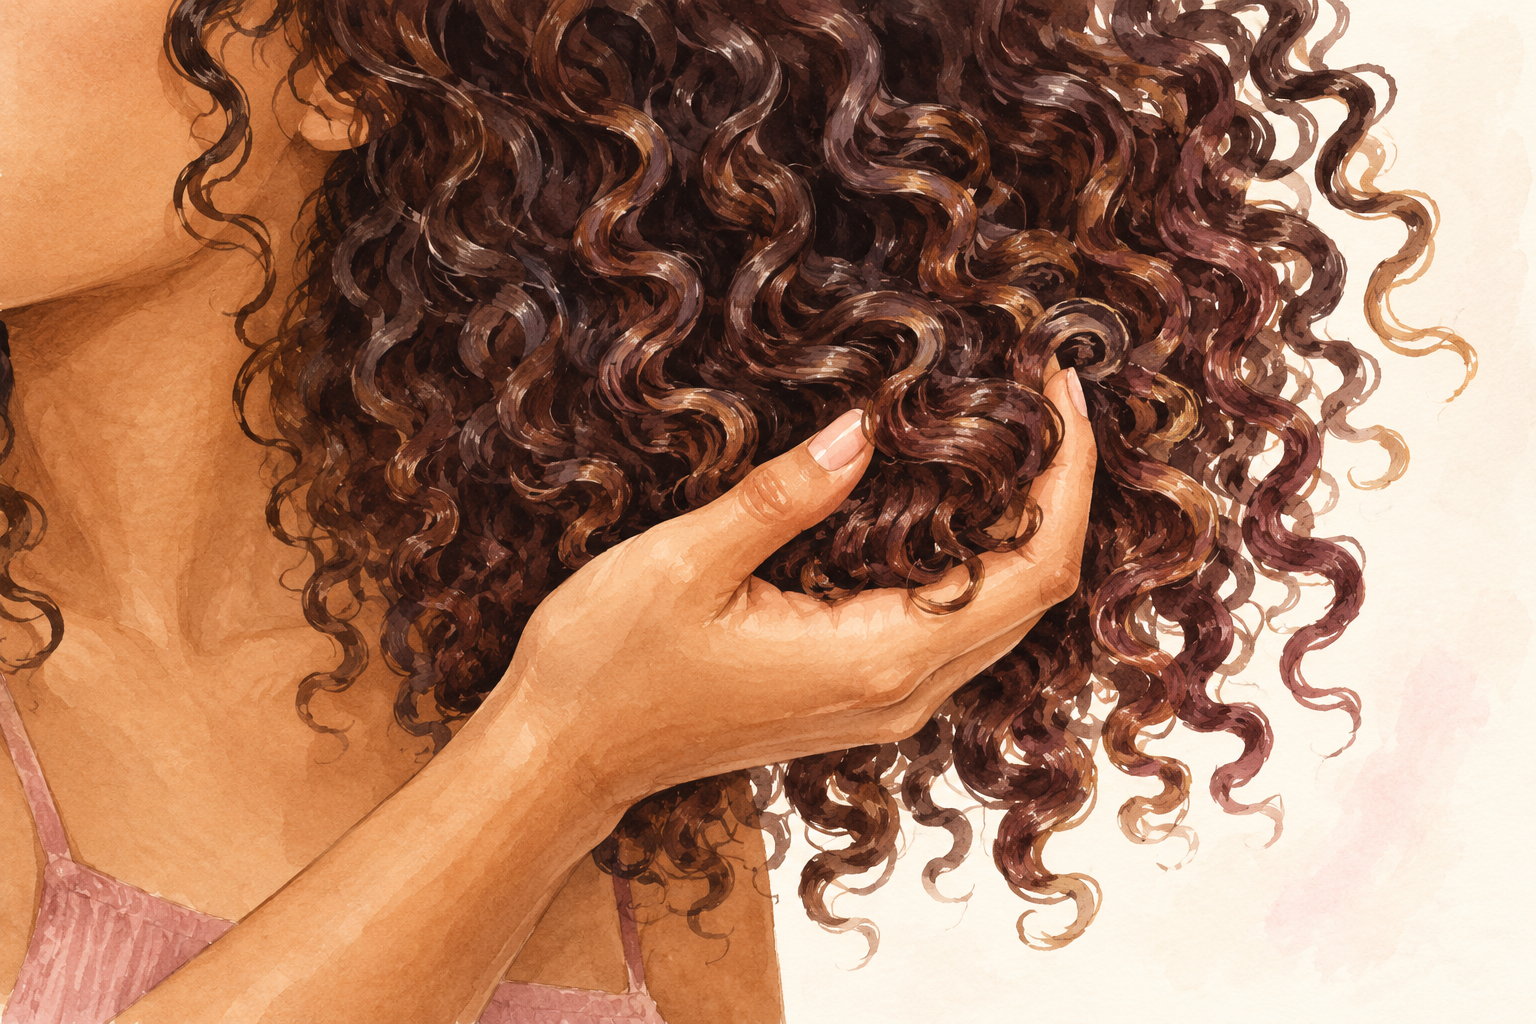
Rub two or three drops of oil between your palms and scrunch your curls upward to break the gel cast. The stiff cast protects the curl while it sets, so it should stay until your hair is completely dry. Breaking it early gives you frizz, even if the hair feels almost ready. When it cracks, the curls turn soft and bouncy and look fuller. A few drops are plenty, because too much oil flattens the curls and leaves your fingers greasy. If the curls still feel crunchy, scrunch again with slightly damp palms.
11. Swap the habits that add frizz
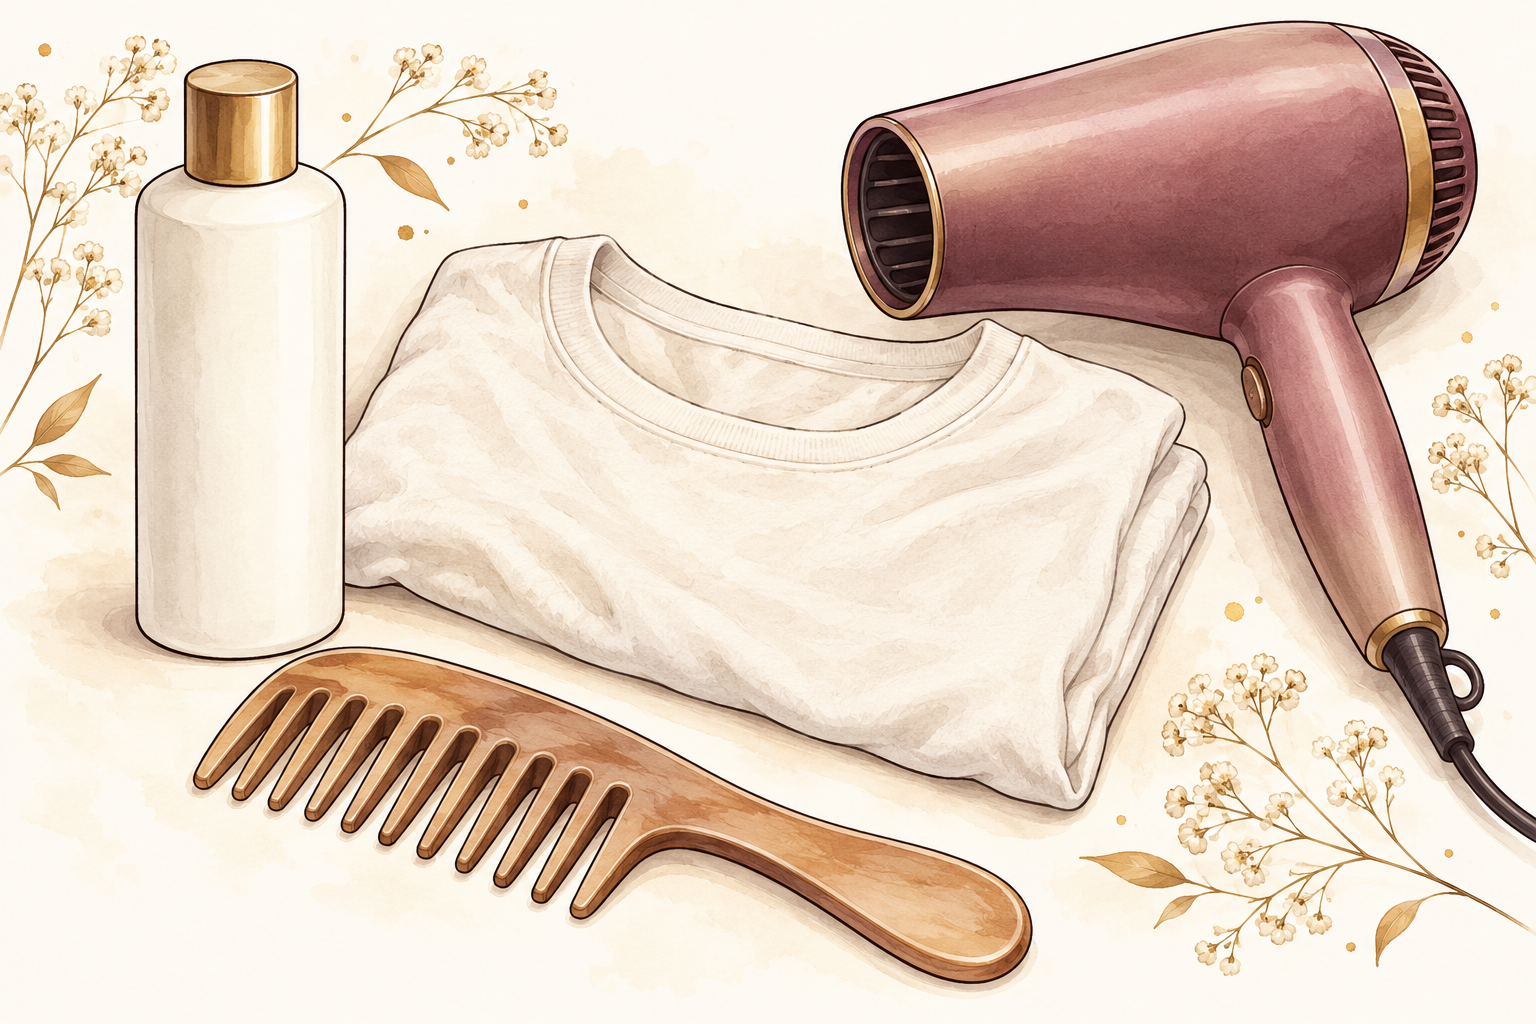
Swap the rough towel for a cotton t shirt, the brush for a wide tooth comb, and the hot dryer for a warm one. Skip the old idea of a hundred brush strokes a day, since tugging snaps curls. Swap fluffing the roots for leaving them alone, and swap sleeping on wet hair for a loose pineapple on top of your head. None of these takes extra time, and most of them take less. Pick two to change this week and give them a month before you add a third.
12. Watch for the signs that heat is costing you curl
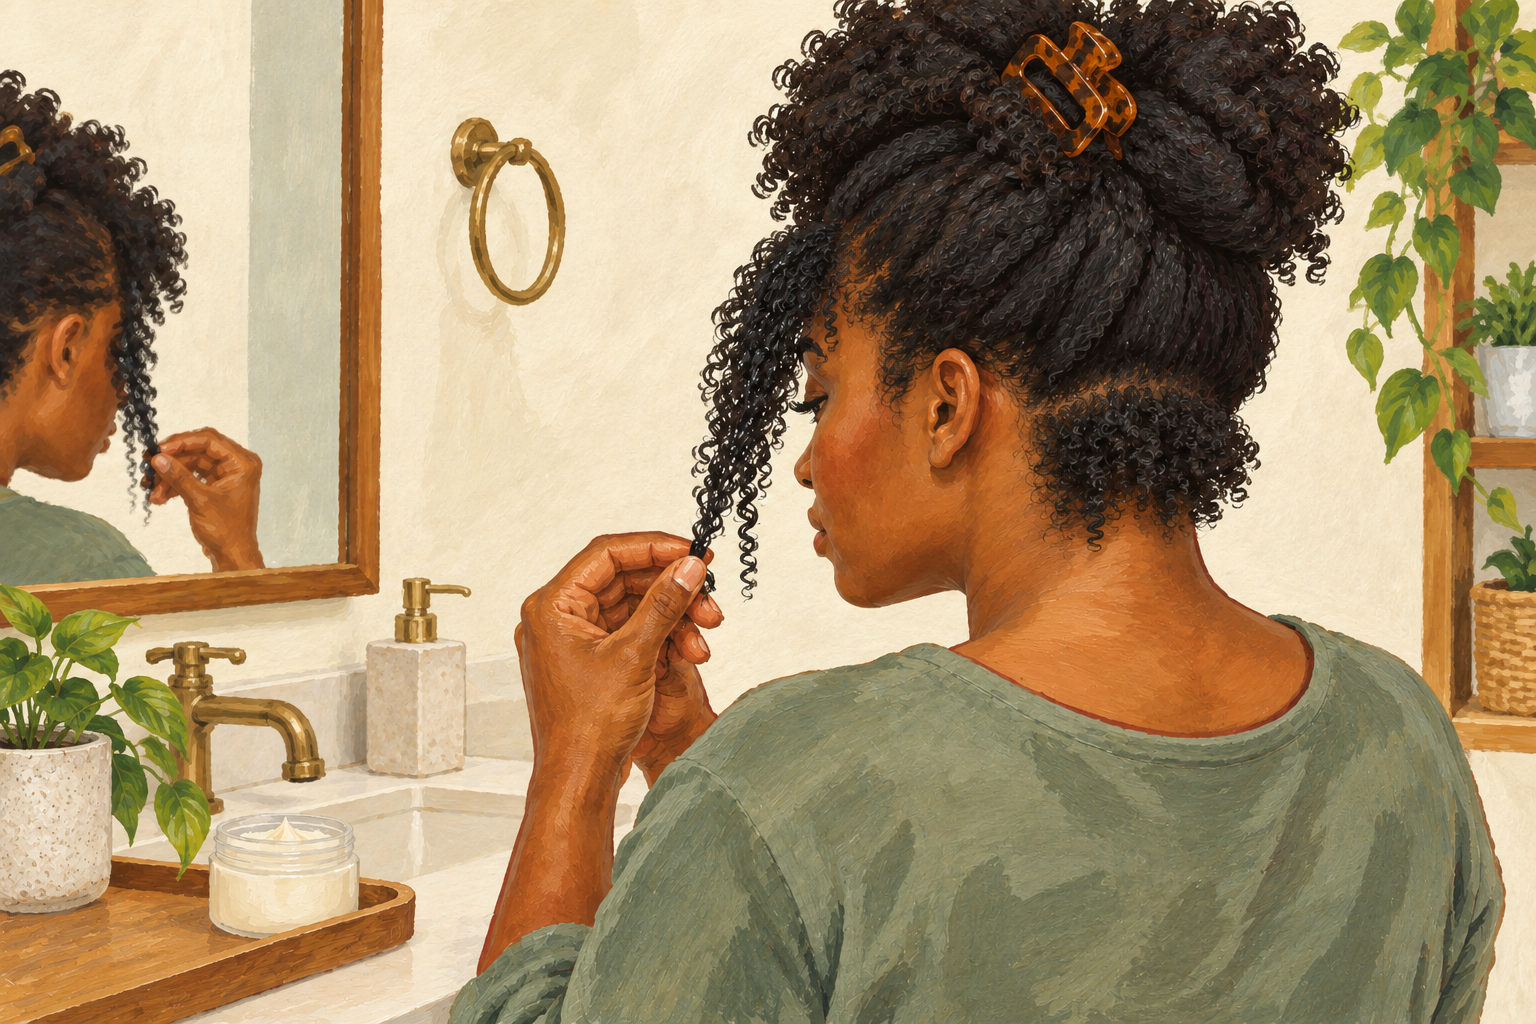
If your curls loosen, the ends feel straw like, or hair snaps when you detangle, you are using too much heat. Cut back to once a week or less, or go back to air drying only for a few weeks. Heat damage does not reverse, and only a trim removes the worst of it. Notice which side of your head goes limp first, since that is usually where the dryer lingers. Keep a note of the days you used heat so you can see the pattern. Trim the ends every three months or so, since rough ends frizz first.
Complete the Routine: How to Dry Curly Hair Without a Diffuser Tonight
Tonight, style on dripping hair, press the water out with a cotton t shirt, and leave your curls alone until they are dry. For the rest of your wash day, read about how to dry hair, or how to blow dry hair for volume when you want more lift.