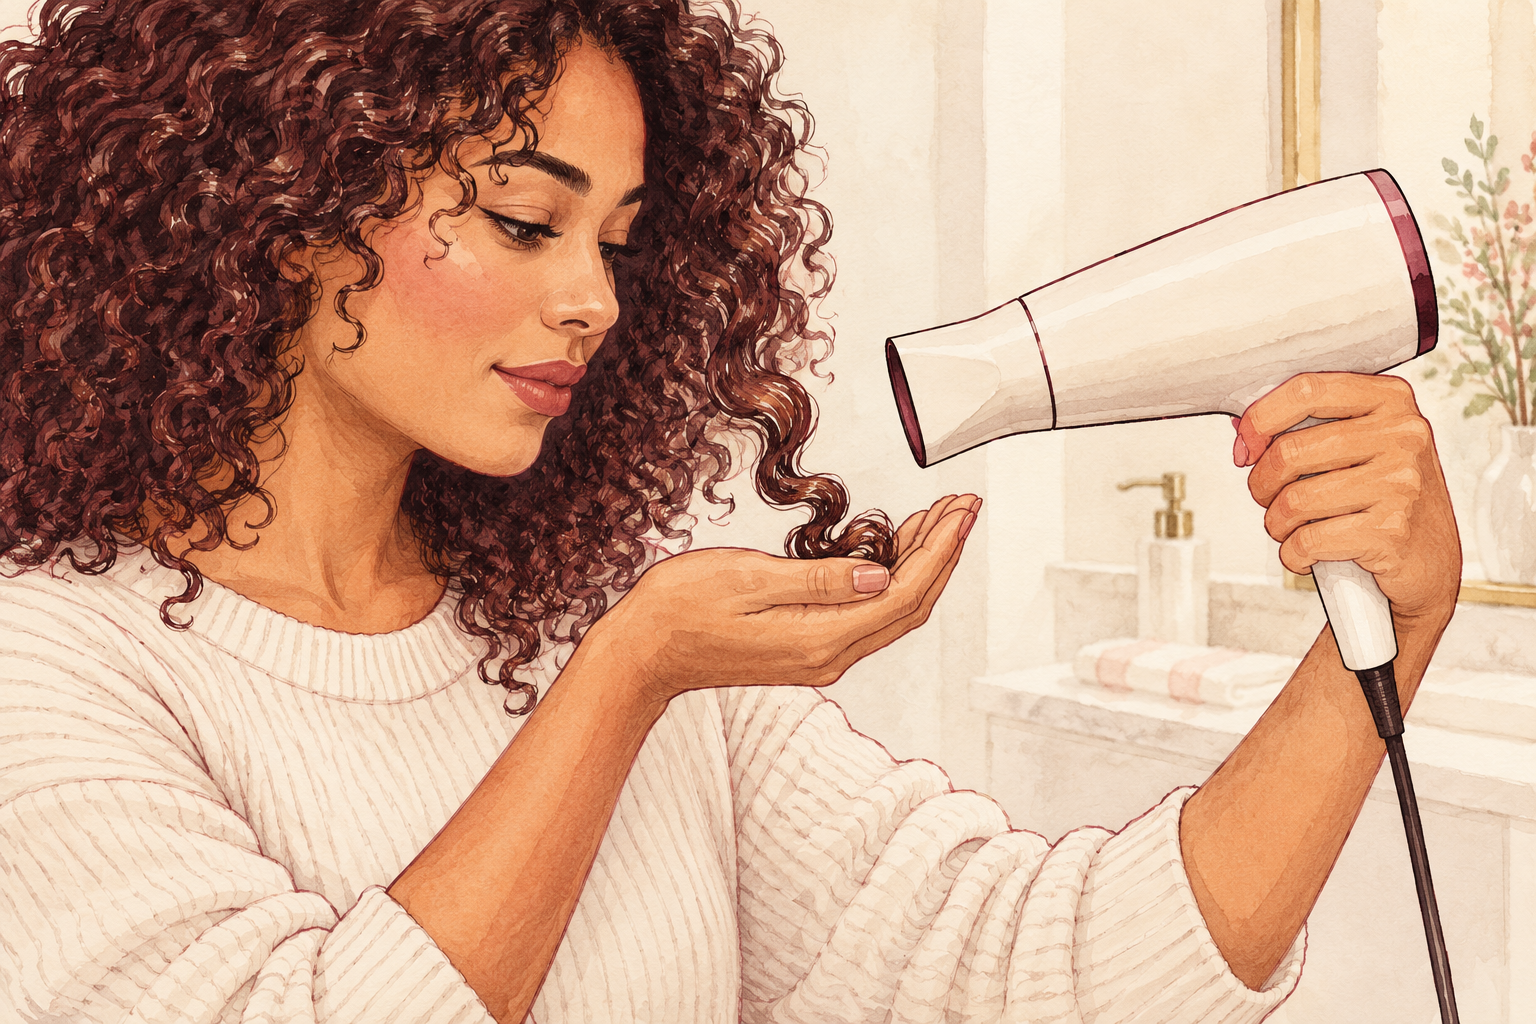
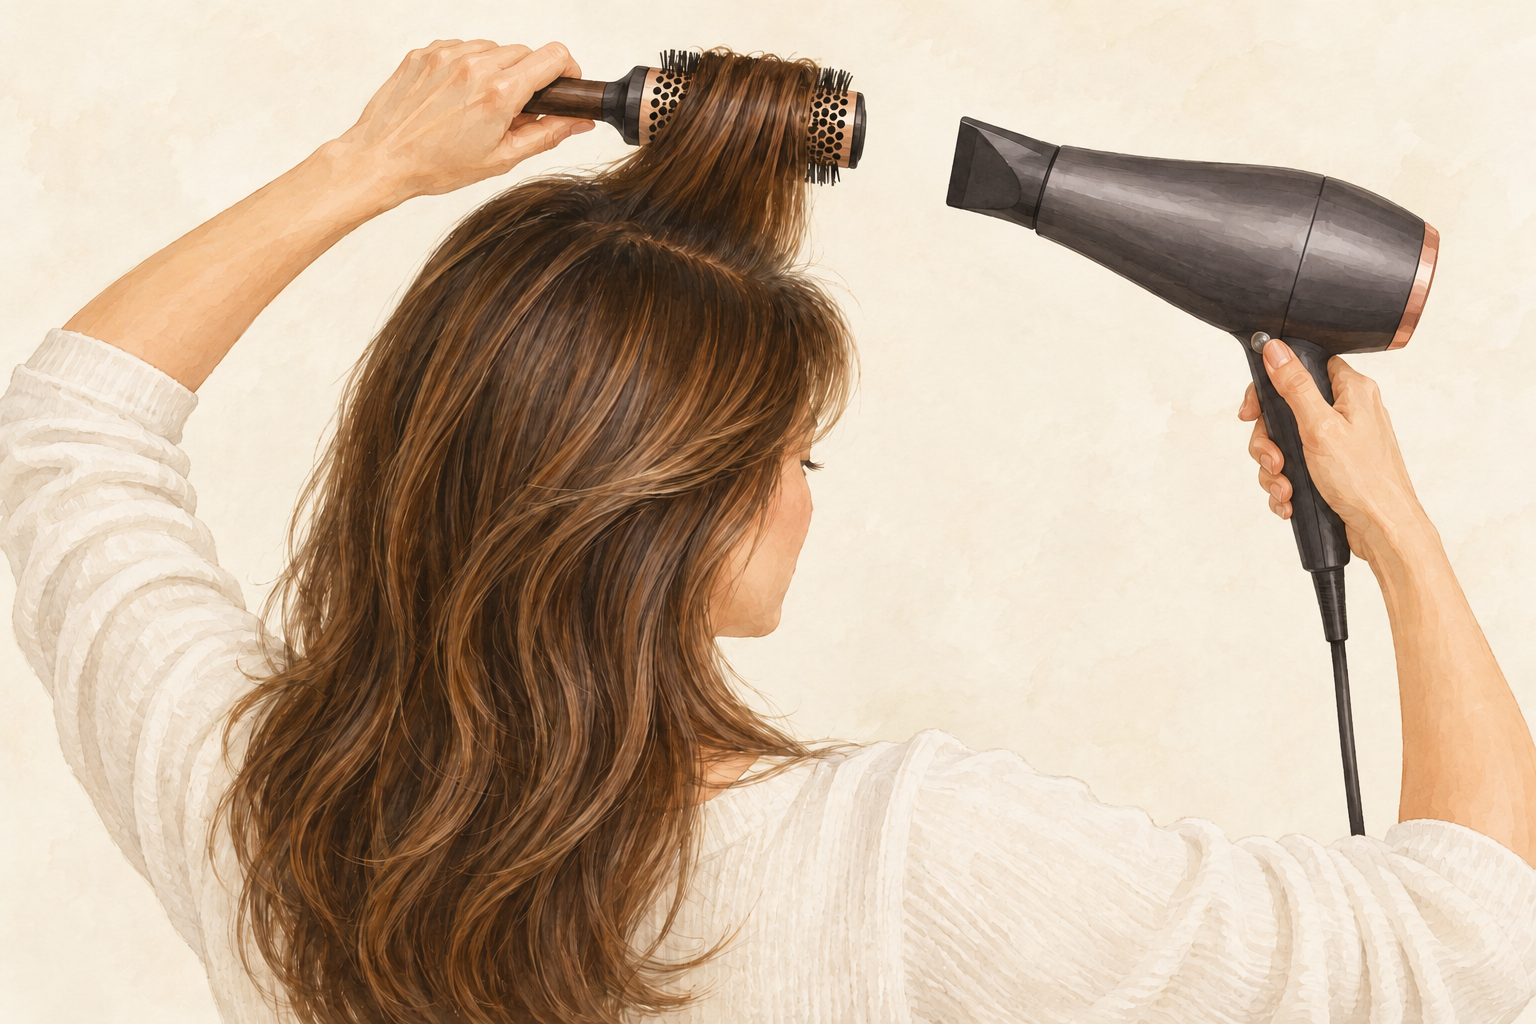
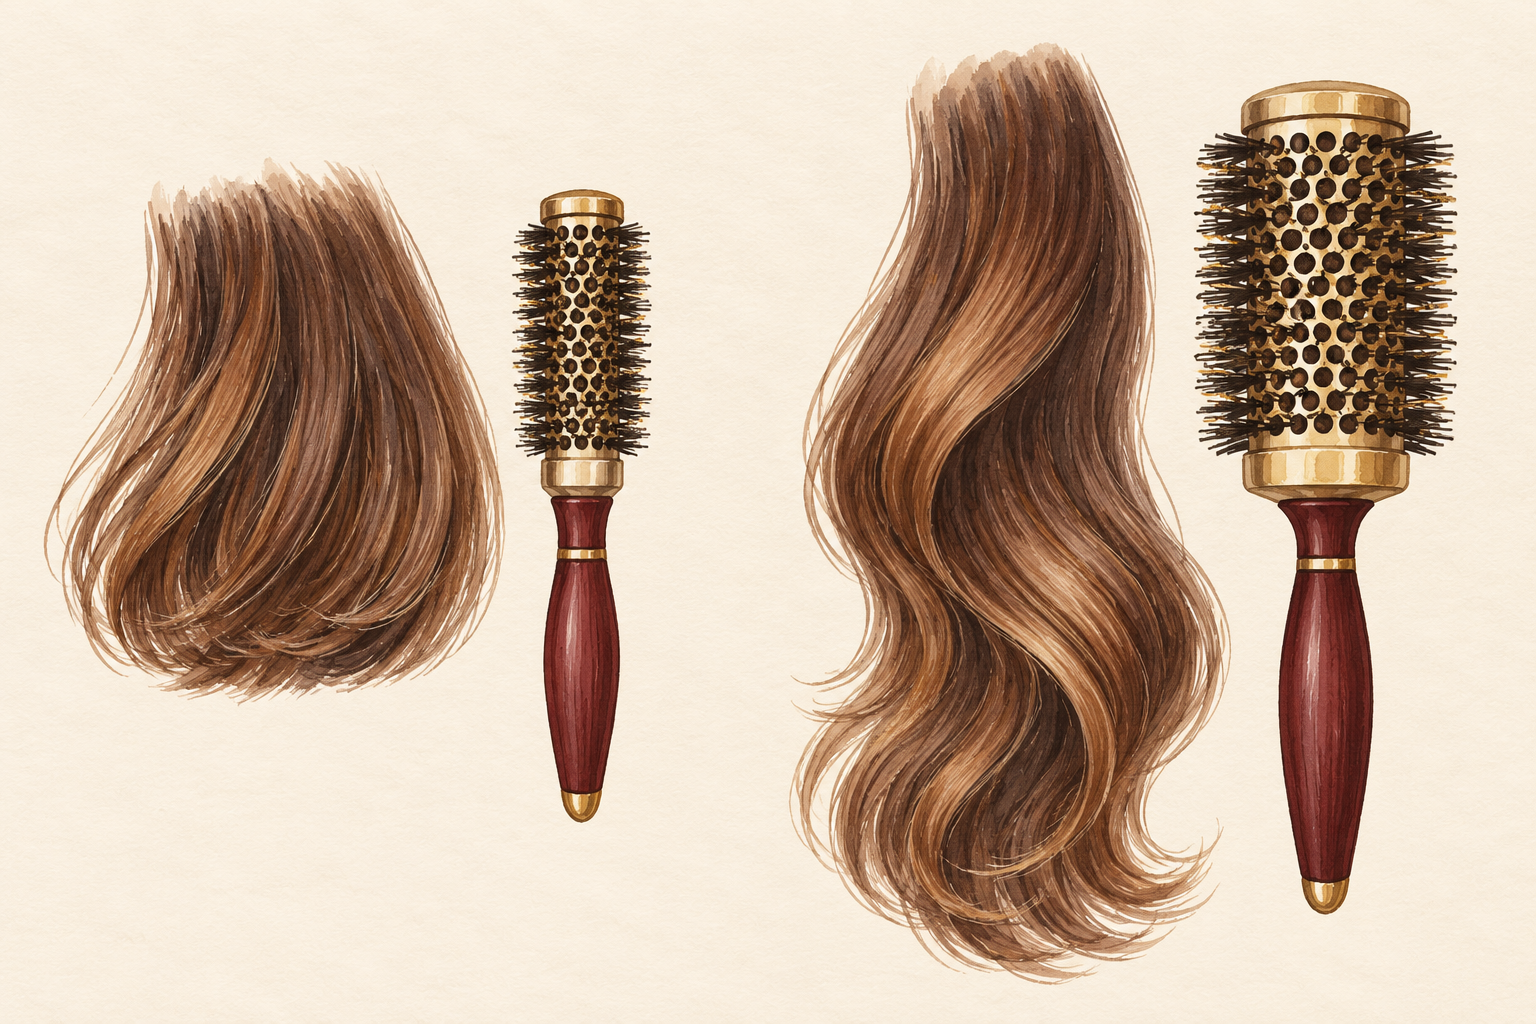
You step out of the shower, rub your hair hard with the towel, then blast it with the dryer on full heat because you are late. It works, until the ends start feeling like straw. Wet hair is at its weakest, and how to dry hair gently makes a real difference. Here are 12 steps in the order you use them, so start at number one tonight.
1. Squeeze the water out with your hands
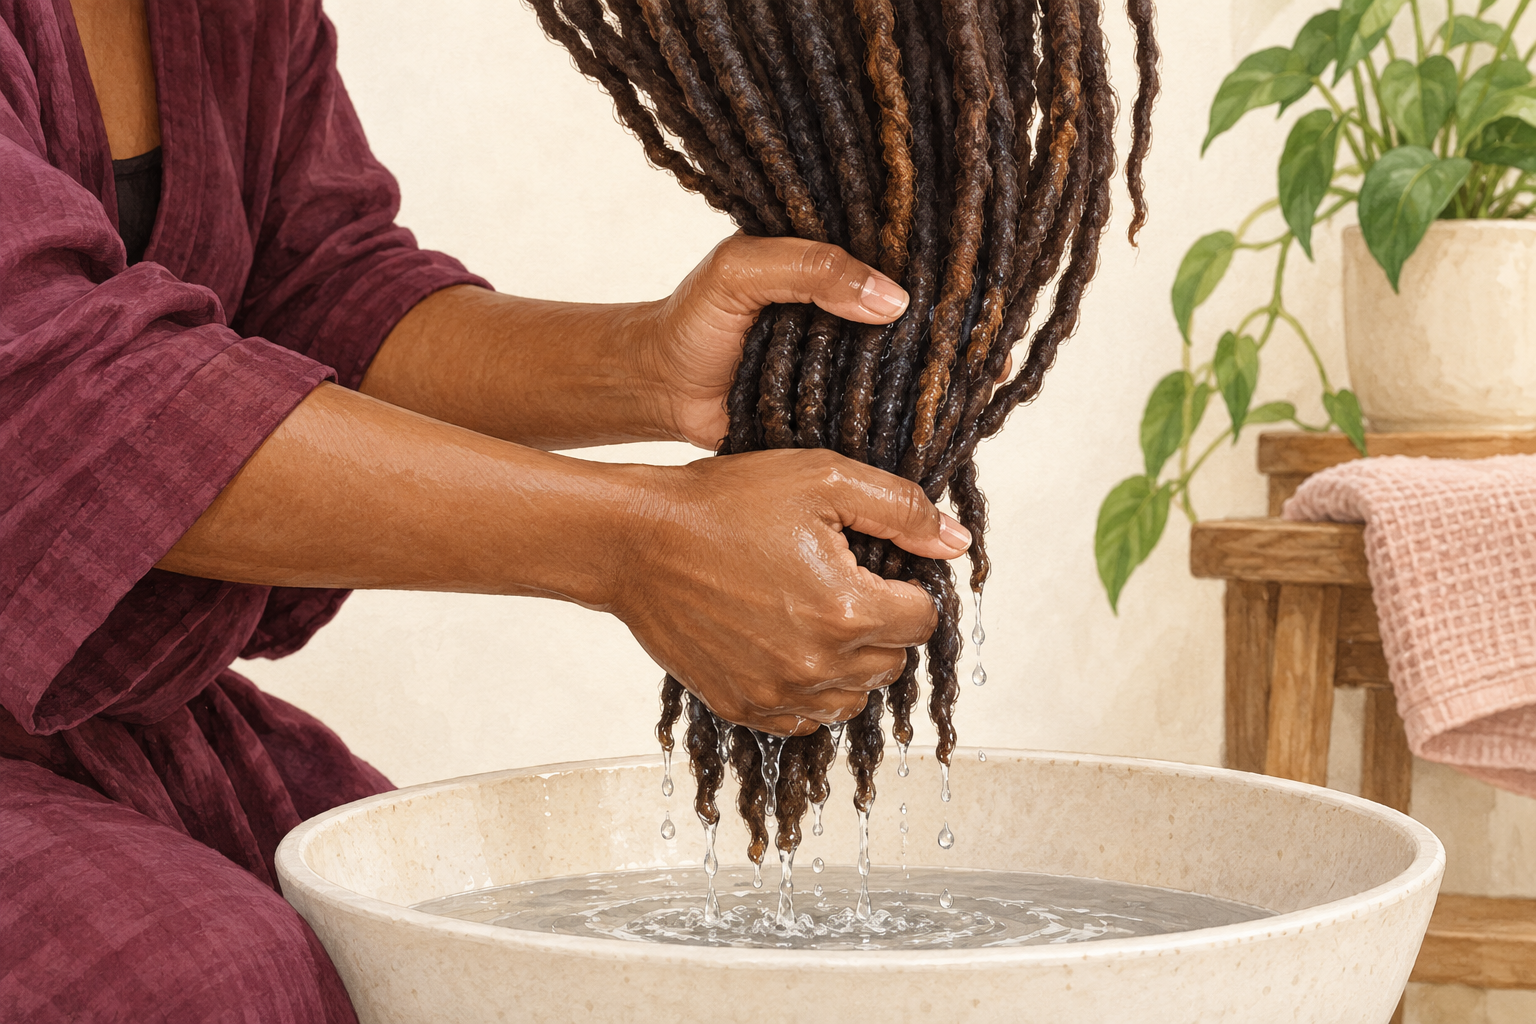
Bend over and press sections of hair between your palms, working from the roots down to the ends. Squeeze gently instead of wringing, which twists the strands and snaps the weak ones. This removes a surprising amount of water before the towel touches anything. It takes thirty seconds and spares your ends the roughest part of the job. Do the back last, since it holds the most water, and give the nape an extra squeeze. If you see water running down your wrist, keep squeezing for another round. A light hand matters more than a strong one here.
2. Blot with a soft t shirt and never rub
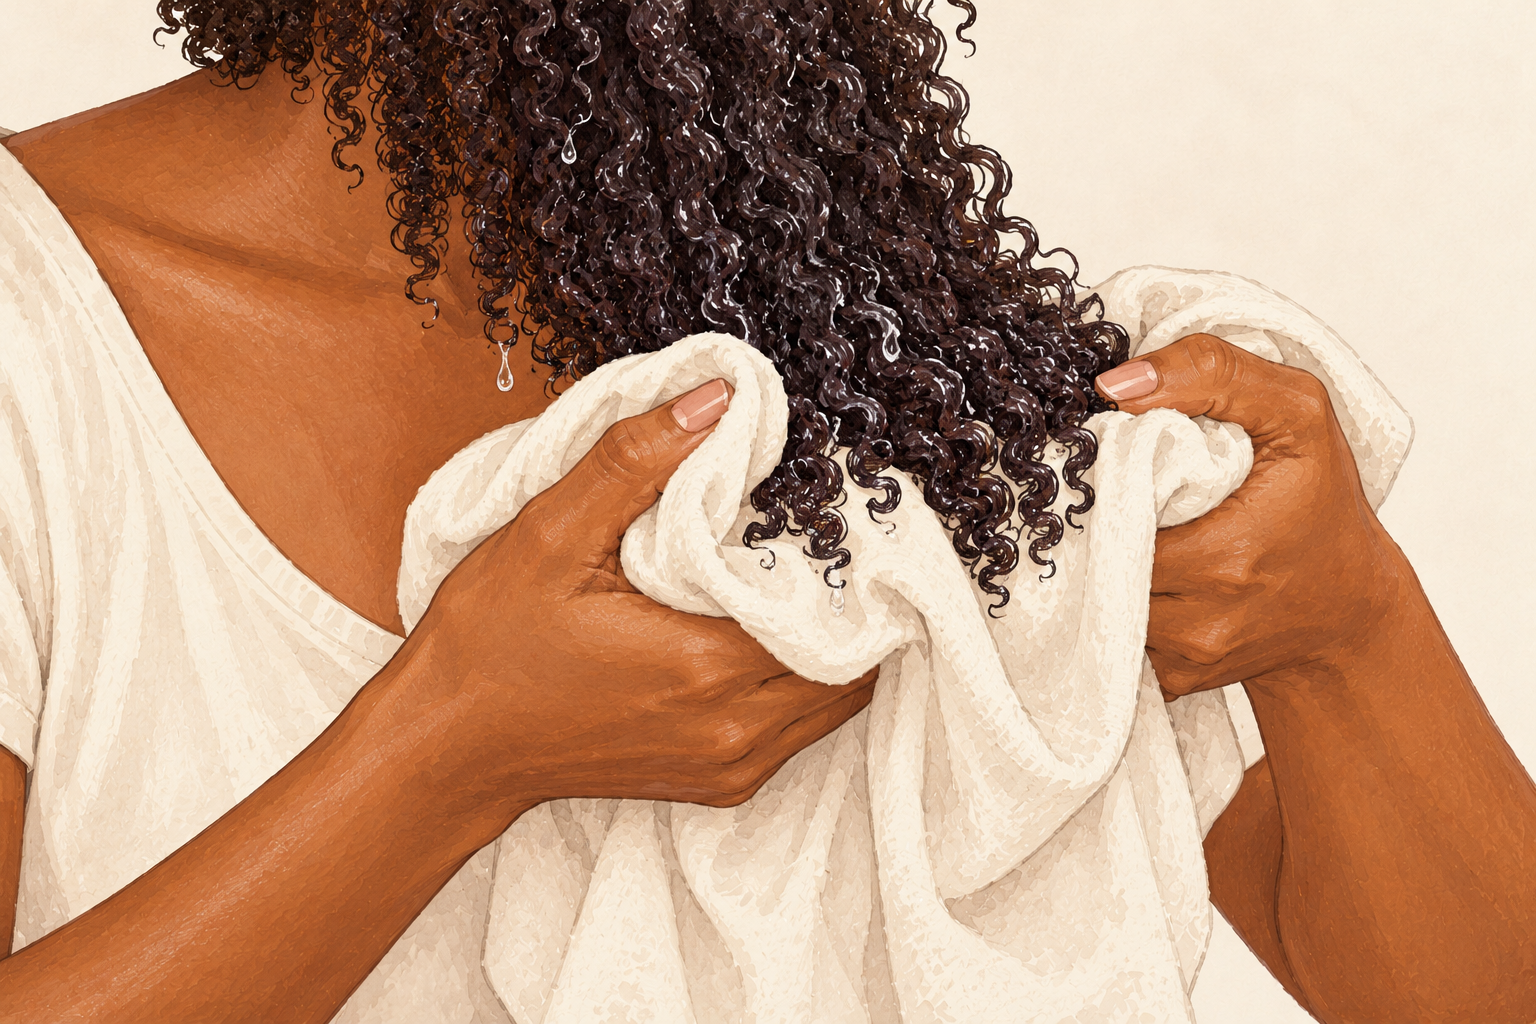
Wrap your hair in an old cotton t shirt or a soft towel and press, or leave it wrapped for ten minutes. Rubbing roughs up the outer layer of each strand and makes frizz, especially on long hair. A smooth cotton shirt snags less than thick terry cloth, and it is the easiest swap you will make. Do not twist the towel tightly on top of your head, because the pull strains your roots. Pat the ends last, and they stay damp but not dripping, which is the point where hair is easiest to style.
3. Detangle gently once the dripping stops
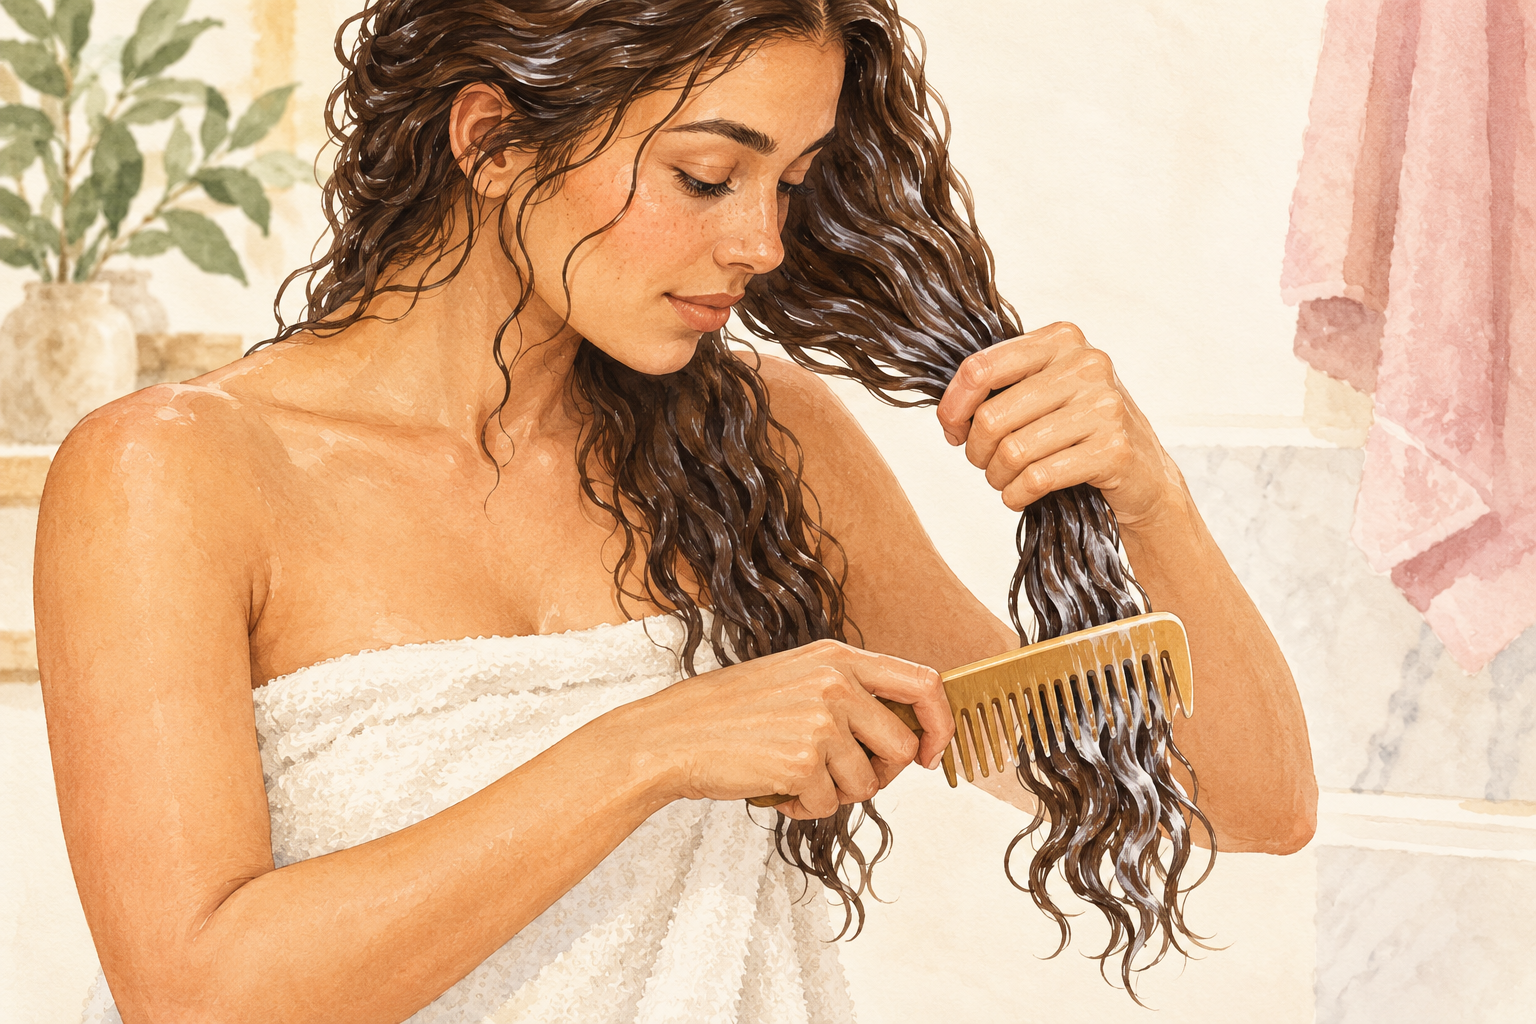
Comb the ends first with a wide tooth comb, then work up in small steps, adding a little leave in if it catches. Wet hair breaks more easily, so handle it as little as you can and do your detangling at this stage, once. Tightly curled hair is the exception, since detangling while wet cuts down on breakage there. A hundred brush strokes a day is not a good idea for any hair type. Stop as soon as the comb passes through easily. Never tug at a knot, and hold the hair above it while you work.
4. Let it air dry when you have the time
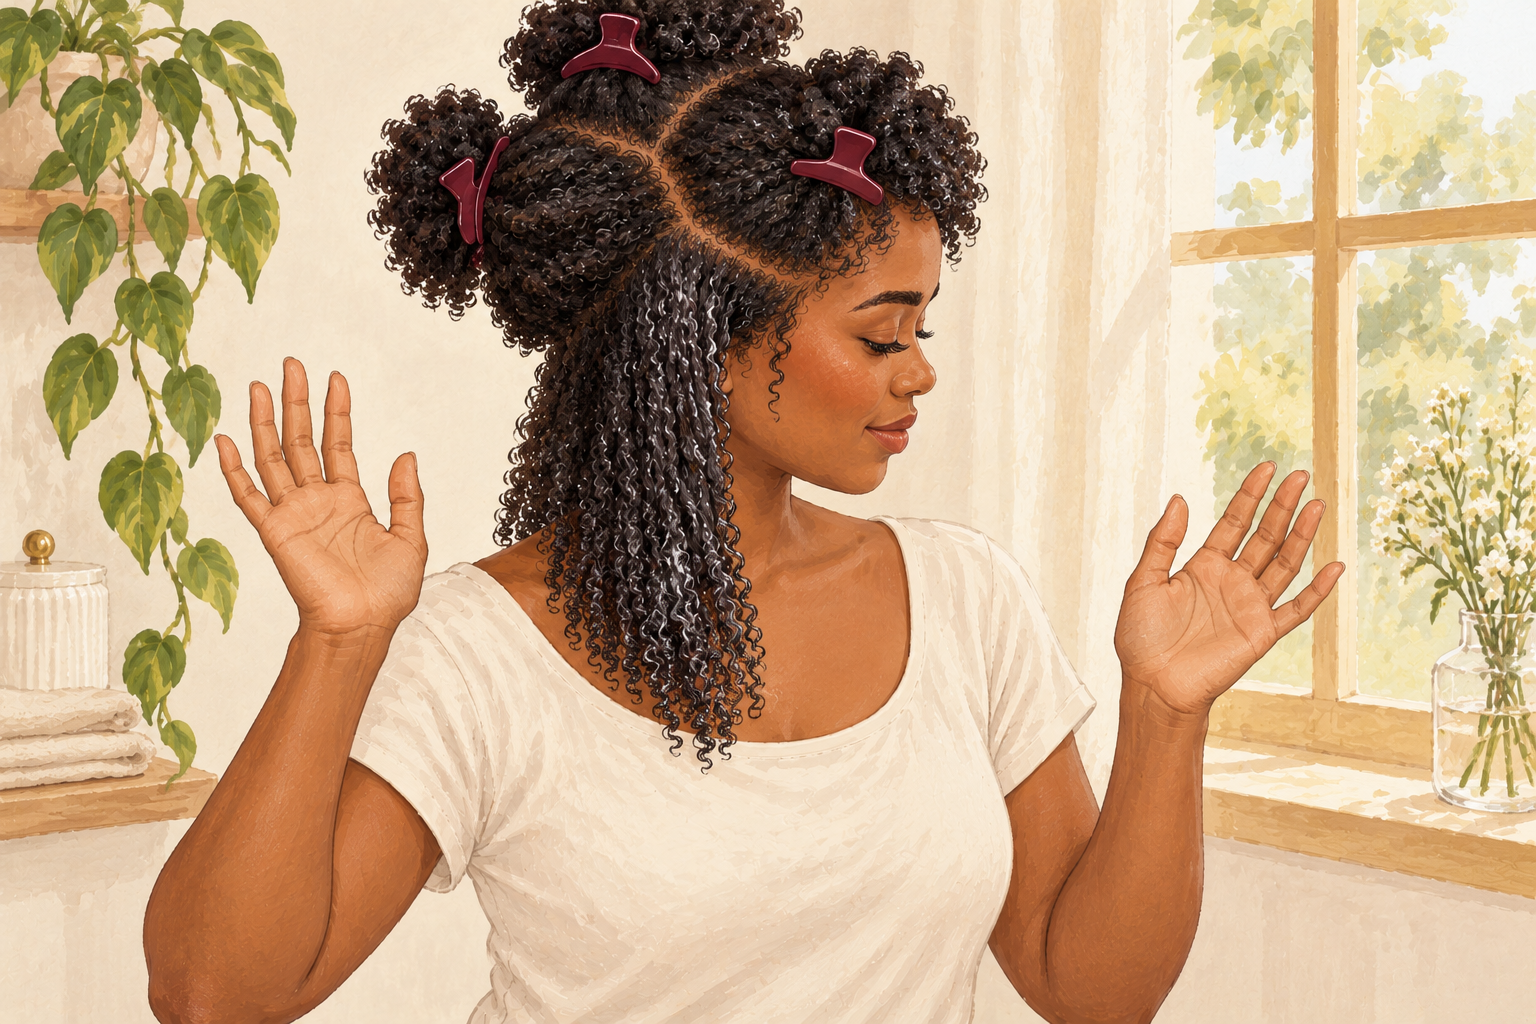
Leave your hair loose or in a loose knot after the towel step, and let it dry on its own. Air drying is the gentlest option, as long as you stop touching it. Scrunching, flipping and fluffing are what make frizz. Thick hair can take one to three hours, so plan it for an evening or a weekend. Sleeping on wet hair can leave kinks and tangles, so go to bed dry. If it is still damp at bedtime, a loose braid keeps it from knotting overnight. Keep a loose scarf nearby if your neck feels cold.
5. Let it half dry before you use heat
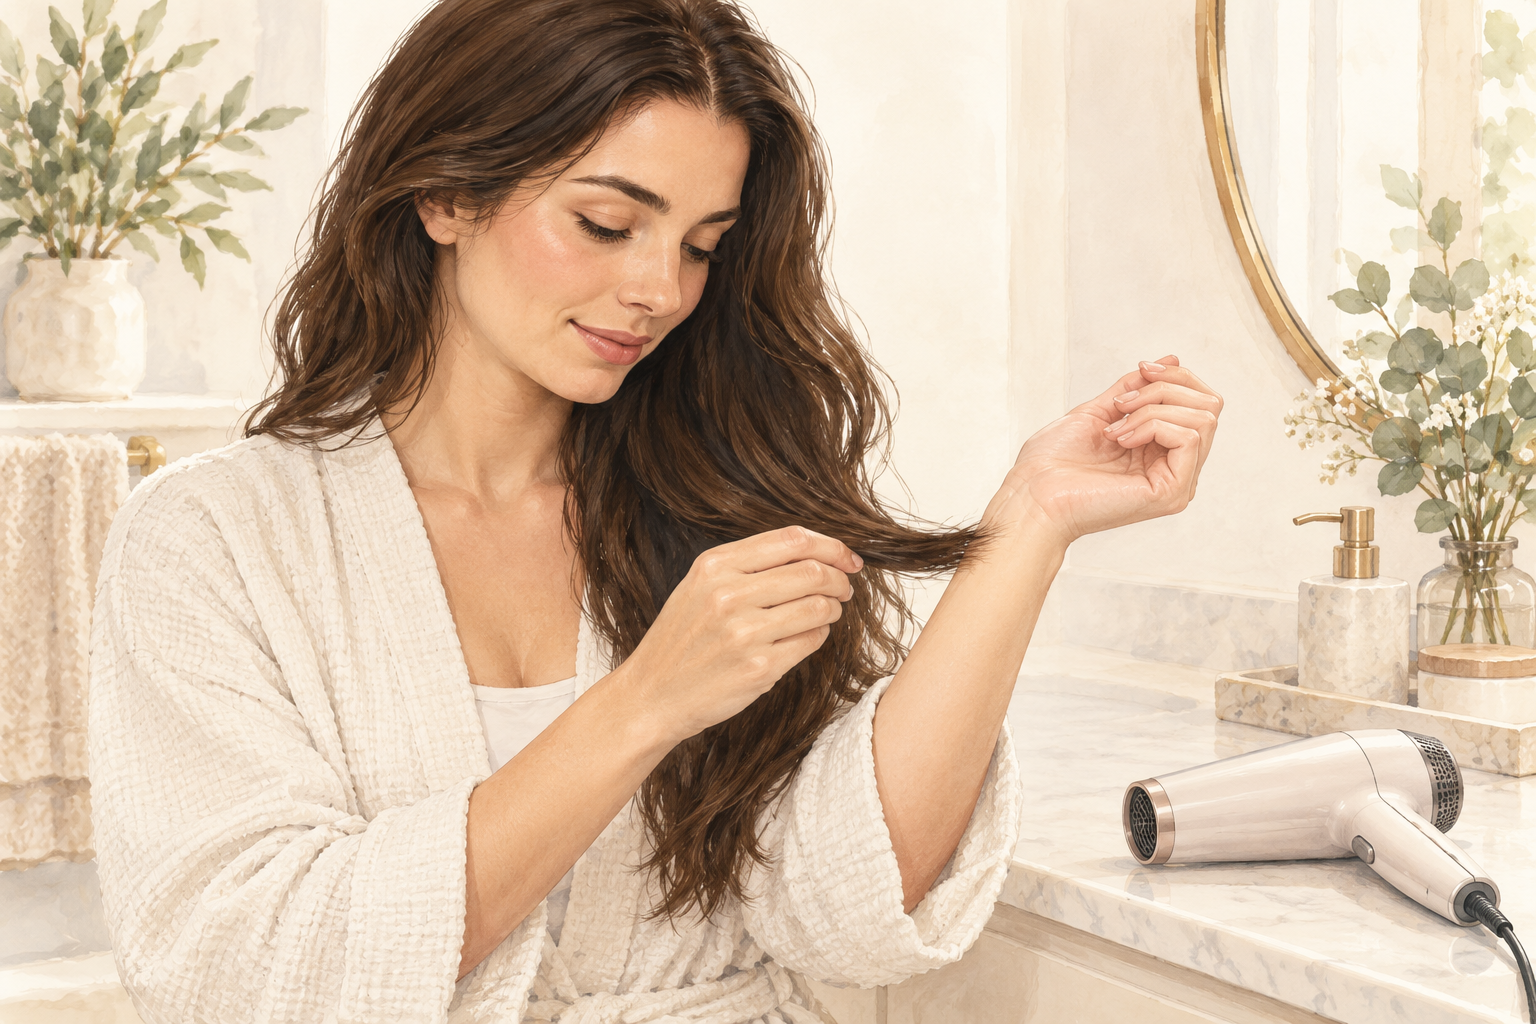
If you need the dryer, wait until your hair is about seventy percent dry, damp rather than dripping. This cuts the time heat sits on your strands, which your ends will thank you for. A short blow dry on mostly dry hair does far less harm than a long one on soaking hair. Start the air drying while you get dressed or make breakfast, and reach for the dryer for the last ten or fifteen minutes before you leave. The roots are usually the last to dry, so check them with your fingers. A cool, damp feeling at the roots means more air time is needed.
6. Match the method to your hair type
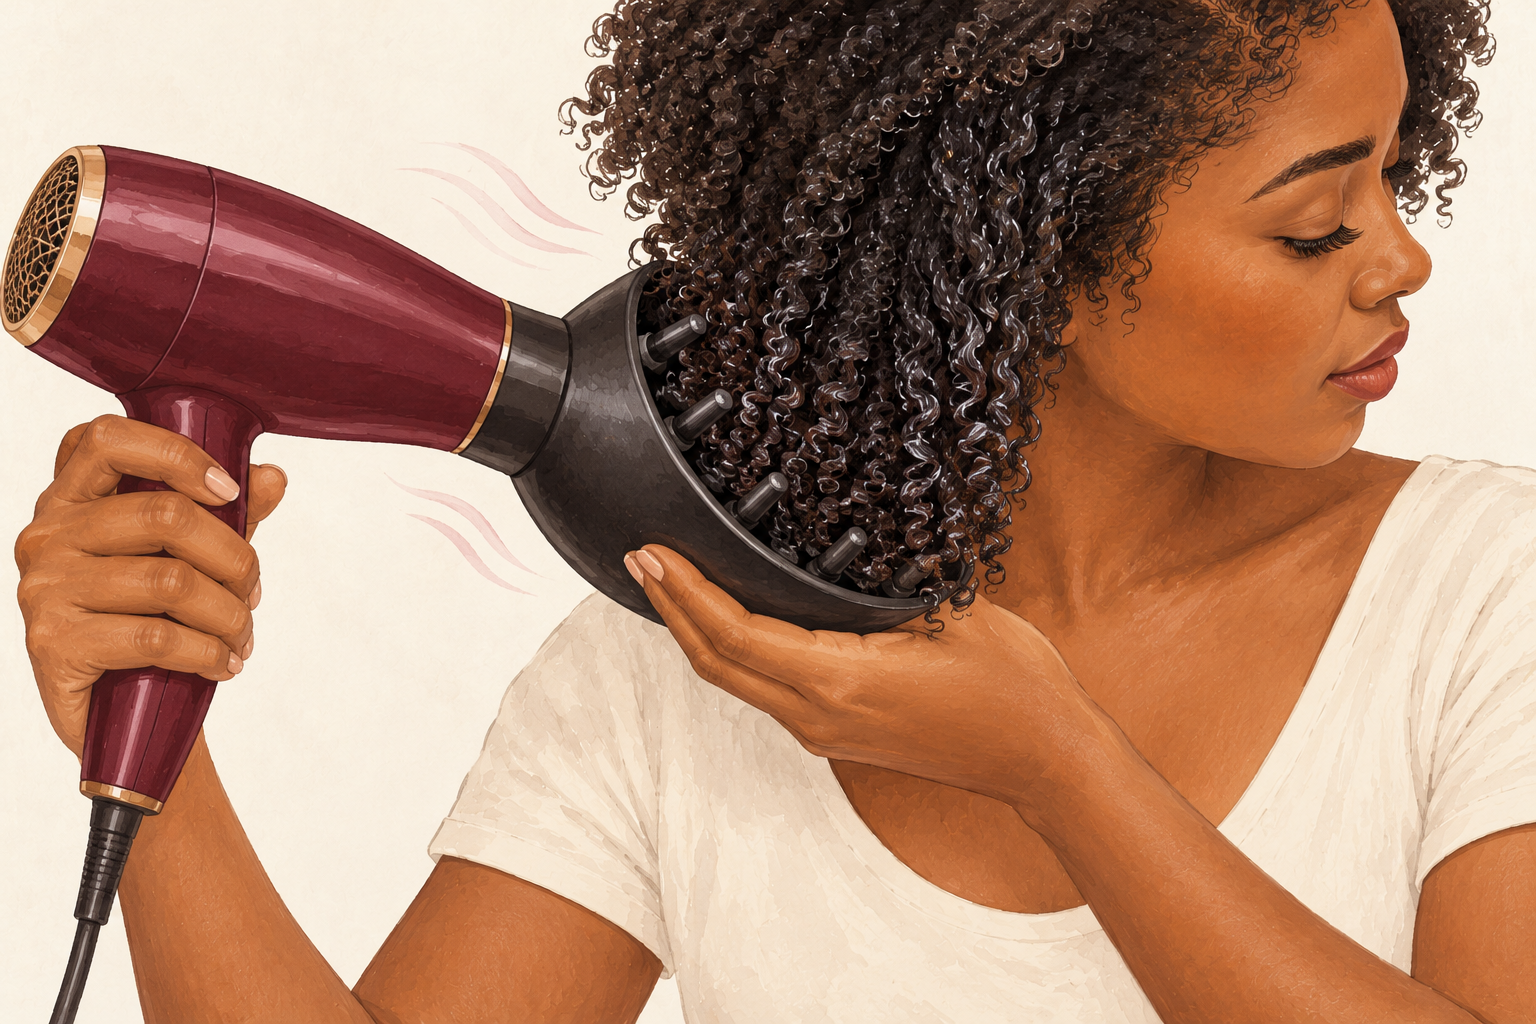
Fine hair dries fast and needs less heat and less time, so a short, cool pass is often enough. Thick or long hair holds water for ages and needs a longer air dry before any dryer. Curly and coily hair frizzes when disturbed, so it does best with a gentle towel press followed by air drying or a diffuser on low. If you are unsure how to dry hair like yours, start with air drying and add heat only where you need it. Notice how your own hair behaves, and how long it takes to feel dry after a wash.
7. Set the dryer to low or medium and keep it moving
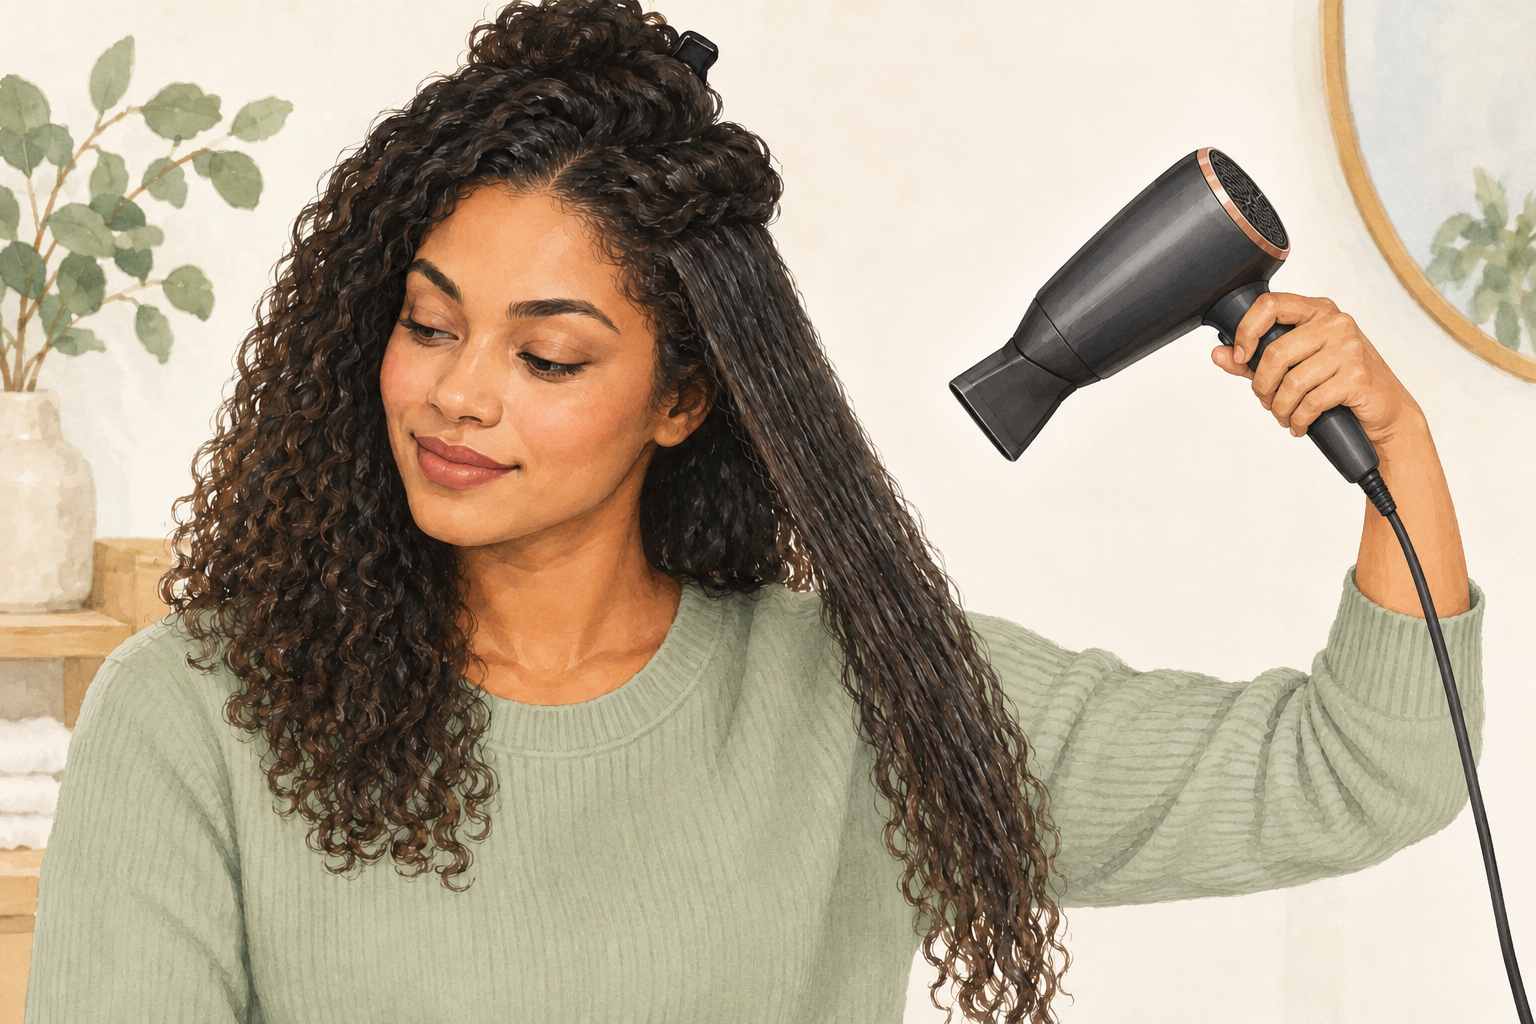
Choose low or medium heat, hold the dryer about a hand’s width from your hair, and point the nozzle down the strands. Airflow from roots to ends smooths the outer layer instead of ruffling it. Never hold the dryer in one spot, because that is where scorched ends start. High heat is rarely needed, and too much heat damages hair of every type. If your scalp feels hot, step the dryer away or turn it down. A medium setting with a bit more time beats a hot blast every time, and your ends will stay softer.
8. Add a heat protectant and finish cool
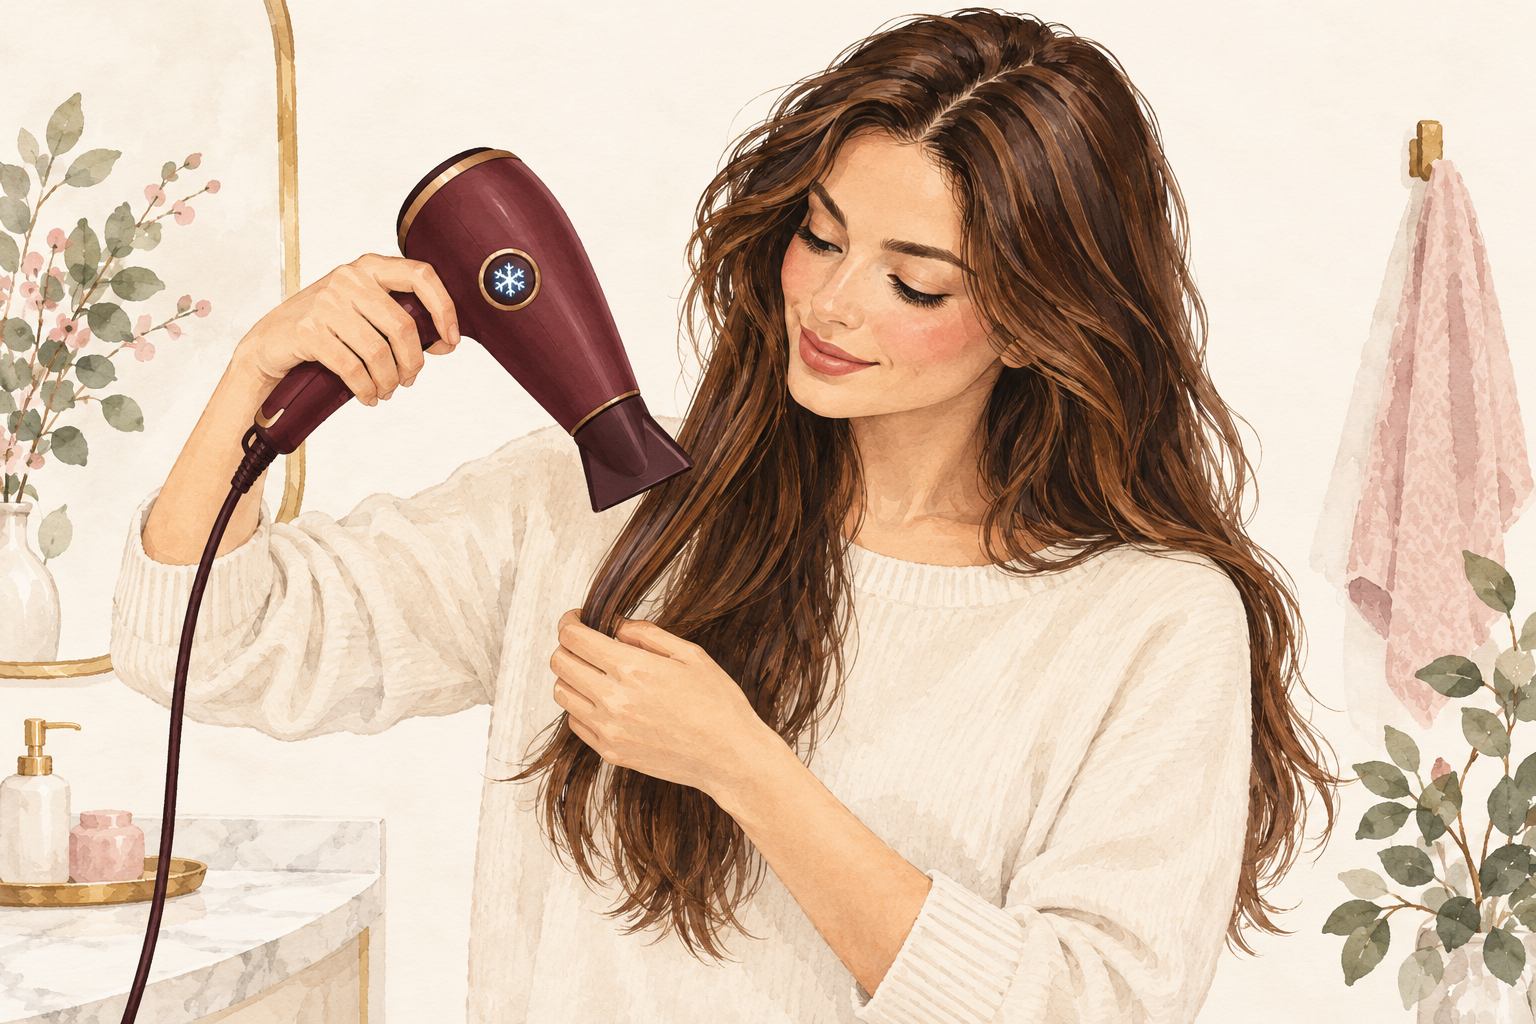
Spray a light layer of heat protectant over damp hair and comb it through before the dryer comes out. When your hair is nearly dry, switch to the cool setting for the last minute. Cool air helps the hair settle smooth and makes the style last. A protectant softens the blow from heat but does not cancel it, so it is no licence for high settings. Use a little less than you think you need, because too much leaves hair limp and sticky. Spray from a hand’s length away so it lands evenly across the whole head.
9. Know what weeks one, four and eight look like
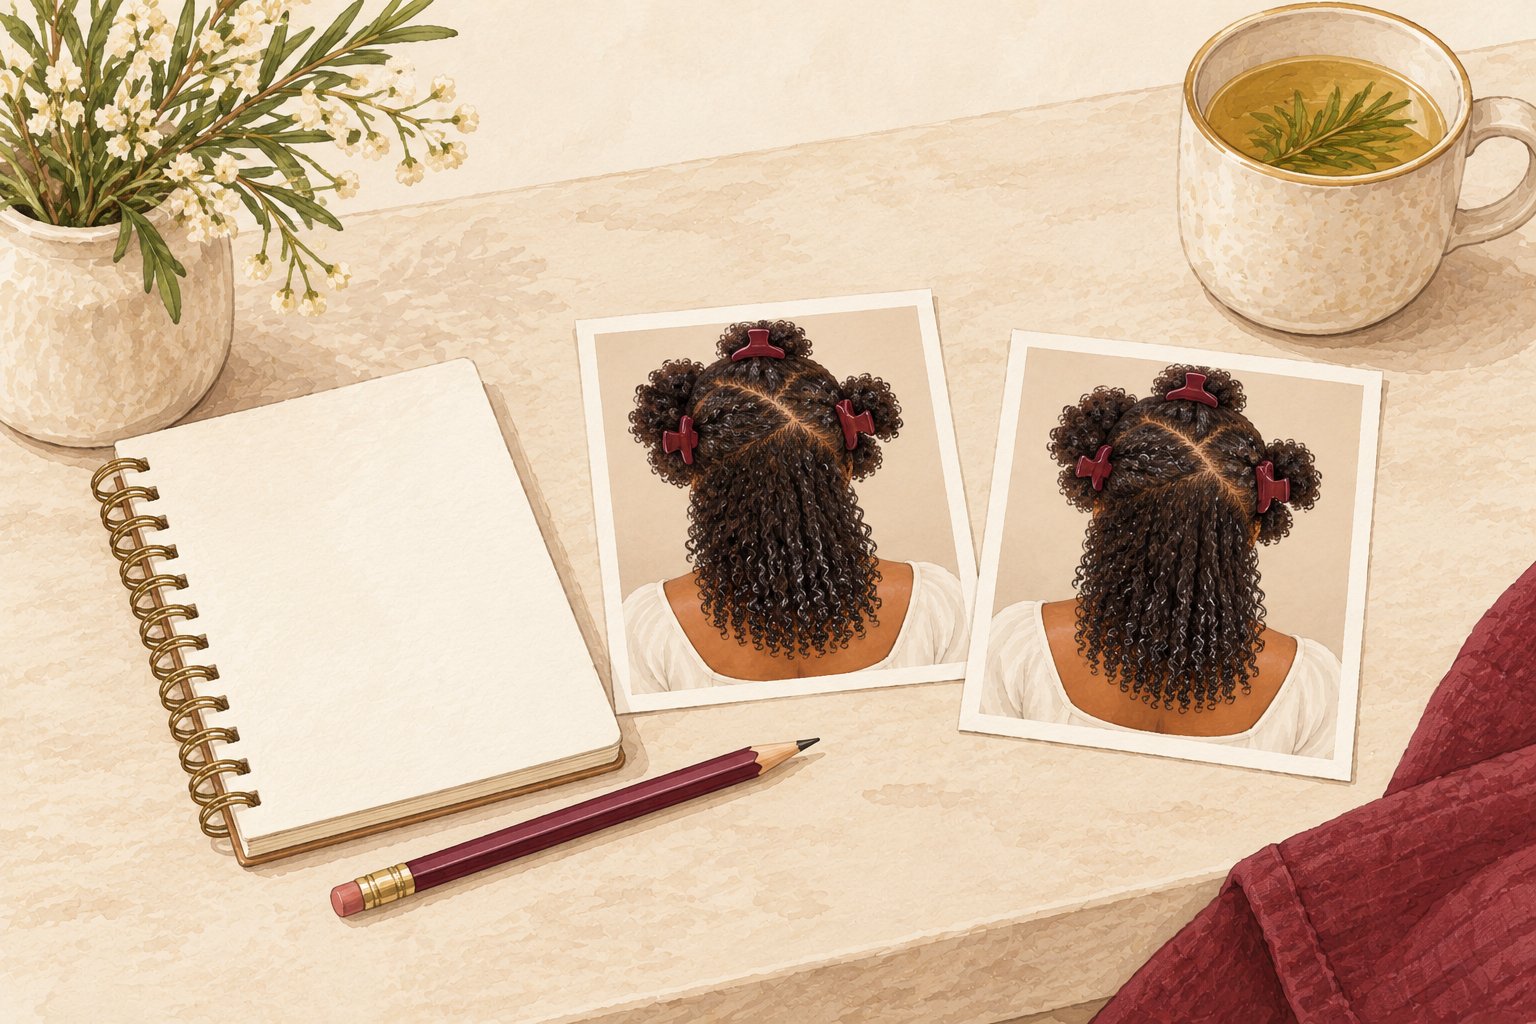
Take a photo of your ends today, then check again in four and eight weeks. In week one your hair may feel different, because you are handling it differently and rubbing less. By week four, the ends should feel smoother and snag less, and you should see fewer short broken pieces in the brush. By week eight, if you have cut down on heat days, frizz should be easier to manage. Gentle drying will not repair old damage, so only new growth benefits fully. Be patient with the older lengths.
10. Swap the habits that cause the damage
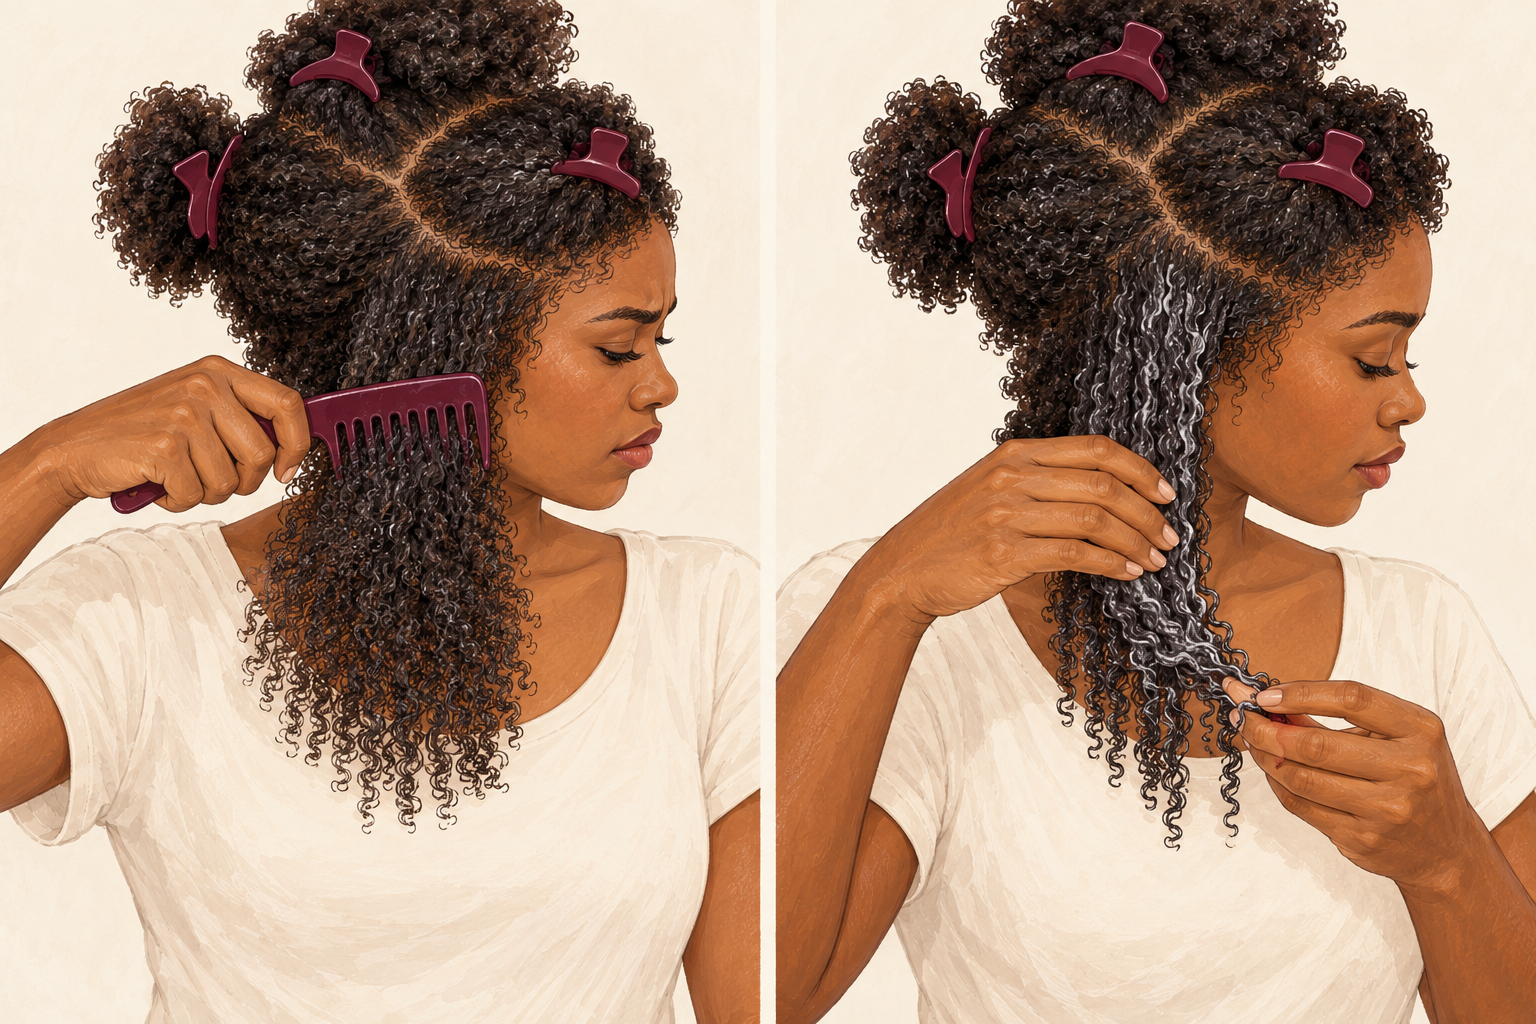
Swap rubbing with a rough towel for pressing with a soft shirt, and swap high heat for low or medium. Swap brushing soaking hair with a fine tooth brush for combing with a wide tooth one. Swap daily blow drying for using the dryer only on the days you need it. These are small trades, but they are where most of the damage comes from. Start with the towel, since that is the easiest swap, and add one more change each week until all of them stick. By the end of the month, the whole routine will feel automatic, and your hair will tell you it is working by feeling softer after each wash.
11. Dry the roots first and leave the ends
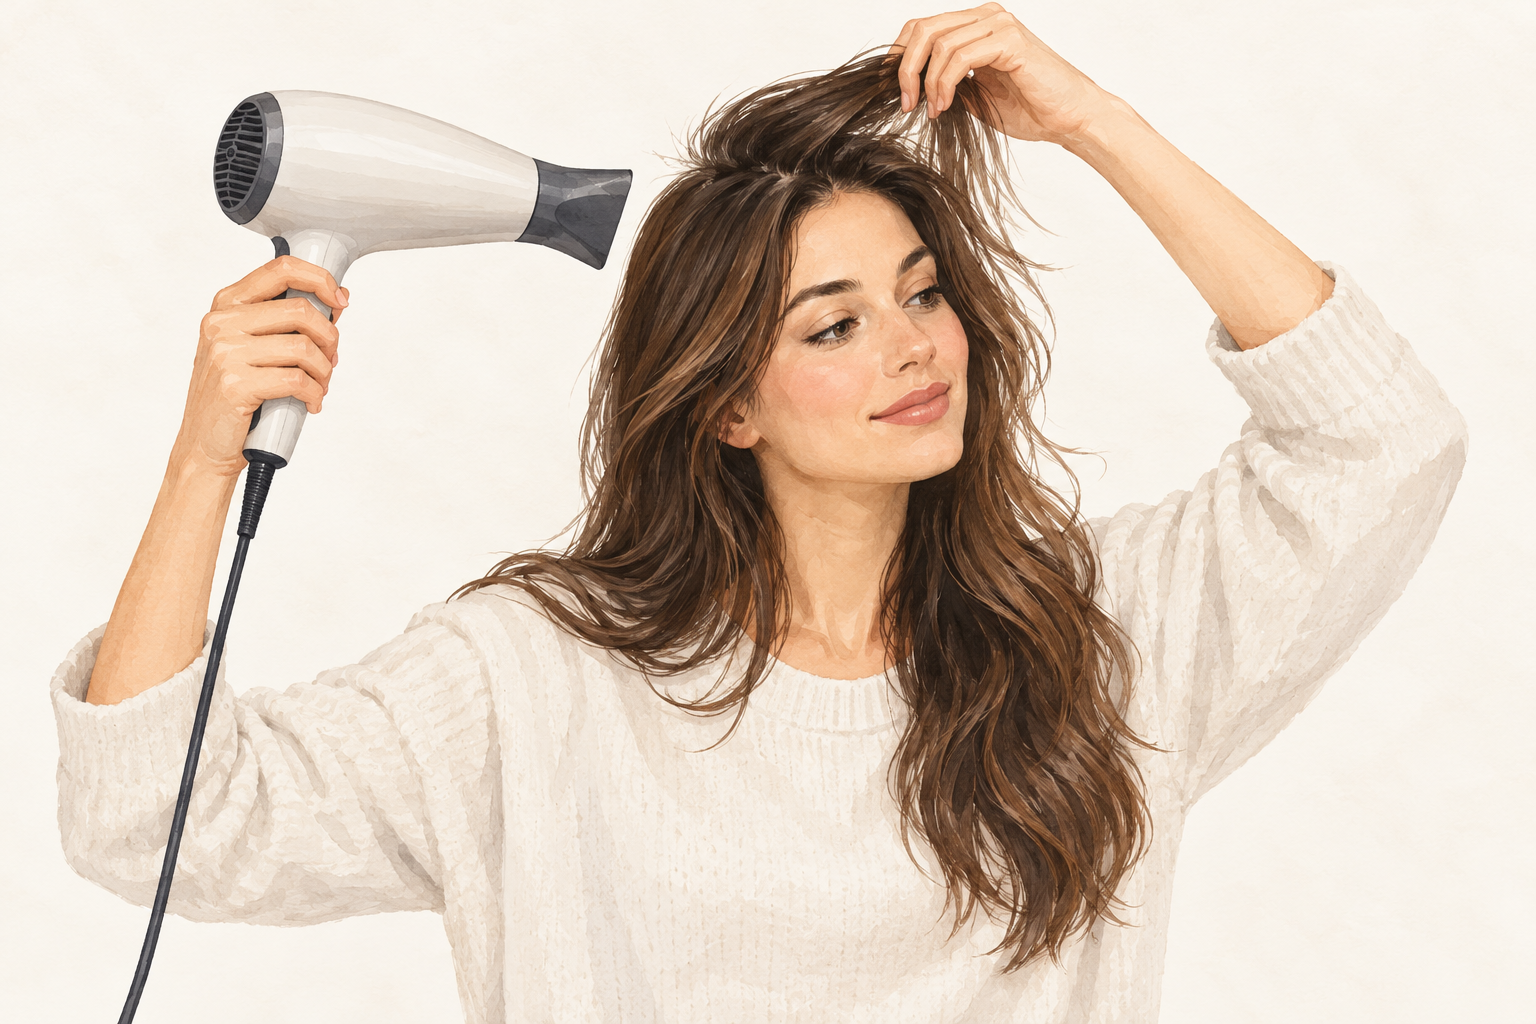
Clip up the lengths and aim the dryer on low at your roots first, because they hold water the longest. Then let the lengths finish by air, so the ends get the least heat. A damp scalp left for hours feels cold and itchy, so dry it before you step outside. Lift each section with your fingers and move the air through it rather than at it. Finish by checking behind the ears and at the nape, because those spots stay wet long after the top feels dry.
12. Give your hair heat free days every week
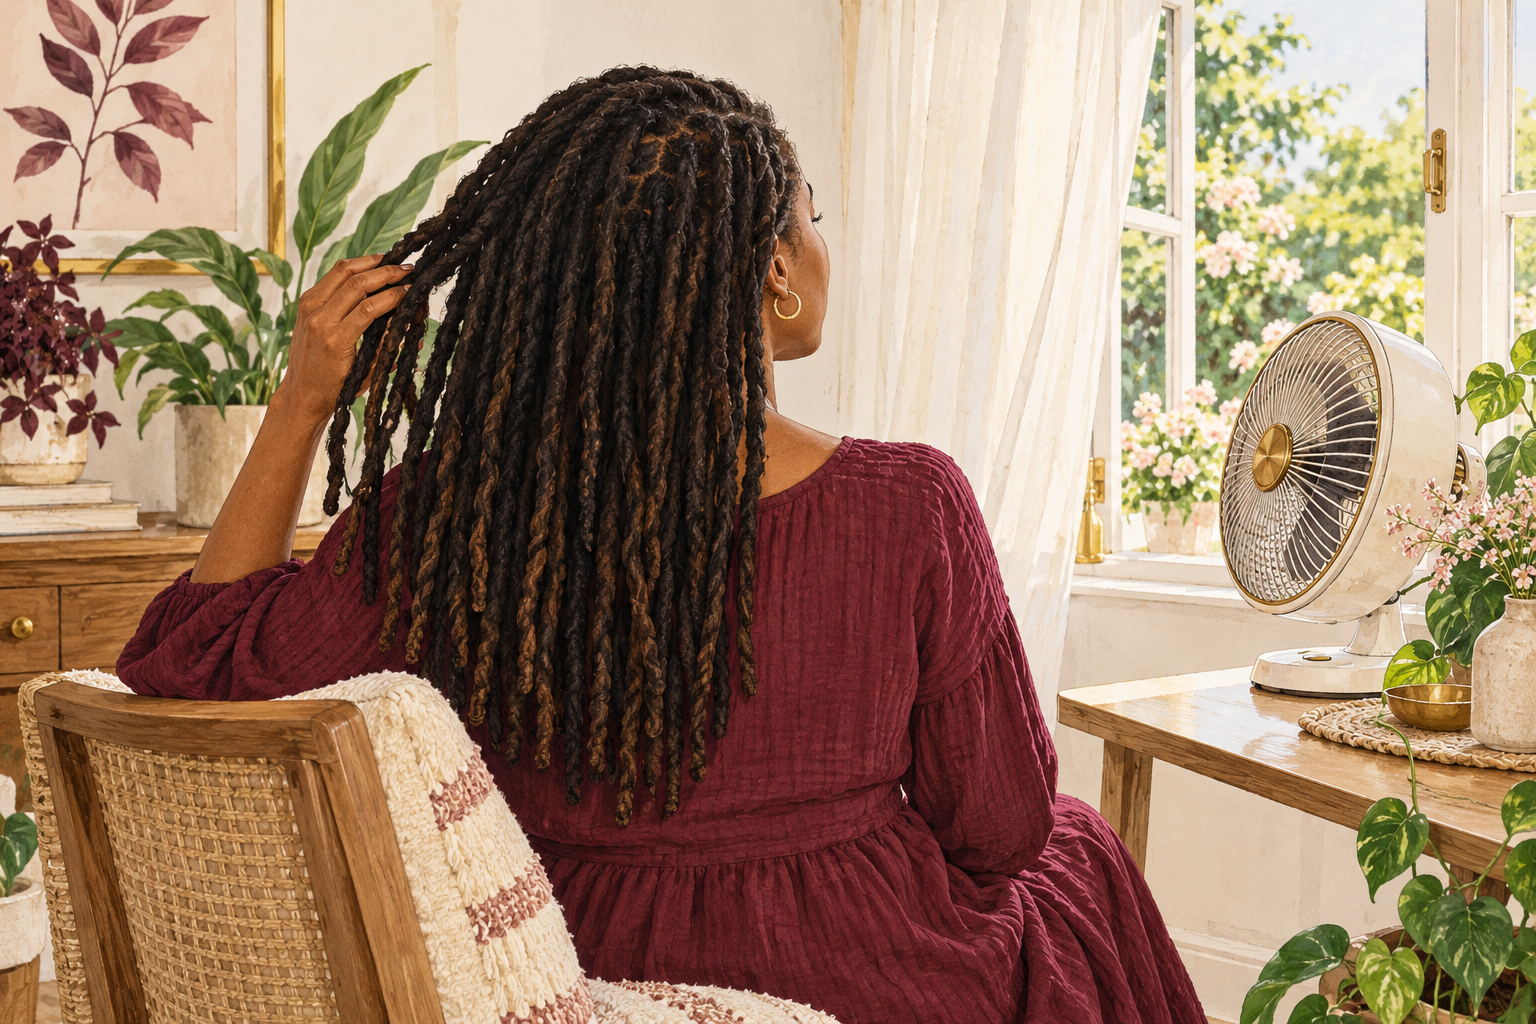
Choose two or three days a week when your hair air dries, with no dryer and no hot tools. Use flat irons on dry hair only, on low or medium, and not more than every other day. Keep a curling iron on each section for a second or two, never longer, and let the hair cool fully before you brush it. Mark your heat free days on a calendar so they actually happen. How to dry hair well is as much about the days you skip heat as the days you use it. On those days, a loose braid or a soft scarf keeps your hair tidy.
Complete the Routine: How to Dry Hair for Your Next Wash Day
Tonight, swap your towel for an old cotton t shirt and plan one heat free day this week. When you do use the dryer, blow dry hair covers the technique, and how to dry curly hair without a diffuser helps if your curls need more care.