Your hair is still dripping, you are running late, and you turn the dryer to full blast because faster feels kinder. If you blow dry hair like that, the ends are rough and fuzzy by Friday. These 12 steps cover the heat, the distance and the order, so start at number one tonight.
1. Lay out your dryer kit
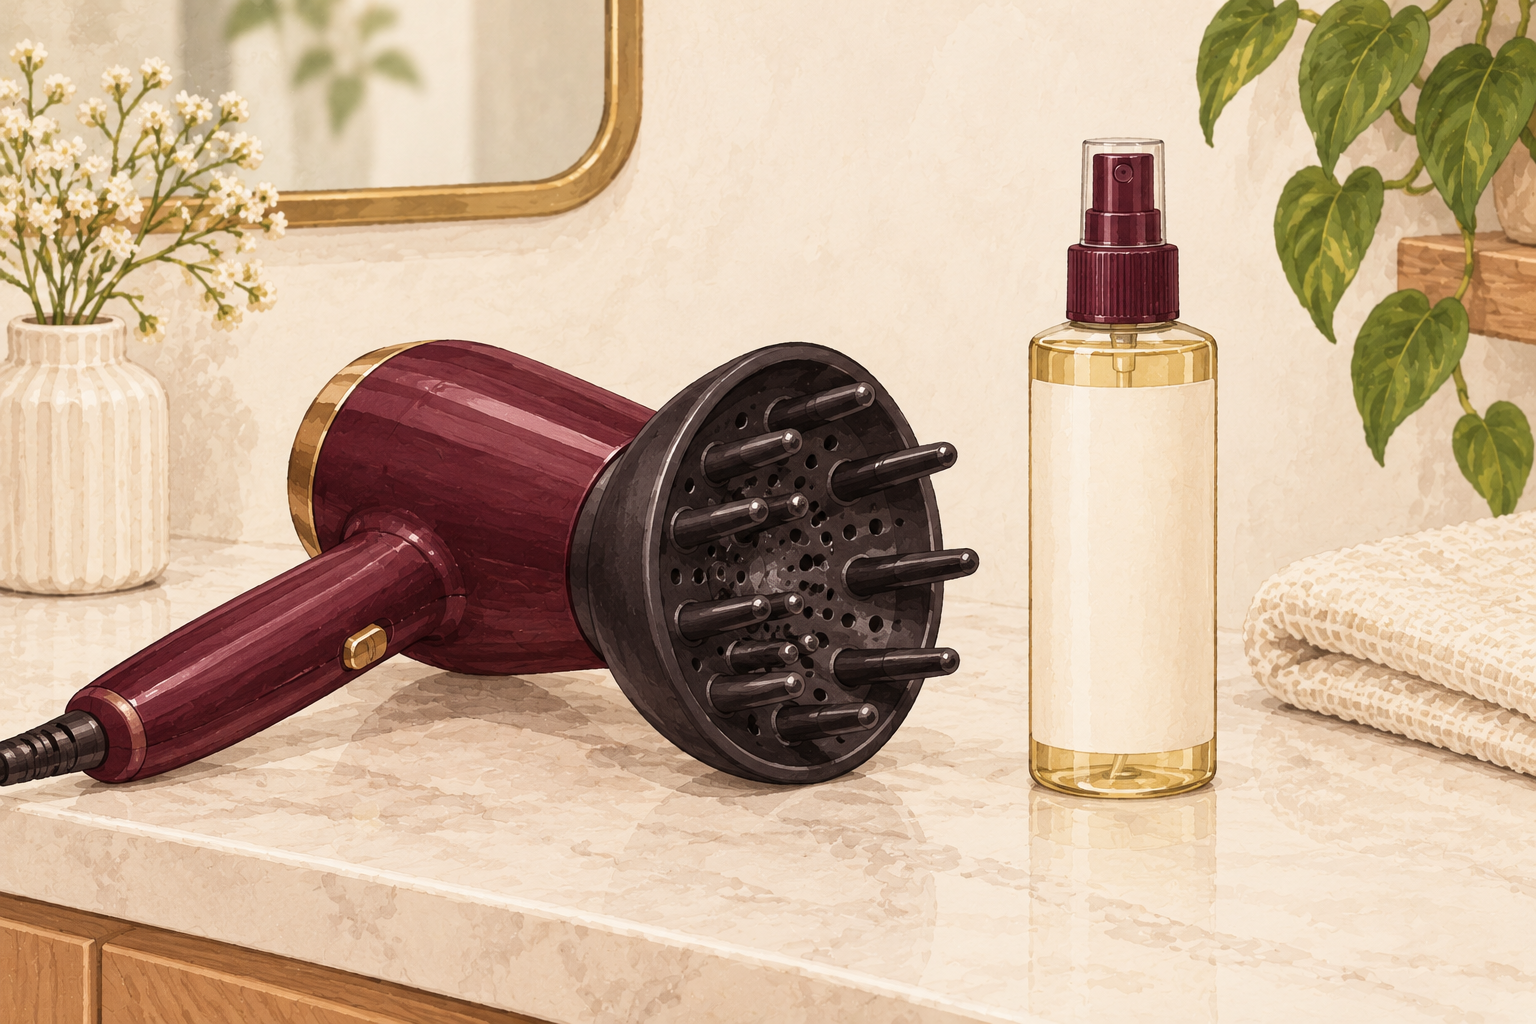
Set out the dryer, its nozzle, a wide tooth comb, four clips and a soft towel before your hair is wet. Once you are dripping, nobody wants to hunt for clips. The nozzle is the narrow attachment that comes in the box, and plenty of us have lost it in a drawer. It points the air where you want it instead of blasting your whole head. Check that your dryer has a medium setting and a cool button, because you will use both. Wipe the fluff off the back grill with an old toothbrush, since a clogged dryer runs hotter than it should.
2. Blot, never rub
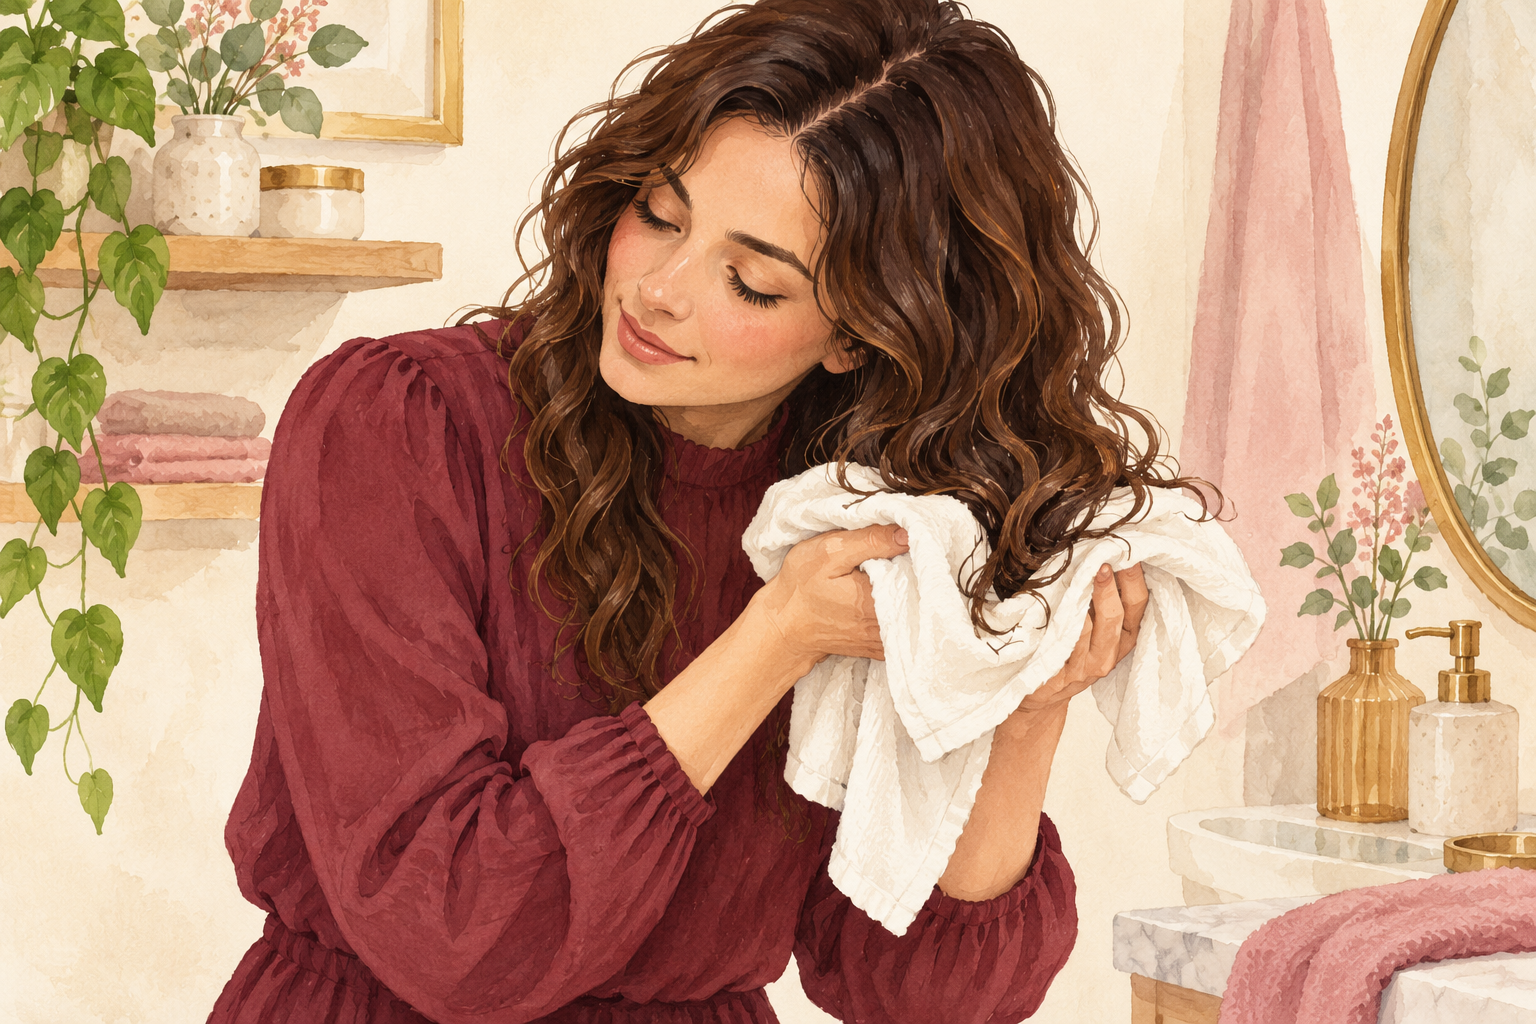
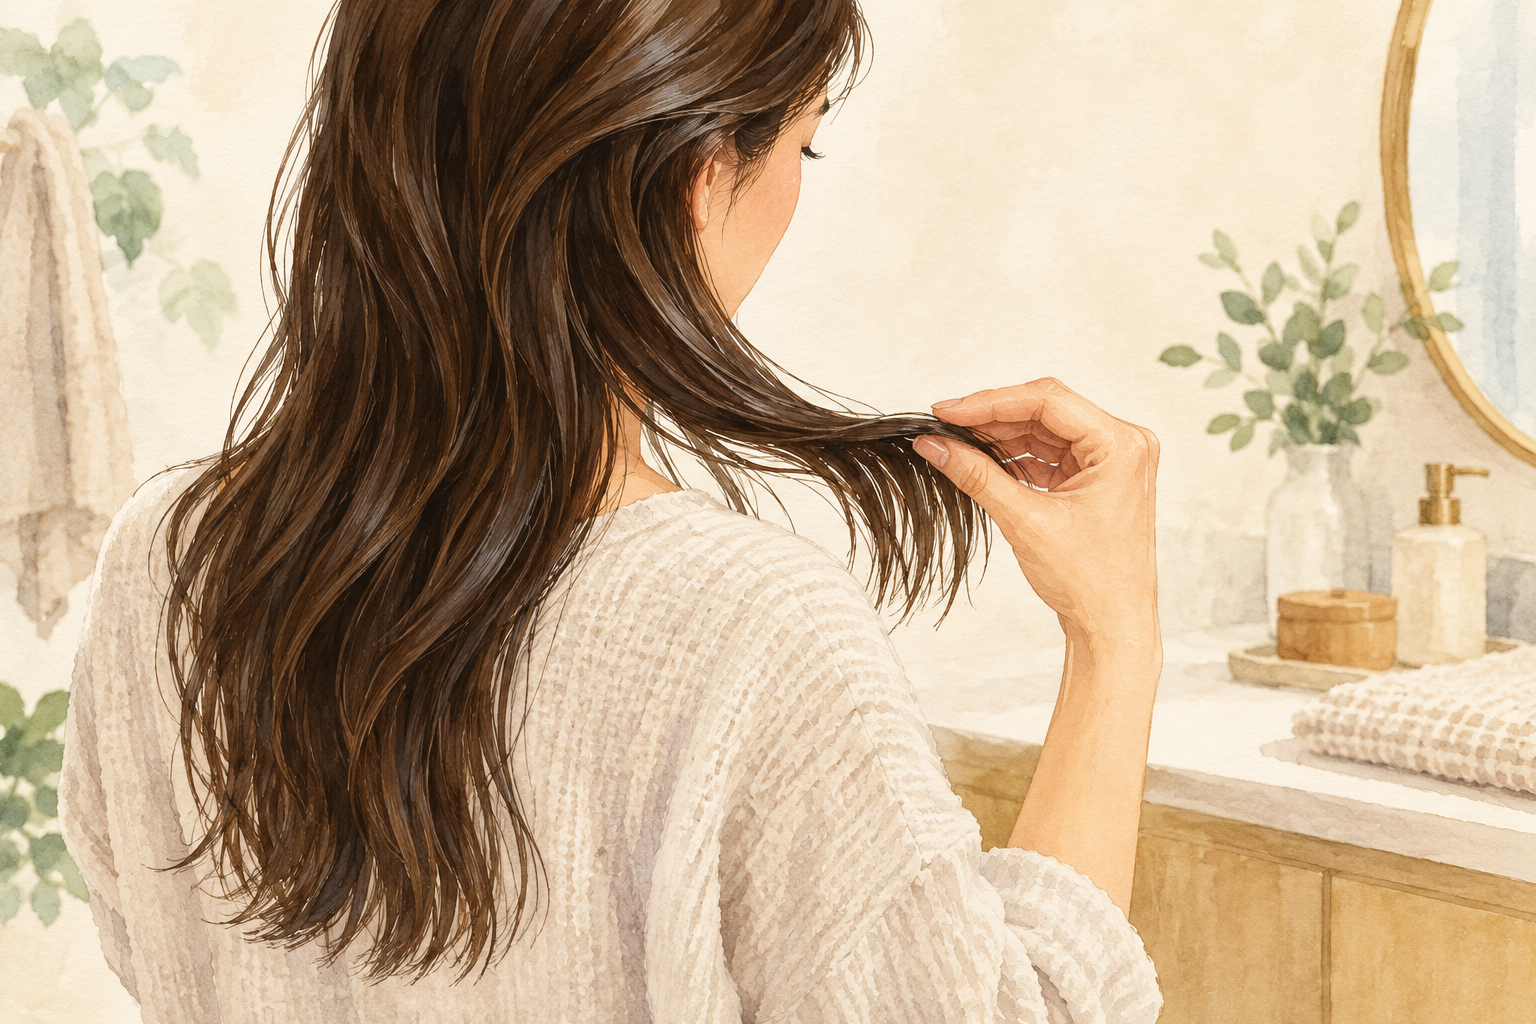
Wrap your wet hair in a soft towel or an old cotton t shirt and press for two minutes. Rubbing roughs up the outer layer of each strand, so the frizz starts before the dryer is even plugged in. Squeeze gently from the ends up toward the roots, then leave the wrap on for five minutes while you do your skin. Every drop the towel takes is a minute your hair does not spend under heat. Thick hair may need a second dry towel halfway through. A t shirt is kinder than a rough bath towel, so reach for one if your ends snag.
3. Comb the knots out while damp
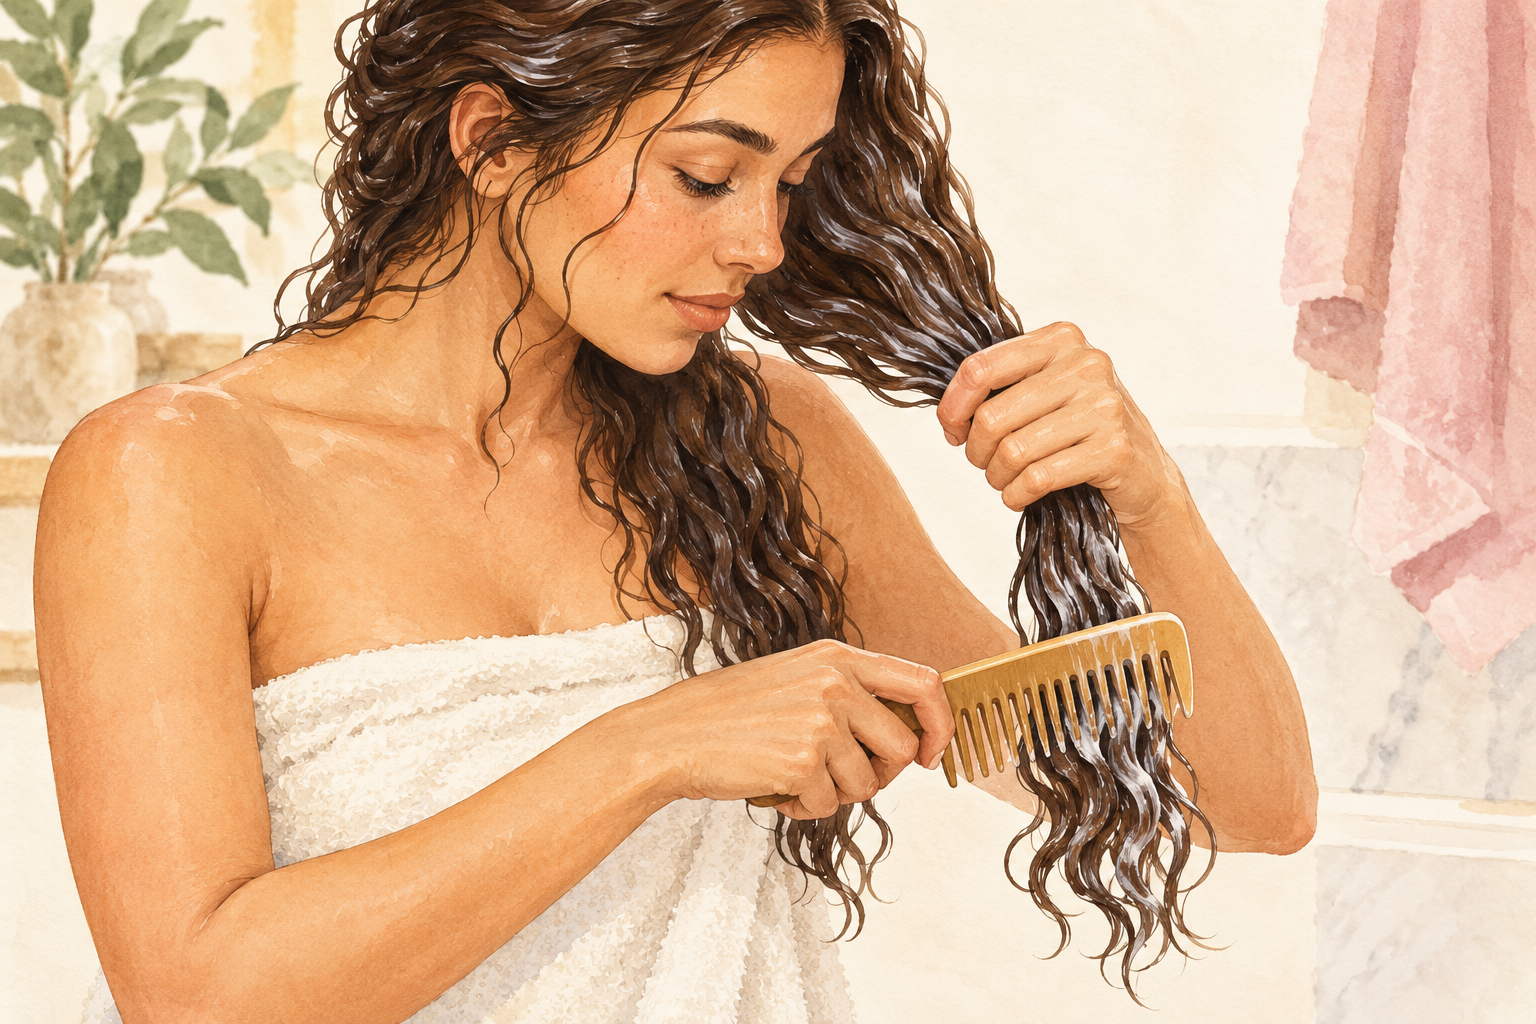
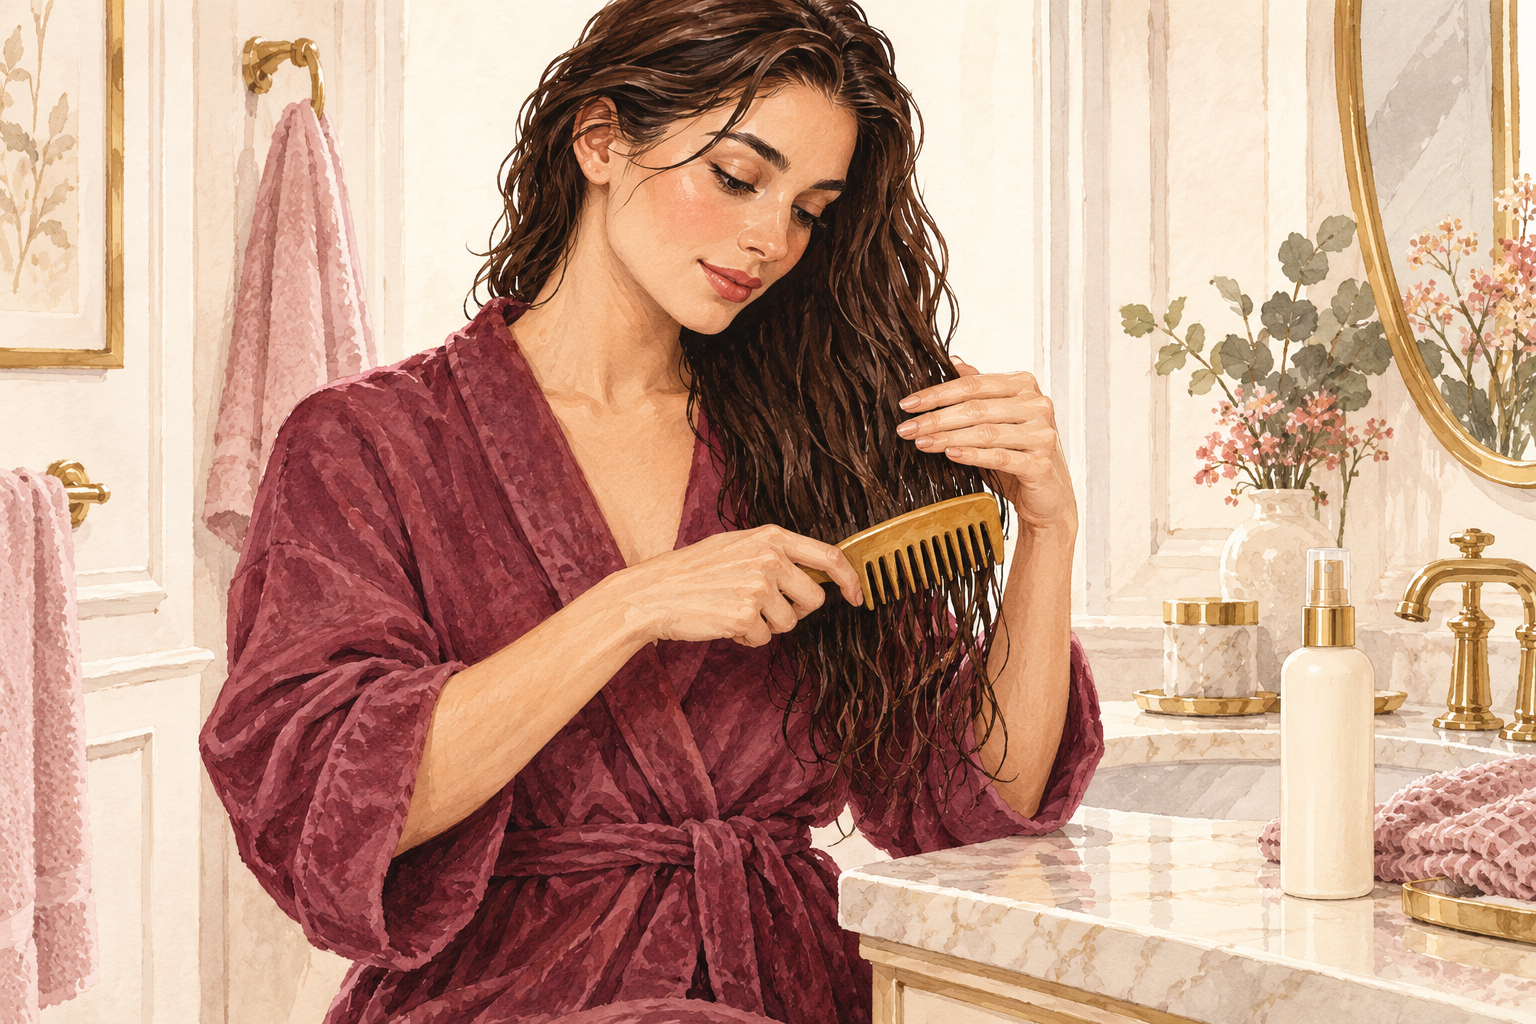
Start at the ends with a wide tooth comb and work upward in small bites. Hair with knots left in pulls tight against the airflow, and that is when strands snap. Hold the hair just above the knot with your other hand so your scalp does not take the tug. Straight and wavy hair does best when it is damp, not dripping. Very curly hair can be combed with a little conditioner still in. Do this before any heat, never during. If one knot will not budge, leave it and come back after a drop of conditioner rather than yanking.
4. Mist on a heat protectant
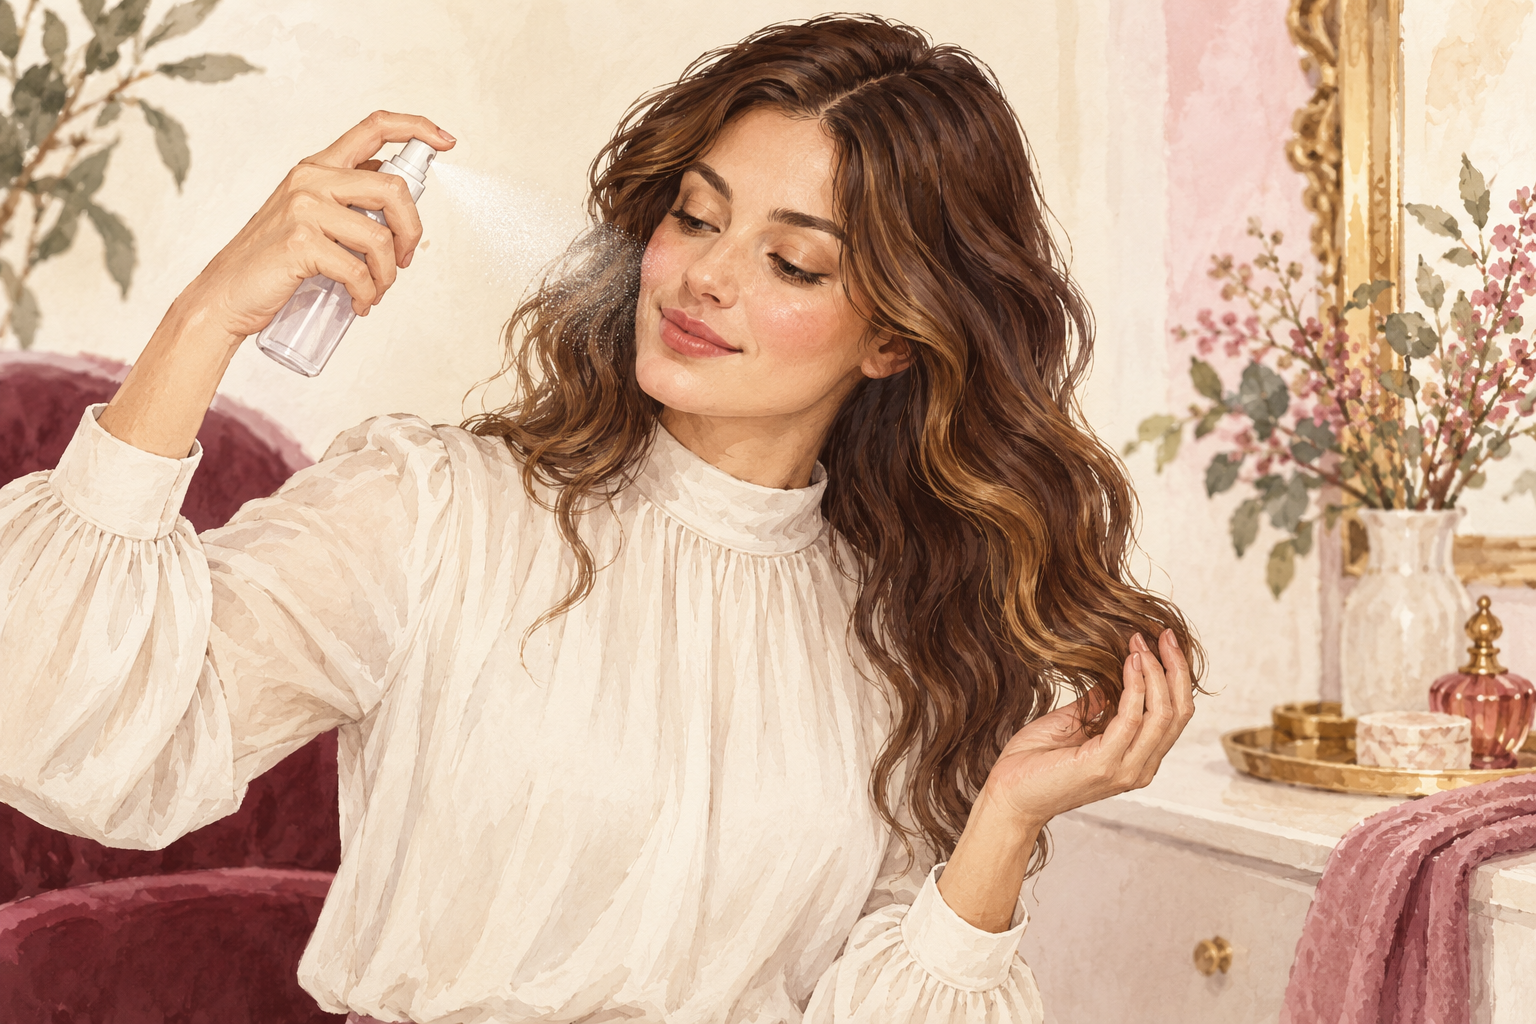
Spray a light heat protectant on the mid lengths and ends, from a hand’s width away. Those are the oldest parts of your hair, so they need the cushion most. Comb it through so it coats evenly, then wait one minute before you switch the dryer on. It slows the damage, but it is a cushion, not armor. If your hair feels sticky or stiff afterwards, you used too much, so use less next time. Fine hair needs only two or three spritzes. Skip the roots, because product near the scalp makes hair go flat and greasy by afternoon, and a light hand always looks better.
5. Clip your hair into sections
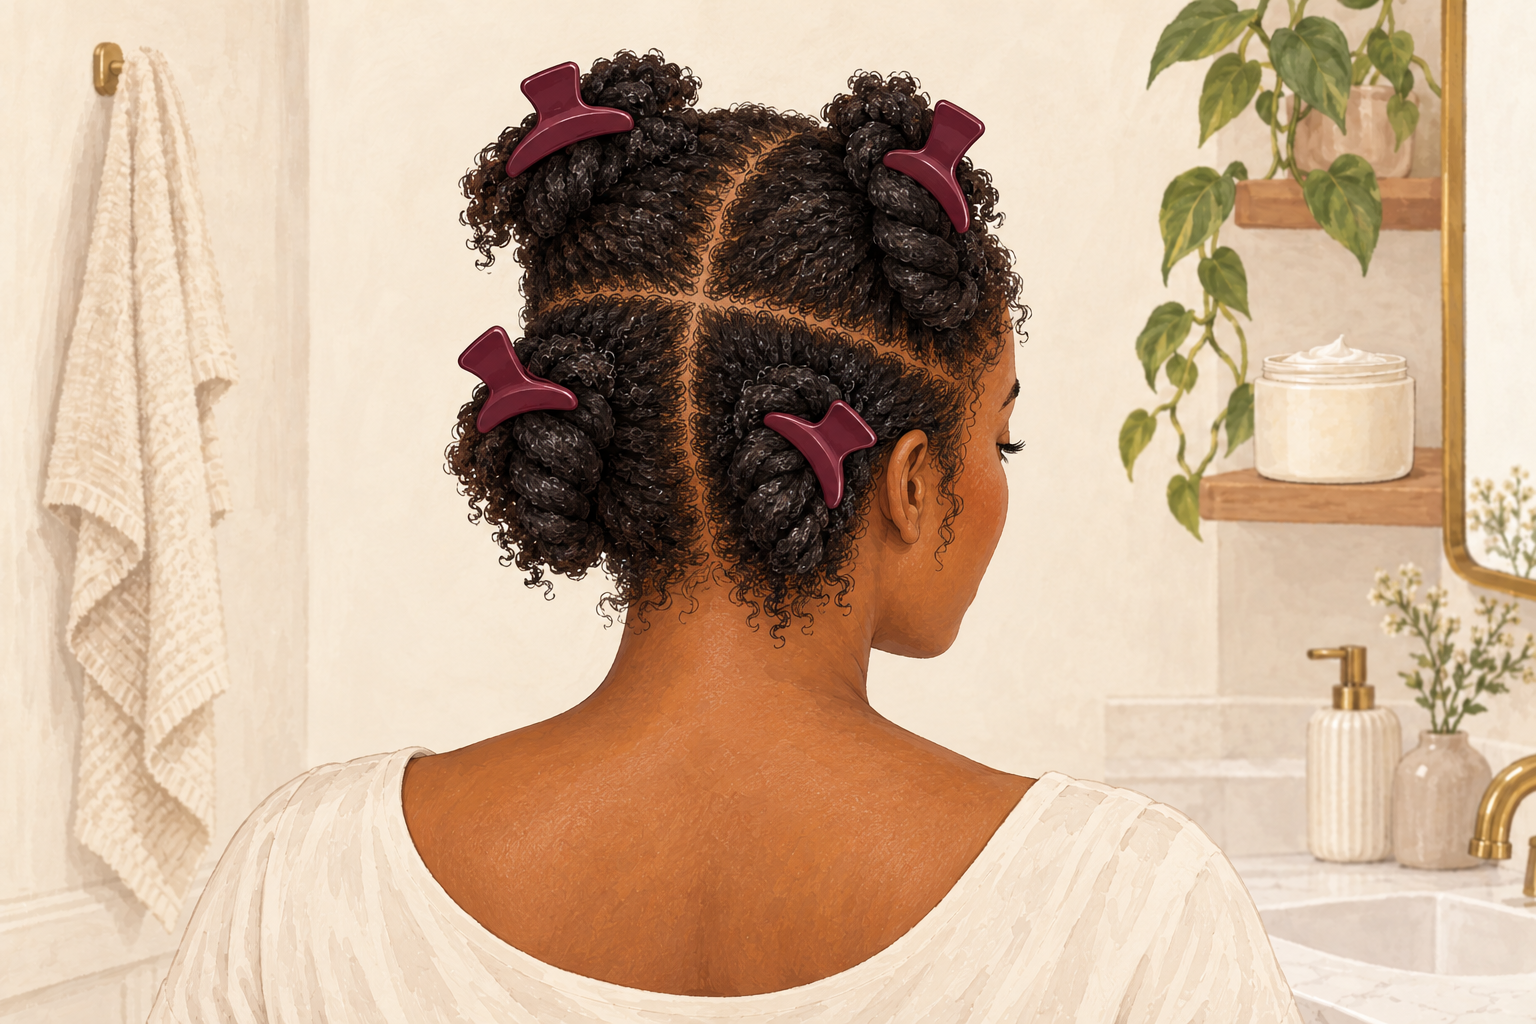
Pin the top half of your hair up and start with the bottom layer. Sections let the air reach every strand, so you are not holding the dryer on one spot for ten minutes. Four sections is plenty for most heads, and thick hair can use six. Take pieces about two fingers thick. Clip each finished section away so it does not get dried twice. It feels slow for the first week, then it saves you time because nothing is left damp underneath. Keep the clips within reach on the counter so you are never stopping with a hot dryer in your hand.
6. Start on medium heat
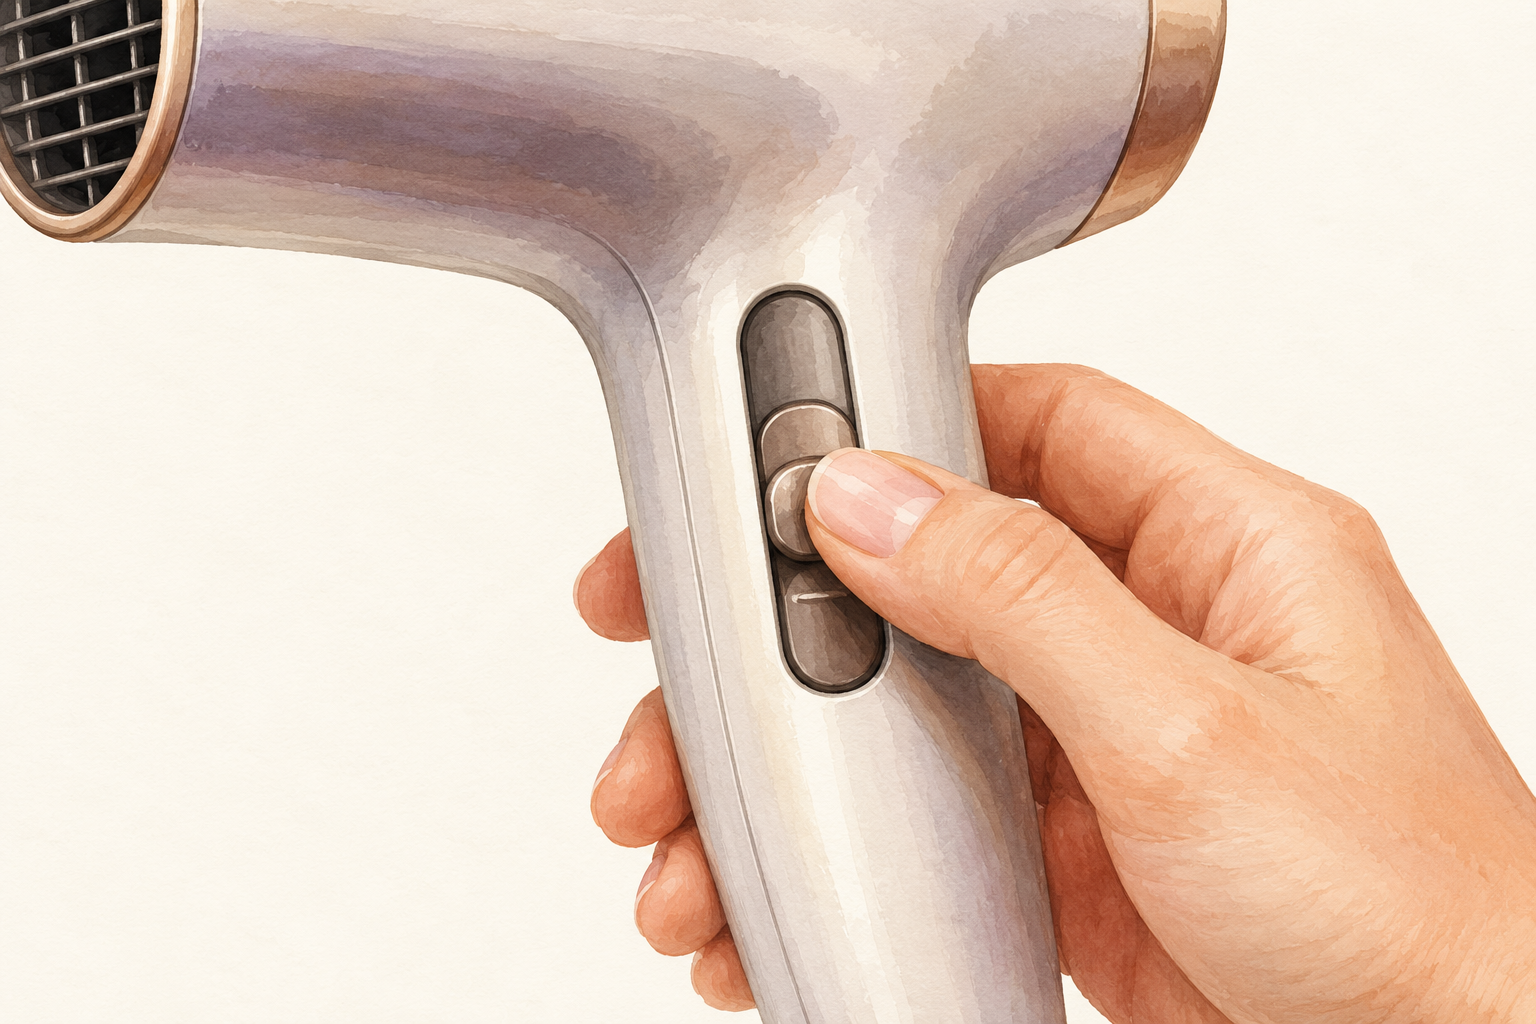
Use medium heat to take the bulk of the water out, then drop to low as the hair dries. Full blast feels faster, but it cooks the ends while the roots are still wet. Fine or bleached hair burns first and often needs low from the very start. If you smell something toasty, the dryer is too hot, so turn the dial down a notch and carry on. Low heat works better than you would think once the towel has done its job. Always set the heat before you pick up a section, not halfway through when the hair is already hot.
7. Keep the nozzle a hand’s width away
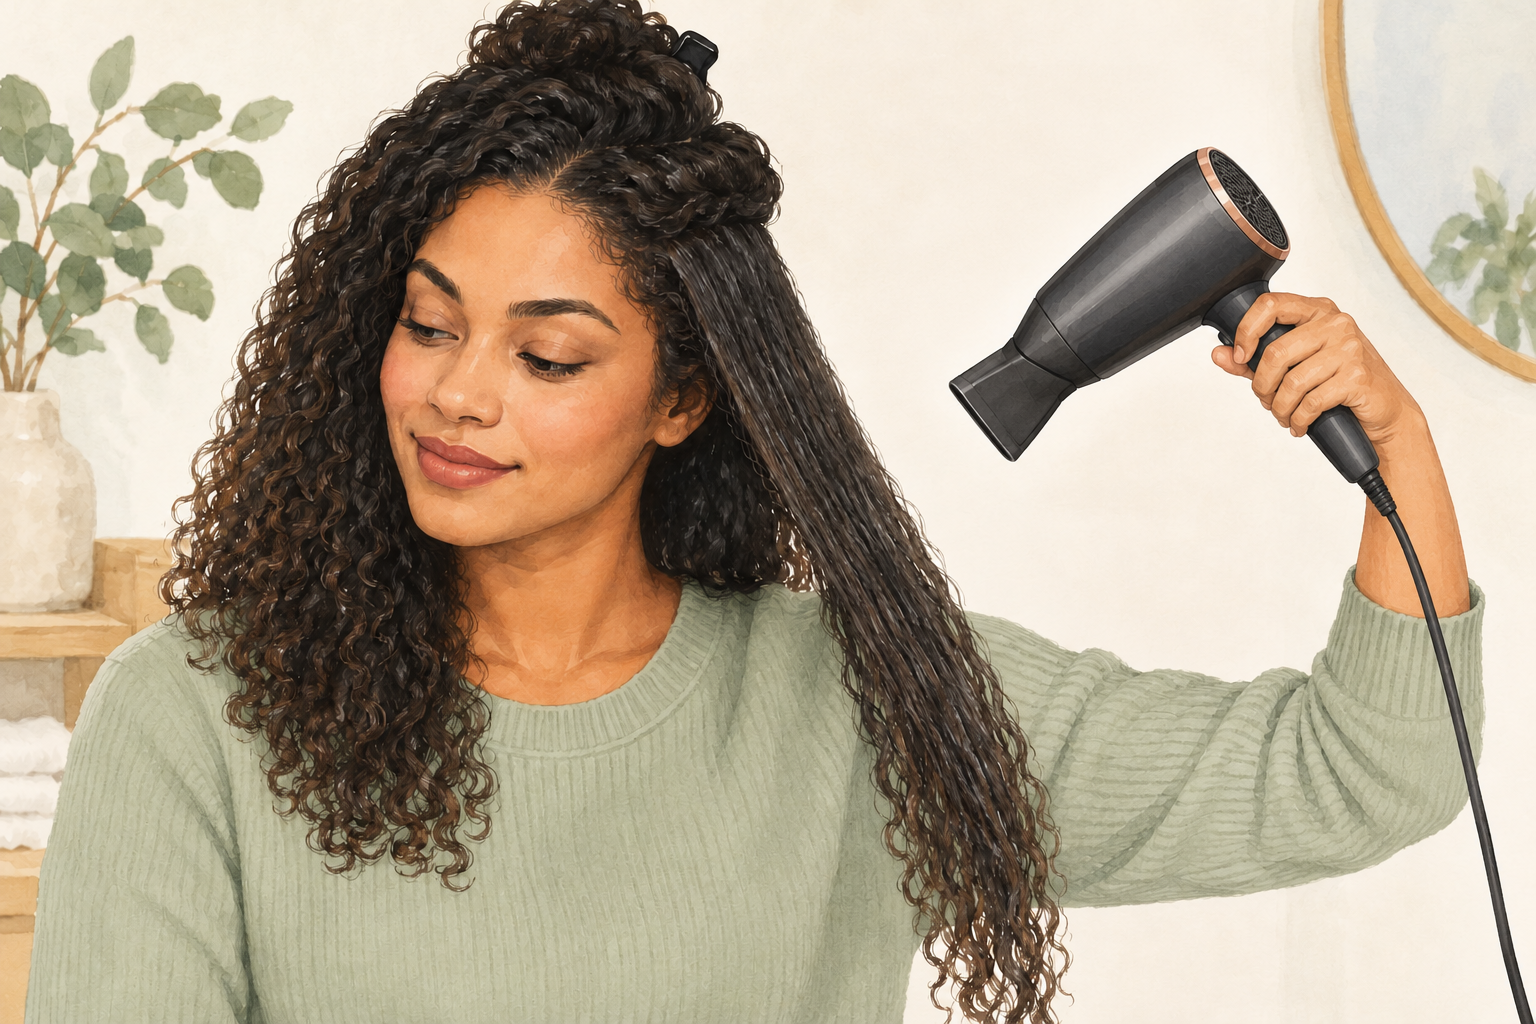
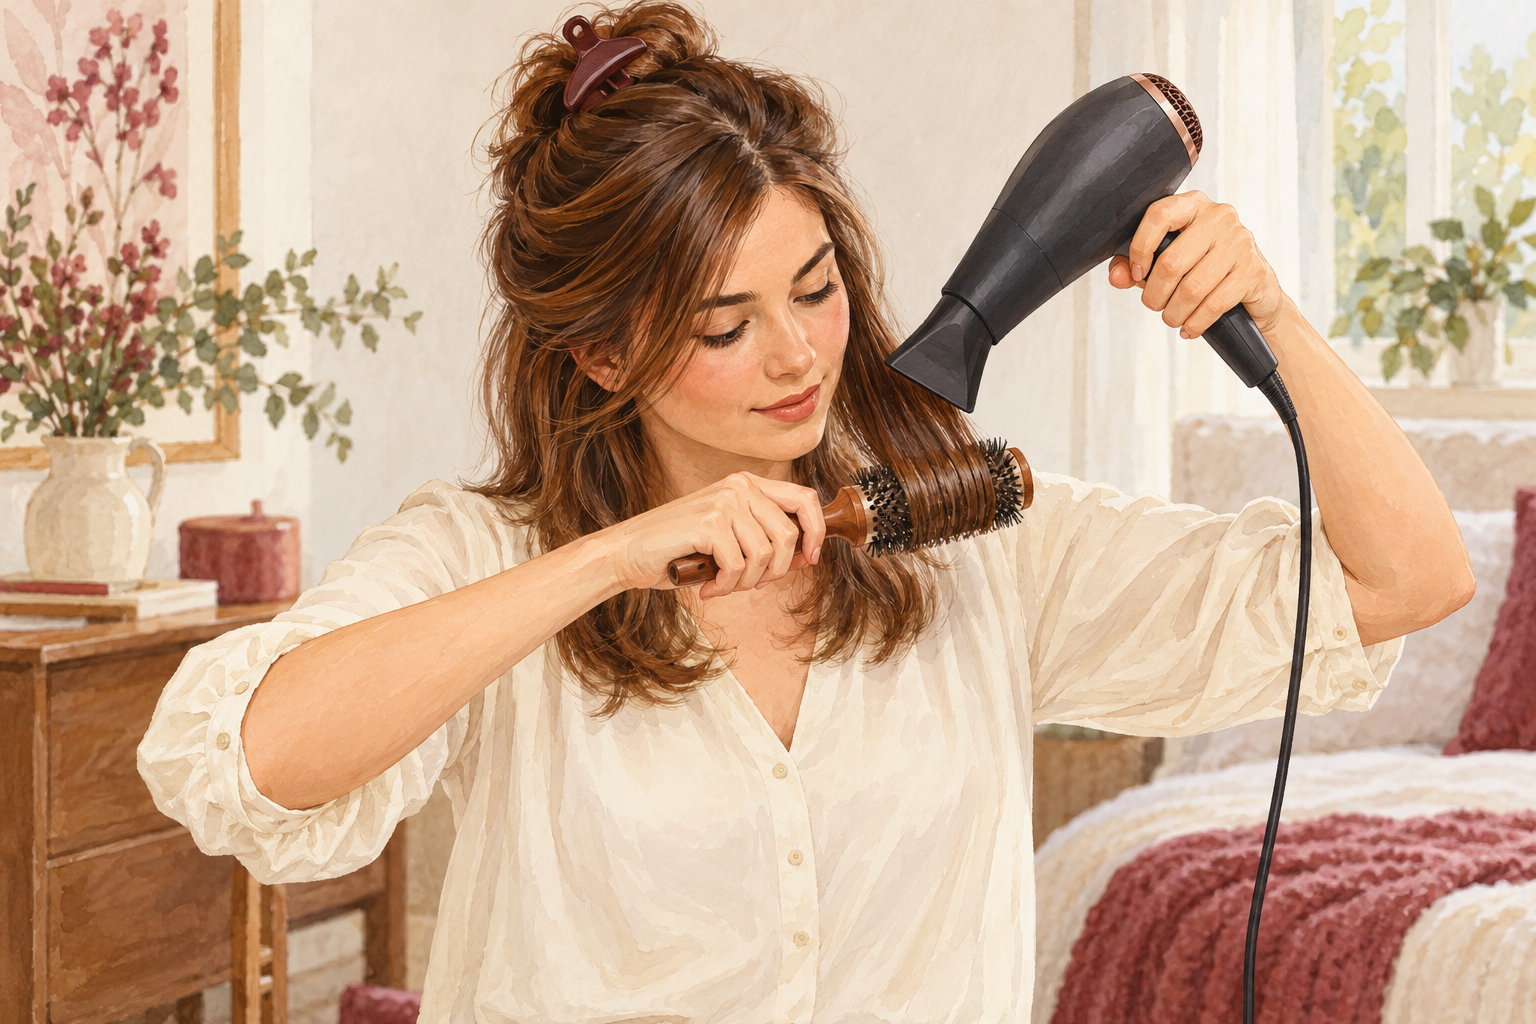
Hold the dryer about the width of your hand from your hair and keep it moving in slow sweeps. Parking it on one patch is how a single section ends up rough while the rest is fine. Point the air downward, from roots to ends, so the outer layer of each strand lies flat and shiny. The nozzle gives you control, so use it. Hold the dryer further back around your ends, which are the thinnest part. Test the air on the back of your hand first, because your scalp can feel the burn too, and move on if it feels sharp.
8. Dry the roots first and the ends last
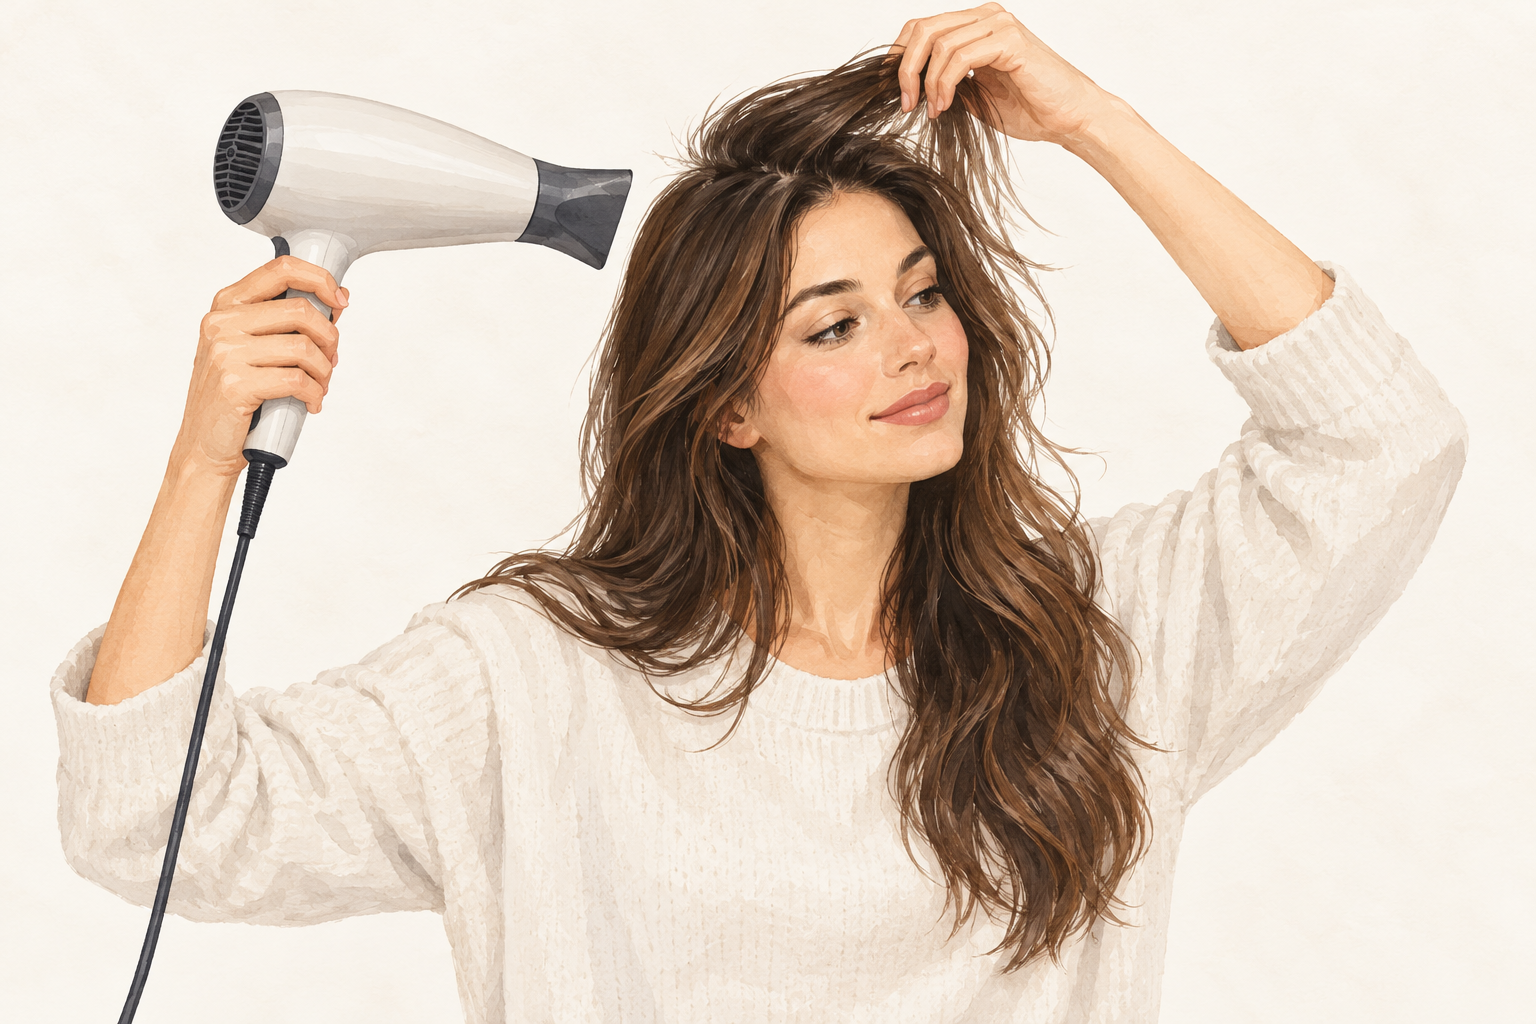
Lift the roots with your fingers and aim the air there until the hair around the scalp is dry. Roots take the longest, and the ends are thin enough to dry on the leftover warmth. Work from the back of your head to the front, one section at a time. Stop when hair is about eighty percent dry, which means cool, a touch damp and not dripping. That last damp bit is where most heat damage happens, so do not chase it. Let low heat or plain cool air handle the last stretch, and be gentle around the nape where the hair is dense.
9. Finish with the cool button
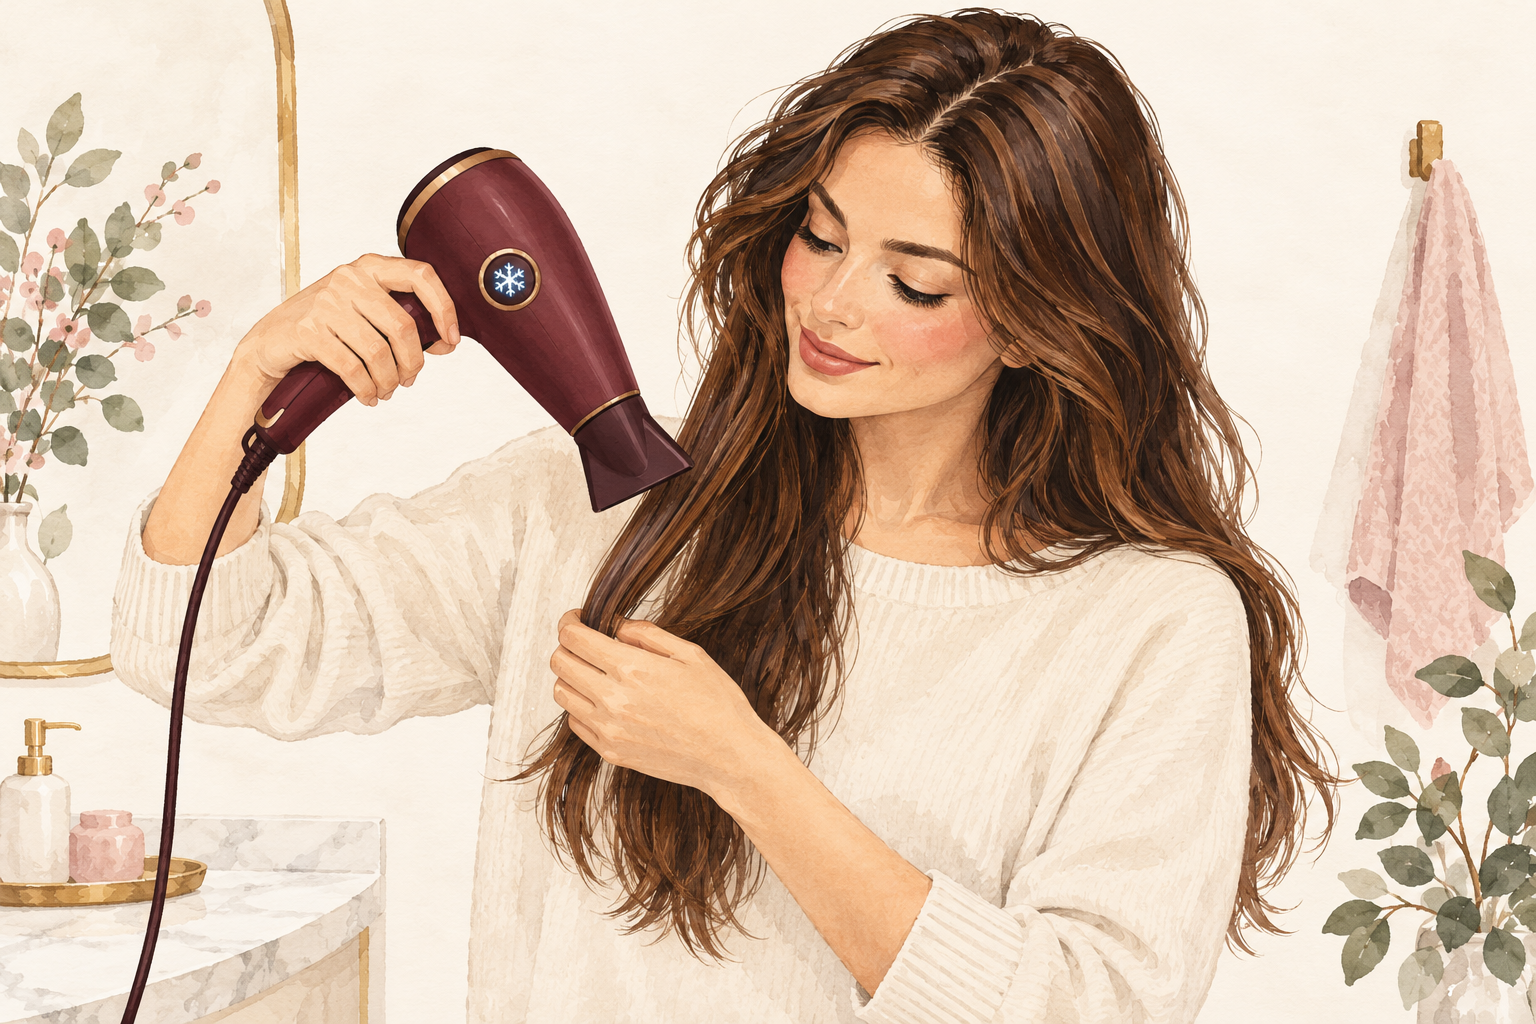
When a section feels dry, press the cool button and run the cooler air down it for ten seconds. The cooler air helps the shape settle, so your style holds longer between washes. It also lays the outer layer flat, which gives free shine. Do it section by section as you finish each one, not all at the end. If your dryer has no cool button, switch to the lowest heat and hold it a little further back. Cool air will not fix a ragged cut, but it makes a sleek finish look sleeker. Stop once your hair feels cool in your hand.
10. Use the wrist test to stop in time
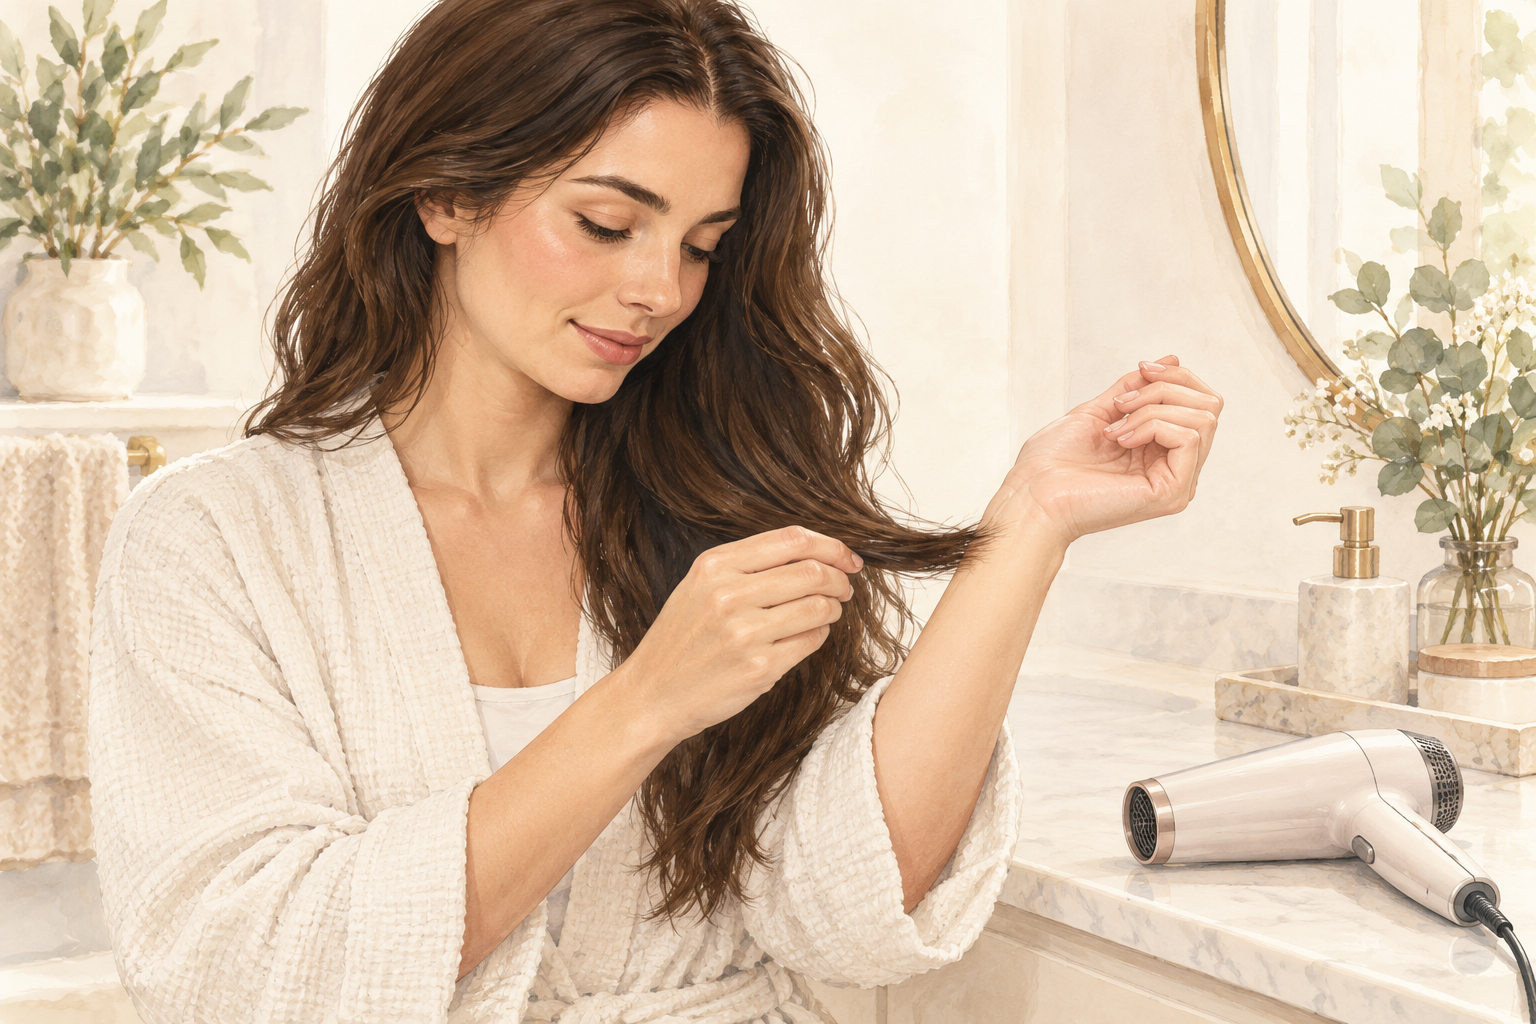
Press a section of hair against the back of your wrist, and if it feels cool, you are done. Hot and bone dry means you went too far, and it shows up later as frizz and static. Hair keeps drying a little as it rests, so let the last few percent finish in the air. If you are unsure, stop a minute early. Check the same spot each time, such as the crown, so you learn how dry hair feels against your skin. Over time you will know without testing. Put the dryer down the moment you feel that cool, soft feeling, and resist one more pass.
11. Fix the common slips
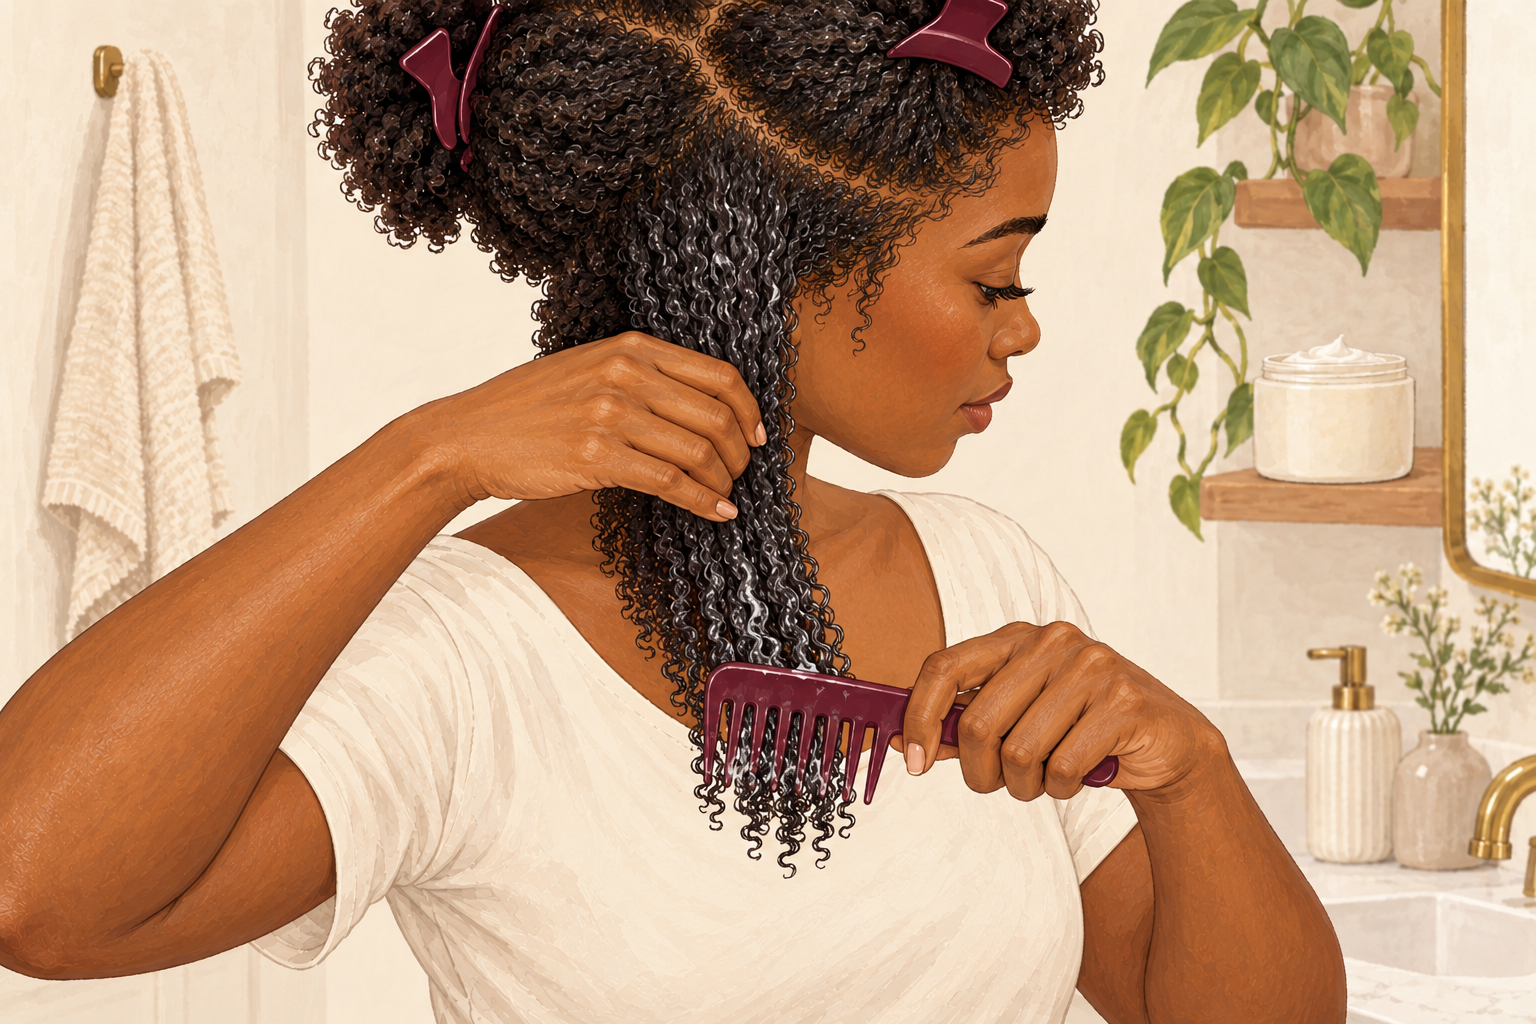
Swap rubbing for blotting, high heat for medium, and wet brushing for a wide tooth comb. Brushing soaking wet hair stretches the strands until they snap, so wait until it is damp. Do not hold the dryer still, and do not skip the protectant on a day you are in a hurry, because those rushed mornings do the most harm. Let one swap become a habit before you add the next, or the whole list feels like a chore. If you have already fried your ends, a small trim is the only thing that truly removes them. Everything else here stops you adding to the damage.
12. Give your hair days off from the dryer
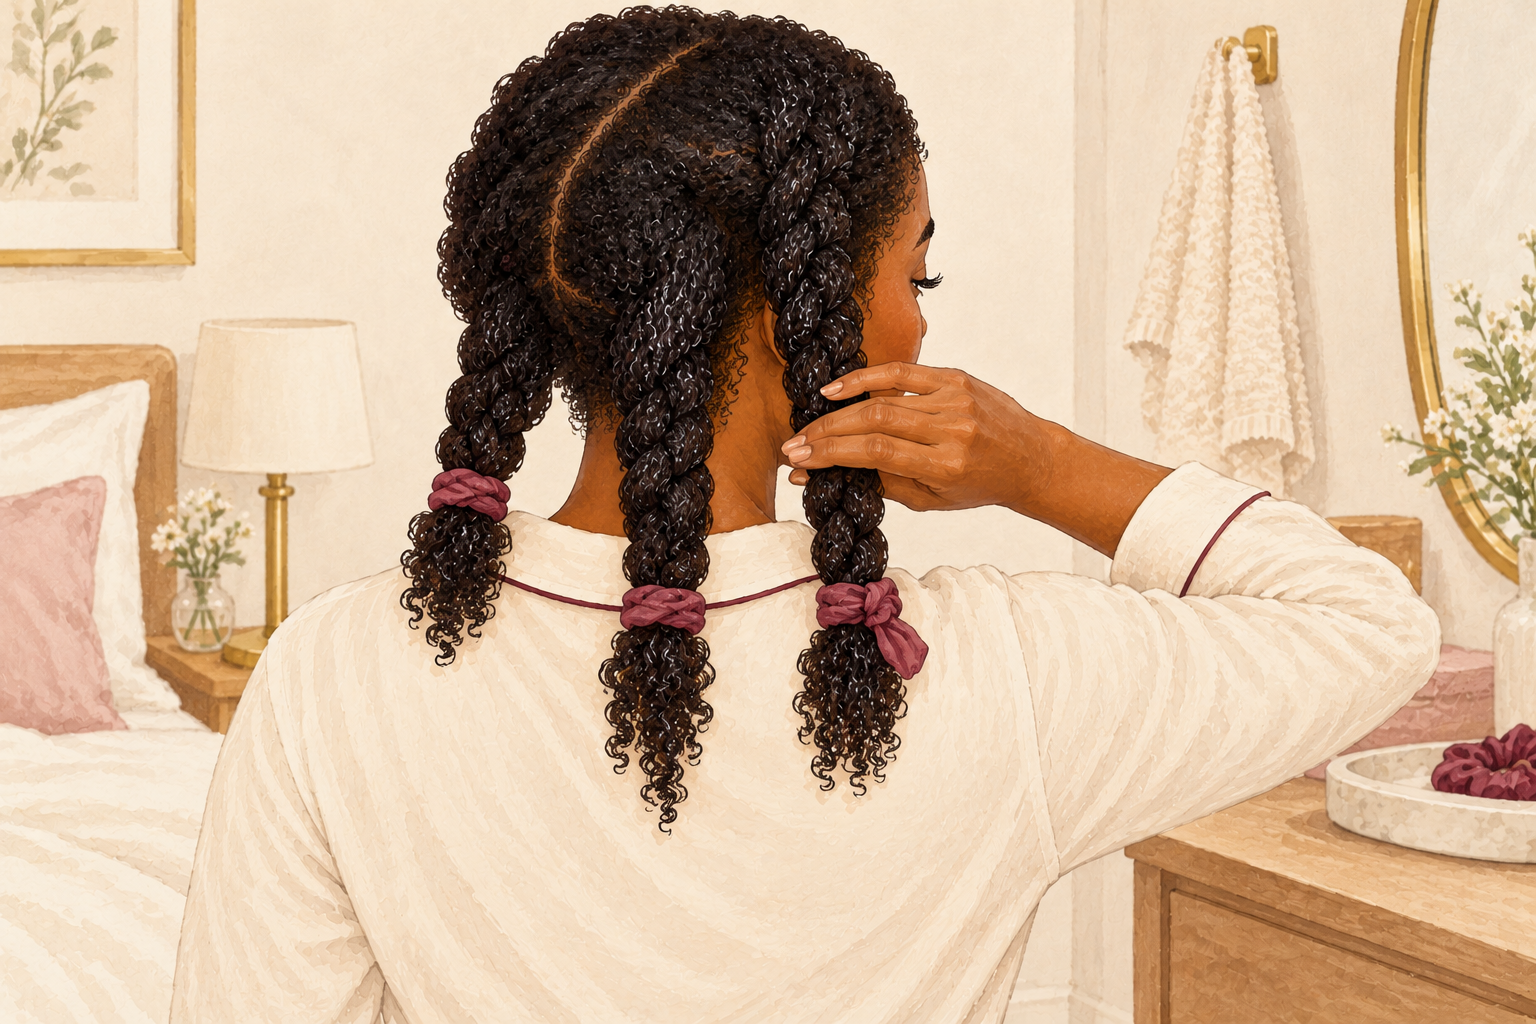
Aim for two or three blow dry days a week, with air dry days in between. On air dry days, wear a loose braid or tie a satin scarf at night. Even perfect technique adds up if you repeat it daily. In the first week, you will likely notice hair that feels smoother and less fuzzy after drying. By week four there should be fewer snapped hairs in your brush. Count the hairs in your brush on day one so you have something to compare. Treat the dryer like seasoning on a meal, not the main dish.
Complete the Routine: Blow Dry Hair Smoothly Tonight
Tonight, wash as usual, blot gently, and try one pass on medium with the nozzle a hand’s width away. If your ends already feel fried, read about heat damaged hair, or learn how to blow dry hair for volume.