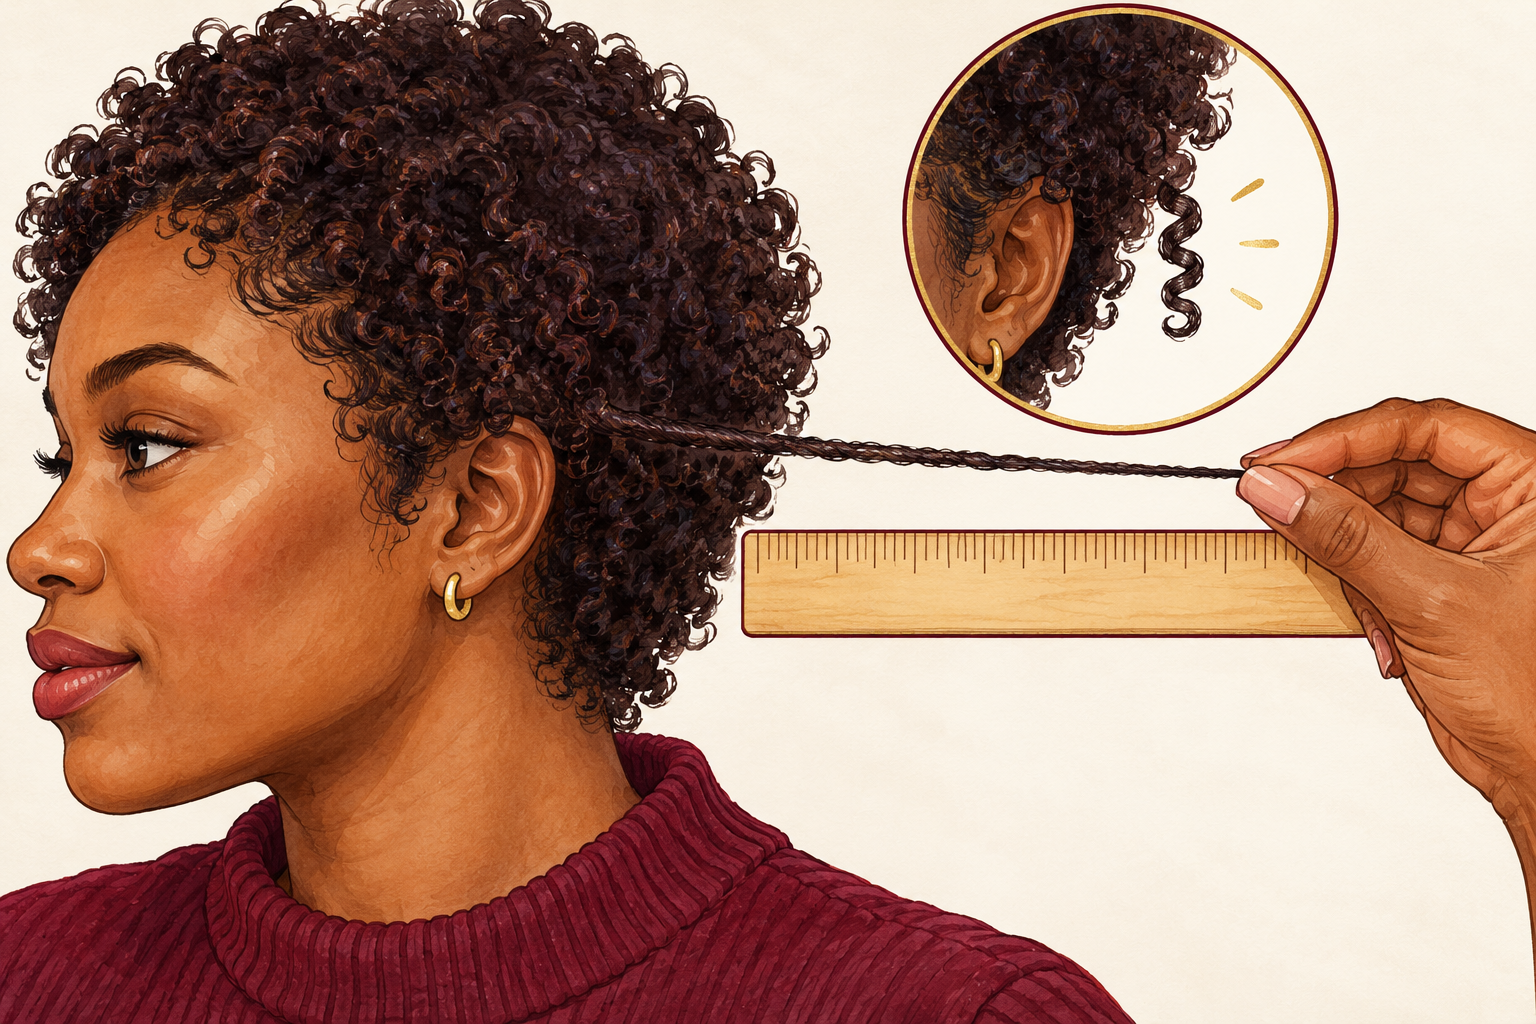
You spend twenty minutes on your curls, they look perfect at the mirror, and by lunchtime the front is a halo and the back has gone fluffy. Frizz has different causes, and the fix for one can make another worse. This no frizz curly hair routine gives you 12 fixes sorted by humidity, dryness and handling, so start at number one tonight.
1. Spot where the frizz starts
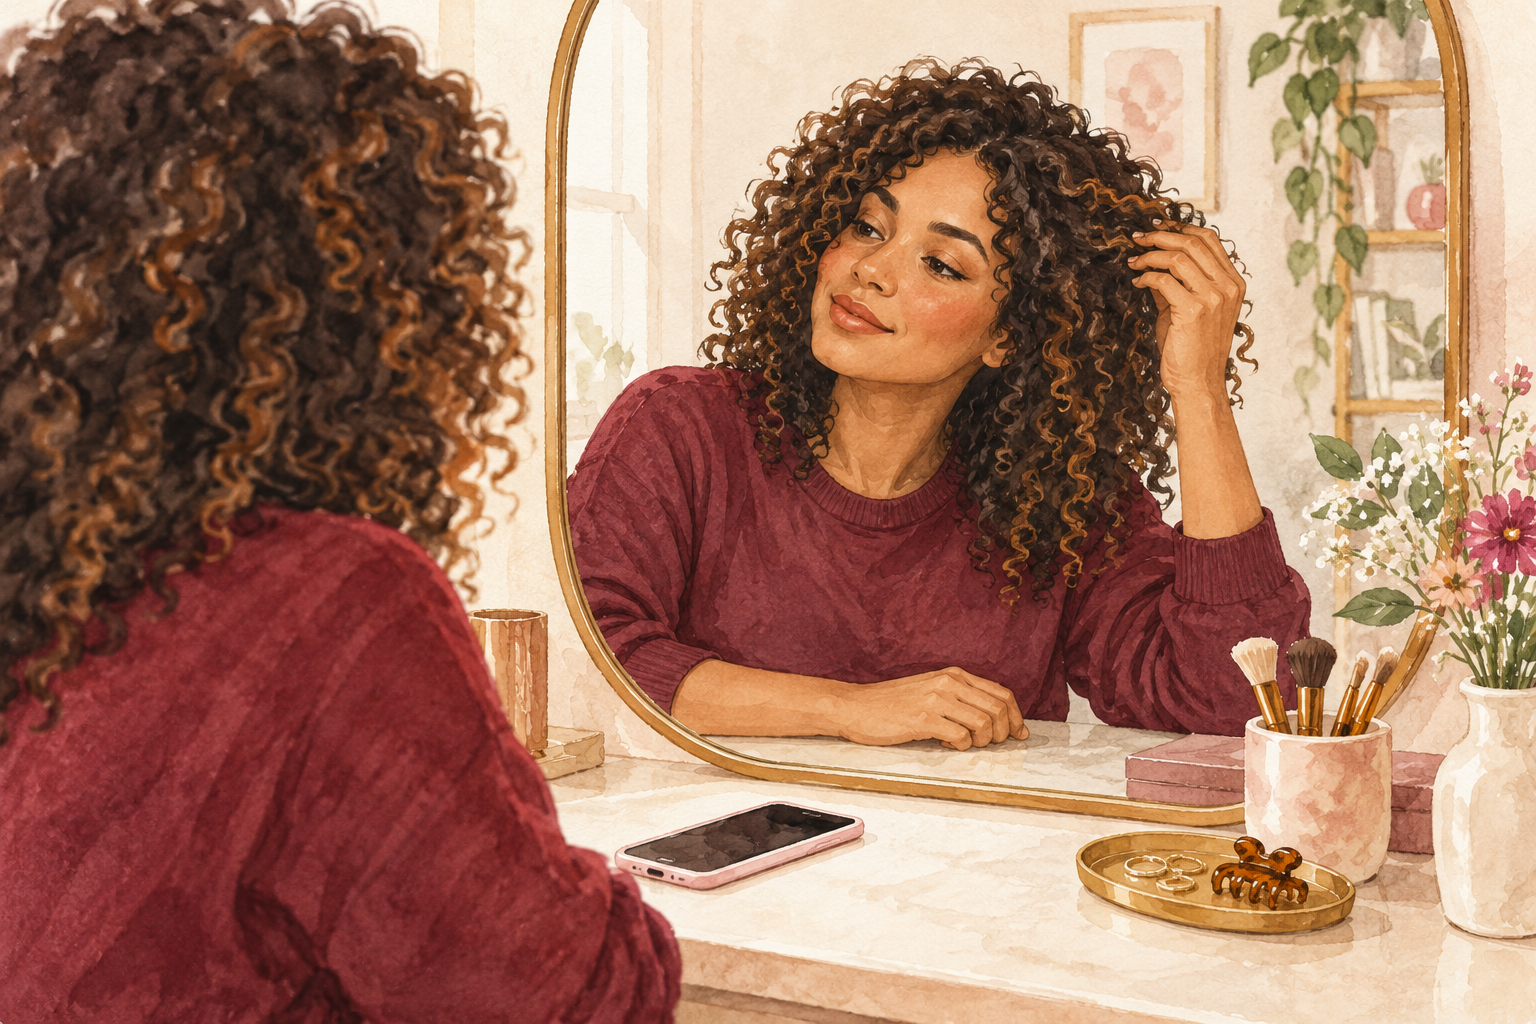
Check your curls at lunchtime and note where the frizz is. Frizz only at the crown and hairline usually means damp air or friction from a collar. Frizz everywhere, with rough, thirsty ends, points to dryness. A puffy cloud after you keep touching your curls means handling. Write it in your phone notes for three days, one line each day. It takes a minute, and it stops you buying a new product for the wrong problem. Most heads have a mix, but one cause is usually louder than the others, and that is the one to fix first.
2. Do a quick thirst check
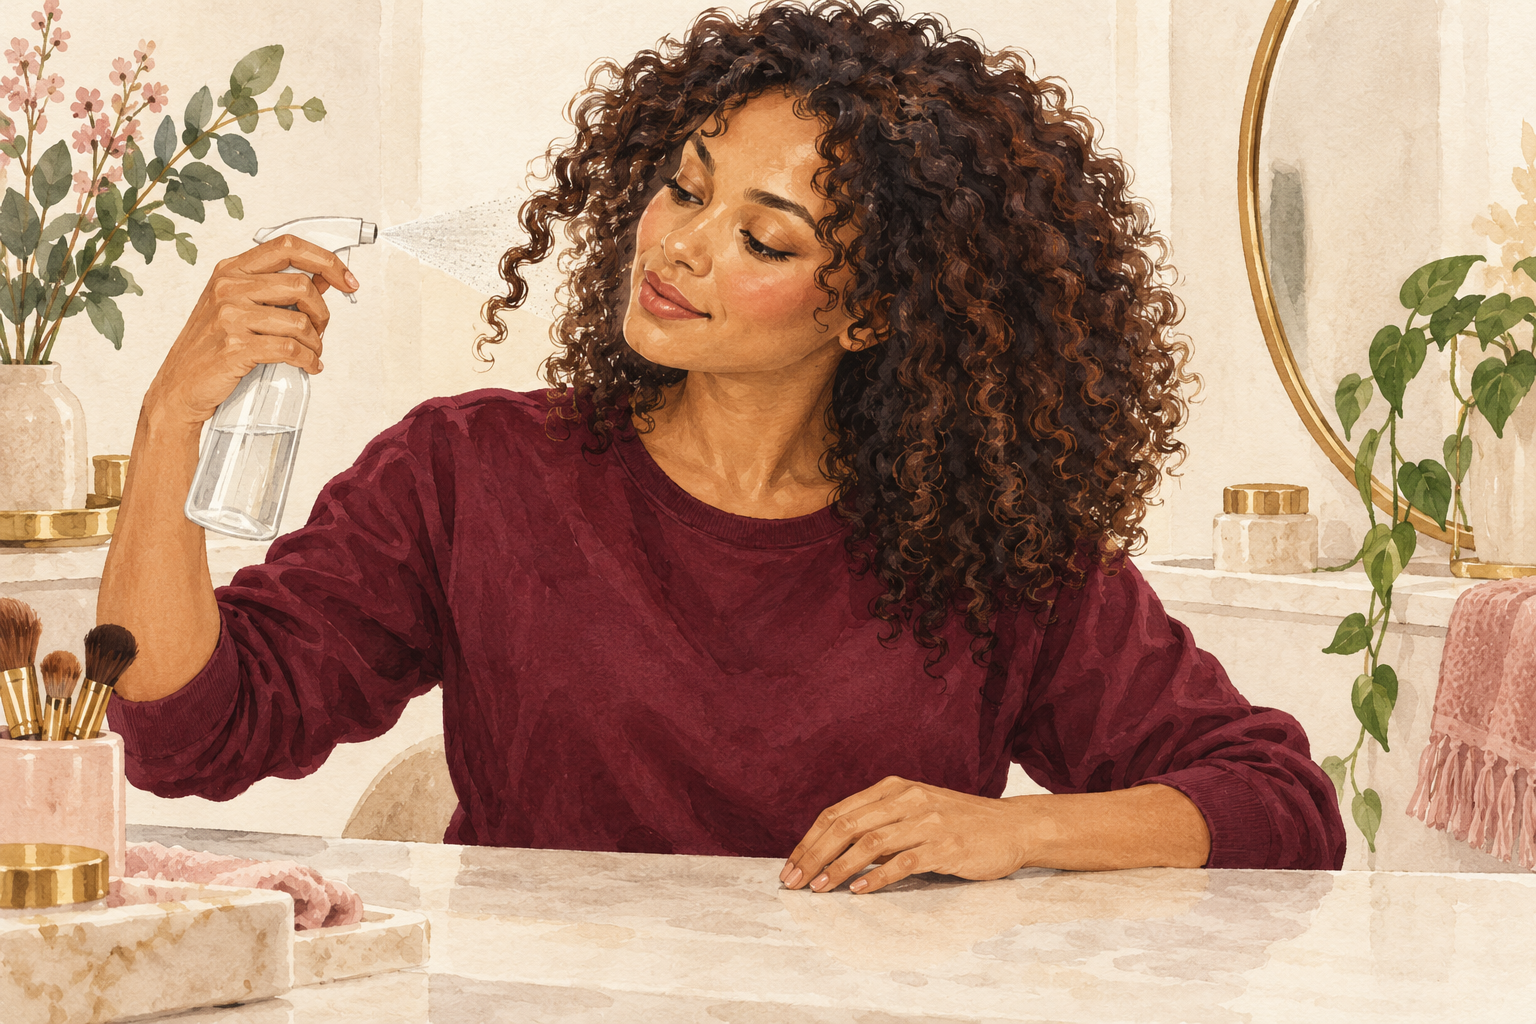
Mist one dry curl with plain water and watch what happens. If the water vanishes at once and the curl still feels rough, your hair is thirsty and needs more moisture. If the water beads up and rolls off, you have product sitting on top, so a clarifying wash comes before anything else. Do it on the underside layer, where hair is least styled. Thirsty hair frizzes on every damp day because it grabs moisture from the air to make up for what it lacks. Coated hair frizzes because nothing can soak in. Both look the same in the mirror and need opposite fixes.
3. Shampoo the scalp and nothing else
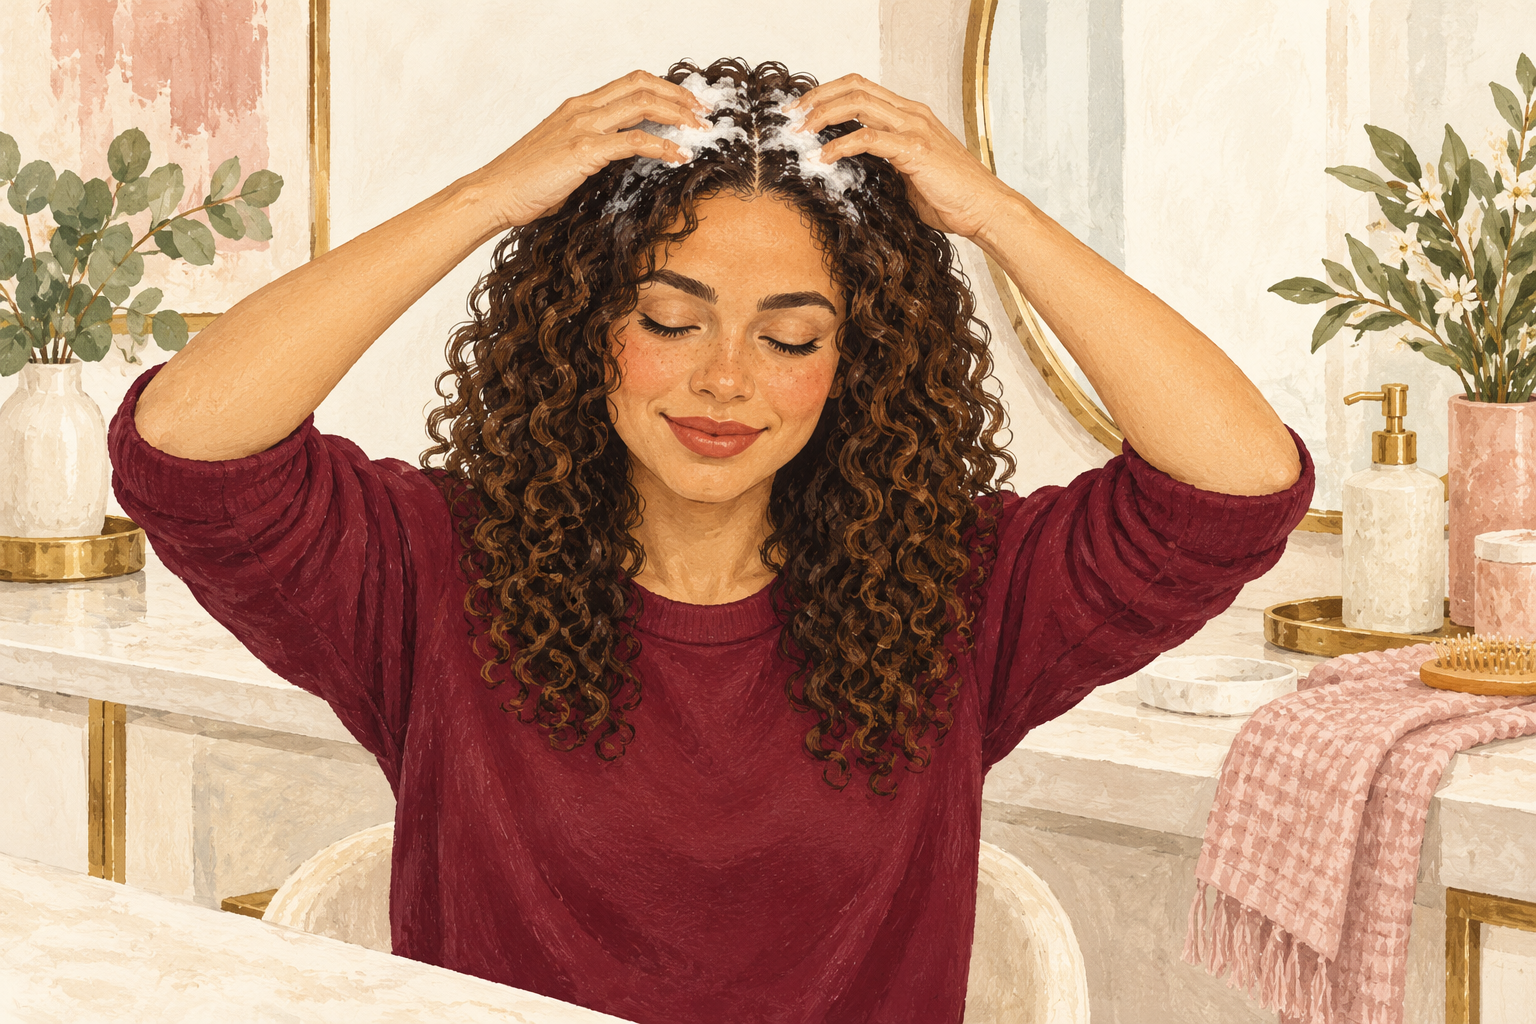
Rub shampoo into your roots with your fingertips and let the suds slide down the lengths on their own. Curly hair is dry by nature, because scalp oil has a long, twisty road to the ends. Scrubbing the lengths strips what little moisture they have, and stripped curls puff up the moment they dry. Use a coin size of shampoo, not a handful. Wash once a week if your scalp is calm, or twice if it gets oily. Rinse until the water runs clear, then move straight to conditioner so the ends never sit bare.
4. Condition thickly and detangle while it soaks
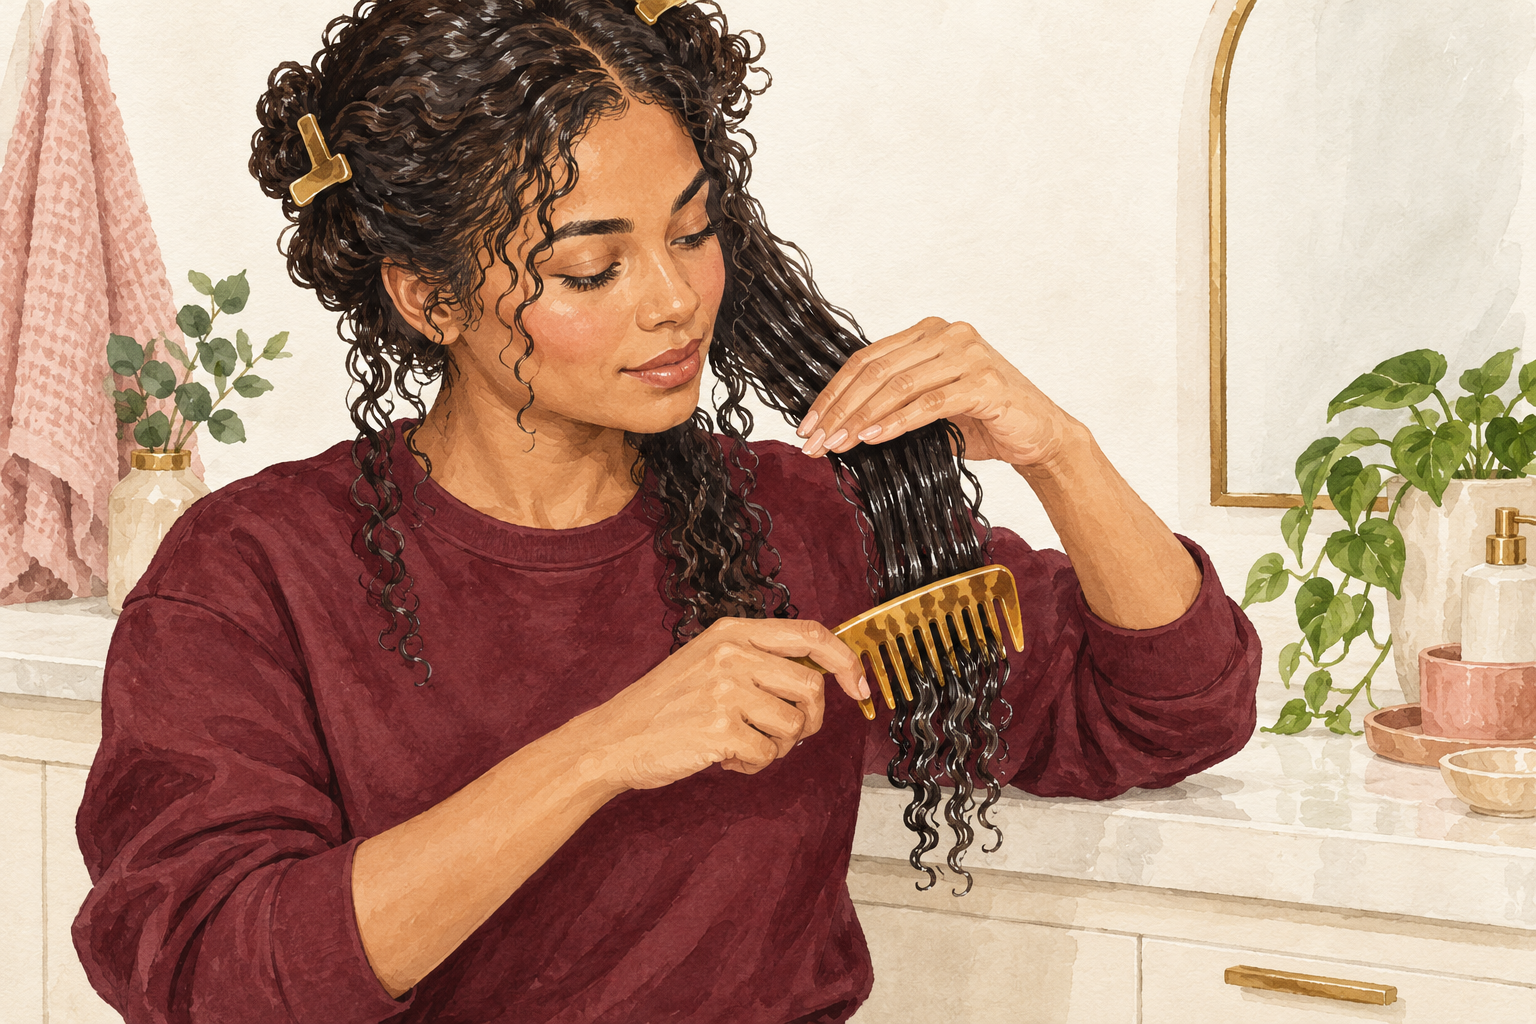
Smooth a palm full of conditioner over each section and comb it through from the ends upward. Start at the bottom, work up in small steps, and stop at each knot instead of pulling through it. Curls snap and frizz when you tear tangles dry, and conditioner gives the comb its slip. Add a splash of water to your hands if the conditioner feels stiff. Rinse most of it out but leave a thin slippery layer behind on the ends. If your hair is thick, split it into four parts and clip them, so every strand gets a fair share.
5. Add a weekly deep mask
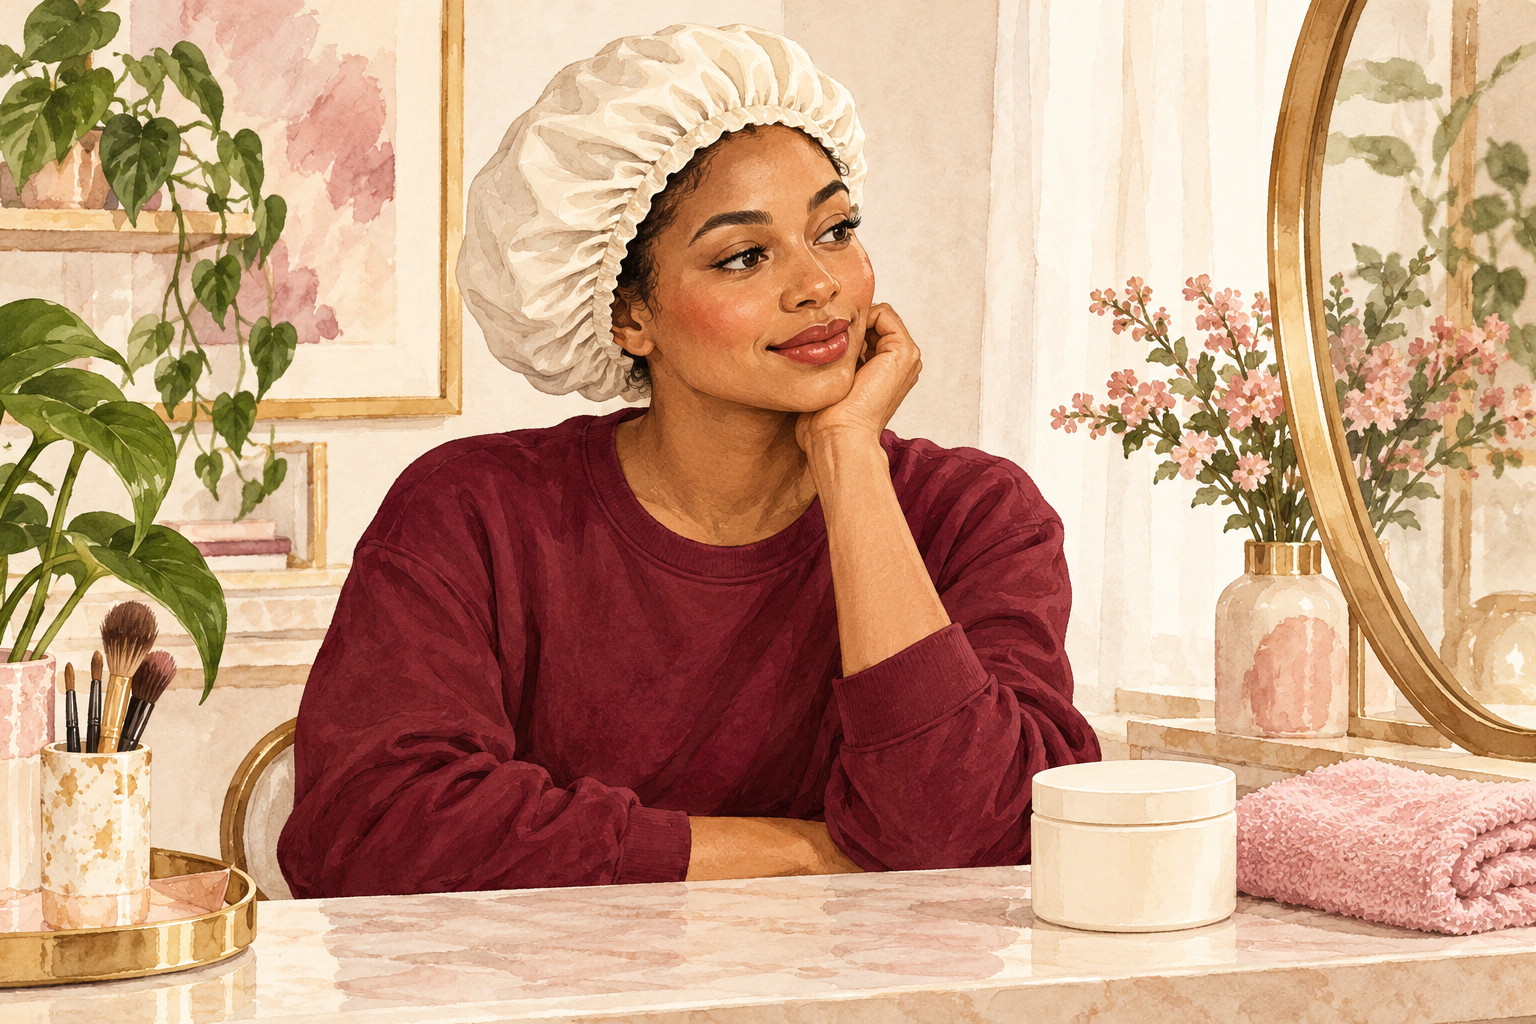
Leave a thick mask on clean, wet hair for fifteen to twenty minutes under a shower cap. The cap traps your body heat so the mask softens the hair instead of drying on top. Focus on the ends and the dry back layer, and use a thinner coat near the scalp. Do this once a week, because curls that feel soft on Monday still frizz by Thursday if the moisture runs out. A plain homemade mix of mashed avocado and a spoon of honey works if you like that. Rinse with cool water at the end and feel how the hair slides.
6. Style while your hair is still dripping
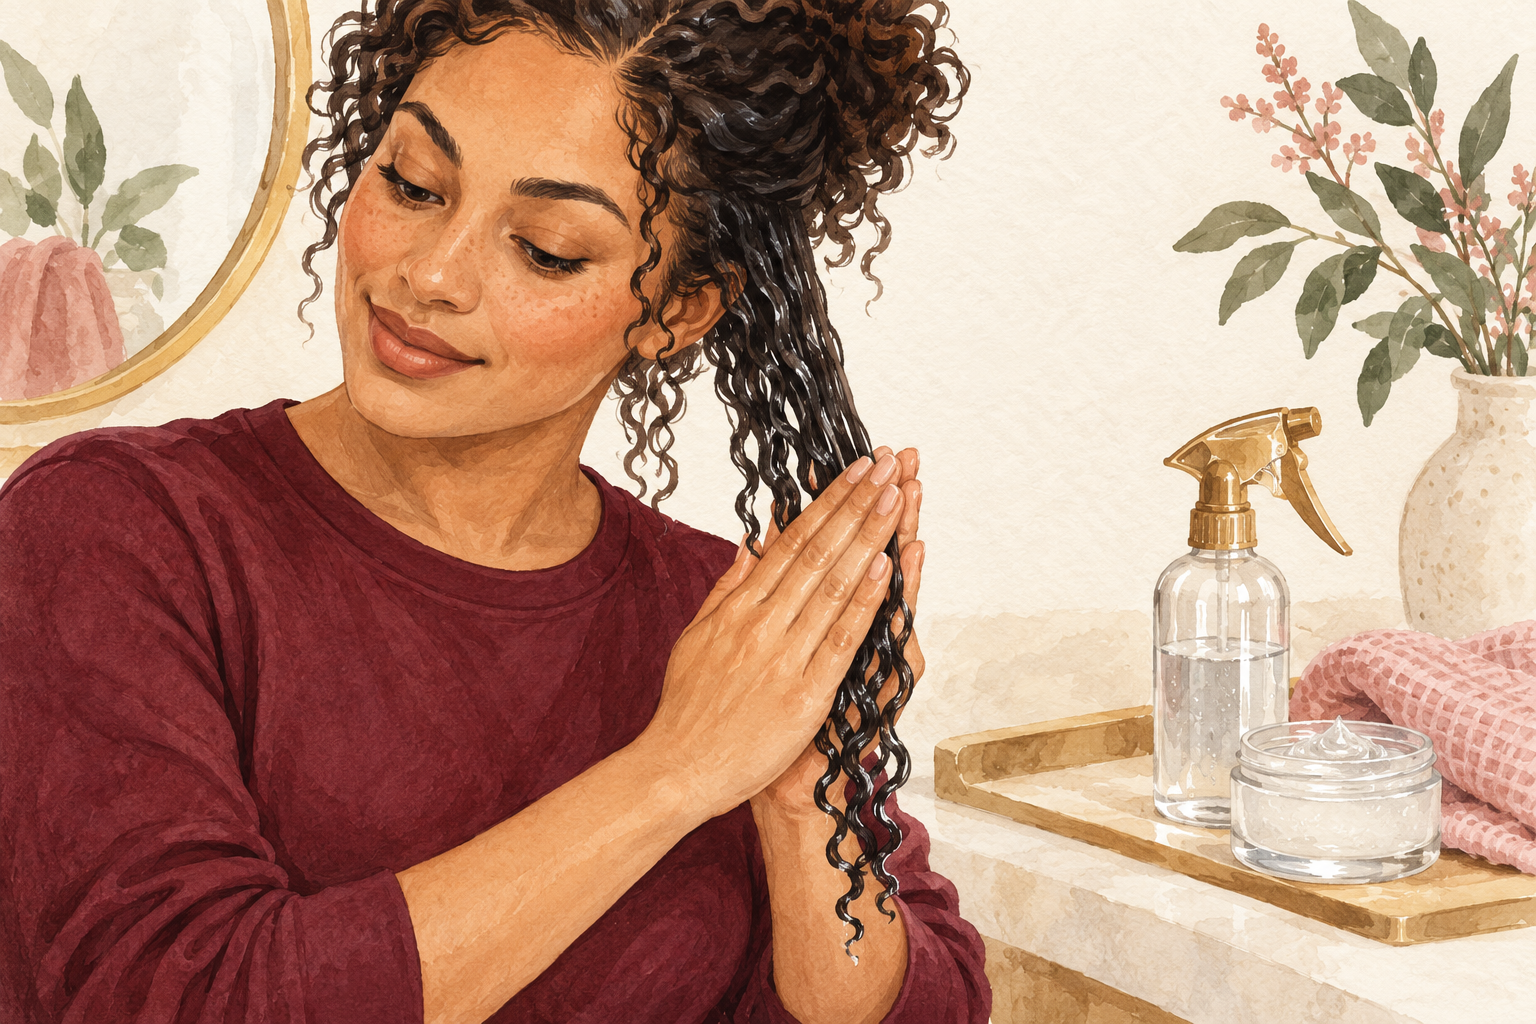
Rake gel through your curls before a single drop has dried, then scrunch upward. Wet hair holds its curl pattern, and gel locks that pattern in like a clear cast. Smooth it on with praying hands first, palms flat on the hair, then scrunch toward the roots. Use about a golf ball size for shoulder length hair. If the gel feels sticky or leaves white flakes, you used too much. Frizz mostly forms in the minutes while hair dries, so the quicker you set the shape, the fewer strands wander off from their curl.
7. Swap to a firmer gel on damp days
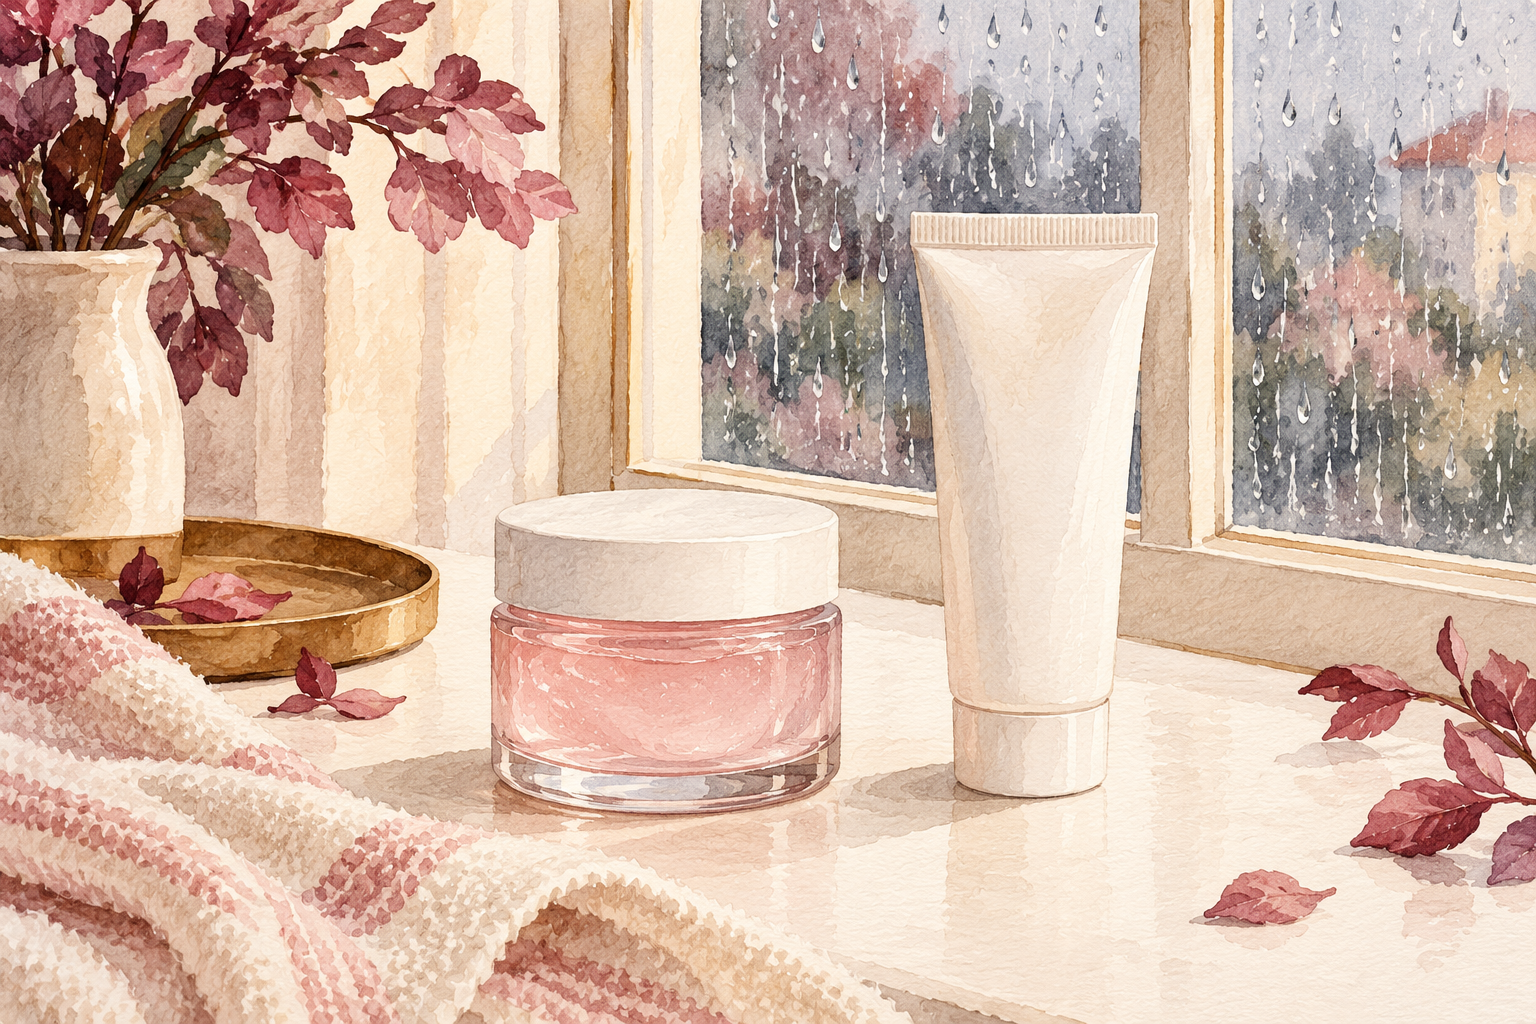
Put a lighter cream on dry days and a stronger gel on days when the air feels heavy. Damp air makes unprotected hair swell, and a firm gel works like a raincoat over each curl. Add a second layer of gel over your cream while your hair is still wet. Skip oils on very damp days, because they can leave the hair slick without sealing it. Check the weather before wash day if you can. You might need only a tiny extra squeeze, about the size of a pea, but that squeeze is what keeps the halo from showing up by midday.
8. Blot, never rub
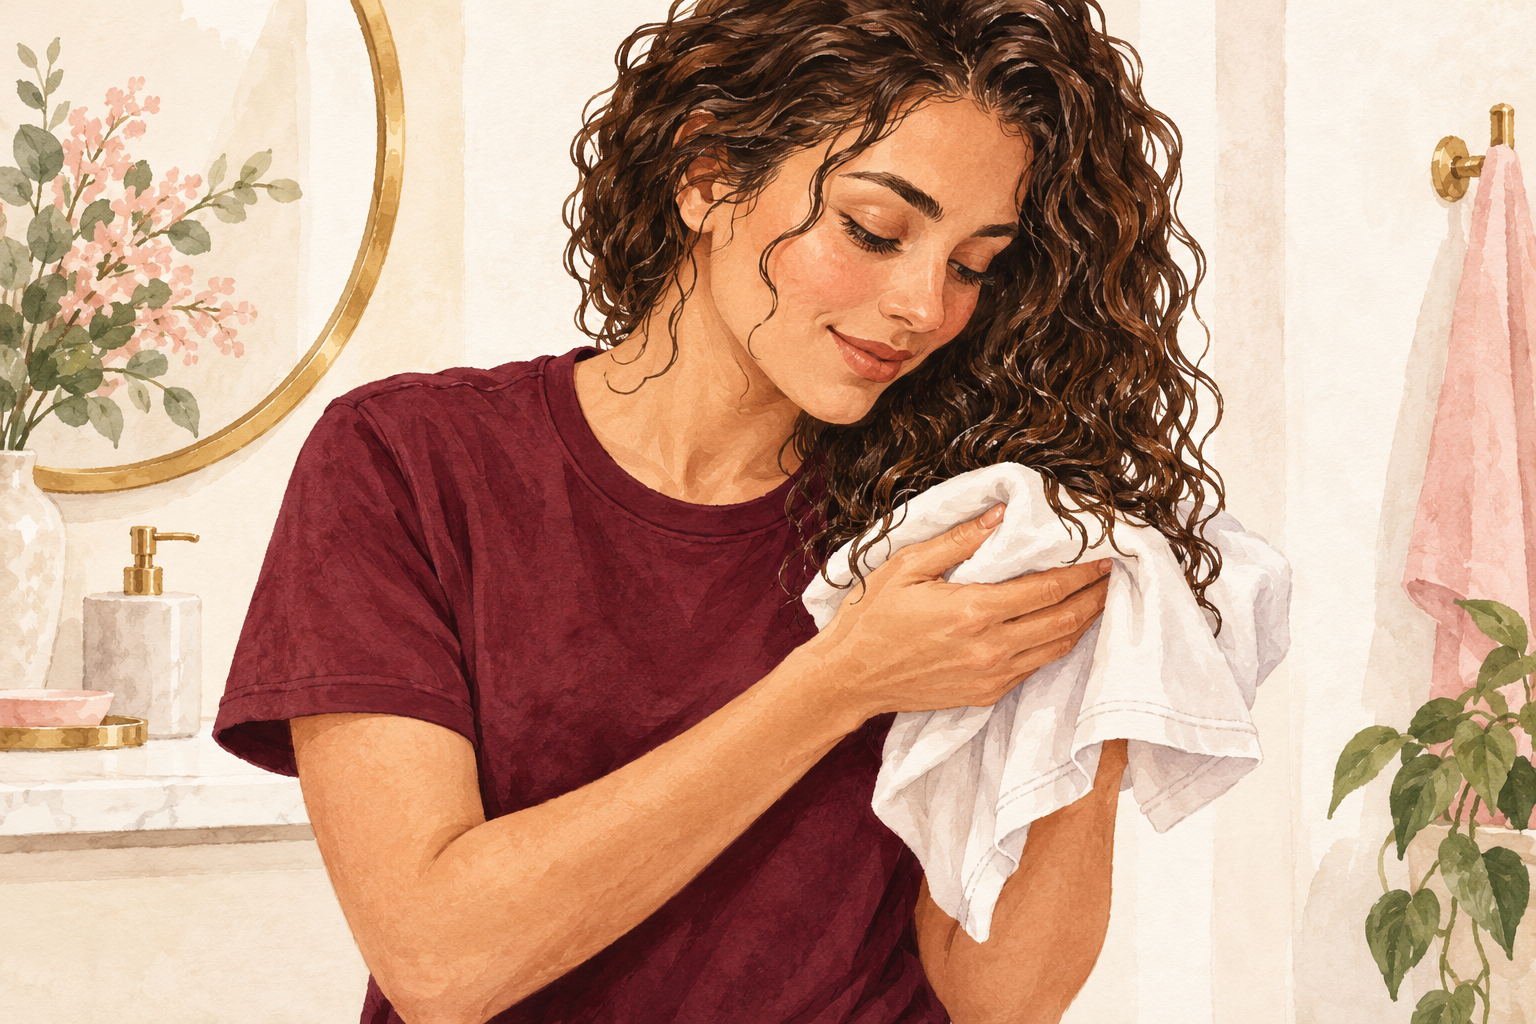
Press your curls into an old cotton tee shirt or a microfiber towel for a minute, then let go. A rough bath towel scuffs the outer layer of each strand, and that fuzz is frizz you made yourself. Scoop from underneath and squeeze up toward the scalp. Keep the pressure soft, like you are drying a baby bird. Two minutes of blotting takes out the extra water that would otherwise drip and break your gel cast. Wrap the towel around your head only for a moment, then hang it up and leave your curls alone.
9. Keep your hands off until it is fully dry
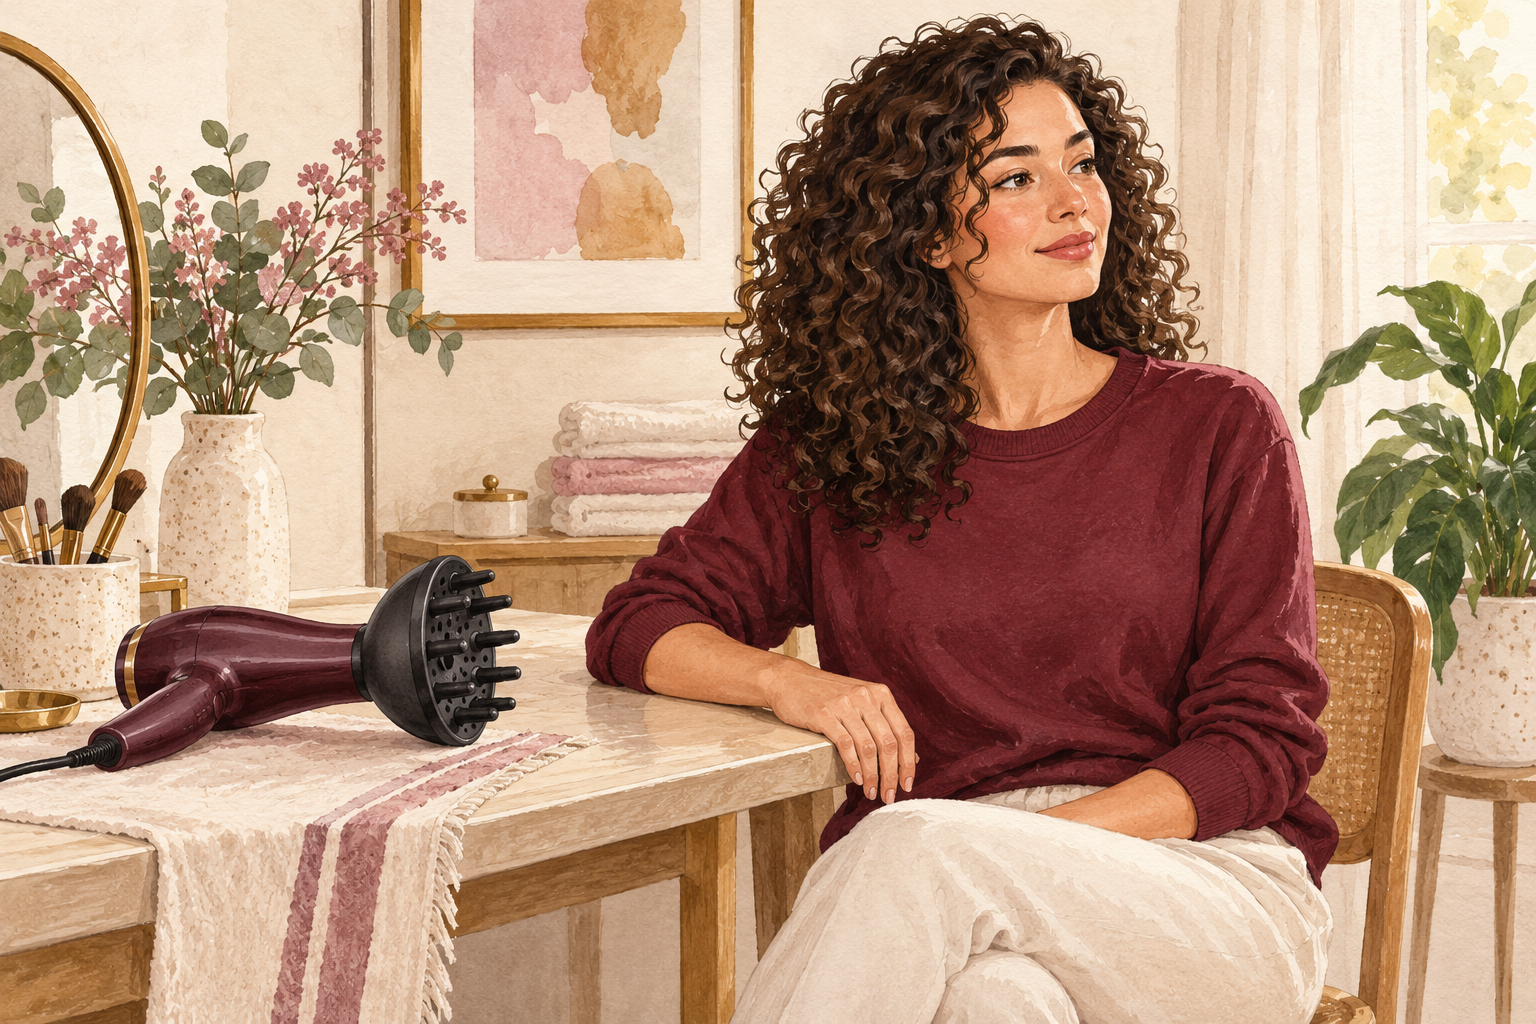
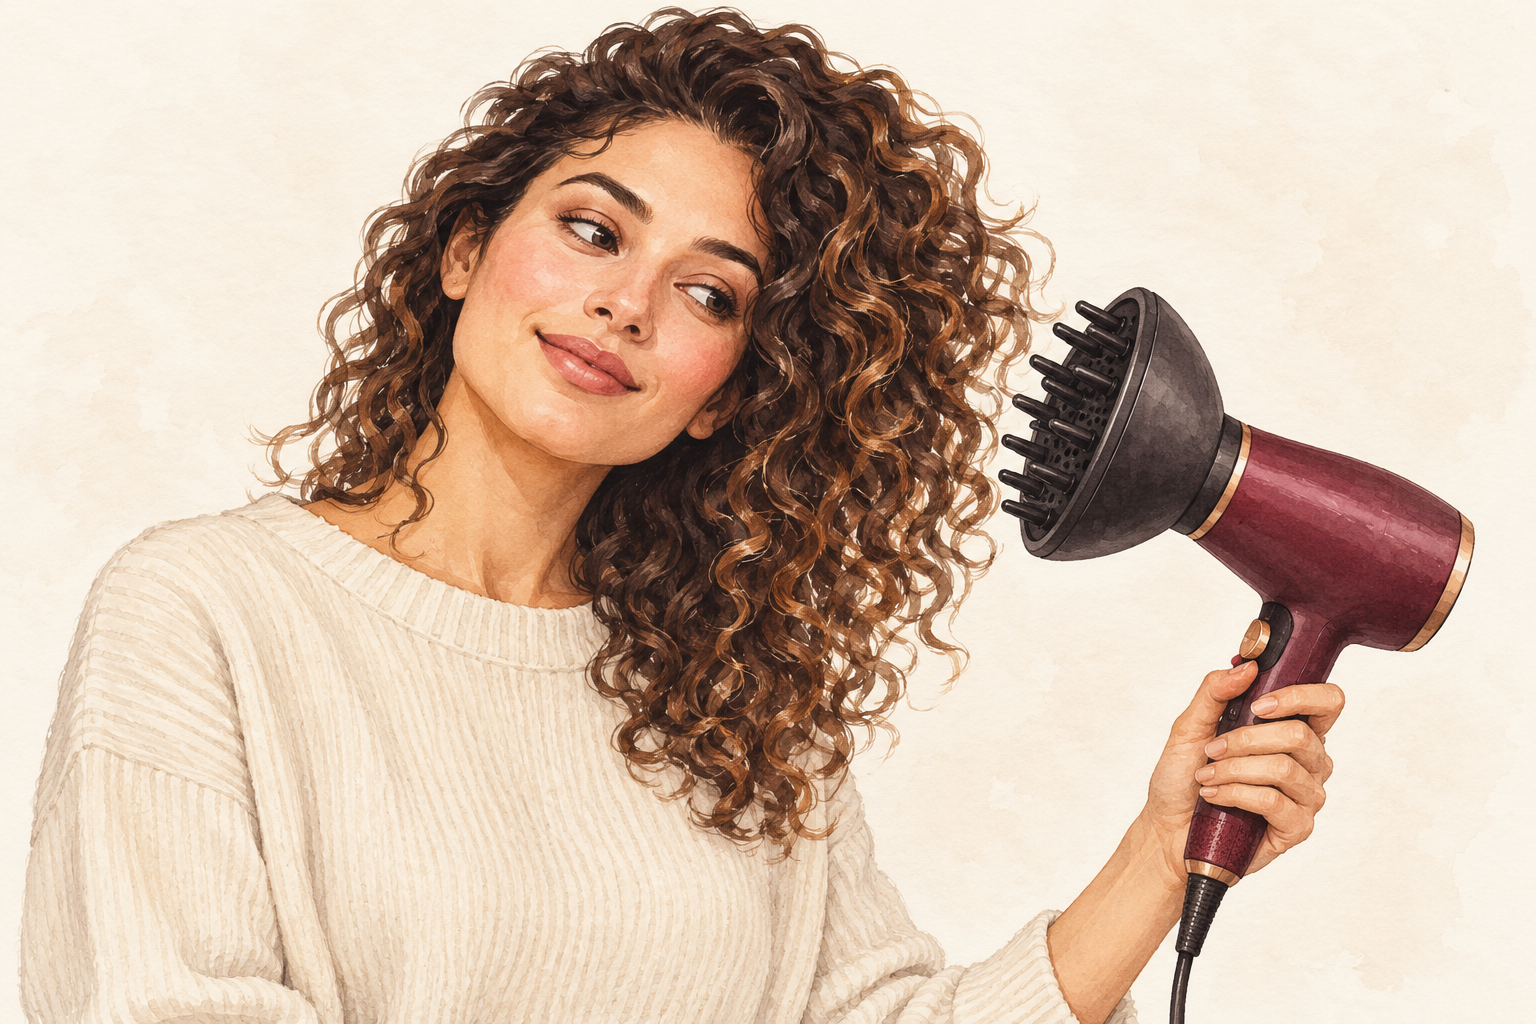
Let your curls dry in peace, then scrunch out the crunch only once every part feels dry. Touching wet curls breaks the clumps apart, and every broken clump turns into frizz. A diffuser on low heat and low speed helps, held still under the curls, not waved around. Without one, give it an hour or two and leave it. The gel cast feels crunchy at first, and that is the hold doing its job. Flip your head upside down and scrunch gently with a dry hand to soften it. Use dry hands only, because a wet palm on dry curls wakes the frizz back up.
10. Refresh with water, not more product
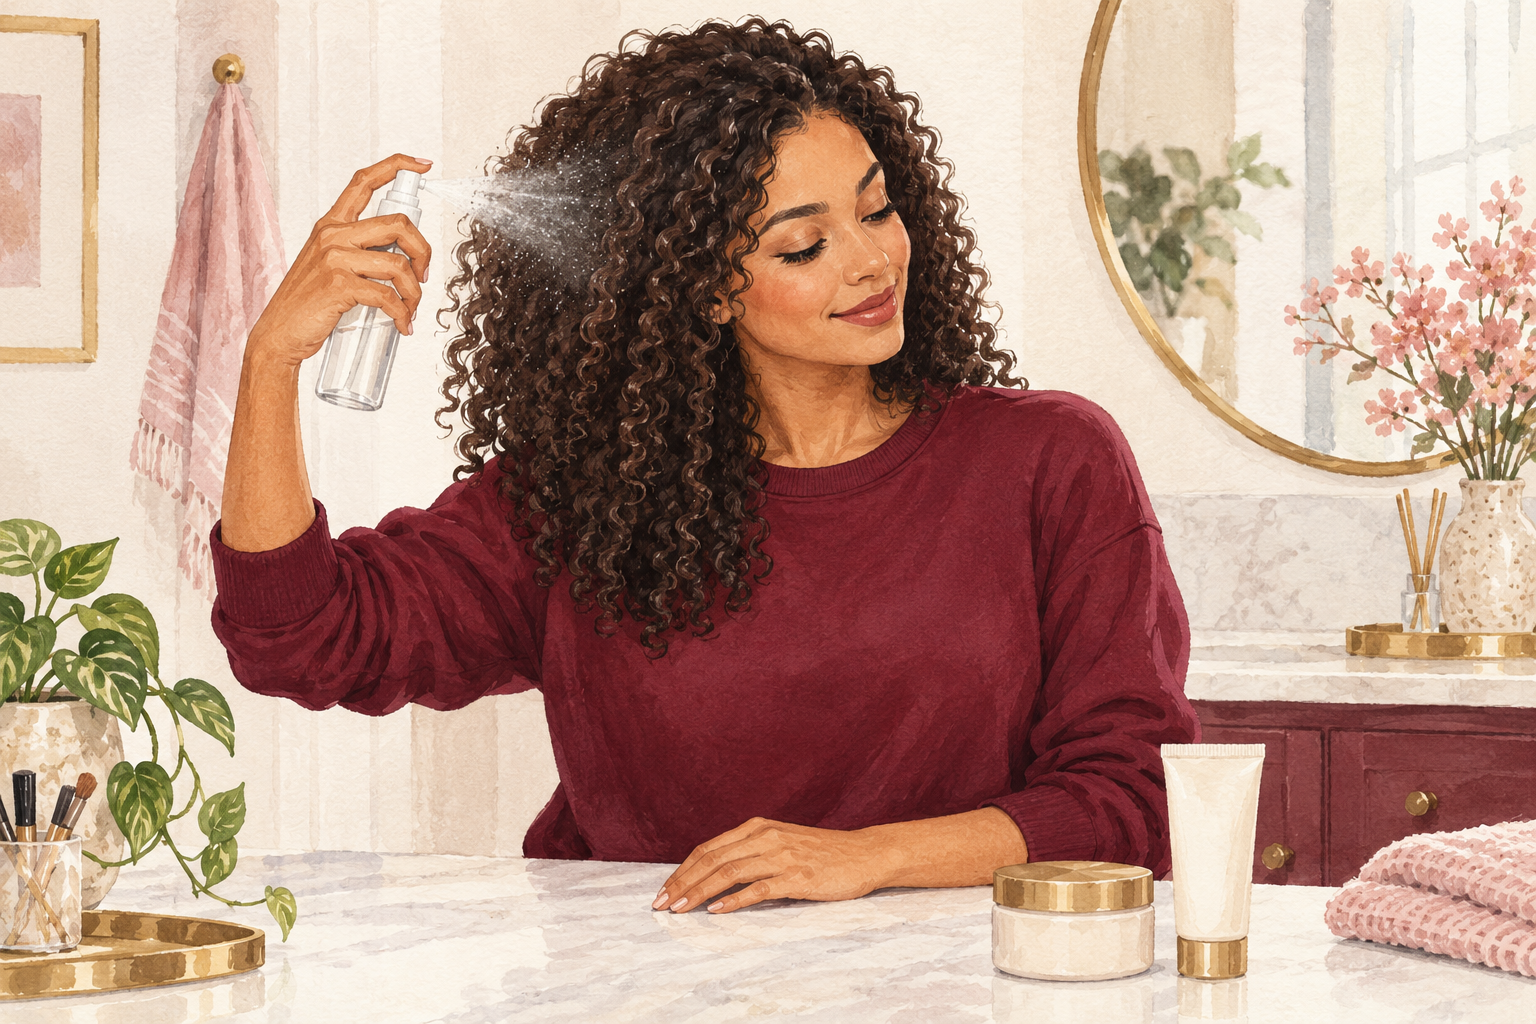
Mist the frizzy sections lightly and press a tiny bit of cream over them with your palms. Layering gel on dry hair just builds flakes and weight. Water wakes the curl, and a pea of cream seals it for the afternoon. Do this on day two or three, not every hour. Spray from arm’s length so the mist lands softly, and press the curls upward to shape them. If you are out, even a wet palm smoothed gently over the top gets rid of the worst of it. Keep a little bottle in your bag for those days, and refresh the back first, since it frizzes the most.
11. Protect your curls overnight

Gather your curls in a loose pineapple on top of your head and sleep on satin, either a pillowcase or a bonnet. Cotton pulls moisture out of your hair and rubs the outer layer rough while you toss and turn, so you wake up fluffy before the day begins. Use a soft scrunchie, not a tight elastic, and do not wrap it more than once. On refresh mornings, shake the curls out and mist them. Washing your pillowcase every week also helps, because old product on it dries the hair. It is the easiest fix on the list, and the one most people skip.
12. Give each change three wash days
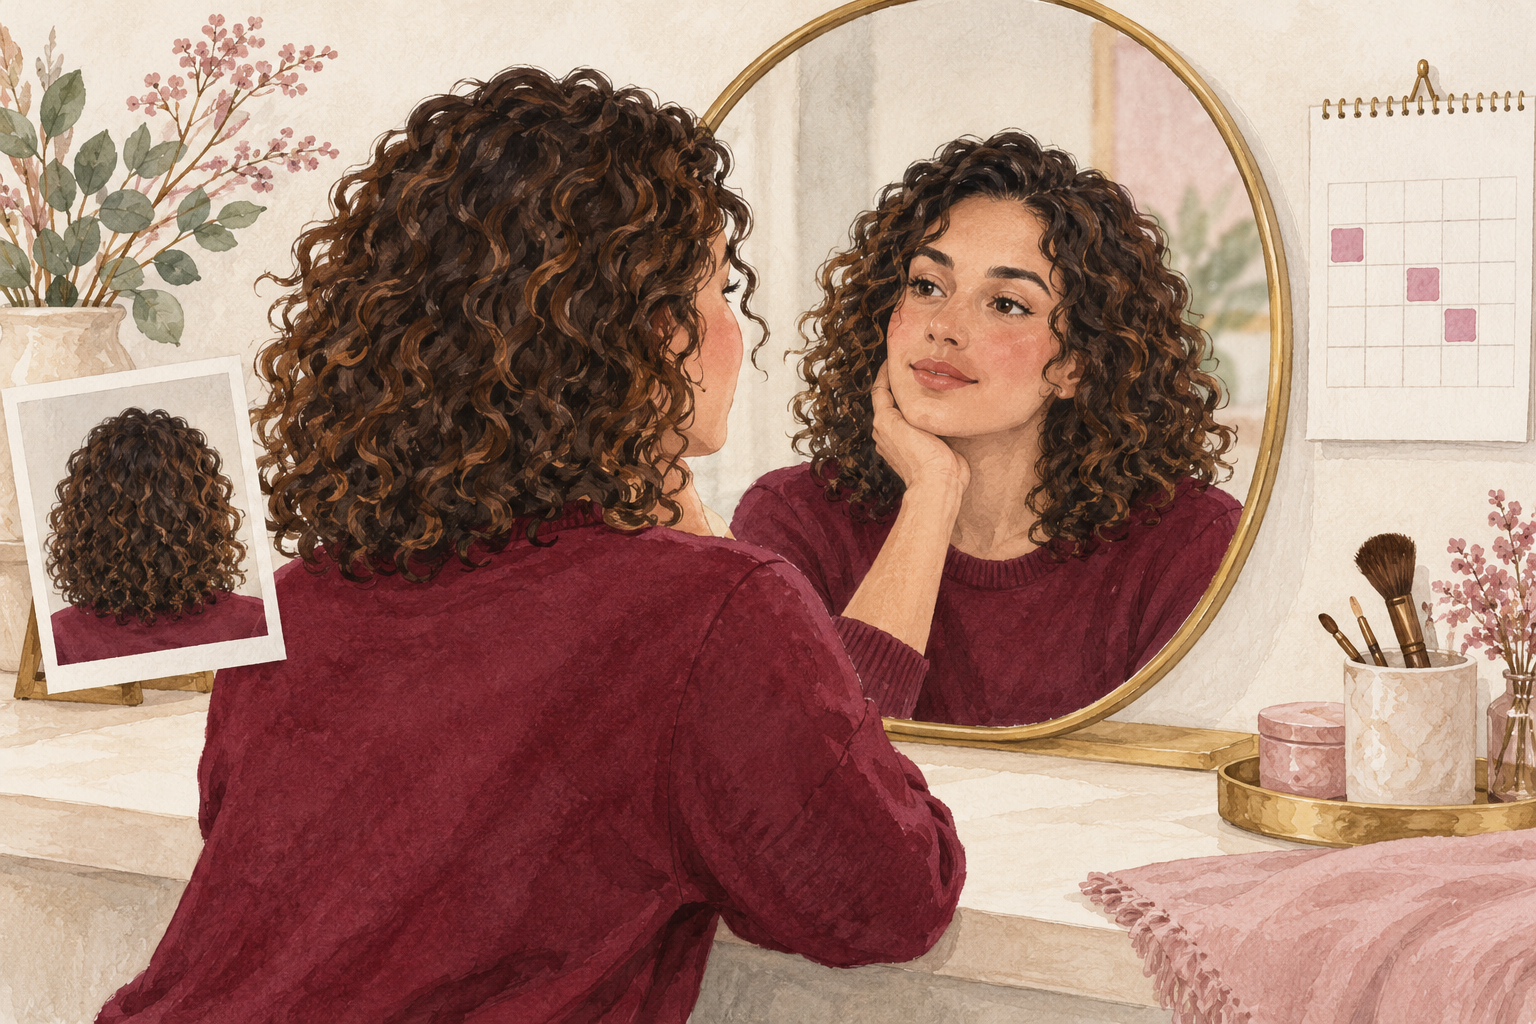
Change one thing per wash day, and wait three washes before you decide if it works. In the first week you will likely notice softer curls and less fluff at the ends. By week four the clumps hold together longer and the halo shrinks. By week eight the frizz is calmer on damp days, though curls are never glass smooth, and that is fine. Take a photo at the same spot each Sunday, in the same light, so you can compare week to week. A no frizz curly hair routine builds slowly. If you change four things at once, you will never know which one helped, and you may undo the one that did.
Complete the Routine: Your No Frizz Curly Hair Routine for This Week
Tonight, try numbers 1 and 3, and set a pillowcase aside for number 11. Next, read about the curly hair routine products to pick from, and the easy curly hair routine for wash days.