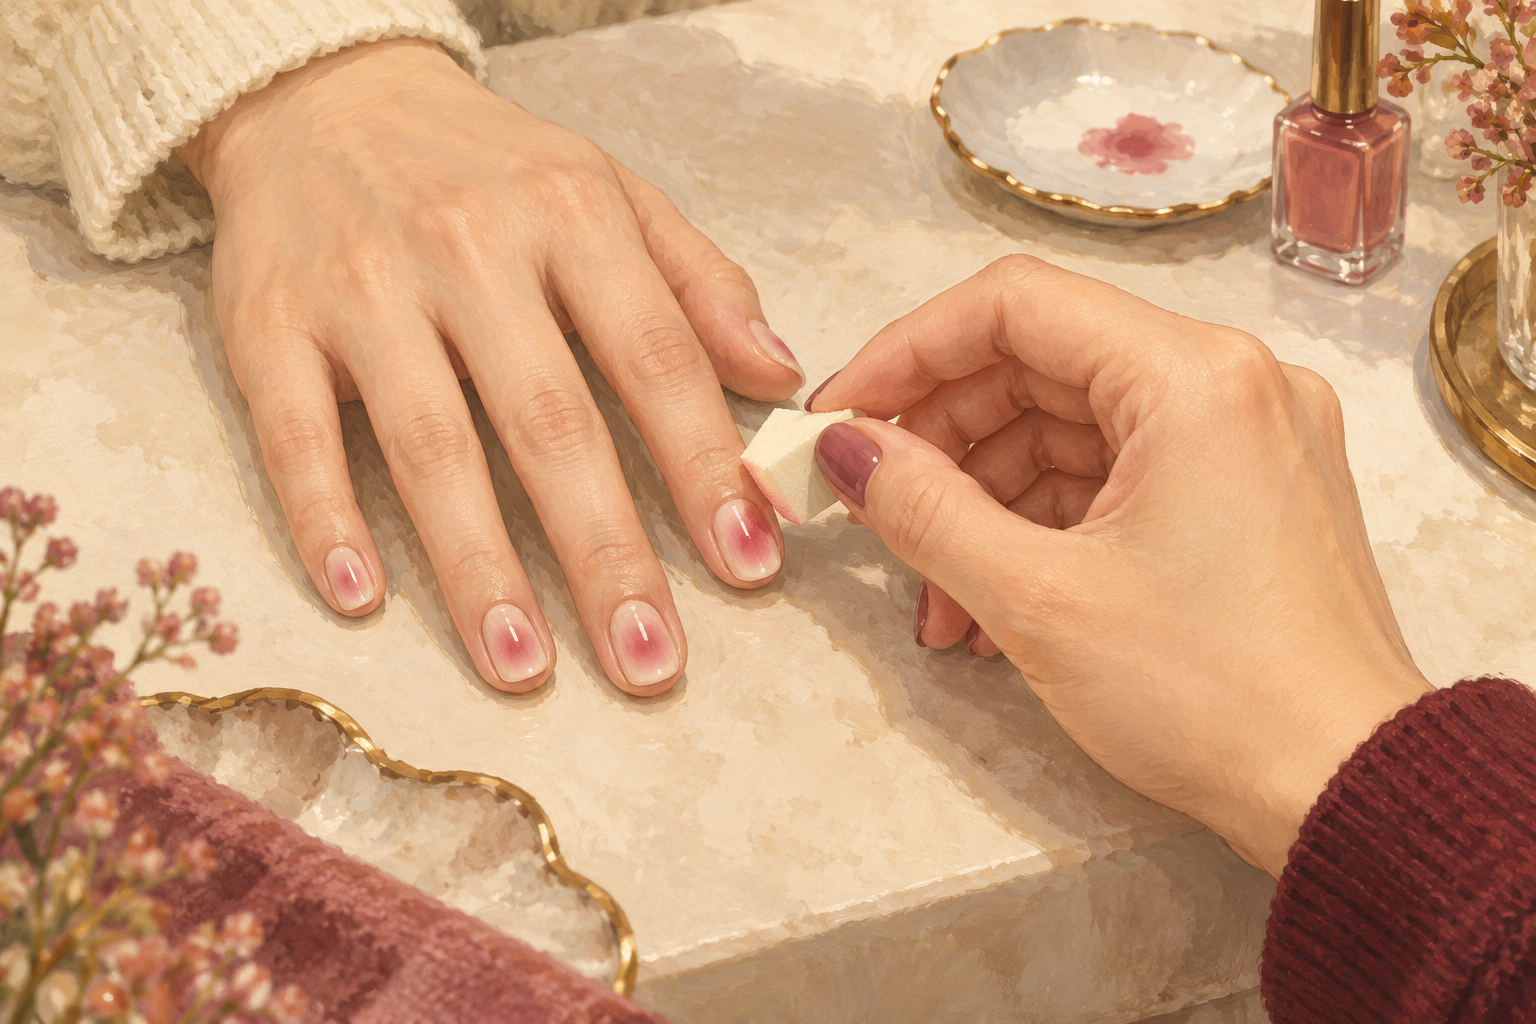
You saw those glassy, candy nails that look like a gummy sweet, tried the same polish, and got streaks with bald patches. Jelly nails are all about sheer color stacked slowly until it glows. Here is how to do jelly nails in 12 easy steps, with a glossy finish and no stripes, so start at number one.
1. Pick sheer colors and gather your tools
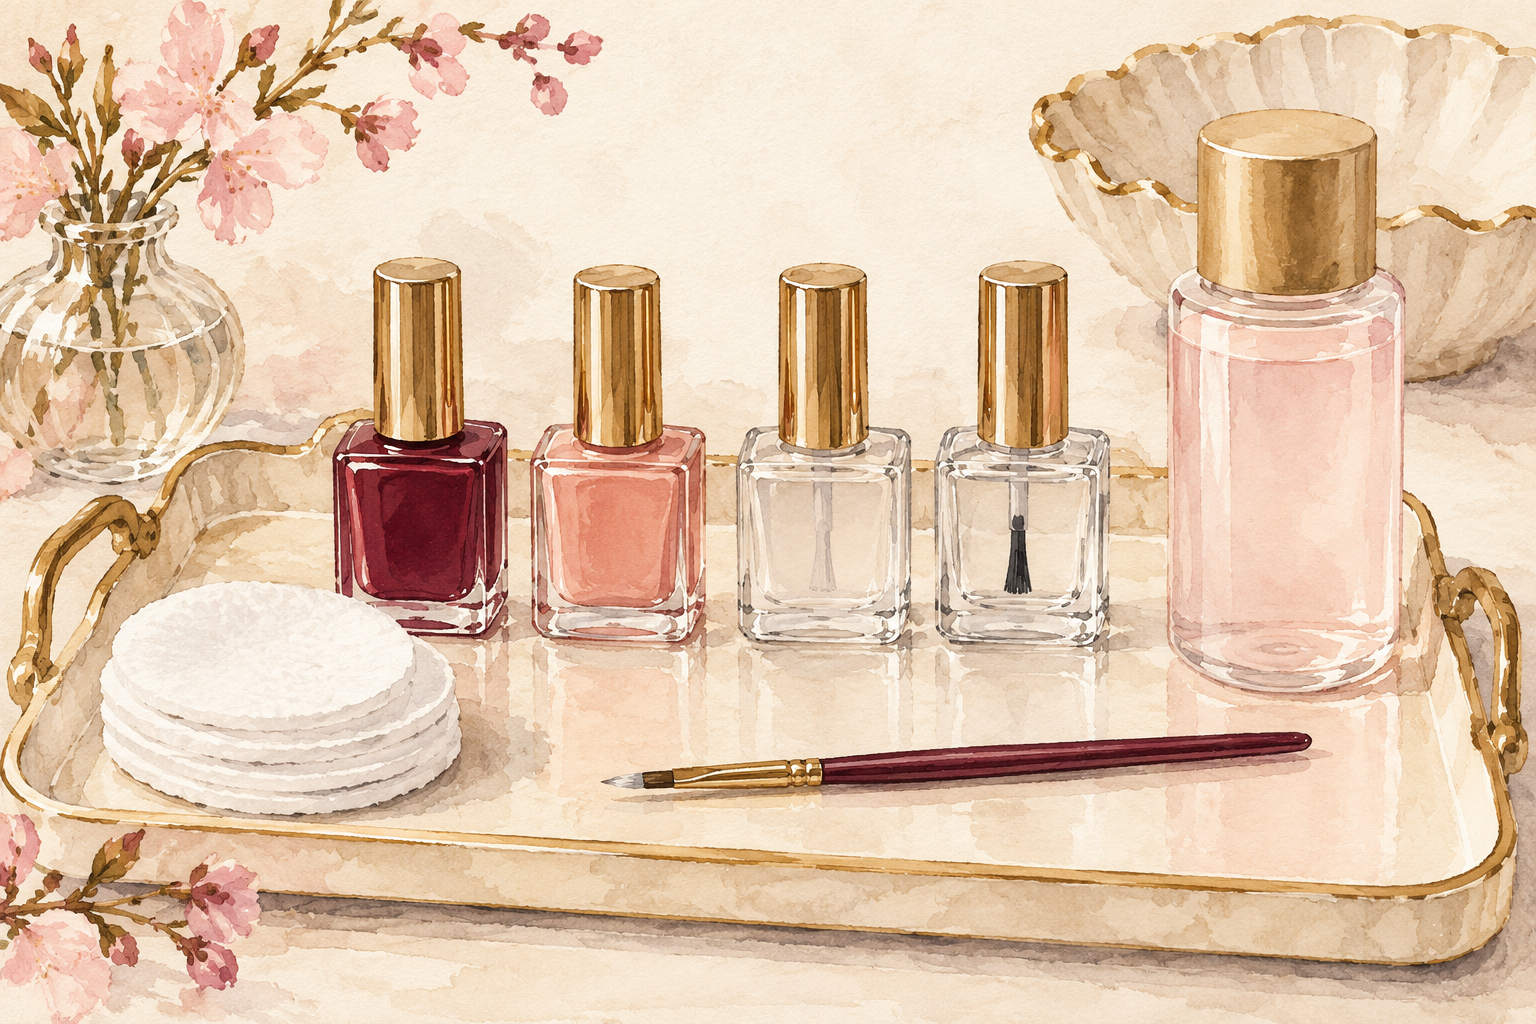
Choose one or two sheer polishes, such as cherry red, peach or a soft pink, and set out a clear base coat and a glossy top coat. Jelly polish looks see through in the bottle, and that is the whole point. Add a pack of cotton pads, a small brush for cleanup and a bottle of remover. Put everything on a tray so nothing is out of reach while the polish is wet. If you have only opaque polish, add a drop of clear polish and stir to thin it. Shake each bottle gently, not hard, so you do not make bubbles. Wipe each bottle neck so the brush glides smoothly.
2. Shape and smooth your nails
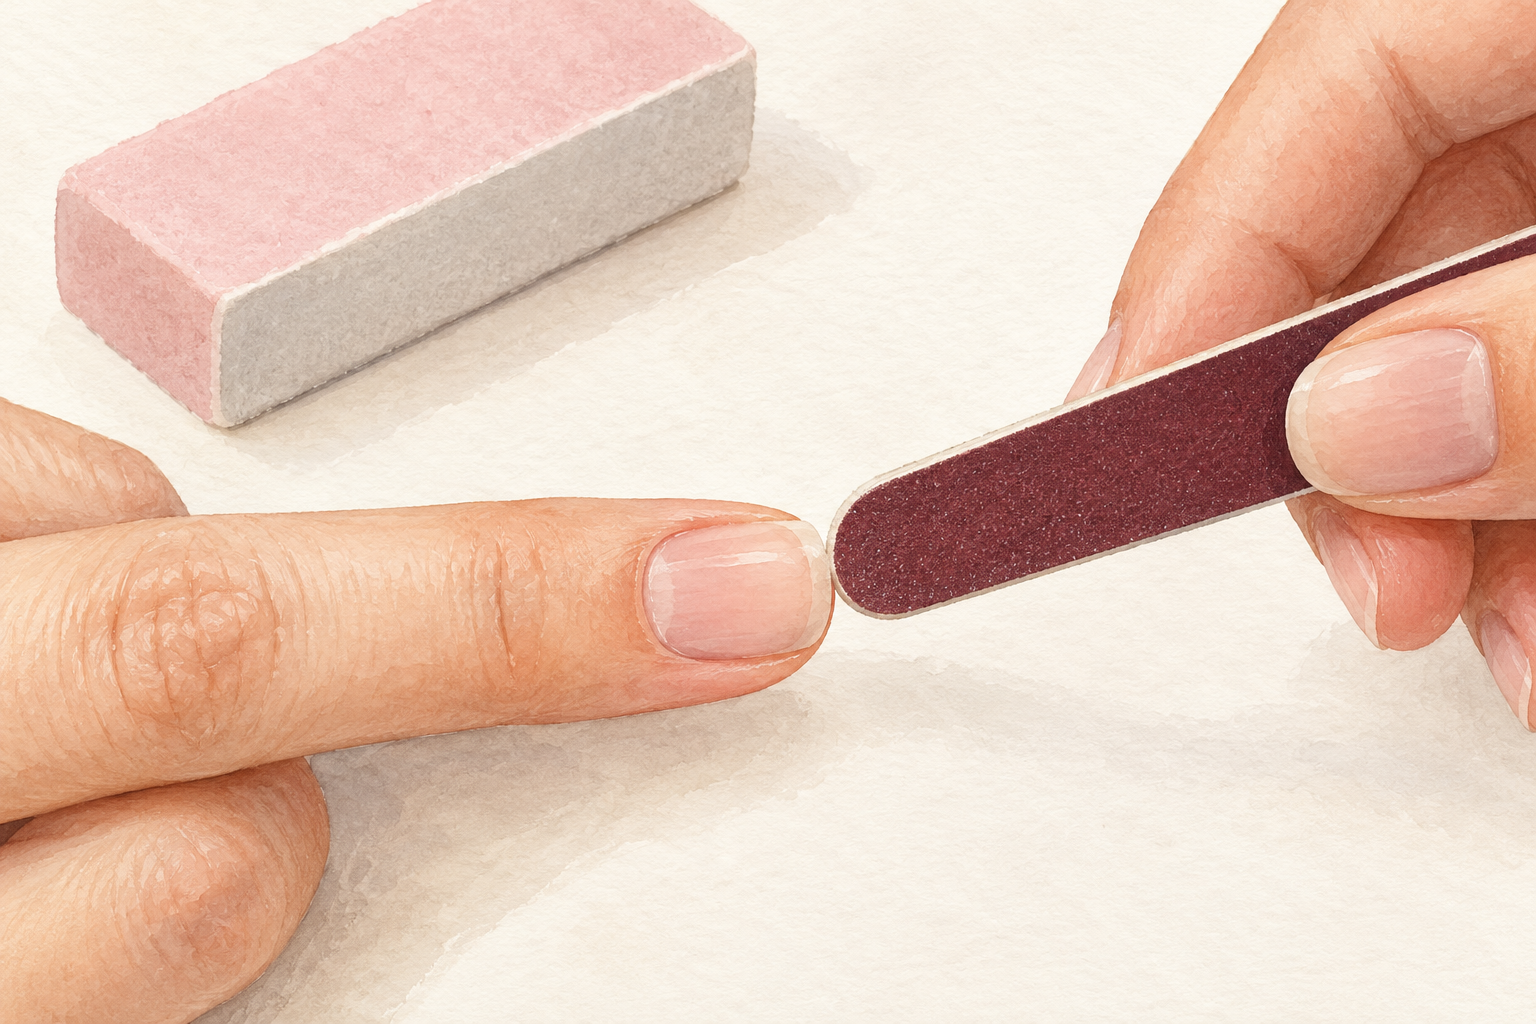
File your nails into a short square or oval and buff the surface until it feels completely smooth. Jelly polish is see through, so every ridge shows right through it. Buff lightly in one direction for about five seconds per nail, then wipe off the dust with a dry cotton pad. Push your cuticles back gently after a shower, when the skin is soft. Short, even nails make jelly look juicier, because the shine travels across a clean, smooth surface. Wash your hands and dry them well before you move on. Round off any sharp corners with two light passes so the polish does not catch on them.
3. Apply a clear base coat and let it dry
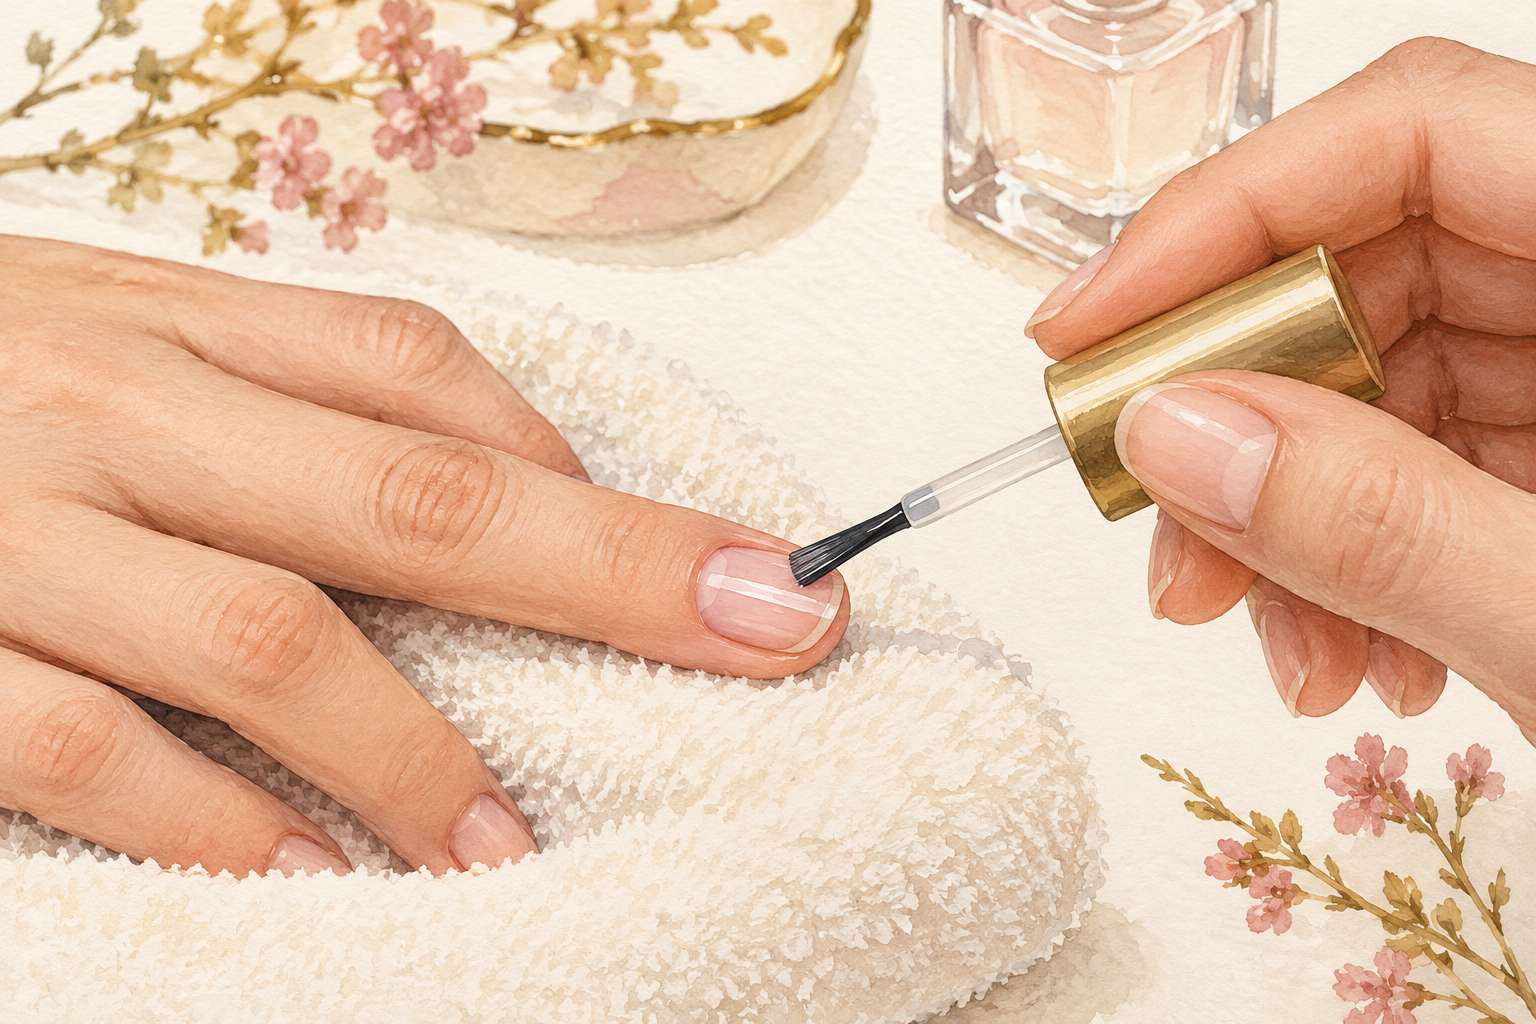
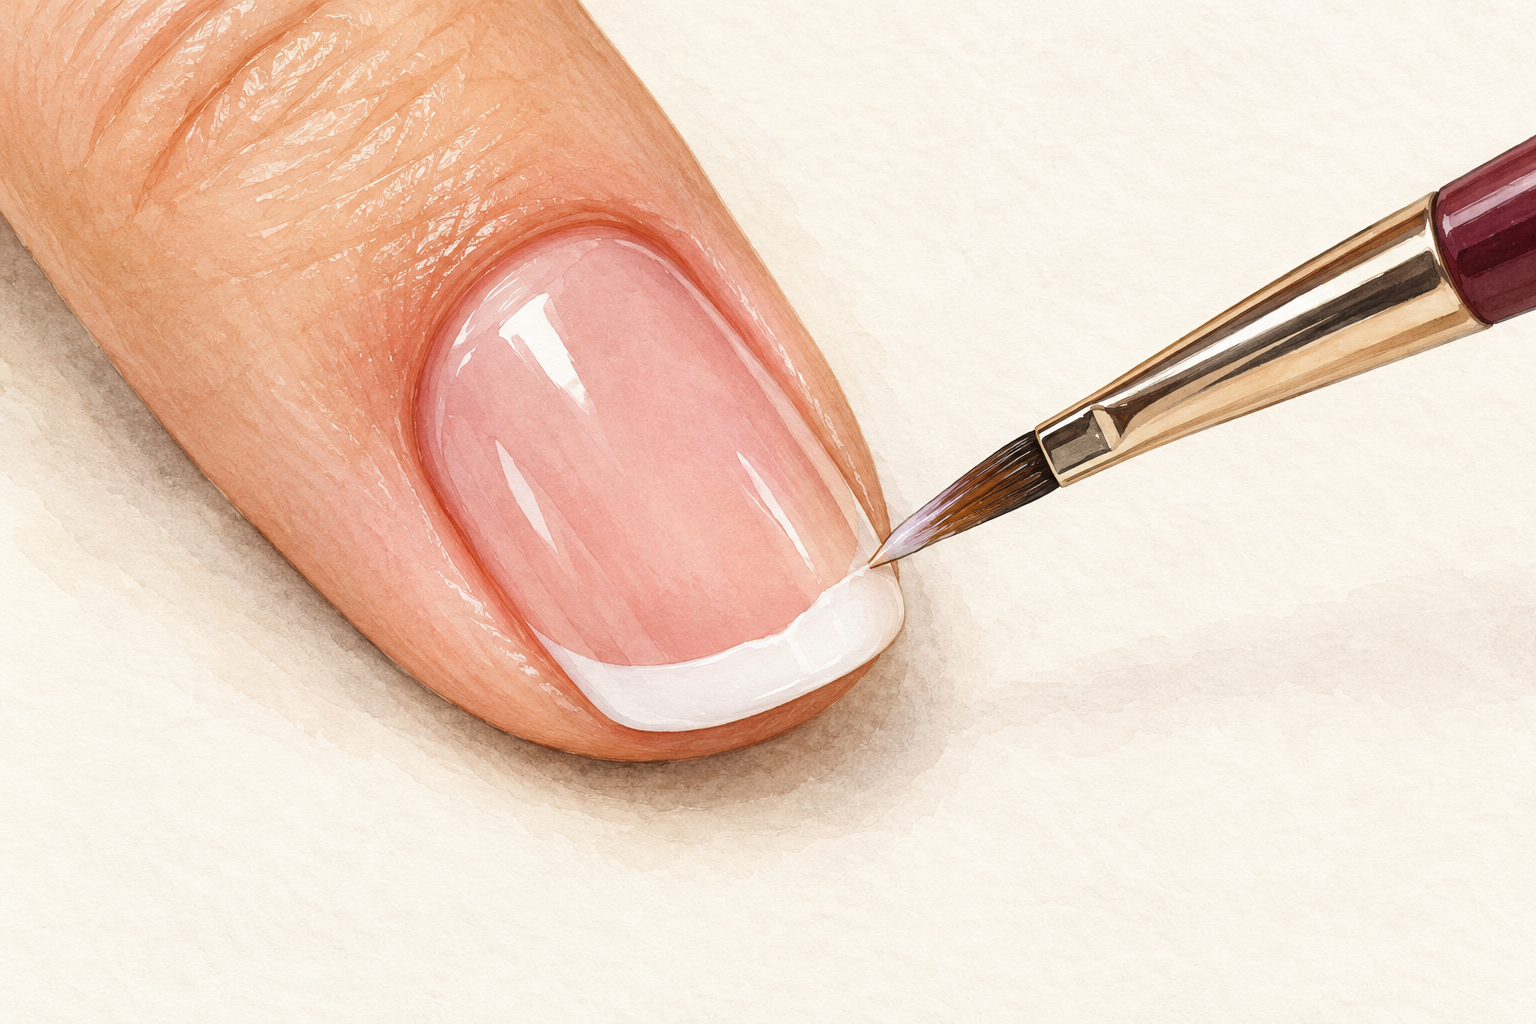
Brush one thin coat of clear base over each nail and wait two minutes. The base stops sheer color from staining your nails and gives the jelly something smooth to cling to. Cover the whole nail and cap the free edge with a quick swipe. A rushed base is where streaks begin, because wet layers drag when you stack them. Touch the very edge of one nail to test, and if it feels tacky, wait another minute. If dust has landed on a nail, lift it off with a dry cotton pad before the next step.
4. Paint a very thin first coat
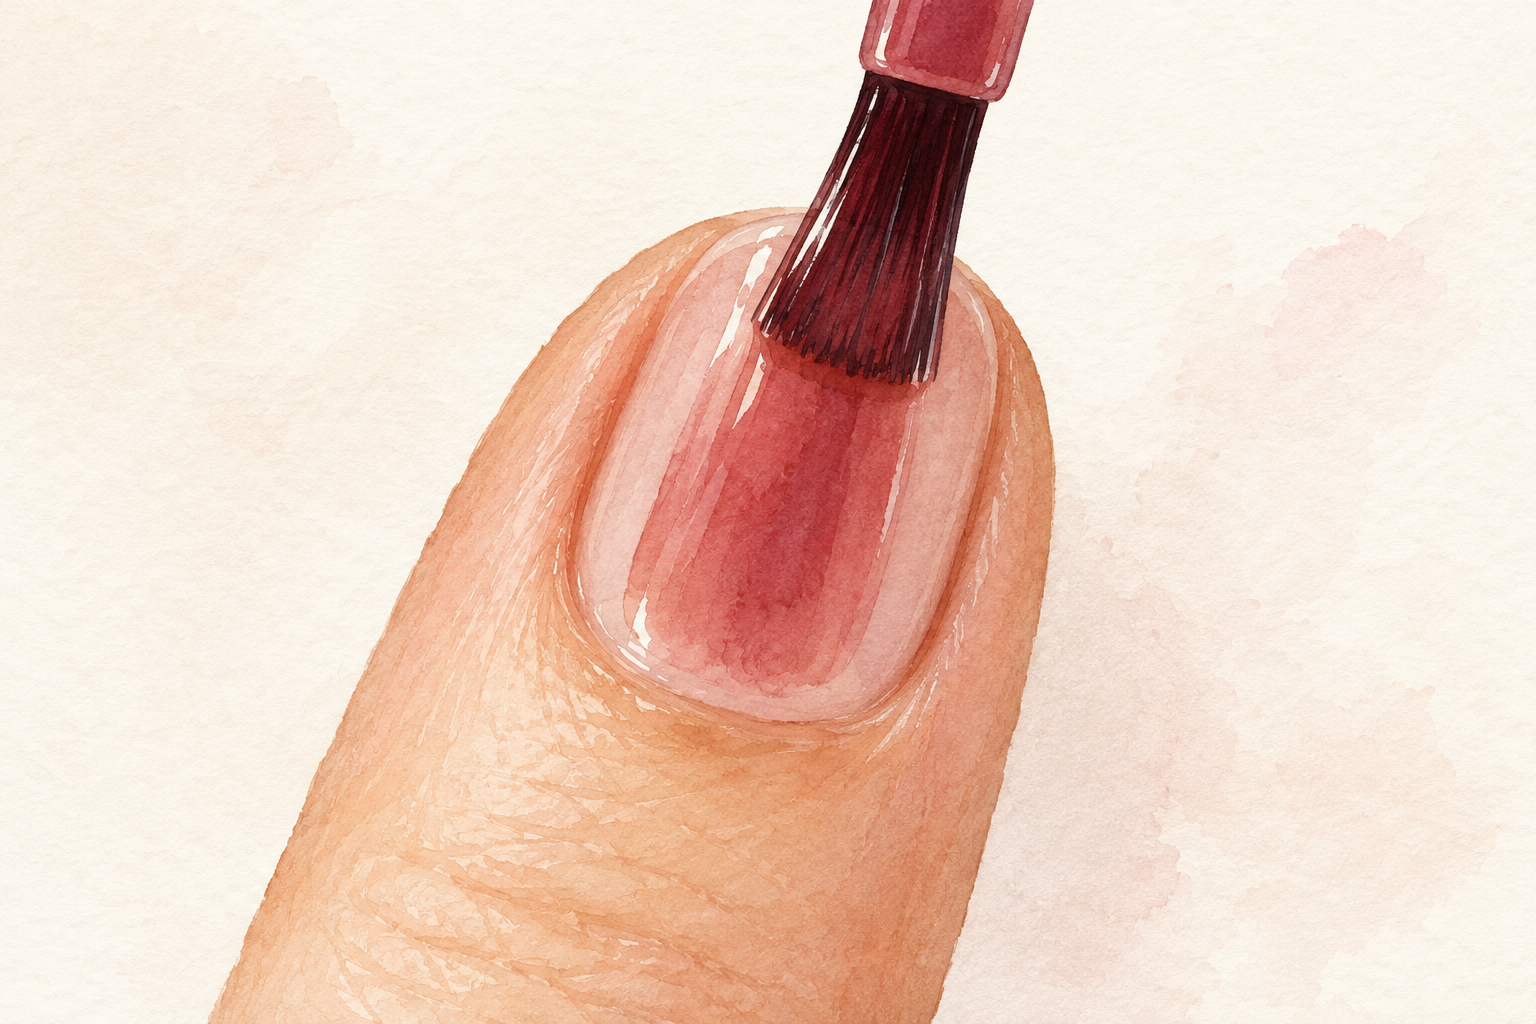
Wipe most of the polish off the brush on the bottle neck and paint one whisper thin coat. Start in the middle of the nail, then do the two sides. The nail will look patchy and streaky at this stage, and that is normal. Do not go back over wet spots, because that is how streaks are made. Sheer color builds through patience, not pressure. Leave this coat to dry for three full minutes. Hold your hand under a lamp to check whether it has dried evenly. Keep the polish off your skin as much as you can, but do not worry about small slips.
5. Stack your layers slowly
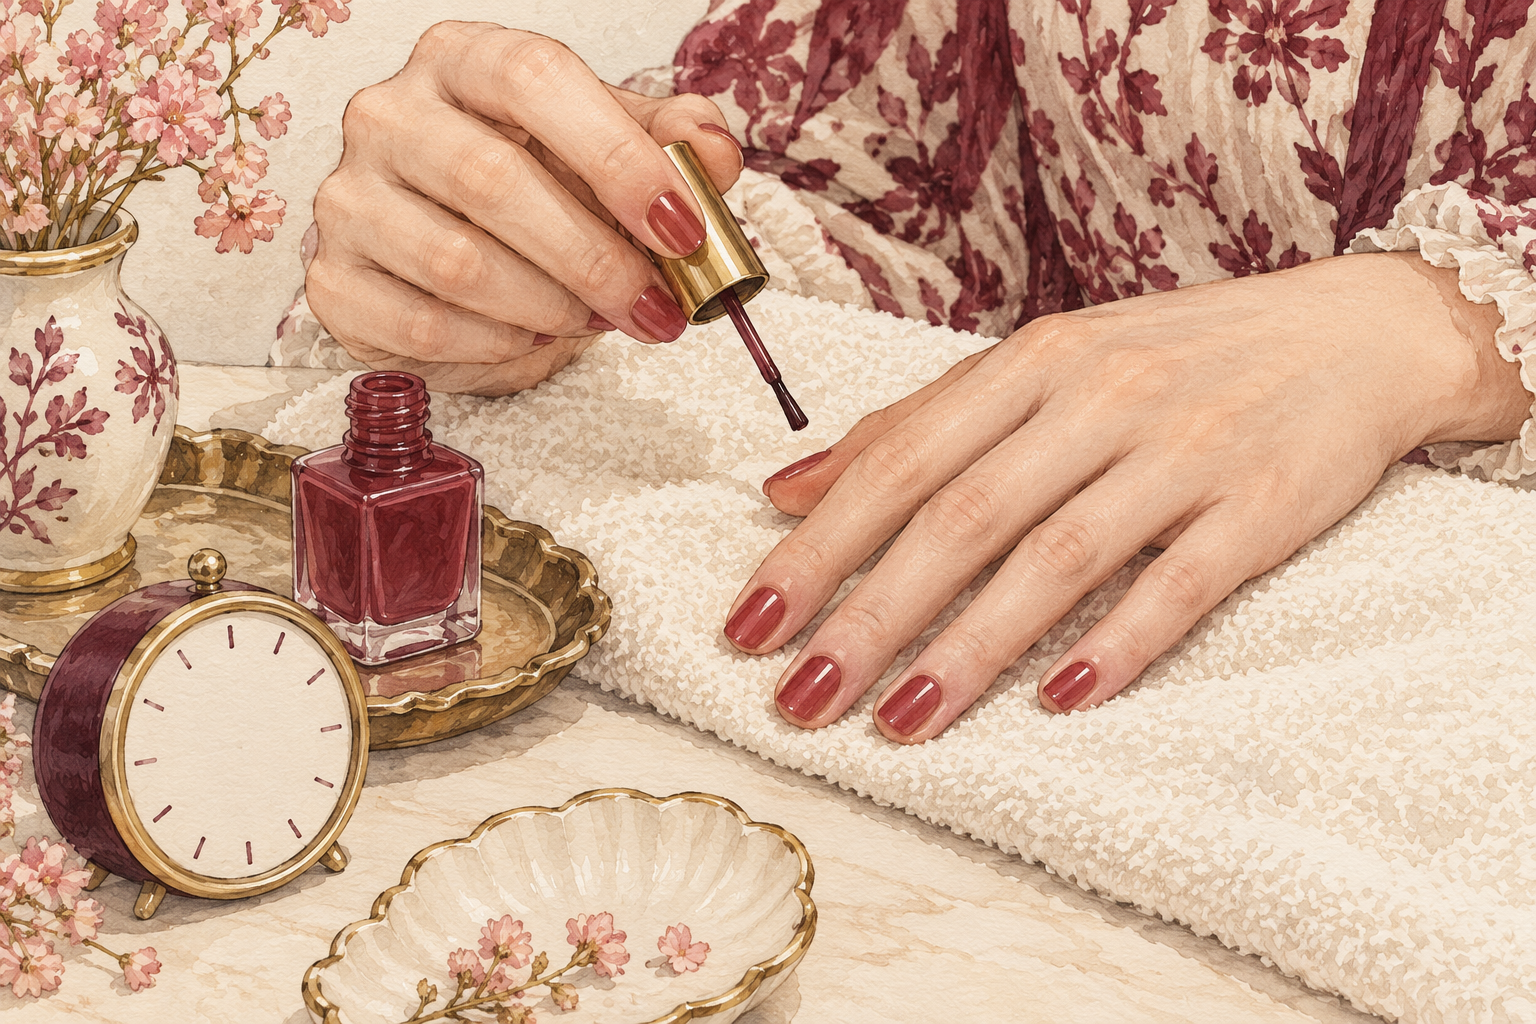
Add a second and third thin coat, waiting three minutes between each. Each layer deepens the color a little, like a glass of juice getting darker as you pour more in. Stop when the shade looks the way you want it to look, and not a coat later, because too many coats turn jelly cloudy and thick. Brush in three strokes, one down the middle and one on each side, and do not touch up the first stroke. Most sets need three coats in total. Keep the brush loaded lightly each time. If the third coat looks too dark, stop there and let the top coat do the rest.
6. Try a pale base for a milky jelly
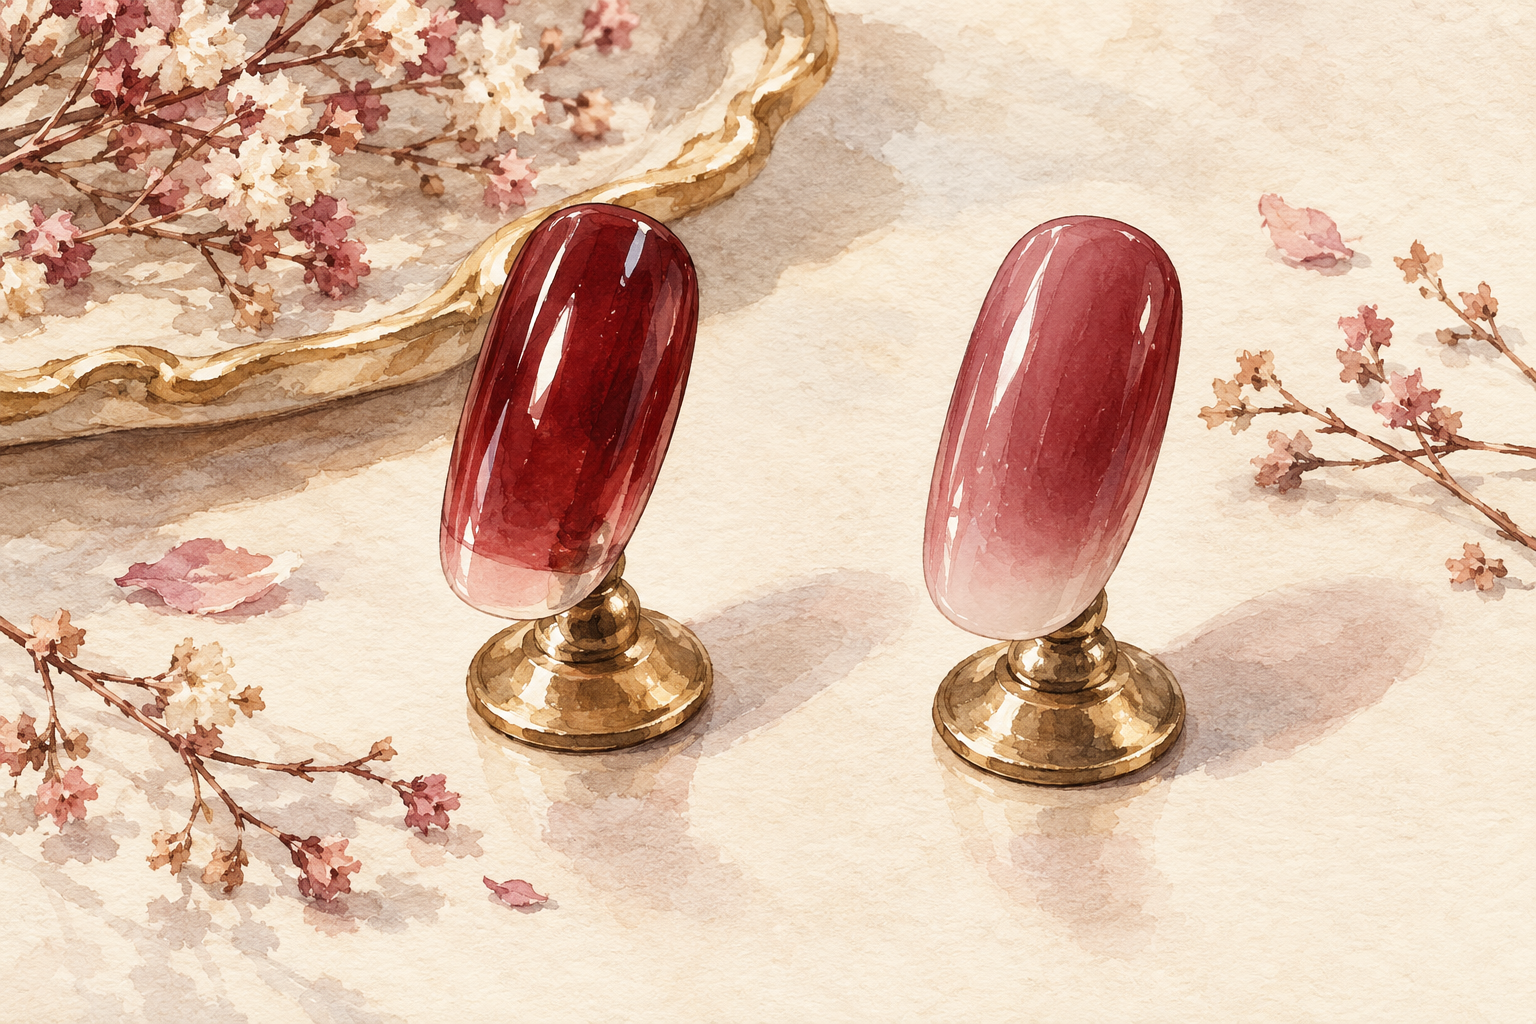
For a soft, milky jelly, paint a sheer white or a very pale nude first and stack the color on top. The pale layer hides your natural nail tone and gives the jelly a candy glow. Use two thin coats of the pale shade and let both dry fully before the jelly goes on. Without it, the color shows the white tip of your own nail through the polish. Test the look on one nail before you do all ten. A pale base is the trick behind most of the sets you see online. Skip it if you love a clear, see through look. Soft milky looks sit near the blended style in how to do aura nails, if you enjoy that gradient.
7. Add a thick, domed top coat
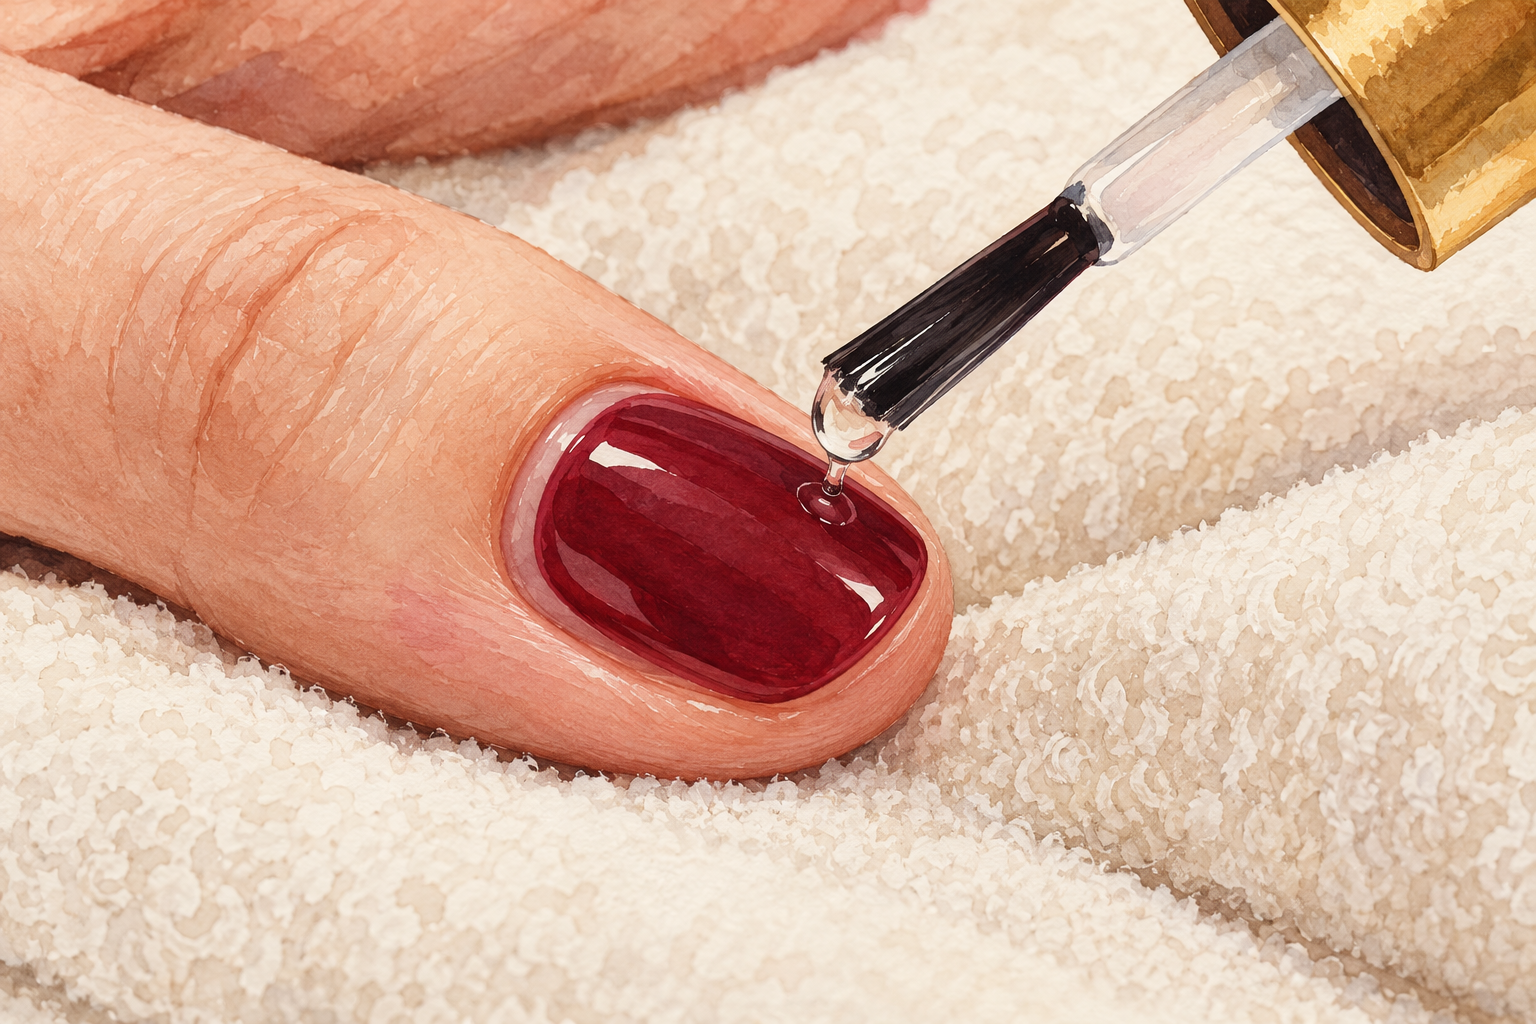
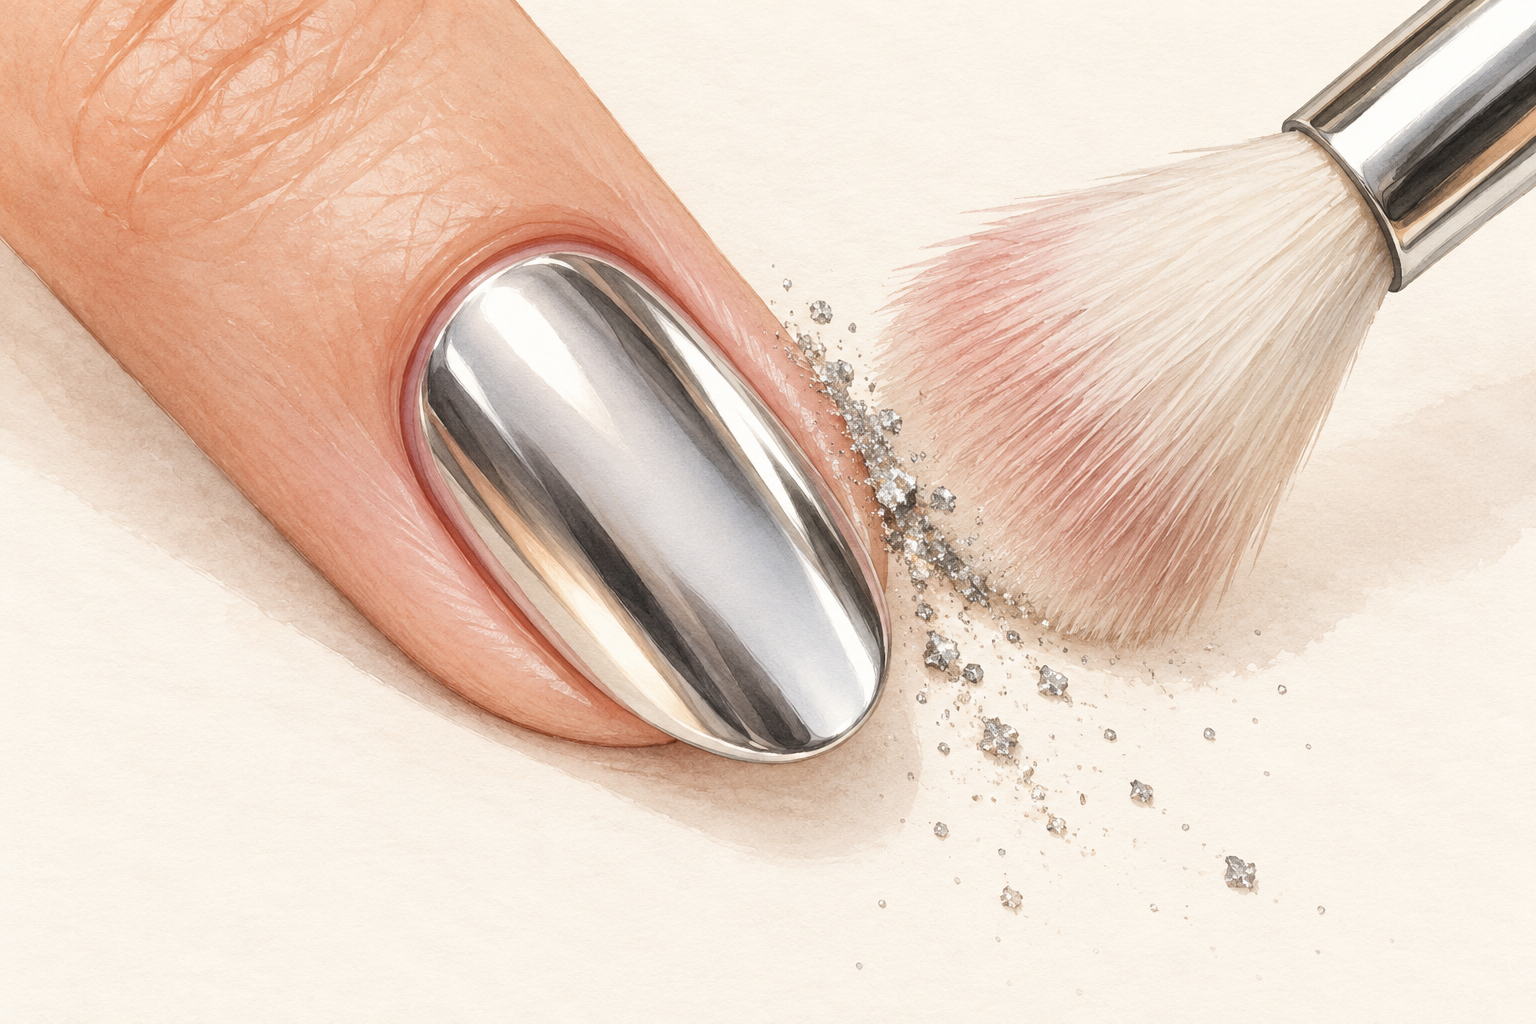
Load the brush with a big bead of top coat and float it over the nail without pressing down. The thick layer is what gives jelly its glassy, gummy look. Place the bead in the middle, nudge it toward the cuticle, then toward the tip, and cap the free edge. Let it level itself for a moment instead of fussing with it. A dome that looks too fat will settle as it dries. Do one hand at a time so the bead has time to settle without running into the skin. The bead should look like a drop of water on a leaf. That glassy finish has a mirror twin in how to do chrome nails, which is fun to try next.
8. Let it dry hands off
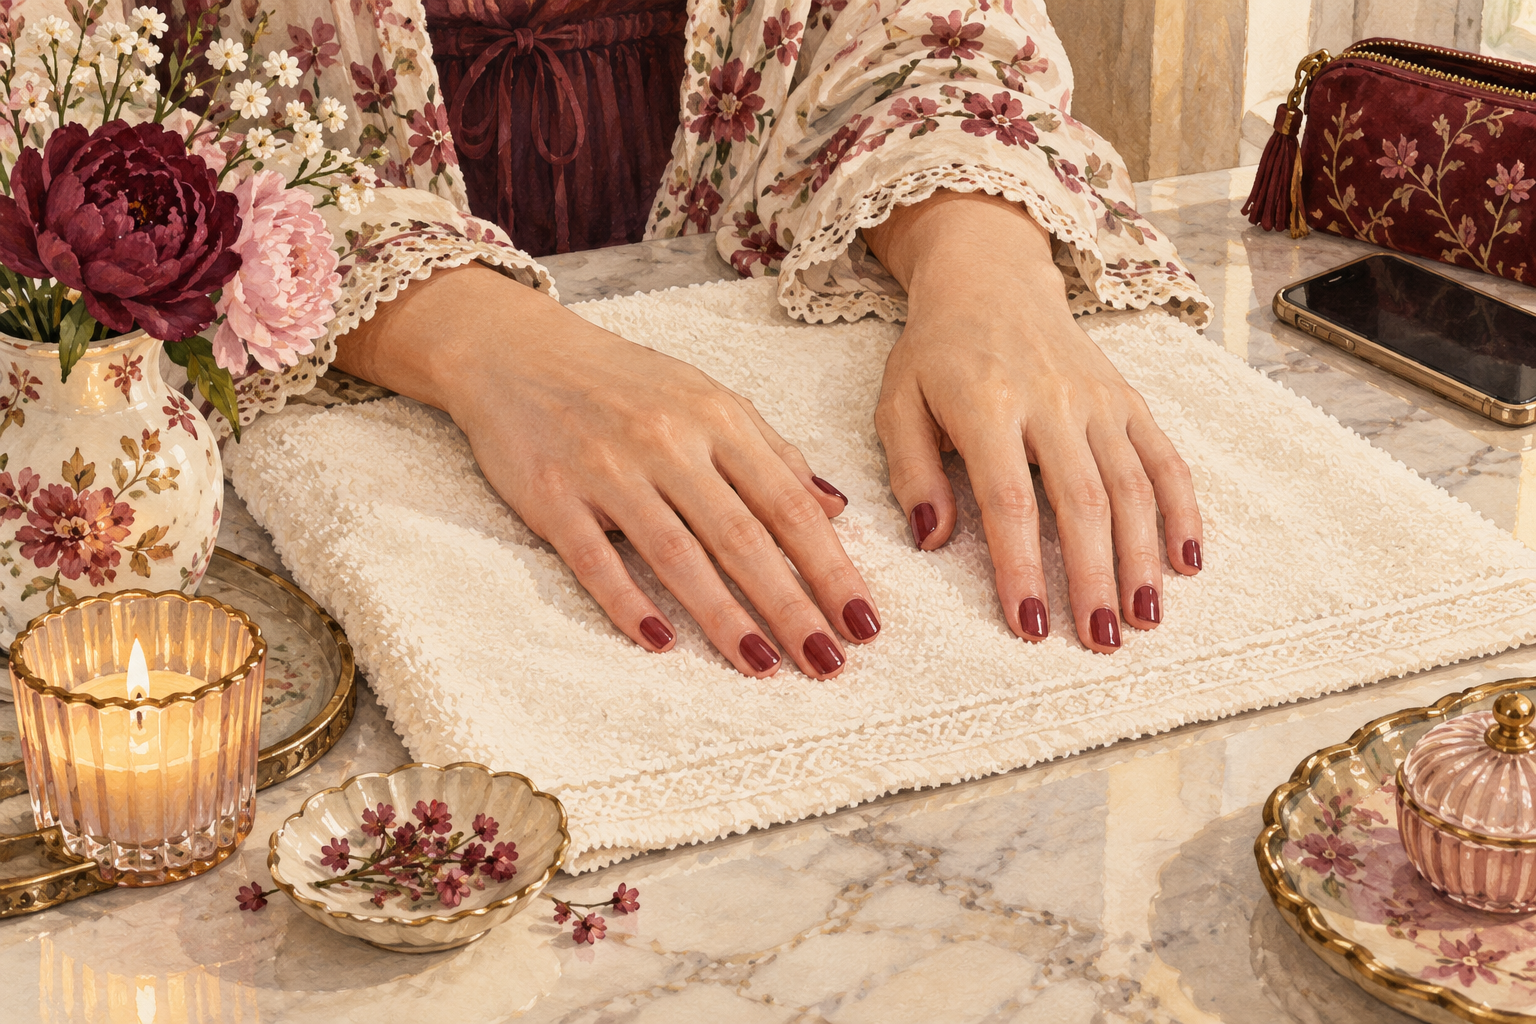
Keep your hands still for at least twenty minutes, and stay away from your bag and your phone. A glossy top coat looks dry on top long before it is dry underneath, and one dent will be there until the next manicure. Sit with your hands palm up on a towel, or hold them in front of a fan on a low setting. If you must do something, use your knuckles. Tap the very edge of one nail lightly before you reach for anything.
9. Fix streaks before they set
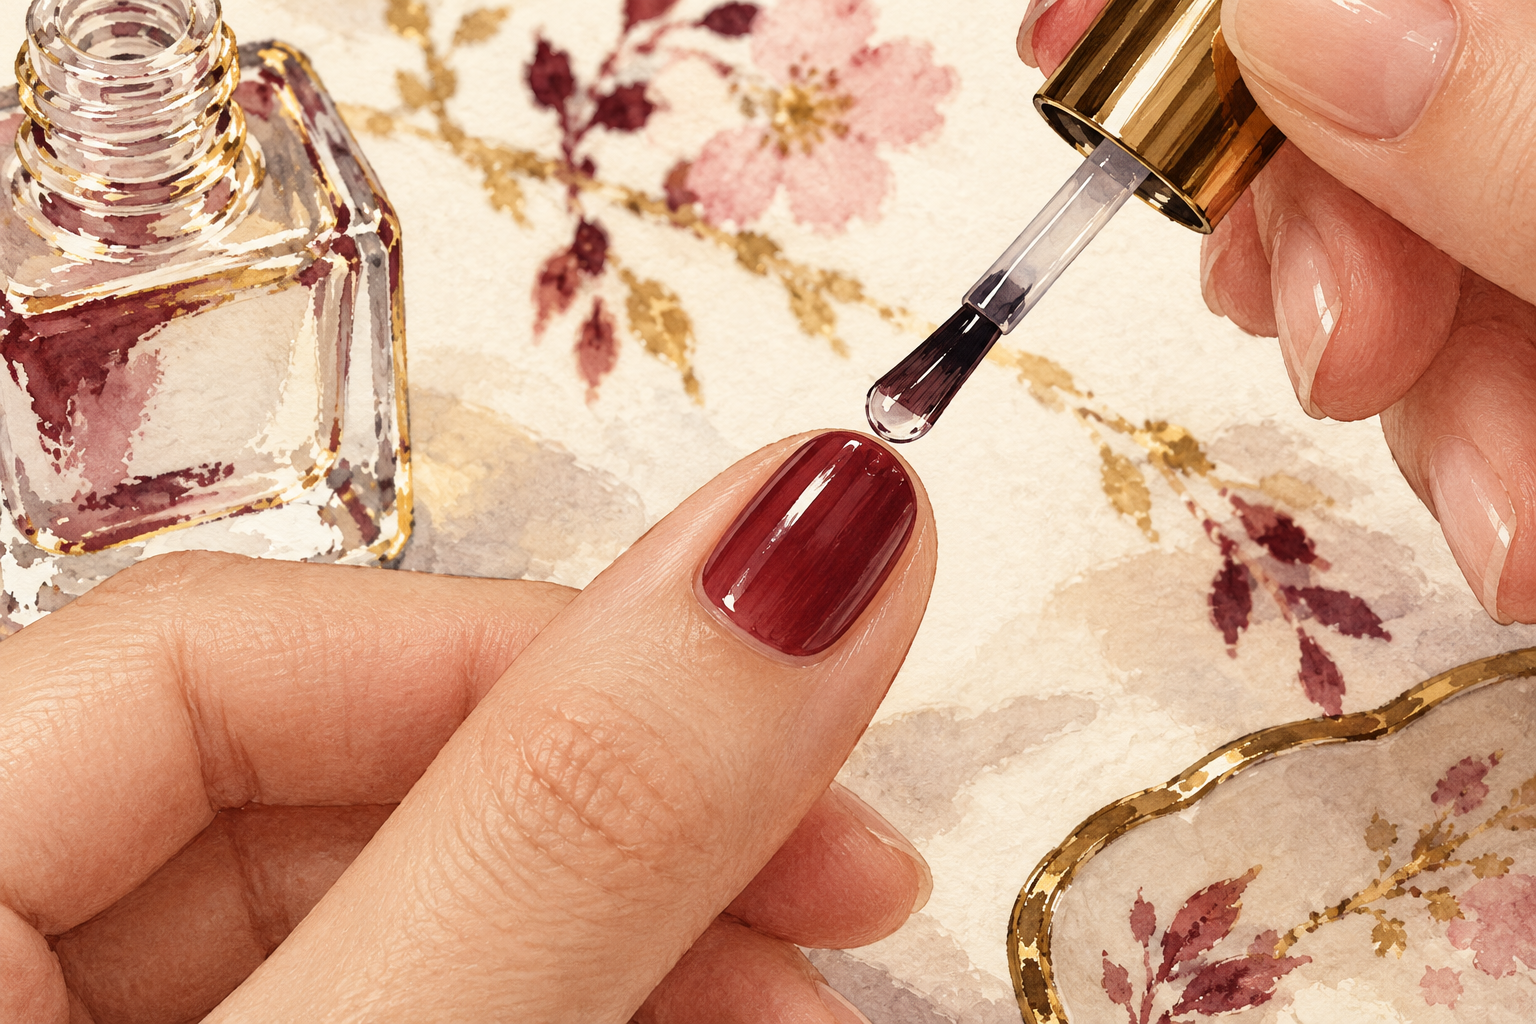
If you see a streak, float a fresh bead of top coat over it instead of brushing back and forth. The wet top coat melts the stripe into the layers below it. Do this while the polish is still tacky, and not once it has fully dried. For a deep streak, wait for the color to dry, then lay one more thin coat on top and finish with another bead of top coat. Do not scrub with remover on a nail you can still fix. Light, gentle strokes win every time. A tiny bit of patience here saves you from starting the whole set again.
10. Stop bubbles and cloudy patches
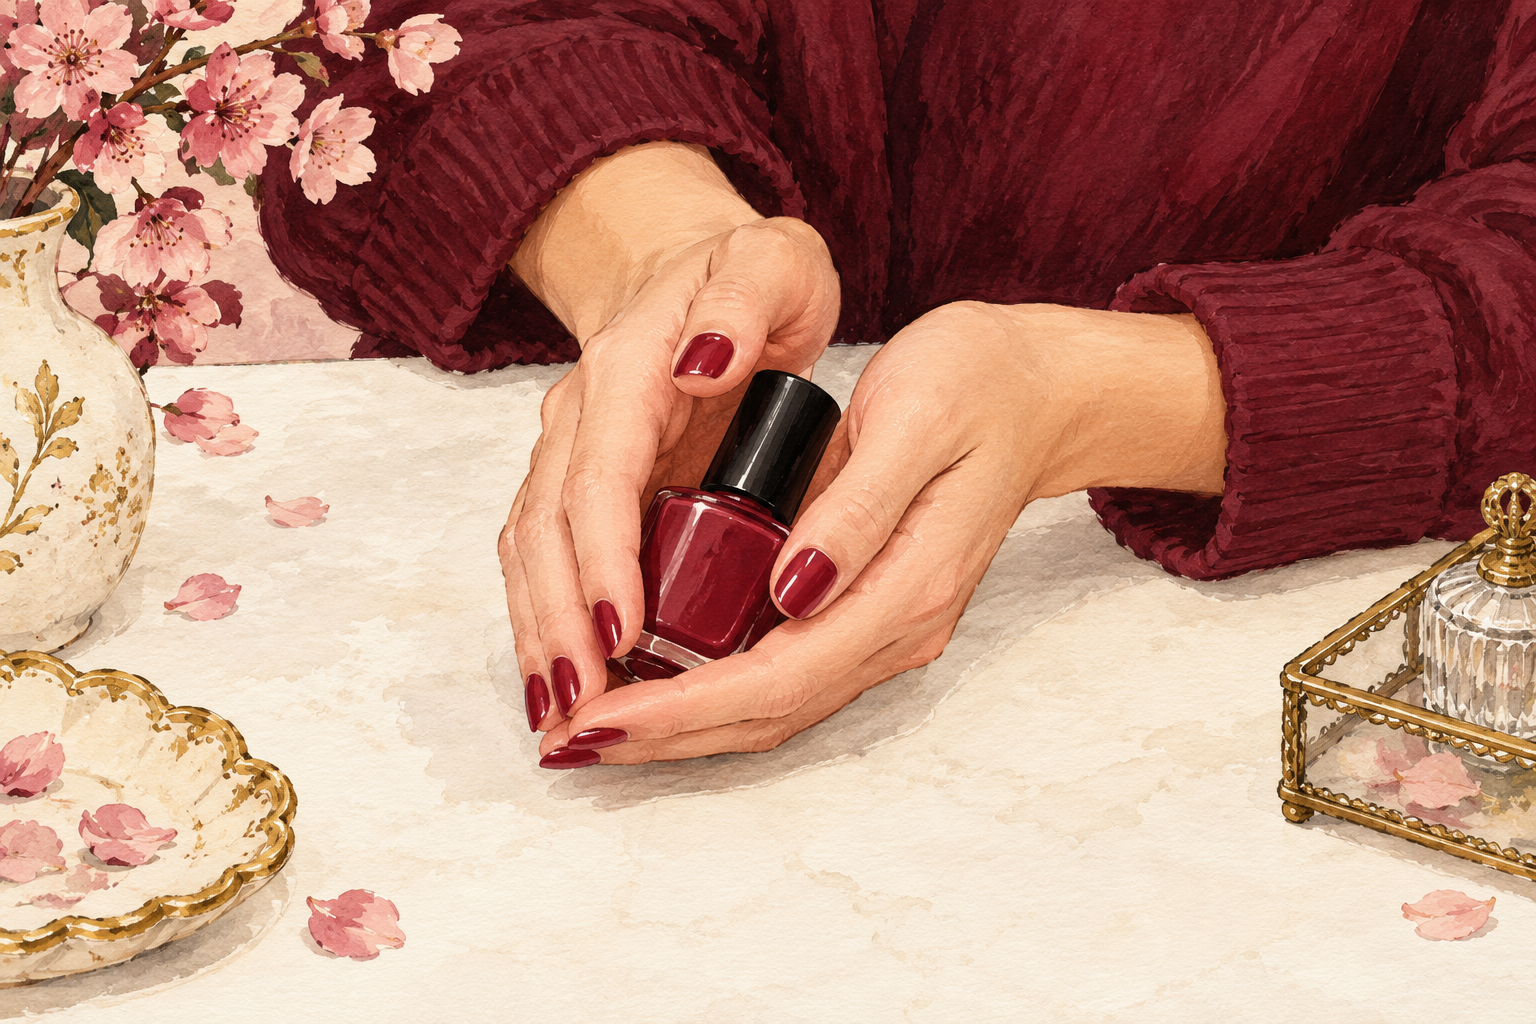
Roll the bottle between your palms instead of shaking it, and keep each coat thin. Shaking whips air into the polish, and the bubbles show up like tiny pearls in a see through finish. Thick coats trap bubbles and dry cloudy on top. If you see a bubble, tap it flat with a clean brush while it is wet. If the polish has gone gummy in the bottle, thin it with a drop or two of polish thinner. Never add remover, since remover ruins the formula. Keep the lid wiped clean at the neck, so the bottle closes tightly and the polish stays fresh.
11. Make your jelly last
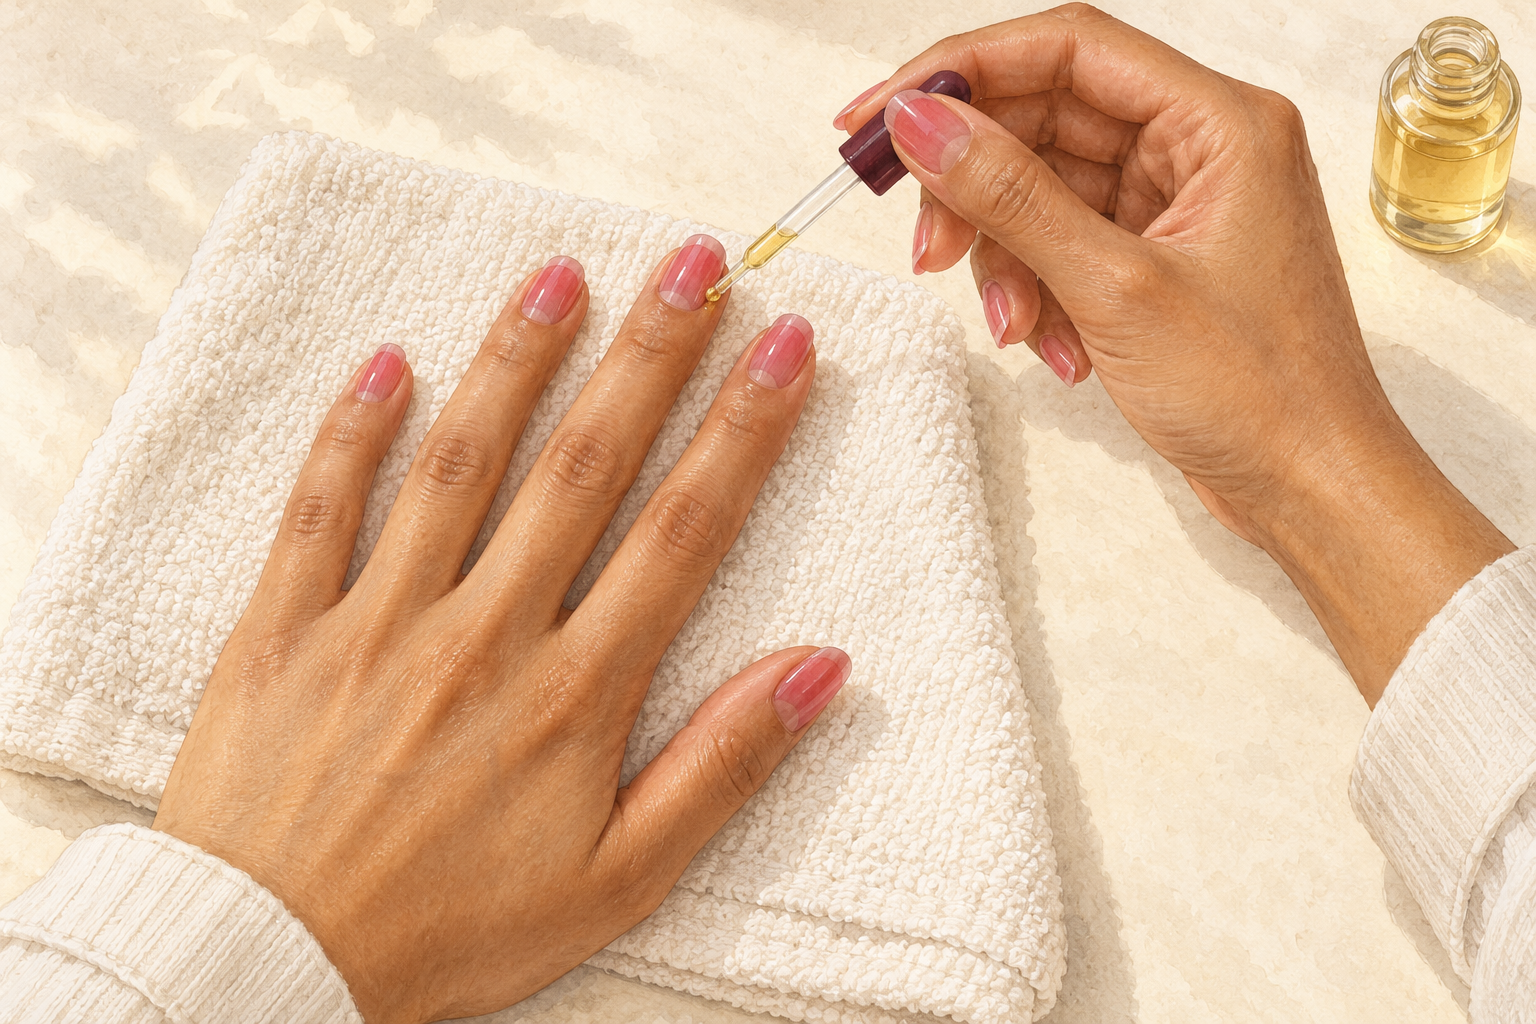
Add a fresh thin layer of top coat on day three and a drop of cuticle oil every night. Jelly shows chips more than most finishes, because there is no thick color to hide them. Cap the free edge each time you add top coat. Wear gloves when you wash up, and avoid using the tips of your nails to scrape or open anything. Most sets look glossy for about a week. Run a fingertip over the tips before you reapply, to catch any rough spot early. Give your hands a lazy evening after the first day so nothing gets knocked.
12. Try new jelly combinations
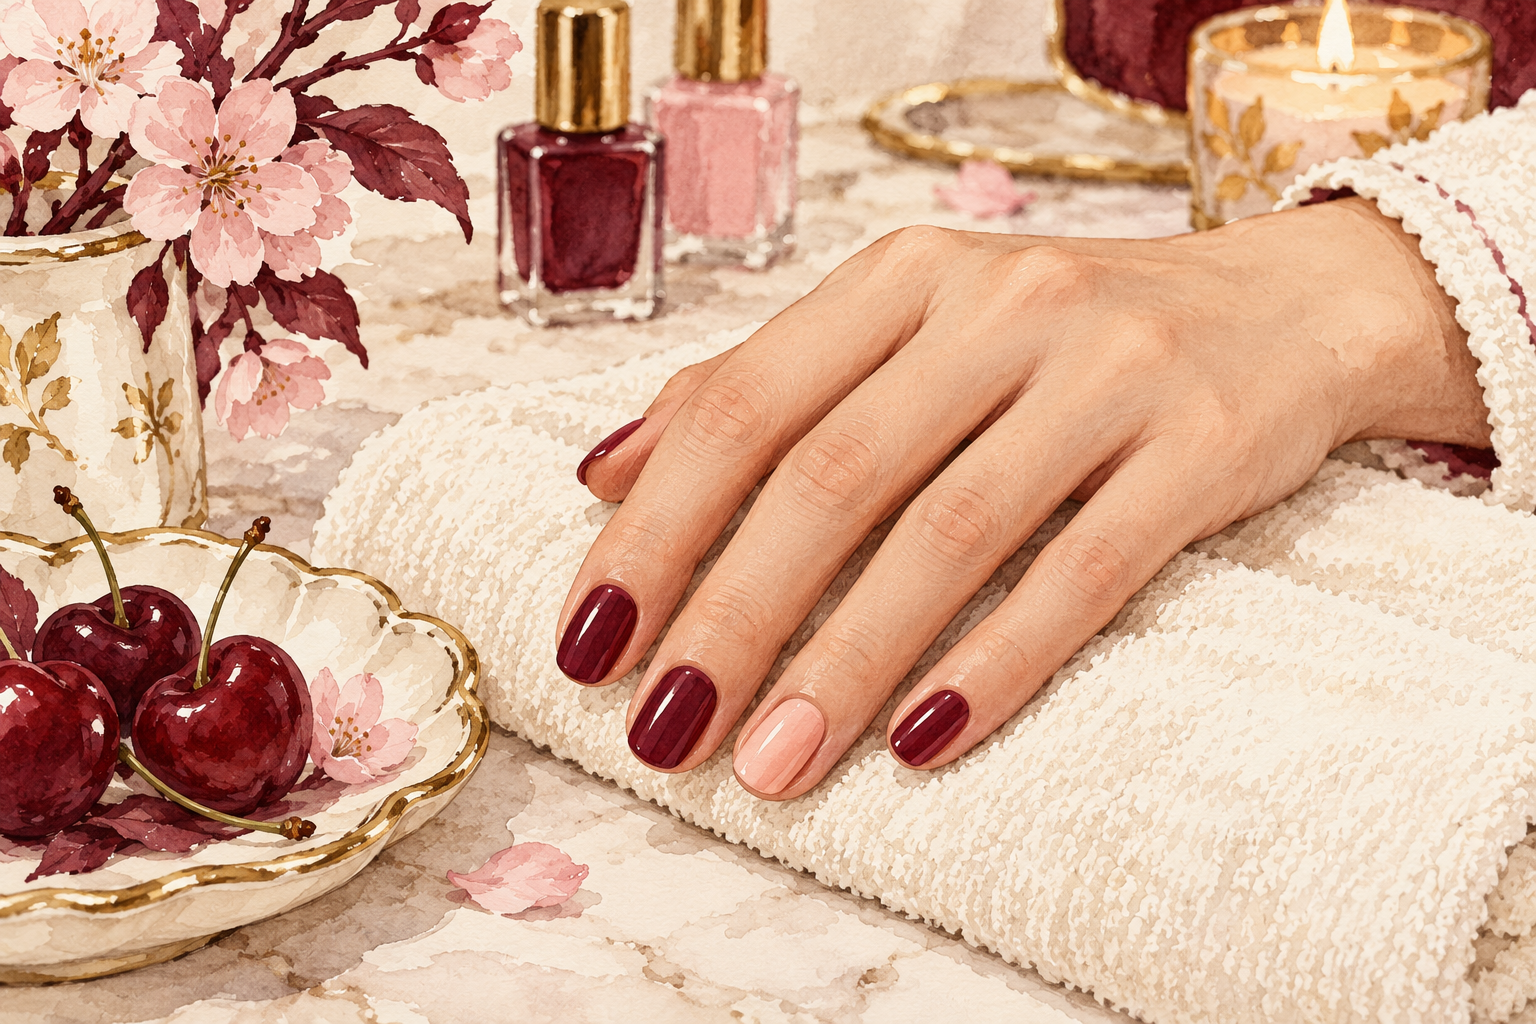
Swap in lilac, mint or cherry, or add a few gold flakes into the top coat for a fresh look. Once you know the thin coat and the big top coat bead, any sheer shade works. Paint the ring finger a different jelly color for an easy accent, or layer two shades for a soft sunset. A pale pink base under a red jelly gives a cherry candy shine. Take a photo of every set you love, so you can copy the exact shade combination next time. If you remember how to do jelly nails in one color, you can do them in any.
Complete the Look: How to Do Jelly Nails Again
Paint your weaker hand first while you are fresh, then do the other. Jelly nails feel like a treat once the base is right, so add one guide below to your list this week and enjoy the gloss.