You loved that soft, glowing cloud in the middle of each nail, tried it with a makeup sponge, and ended up with a hard ring and two muddy patches. Learning how to do aura nails is mostly about thin layers, light taps and the right tool for the job. Here are 12 steps from first color to final shine, so start at number one tonight.
1. Choose a light base and two close colors
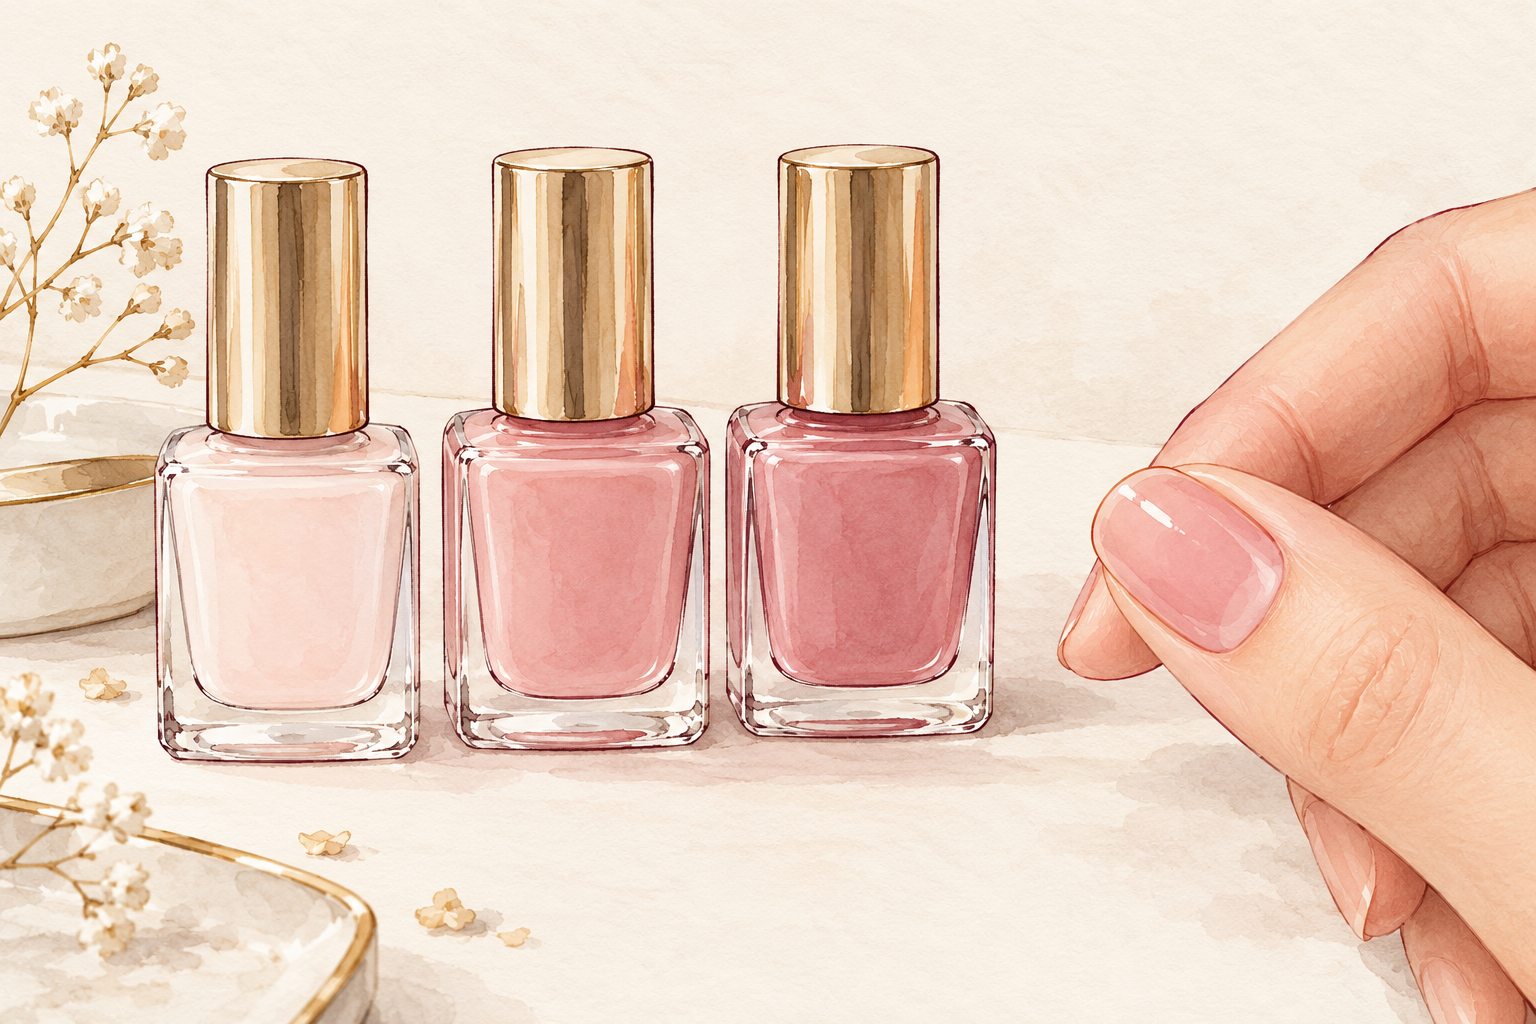
Pick a pale or milky base, then two shades from the same family, such as a soft pink and a deeper rose. Colors that sit close together melt into a glow, while very different ones turn muddy and brown where they meet. Hold the bottles side by side and ask whether they would look good together in a scarf. Creamy, opaque polishes blend more smoothly than sheer ones. A white or light milky base gives the brightest center. Test your trio on a scrap of card before it ever touches your nail. Good choices at the start prevent most of the mess later, so this is how to do aura nails without redoing them.
2. Decide between a sponge and an airbrush
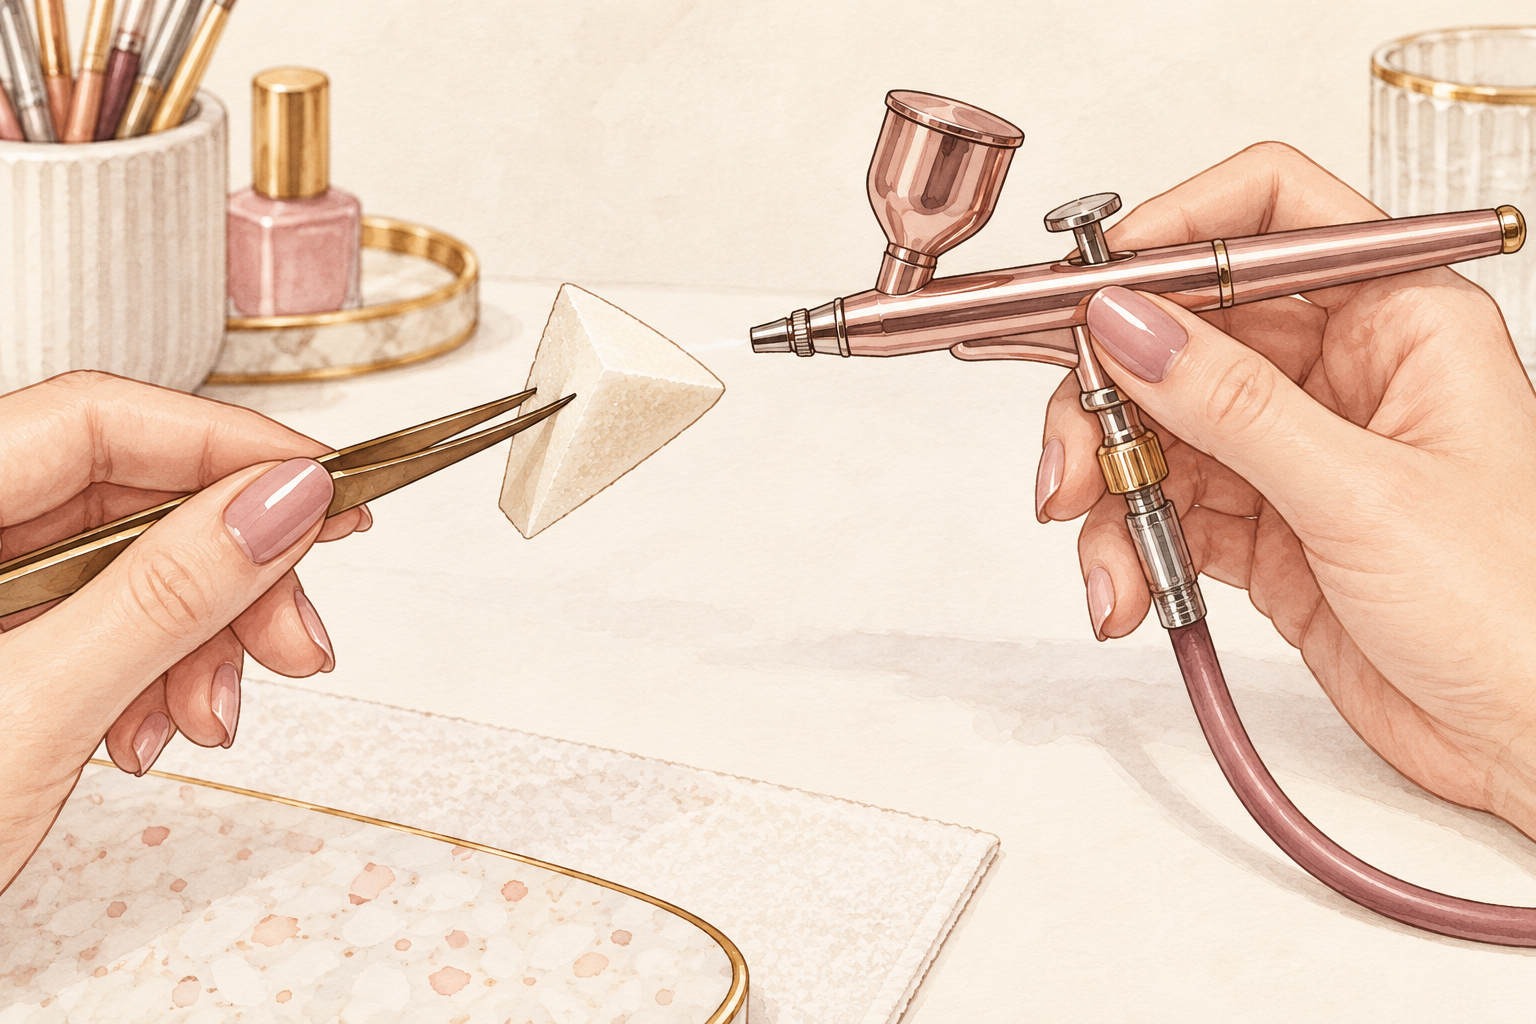
A makeup sponge is the easy place to start, and an airbrush is the upgrade once you love the look. A sponge gives a natural, slightly grainy glow and is easy to try. An airbrush sprays a finer mist, but it needs a compressor, a steady hand and cleaning after every use. For your first set, cut a small wedge of dry sponge and hold it in tweezers or a clean peg. That keeps your fingers clean and gives you a lighter touch. Use a fresh piece of sponge for each color. A sponge that is damp from the last shade will drag color around.
3. Prep the nail and guard the skin
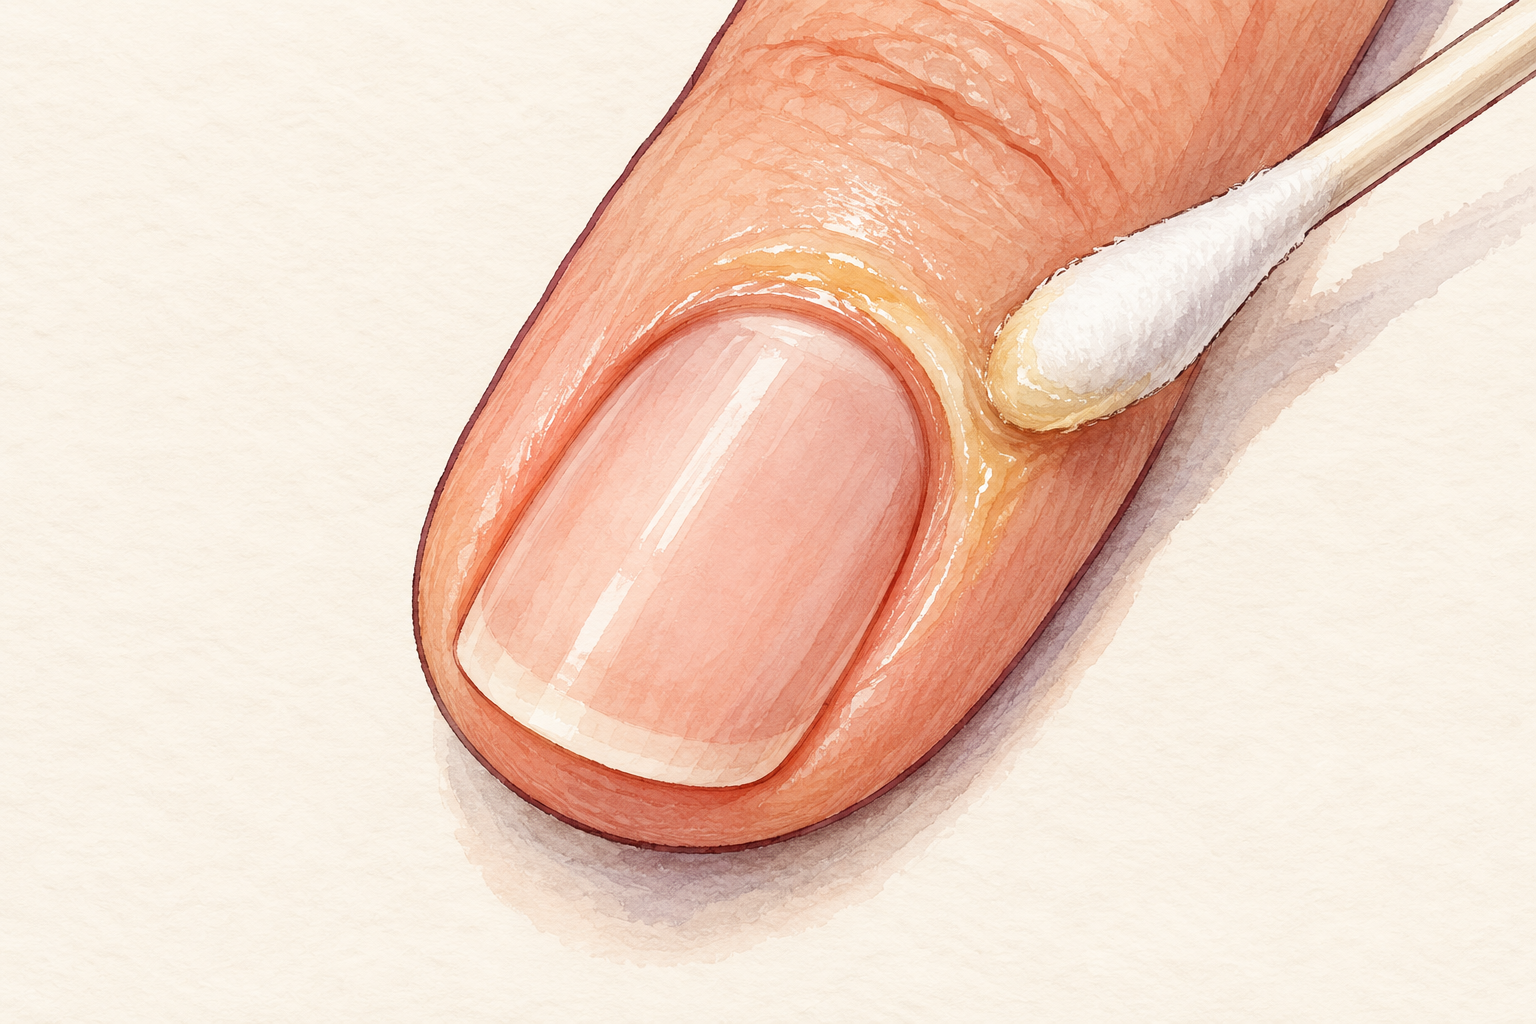
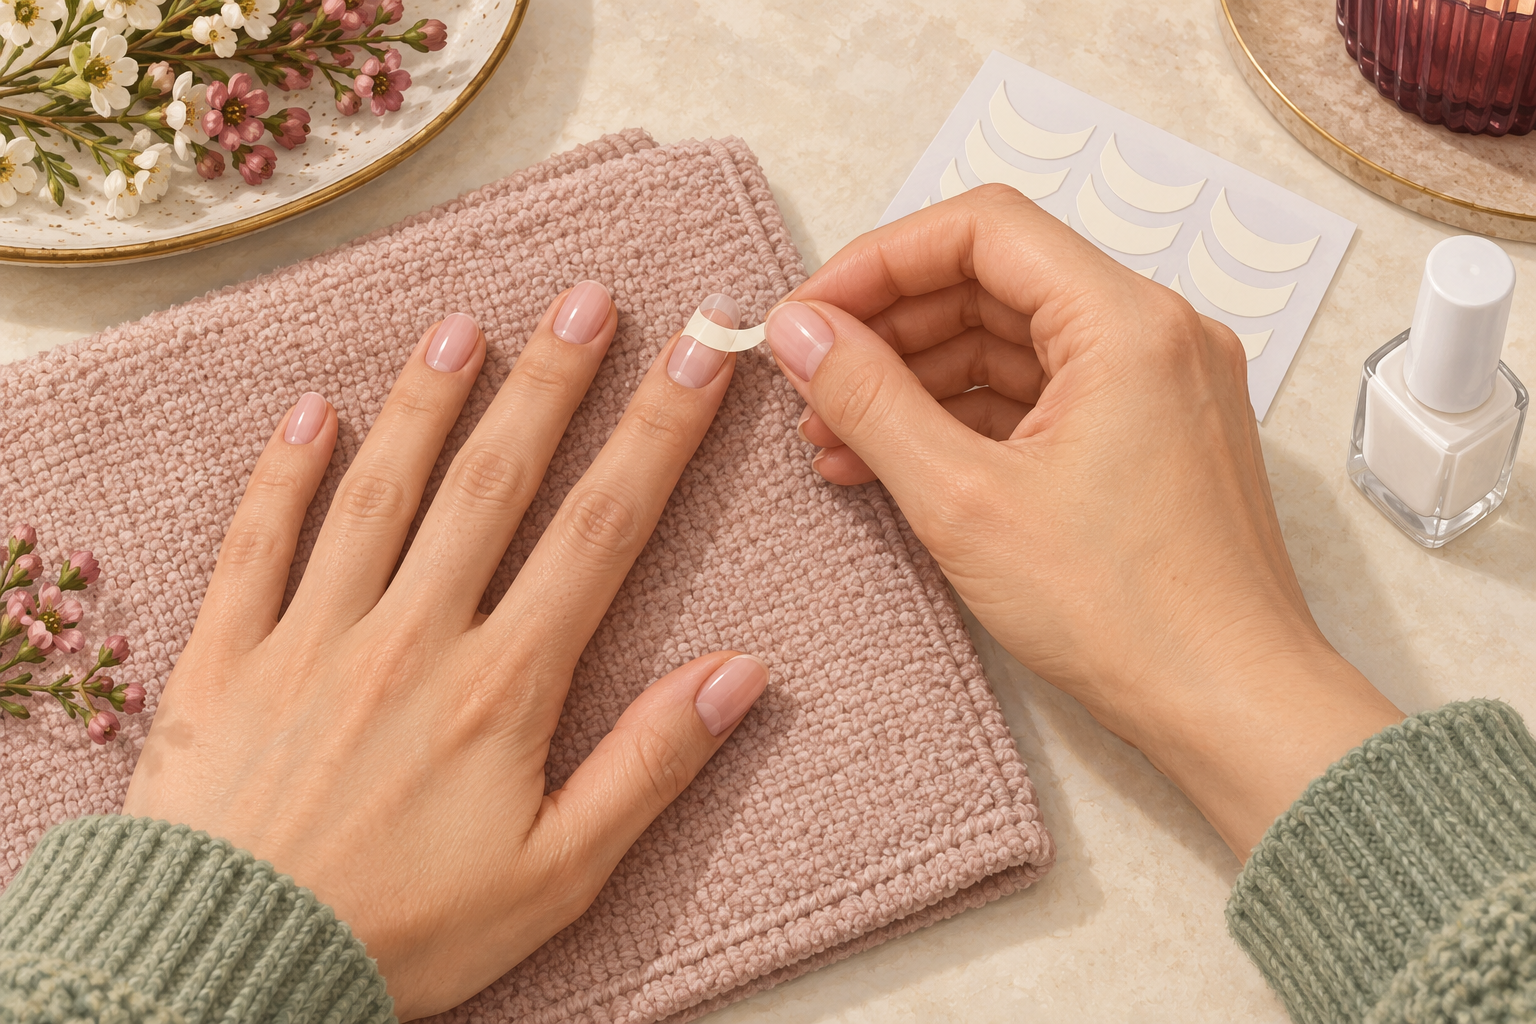
Shape your nails, ease back the cuticles and wipe away any oil, then paint a ring of peel off barrier around each nail. If you have no barrier, a thin layer of petroleum jelly on the skin works too, keeping it off the nail itself. Sponge marks wipe off easily this way, and skin cleanup is half the work in this design. Let the barrier dry fully before you start. A neat edge makes a rough blend look planned, while a messy edge makes a good blend look careless.
4. Paint the base in two thin coats
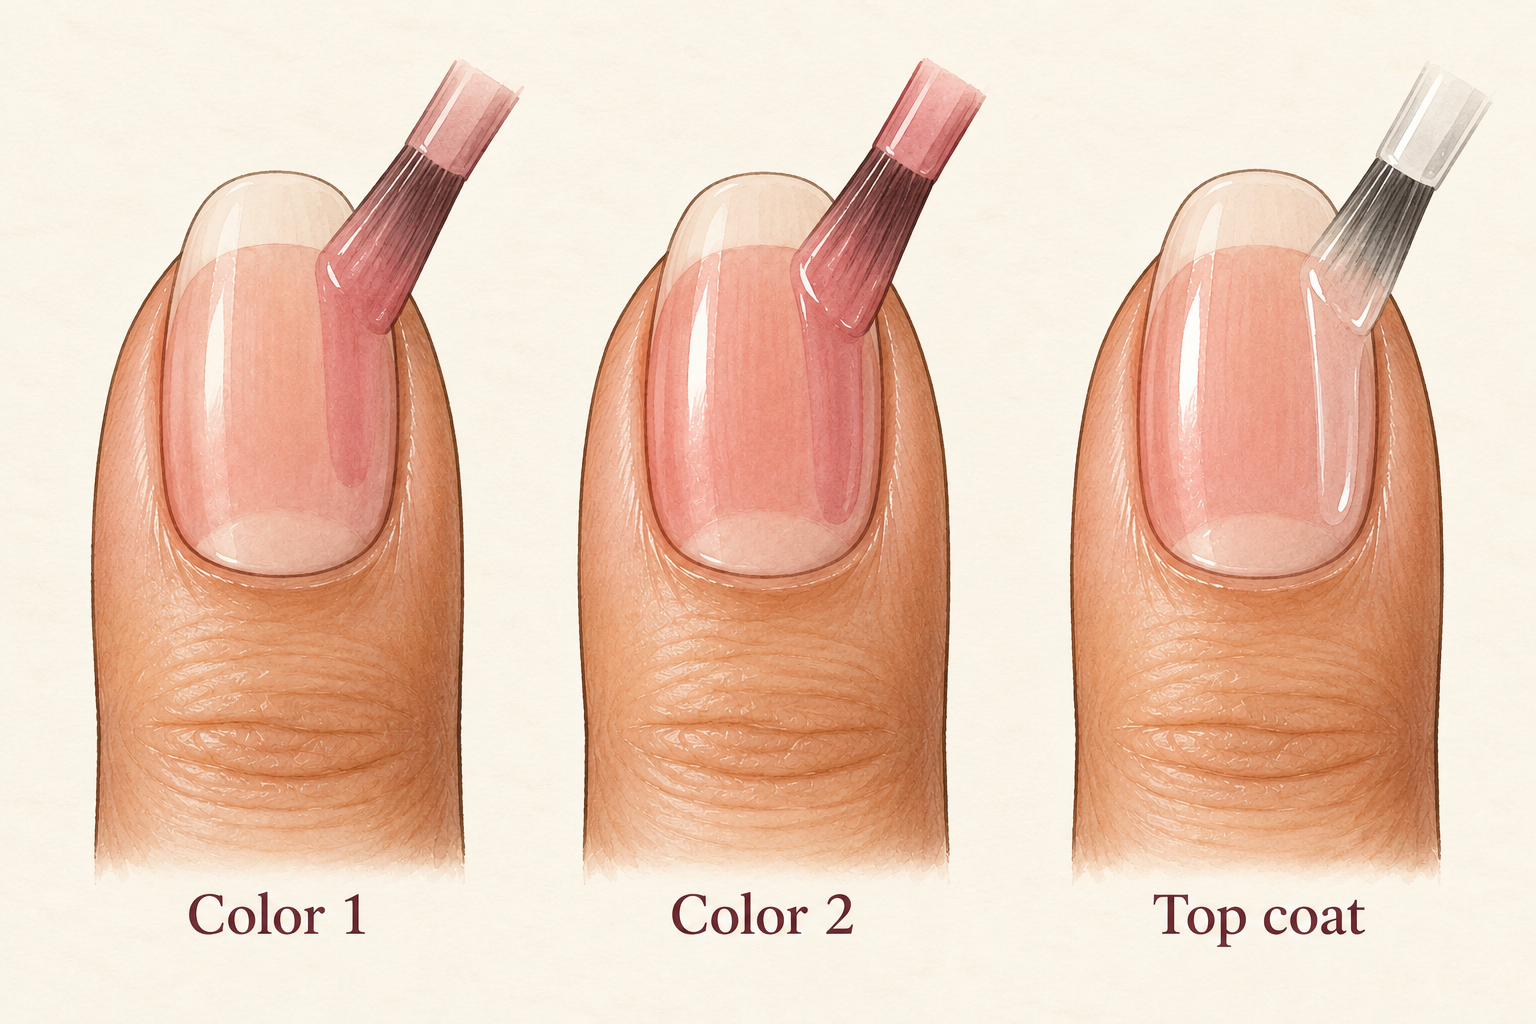
Brush on two thin coats of your milky or pale base, letting each dry fully before the next. Thin layers matter because a thick coat stays soft and smears when you dab. If you use gel, cure each layer for the time on your bottle, and smooth sunscreen on your hands or wear fingerless dark gloves first. A tacky base grabs the sponge and drags color into streaks. Touch the very edge of one nail with a fingertip, and if it feels cool and smooth, you are ready. Streaks in the base will show through the glow, so smooth them out now.
5. Load the sponge and tap it off first
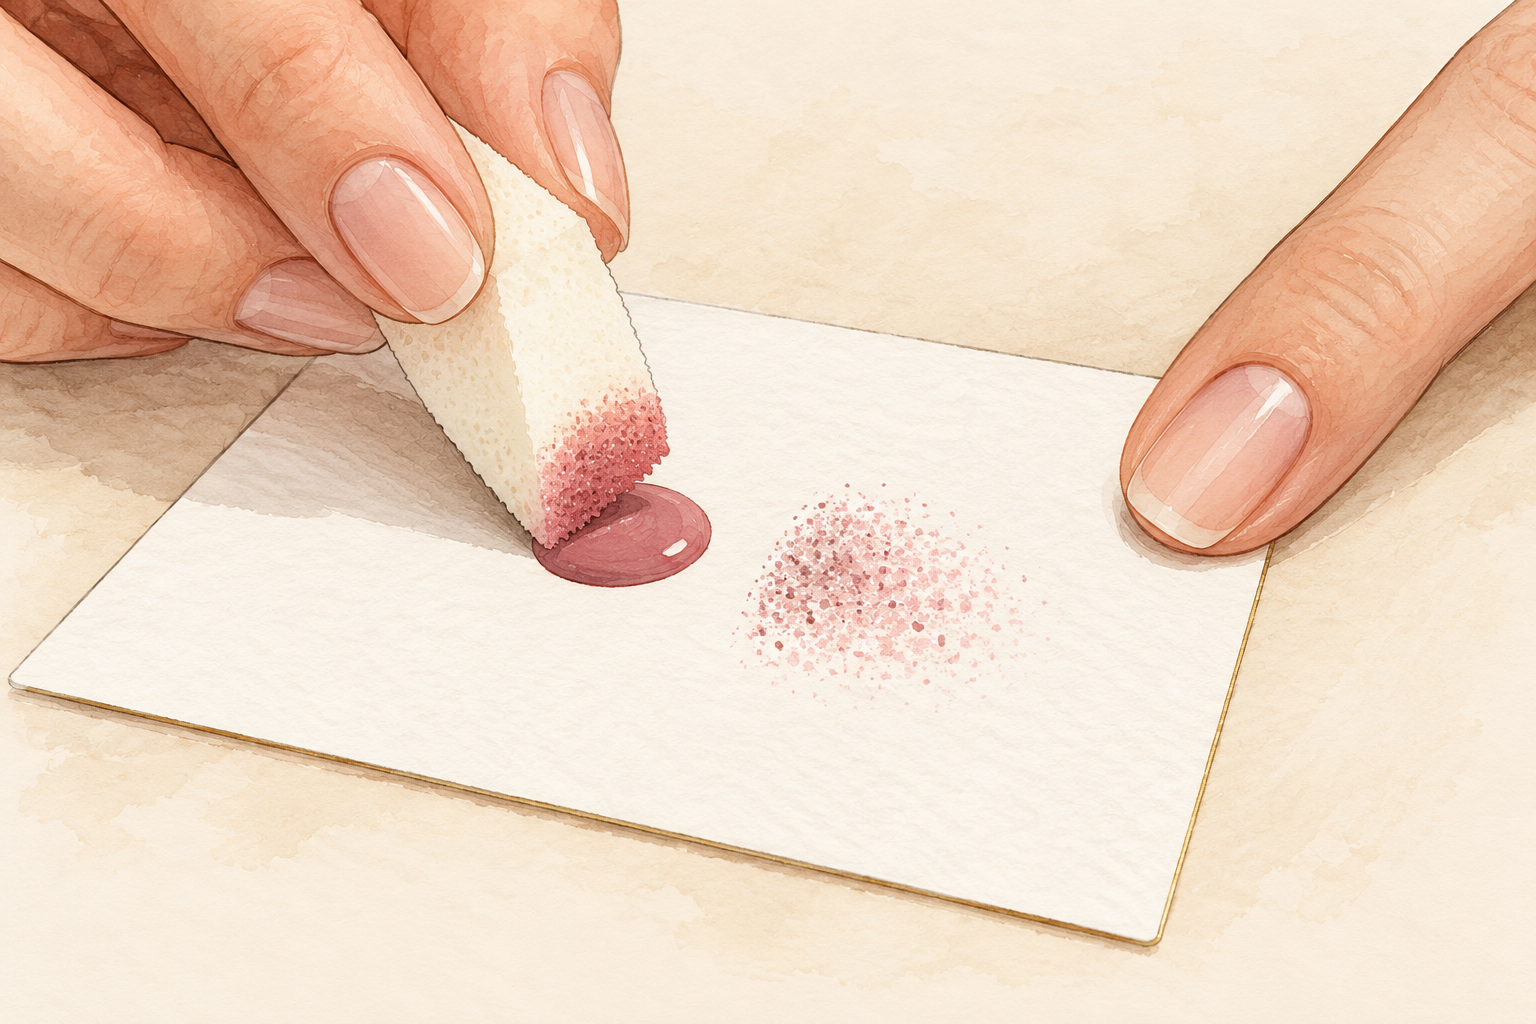
Put a pea sized dot of polish on a card, press the sponge into it, then tap it on the card until it leaves a speckled print. If the print is a solid patch, the sponge has too much on it. The speckles mean it is ready. This quick test is the secret to a cloud and not a blob. Polish dries fast on foil or card, so work in small amounts and reload often. Practice on one spare nail or a practice tip before you try your own hand. Your first hand will probably look uneven, and that is completely normal.
6. Dab the first color into the center
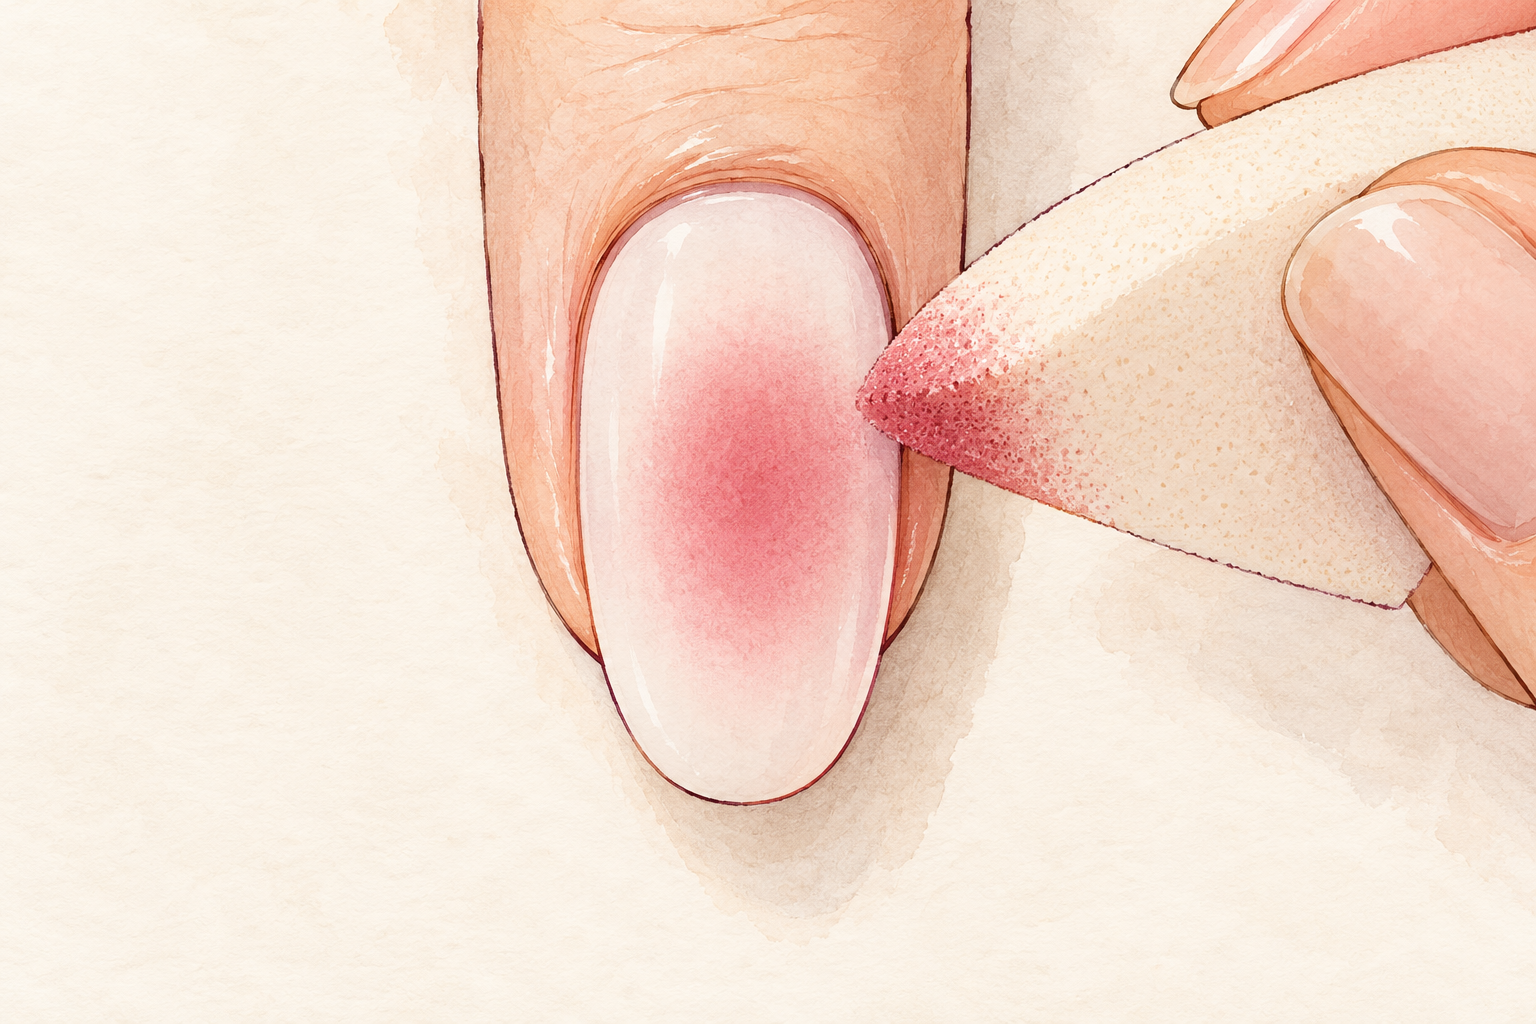
Tap the sponge in a loose oval right in the middle of the nail, with light, quick bounces. Work from the center outward and keep your wrist relaxed. You want a soft cloud, not a circle with a clear edge. Rest your hand on the table so it stays steady, and give each tap a quick lift, like touching a hot pan. Four to six taps is often enough for the first layer. Let it dry for a minute before the next, because wet on wet layers mush together into a puddle. Hold your hand out at arm’s length to check the shape, since tiny flaws vanish from there.
7. Add the deeper shade and blur the edge
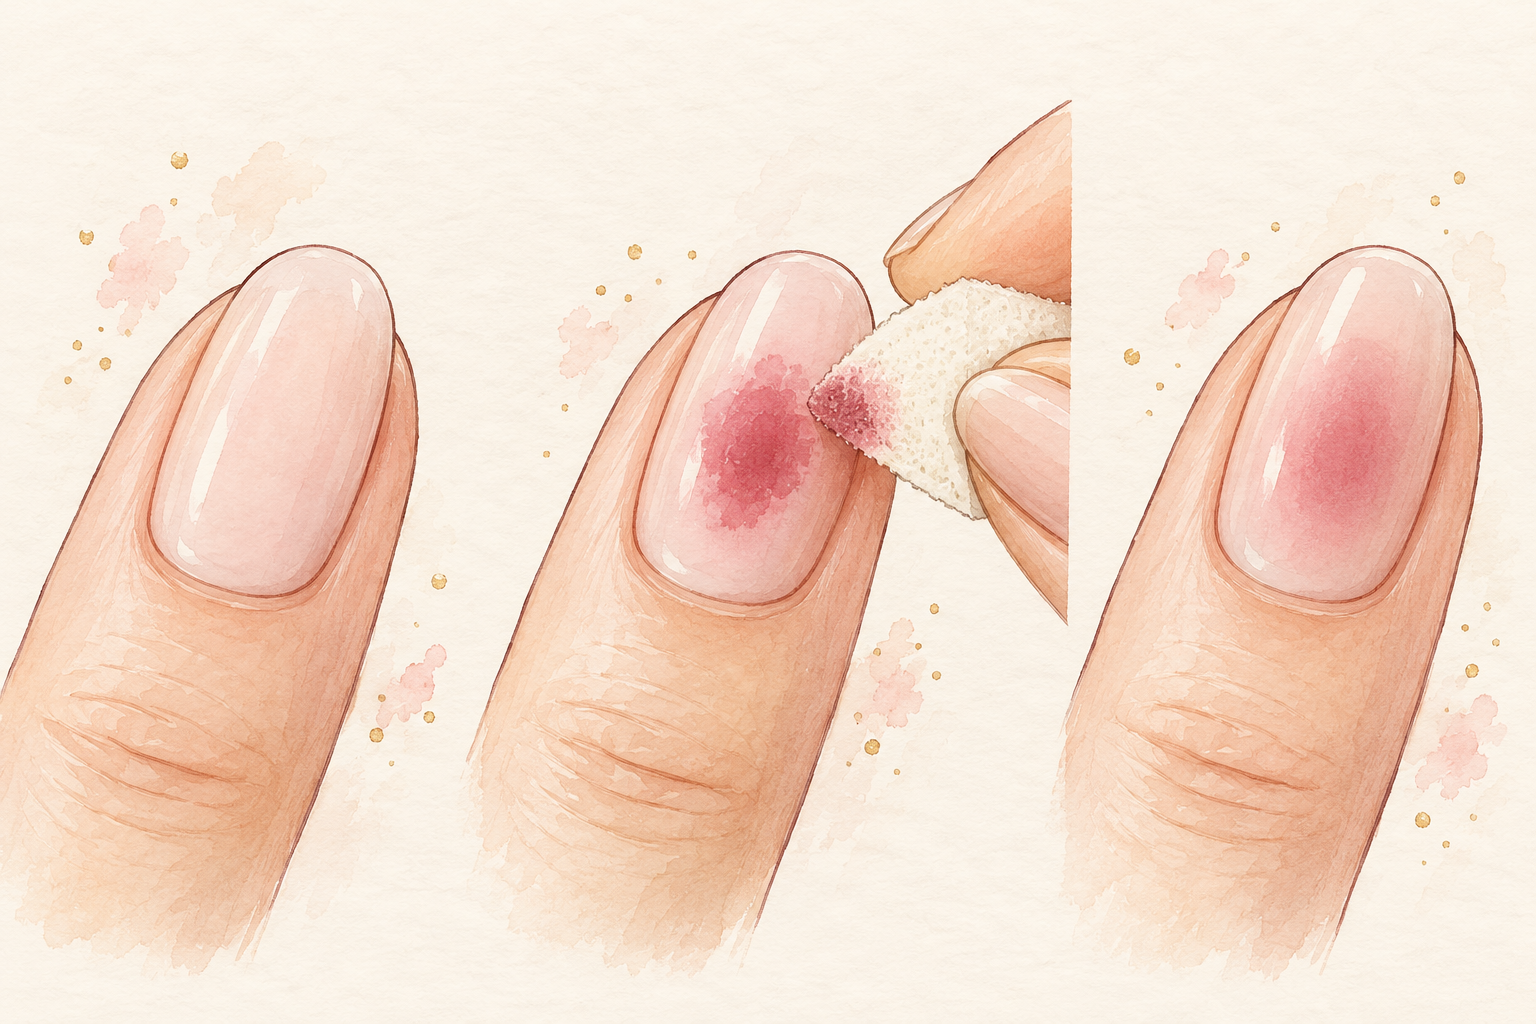
Use a clean piece of sponge to tap the deeper color into the very middle only, so it reads as the glowing core. Then tap lightly around the outer edge of the first color to soften any line between the two. Ten light taps always beat three heavy ones. Stop when the glow looks even from a normal viewing distance, because you can keep working one nail too long and make it worse. The finished glow should fade smoothly from deep rose to pale pink to white with no obvious borders. Check each nail before moving to the next, and keep a spare piece of sponge for each shade.
8. Fix patchy spots with a lighter touch
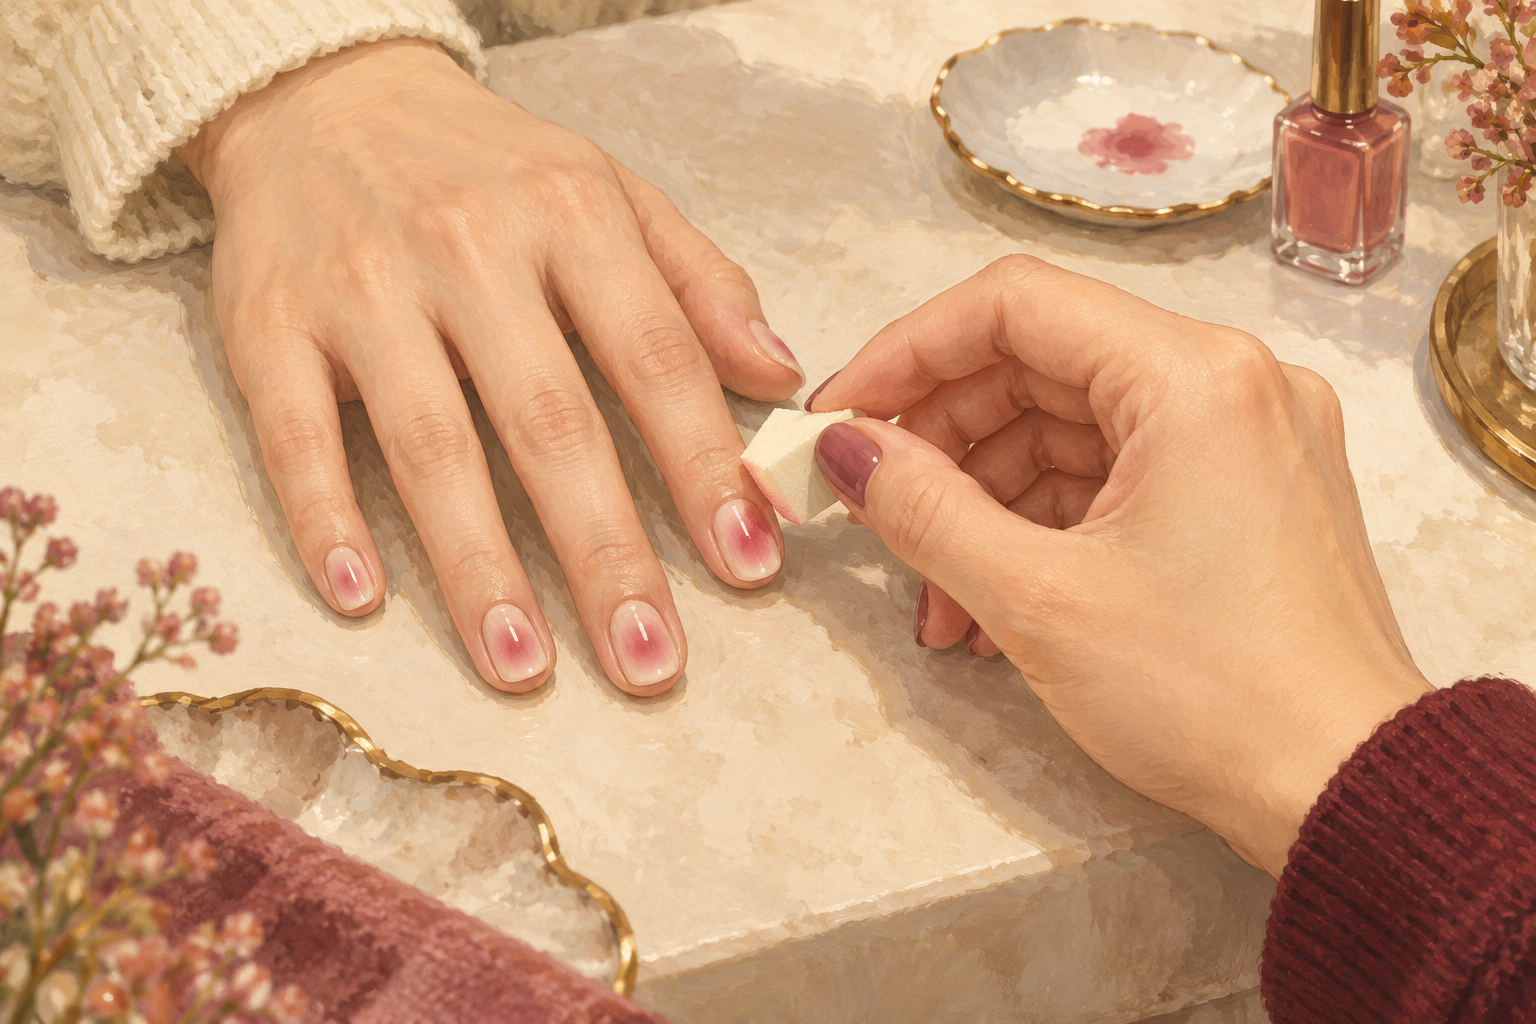
Wait until the nail is dry, then tap over the patch with a clean sponge holding almost no polish. Patches happen when the sponge carried too much, or the layer underneath was still wet. Several light passes beat one heavy one. If you use gel, cure between passes in thin layers. Never wipe a patch while it is wet, because you will smear the whole glow. The fix is nearly always less polish and a longer wait, and it takes two minutes. Fix every patch before you seal, because top coat locks flaws in place. A blend that looks patchy at first often settles once the layers dry.
9. Soften a hard ring around the glow
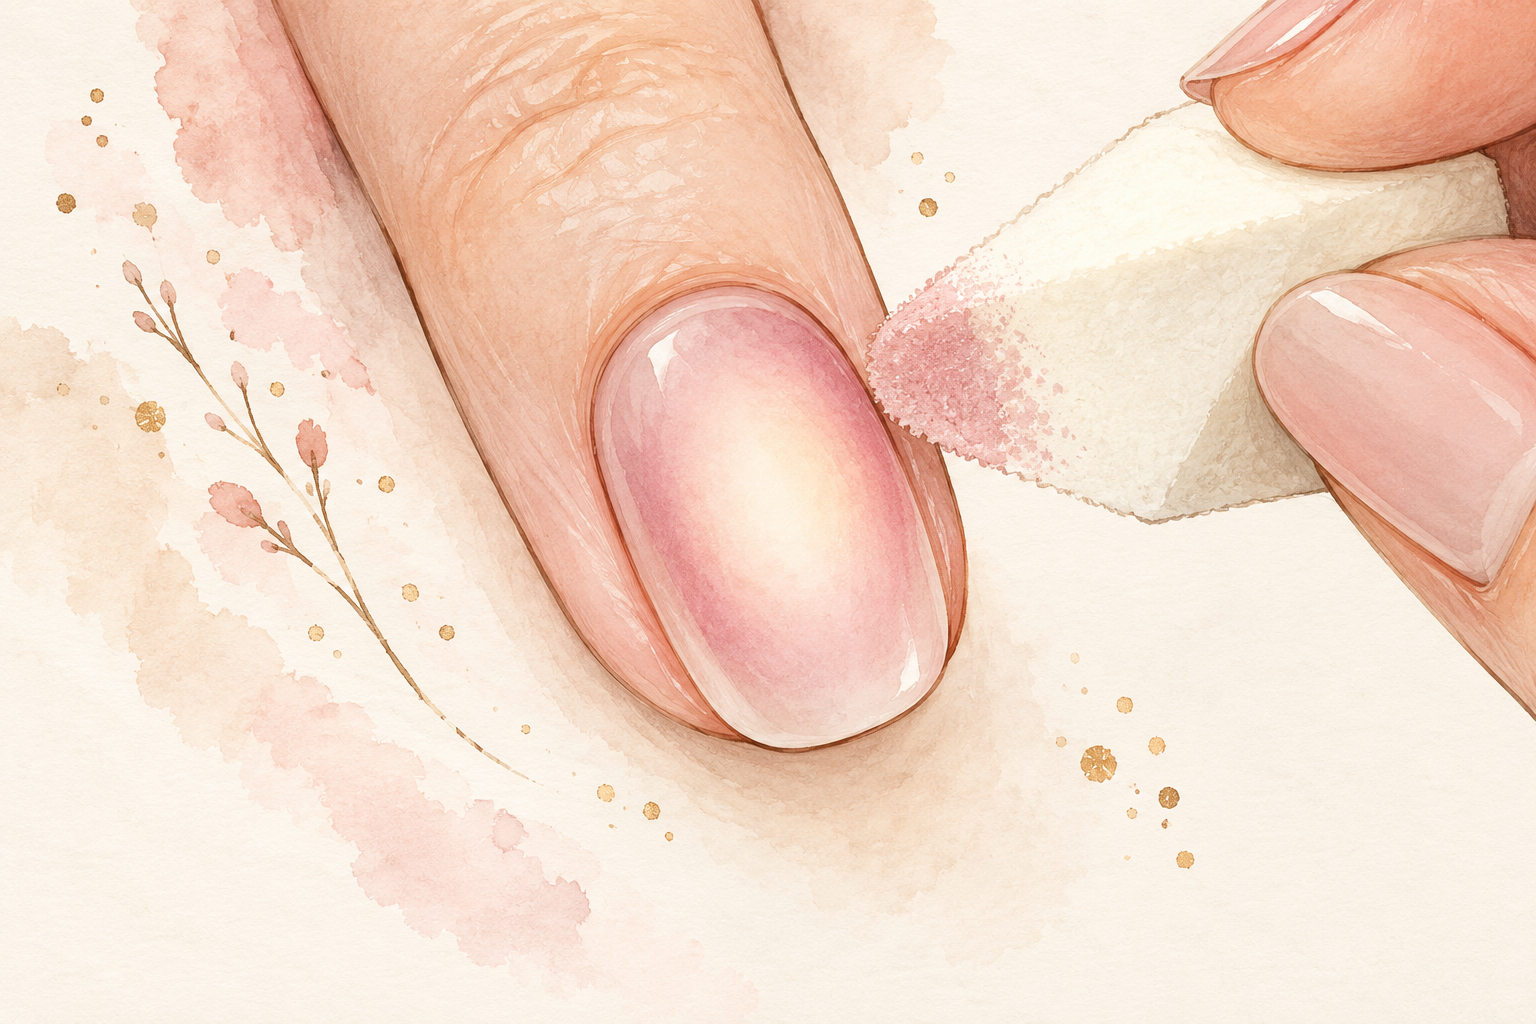
Tap the base color lightly over the outer edge of the ring with a clean sponge, working inward from the nail edge. A hard ring means the first color was placed as a ring and not a cloud. Then tap the center again so the glow lifts again. If the ring is still there after two or three tries, let the nail dry fully, brush on a very thin coat of clear polish, and repeat. That gives you a fresh, smooth surface to work on, and a second attempt almost always looks better than the first. Do not rub the ring with your finger, which only smears the polish. The same blending idea appears in how to do ombre nails, which is a related read.
10. Clean the skin, then seal
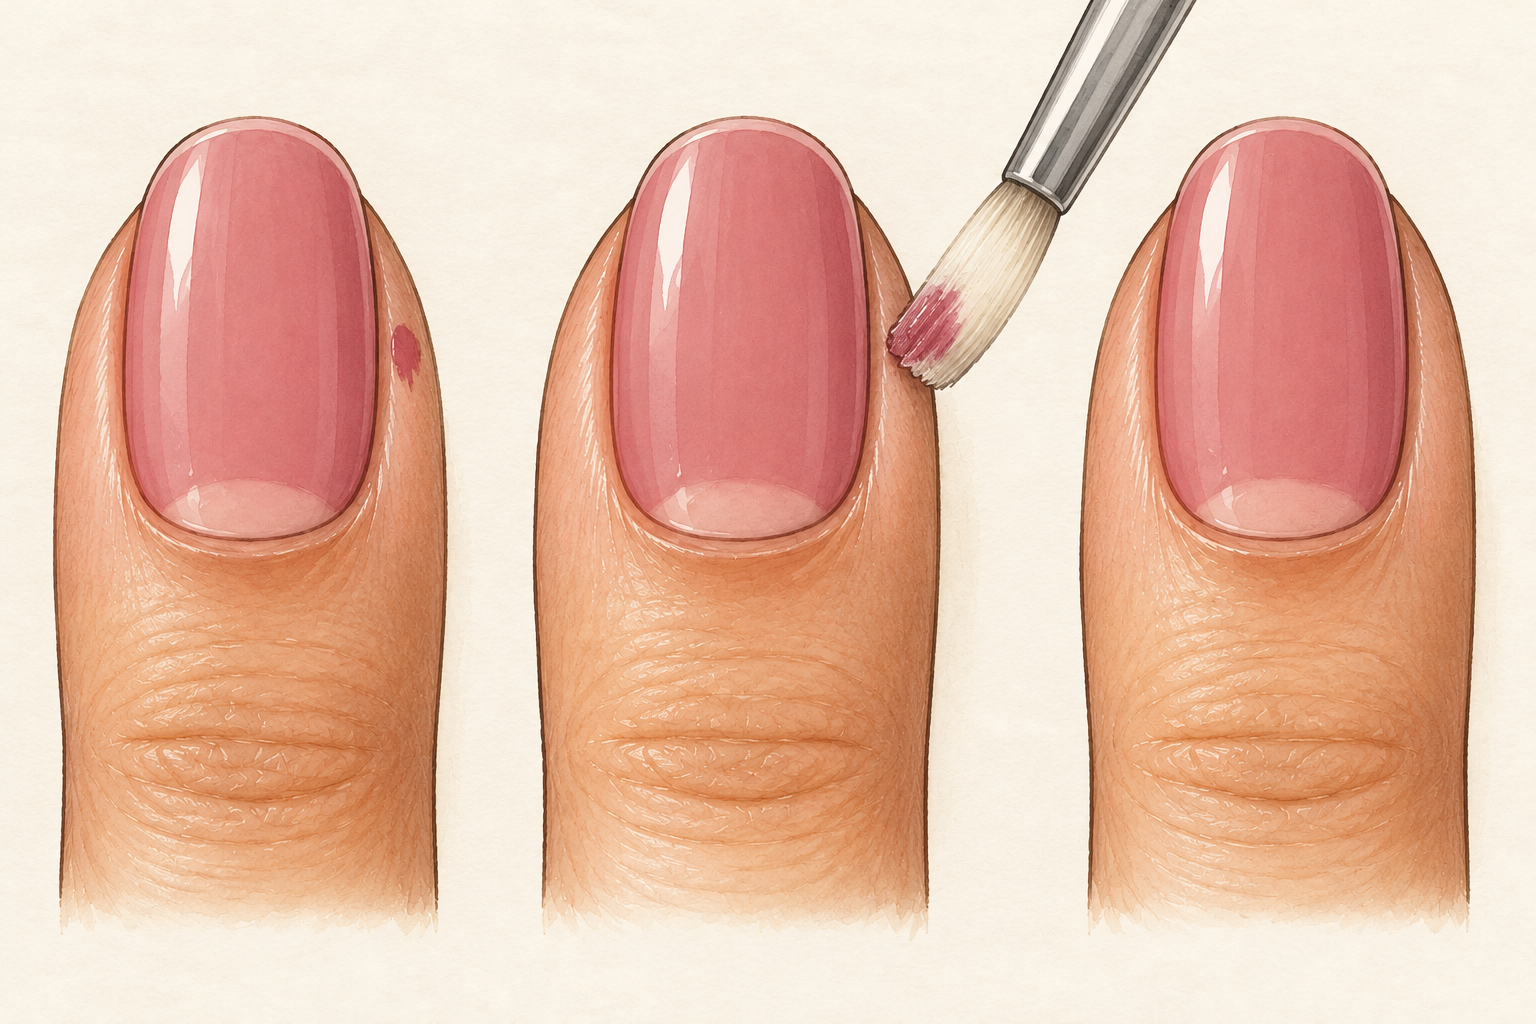
Peel off the barrier, or trace the edge of each nail with a small flat brush dipped in remover. Do this before the top coat, because it is much harder to fix after sealing. Keep the brush damp and not wet, so the remover does not creep under the polish. Then float a smooth top coat over the nail without pressing, and run it along the free edge. The sponge leaves a slight texture, and top coat fills it into glass. Leave the nails alone for twenty minutes to set. Learning how to do aura nails is mostly learning when to stop and leave the nail alone.
11. Make the set last a week or more
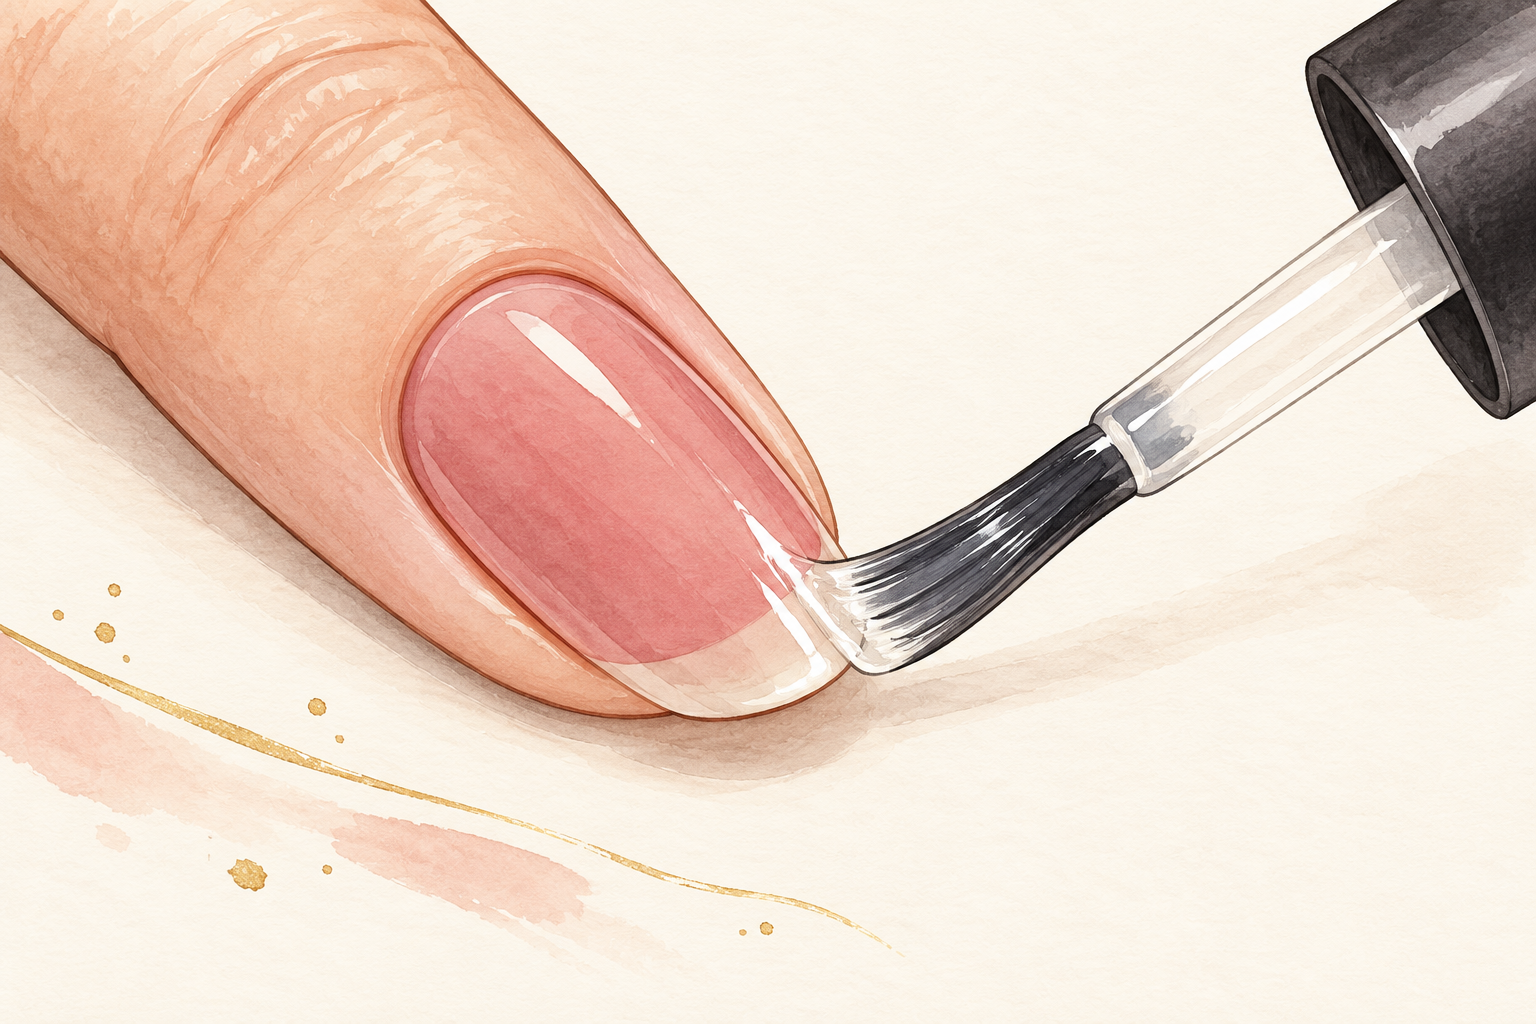
Cap the free edge with top coat, wear gloves for washing up and add a fresh layer of top coat on day four. With regular polish, the whole set takes about an hour including drying, and wears for about a week. Gel takes longer to do but lasts closer to two weeks. A drop of cuticle oil each night keeps the skin soft, so the manicure looks fresh. If a tip chips, dab a little top coat over it right away. The glow hides small nicks better than a plain color would. Take the set off gently when it is time, and give your nails a rest.
12. Try new colors and an airbrush
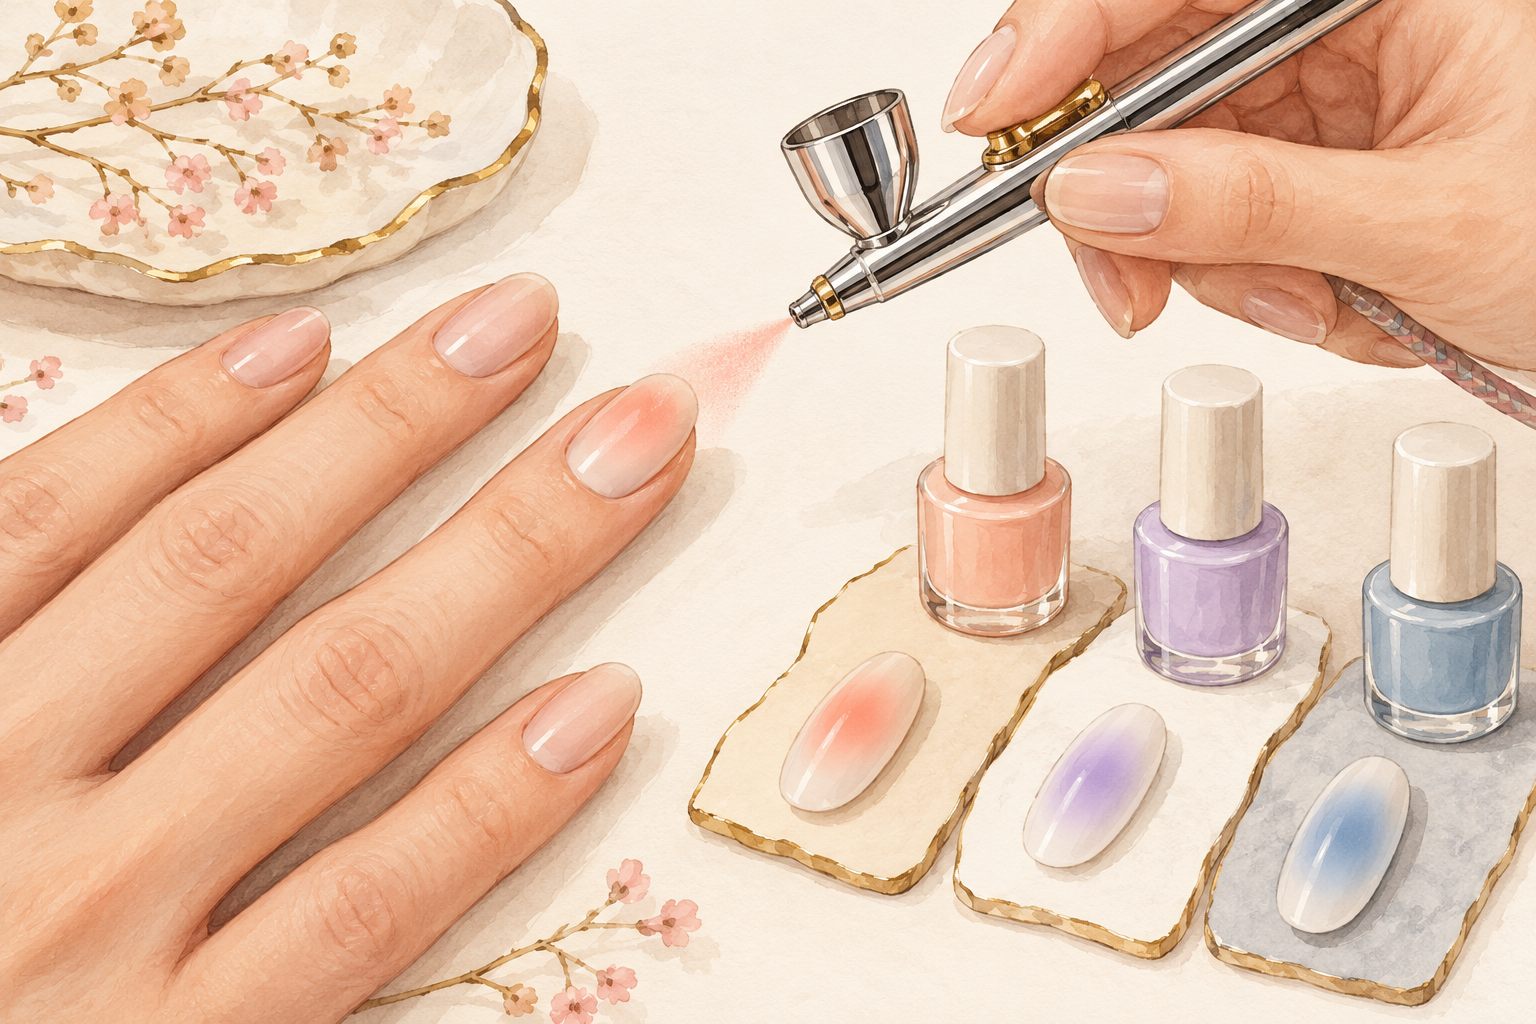
Swap in peach on cream, lilac on white or blue on pale gray, and add a shimmer top coat for extra glow. With an airbrush, hold the nozzle about two centimeters from the nail and spray short bursts at low pressure. Build the cloud from the center out, and use a small stencil ring if you want a clean heart shape. A single accent nail left plain looks lovely beside the glowing ones. Write down the color combinations you love, so you can repeat them next time. A glossy top coat on top turns any of these into a set that looks neat and shiny. Mirror shine is the bolder option, so consider reading how to do chrome nails next.
Complete the Look: How to Do Aura Nails for the Weekend
Tonight, practice a glow on a card with your two shades and a clean sponge. Soft glow sets lead naturally to more nail ideas, so the guides below are the place to pick what catches your eye next.