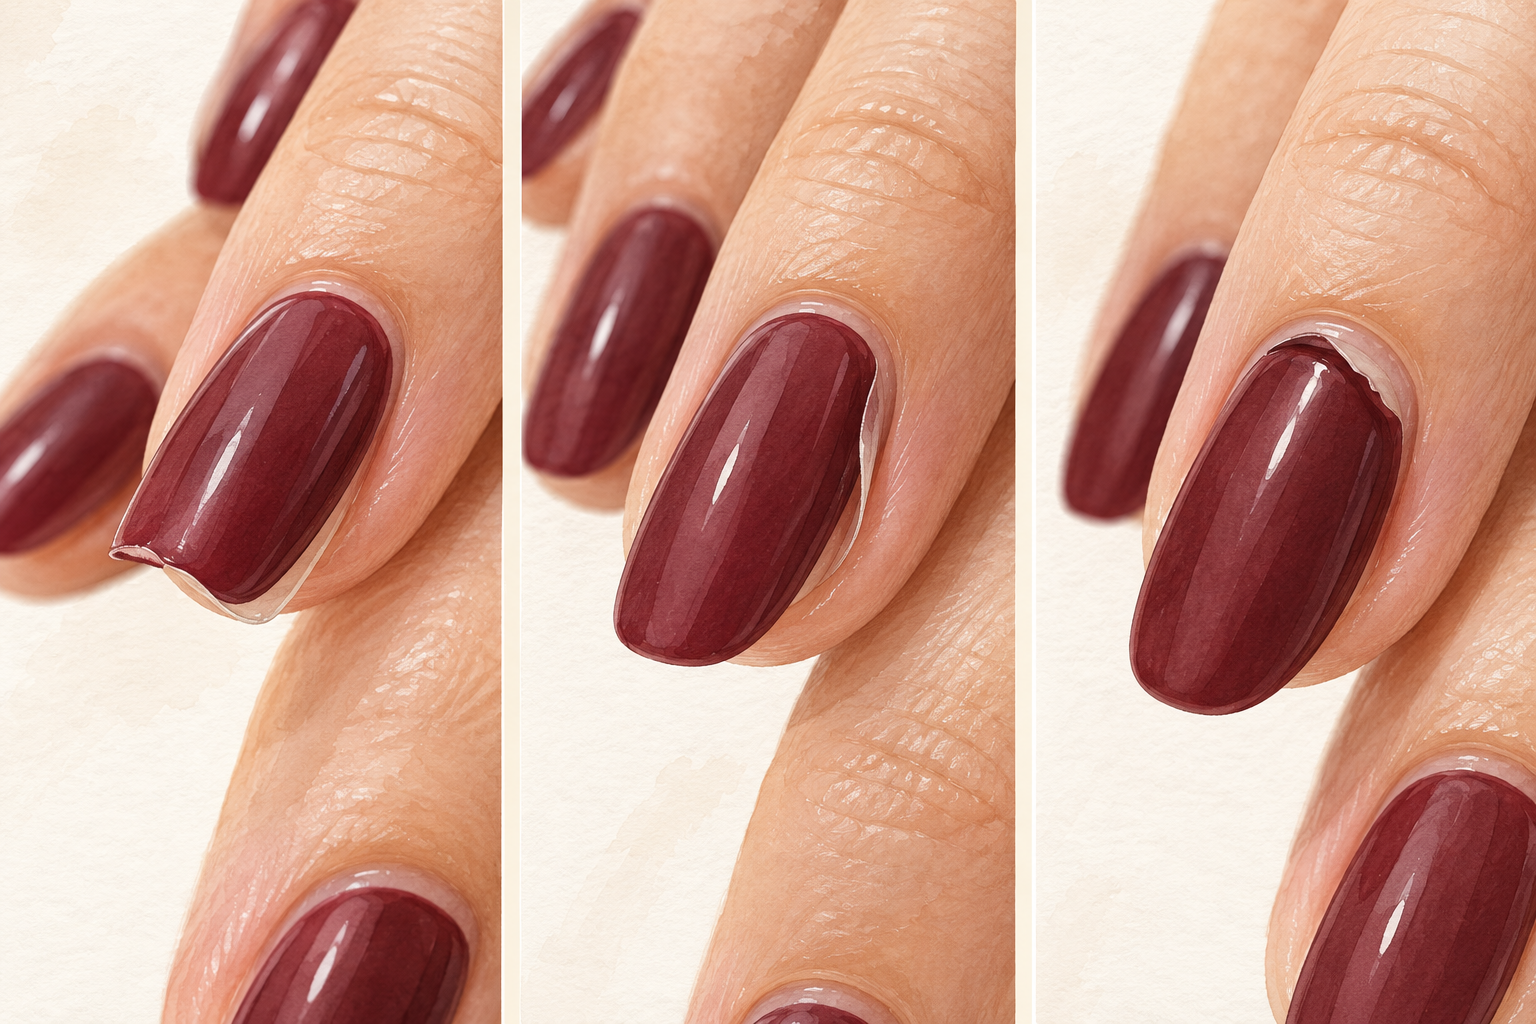
You pressed the set on Sunday night, and by Friday one corner is lifting and your thumb keeps picking at it. Stop right there, because yanking is how a layer of your own nail leaves with the plastic. Here is how to remove press on nails in 12 gentle steps, whether yours are held by glue or by adhesive tabs. Clear forty minutes and boil the kettle, so start at number one tonight.
1. Tell if it is glue or tabs
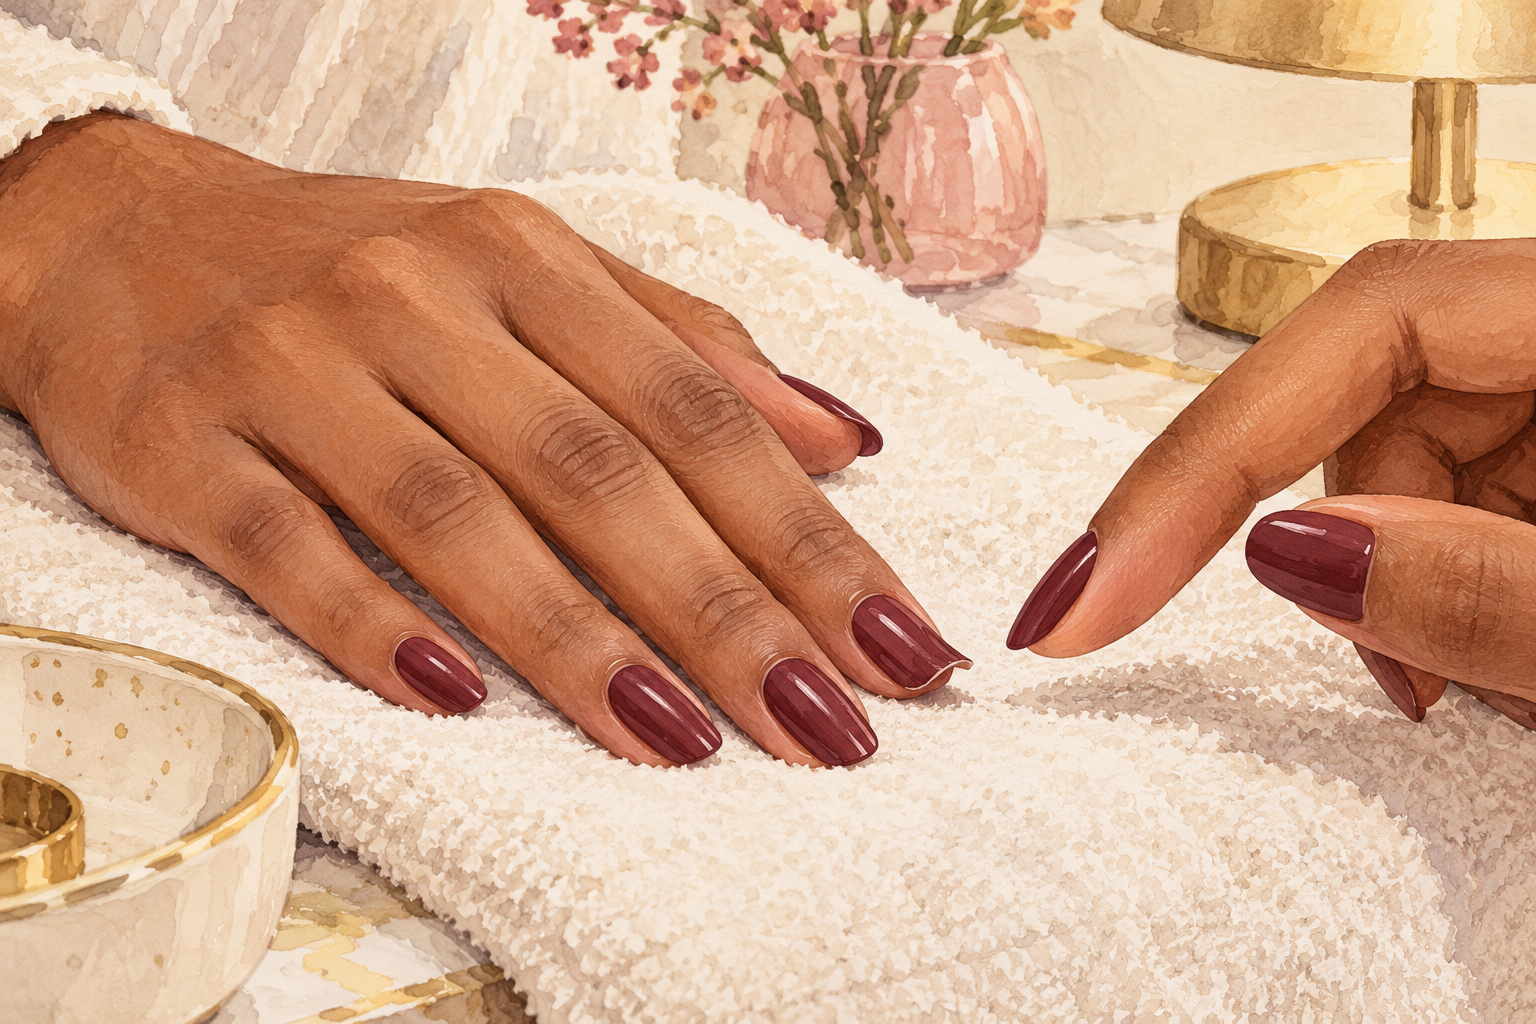
Run a fingertip along a lifted edge to feel what is holding the nail down. Tabs feel soft and gummy and give a little when you press. Glue sets hard and leaves a shiny, stiff seam. Plenty of sets use both, which is why one nail slides off while its neighbor will not budge. Knowing which you have decides how long you soak, and it stops you reaching for strong remover when soapy water would have done the job. Check every nail, because each one can be different, and note which fingers are tabs and which are glue. Mixed sets are why the same method works on one hand and not the other.
2. Trim the tips short first
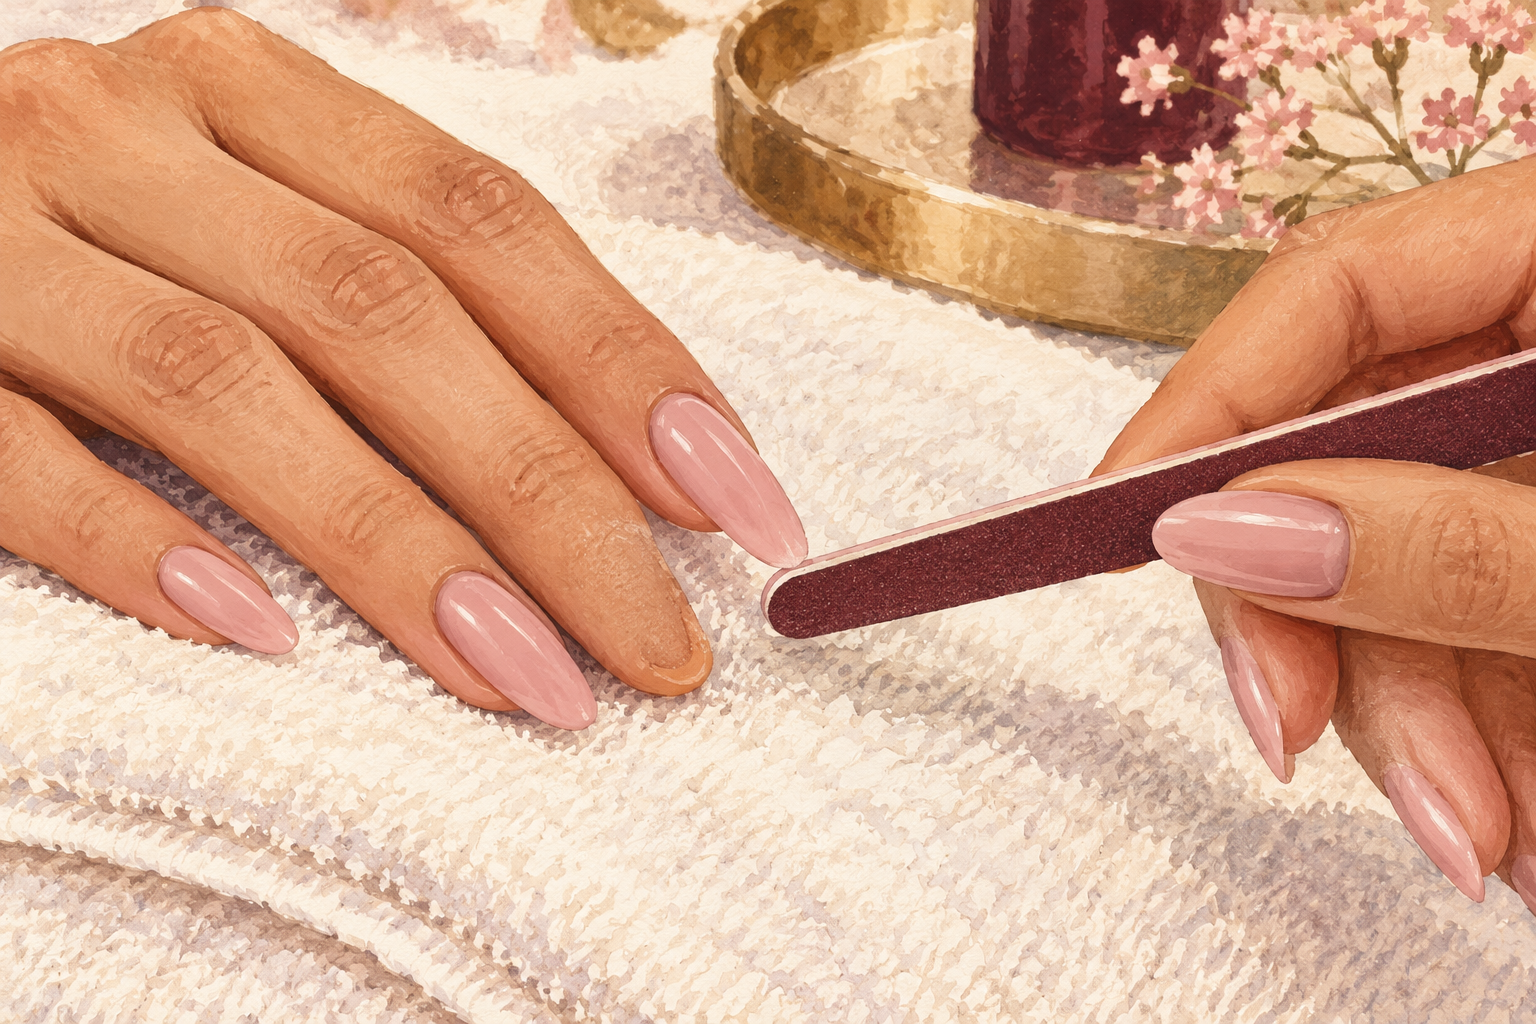
Clip or file the free edge down to about the length of your own fingertip. A long press on works like a lever, and every wiggle sends that force to the glued spot by your cuticle. Short nails are easier to hold still and far less likely to snap upward. Cut only the plastic, never your natural nail underneath. If a tip is too long to clip cleanly, file it in short passes, because one hard snap can pull the whole nail with it. Do this before the bowl comes out, while the nails are dry and easy to grip. Five minutes of trimming saves ten minutes of wiggling.
3. Set out your bowl, stick and oil
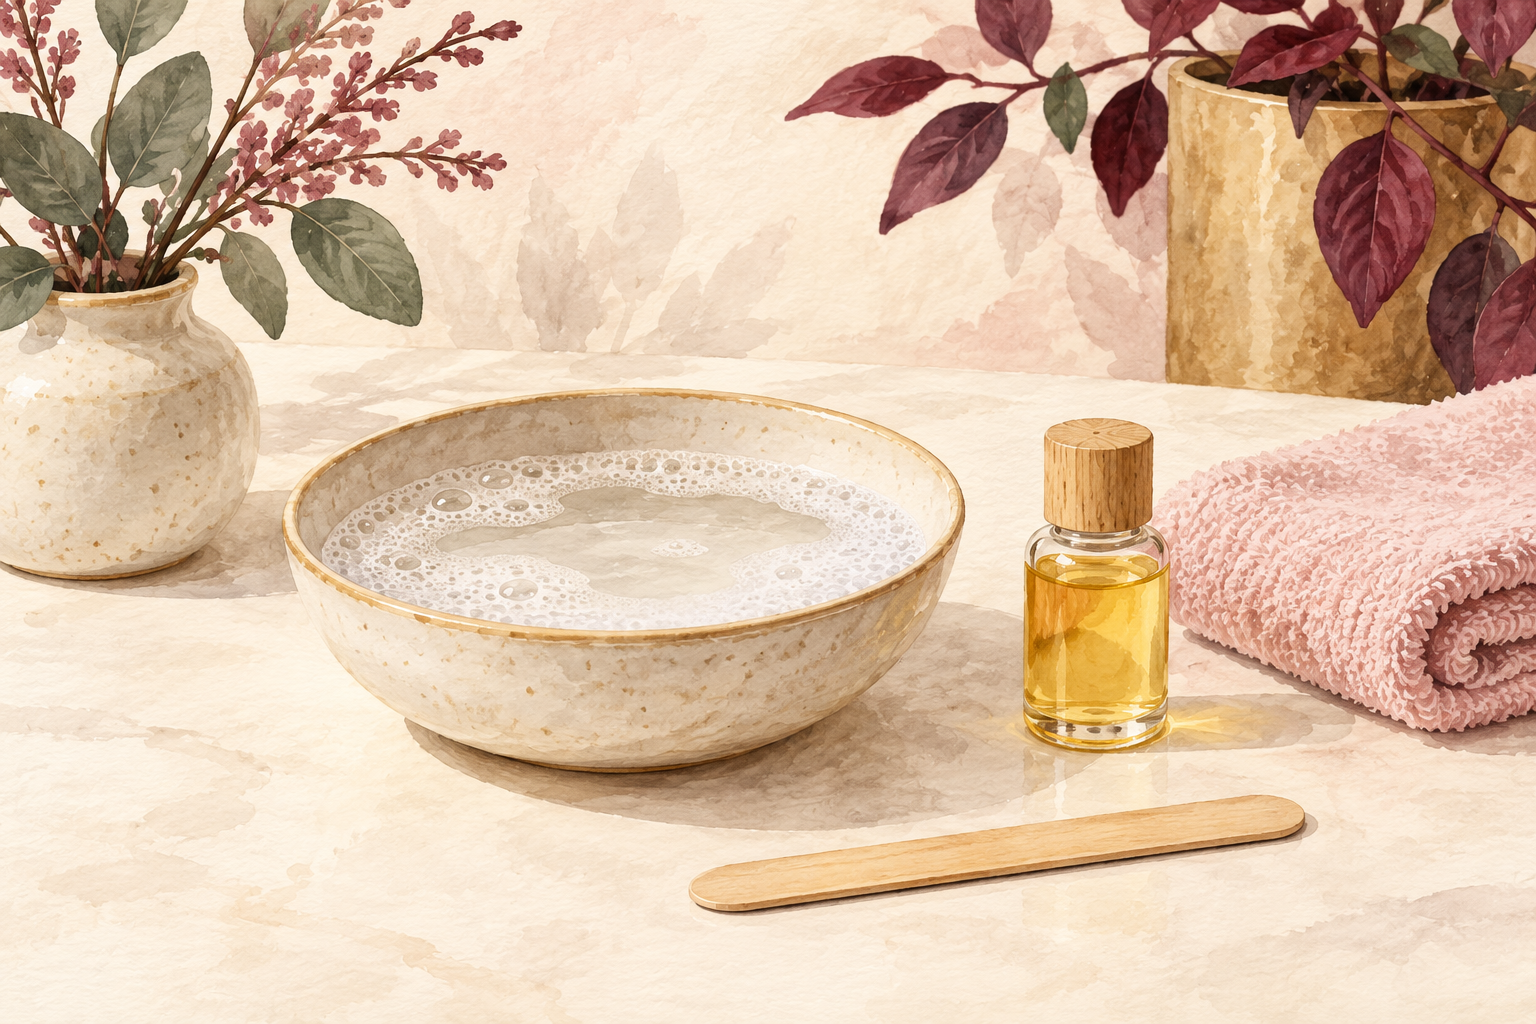
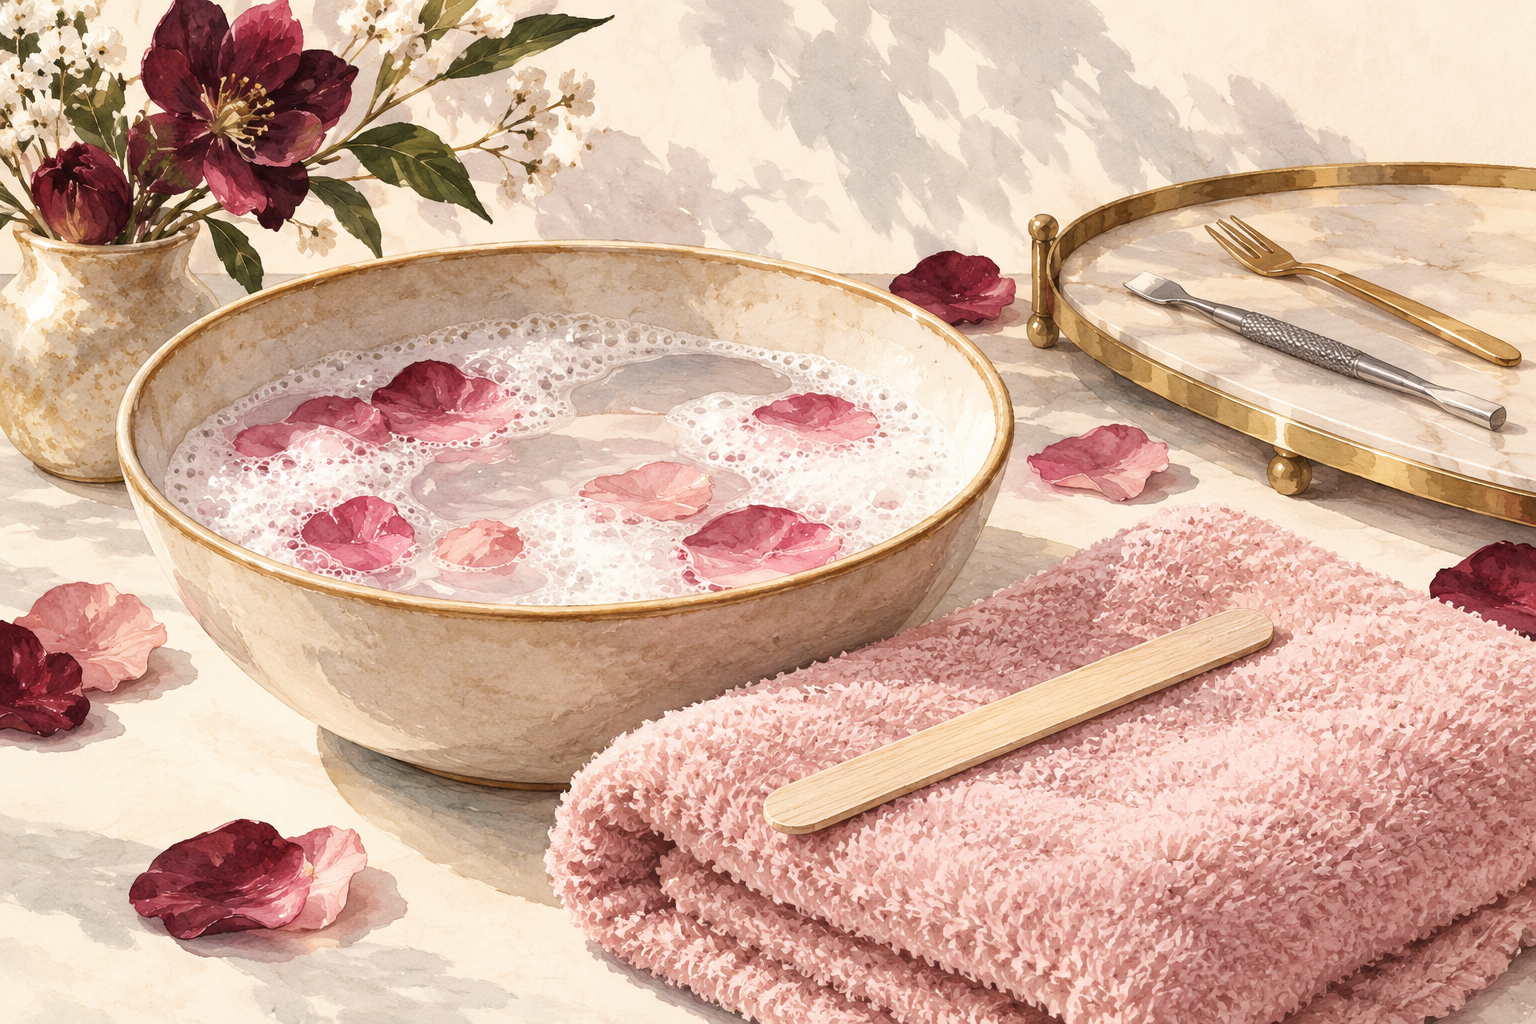
Fill a bowl with water that feels pleasant on your wrist, then add a squirt of dish soap. Hot water is not better, it just dries your skin. Lay a wooden or plastic stick beside the bowl, because a metal pusher scratches the nail and slips. Keep a little olive, coconut or cuticle oil within reach. Dab a spot on your wrist first and wait a few minutes if you have never used it. Put a show on, because a bored thumb is a picking thumb. A towel on your lap catches the drips and the clippings.
4. Soak in warm soapy water
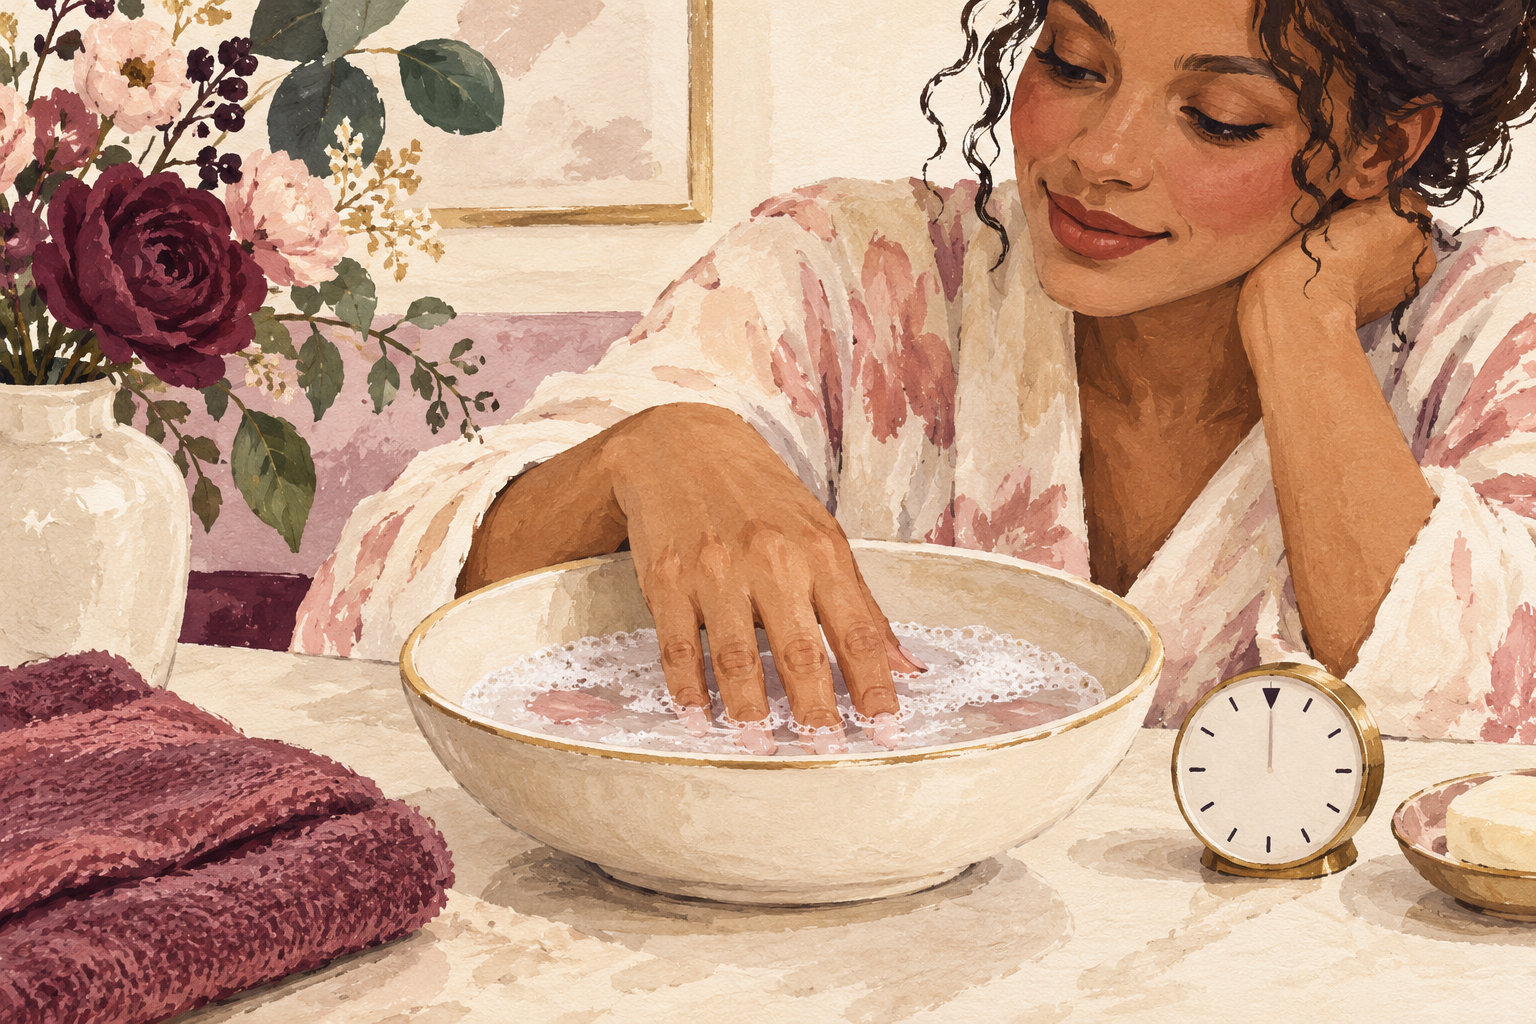
Keep your fingertips fully under for ten to fifteen minutes. The soap creeps beneath the edges and softens whatever is holding on. Top up with a splash from the kettle when the water cools. Set a timer, because a short soak is the usual reason girls give up and start prying. Tabs often loosen in this time without any help from you. Light glue may start to show a faint white line along the edge, which is your sign it is giving way. Give it the full time even if the first nail pops off early, because the rest are usually slower. This soak is the heart of how to remove press on nails safely. Time at this stage is the heart of it, with how to remove fake nails as the page to read next.
5. Slide the stick in from the side
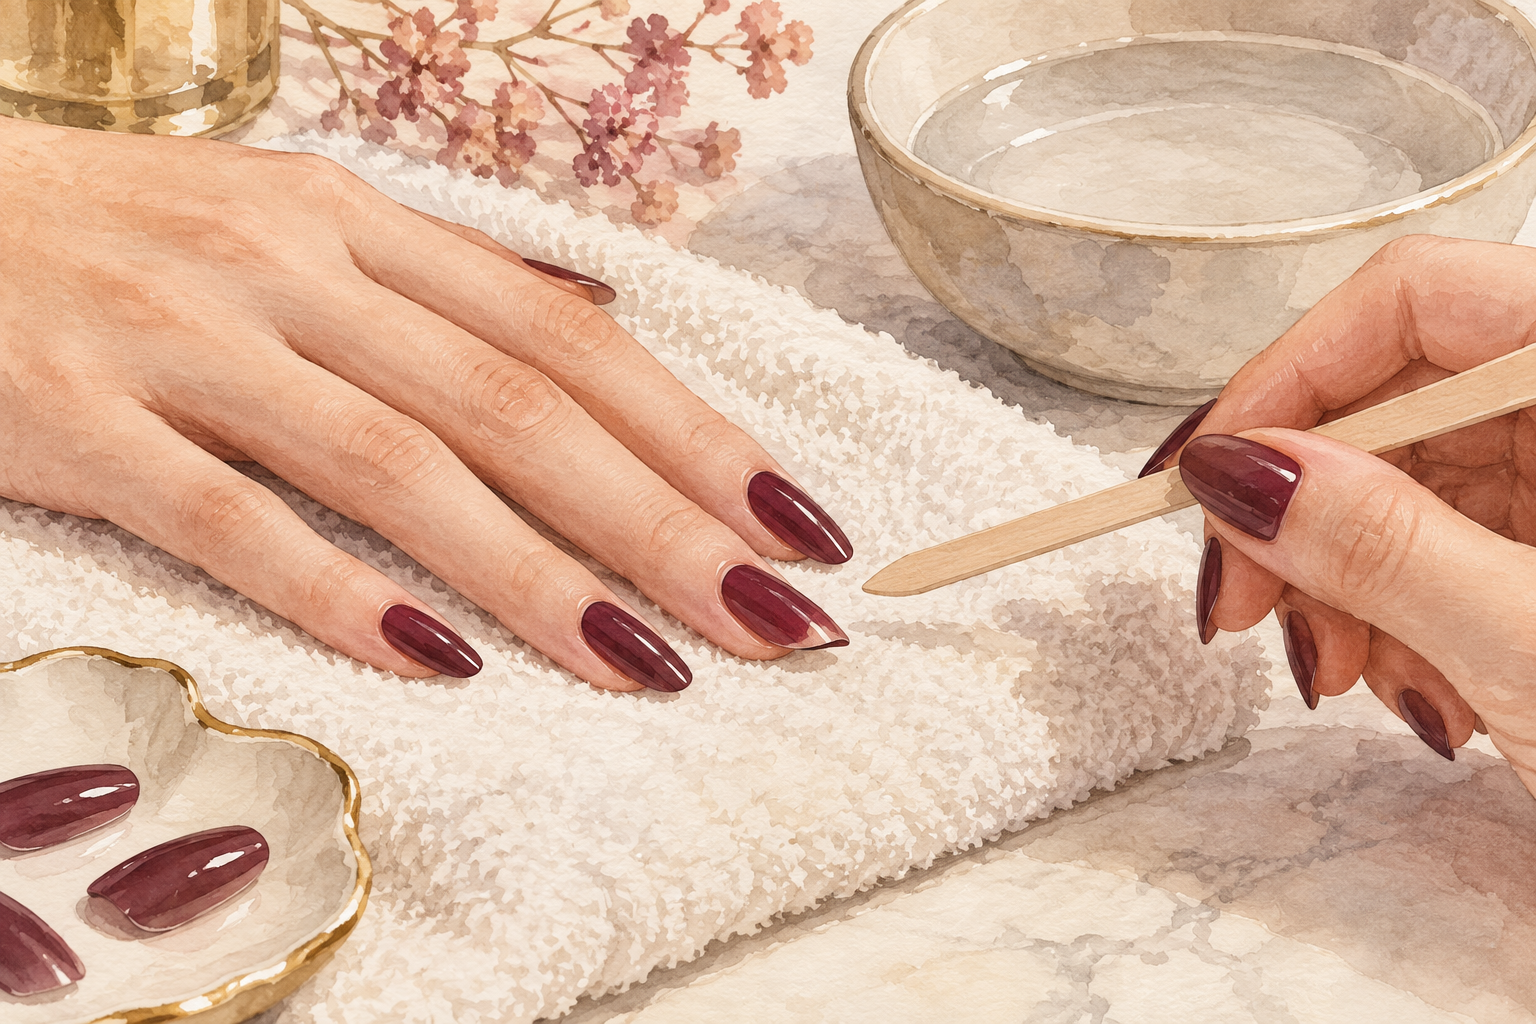
Start at the side near your cuticle, keep the stick flat and wiggle a tiny bit. Wait, then wiggle again, the way you would work a stuck jar lid. A nail that is ready lifts with almost no pressure. Keep the stick under the press on and off your own nail, or you will scrape the surface. If it resists, put the finger back in the water for five minutes. You should never feel pulling on your skin, so stop if you do. Work on one nail at a time and let the others stay in the water.
6. Let oil slip underneath
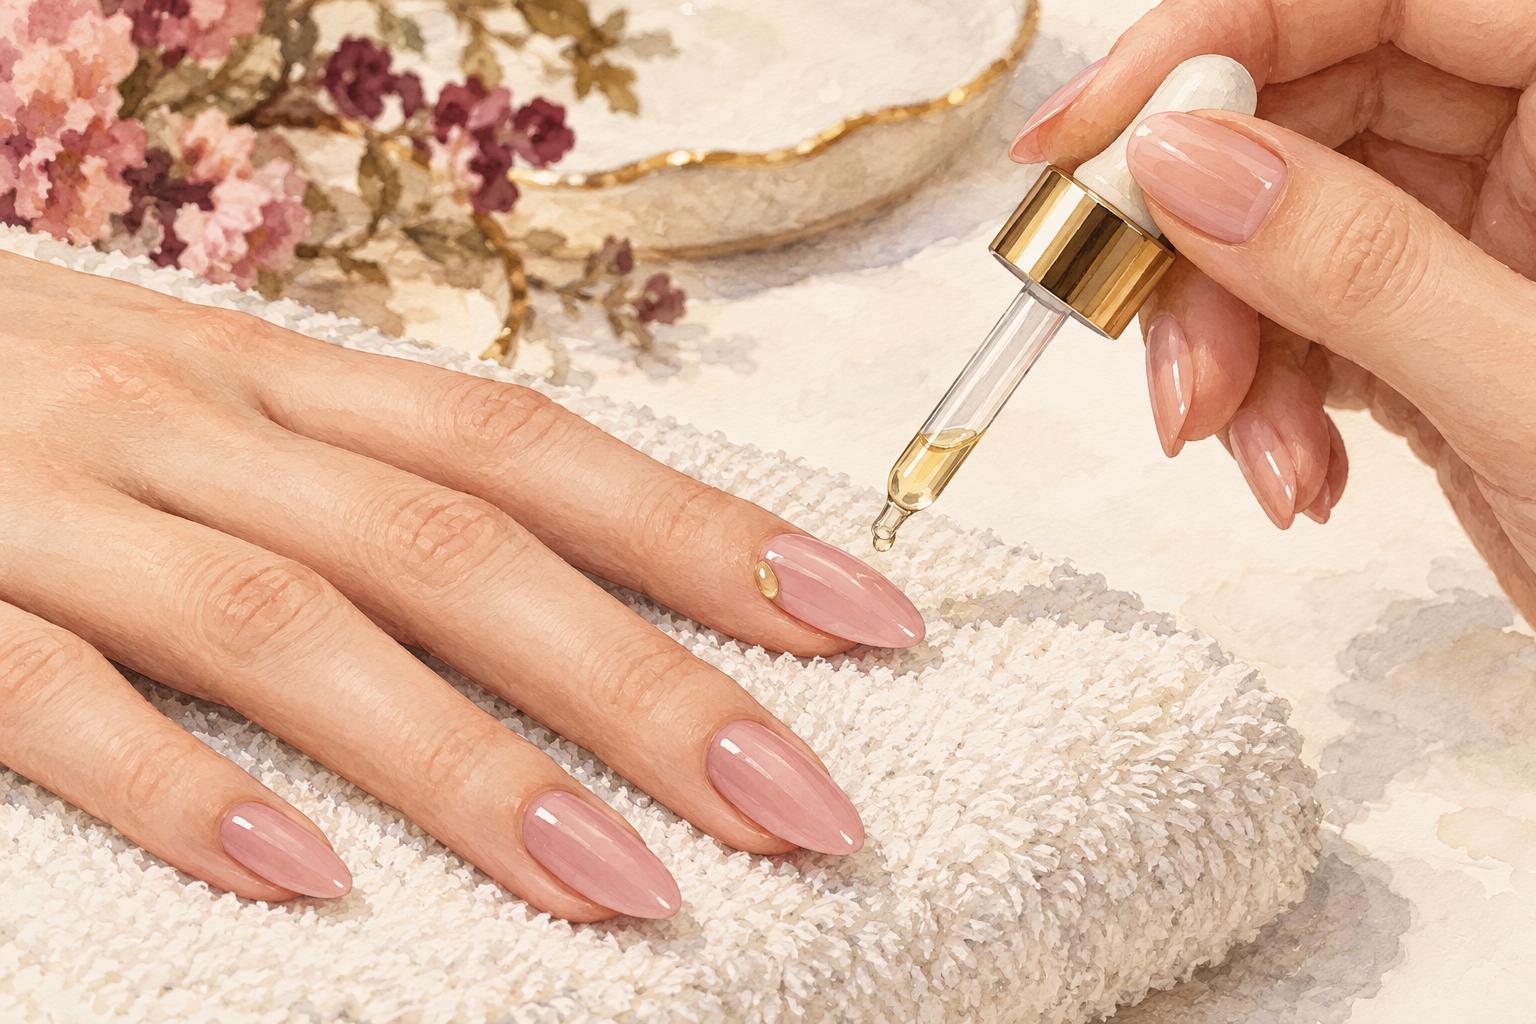
Put one drop of oil along the cuticle edge and sides, then wait three to five minutes. It slides into the thin gap and softens any tab gum left behind. It also gives you a fair chance of reusing the set, since nothing harsh touched it. Use only a drop, because too much oil makes the press on slippery to hold. If your skin stings or goes red, rinse the oil off and go back to plain soapy water. Then try the stick again, slowly, from the side nearest the cuticle. A little patience here usually saves the whole set.
7. Soak glue longer and rock it
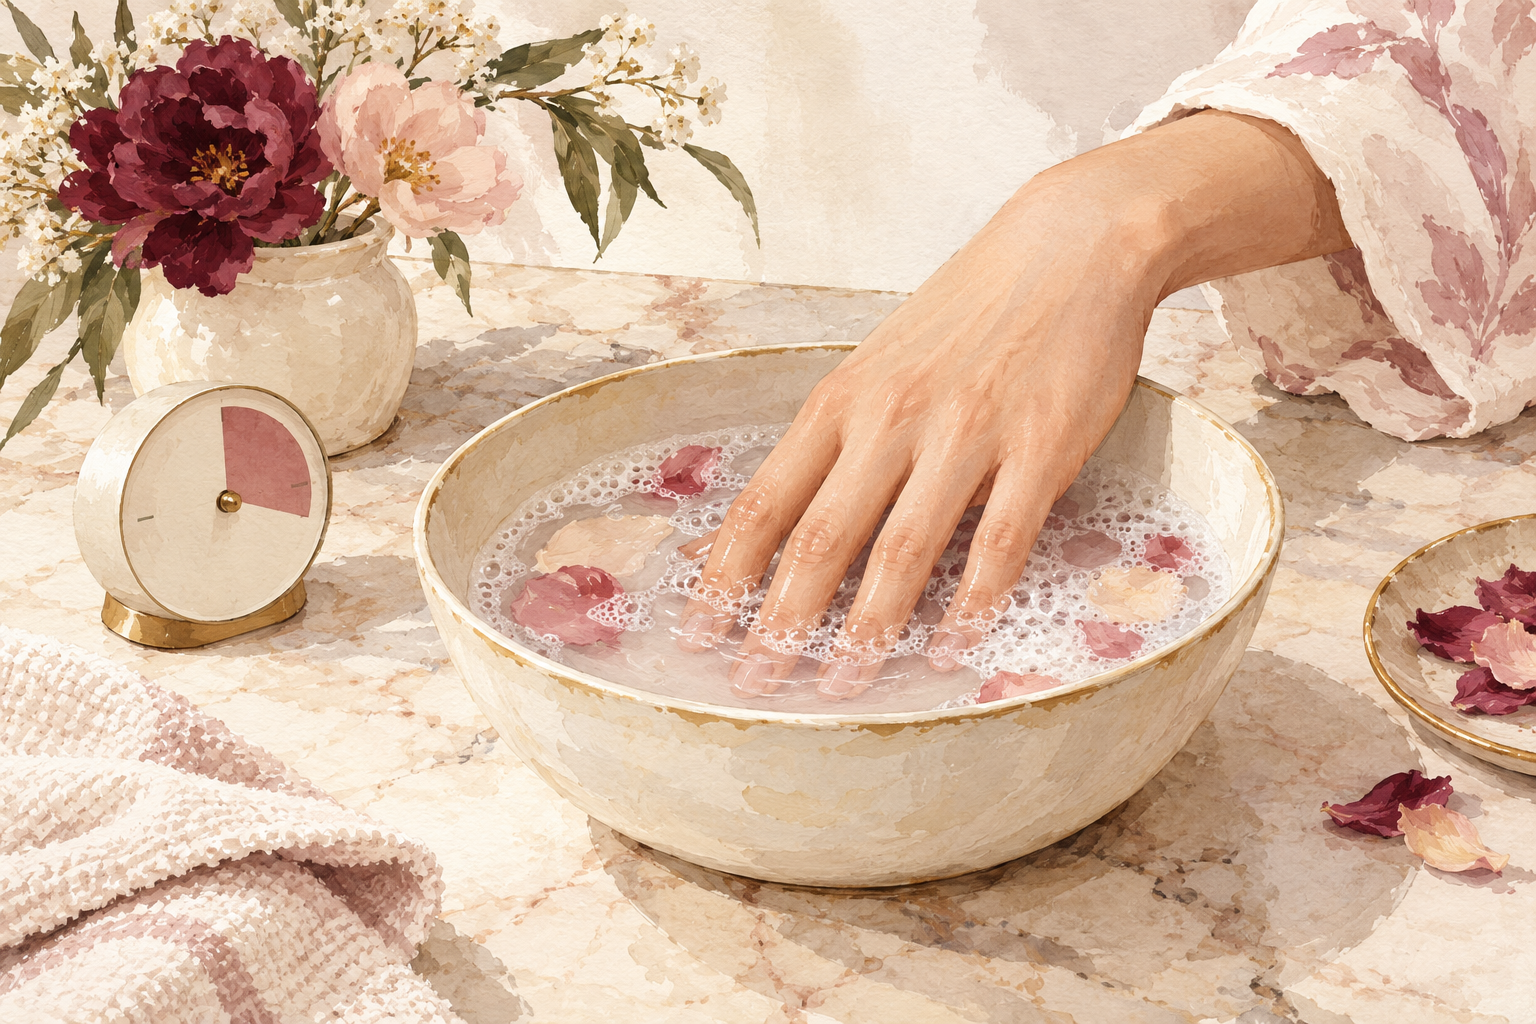
For glue, stretch the soak to twenty minutes and refresh the warm water once. Then rock the press on side to side by a hair while lifting very lightly at the edge. Glue gives way in a thin line, so a hairline of light appears before it lets go. Keep going slowly and let the water do the next ten minutes. If the nail will not rock at all, it is not ready, and more time will always beat more force. Never pull straight up, because a clean sideways release is what keeps your own nail smooth. Patience with glue is the real skill in how to remove press on nails.
8. Use acetone only as a last resort
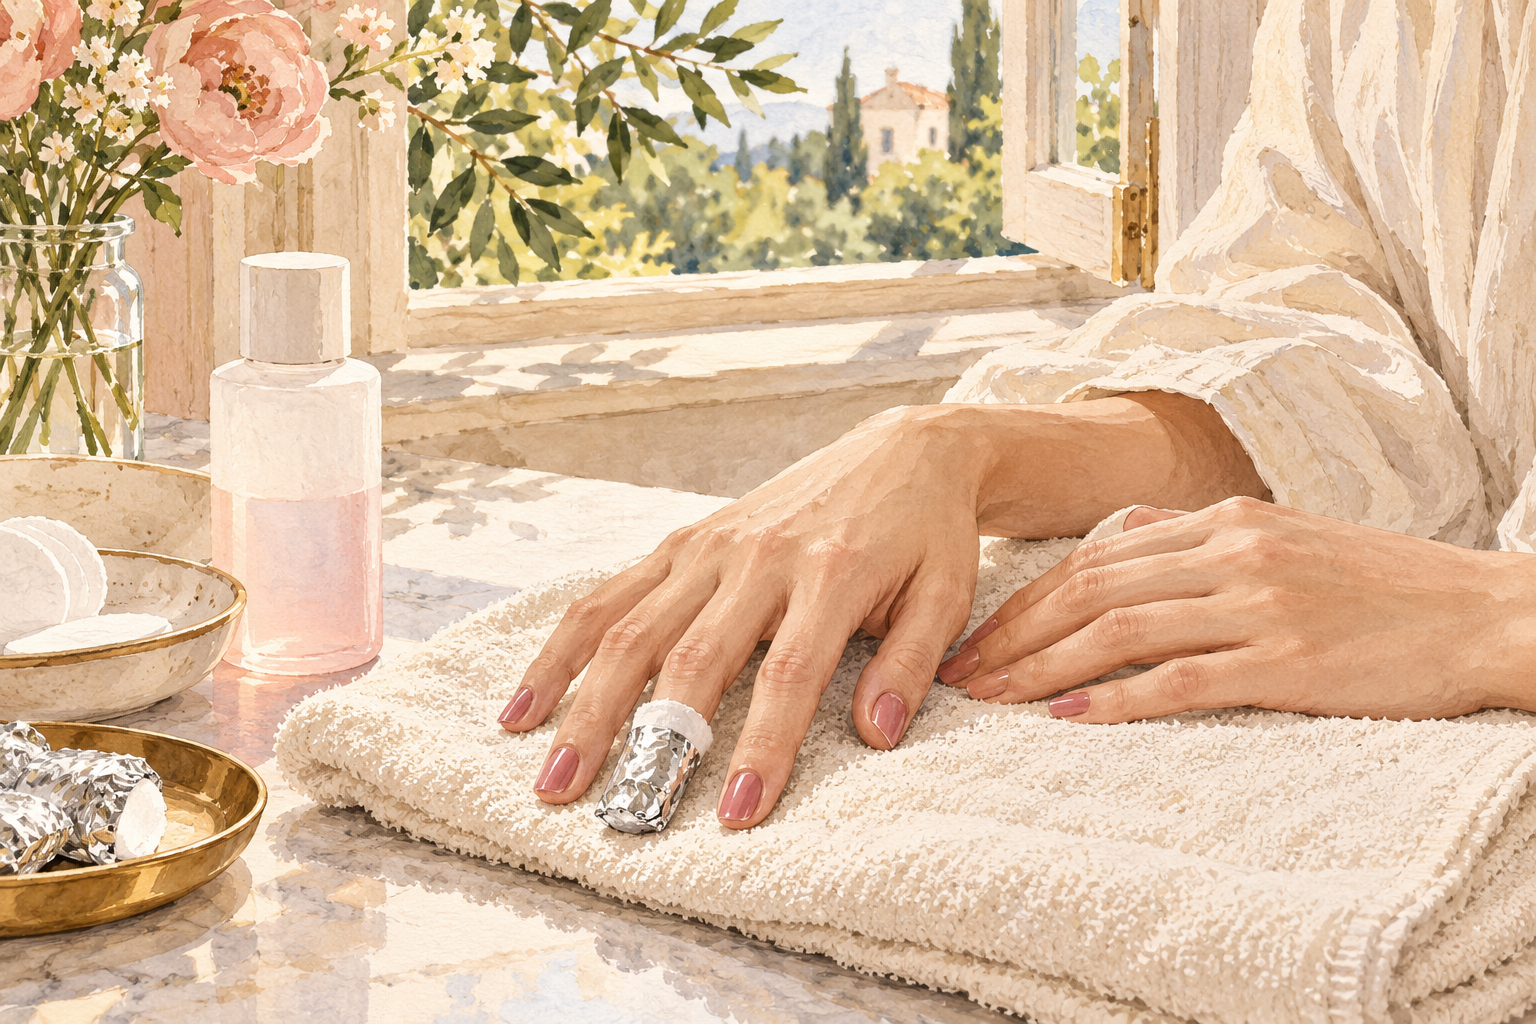
If glue still holds after two long soaks, use 100 percent acetone. It dissolves the glue, but it dries your nails and skin and usually ruins the press ons. Open a window, keep it away from flames and hot hobs, and rub oil on the skin around each nail first. Set a small piece of soaked cotton on the nail, wrap the fingertip in foil and wait ten to fifteen minutes. Do one hand at a time, then moisturize well and rub oil into the nail plate. Your nails will feel thirsty and a bit soft, so skip polish for that evening.
9. Leave a stubborn nail alone
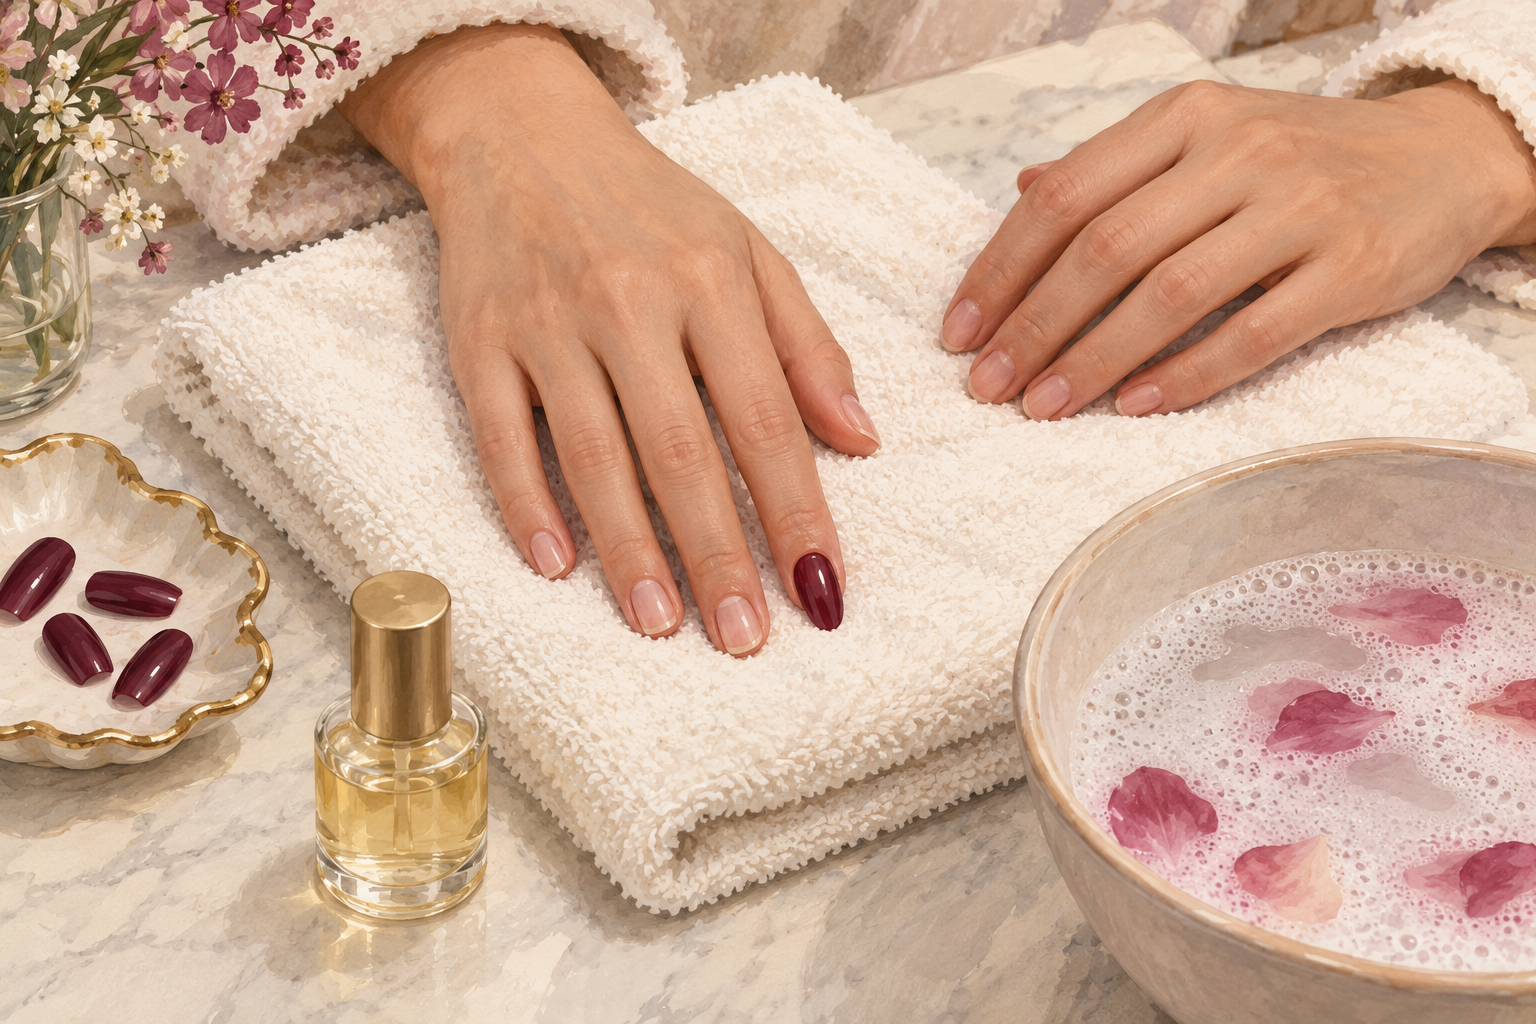
If one nail refuses to move, take off the rest and come back to it later. One stubborn nail is normal, and leaving it on for an hour beats forcing it. Rest your hands, rub in oil, then give it a fresh soak. Never bite it, pry it with a fork or peel it from the corner, because that is how thin layers of your own nail come away with the press on. A red or sore nail should be left bare with oil for a week. Wash your hands gently and keep them out of hot dish water until it settles.
10. Buff the leftover glue lightly
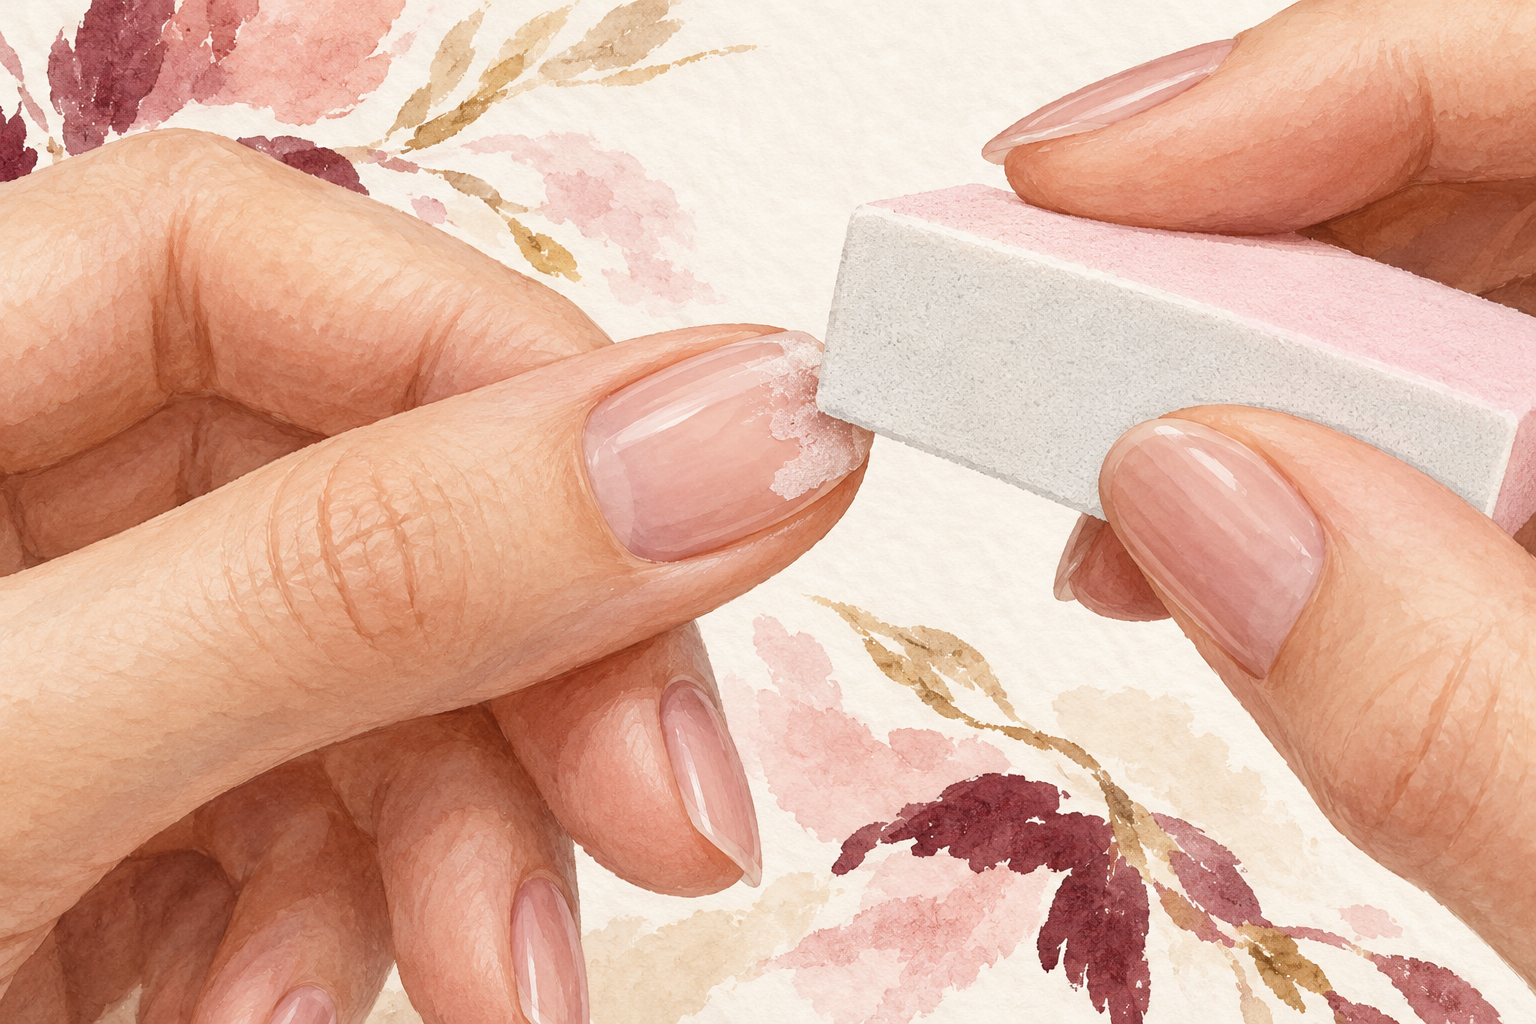
Use a soft buffer and make only a few light strokes, then look after each pass. A cloudy film or small glue patches may stay behind once the nail is off. The surface does not need to be perfect, because leftover film grows out, while an over buffed nail goes thin and bendy. A cotton swab with ordinary polish remover helps with stubborn spots. If the nail feels warm or tender under the buffer, stop right there and let it rest. Wash the dust off with cool water afterwards and pat the nails dry.
11. Skip the shortcuts that tear nails
Do not peel the edge with a fingernail, use your teeth, jam a metal tool under it or soak in water that is too hot. Each of those feels faster, and each one lifts a layer of your own nail. The swap is always more time and a gentler tool. A nail that comes off in a clean piece usually left the water at the right moment, so trust the timer. Hot water also swells the nail and makes the skin sting, which hurries nobody. If you want to wear them again, a gentle soak also keeps the set intact for reuse.
12. Care for the bare nails afterwards
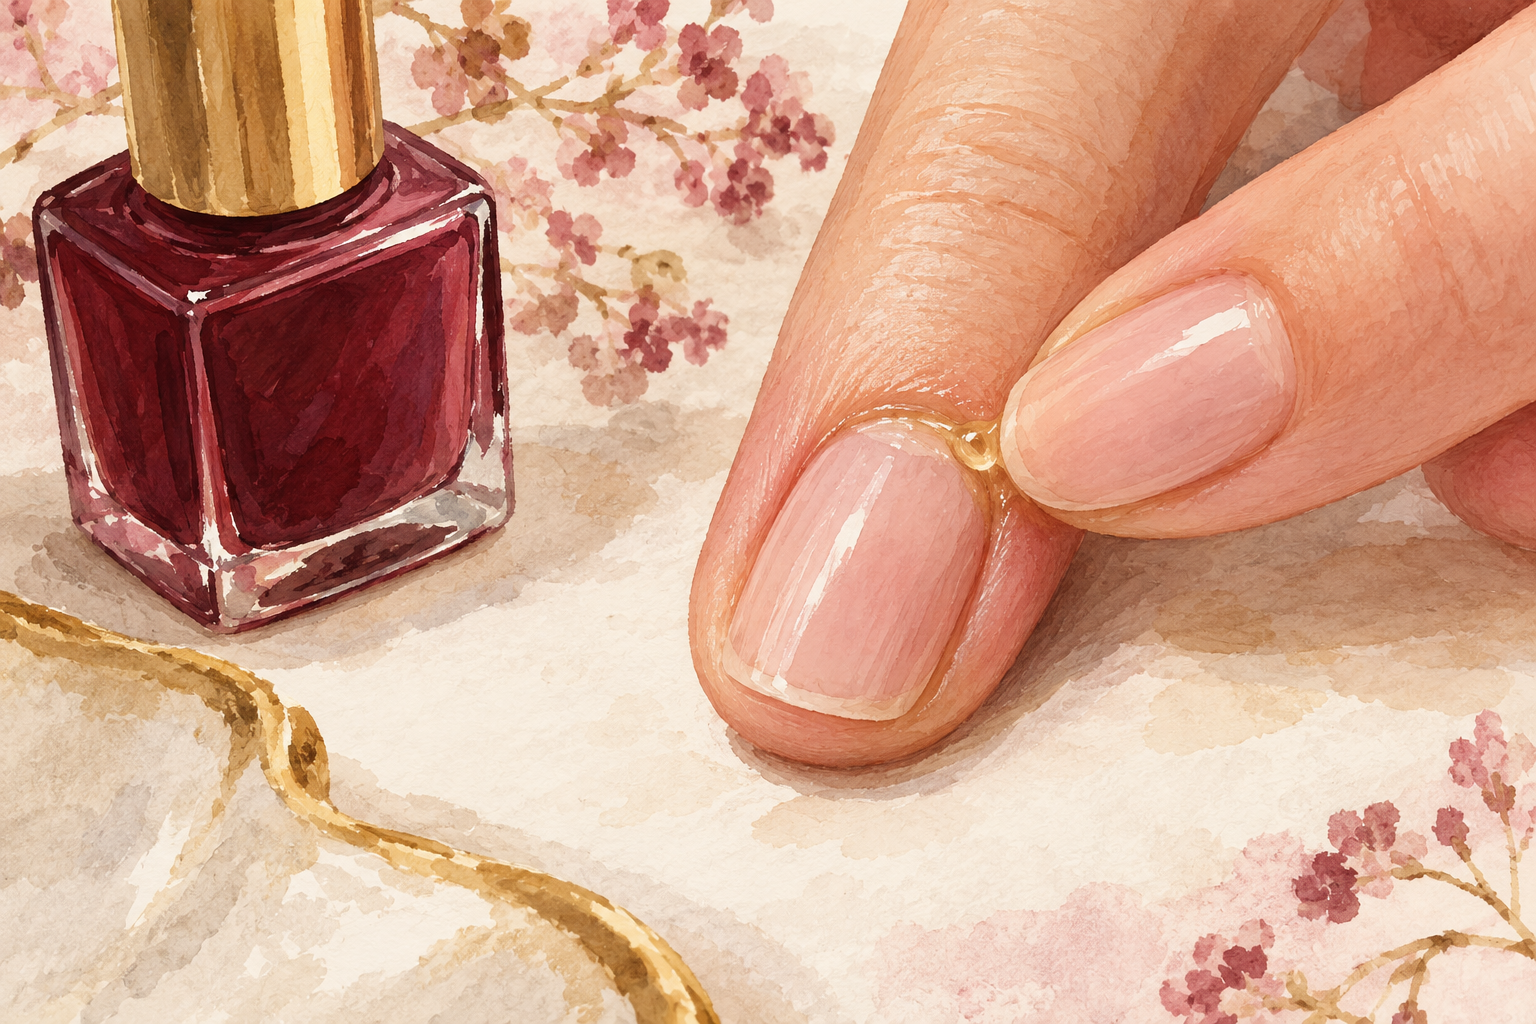
Press oil into every cuticle each evening and leave your nails bare for a week or two. In week one expect nails that look dry, a little flexible and sometimes pale, which is mostly thirst and a scuffed top layer. By week four the part near your cuticle grows in smoother. A nail takes four to six months to grow out fully, so oil helps comfort but only time removes the roughness. If you wear press ons every week, rotate in bare days so your nails can catch their breath. Keep your nails short and rounded while they recover, which cuts down on snags and splits. Rest first, then open nail repair when you are ready for the next step.
Complete the Routine: How to Remove Press On Nails and Look After What Is Underneath
Tonight, soak for fifteen minutes and finish with a thick coat of oil on every cuticle. Nails that come off clean have a better start, so let the bare days do their work and pick one guide below for this week.