You peel off the last of your polish and the tips split into layers, bend when you press them, or catch on every sleeve. No single bottle fixes every kind of damage, so nail repair starts with knowing which kind you have. Here are 12 gentle steps that match the fix to the damage, so start at number one tonight.
1. Sort your nails into one of four types
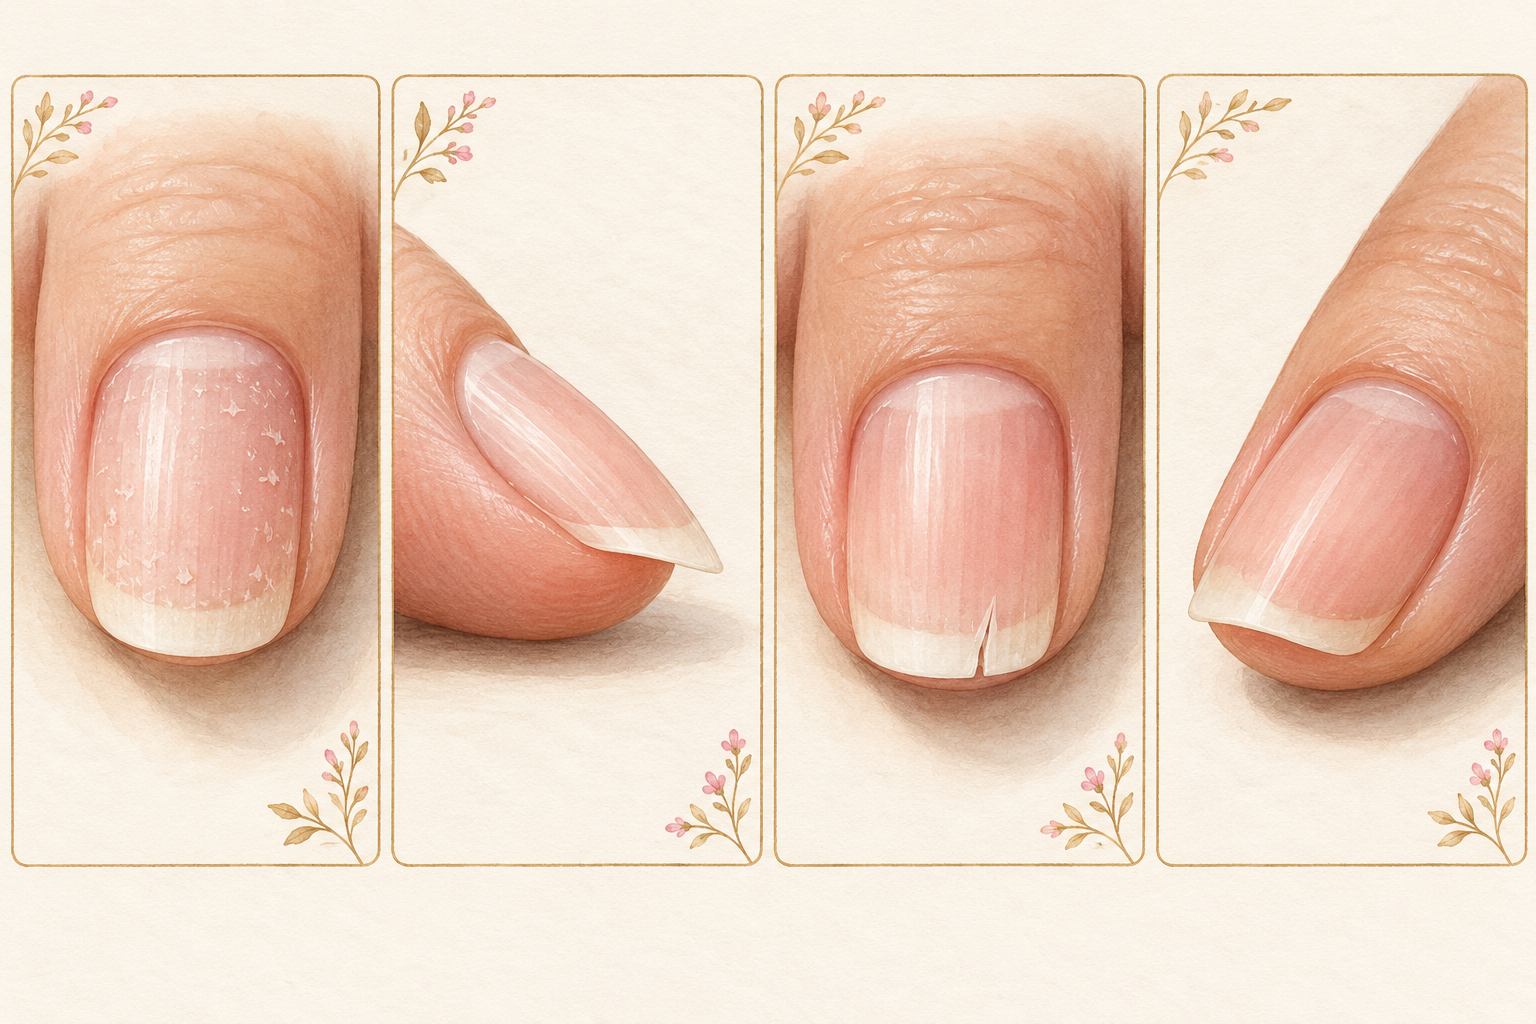
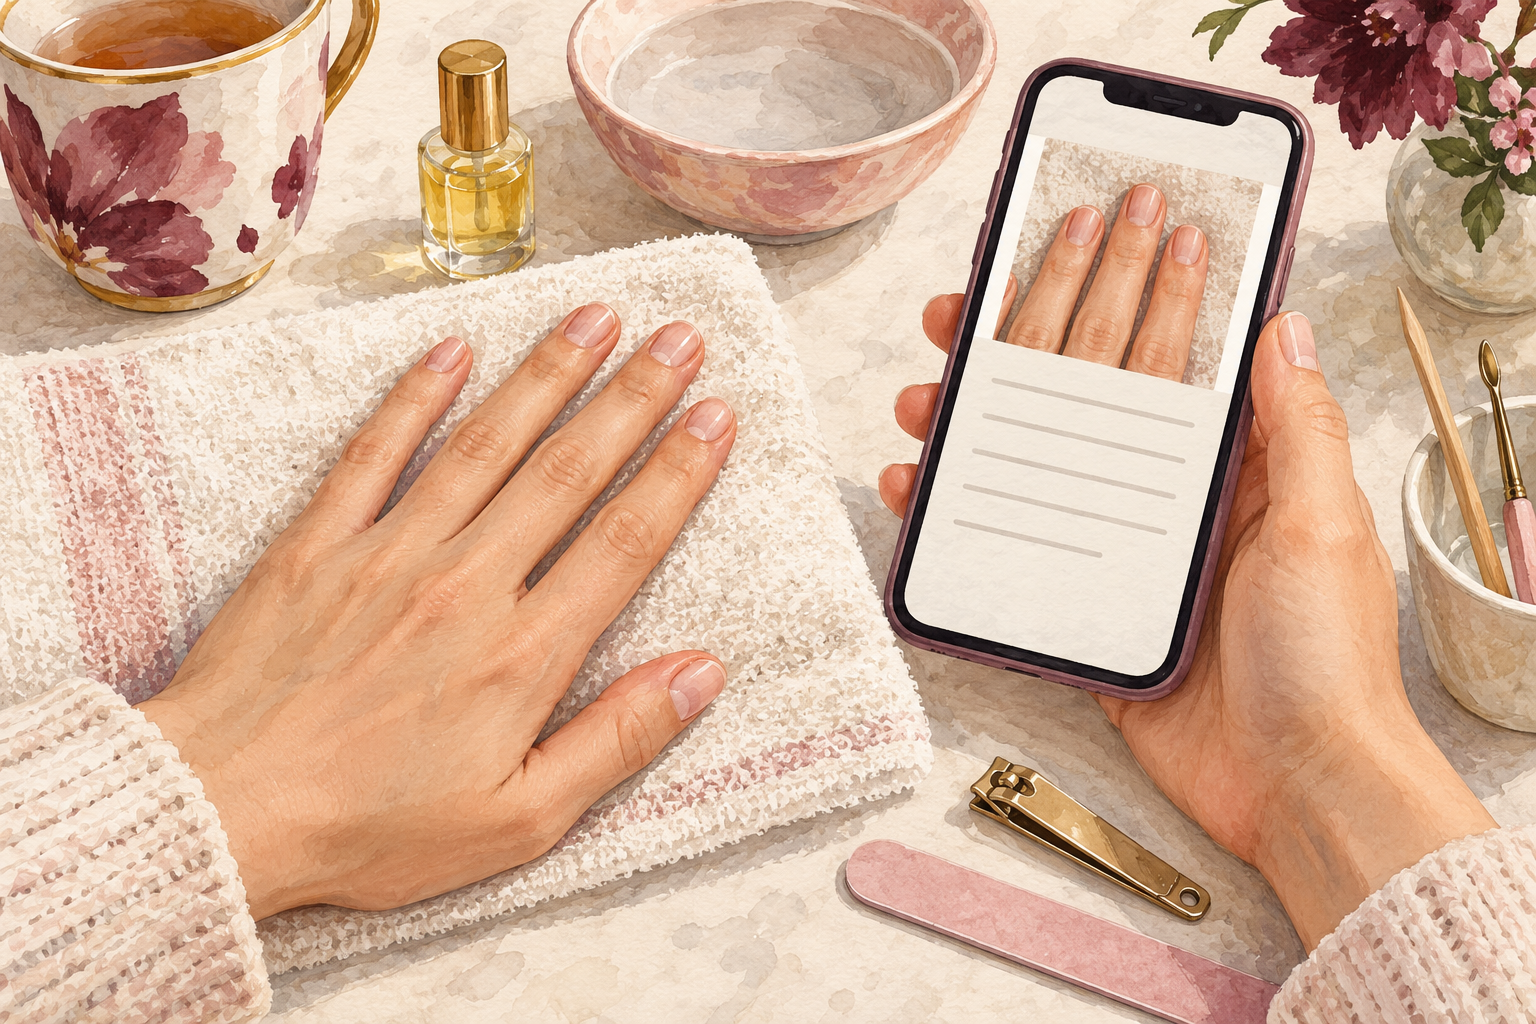
Look at each nail under a bright lamp and name its type: dry, thin, torn or lifting. Dry nails split into layers at the tip. Thin ones fold when you press them against a table. Torn nails have a crack or a catch partway down, and lifting nails show a pale gap under the free edge. Most of us have one main type and a bit of a second. Pick the one that bothers you most and let it lead your plan. Take a photo now so you can compare in eight weeks, and look at both hands, because they rarely match.
2. Find what is wearing them down
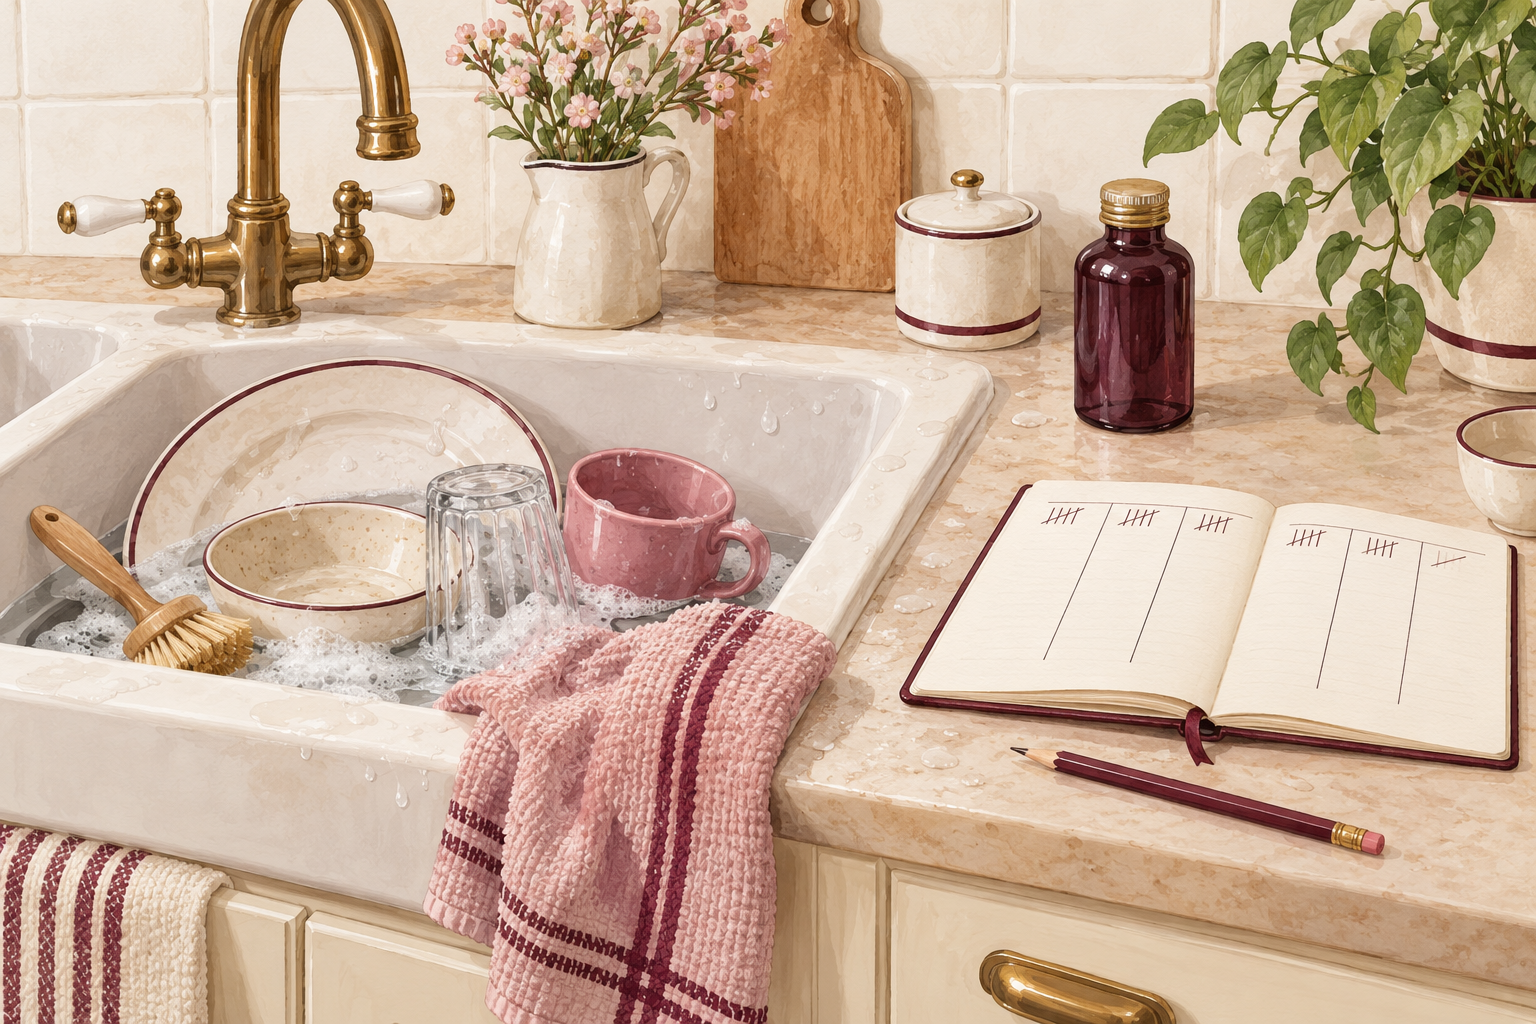
Count how many times a day your nails get wet, sanitised or scraped. Water swells the nail and then lets it shrink, and that swelling and shrinking pulls the layers apart. Hand sanitiser dries the nail fast, strong remover does the same, and using your nails as tools snaps the tip. You do not need to avoid water altogether. You just need to notice the biggest culprit in your own day, because that is the first thing to change. For most people it is dishes, sanitiser or picking. Jot it on a sticky note by the sink so you see it daily.
3. Stop peeling off polish and picking at edges
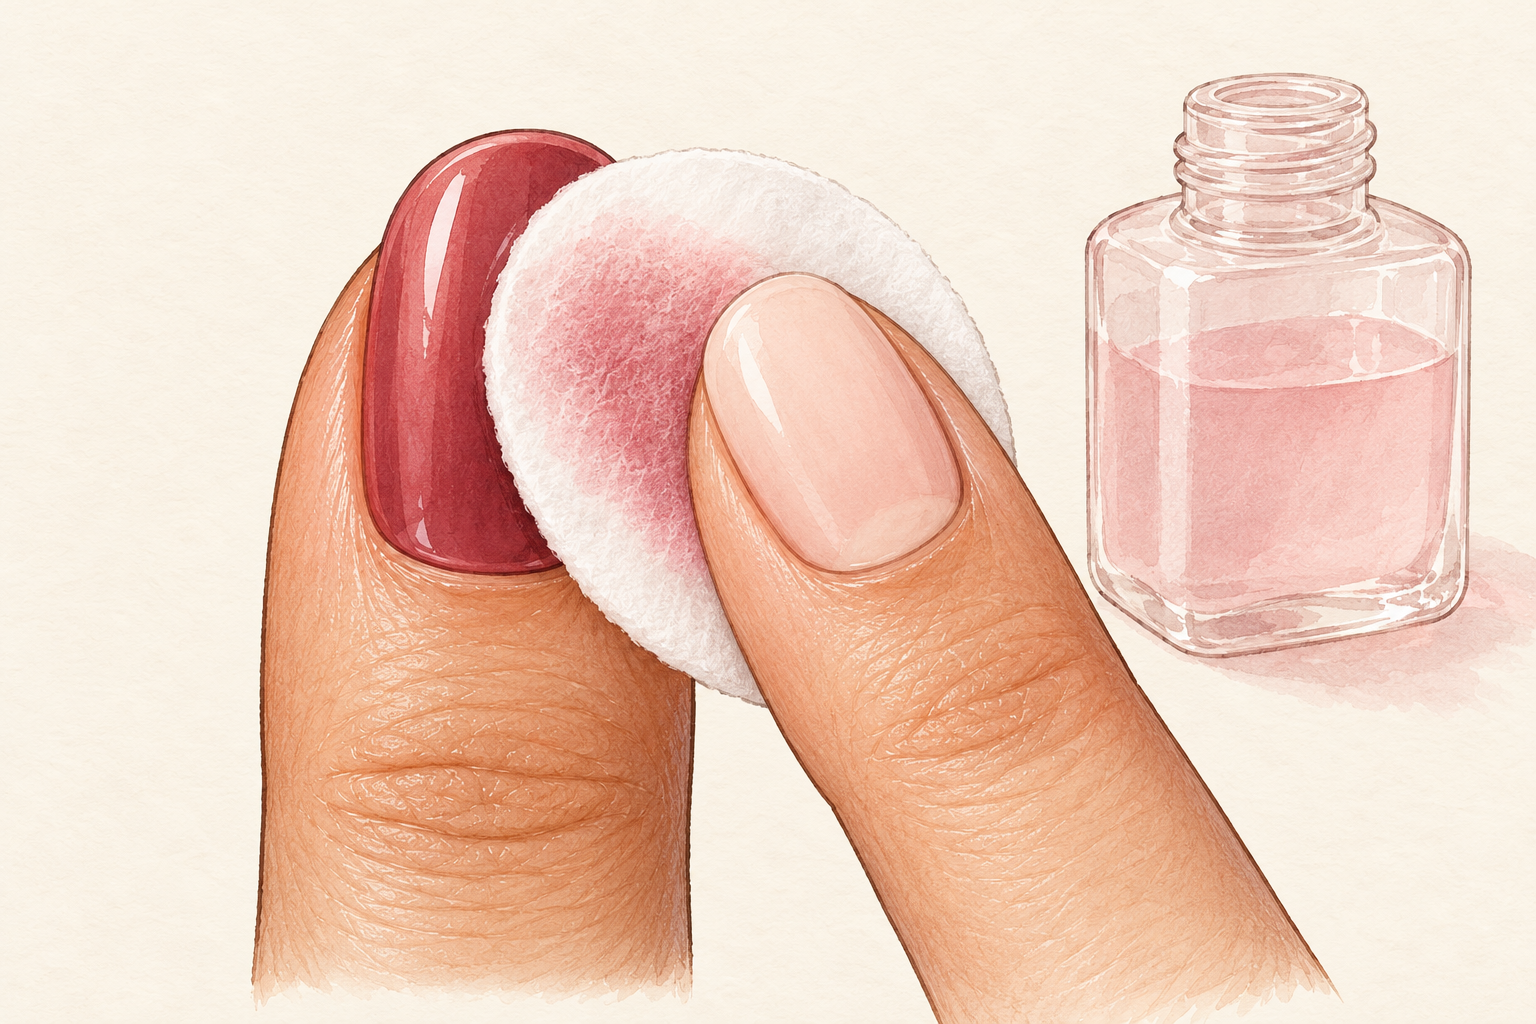
Soak a cotton pad in remover, hold it on each nail for ten seconds, and wipe once. Peeling polish off in a sheet takes the top layer of your nail with it, which is exactly how thin patches begin. The same goes for picking at a loose flake. Pick a remover without acetone while your nails are healing, and rub in a drop of oil afterwards. If a flake is catching, snip it flat instead of pulling. Your nails cannot repair what you keep tearing, and the shiny, smooth surface underneath will thank you by next week. Peeling is its own problem, so keep peeling nails open for that side of things.
4. Give gel and acrylic a long break
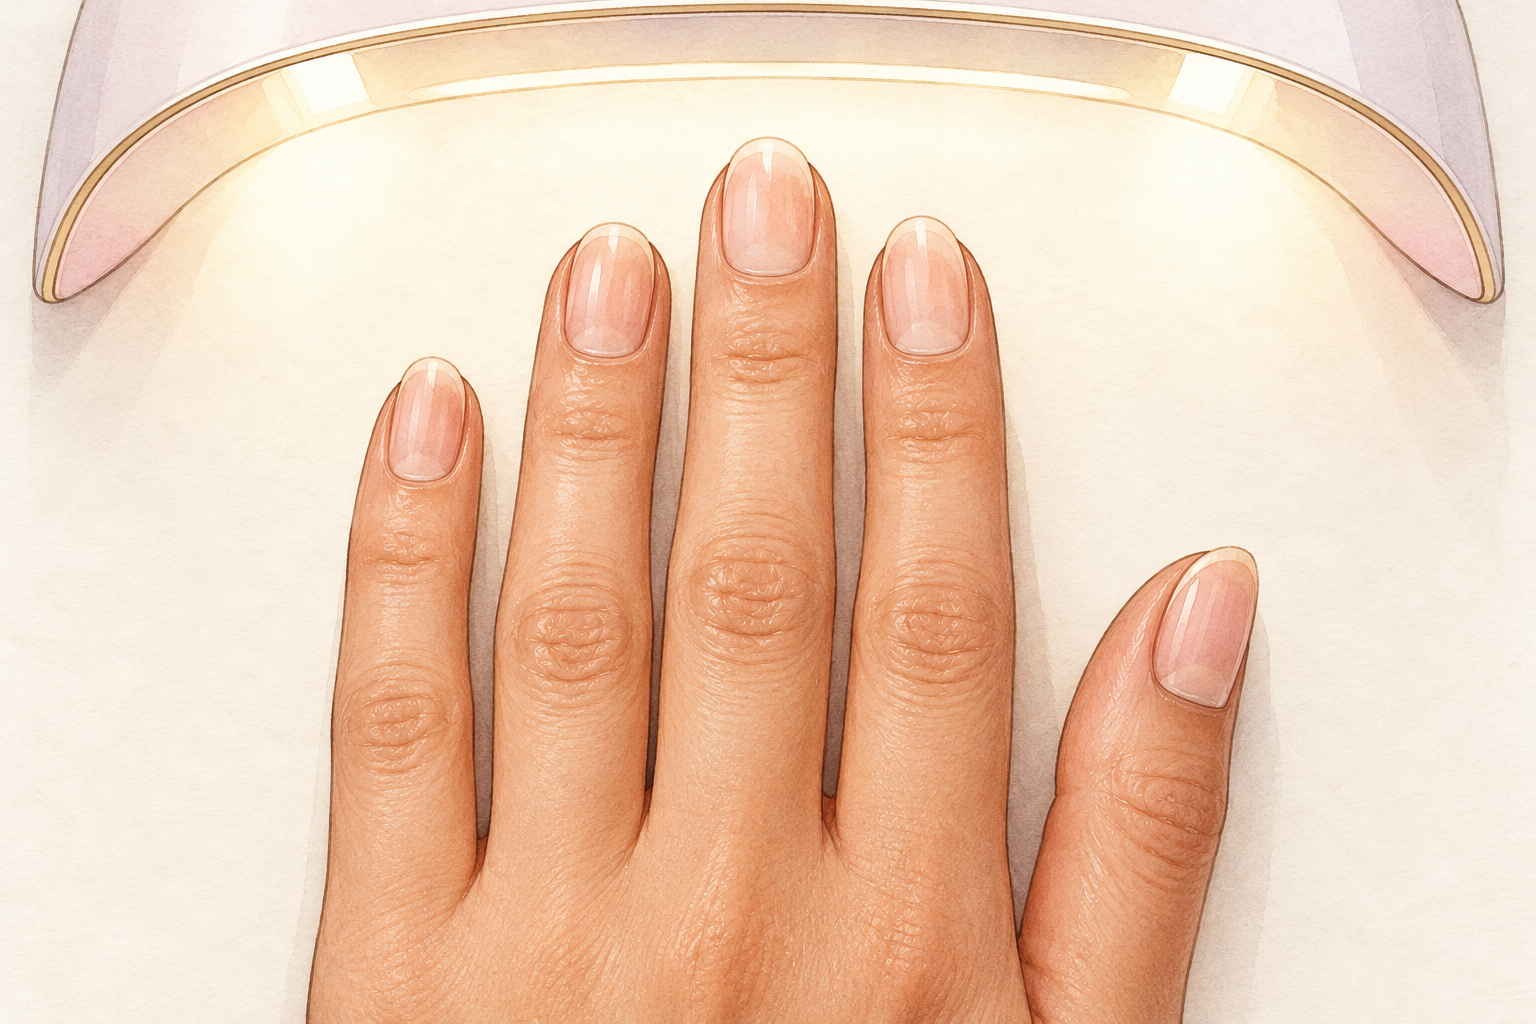
Have the set soaked off properly, then leave your nails bare for four to eight weeks. Covering weak nails with hard layers hides the damage, and taking them off often strips another layer away. If you are mid set, never peel or pry it. Soak it and let it slide off. Keep nail repair simple during the break: short nails, oil and clear polish only. When you go back to enhancements, space them out, especially in winter when nails are driest. A bare nail looks plain for a few weeks, and then it starts to look like yours again.
5. Cut back to the last firm point
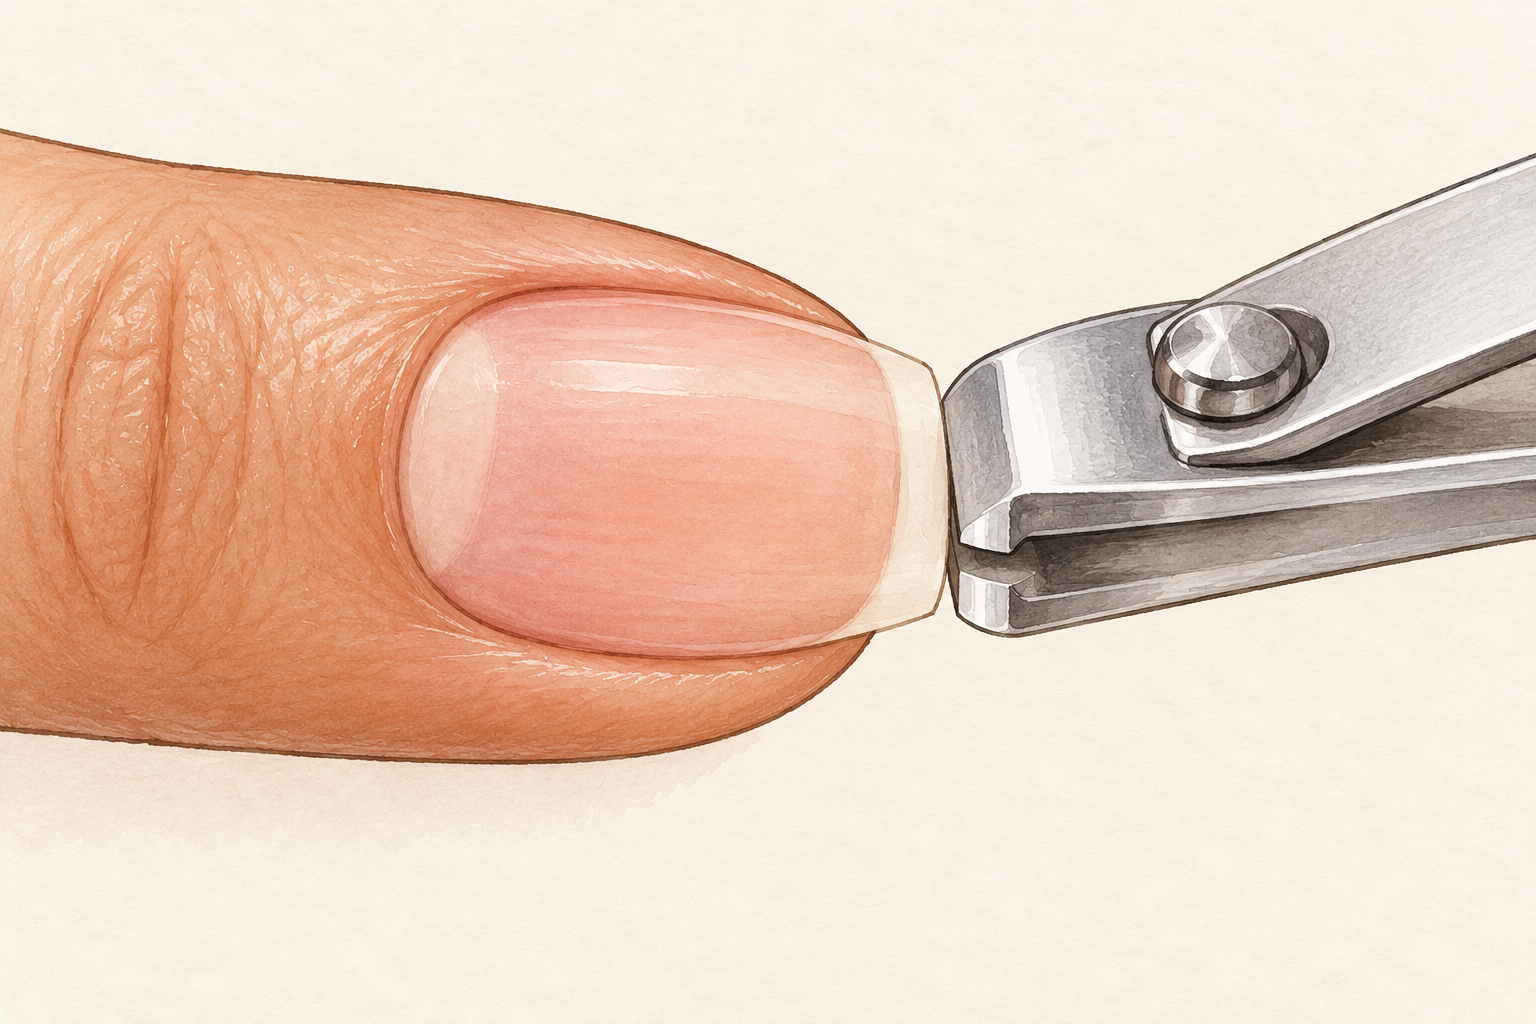
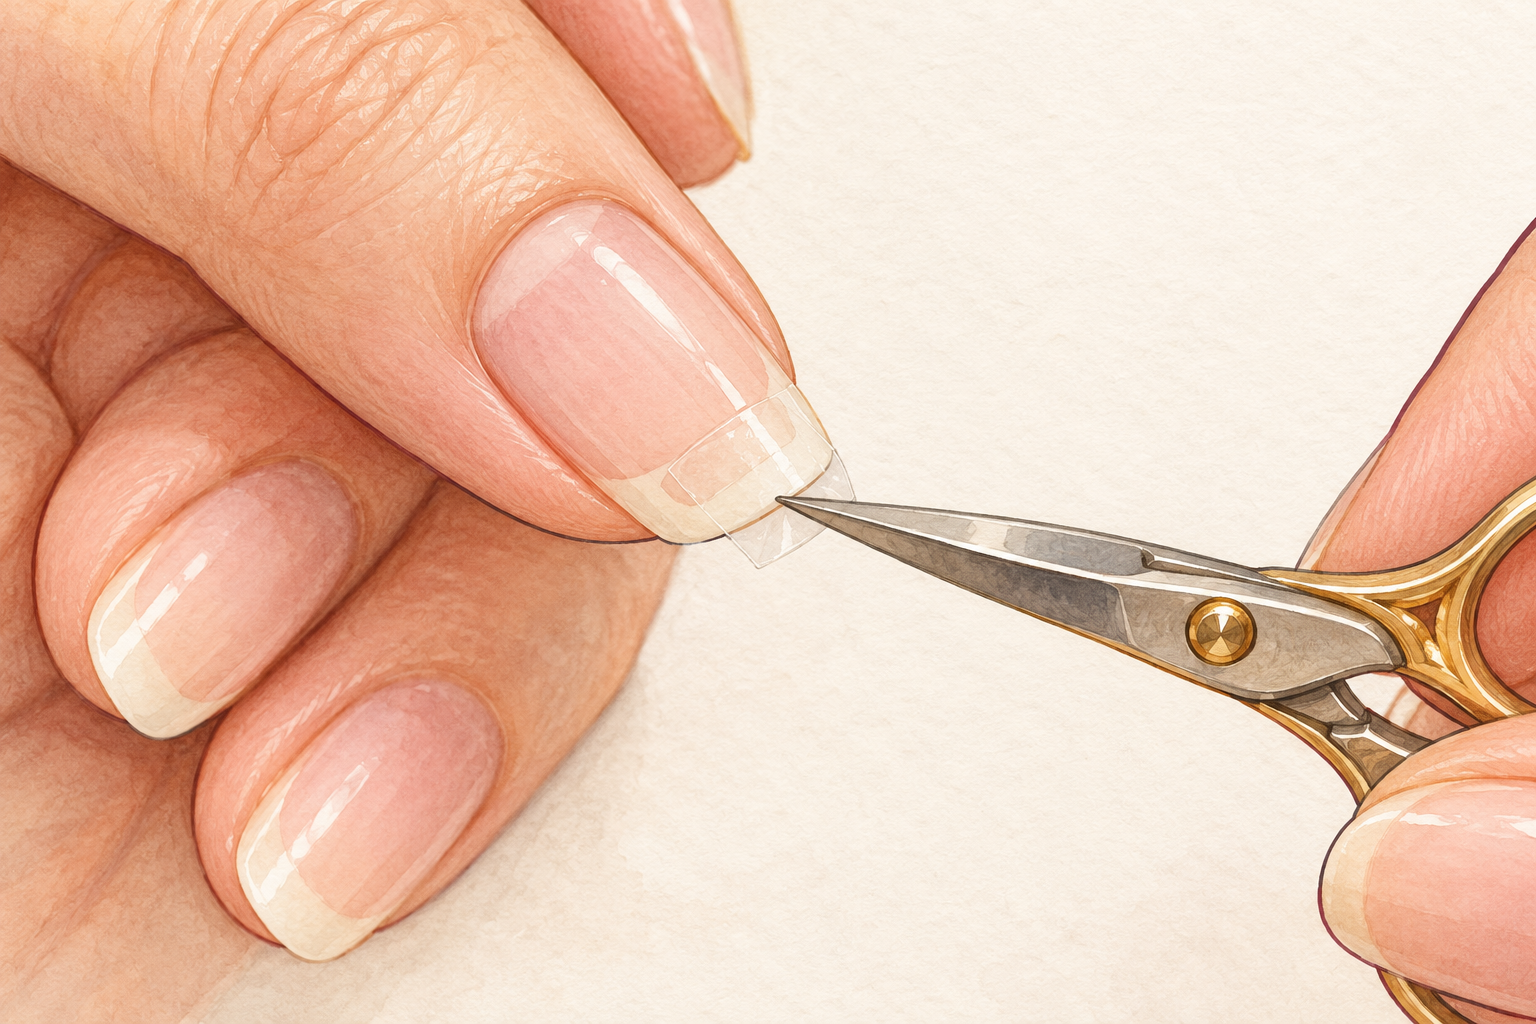
Clip the nail short, right down to where the crack stops and the nail feels solid. A long damaged nail acts like a lever, and the crack travels a little farther each time it catches. It feels wrong to lose length, but you are trading a few millimetres for a nail that can finish growing. Use several small snips instead of one big bite. Do this before any cream goes on, because a cracked edge keeps snagging and undoes your work by Wednesday. Keep the clipped bits off the floor, because they find bare feet.
6. File in one direction, edge only
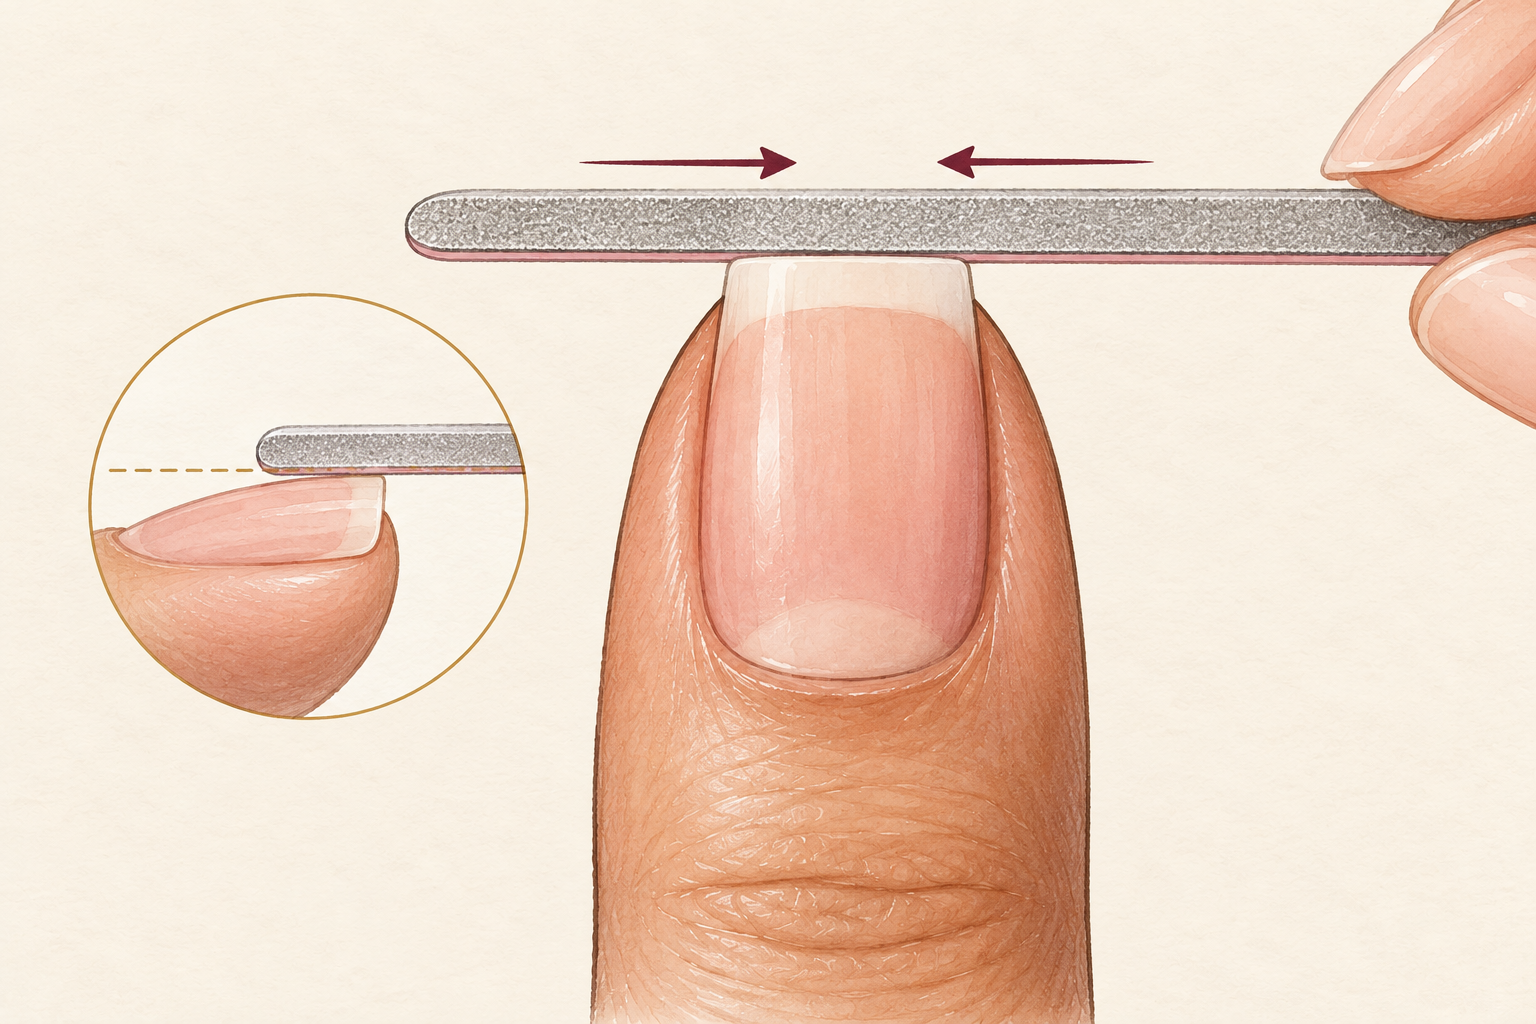
Glide a fine glass file from the side toward the middle, and never saw back and forth. Sawing tears the layers apart, which is why so many nails start peeling right after a quick file. Two or three light passes on each side is plenty, and you should hear almost nothing while you file. Run your fingertip around the edge, and if it catches, smooth it once more. Leave the flat top of the nail alone, especially if it is thin. Buffing the surface removes layers you cannot afford to lose right now. A glass file is gentle and rinses clean under the tap, so it earns its small place in your drawer.
7. Moisturize after every single wash
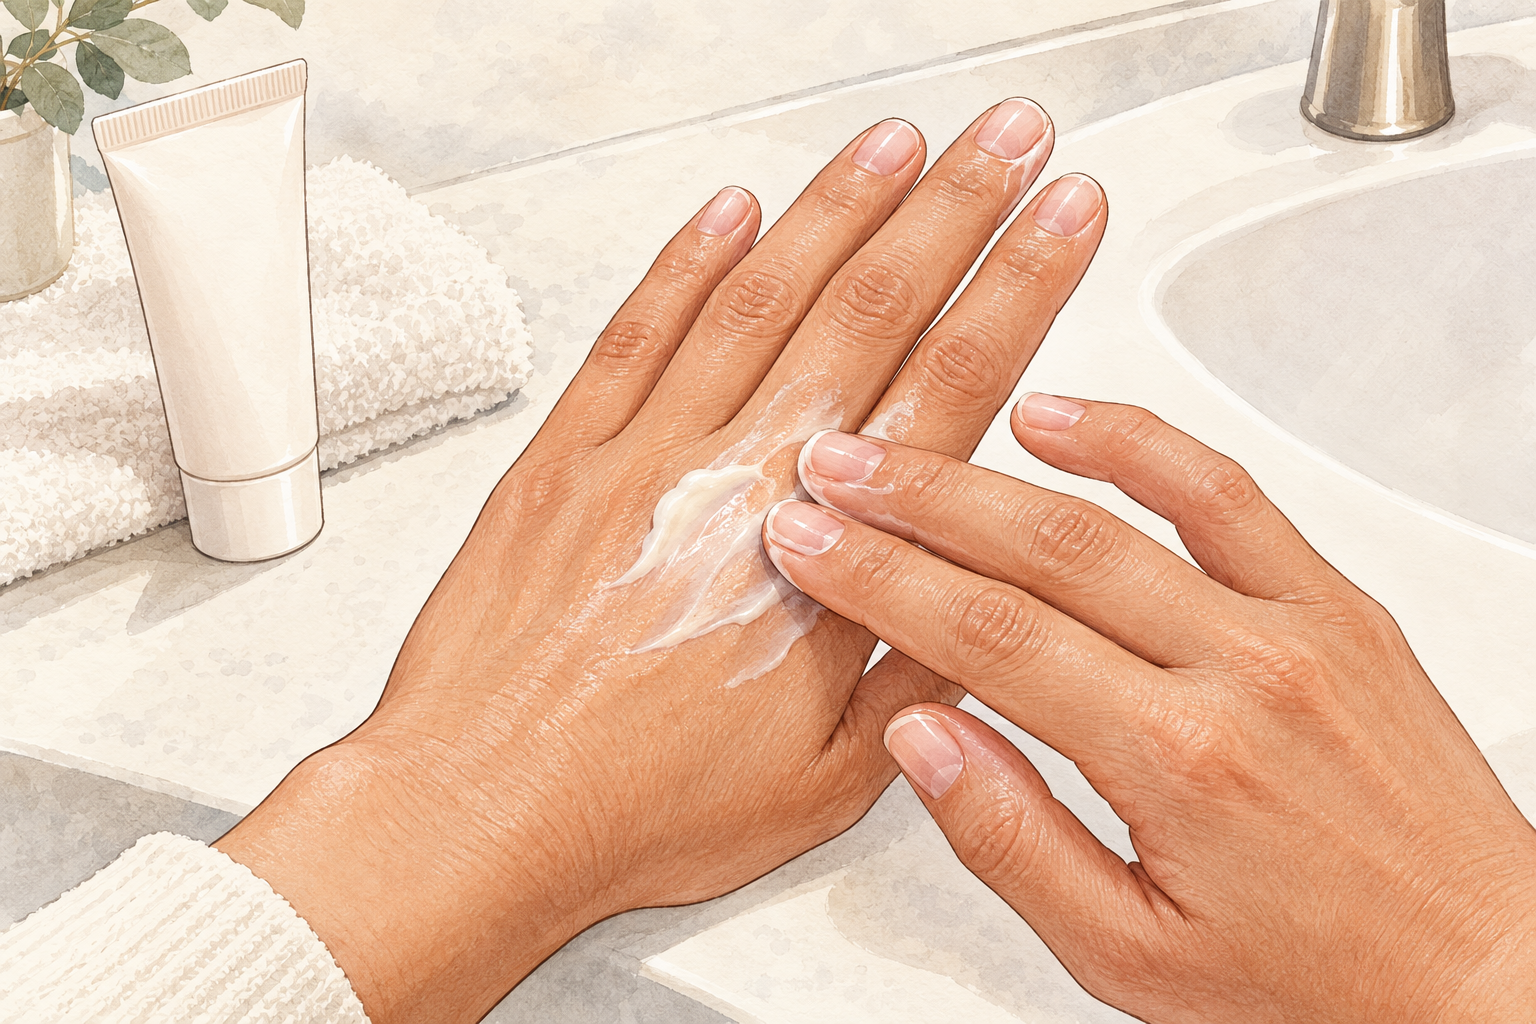
Keep a thick cream by each sink and rub it into your nails every time you dry your hands. This is the heart of nail repair for dry and brittle nails. The nail loses water faster than skin does, and cream slows that loss. Massage it into the cuticles too, since that is where new nail is born. Choose a cream that feels rich, not slippery, and add a second layer before bed if your skin feels tight. Dry nails soften within a week or two, and the white flaky look at the tips fades first. After a week of cream, you can open how to strengthen nails and try the next step.
8. Seal them at night with a gloves trick
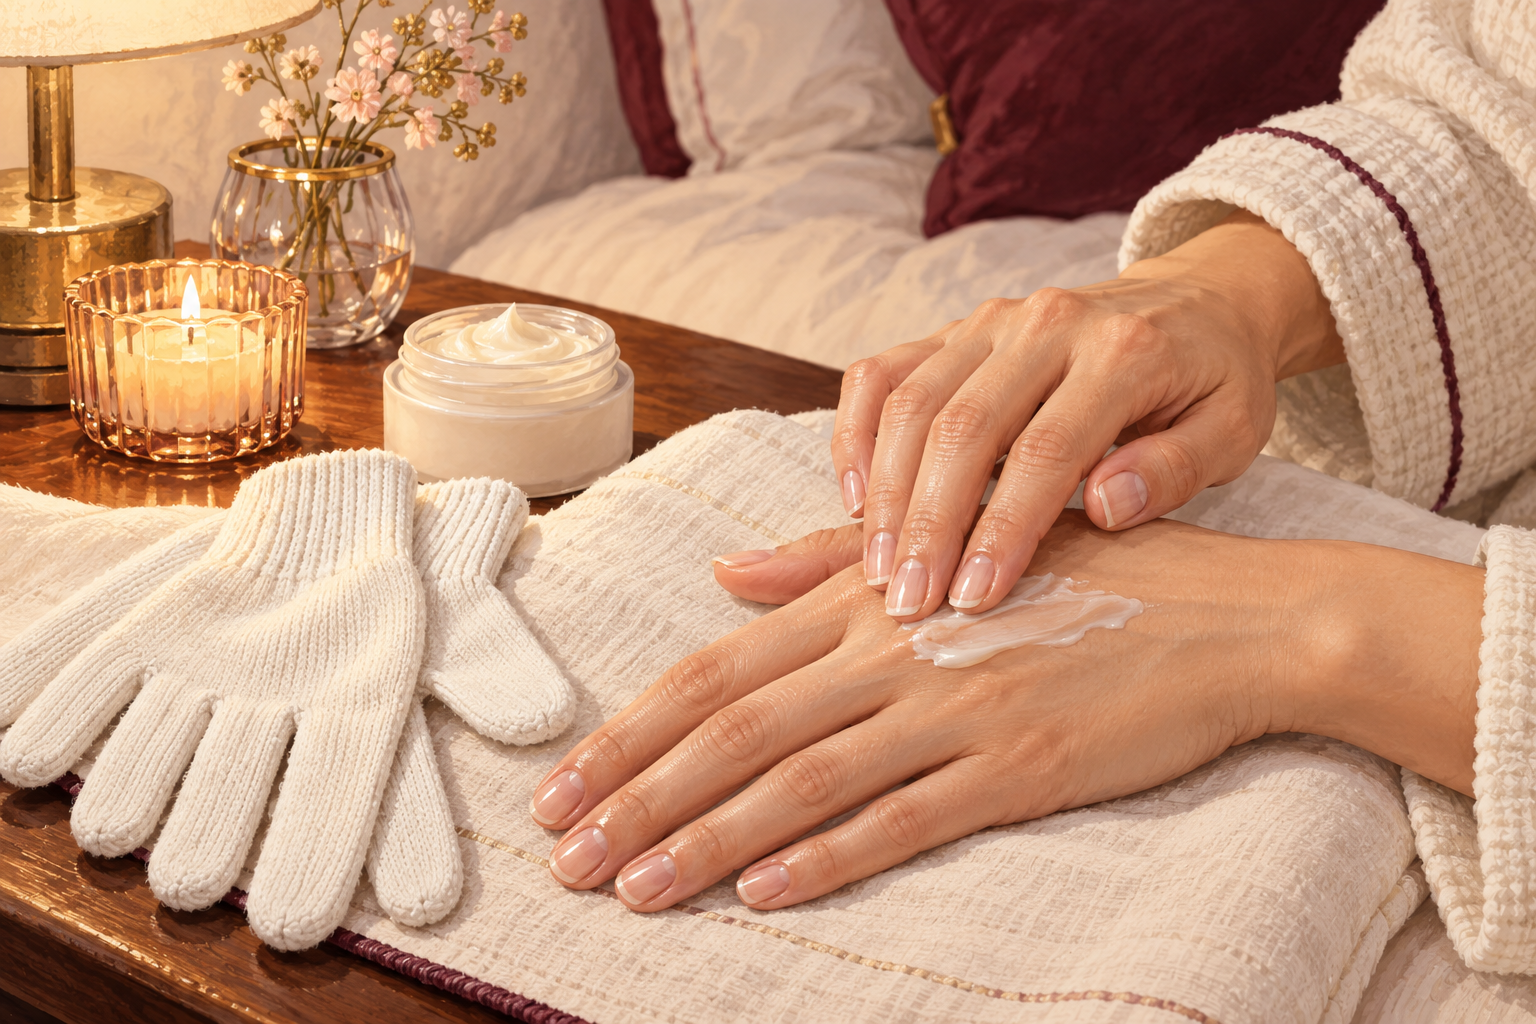
Smooth a thin film of petroleum jelly over your nails and cuticles, then slip on cotton gloves. Some people call this nail slugging. The jelly adds no moisture of its own, but it holds in the water your cream just put there. Do it two or three nights a week, and expect slightly greasy sheets unless you wear the gloves. Patch test on one finger first if your skin is sensitive, and stop if it itches. Mornings after, the nails often look glossier and less papery. Wash the gloves weekly, because they soak up all that jelly.
9. Protect a tear or a thin nail while it grows out
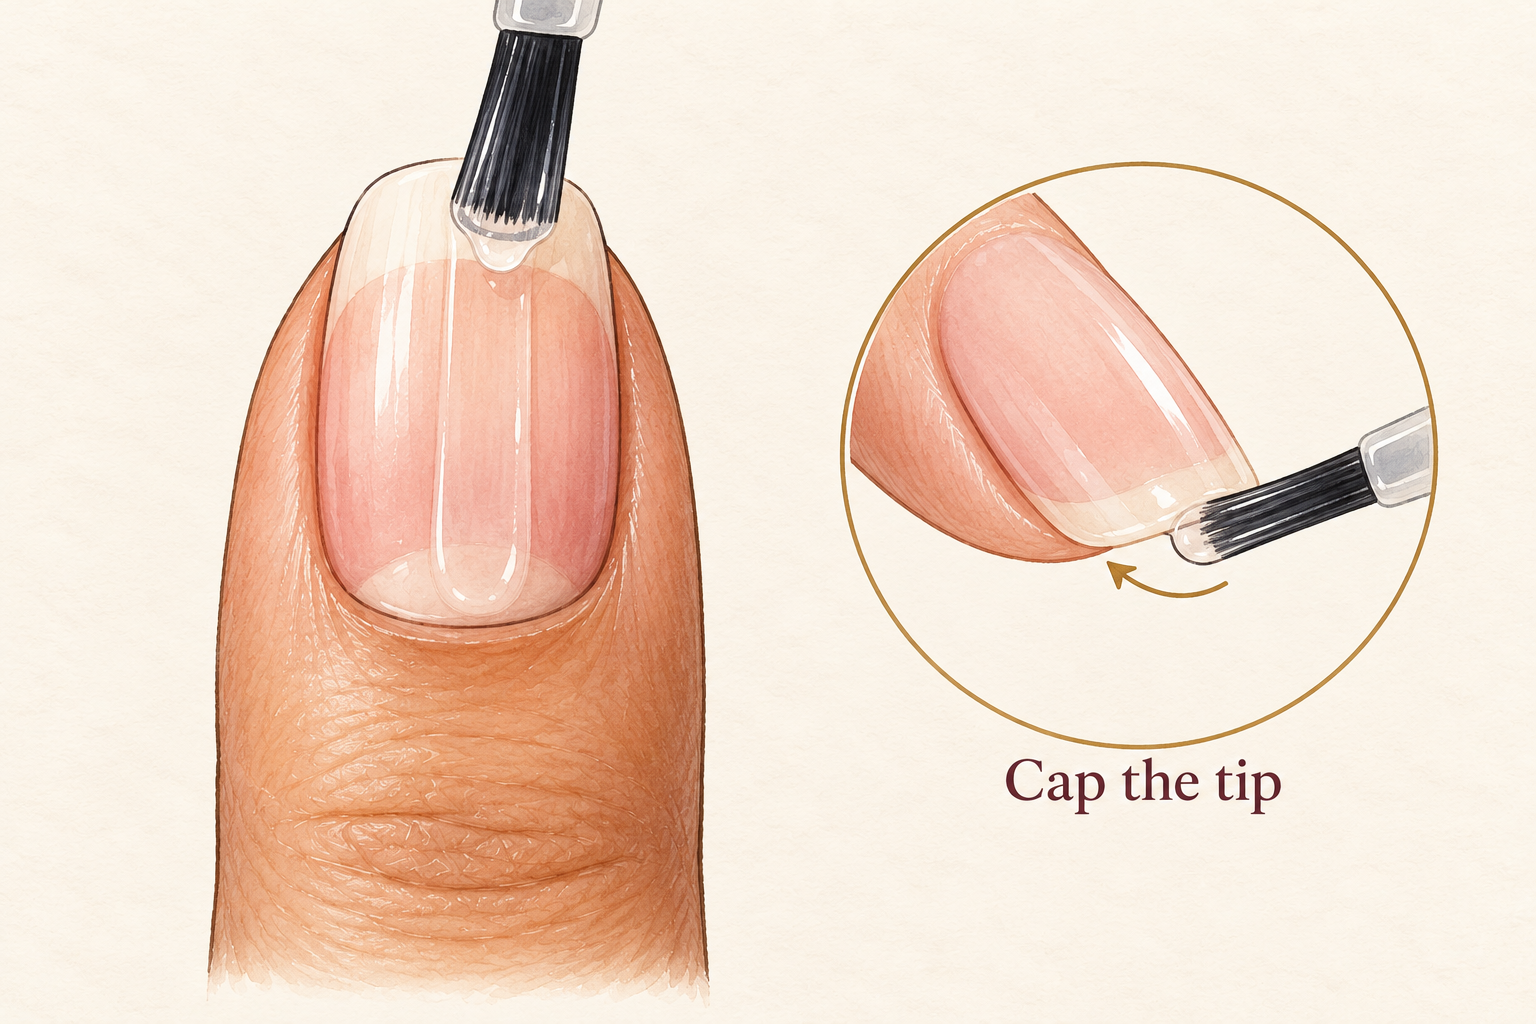
Brush one thin coat of clear polish over a torn or bendy nail, and redo it every four or five days. The coat works like a splint, so the nail flexes less and catches less. Choose a plain clear formula, and remove it gently when it chips instead of letting it flake away with a layer of nail underneath. For a lifting nail, keep the free edge short so nothing can pry under it. Leave the tear short and check it each morning. Torn nails move the problem toward the tip as they grow, and you simply clip it off. Keep a file in your bag for snags, so you never reach for your teeth.
10. Put on gloves for dishes and cleaning
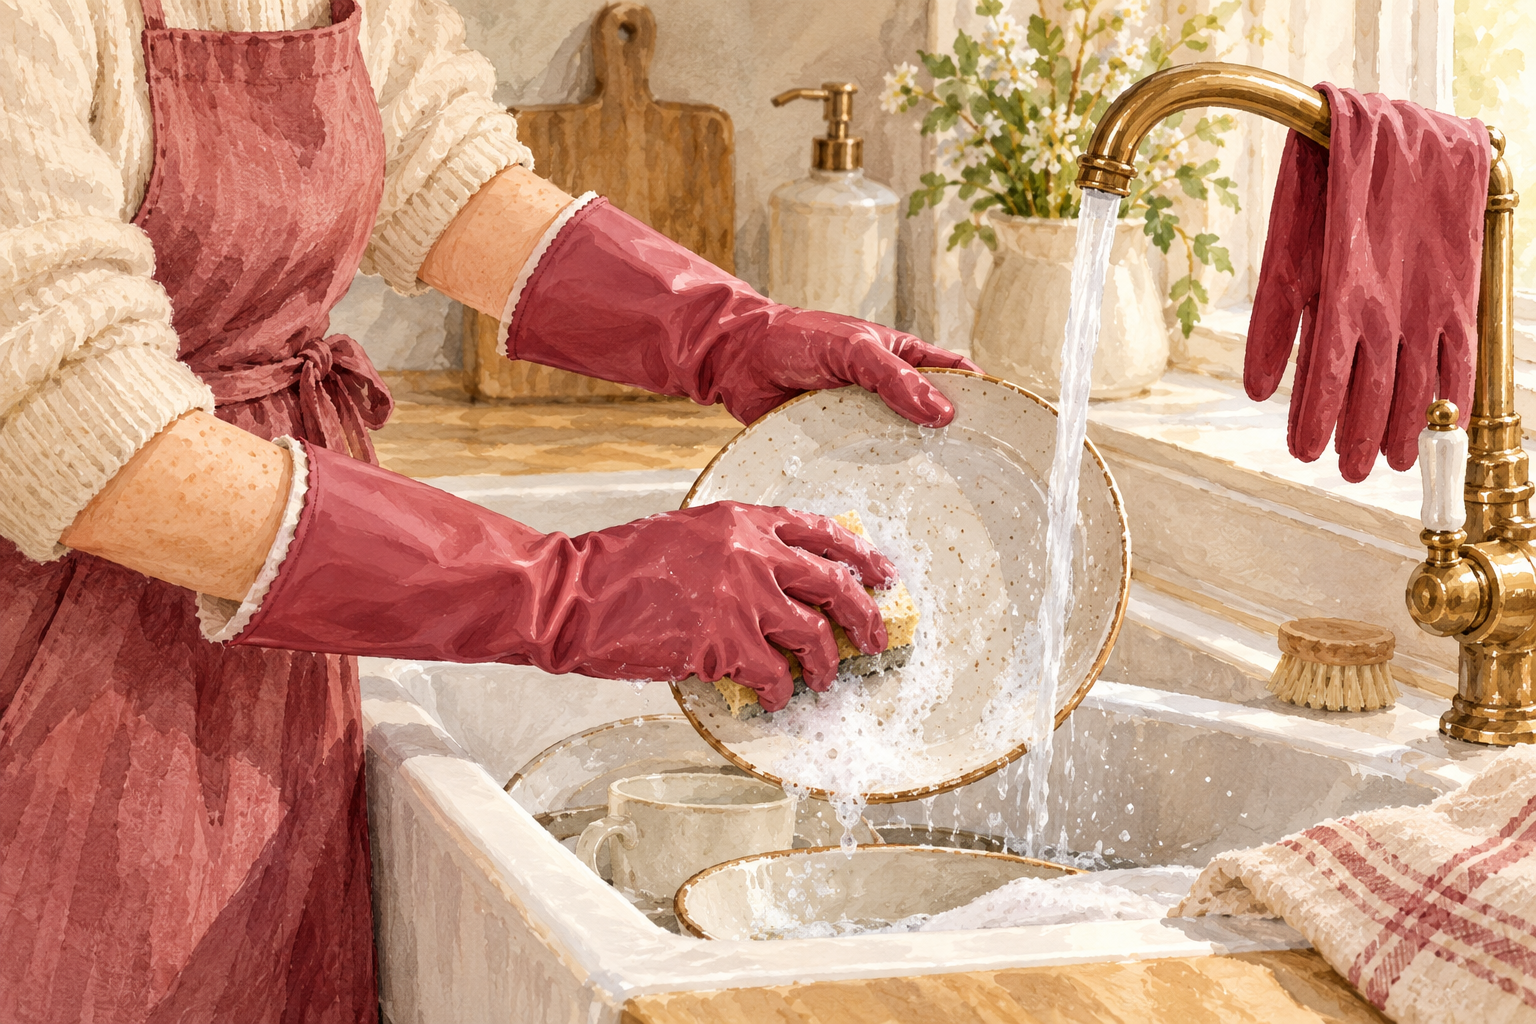
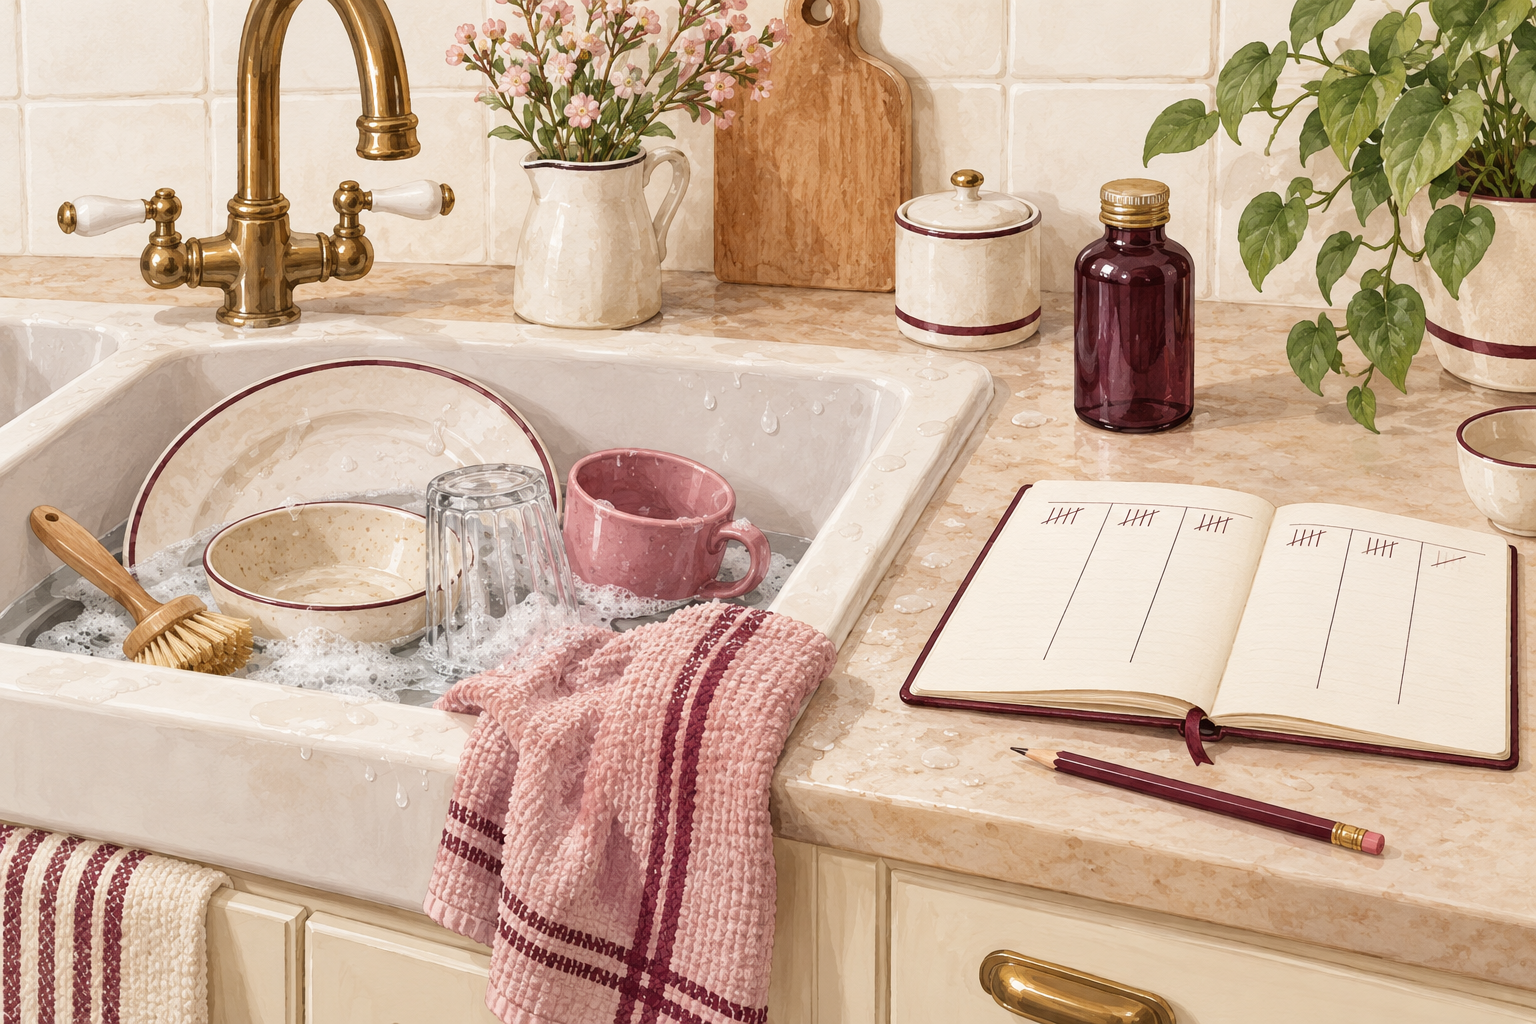
Wear lined rubber gloves whenever your hands go into water or cleaning products. It seems fussy at first and becomes automatic within a few weeks. Hang them on the tap so they are the first thing you reach for. Dry your hands properly after every wash, including between the fingers, and moisturize straight away while the skin is still slightly damp and soaks it up. Use a spoon edge to lift tin lids instead of your thumbnail. Small swaps like these protect new growth more than any bottle you can buy. A pair that fits well beats a fancy pair that sits in the cupboard.
11. Know what the next eight weeks look like
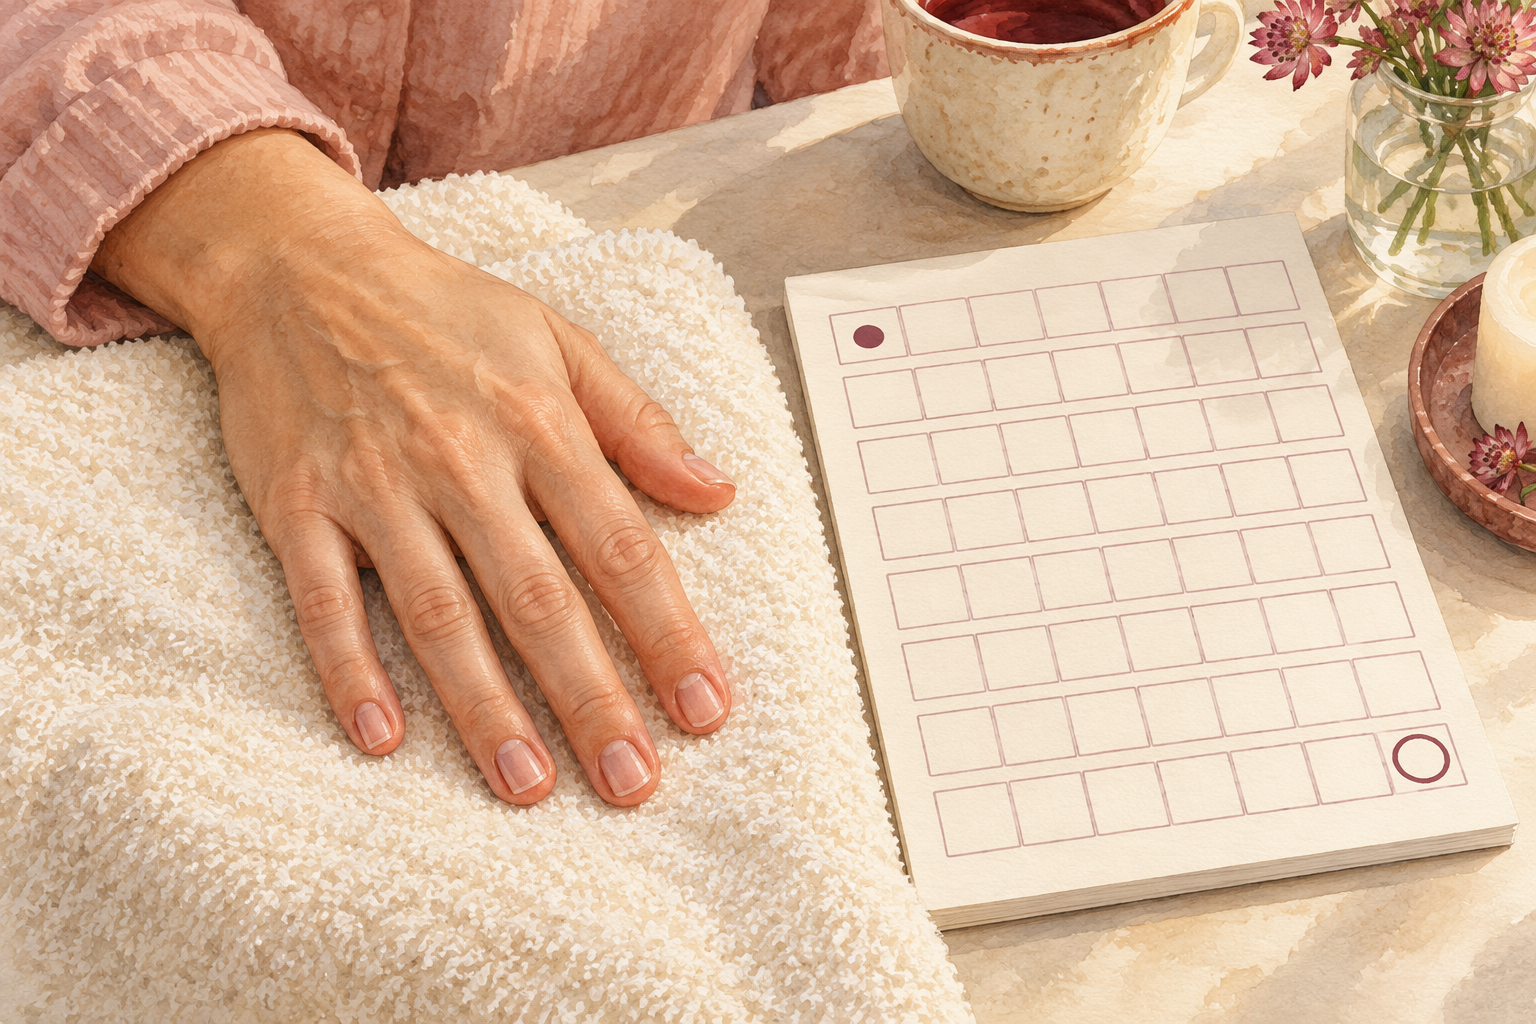
Give any plan a full eight weeks, because a fingernail takes months to grow out. In week one your nails feel less dry, but nothing structural changes. By week four the base of the nail looks smoother and the splitting slows. By week eight you can see a firmer band of new nail near the cuticle. Take your photo in the same light each month. Biotin, gelatin and extra water will not toughen a nail overnight, so do not pin your hopes there. Steady habits beat a miracle bottle, and you will see that by the second month.
12. Know when it is more than damage
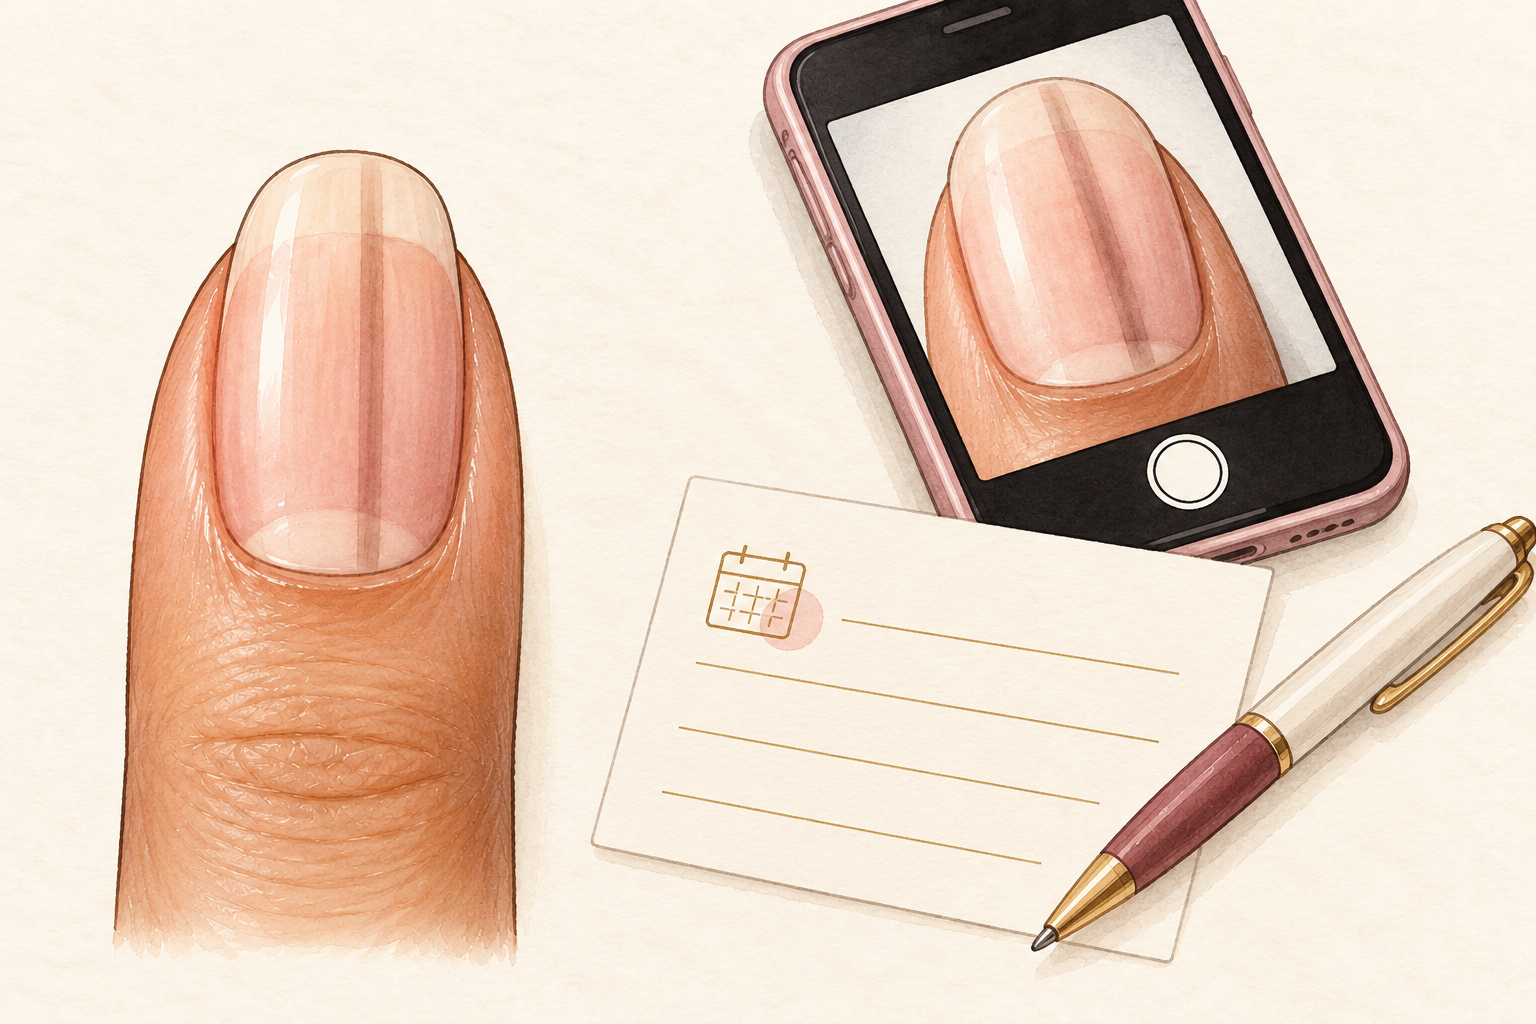
Rest the nail with oil and bare days if you see deep grooves, a nail lifting from its bed, or sore red skin around the edge. Thick, yellowing nails will not respond to polish or tools, so keep them short and clean and leave covers off. If four to six weeks of careful habits change nothing, or a nail turns dark or painful, take those photos along and see your doctor. Photos show change better than memory does, and they save a lot of explaining.
Complete the Routine: Nail Repair You Can Start Tonight
Tonight, clip your worst nail back to the last firm point, press on a layer of petroleum jelly and slip on cotton gloves. Repair is slow, and that is what makes it steady and lasting. The guides below can carry the next part for you when you feel ready.