You get a trim, and a few weeks later the little forks are back, catching on your sweater. Knowing how to prevent split ends is mostly about daily habits, not another jar on the shelf. These 12 habits cover brushing, ties, heat and sleep, so start at number one tonight.
1. Know prevention protects new hair
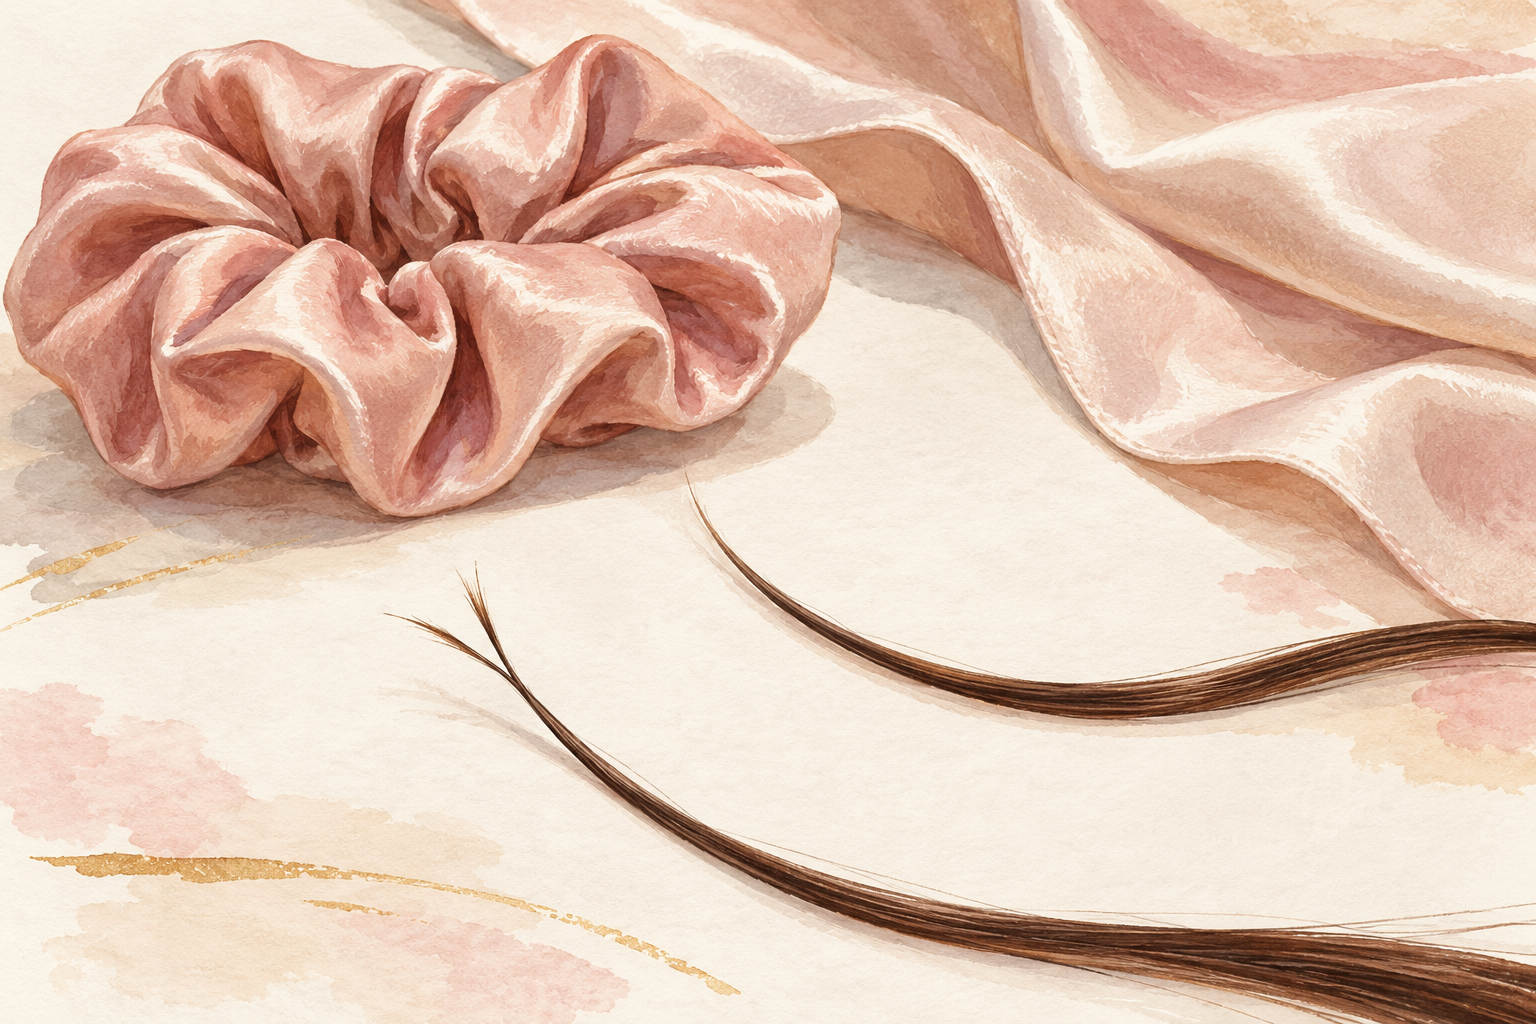
Accept that these habits guard the hair you still have, and a trim removes the splits you already have. A split end cannot be glued shut, and no habit will mend it. What you can do is stop new ones from forming, so each trim lasts longer. Think of it as two jobs: cut the old damage, then protect what is left. Start with a small trim if you have not had one in months. After that, the habits below keep the ends smooth, and you will need fewer cuts. It is the quiet trick behind long, healthy looking hair.
2. Find where your splits actually start
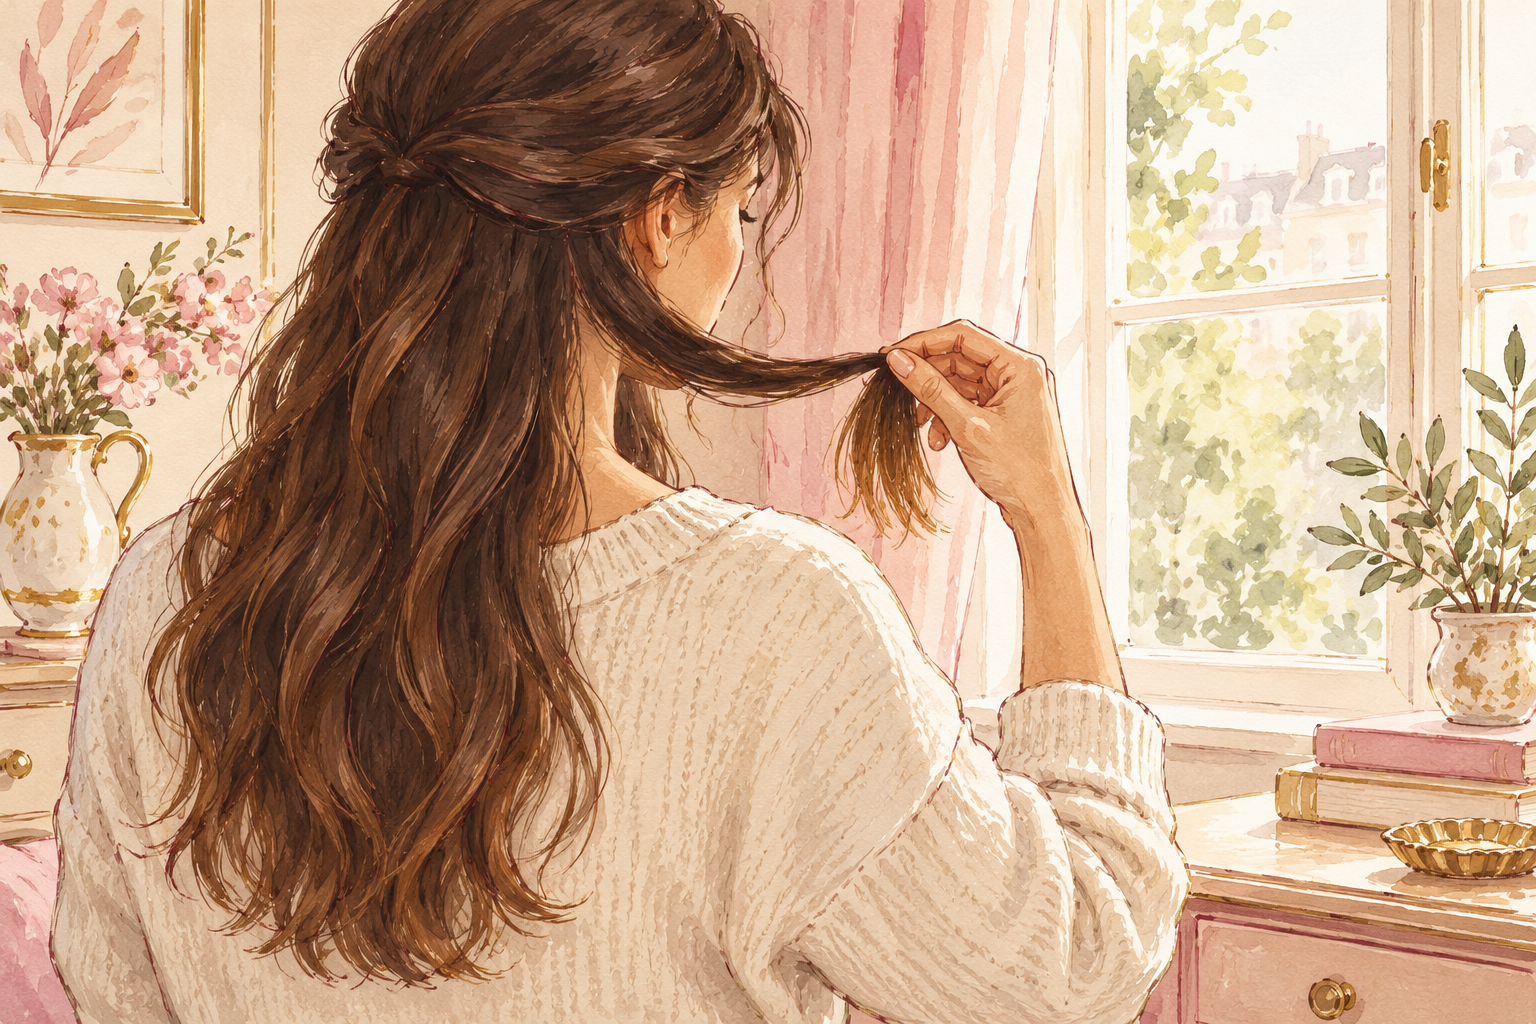
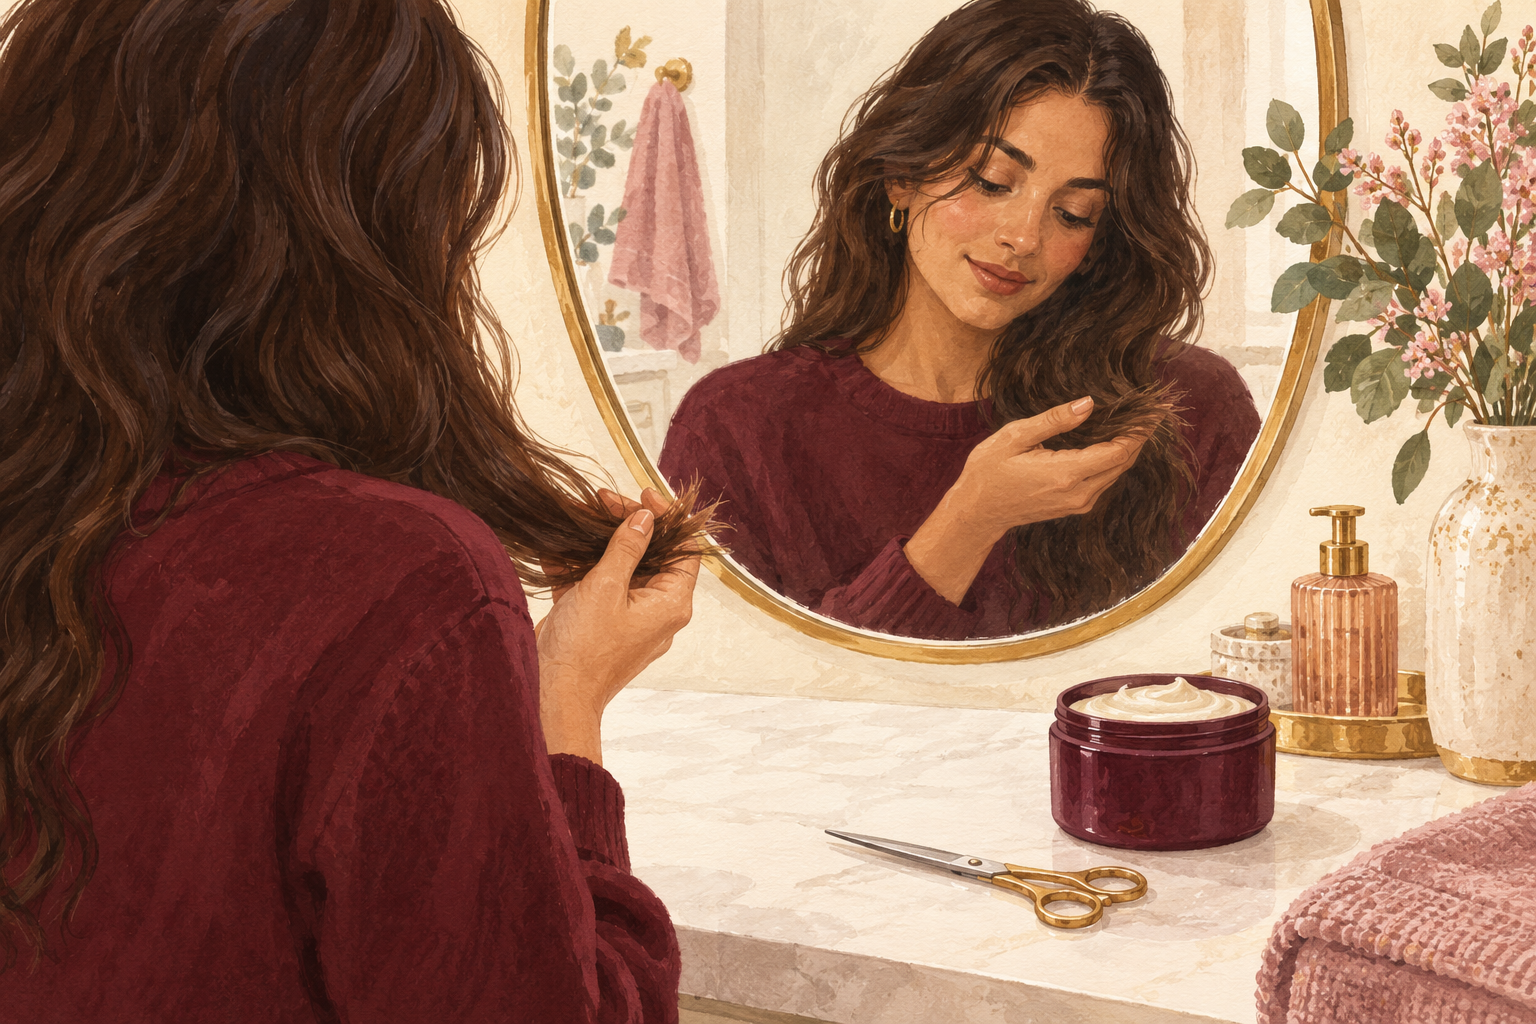
Check the back of your hair, the sides and the tips for fork marks, and note where they gather most. Splits cluster where hair rubs. Ends at the back often suffer from collars and bag straps. The ends at your ponytail suffer from elastics. Ends on one side suffer from where you sleep or hold your phone. When you know the pattern, you know which habit to fix first. Take two minutes in front of a mirror with good light. Splits often start on the oldest part of your hair, which is the very bottom inch or two.
3. Trim before the split travels
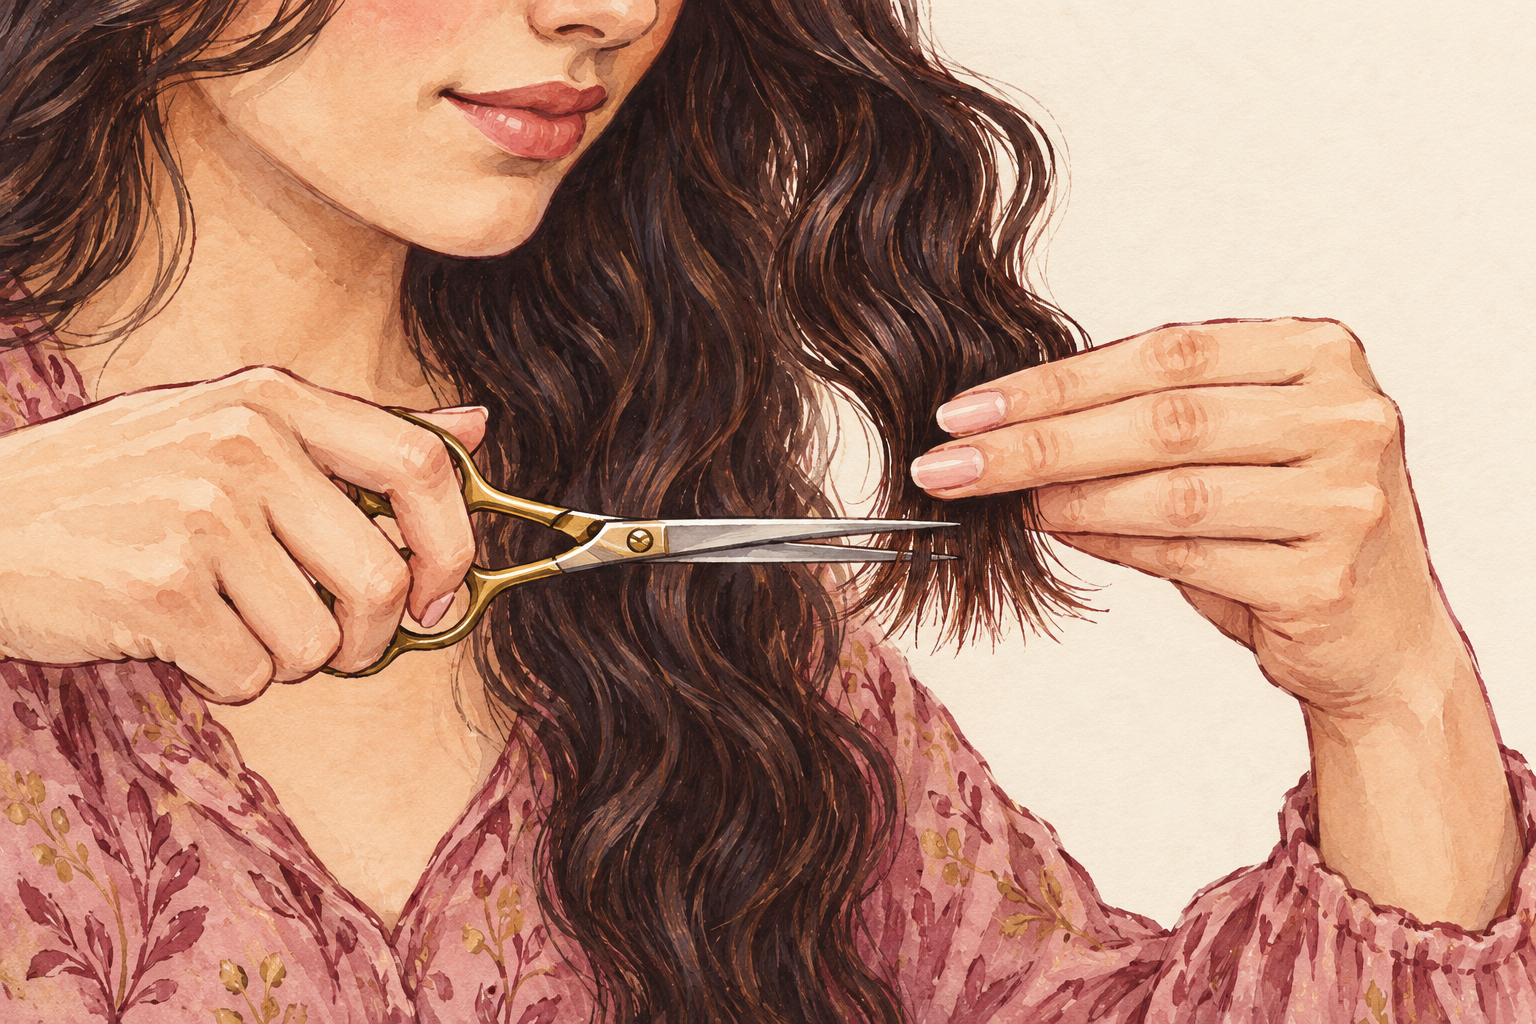
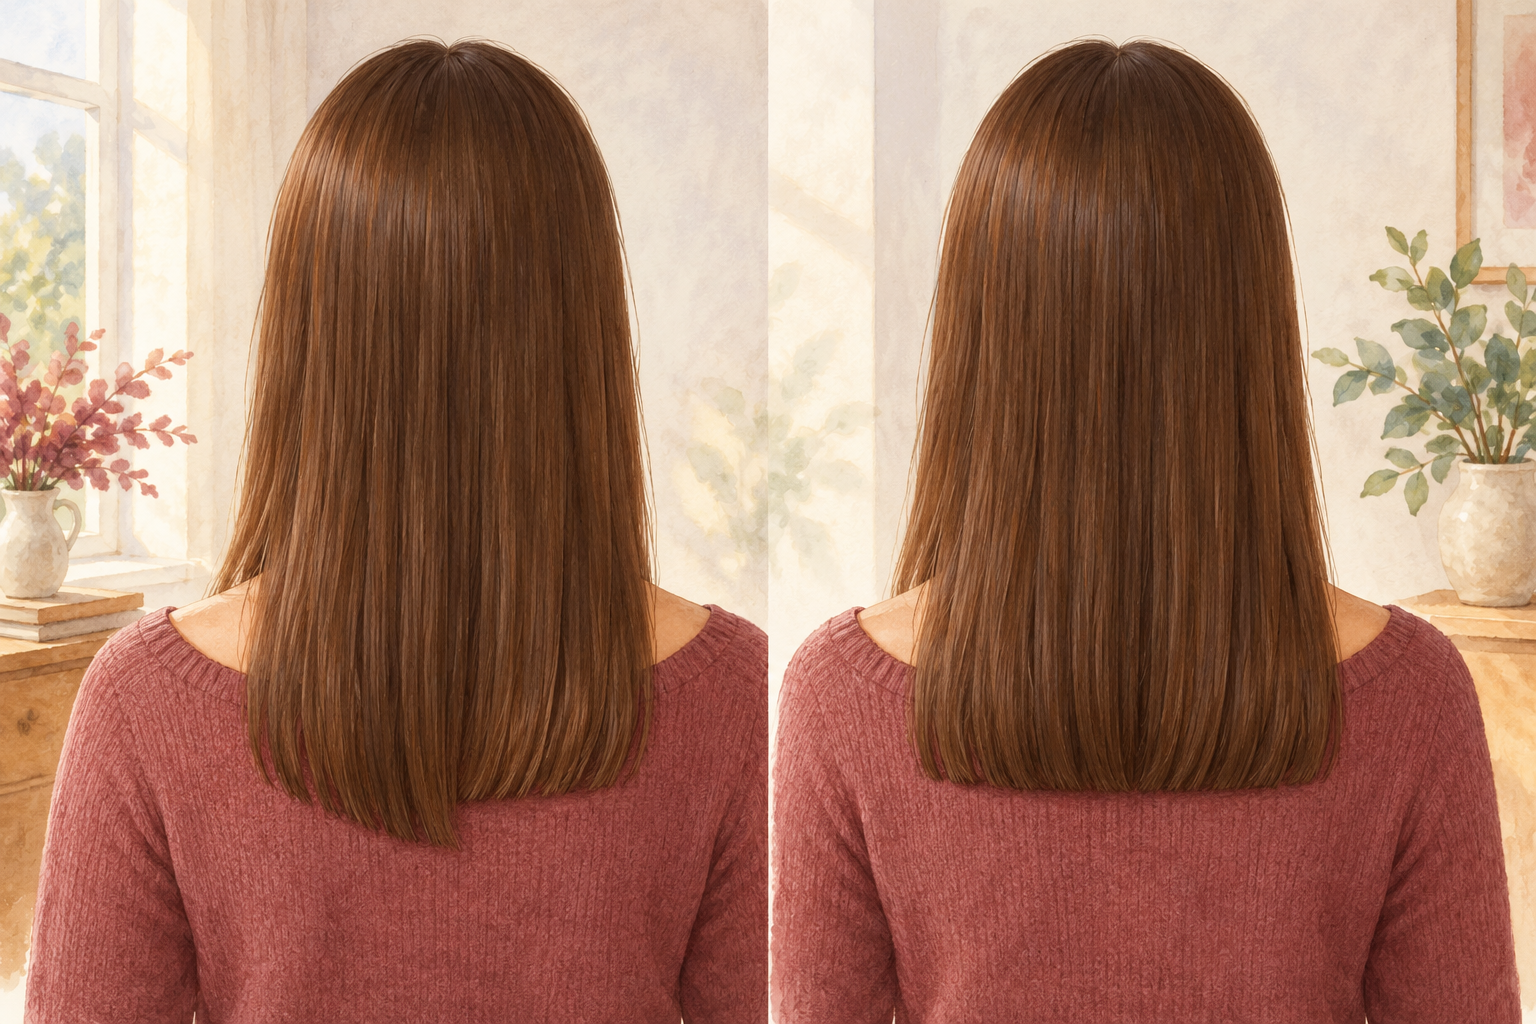
Cut off half an inch every eight to twelve weeks, before a fork can climb the strand. A split moves upward the more you brush, tie and style, and a small trim now saves a big cut later. If you are growing your hair, ask for a dusting, which takes only the very ends. Mark your next trim on your calendar when you leave. Tidy ends also tangle less, so you brush less. The trade is simple: lose a sliver often or lose several inches in one go. Most people prefer the sliver, and their length ends up longer.
4. Use a wide tooth comb on wet hair
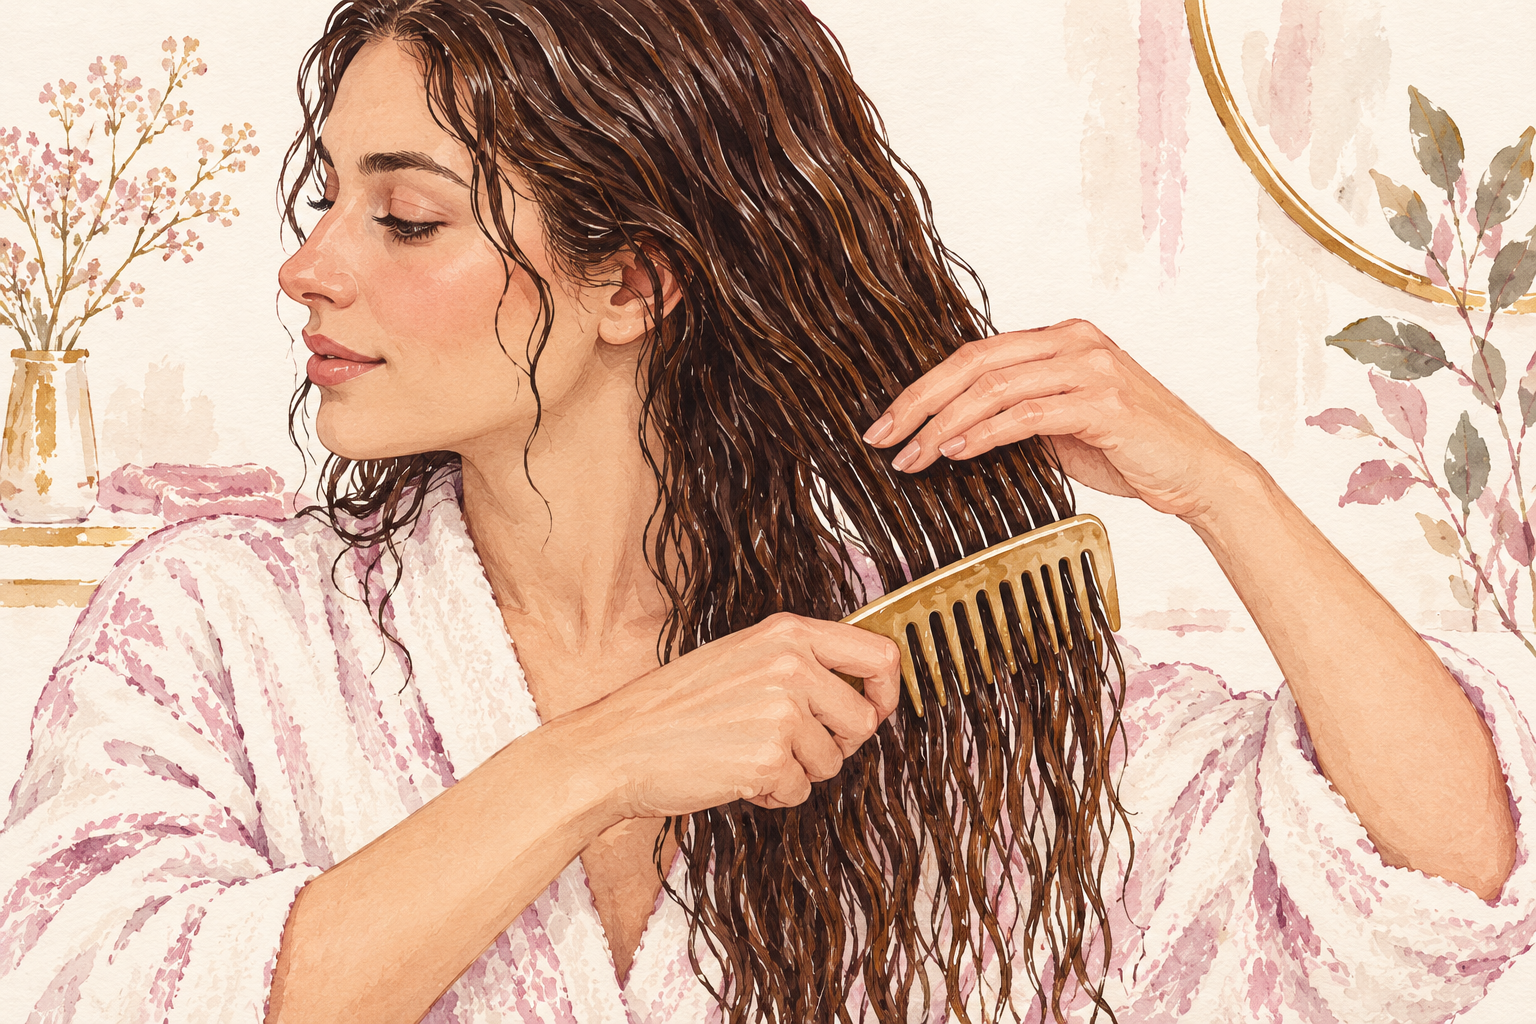
Put the brush away when your hair is wet, and reach for a wide tooth comb. Wet hair stretches, and a brush pulls it past breaking point. Add a little conditioner or leave in before you comb, so the teeth glide. Do it in the shower or just after, never on a rough tangle you have let dry. If you love a brush, use one with flexible bristles on dry hair. A comb with wide gaps takes a minute longer, but it saves hundreds of strands. You should hear nothing and feel nothing, and if it hurts, slow down.
5. Detangle from the ends upward
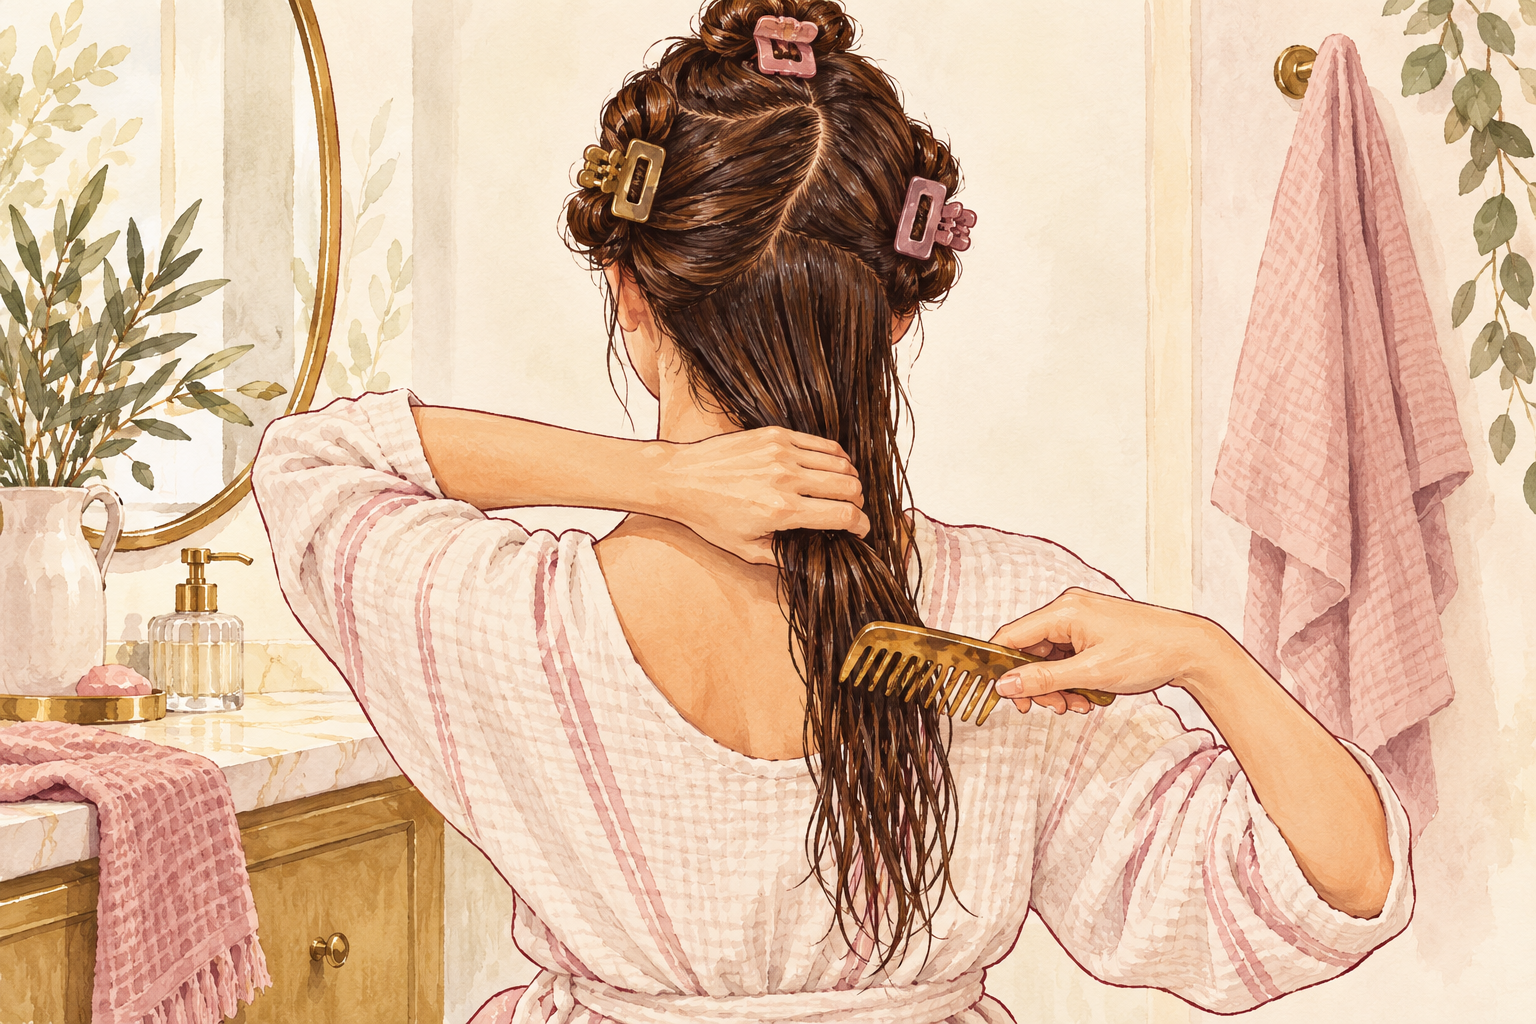
Hold the hair just above the knot and comb the last few inches first, then move up a little at a time. Starting at the roots pushes every knot down into a bigger one, and then you tear through it. Work in four sections, clipping the rest out of the way. Take your time on the stubborn knots, using your fingers to pick them apart before the comb goes in. The ends are the oldest and weakest part of your hair, so they need the gentlest handling. It might take five minutes, but it saves you from rough pulls that make new splits, and your comb will stay clean of broken hairs.
6. Squeeze dry instead of rubbing
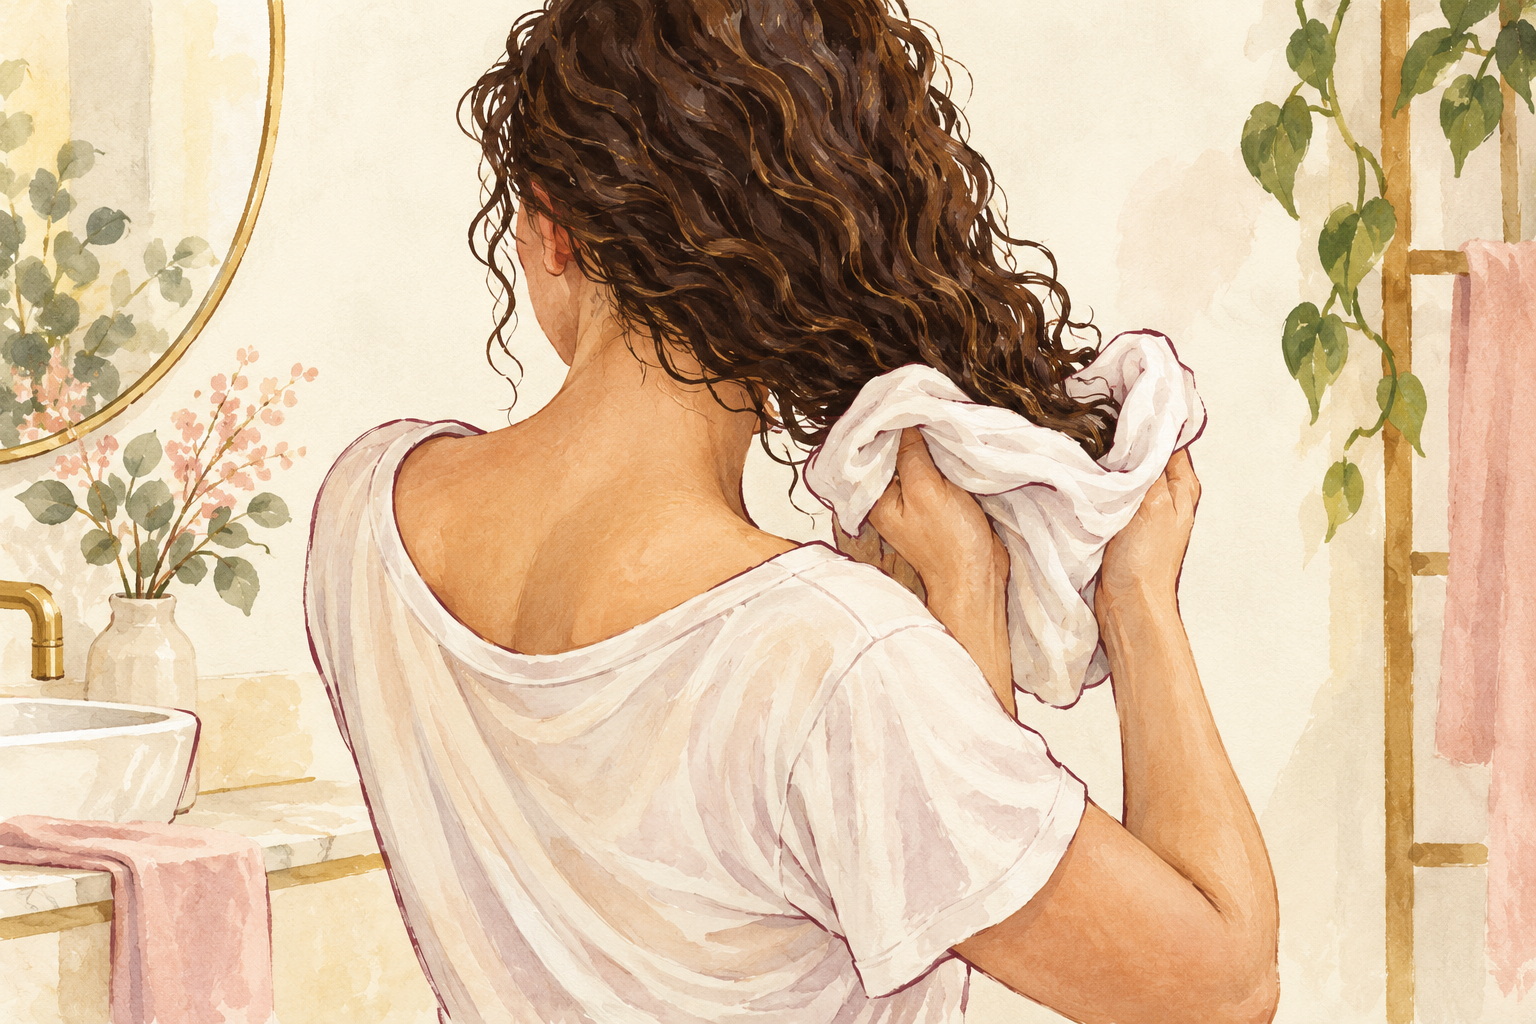
Wrap your wet hair in a soft cotton tee shirt or a microfiber towel and squeeze for a minute. Rubbing with a rough towel scuffs the outer layer of each strand and lifts the cuticle, which is how ends begin to fray. Pat, press and squeeze, then let it air dry as much as you can. Keep the towel wrap short, since a heavy, wet towel on your head pulls at the roots. Your hair should be damp, not dripping, before you style it. This small change takes no extra time, and you will notice less fuzz at the ends straight away.
7. Use loose, covered ties and move them around
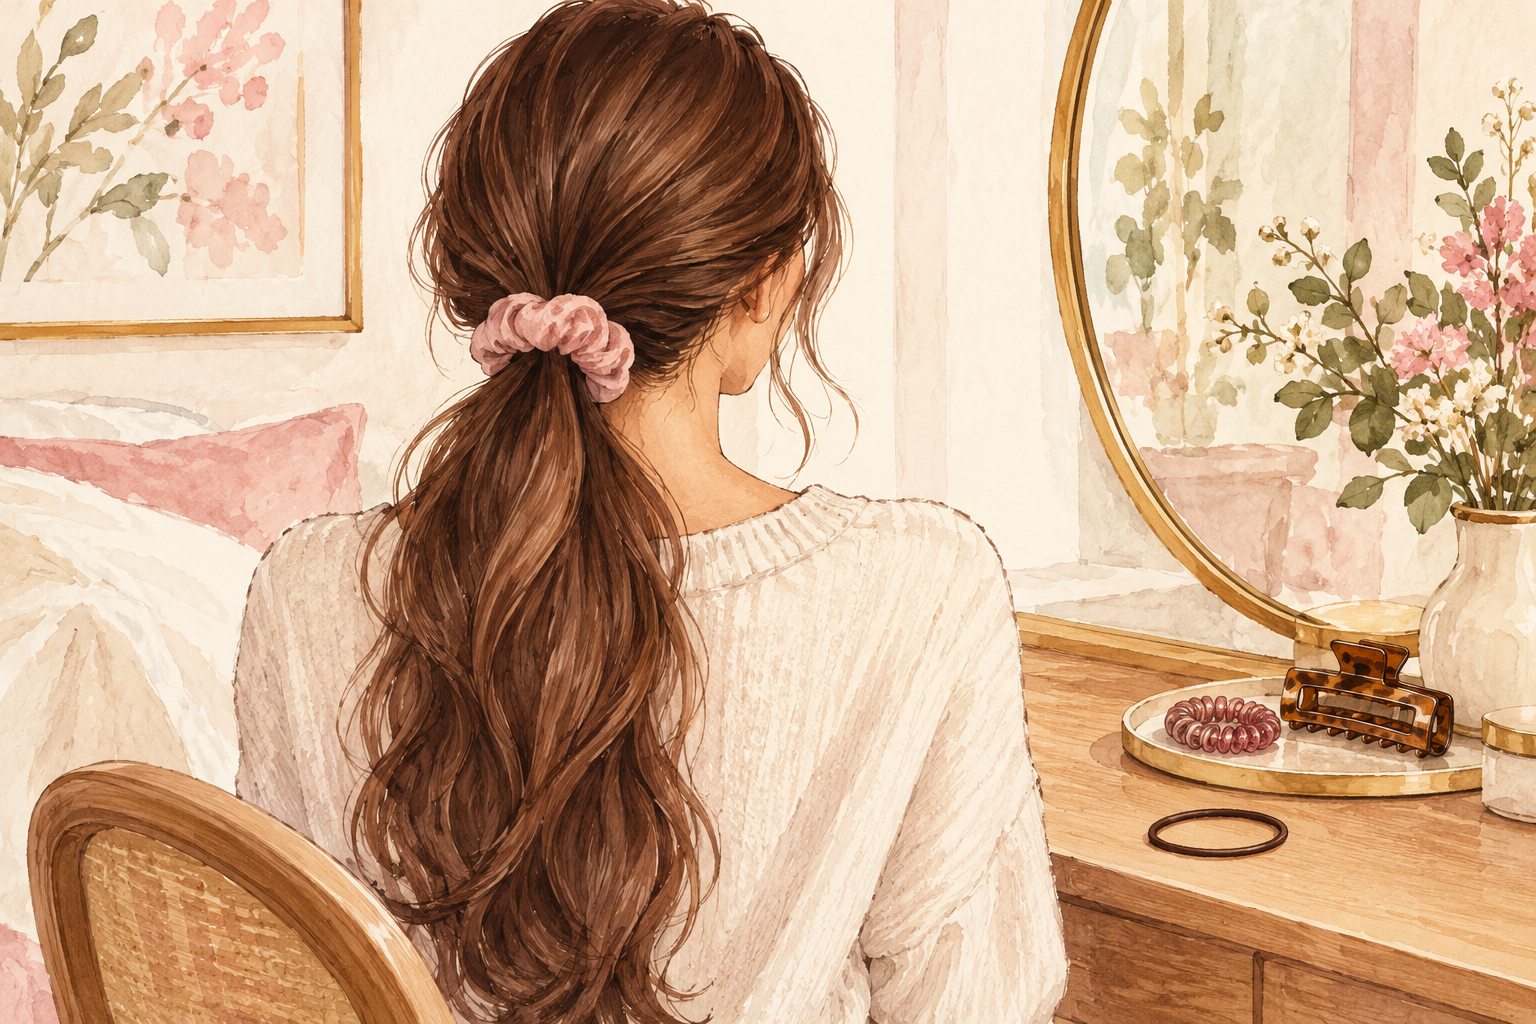
Switch to soft scrunchies or spiral ties, and change the spot where you tie your hair every day. Thin elastics bite into the strands and snap them when you pull them out. Never twist a tie tightly around the same spot, because that one spot weakens and splits. Take the tie out slowly, and loosen it before you slide it off, rather than yanking. A claw clip is another gentle choice. If you tie your hair for the gym, keep the pony loose and low. Loose ties protect the ends better than any serum. If you see a dent in your hair when you let it down, the tie was too tight.
8. Keep ends off collars, straps and scarves

Lift your hair out of your collar, and move your bag strap so it does not rub the same patch. Rough fabrics rub the ends all day, and the damage builds slowly without you noticing. Wool scarves and high collars are the main culprits in winter. A loose braid or low bun tucks the ends away, and a silk scarf glides without catching. Try a tote bag or a backpack that sits away from your hair. It is a very small habit, but it explains why the back of your head splits first, and why a trim only helps for a few weeks.
9. Lower the heat and keep the dryer moving
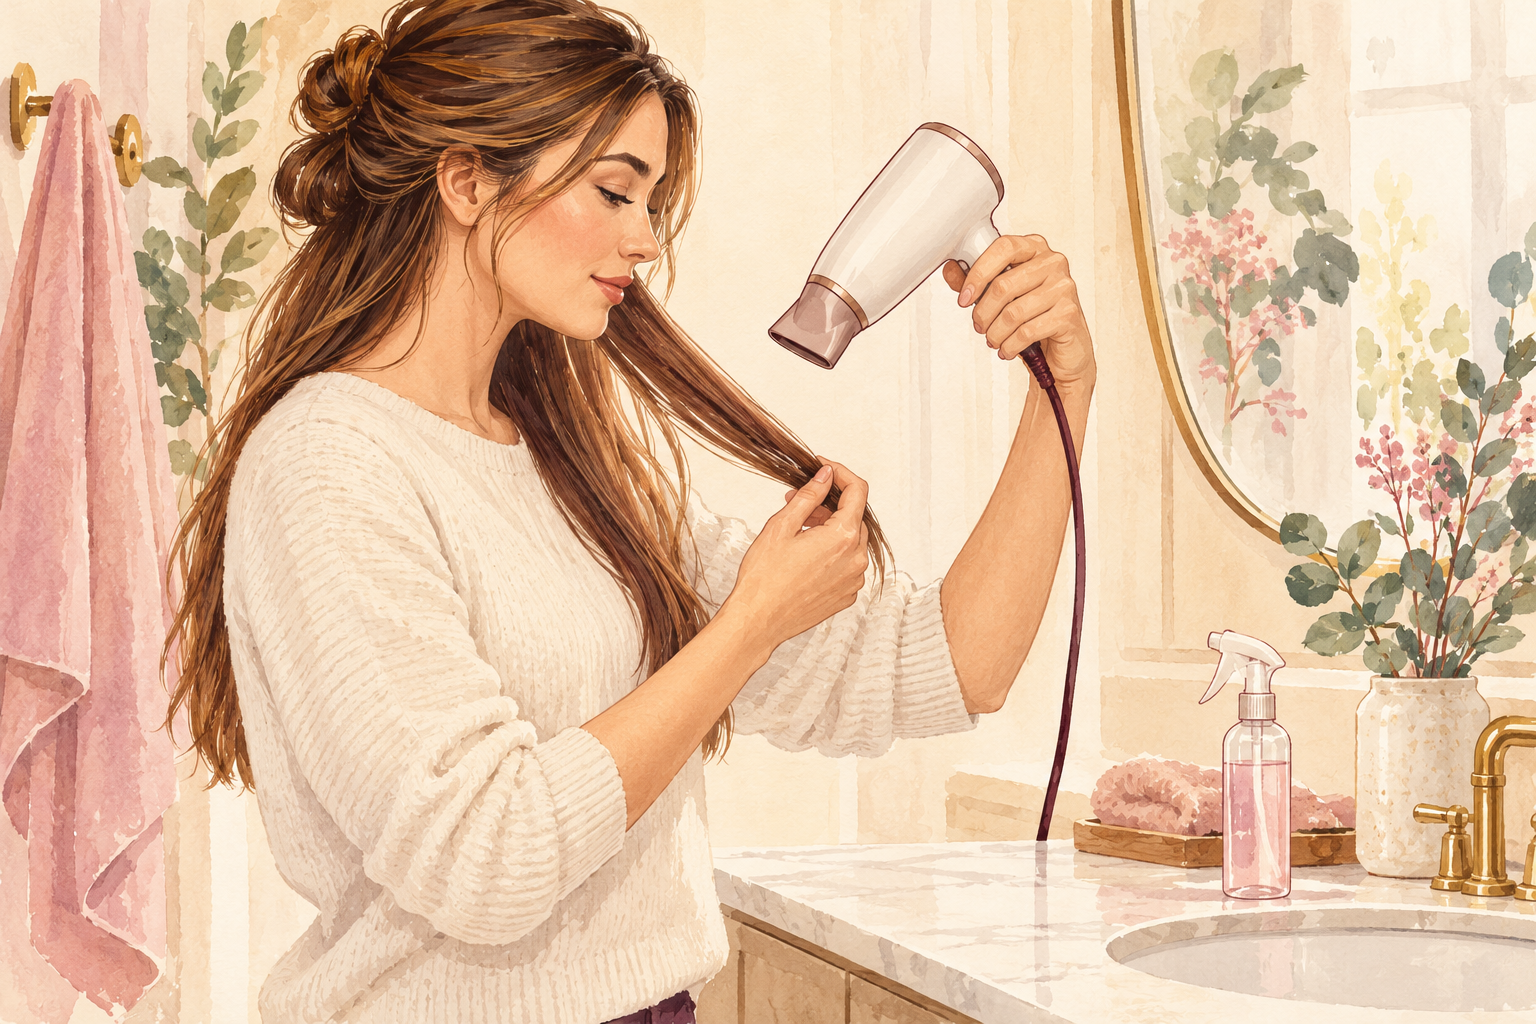
Use warm, not hot, air, and keep the dryer about six inches from your hair and always moving. Heat dries out the ends, and they split faster. Spray a heat protectant on damp hair first, and dry the roots before the ends so you spend less time on the oldest hair. With a flat iron, use the lowest setting that works, and only one pass per section. Hot tools are fine for special days. Daily use is what causes the damage, so give your hair two or three heat free days a week. On those days, wear a loose bun or braid.
10. Swap the common mistakes for kinder ones

Wash with lukewarm water, skip the hundred brush strokes, and leave a few weeks between colors or bleach. Hot water roughens the hair, and brushing dry hair a hundred times only scuffs it. Back to back bleaching leaves the ends very weak, so space it out. Use a few drops of light oil on the very ends of damp hair to seal them, because oiled ends rub less. Do not pick at a split end or pull it off with your fingers, which can split it further up. Snip it with scissors, or wait for the next trim.
11. Sleep in a loose braid on a smooth surface
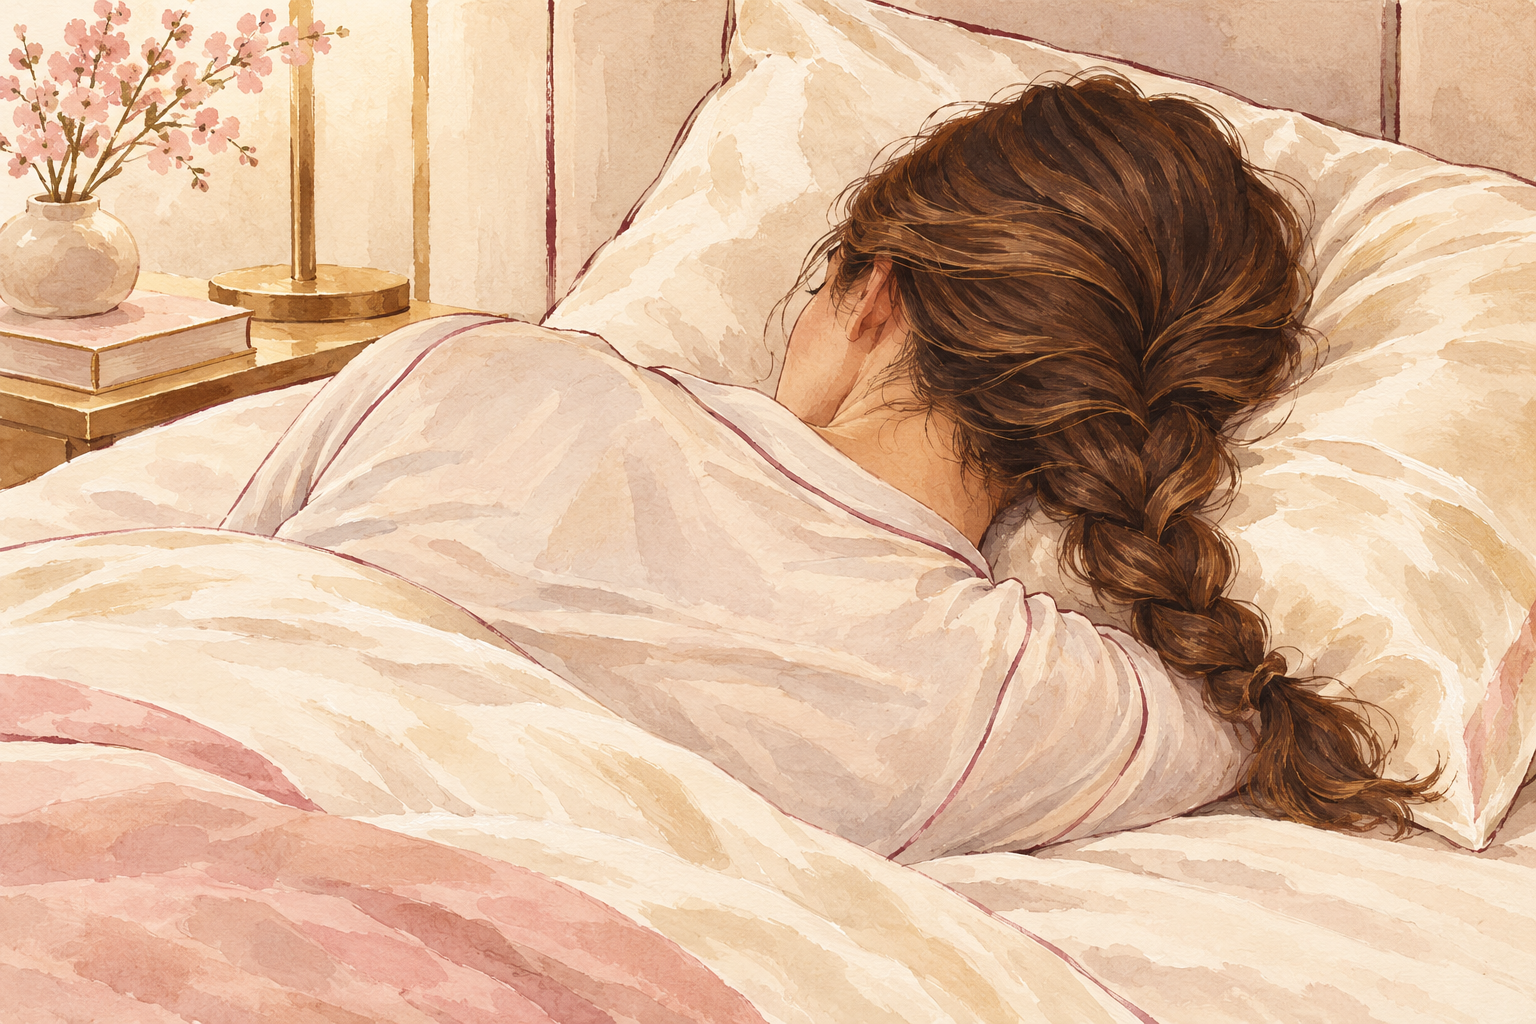
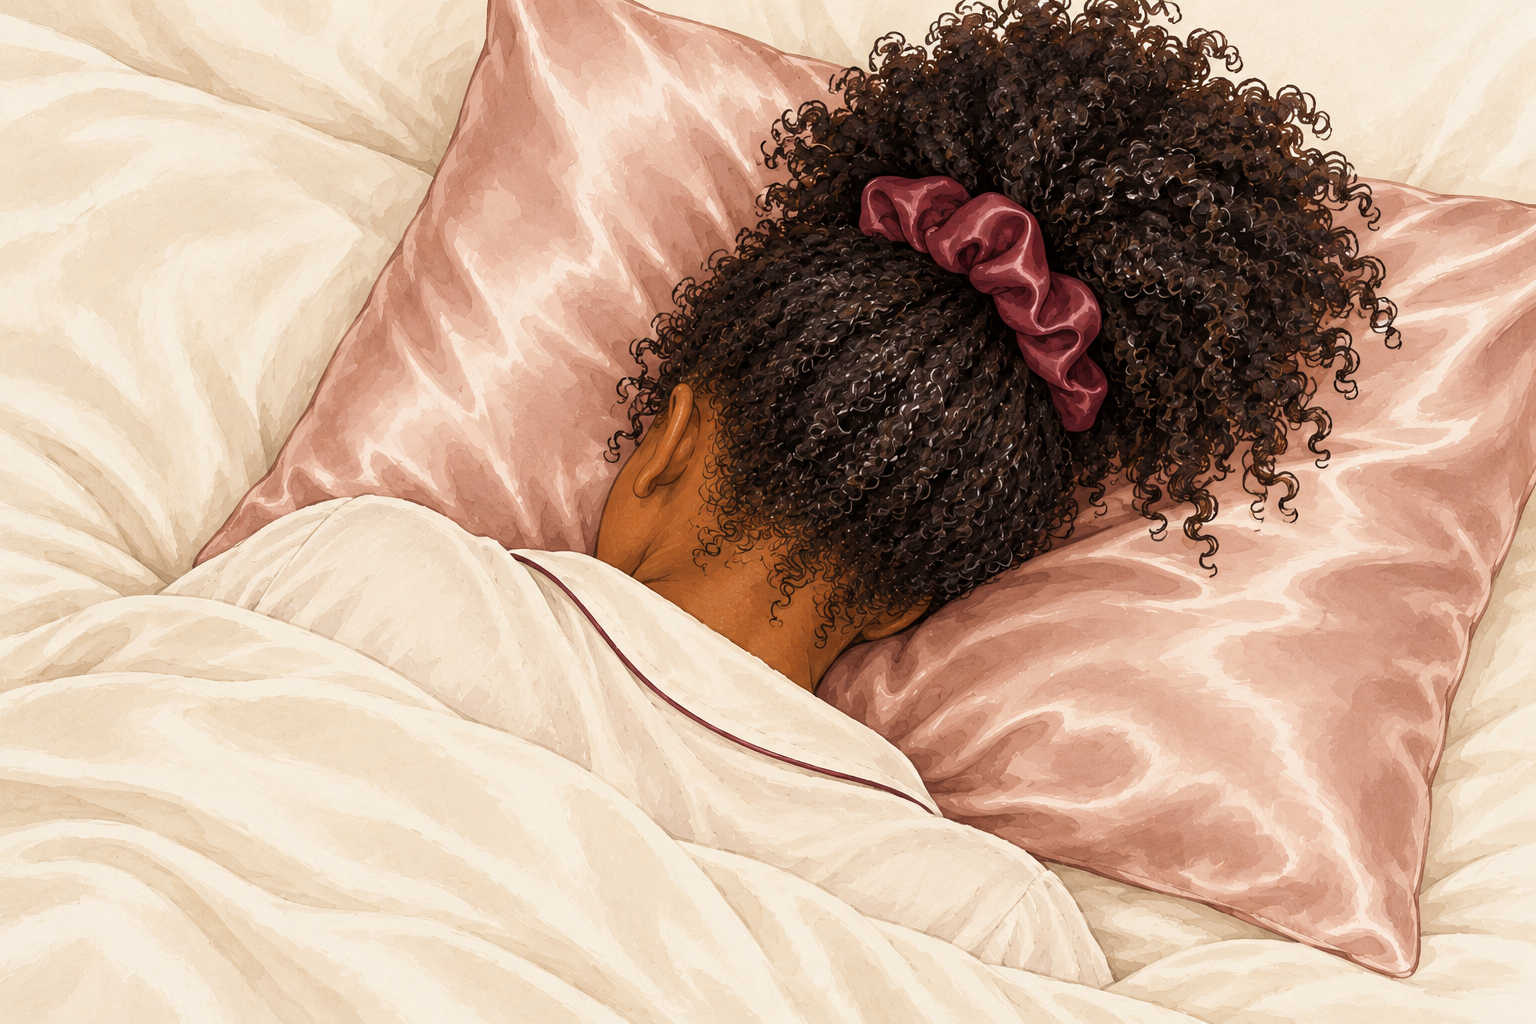
Braid your hair loosely or tie a soft pineapple on top, and sleep on satin or silk. Cotton pillowcases pull at your hair when you turn, and every night of tossing and turning rubs the ends against it. A loose braid keeps the ends together and out of the way. Do not braid it tight, or you will wake up with a tender scalp. If satin feels odd, a bonnet does the same job. Wash the pillowcase weekly so it stays soft. You will see less fuzz in the morning, which tells you the ends were kept safe overnight.
12. Check your progress at week one, four and eight
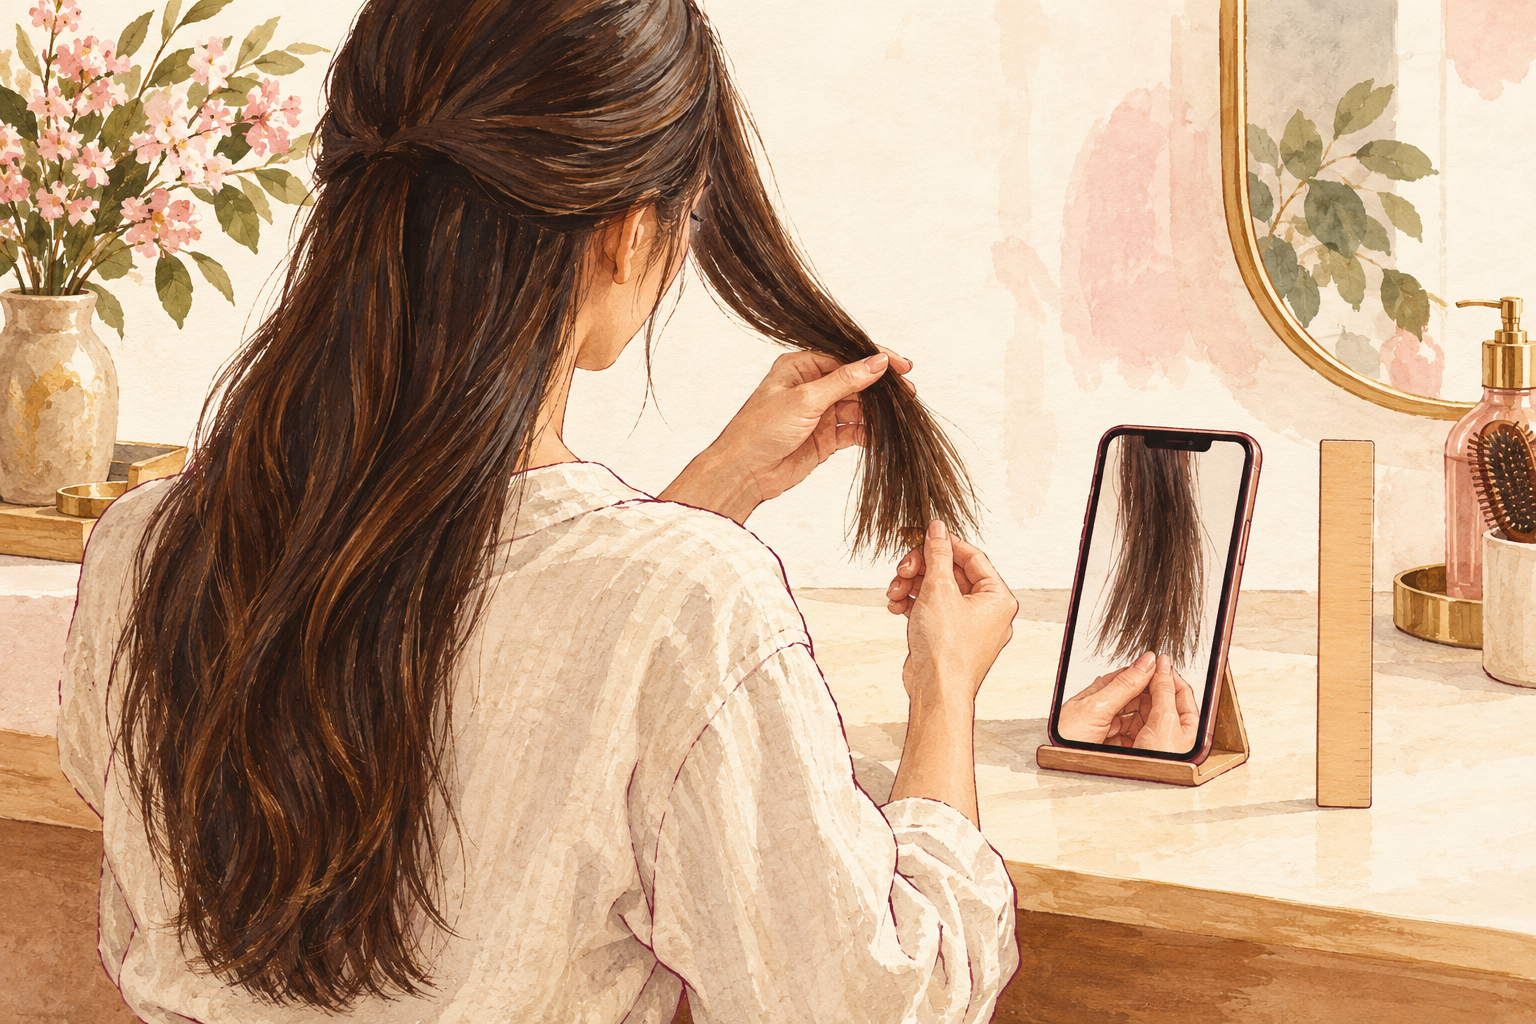
Look at the same section of ends once a month, and take a photo in the same light. In the first week you may notice less fuzz and fewer tangles. By week four there should be fewer new forks. By week eight your ends should look more even, and your hair may feel thicker at the bottom. Habits protect the hair, and growth takes time, so give it a couple of trims to see the full effect. If a habit feels like too much, keep three and drop the rest. Knowing how to prevent split ends is the same as caring for the ends every single day.
Complete the Routine: How to Prevent Split Ends Starting Tonight
Tonight, swap your tie for a scrunchie and put the brush away on wet hair. Next, read about split ends repair and how a hair mask for split ends can help.