You bought a curl cream, scrunched your hair, and ended up with a puffy triangle or limp, crunchy strands. Starting is confusing when every video says something different. This curly hair routine for beginners gives you 12 steps, the usual mistakes and a plan for your first 30 days, so start at number one tonight.
1. Take a photo of your natural curls
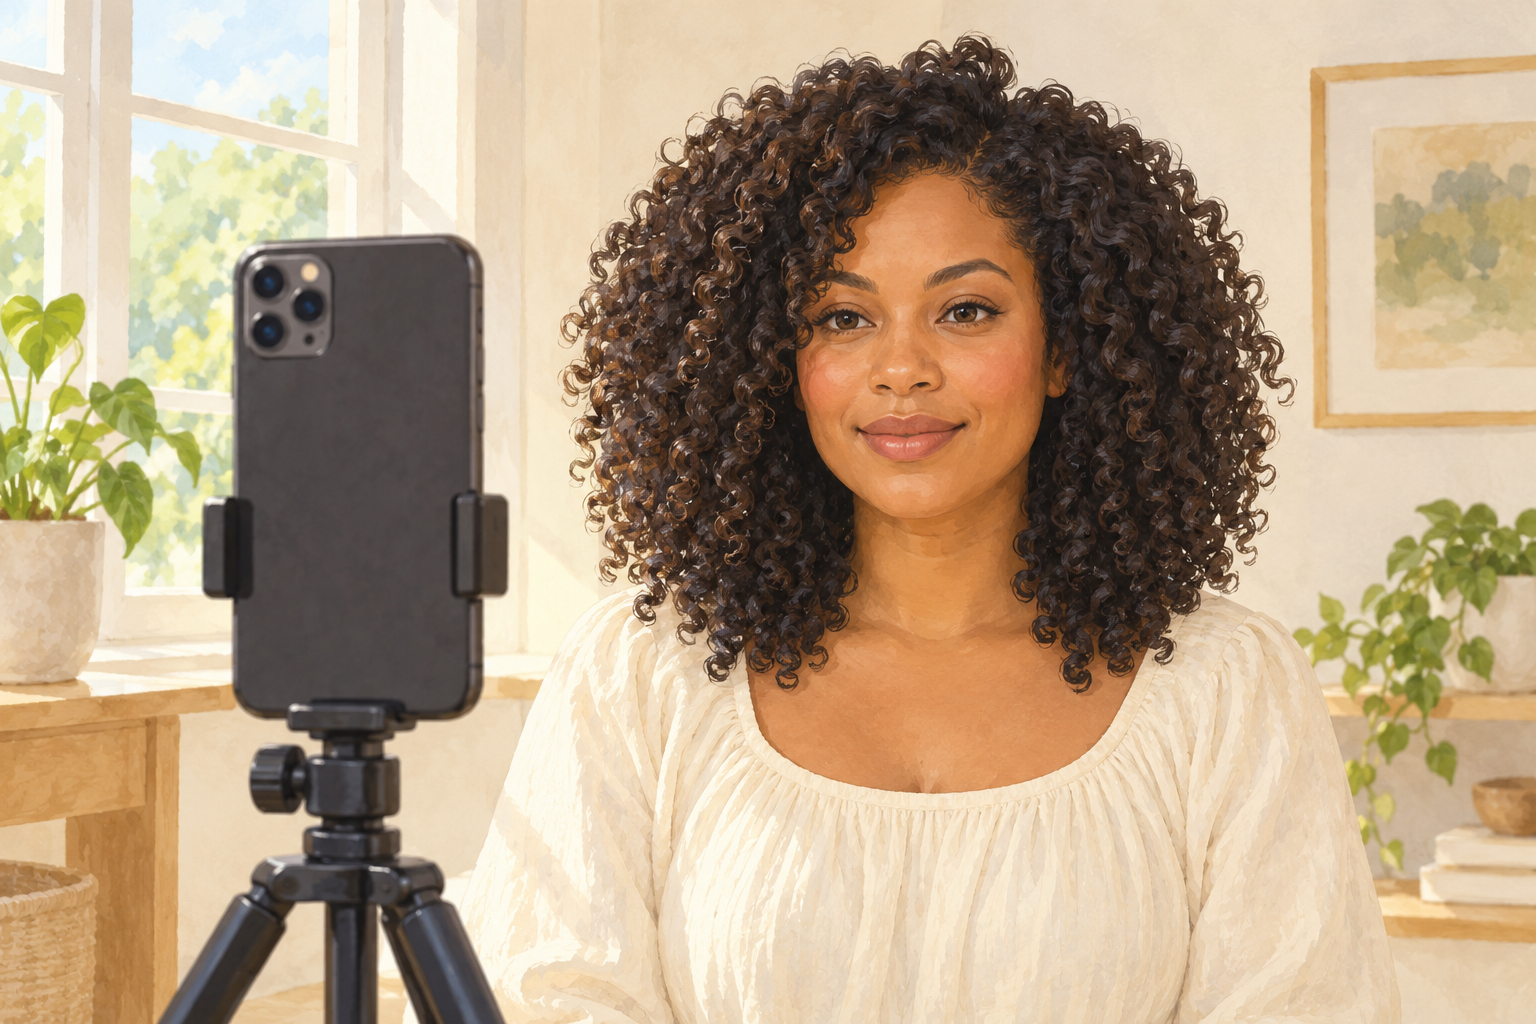
Wash your hair, let it dry with nothing in it, and snap three photos in daylight. Take one from the front, one from the side and one from behind. This is your starting point, and it shows what your curls really do when you leave them alone. You will likely find some strands curl tight, some wave and some stay nearly straight. That mix is normal and part of your pattern. Keep the photos in one folder so you can compare at day 30. Progress is hard to see when you look at your hair every morning, and the photos settle any argument with your mirror.
2. Gather six basics and stop there
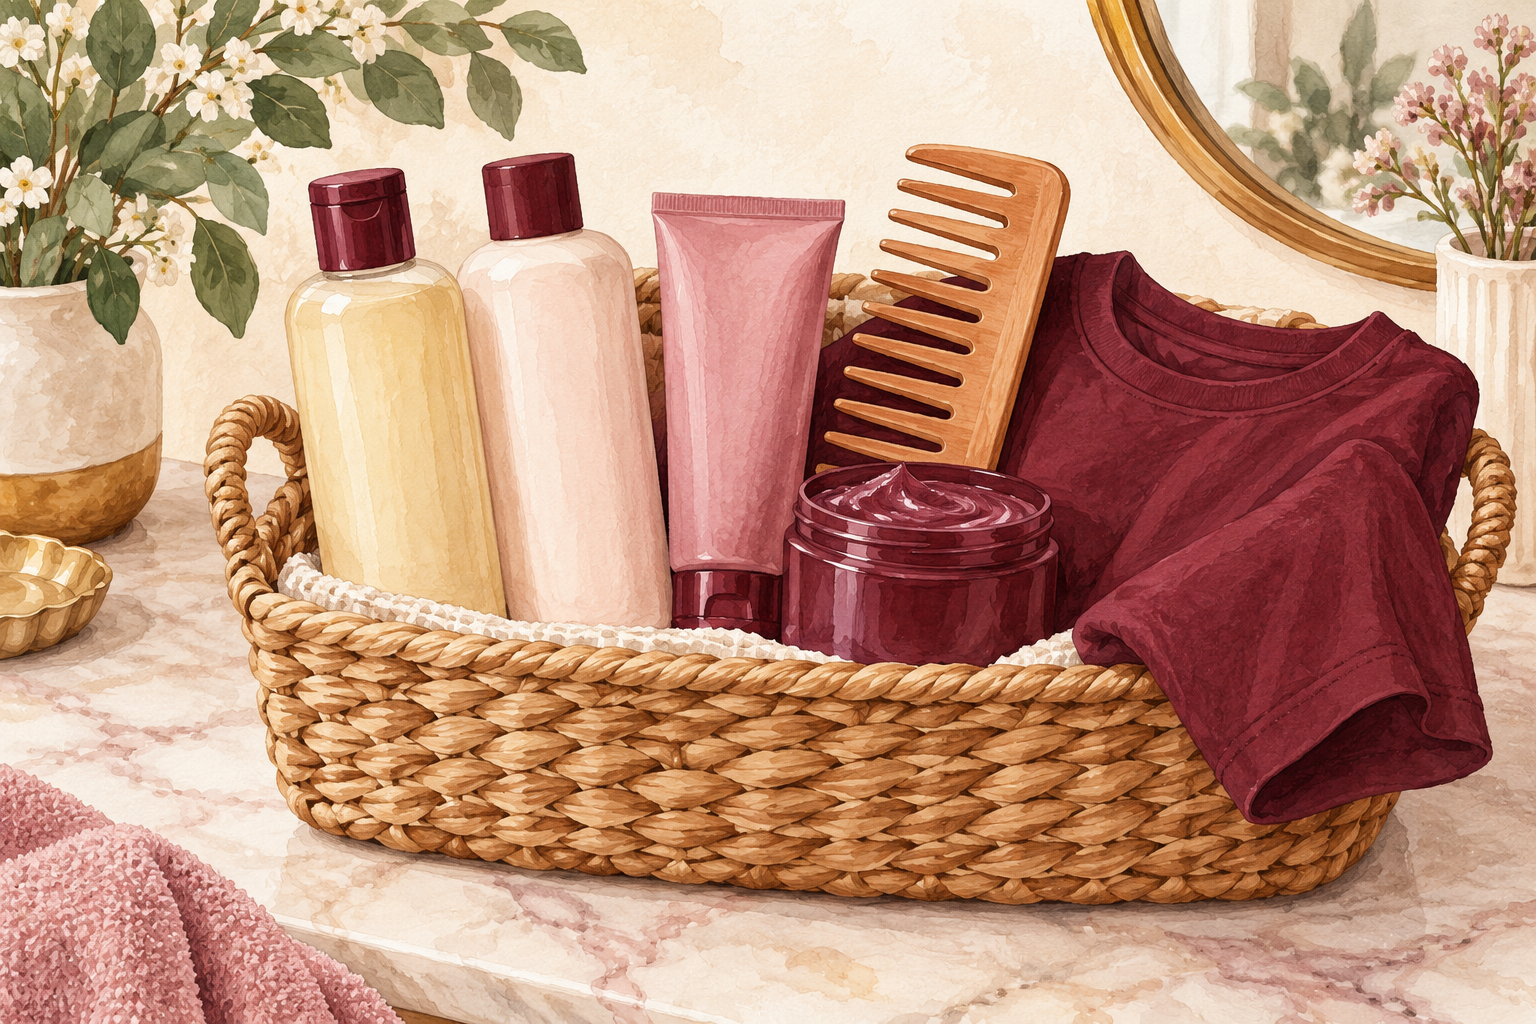
You need a gentle shampoo, a rich conditioner, a leave in, a gel, a wide tooth comb and an old cotton tee shirt. That is the entire starter kit. Beginners often buy twelve products in the first week and cannot tell which one worked. Choose products that say they are for curls or are free of harsh sulfates, and skip anything heavy with wax. Keep them together in one basket so wash day is easy. If a friend lends you a bottle, try it first before you buy your own, because curls are picky and one head loves what another hates.
3. Decide what your hair needs most
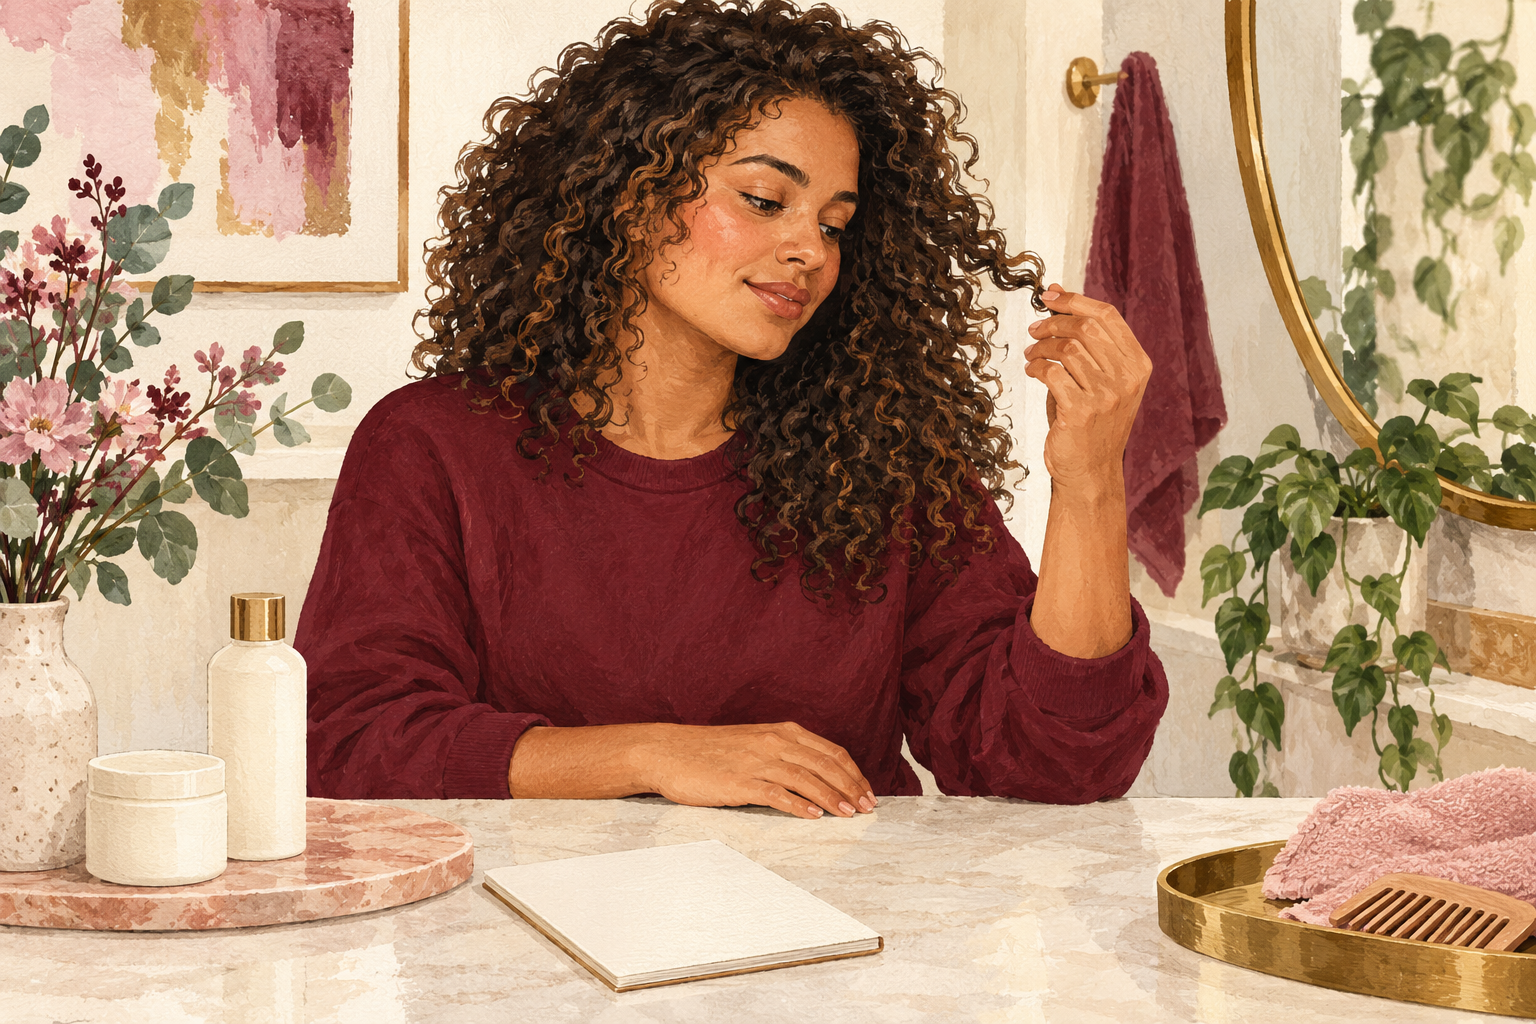
Pick one goal for the first month, either moisture, definition or less frizz. If your hair feels rough and puffs up, you want moisture. If your curls fall flat and stretch out, you want definition and a firmer gel. Fine hair does better with lightweight products, while thick hair can take creamier ones. Do not chase all three goals together or you will pile on products. Your hair tells you what it wants. Rough means thirsty, and flat means it needs hold. Write the goal on a sticky note and keep it on the bathroom mirror where you wash. Once a goal is met, pick the next one.
4. Shampoo the scalp, not the lengths
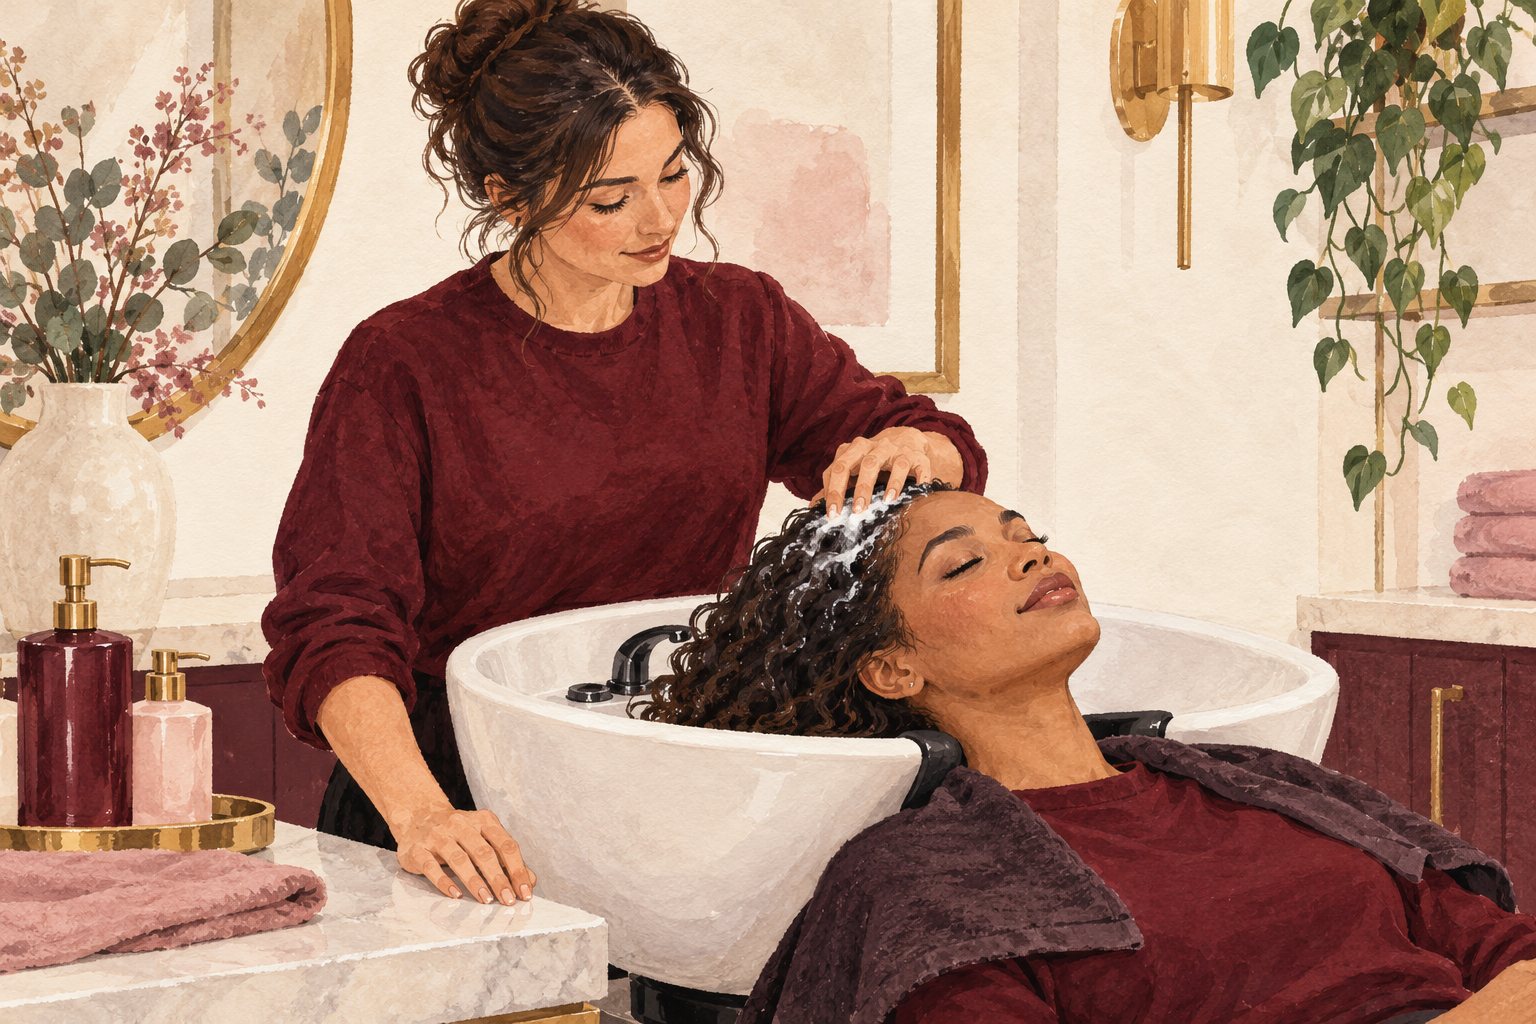
Massage a coin size of shampoo into your scalp with your fingertips and let the rinse water carry the suds down. Curls are dry by nature, so scrubbing the lengths strips them and leaves them frizzy. Wash once a week to start, or twice if your scalp gets oily or you work out. Rinse for a full minute until the water runs clear. Your scalp should feel clean but not squeaky. If it feels tight, use less shampoo or space washes further apart. A beginner mistake is washing every day because curls look dull, when dryness is what makes them look dull.
5. Condition generously and detangle while it is wet
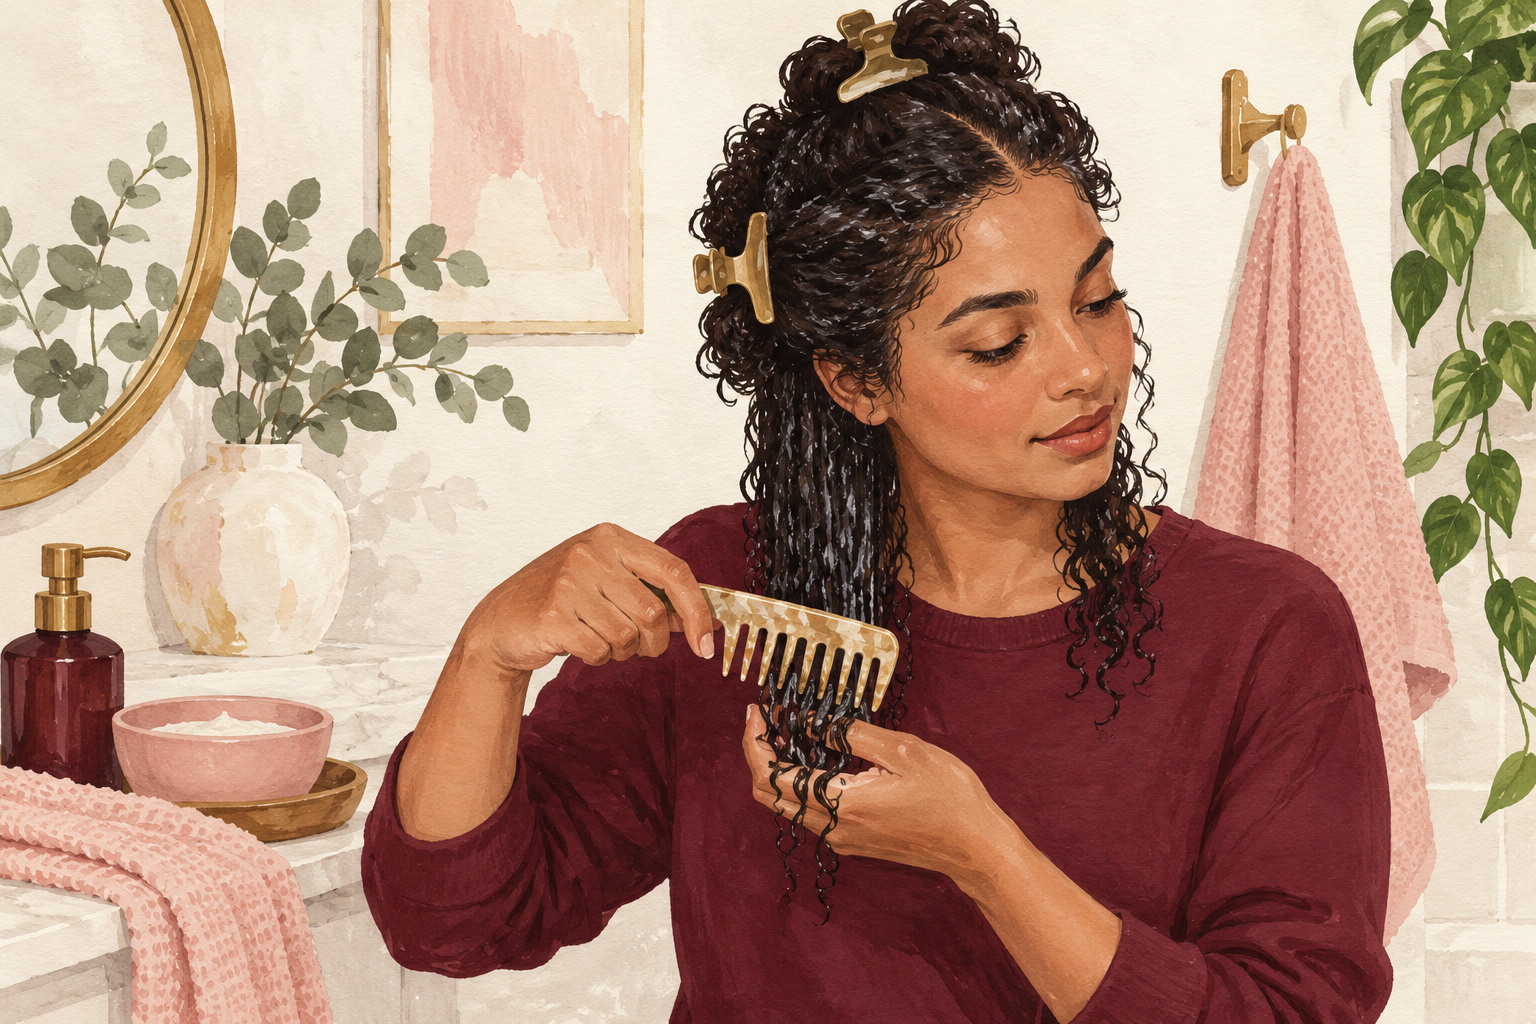
Cover your hair from mid length to ends in conditioner and comb through gently with your wide tooth comb. Hold the ends in one hand and comb from the bottom up, a little at a time. Curls tangle easily and the slippery conditioner stops snapping. Use a palm full for shoulder length hair, and more if yours is long or thick. Clip your hair in sections if it helps. Leave the conditioner on for the length of your shower, and rinse most of it out, keeping a slippery film on the ends. Never comb dry curls, because that is how frizz and breakage begin, and it hurts more too.
6. Style soaking wet, in this order
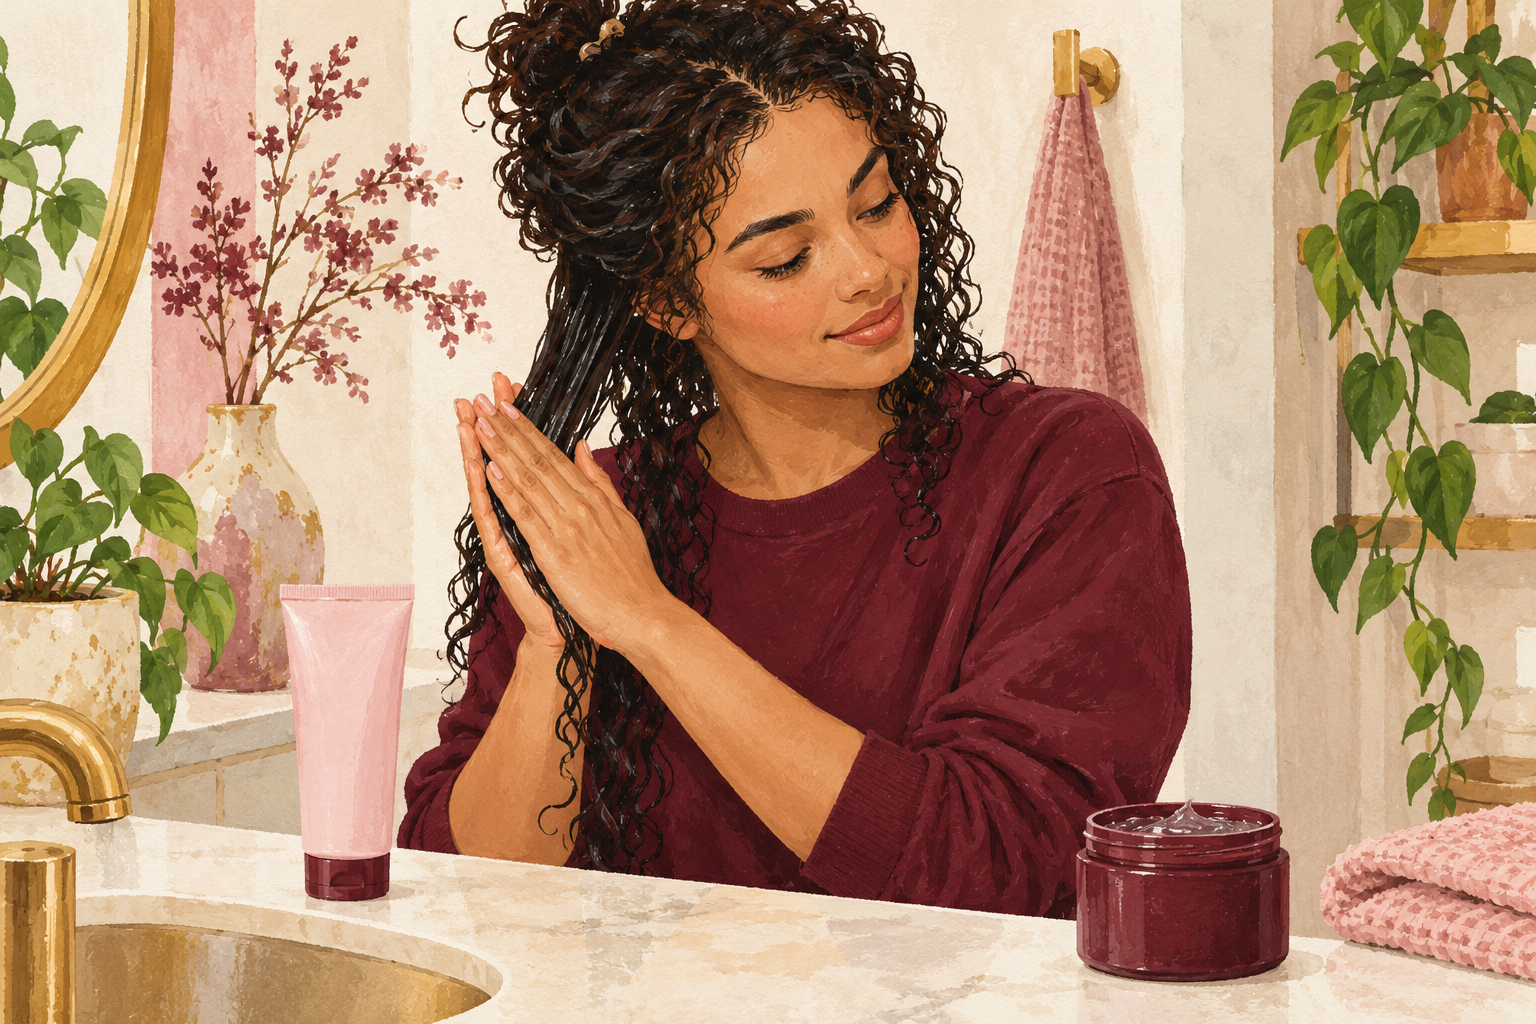
Put your leave in on first, then the gel, while the water is still dripping off your hair. Apply with praying hands, palms flat on the hair, and then scrunch upward toward the scalp. Use a golf ball size of gel for shoulder length hair and less for short hair. Wet curls hold their shape, and the gel sets it like a cast. Do not wait until the hair is half dry, because that is where frizz begins. If your curls look slick and heavy at this stage, that is right, because they will dry lighter. Keep the order the same every wash so you can tell what changed.
7. Blot rather than rub
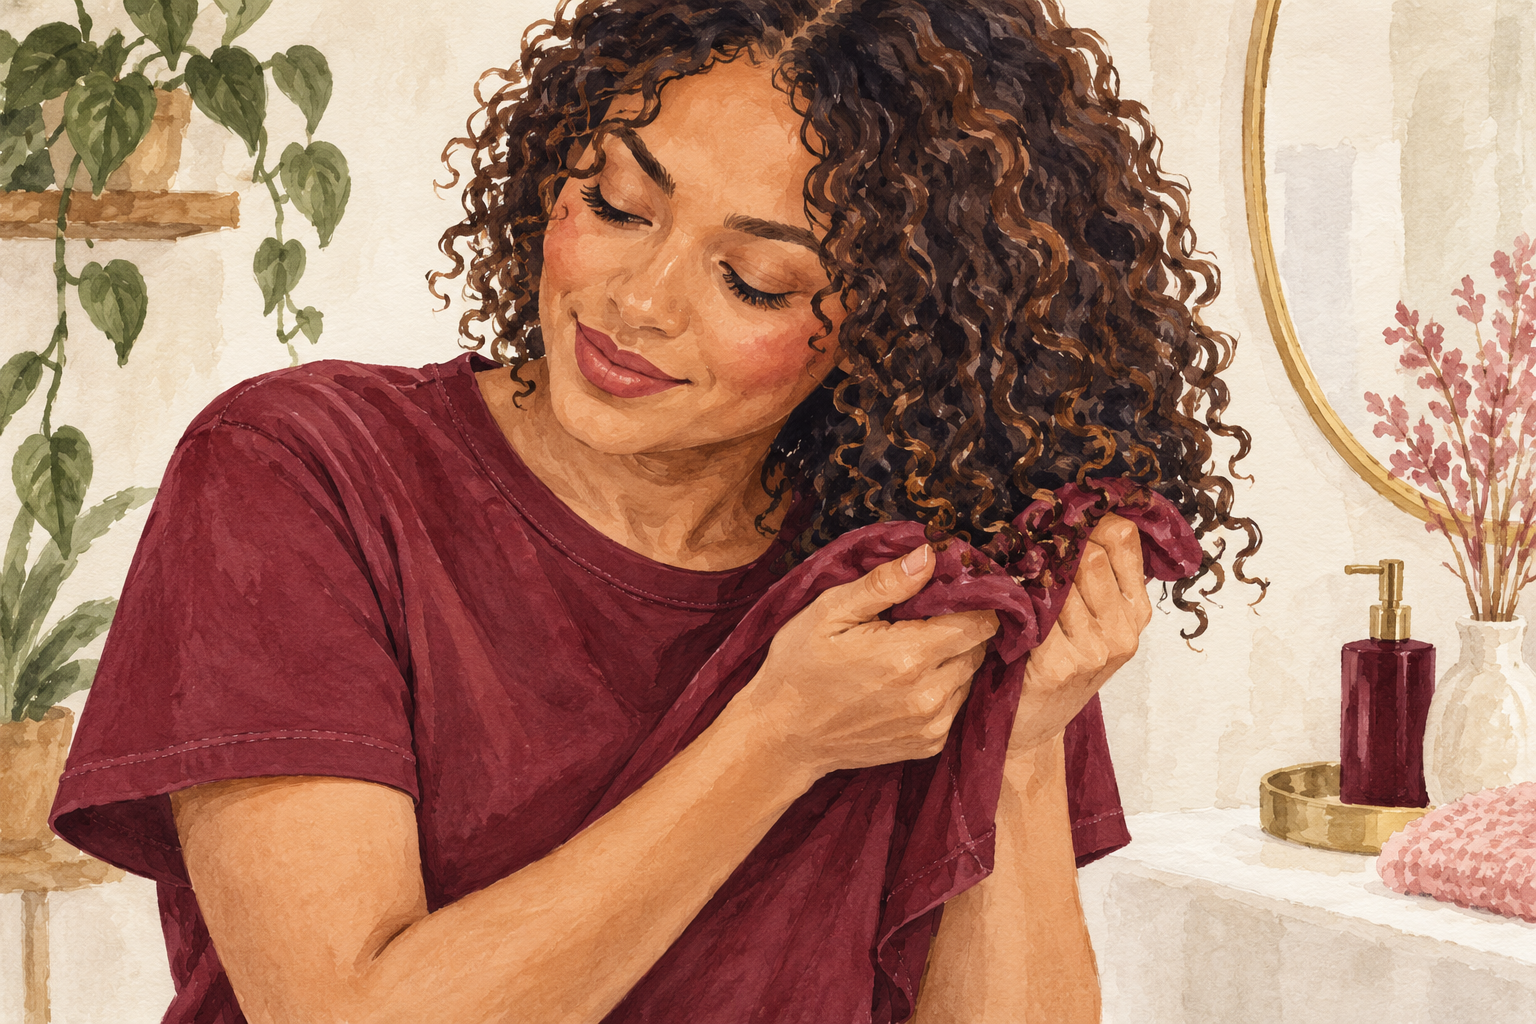
Press the excess water out of your curls with an old cotton tee shirt for a minute or two. A bath towel is rough, and rubbing it across your hair raises the outer layer of each strand, which makes frizz. Scoop your hair up from underneath and squeeze toward the scalp, working one section at a time. Be gentle, like you are drying a puppy. You are not trying to get it dry, only to take away the dripping water. After this, leave your hair alone. Do not twist the tee shirt tight around your head, because the tight wrap pulls the curls out of shape.
8. Dry hands off, then scrunch out the crunch
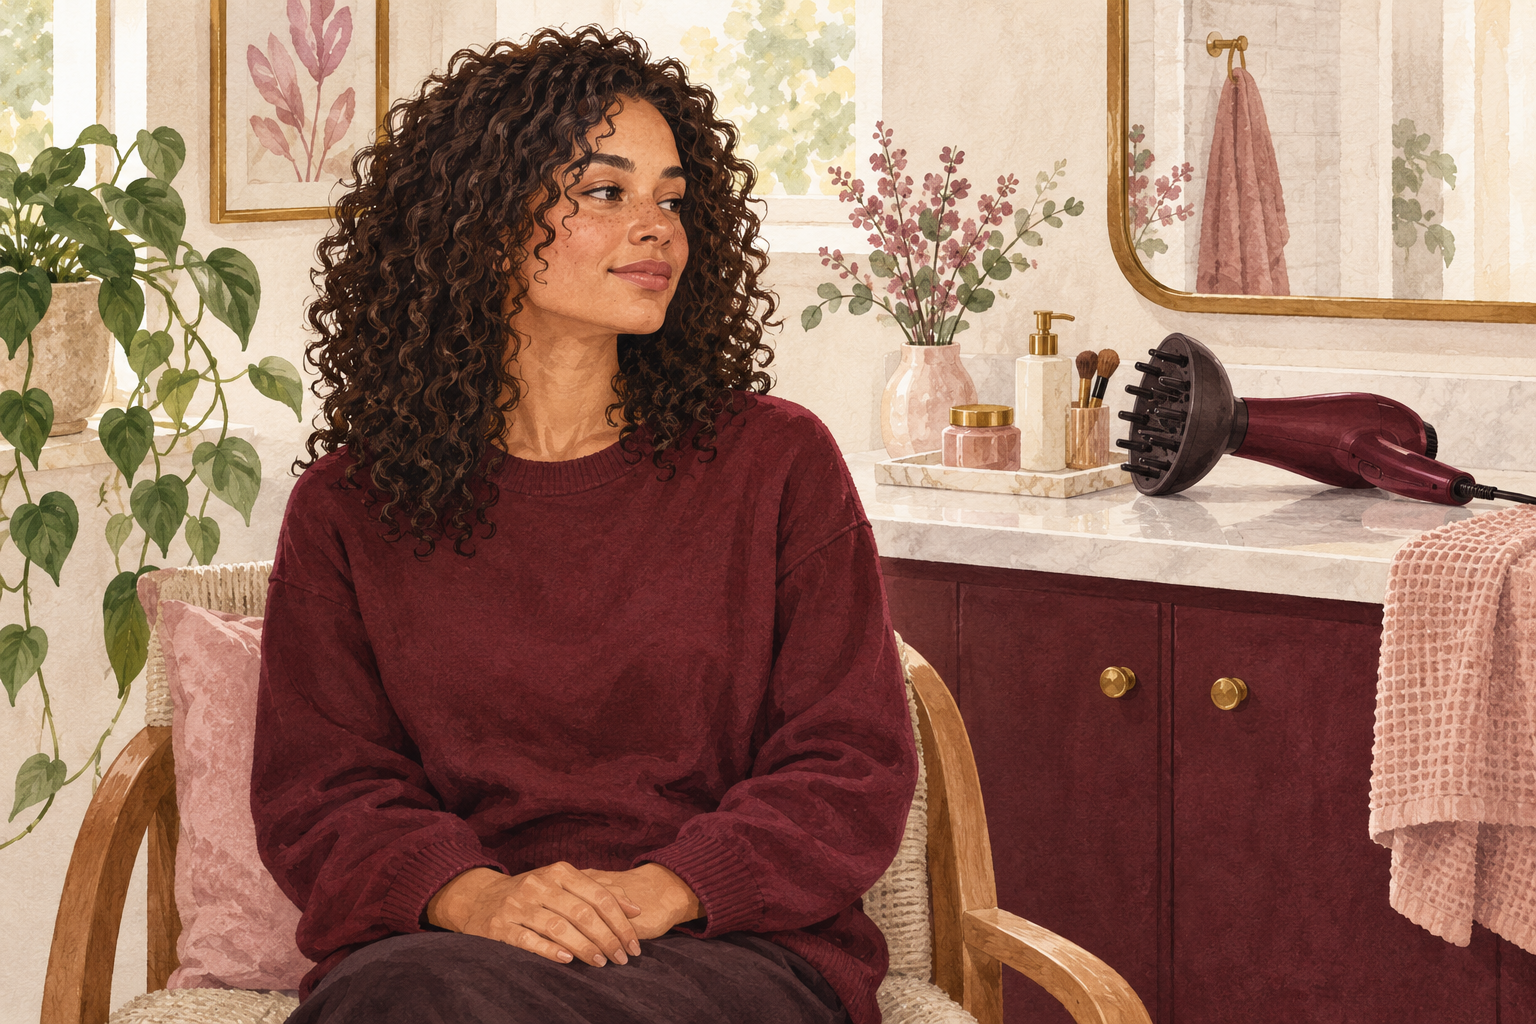
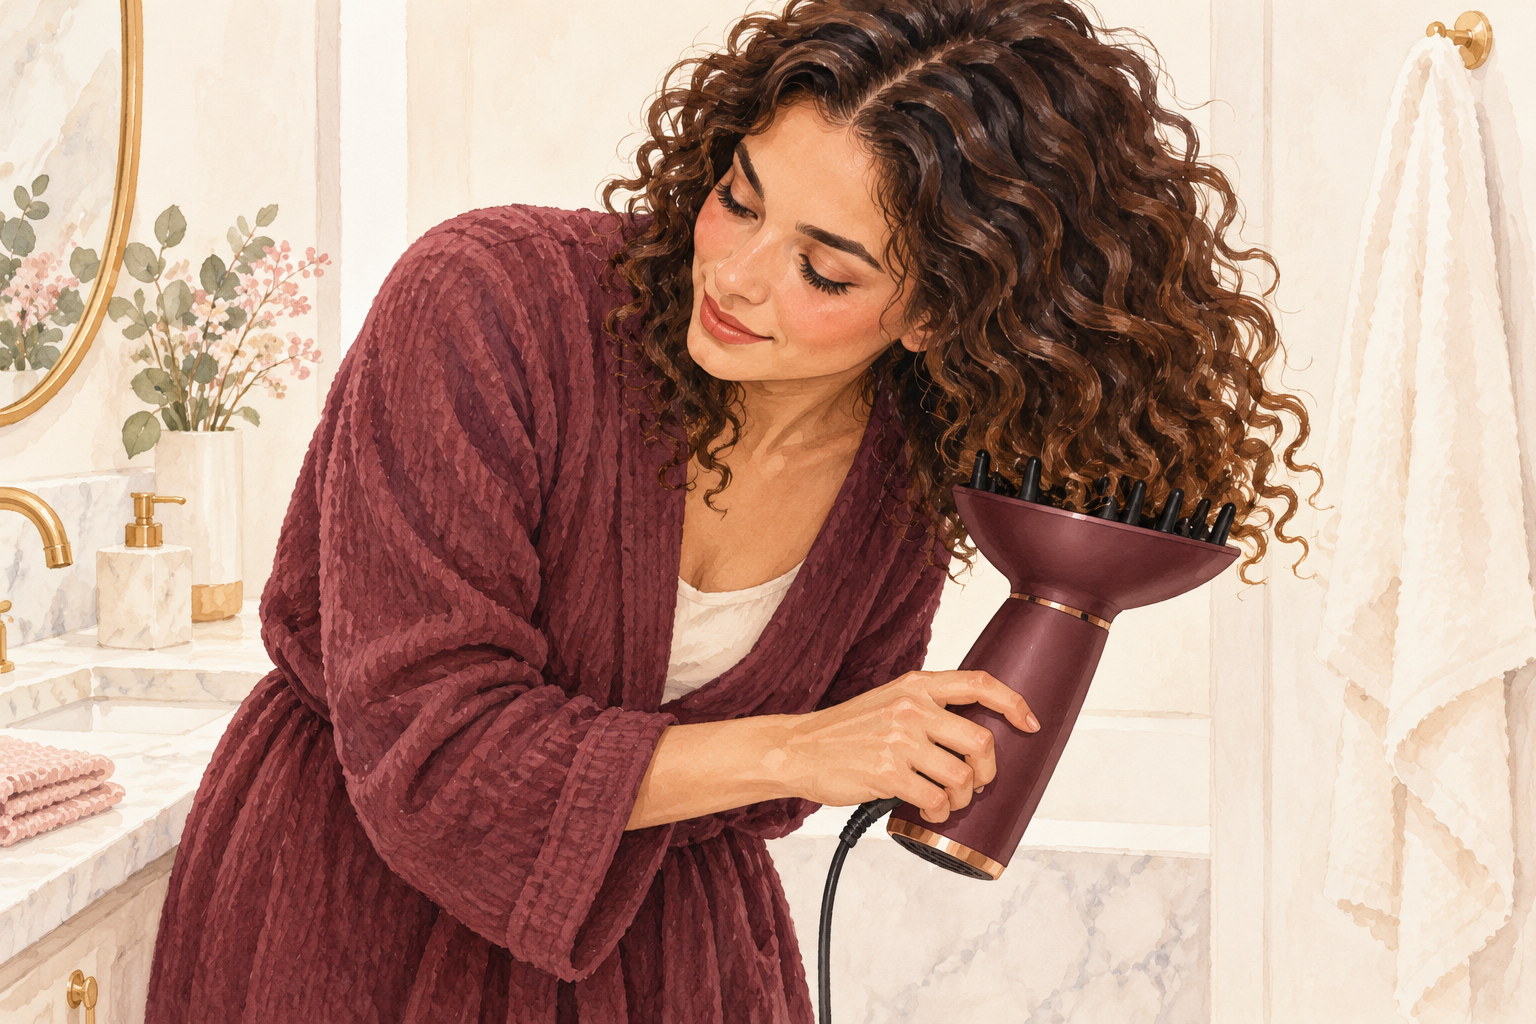
Let your curls dry untouched, either in the air or under a diffuser on low heat. Touching them while they dry breaks apart the curl clumps and brings the frizz back. When the hair is completely dry, flip your head over and scrunch gently with dry hands. The gel cast cracks and the curls turn soft and bouncy. This might take one to two hours for air drying. If it still feels hard after scrunching, you may have used too much gel, so try less next time. Crunch is not a mistake, it is the sign the hold is working.
9. Swap piles of product for small amounts
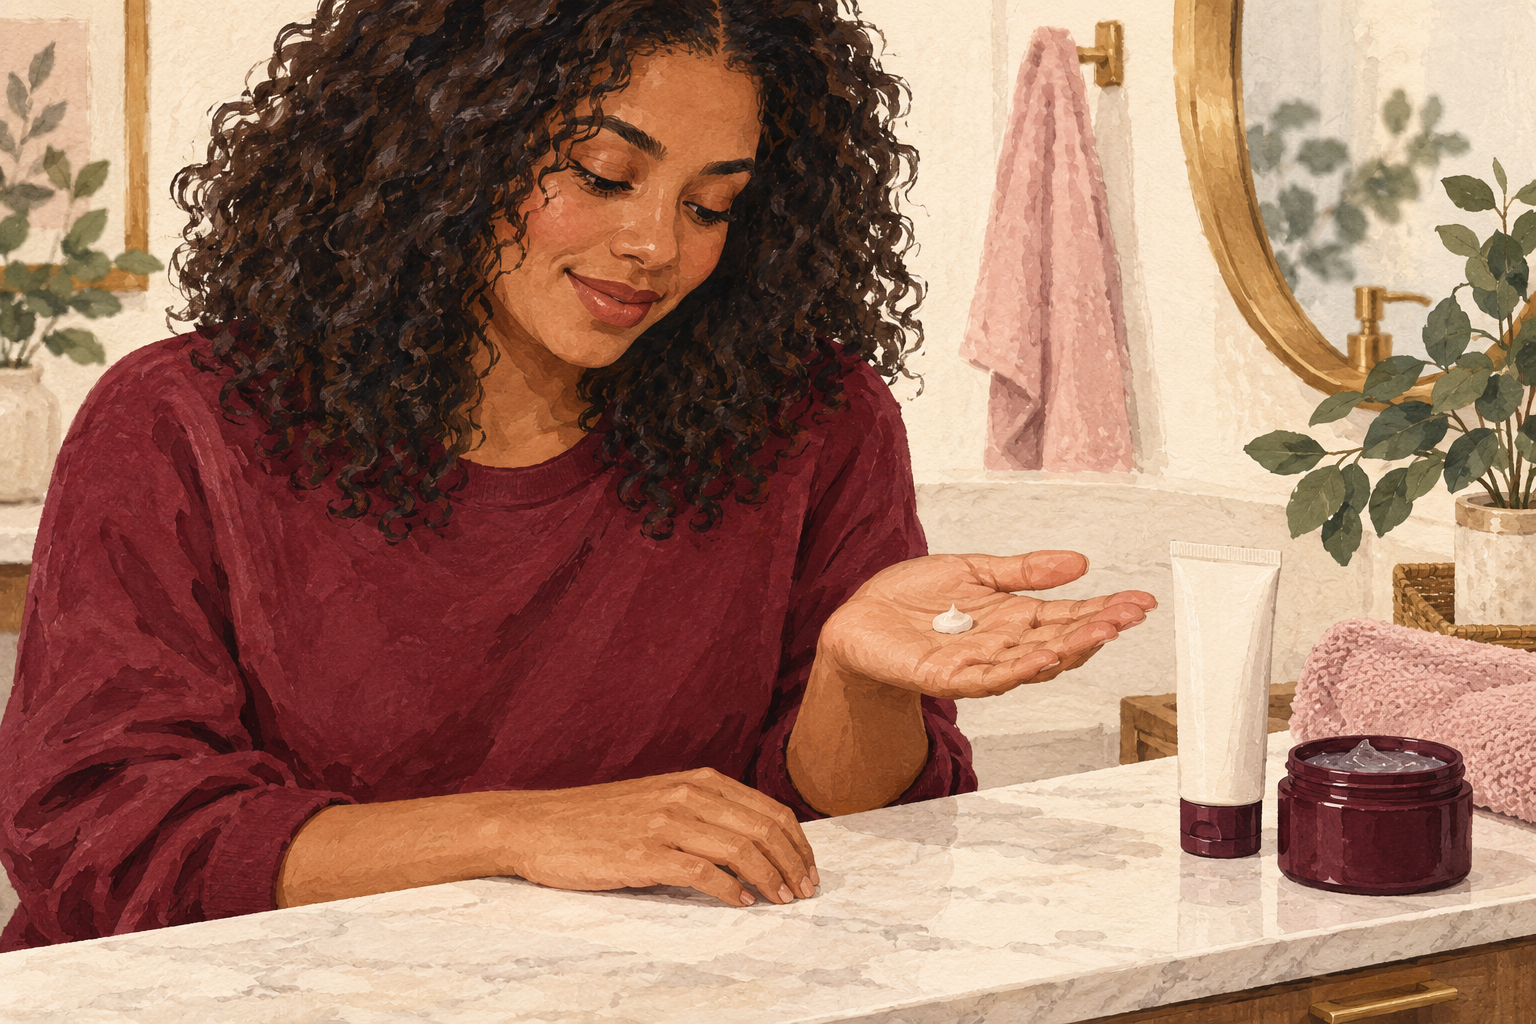
Start with a coin of leave in and a golf ball of gel, then change by a small amount each wash. Beginners usually use too much, and curls turn greasy, stiff or flaky. Too little leaves them frizzy. Add or remove a little at a time, and note the amount. If your curls feel sticky or look white after drying, cut back. If they look puffy, add more. Your perfect amount is probably smaller than the bottle says. Finding it takes about three wash days, so be patient with yourself while you learn what your hair can carry. Wet hands help the product spread thinner and more evenly.
10. Change one thing per wash day

Alter only one thing each time you wash, such as the amount of gel, the order, or the drying method. If you change five things together, you will not know which one helped or hurt. Note it in a notebook or your phone after each wash. Give each change three washes before you decide. Good days and bad days will happen for no clear reason, since weather and sleep play a part. Keep what works and drop what does not. This habit is the real secret of a curly hair routine for beginners, and it saves you from buying things you do not need.
11. Follow this week by week plan
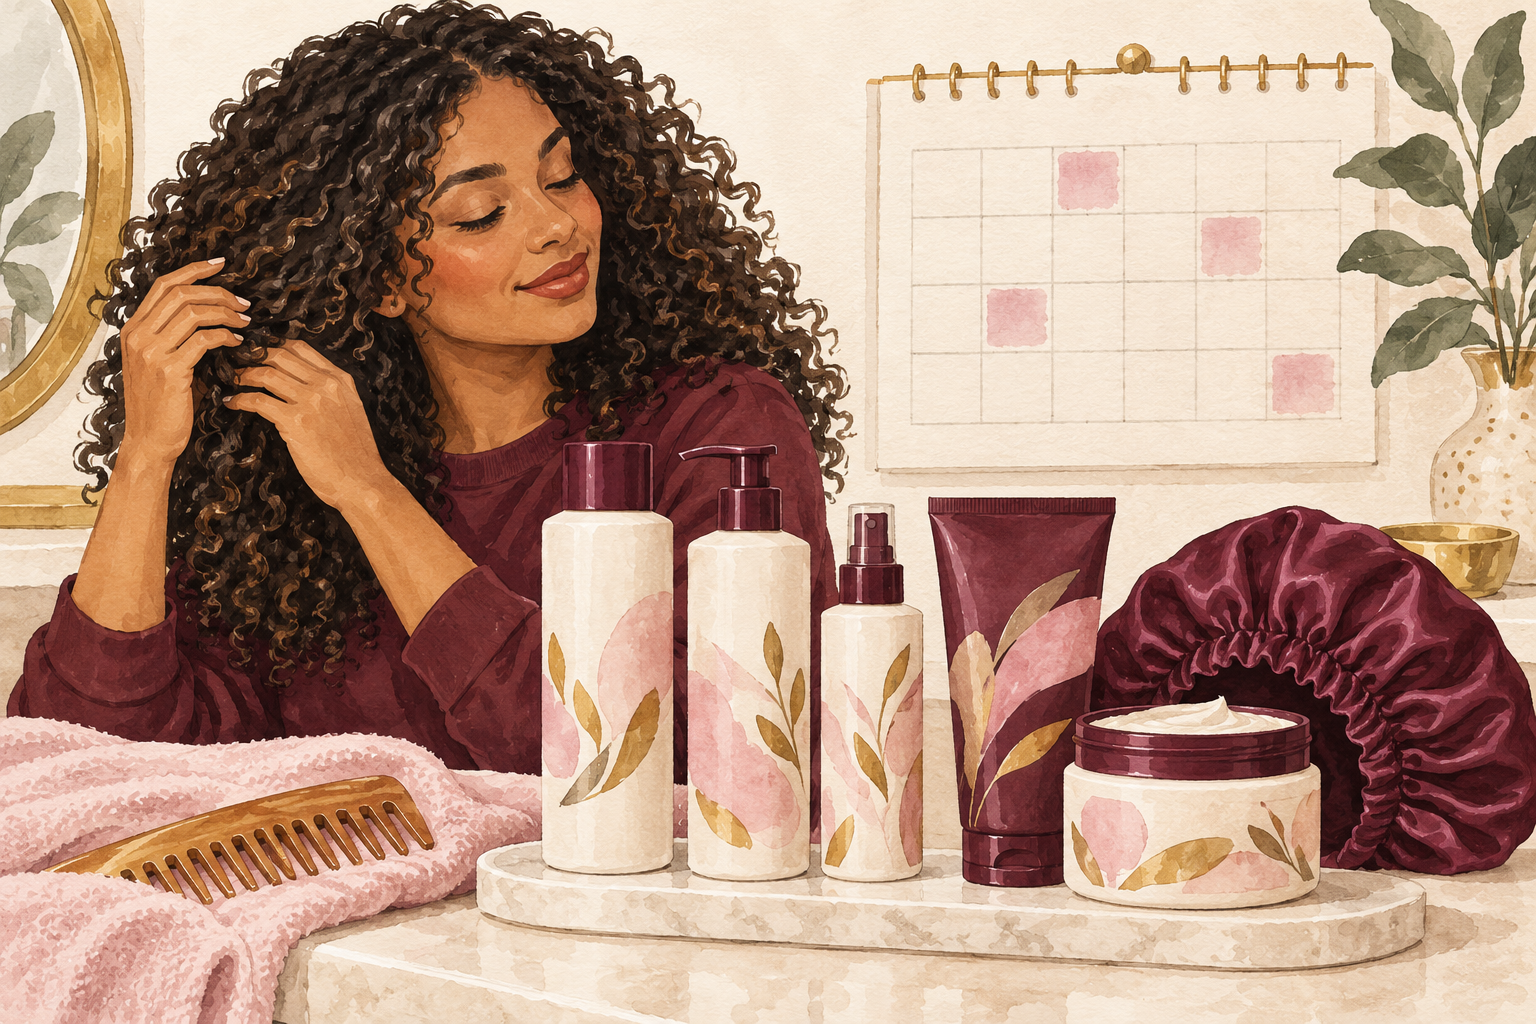
Week one, just wash, use conditioner and add a leave in. Week two, add gel. Week three, add a deep mask. Week four, add a satin bonnet at night. Building slowly means you can tell which step works. In week one you may notice softer curls. By week two the clumps hold better. By week three the ends feel less dry, and by week four you should see less frizz and more bounce. Do not skip ahead. If a step feels like too much, stay on it for another week. Slow starts become steady results, and your 30 day photo will show the change.
12. Refresh between washes with water
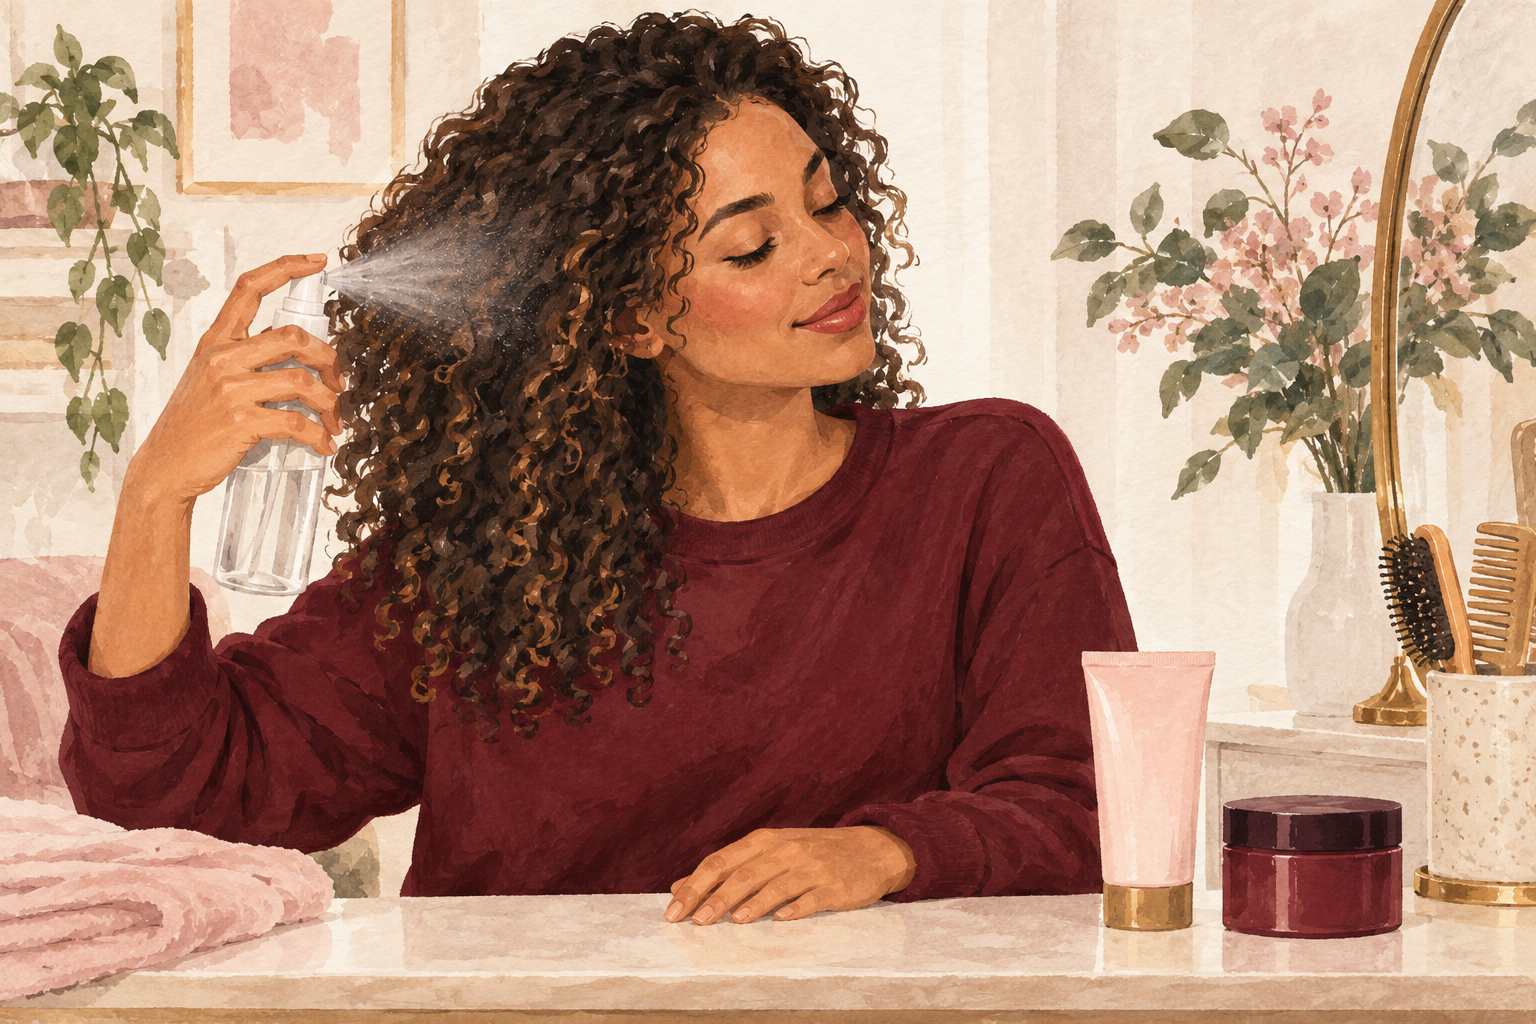
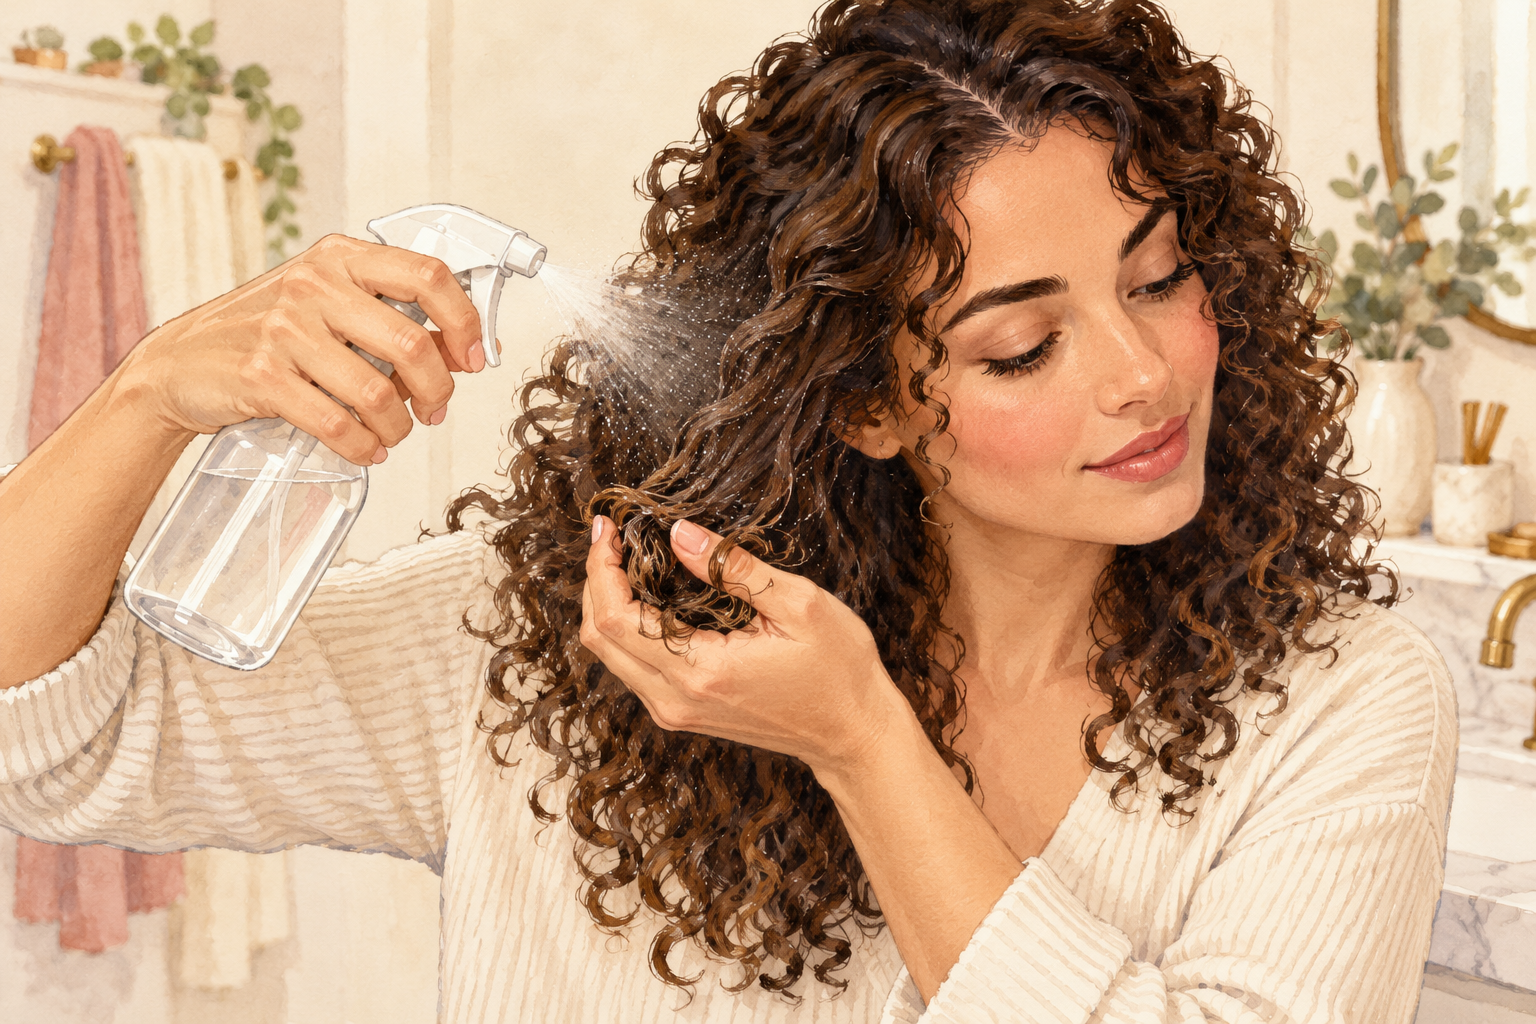
On day two or three, mist your curls lightly with water and scrunch in a pea of leave in. Do not add more gel, as it builds up. Focus on the frizzy spots, usually the crown and the back. Press the curls upward to shape them, then leave them to dry. By day 30 you will likely feel more in control, with curls that clump, stay soft and last between washes. They will not be perfect every day, and that is fine. Take your new photos beside the old ones, and be proud of what you have learned about your own hair.
Complete the Routine: Your Curly Hair Routine for Beginners This Week
Start tonight with the baseline photo and the six basics. For more, read about curly hair routine products and the easy curly hair routine once you are settled.