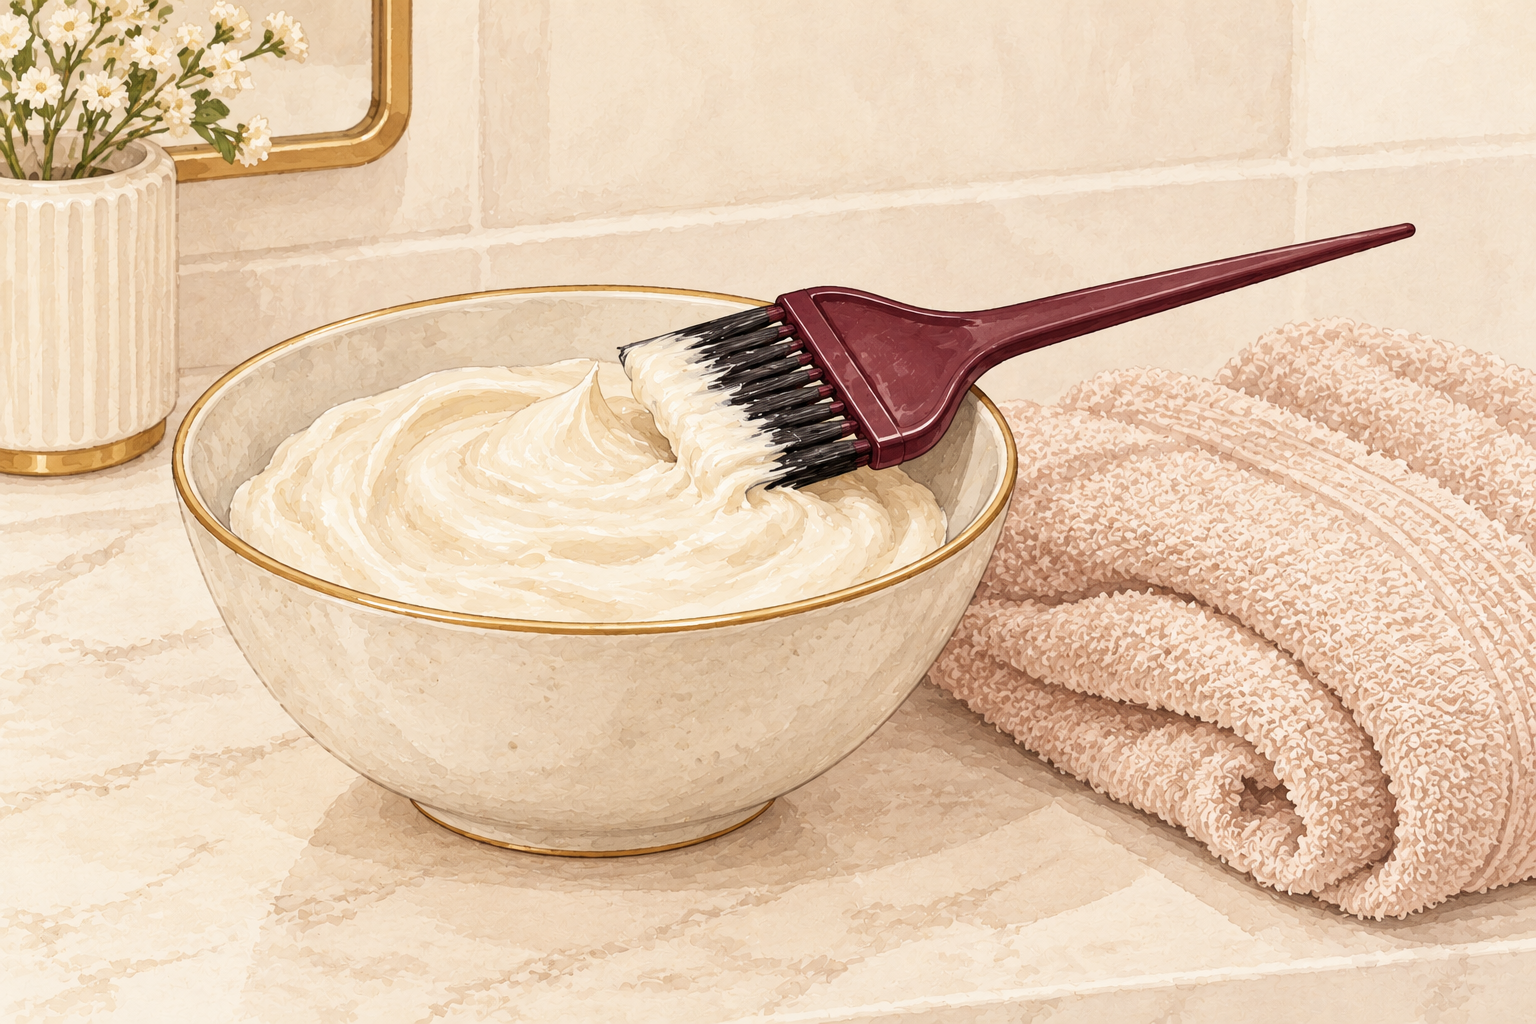
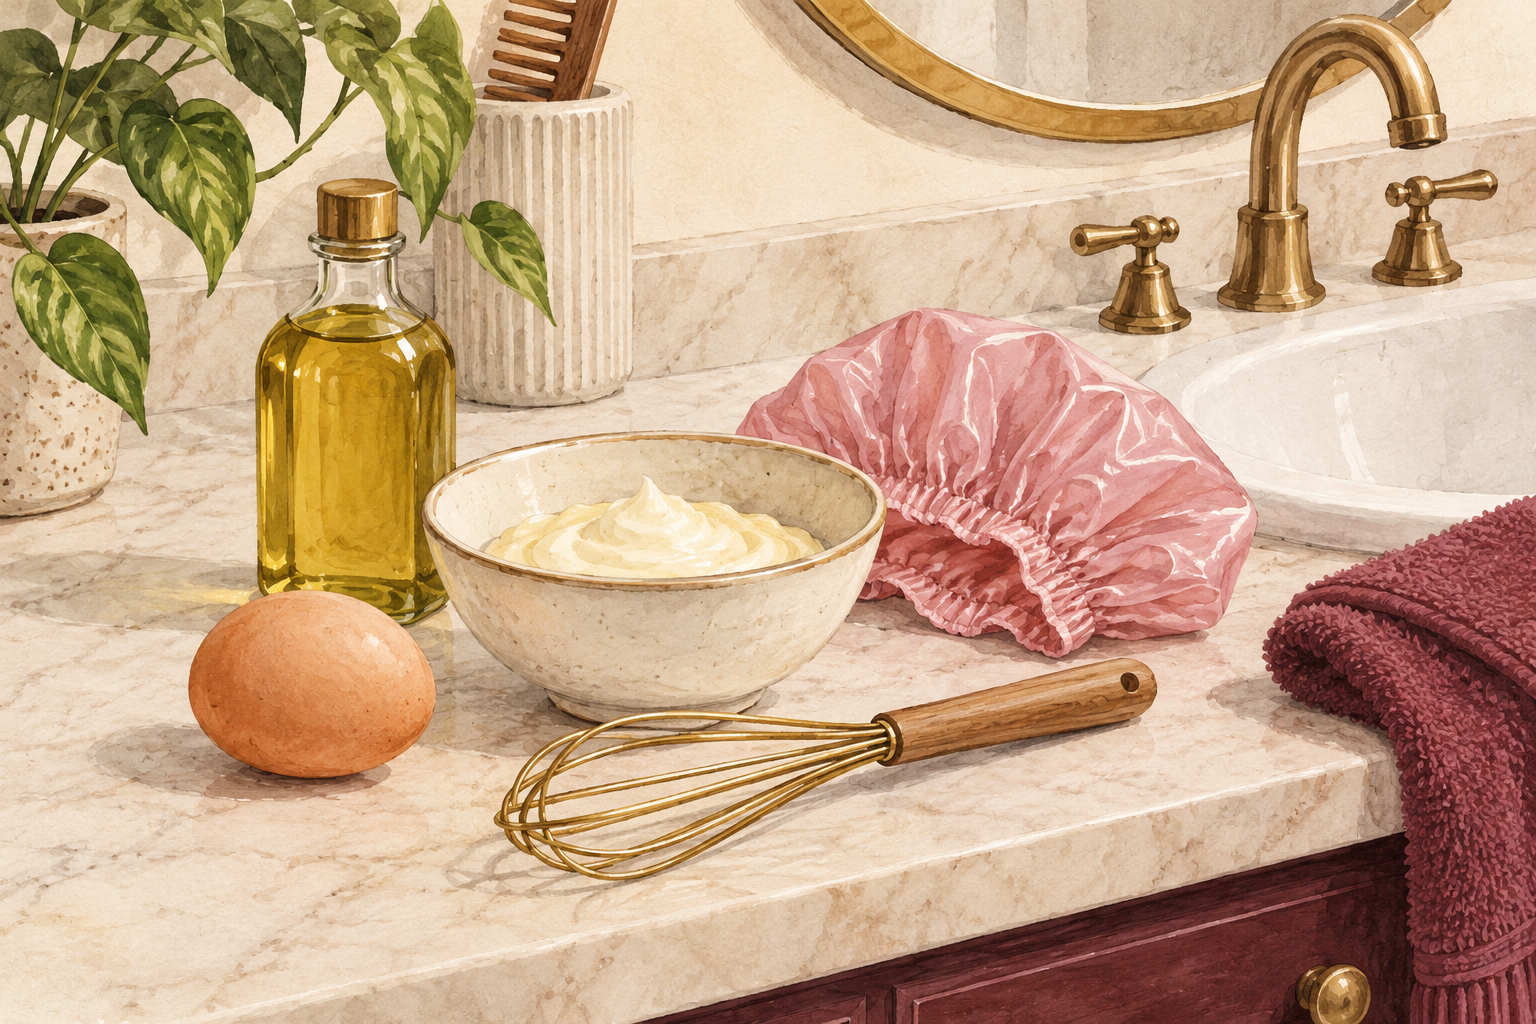
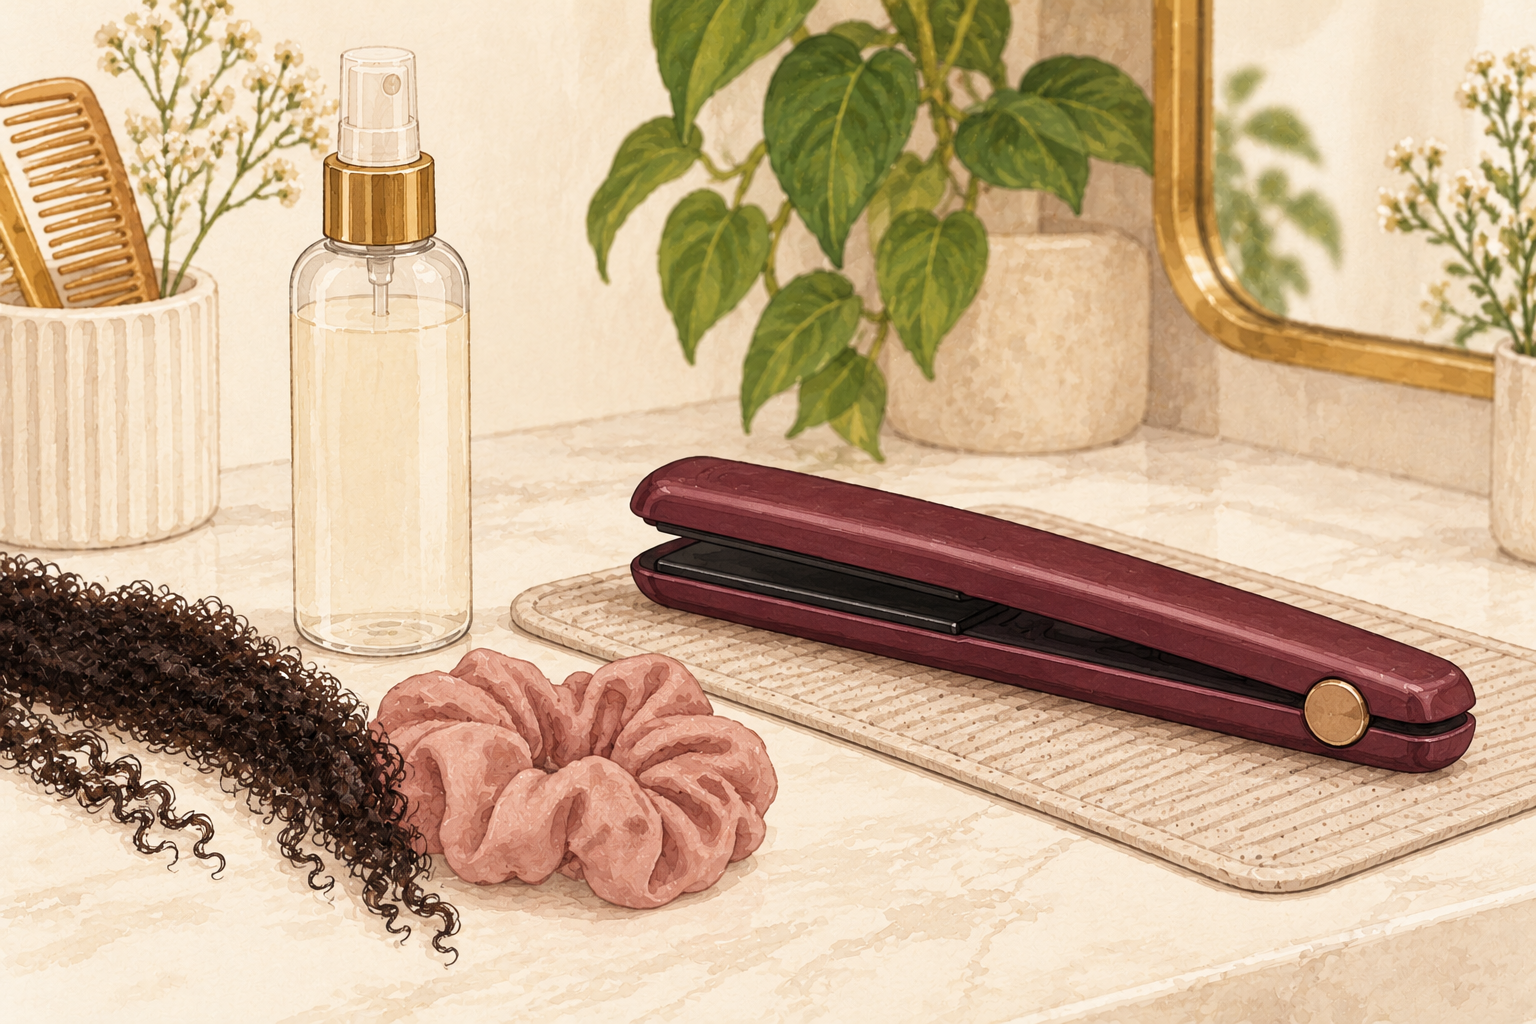
Your ends feel like dry straw, the shop masks are out of reach this month, and there is an avocado going soft on the counter. A diy hair mask for damaged hair can soften and calm rough hair using things you already have. Here are 12 steps, from the gentlest mix to the stronger ones, so start at number one tonight.
1. Set out your kit and use fresh food
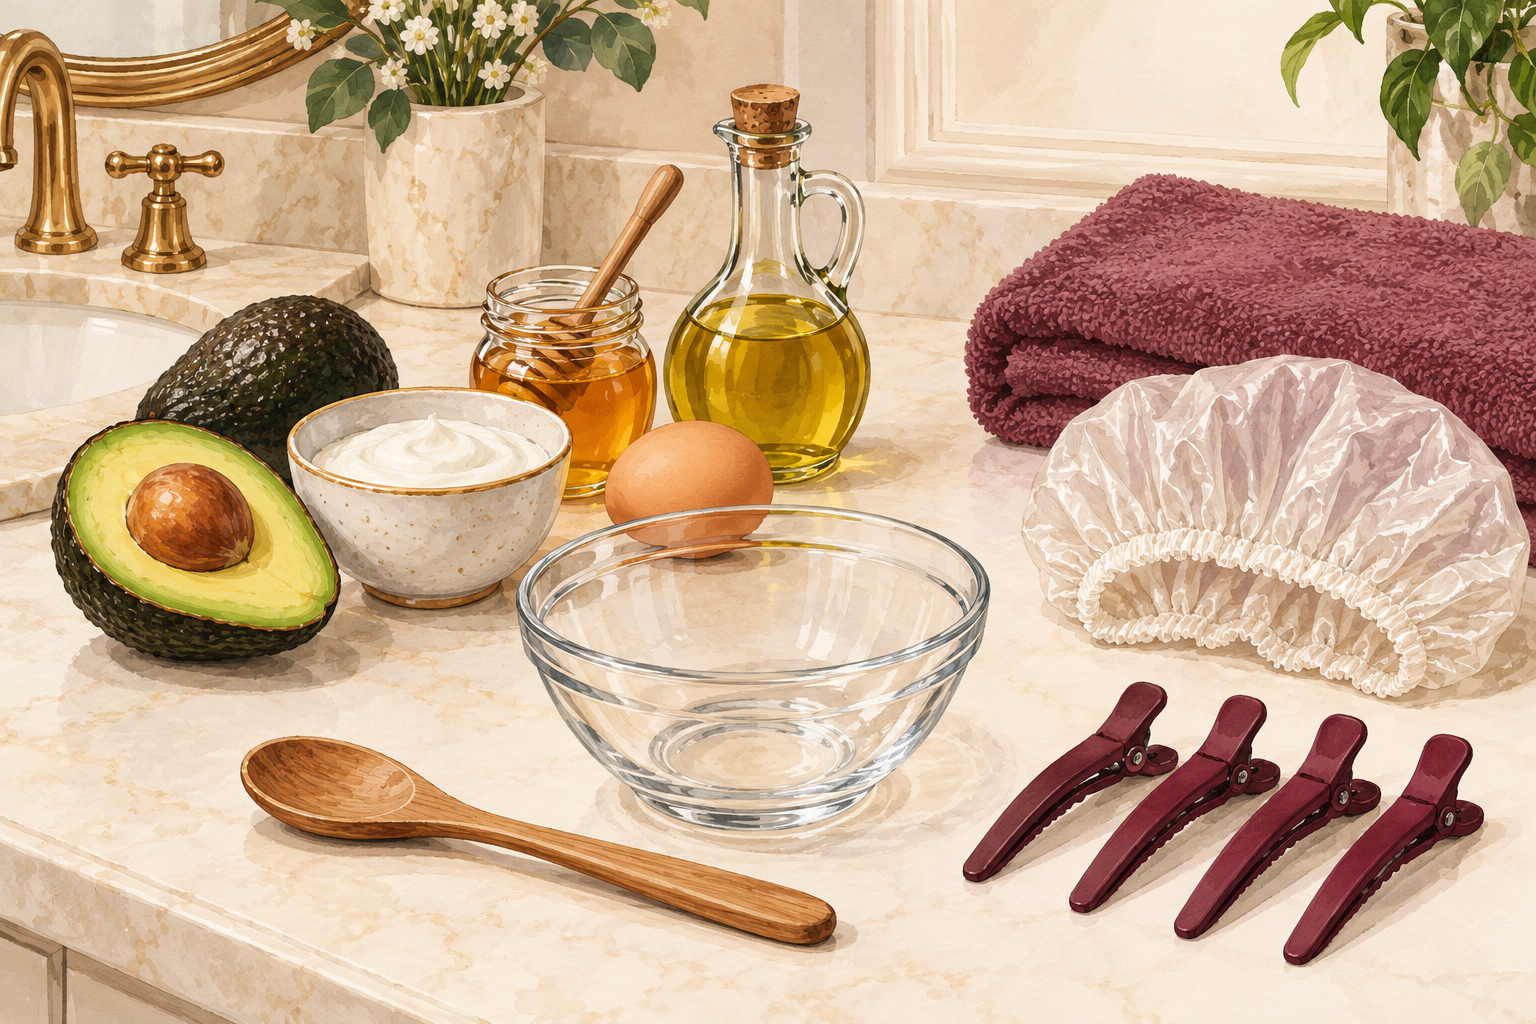
Lay out a clean bowl, a spoon, four hair clips, a shower cap and an old towel before you open a single jar. Use ingredients that are fresh and in date, because spoiled avocado or old yogurt is not something to put near your scalp. Wash your hands first. Make only what you will use today, since a mask has no preservatives and goes off fast. A small bowl holds enough for shoulder length hair. Having the kit ready also stops you from dripping honey across the bathroom. A towel round your shoulders keeps your clothes safe from stains.
2. Patch test every ingredient first
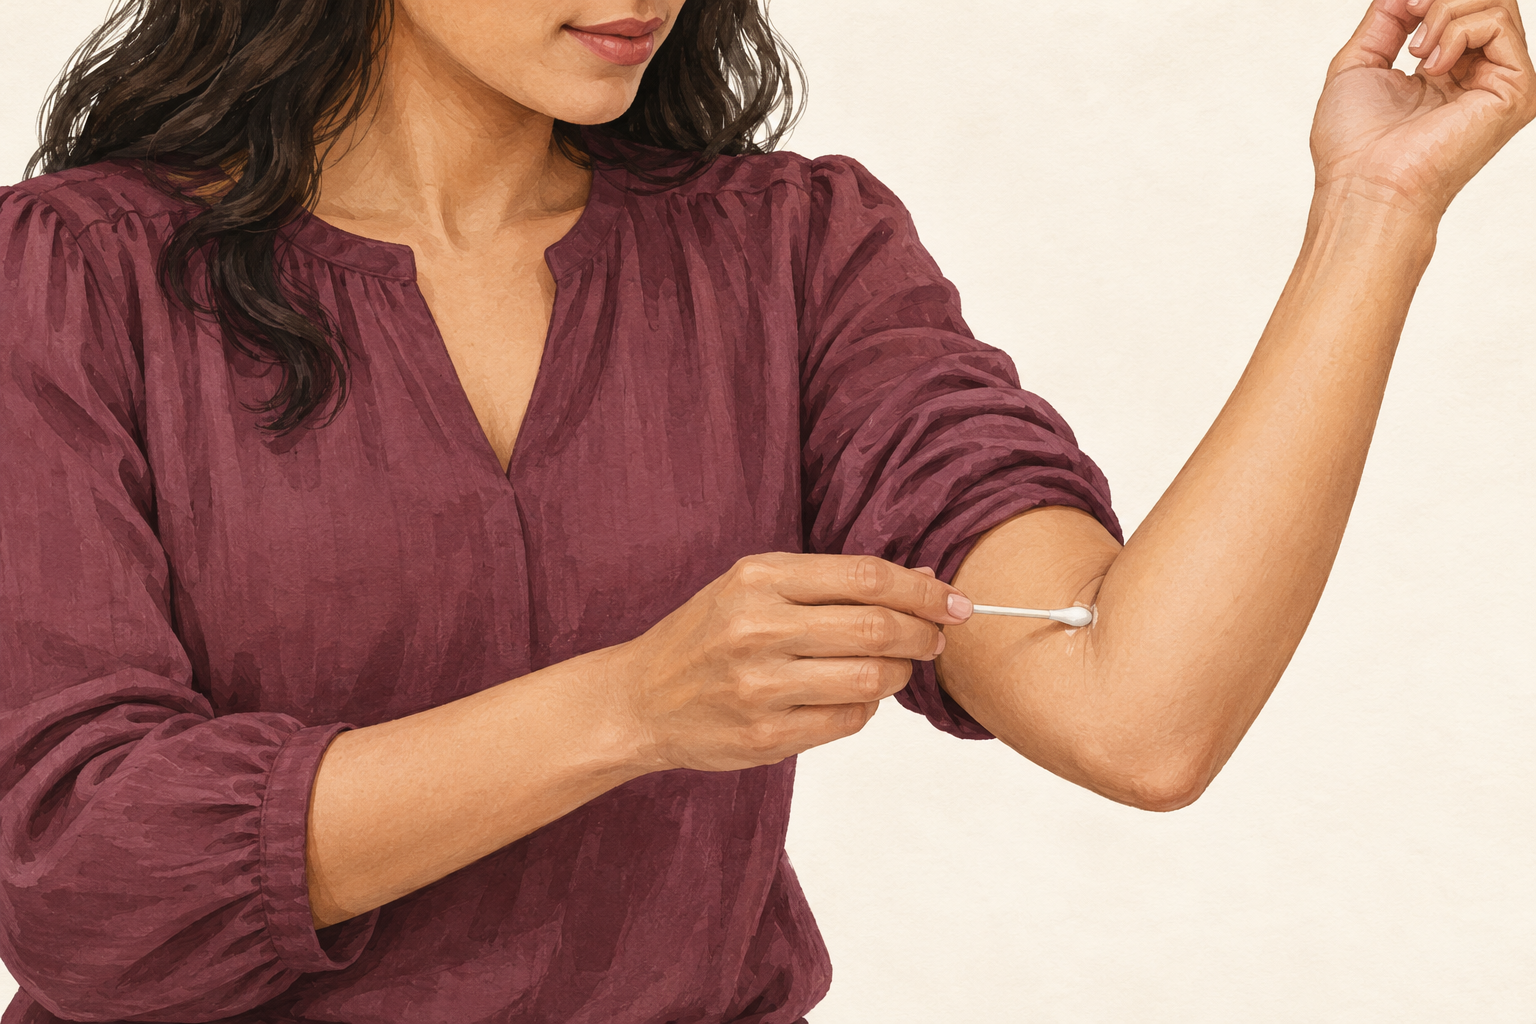
Dab a little of the mix on the inside of your elbow and leave it for a full day. If the skin itches, burns or turns red, wash it off and skip that ingredient. Test each new ingredient on its own, because eggs, honey and avocado can all bother some skin. Tell yourself this takes two minutes and saves two weeks of misery. Repeat the test whenever you add something new, and never put a mix on a scalp that is already sore or scratched. Waiting a full day is annoying but it is the only way to catch a slow reaction.
3. Know what a kitchen mask can and cannot do
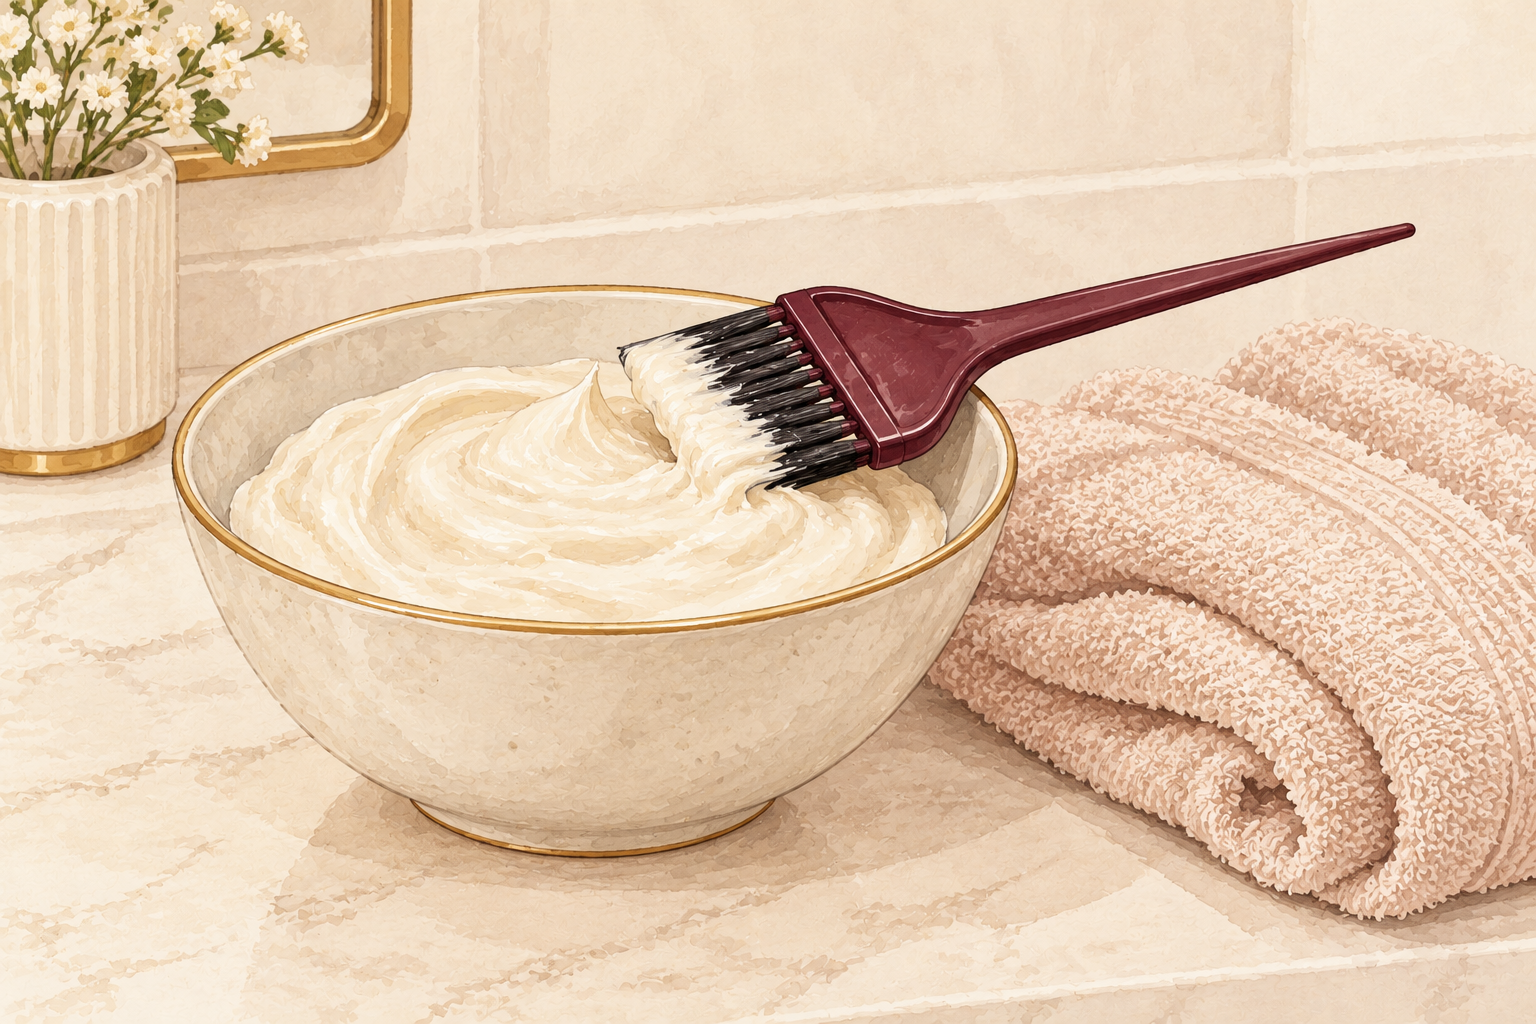
Expect softer, smoother, easier to comb hair, not a repaired strand. A mask coats the surface and fills the rough gaps for a while, which is why hair feels better after each one. It cannot stitch broken hair back together. Split ends still need a trim. This works best for dry, rough, dull hair that has been through heat or color, and it suits all textures. Matching your mix to your damage is the whole game, and the next steps show you how. Judge a mask after three uses, not one.
4. Start with a plain warm oil on your ends
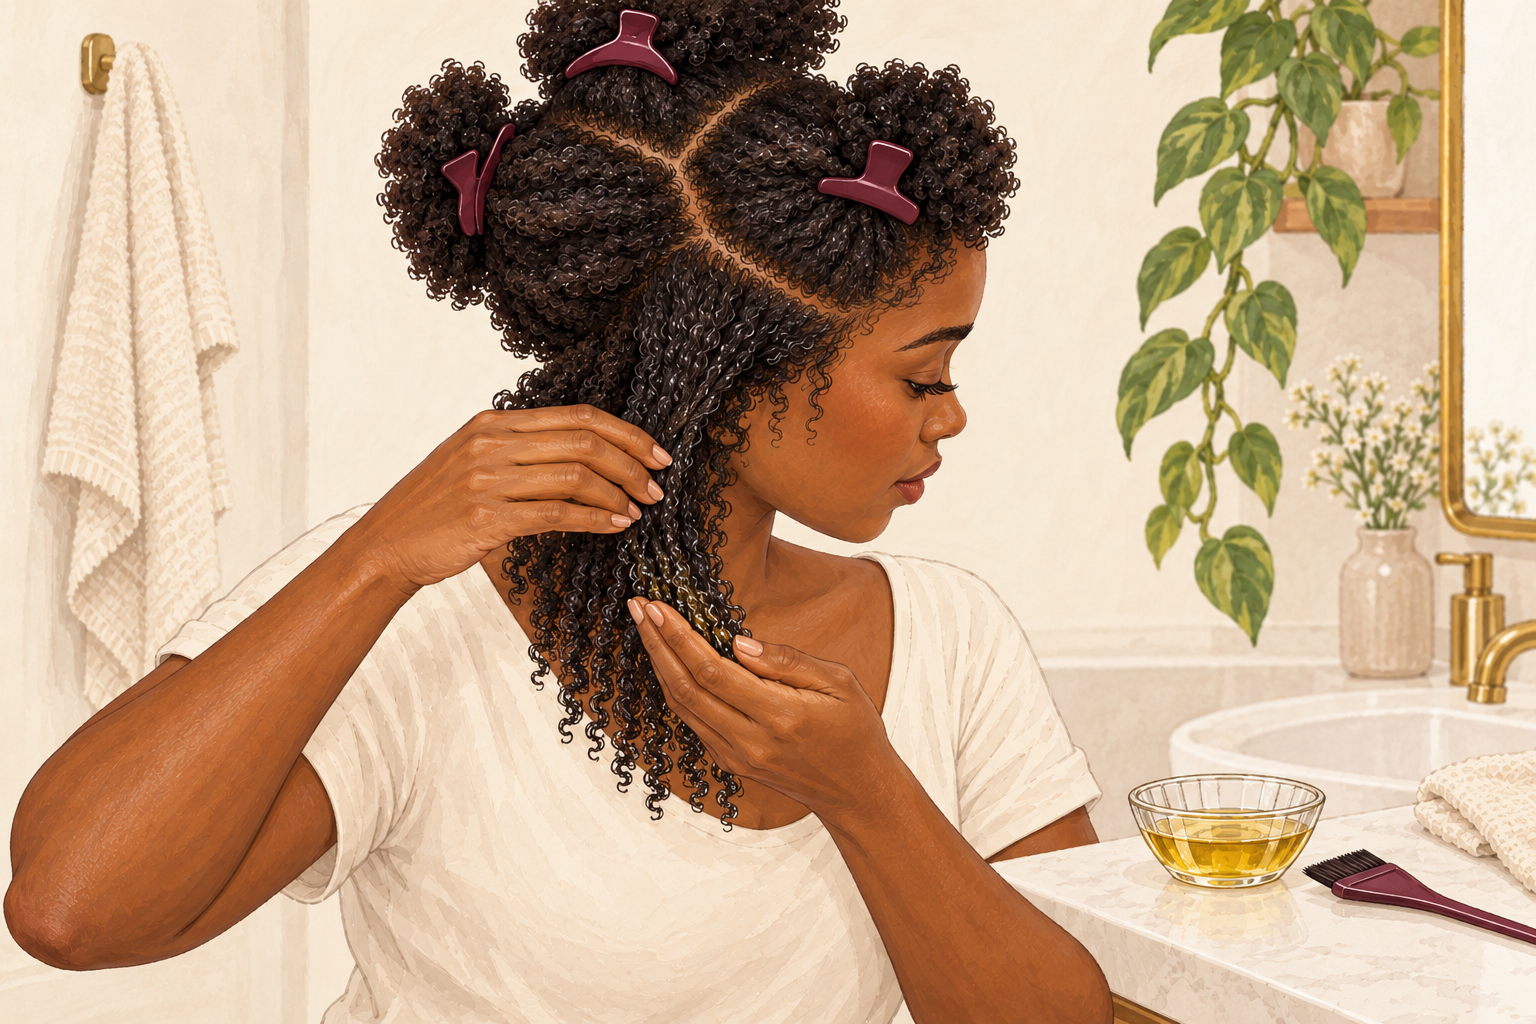
Warm one tablespoon of coconut or olive oil between your palms and press it through the last four inches of dry hair. This is the gentlest mask because it is a single ingredient with nothing to react to. Leave it on for thirty minutes under a shower cap, then shampoo it out twice if your hair feels greasy. Keep it off your roots unless your scalp is dry. If you have fine hair, use half a spoon, because too much oil leaves it limp. Olive oil is heavier, so coconut oil is the better pick for fine or low density hair.
5. Whisk aloe gel and olive oil for a light mix
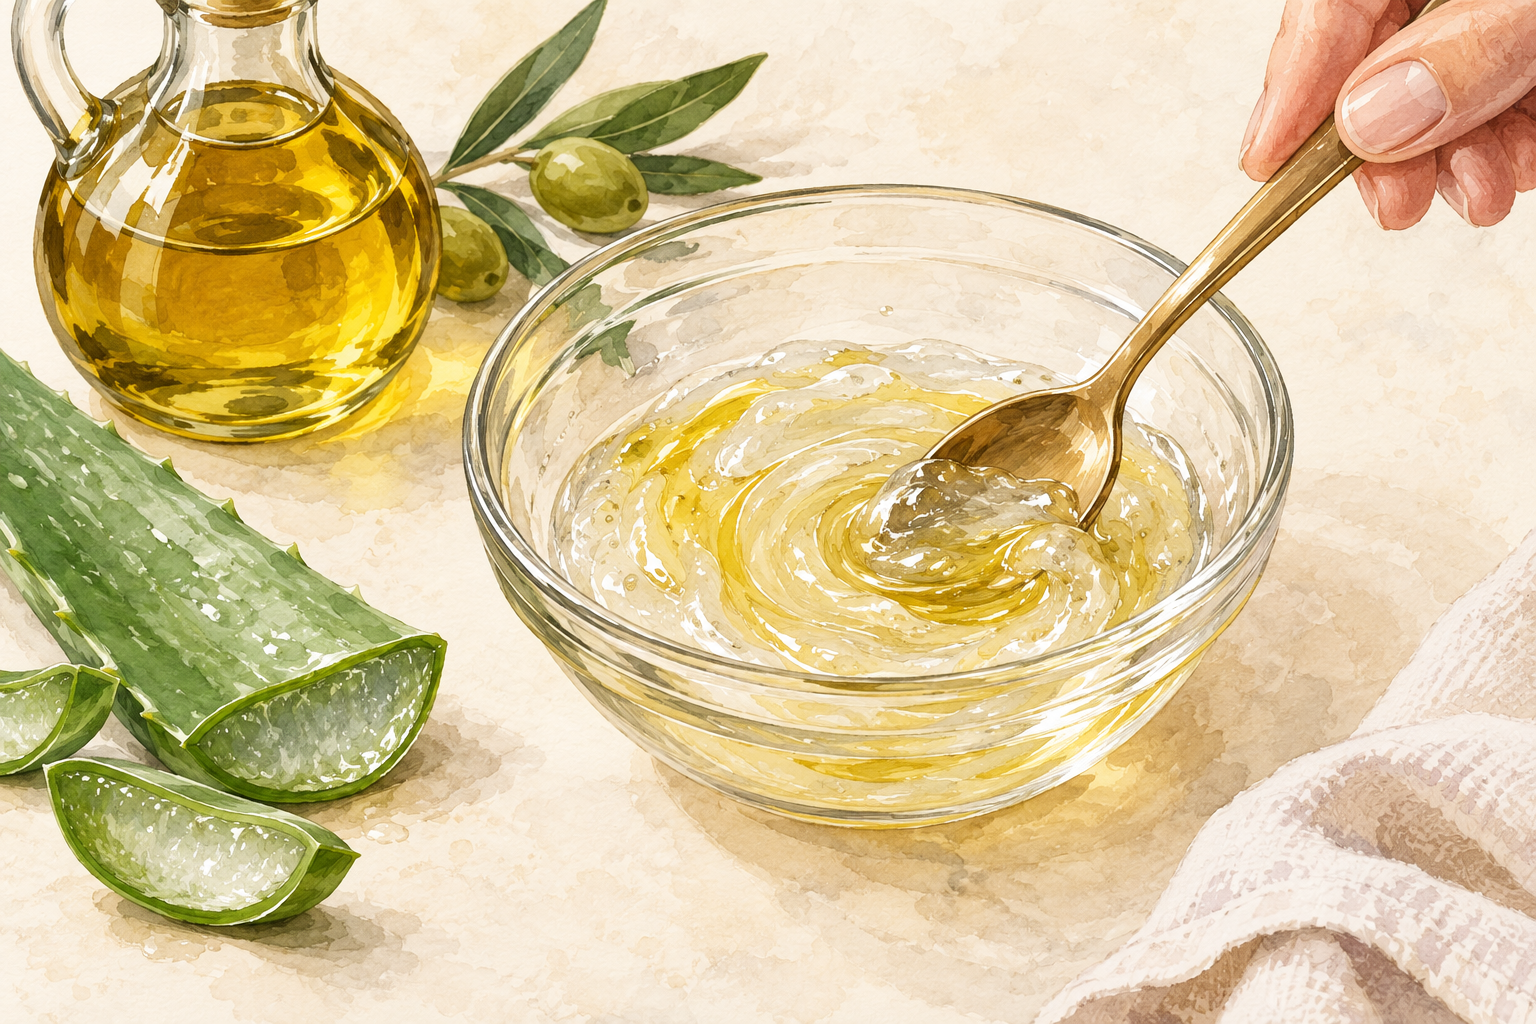
Stir two tablespoons of pure aloe gel with one teaspoon of olive oil until it looks glossy. This is a light mask that suits fine or oily hair that is still damaged. Smooth it from the mid lengths to the ends and leave it for twenty minutes. Aloe feels cool and calming, and the oil softens the gel so it spreads evenly. Choose a gel with no perfume or alcohol. Rinse with lukewarm water until nothing slippery is left, then follow with your usual shampoo. Skip it if your hair already feels soft and slippery, because it adds very little weight.
6. Stir honey into coconut oil for rough ends
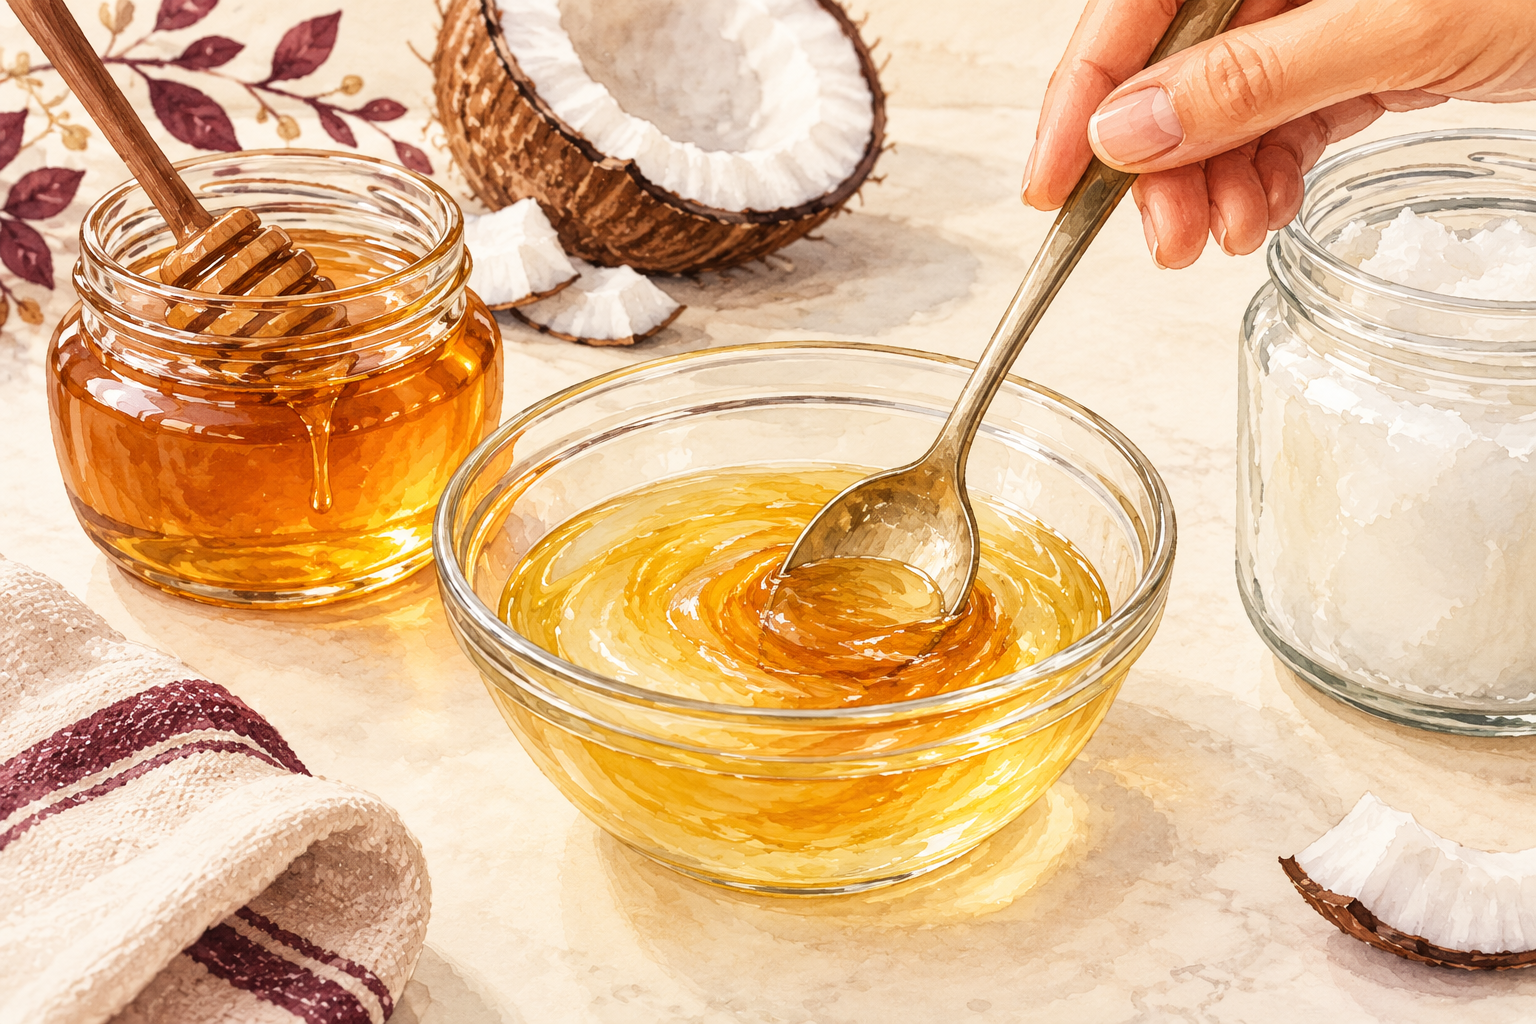
Mix one tablespoon of honey with two tablespoons of melted coconut oil and let it cool until warm. Honey draws moisture into dry hair, and the oil holds it there. Work it through damp ends only, section by section, and leave it for twenty to thirty minutes under a shower cap. It feels sticky, so keep your hands under a tap as you go. Rinse with lukewarm water, never hot, or the oil sets into a waxy layer. This mix is lovely for thick, coily or very dry hair. Taste the honey first, since fresh honey smells sweet and faintly floral.
7. Mash avocado and yogurt until there are no lumps
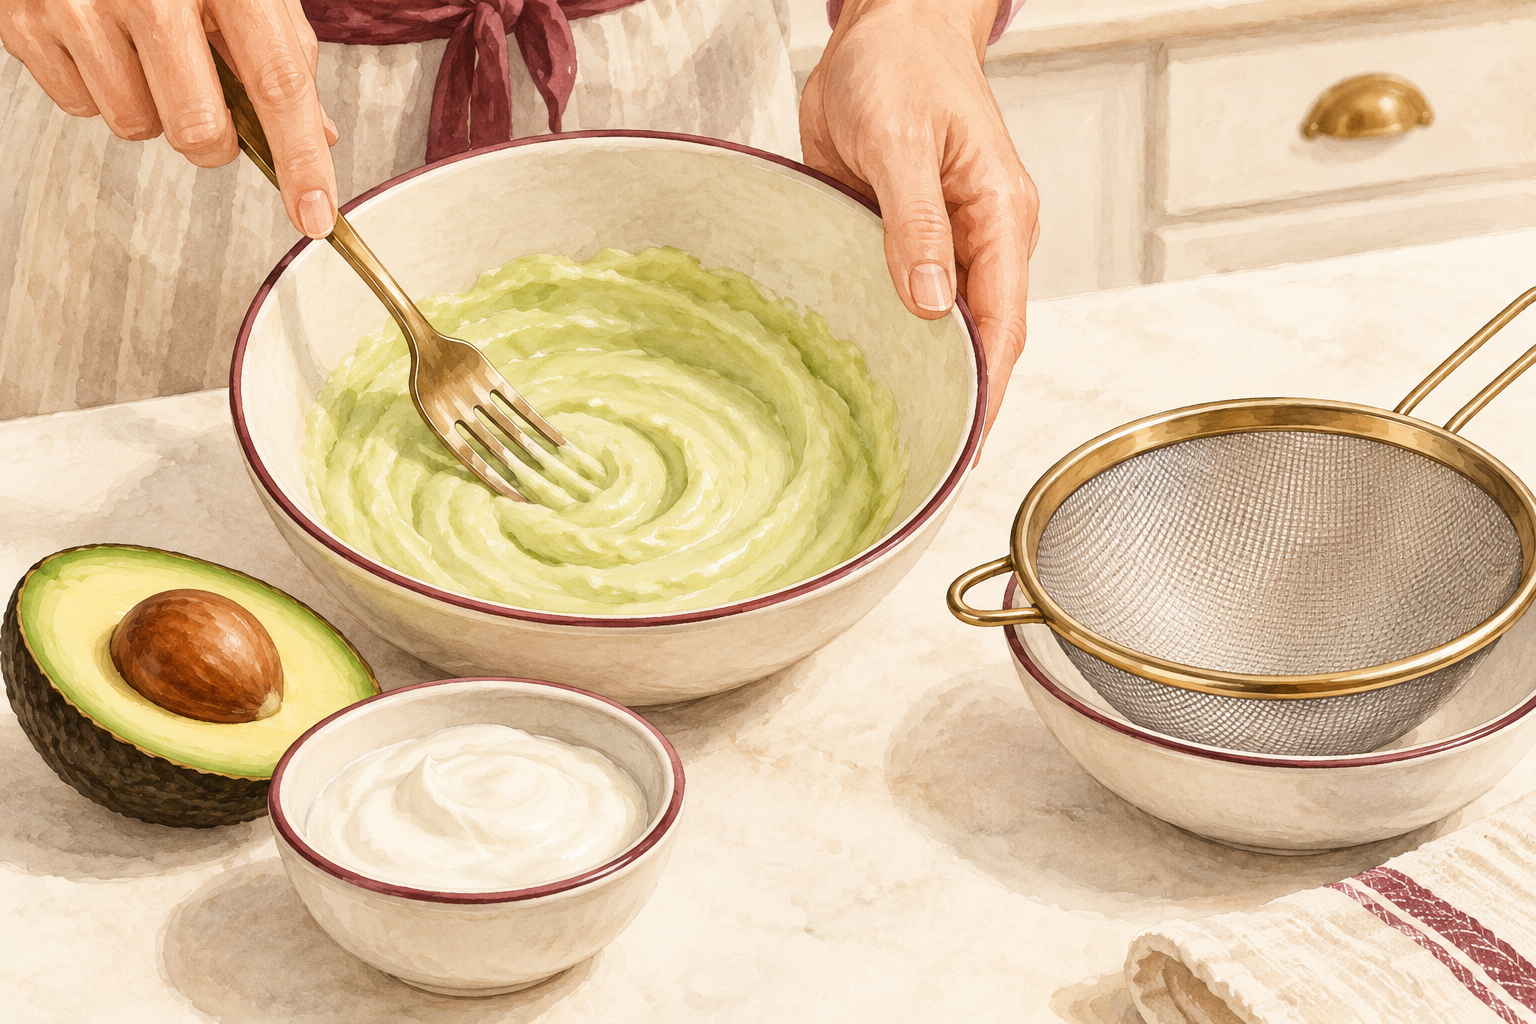
Mash half a ripe avocado with two tablespoons of plain yogurt until the mix looks like thick green cream. Any lumps are hard to rinse out, so push it through a sieve if you need to. It is rich and filling, so it suits dull, dry, heavy damage. Apply it to damp hair, leave it for twenty minutes and rinse with cool water. Make it fresh each time. If your hair feels coated after, shampoo once more and skip this mix for a while. Plain yogurt, not flavored, is the one to buy for this.
8. Use egg yolk only with a cool rinse

Whisk one egg yolk with a teaspoon of olive oil and spread it through the lengths for fifteen minutes. Yolk adds richness, but hot water cooks it into scrambled bits in your hair. Rinse with cool water, not warm, and use your fingers to comb out any stray bits. Shampoo afterwards to remove the smell. Keep it for hair that feels limp and thin after heat or color damage, and use it no more than once a fortnight, since it is a stronger mix than the rest. Leave out the white, which smells stronger and is harder to rinse.
9. Apply to damp hair in four sections
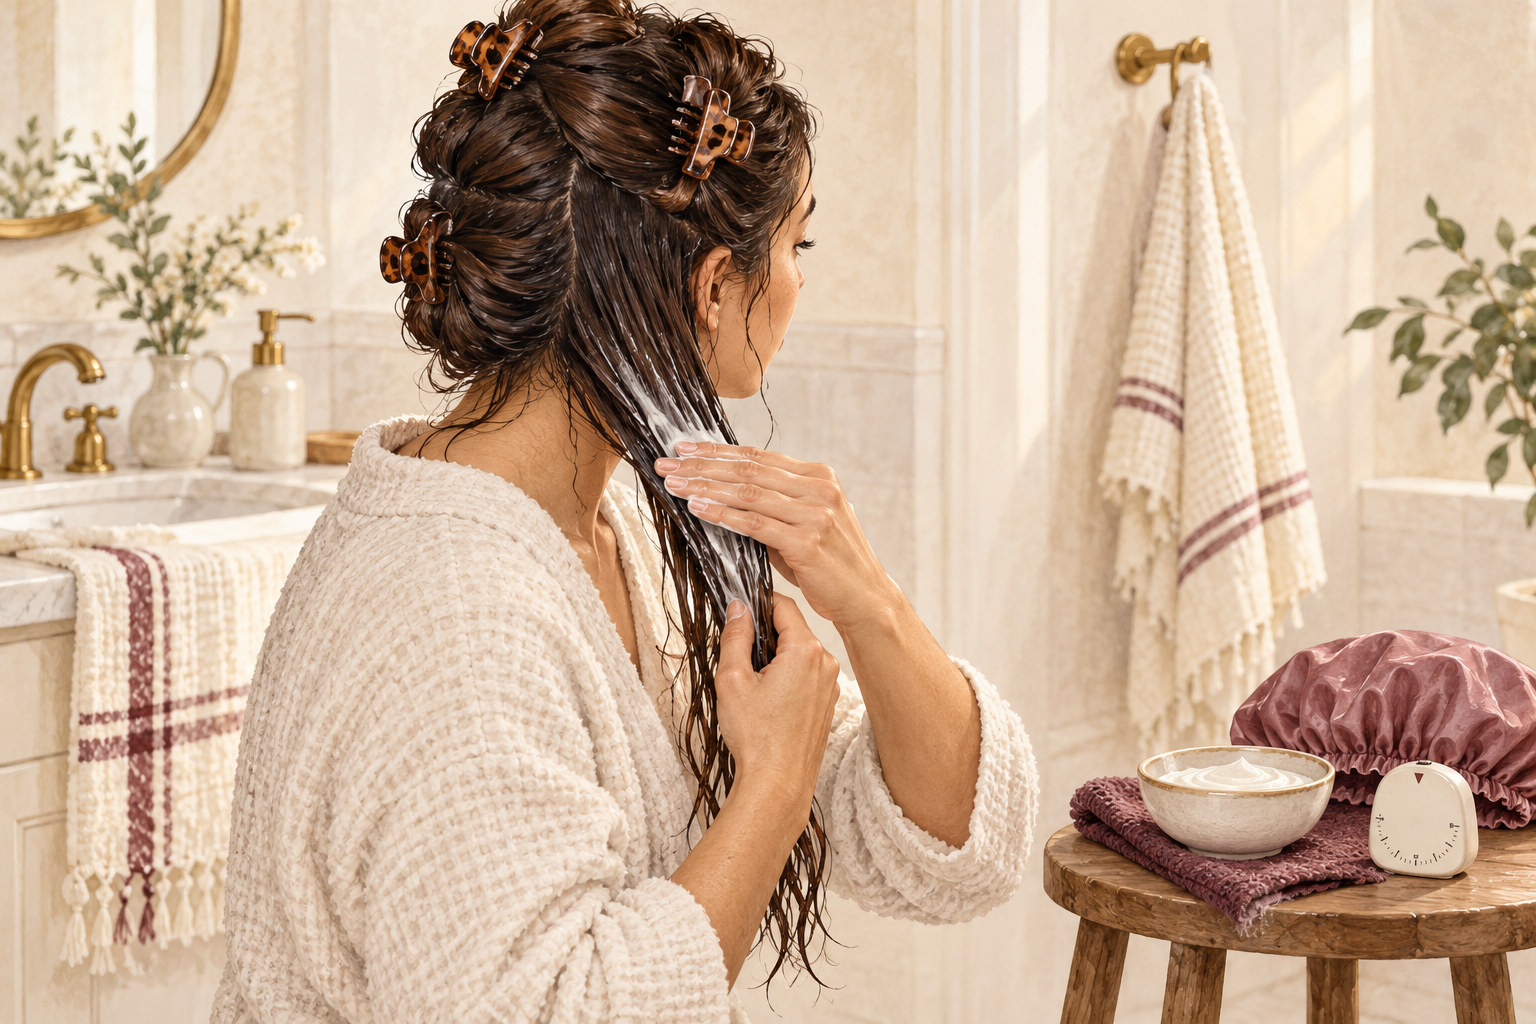
Clip your hair into four parts and work the mask through each section from the ends upward. Damp hair takes a mask better than dripping wet or bone dry hair. Use your fingers to press it in rather than rubbing, since damaged hair tangles easily. Cover with a shower cap and wrap a warm towel around it for the time you chose. Use your timer, because longer is not better. Set aside twenty to thirty minutes, and read or listen to something while it works. Take the clip out of each section only when you reach it, so the rest stays tidy.
10. Rinse well, shampoo, and keep to once a week
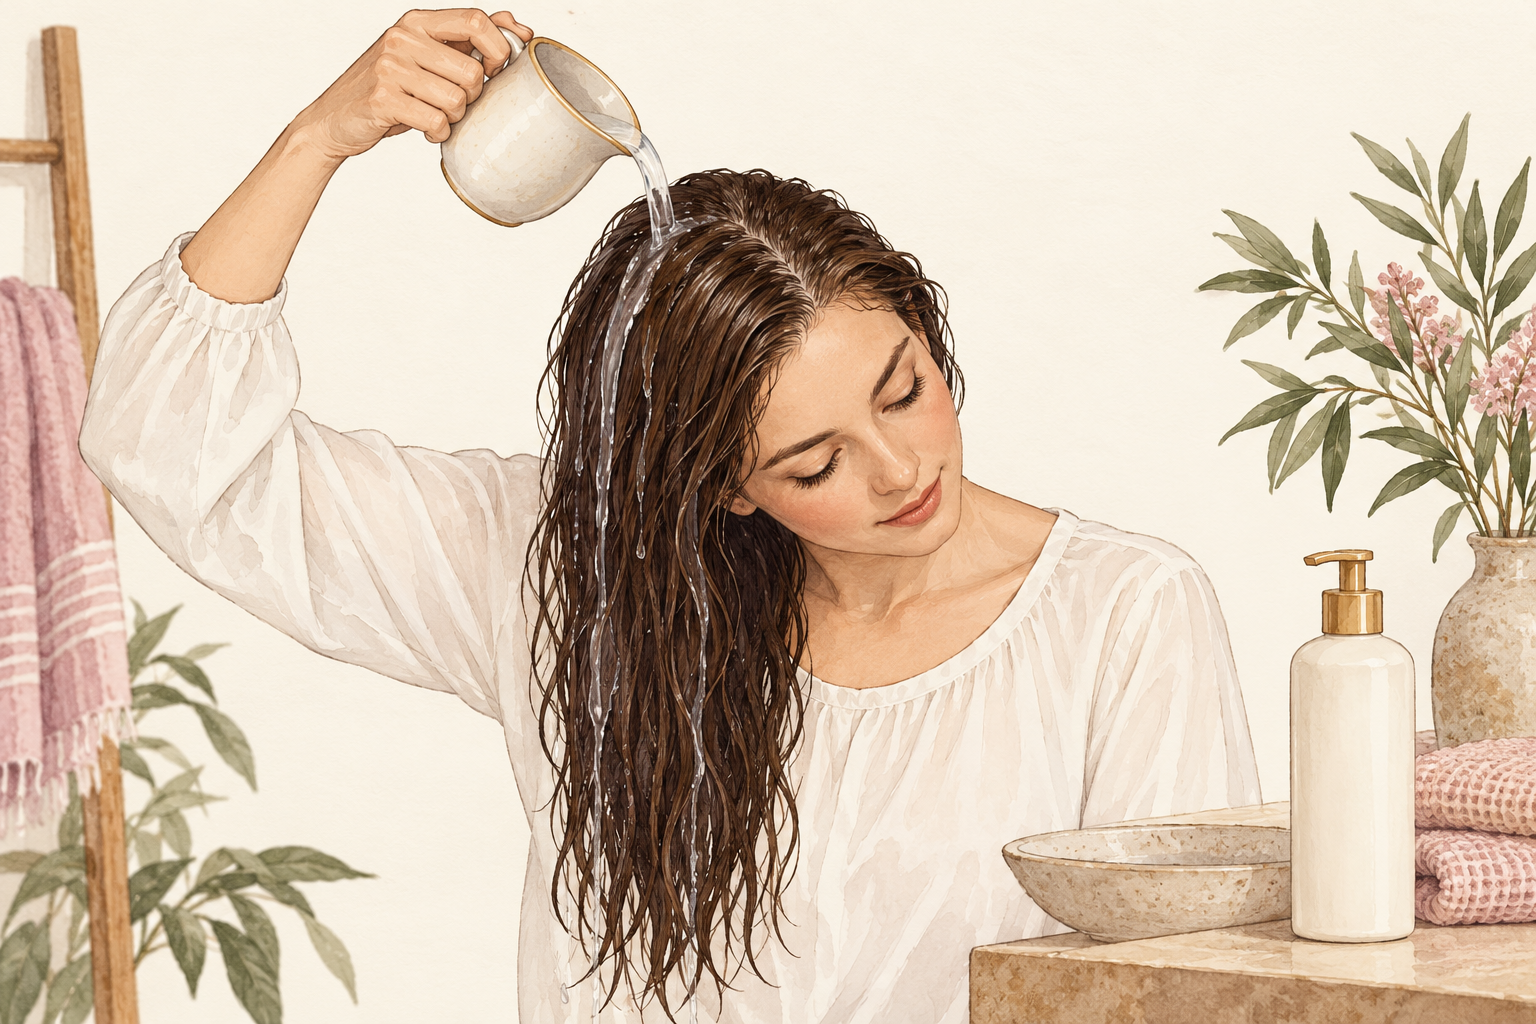
Rinse until the water runs clear, then shampoo once and finish with conditioner on the lengths. Leftover mask feels greasy and turns into build up. Use a mask once a week while your hair is very damaged, then every two weeks as it improves. Doing it daily does not speed anything up and tends to leave hair limp. Pick one day, such as Sunday, so it becomes part of your week. Pat the hair dry with a soft cotton tee instead of rubbing. Keep a wide tooth comb in the shower to lift out any leftover bits.
11. Swap and upgrade, but do not overdo it
Warm the mask with a towel and swap yogurt for mashed banana if you like, but keep every mask short. The mistake that goes wrong most often is piling on more, such as adding lemon juice, baking soda or a splash of vinegar to boost it. Those can dry the hair and sting the skin. Stick to the recipes above, and use only one mask per wash day. Oil in excess leaves hair flat, and too much protein from egg can leave it stiff and snappy. If your hair feels worse after a mask, rest it for two weeks, then try the plain oil again.
12. Expect small changes at weeks one, four and eight
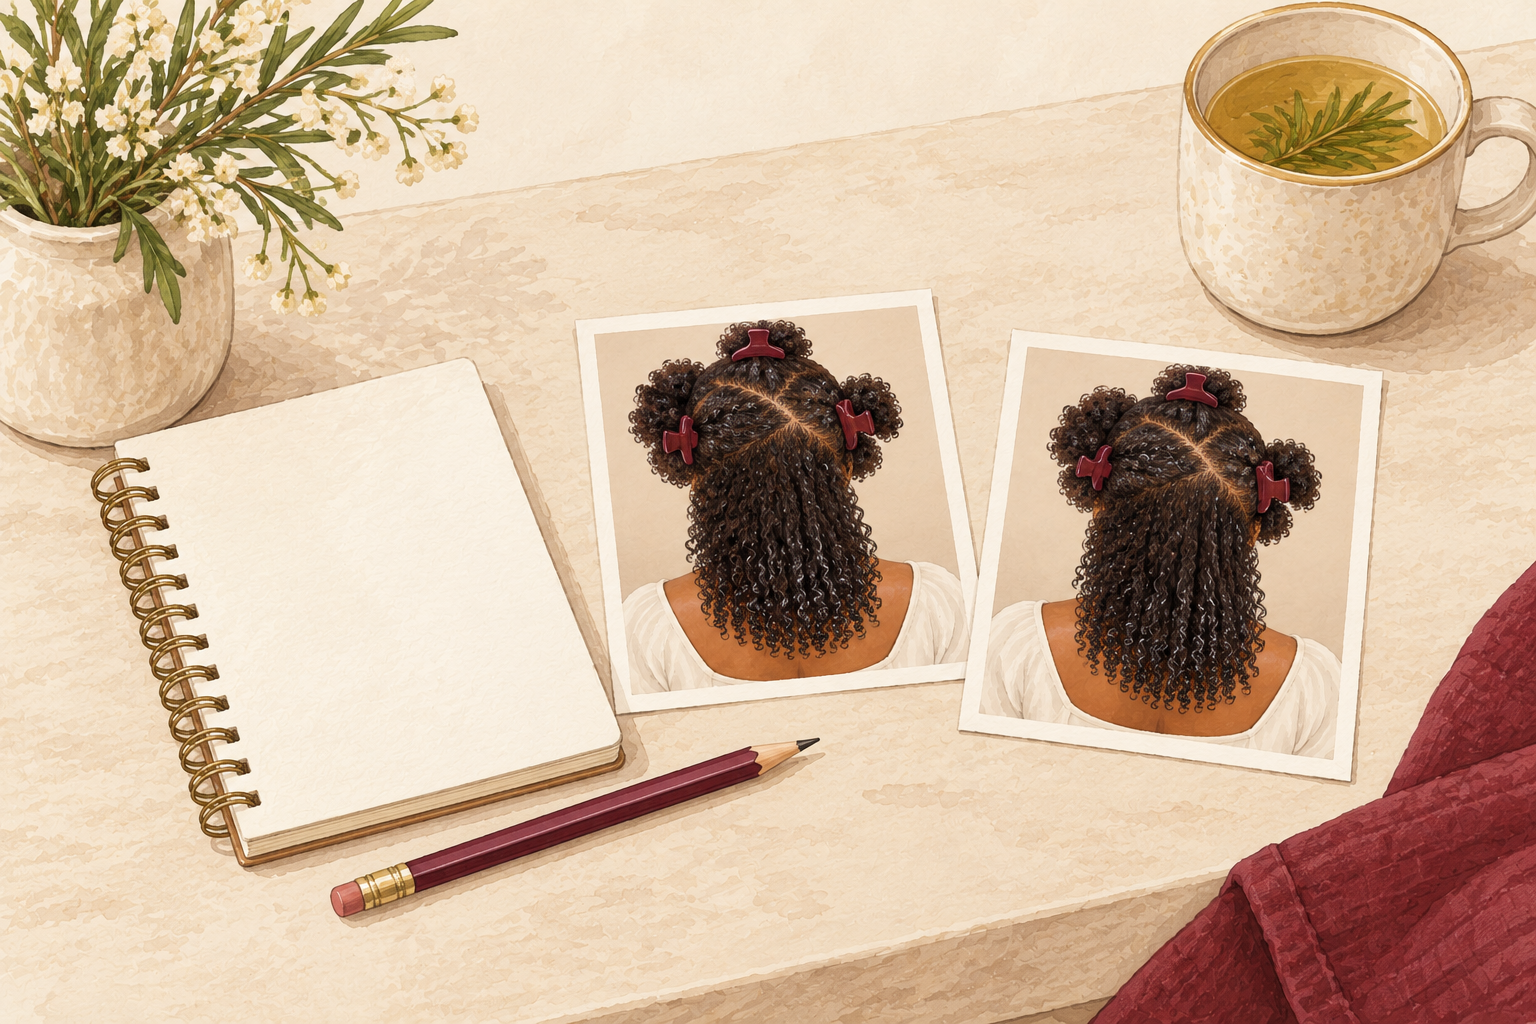
After the first mask your hair should feel softer and comb through with fewer knots. By week four there is less frizz and less snapping when you brush. By week eight the ends look shinier and more even, though splits stay until they are trimmed. If a mix leaves your hair greasy, itchy or stiff, drop it and go back to the plain oil. A diy hair mask for damaged hair is a helper, not a miracle, so pair it with gentle brushing and less heat. Take a photo of your ends today so you can compare at week four in the same light.
Complete the Routine: DIY Hair Mask for Damaged Hair Made Simple
Tonight, patch test one ingredient and pick one mask from the list. For more recipes, read about a hair mask for damaged hair and an egg hair mask for damaged hair.