Your nails reach the length you like and then snap at the corner, every single time. So you watch a video of someone stirring three things from the kitchen into a tiny bottle and wonder if a diy nail growth serum is worth ten minutes. It can be, if you keep it simple. Here are 12 safe steps, so start at number one tonight.
1. Gather your tiny kit
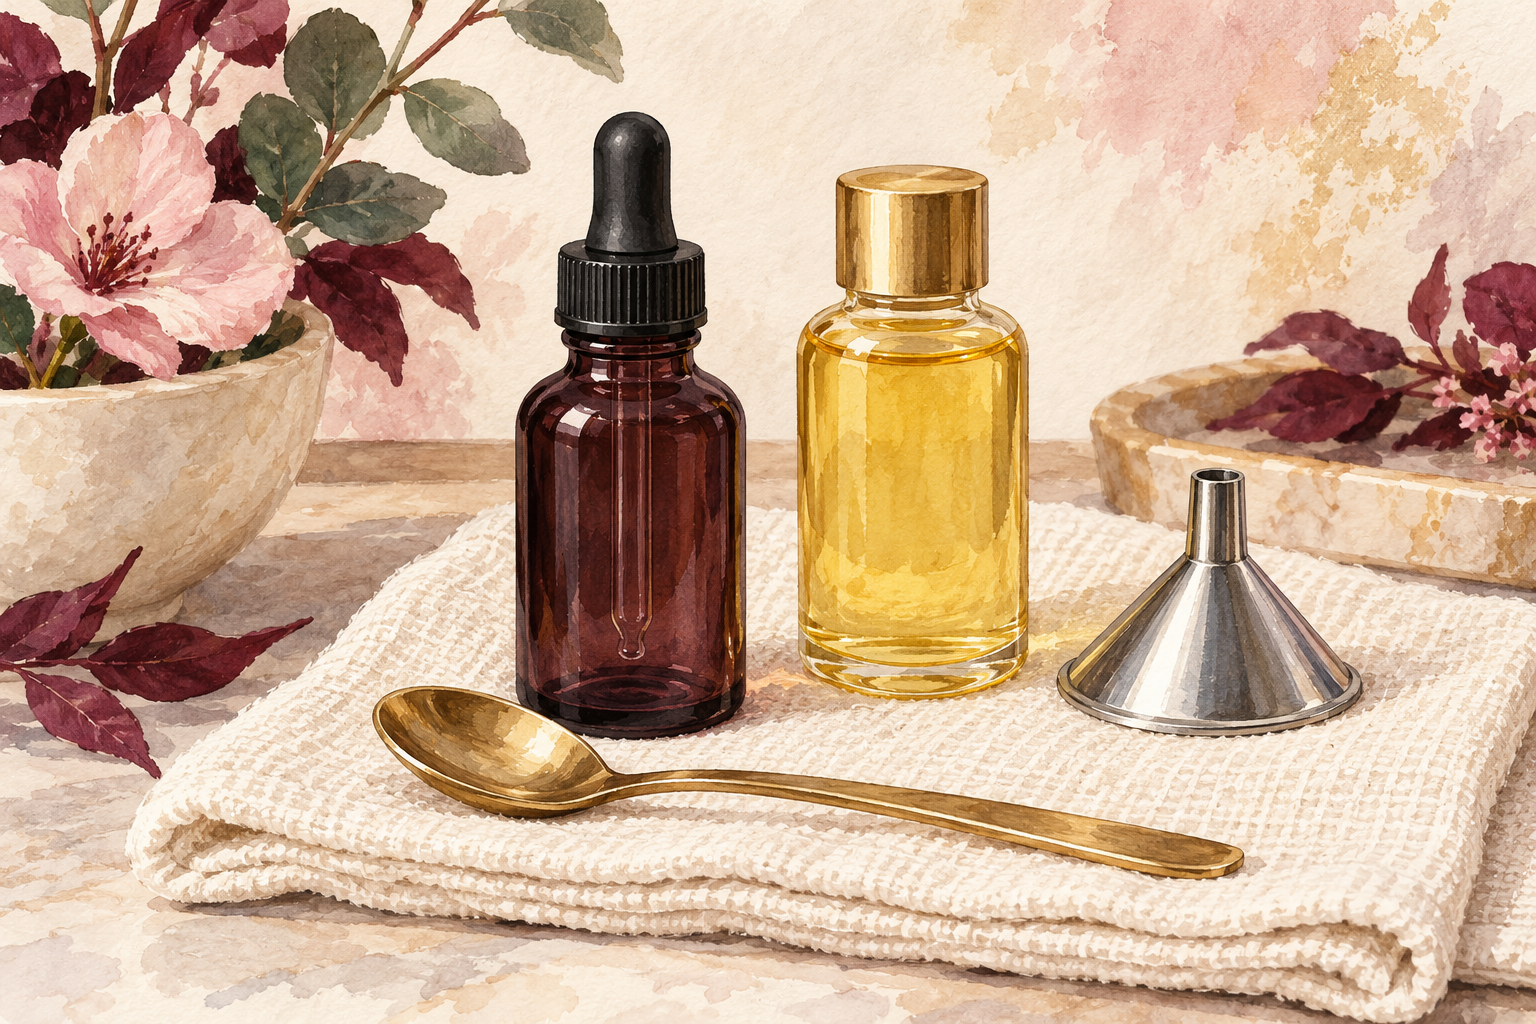
You need one small dark glass dropper bottle, one plain oil and a clean spoon, nothing more. Wash the bottle in hot soapy water and let it dry fully for a day, because even a trace of water can spoil oil. A small funnel helps, though a folded piece of paper works too. Skip fancy powders and jars of mystery extracts, because each extra ingredient is one more thing your skin can react to. Set everything on a clean towel and wash your hands first. Your serum will only be as clean as the bottle it lives in. Label the bottle with the oil inside so you never confuse it with another one later.
2. Patch test before anything else
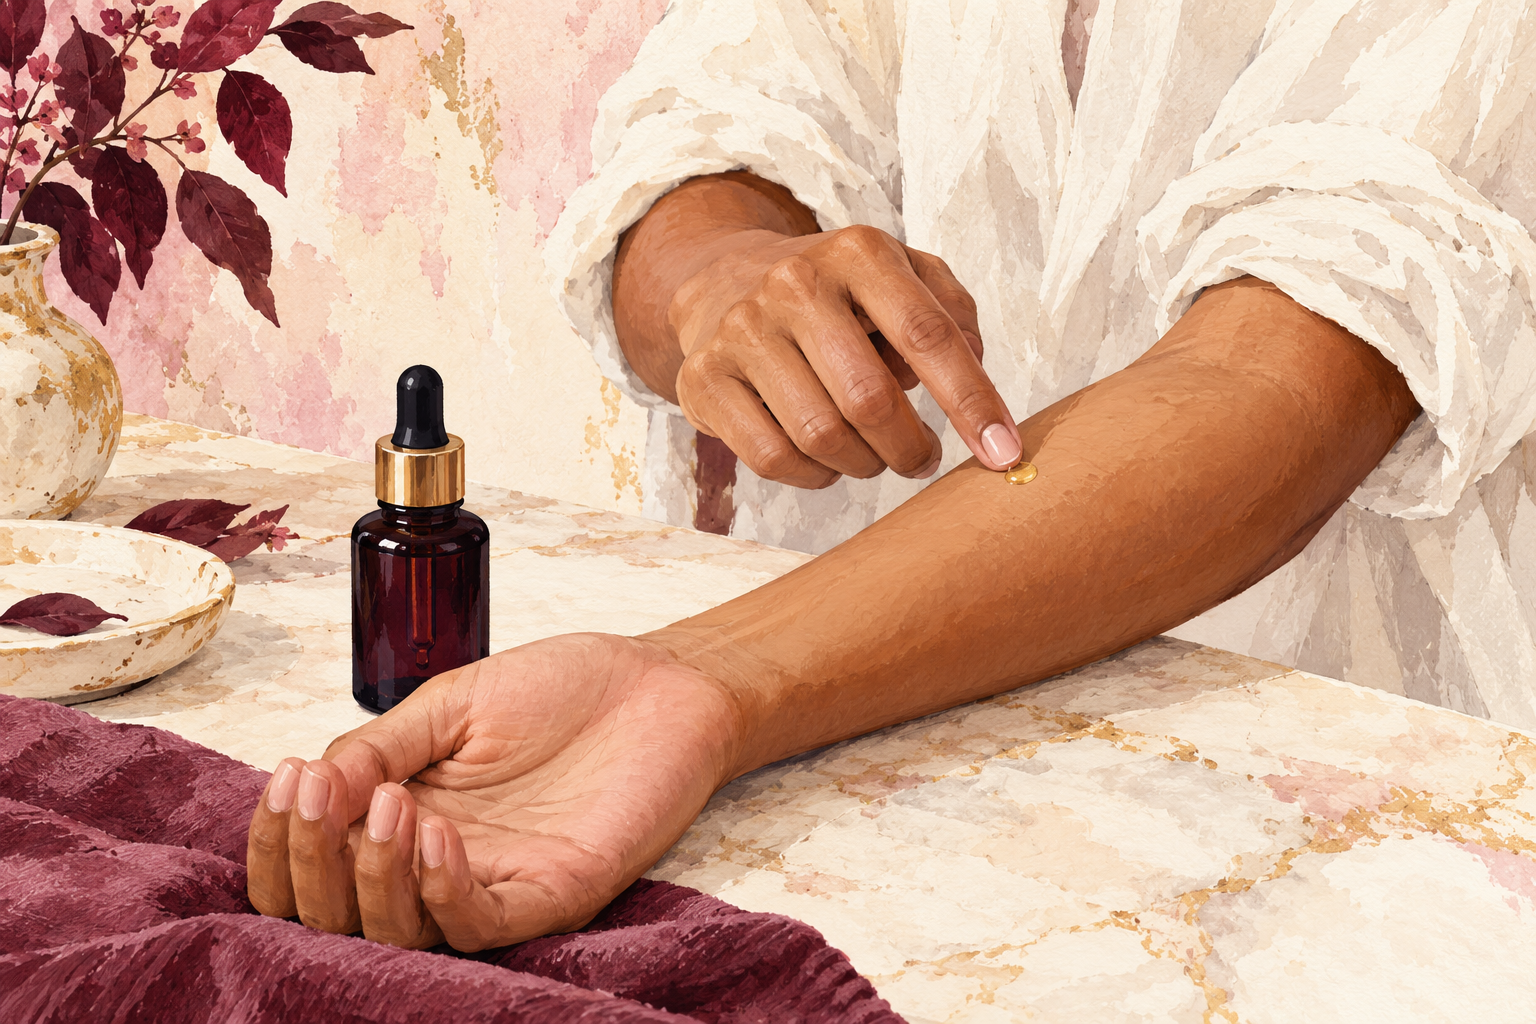
Put one drop of your blend on the inside of your forearm and leave it for a full day. Redness, itching or tiny bumps mean wash it off and do not use that oil again. Then dab it on one cuticle for another day before you do all ten fingers. Do this again whenever you swap oils, even if the last one was fine. It sounds fussy, but two days of waiting saves you a sore week. If anything stings, stop right there and rinse with plain water. Keep the spot dry and do not scratch it, so you can see clearly what happens.
3. Check that it suits your nails
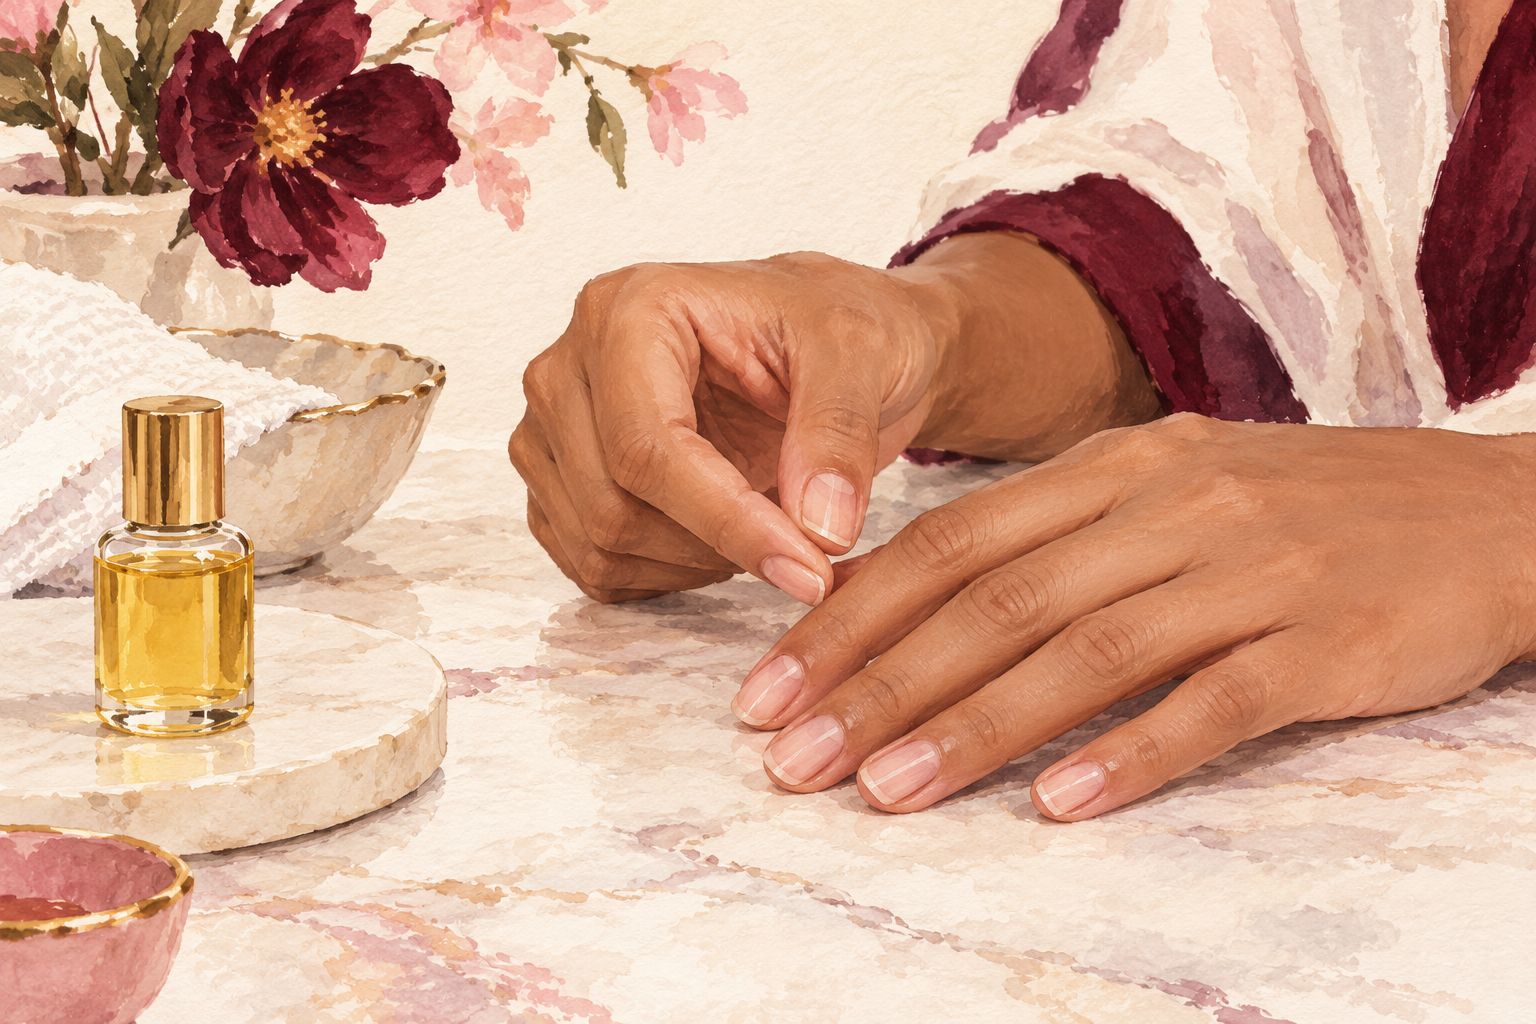
A homemade serum suits dry, peeling nails and rough cuticles, which is most of us. It works by keeping the nail soft so it bends instead of snapping, which is how the length you grow stays on your hand. Nails grow only a few millimeters a month, and no oil changes that number. If you have any nut allergy, skip almond oil and choose jojoba. If you wear polish all week, you will notice the most change once you start giving your nails an oil break at night. A diy nail growth serum is really a moisturizer for your nails, and that is a perfectly good job.
4. Start with the gentlest option, one plain oil
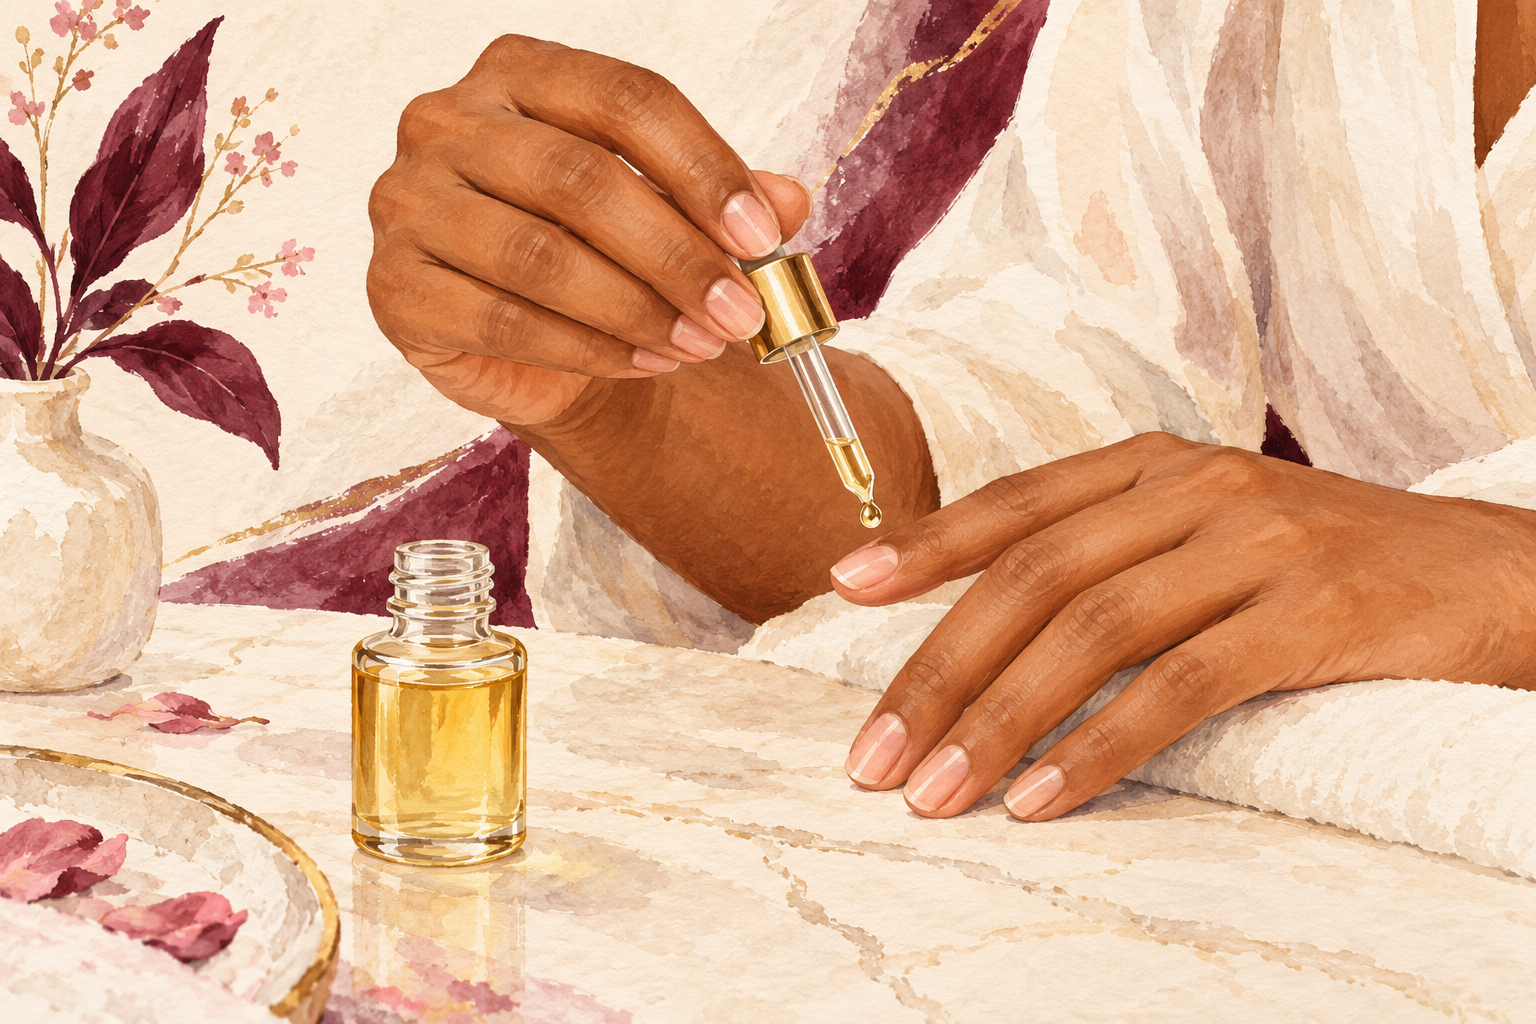
Pour two tablespoons of jojoba oil into your bottle and use it as it is. Jojoba is thin and sinks in fast, so it does not leave your fingers greasy for an hour. A one oil bottle also tells you exactly who the culprit is if your skin complains. Start here for the first two weeks, even if the next recipes sound exciting. Most people never need anything fancier than this. Shake the bottle before use and wipe the dropper after, so the cap does not collect dust. Apply it with the dropper straight onto each nail, one bead at a time.
5. Try a warm kitchen oil soak
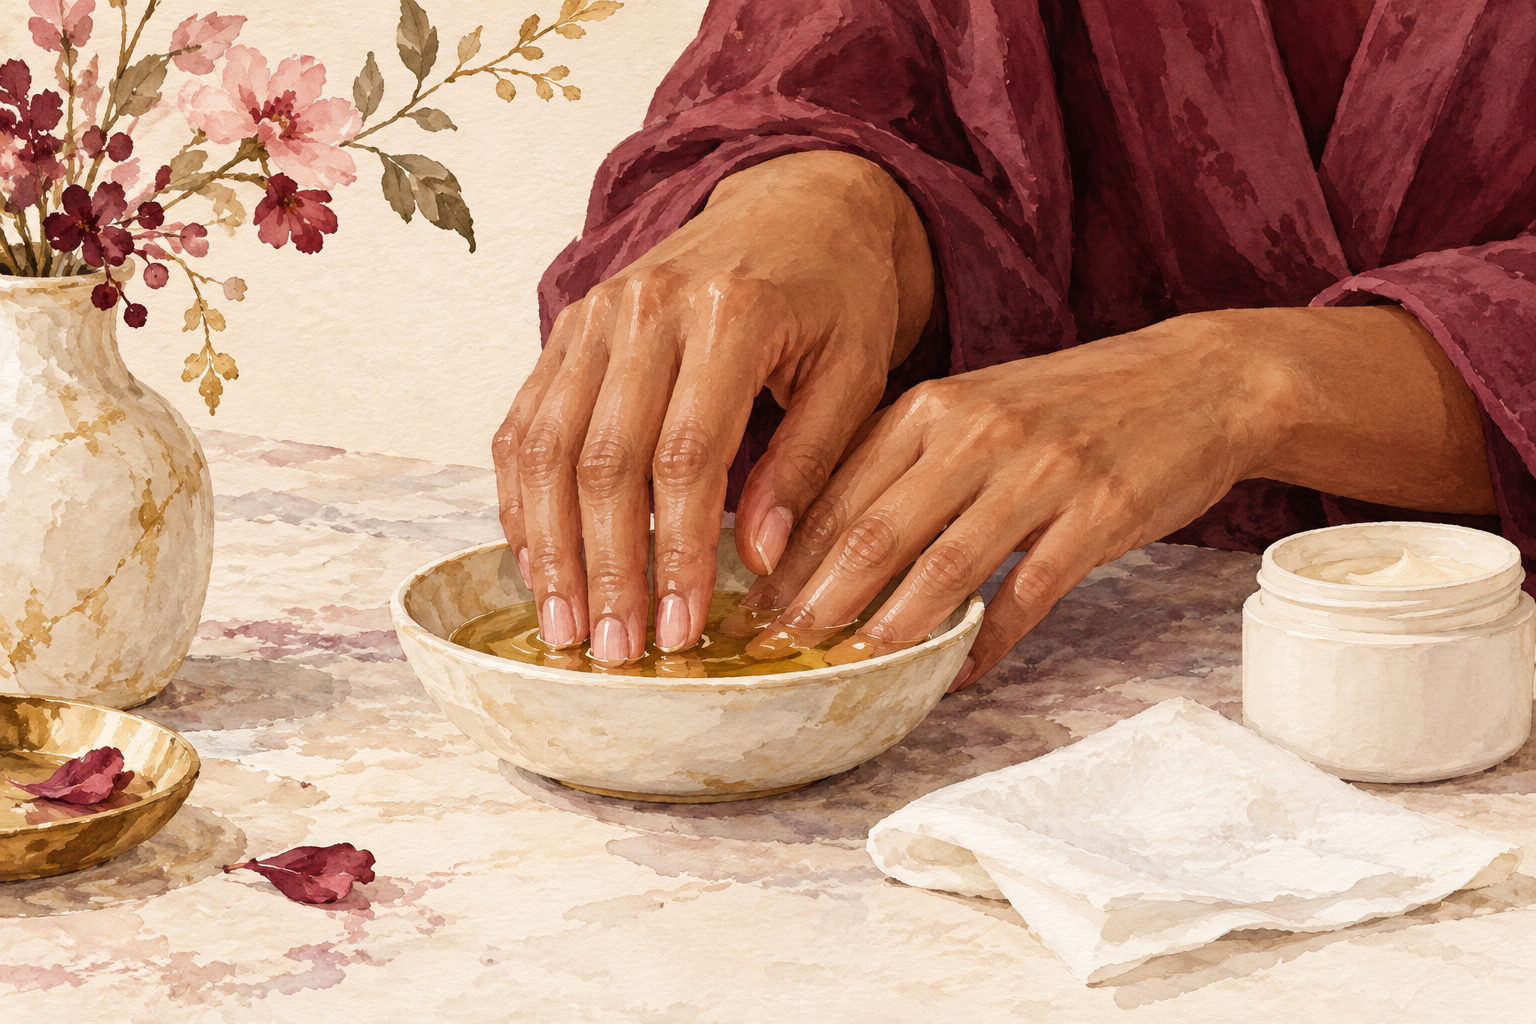
Warm two tablespoons of olive oil until it feels like bath water, then soak your fingertips for ten minutes. Pat off the extra with a tissue rather than rinsing it away. This is the simplest trick in your kitchen, and it leaves dry nails noticeably softer by morning. Do it once a week, on a Sunday evening, while you watch something. If the oil smells old or sharp, throw it out and use a fresh bottle. Test the temperature on your wrist first so you never burn the skin. Slip on cotton gloves afterwards if you want the oil to sink in overnight.
6. Mix almond oil with vitamin E
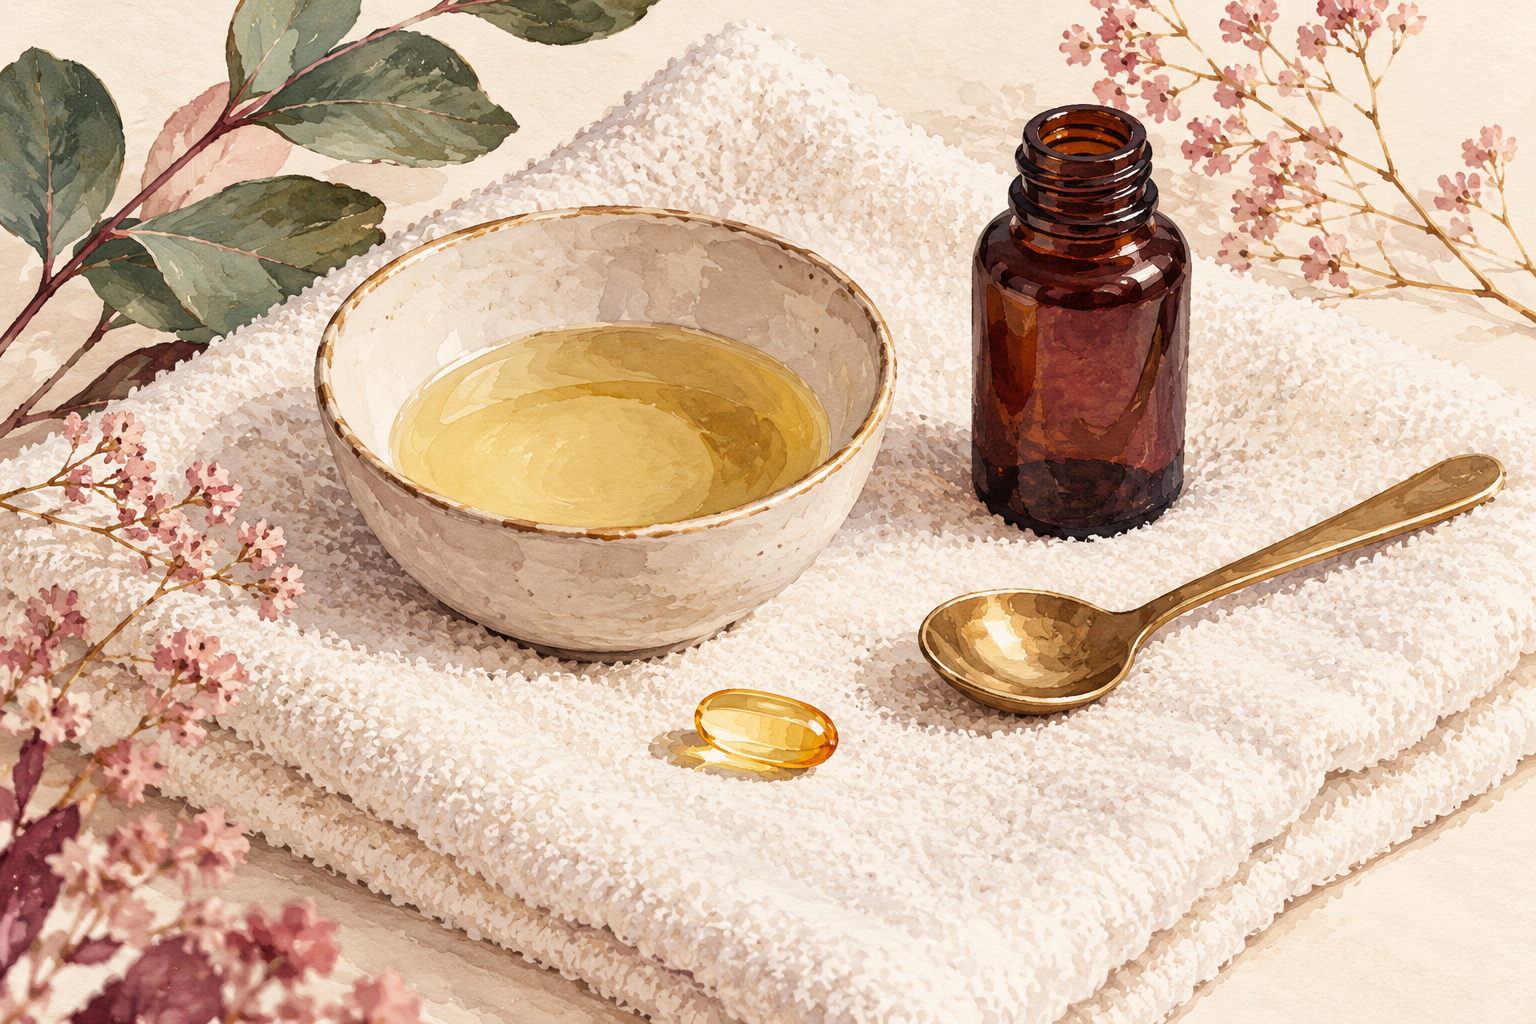
Pierce one vitamin E capsule into a tablespoon of sweet almond oil and stir. Almond is richer than jojoba and feels nice on really dry cuticles. Vitamin E helps the oil stay fresh a little longer, though it does not turn the blend into a miracle. Many people leave it out and are happy. Keep it to one capsule per bottle, because more makes the mix sticky. Remember the nut warning, and run the patch test again for this new blend before it touches your nails. Store this mix in the same dark bottle and shake before each use.
7. Add a drop of castor for a richer night blend
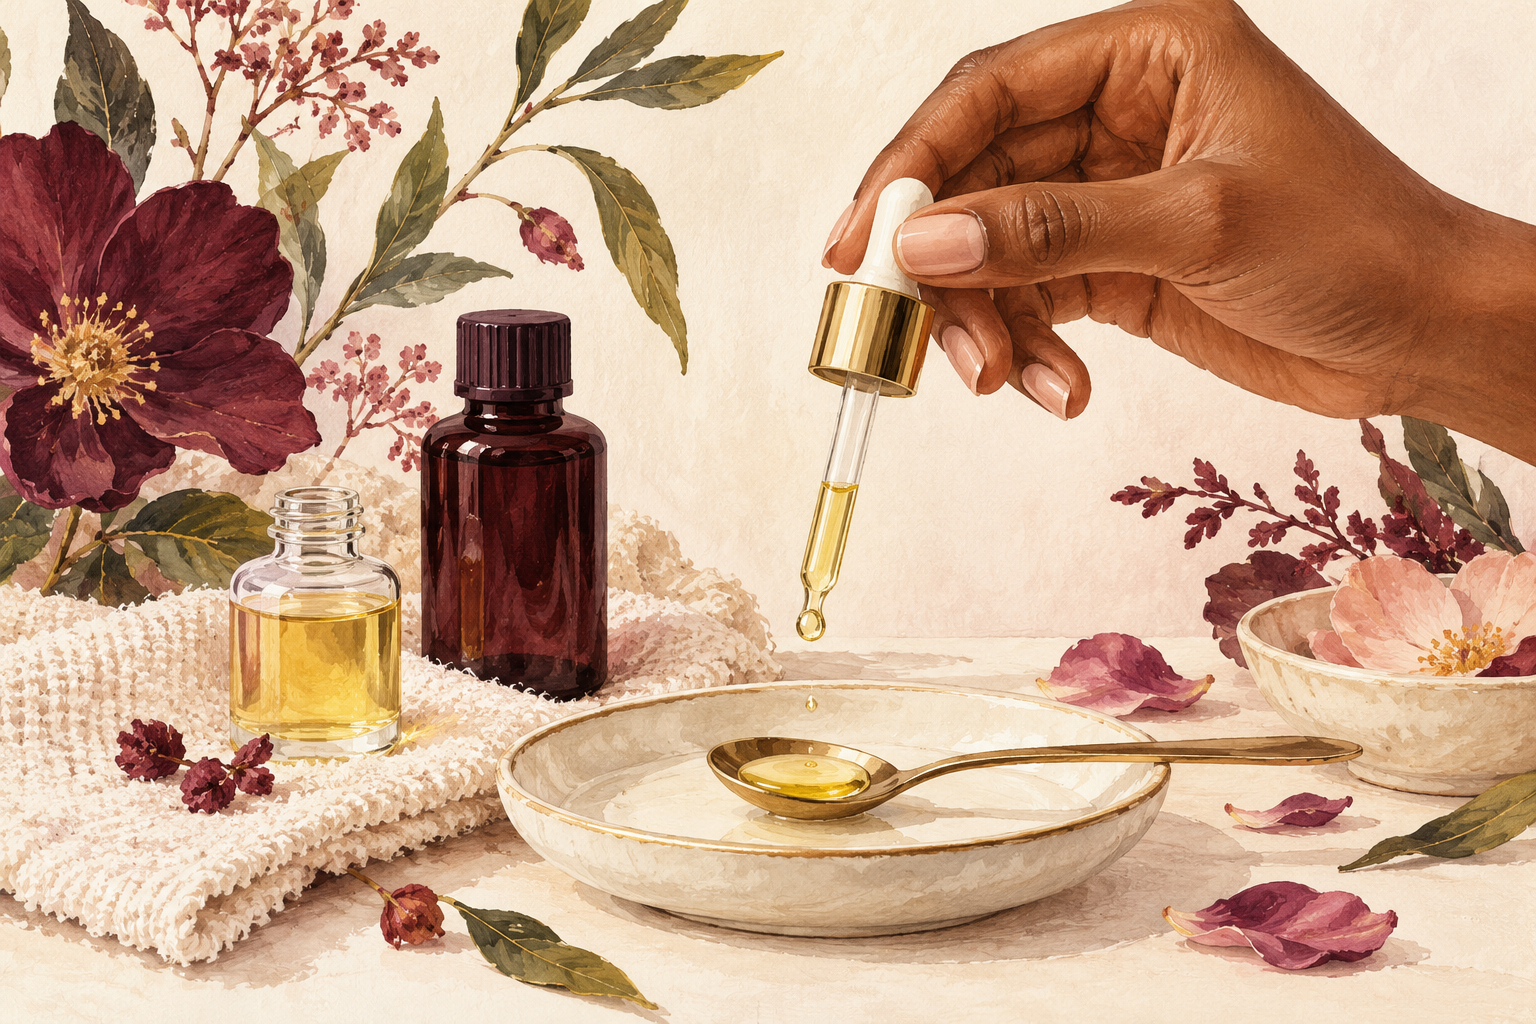
Stir one small drop of castor oil into a tablespoon of jojoba for a thicker night time serum. Castor is heavy and sticky, so a little goes a long way. It clings to the nail while you sleep, which is why people like it for cracked cuticles. Use this blend only at night, because it will smear on your phone in the daytime. If it feels tacky, add a bit more jojoba until it glides. Never go heavier than one drop per tablespoon. Leave castor out entirely if your skin feels itchy or the smell bothers you.
8. Massage it in at night
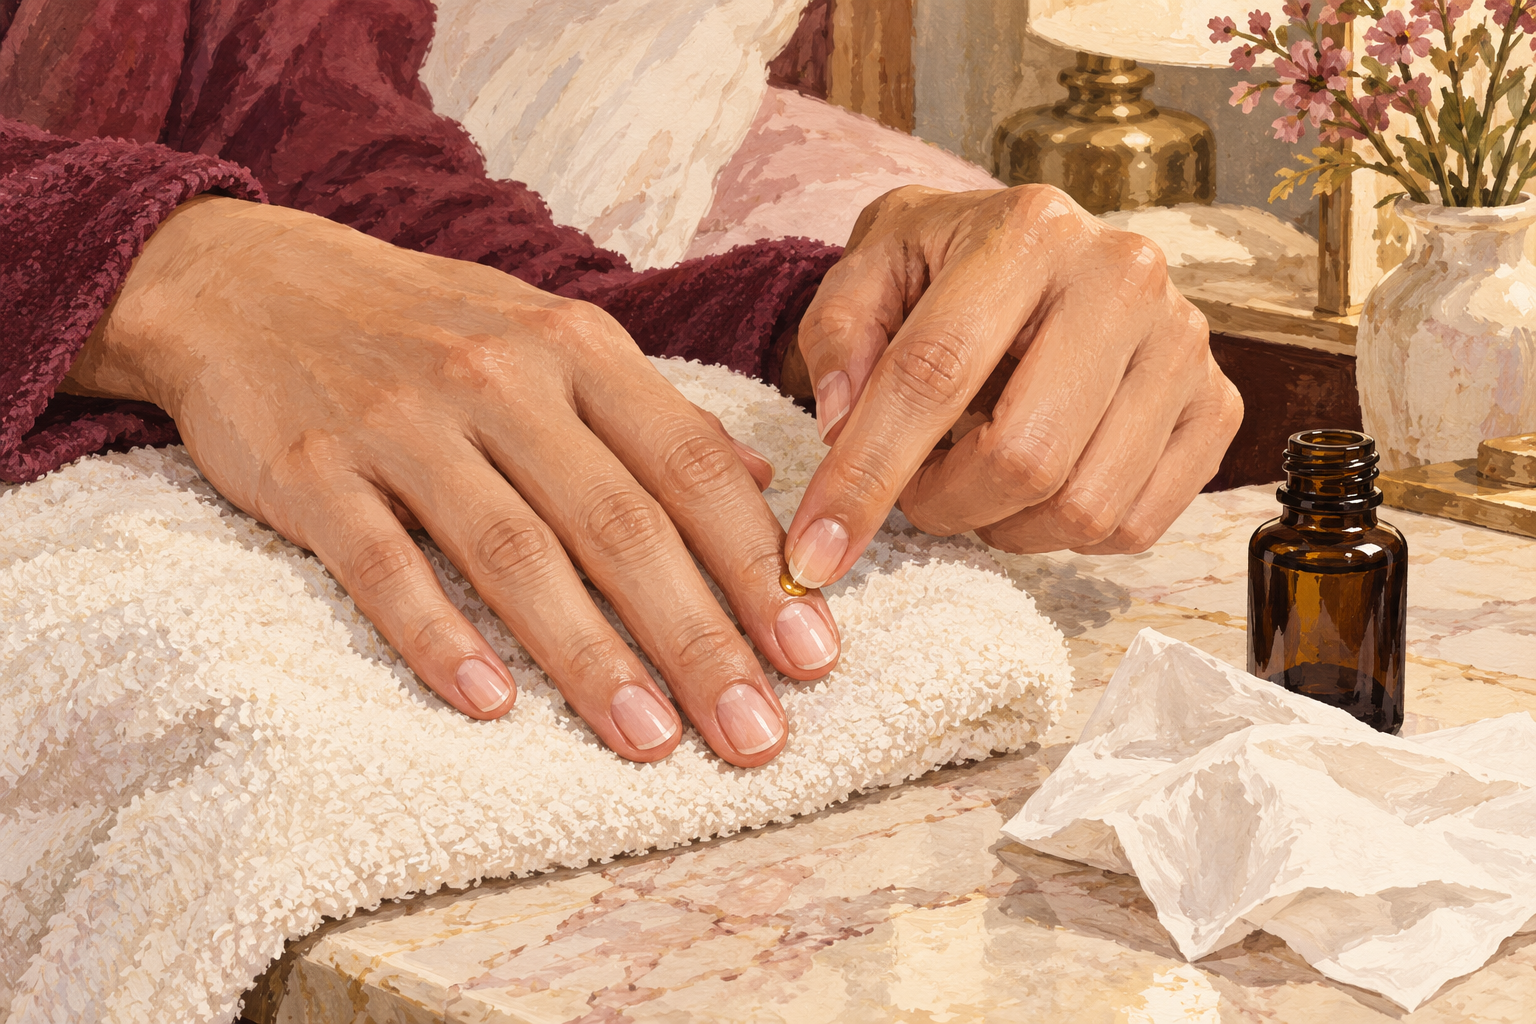
Put one drop on each nail and rub the cuticle and nail for about twenty seconds per finger. Do it after washing your hands, when the skin is still a little damp, so the oil seals that water in. Doing it at night means it does not get rinsed off at the sink. Wipe your fingers on a tissue so your pillow and your phone stay clean. Once a day is enough, and twice is fine if your hands are very dry. Tie it to a habit you never skip, like brushing your teeth. Press the oil in firmly, since the skin at the base of the nail is where the new nail starts.
9. Store it dark and write the date
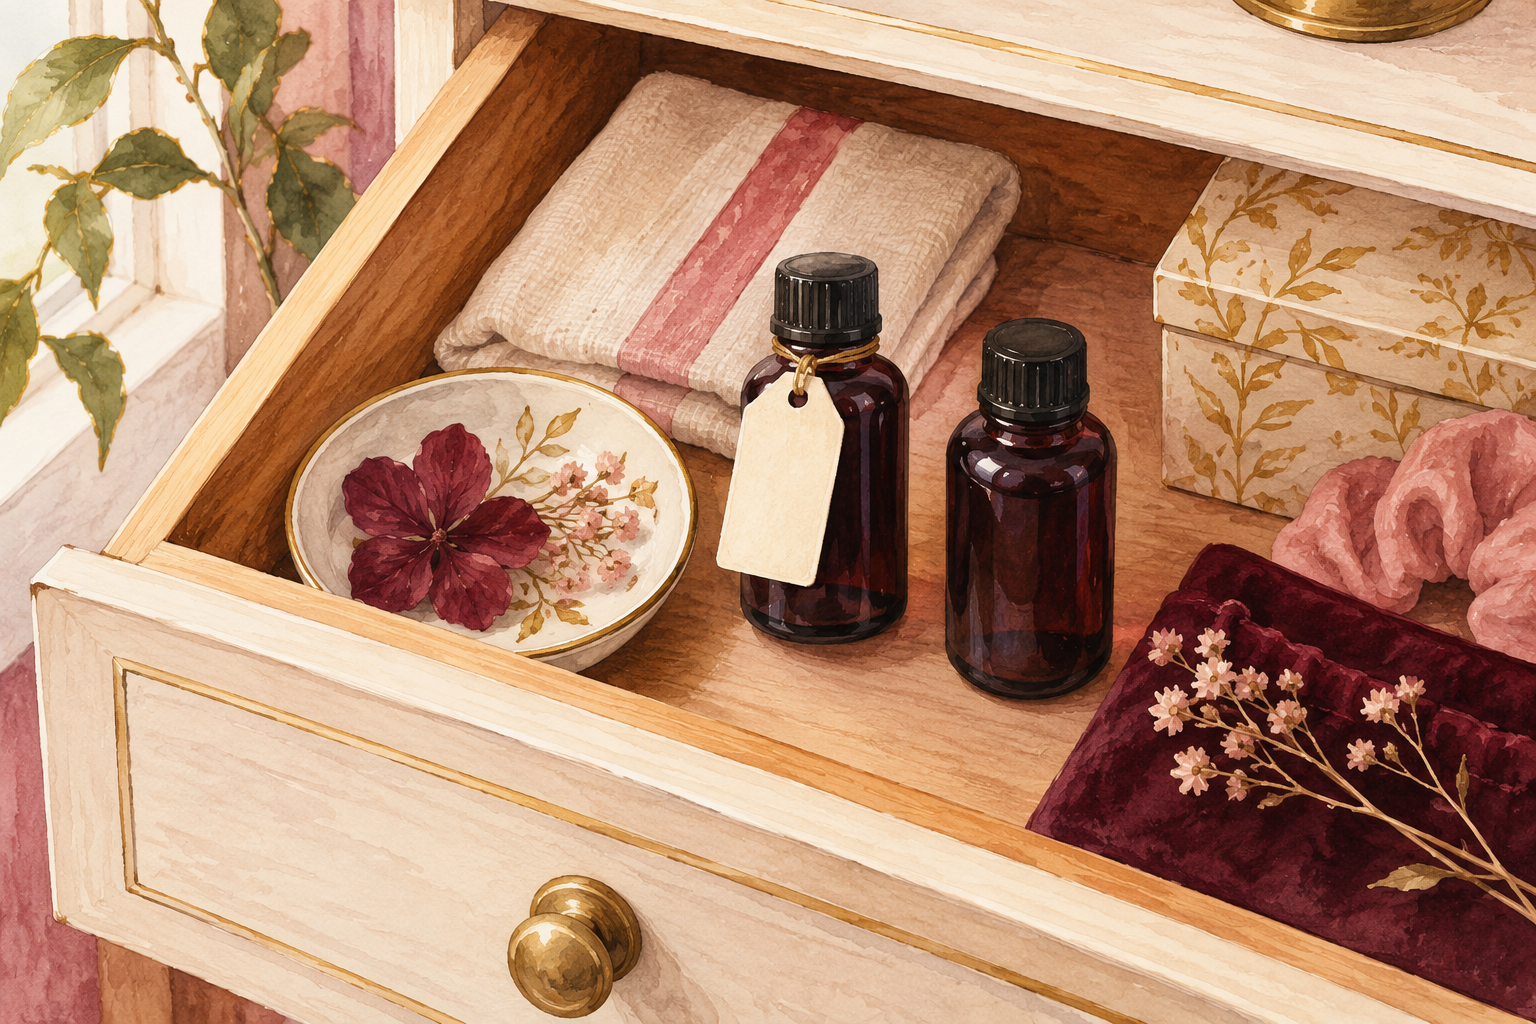
Keep the bottle in a drawer, away from the window and the bathroom steam, and write the day you made it on a tag. Plain oil with no water in it usually lasts about two months. Smell it before each use, and bin it if it turns sharp or smells like old crayons. Never dip your fingers into the bottle, because that brings in water and germs. Make small batches so you finish it while it is fresh. A two tablespoon bottle is plenty for a month. Keep a spare clean bottle so a fresh batch is ready when the old one runs out.
10. Ignore the claims and the harsh ingredients
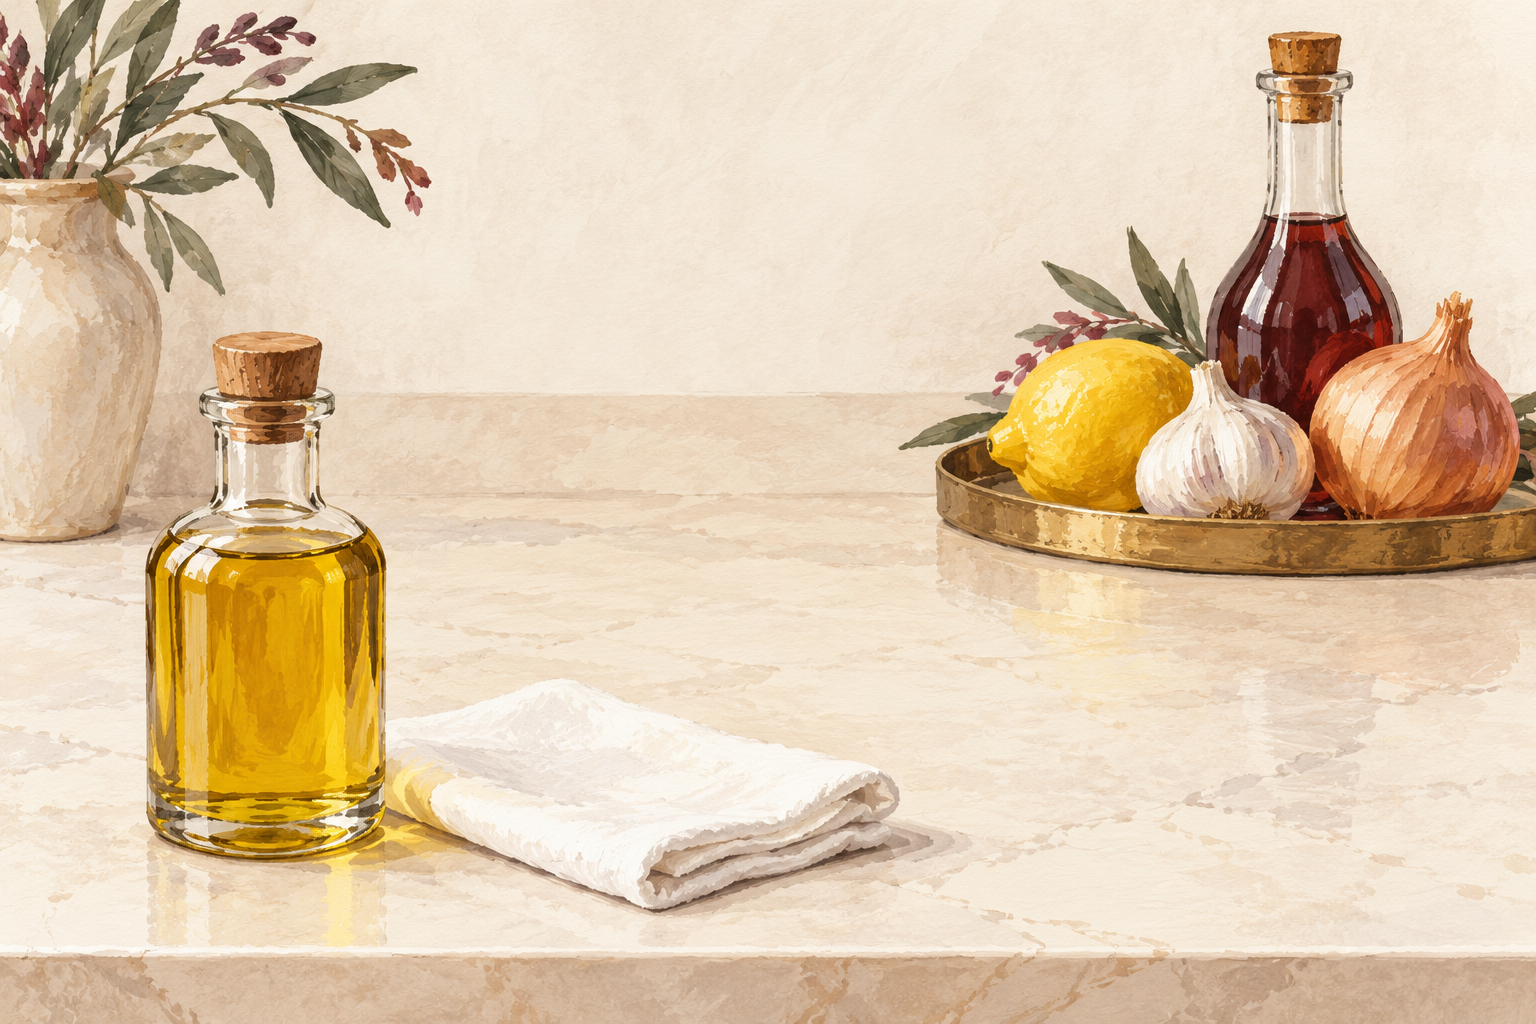
Leave lemon, garlic, onion and vinegar out of your serum, and ignore any bottle that promises long nails in three days. These sound strong, but they are acidic or sharp and dry out the skin around the nail. Lemon can also make skin burn easier in the sun. Real growth is about a millimeter a month. Nails can look longer after a week simply because you stopped them snapping at the tip. If a recipe asks you to soak your fingers in any of these, close the tab. A claim that sounds smaller is usually the true one. Vinegar and lemon can also sting if the skin around your nails is already cracked. Steady, modest promises tend to hold up better, and you can compare them with nail growth tips.
11. Do not overdo the oil
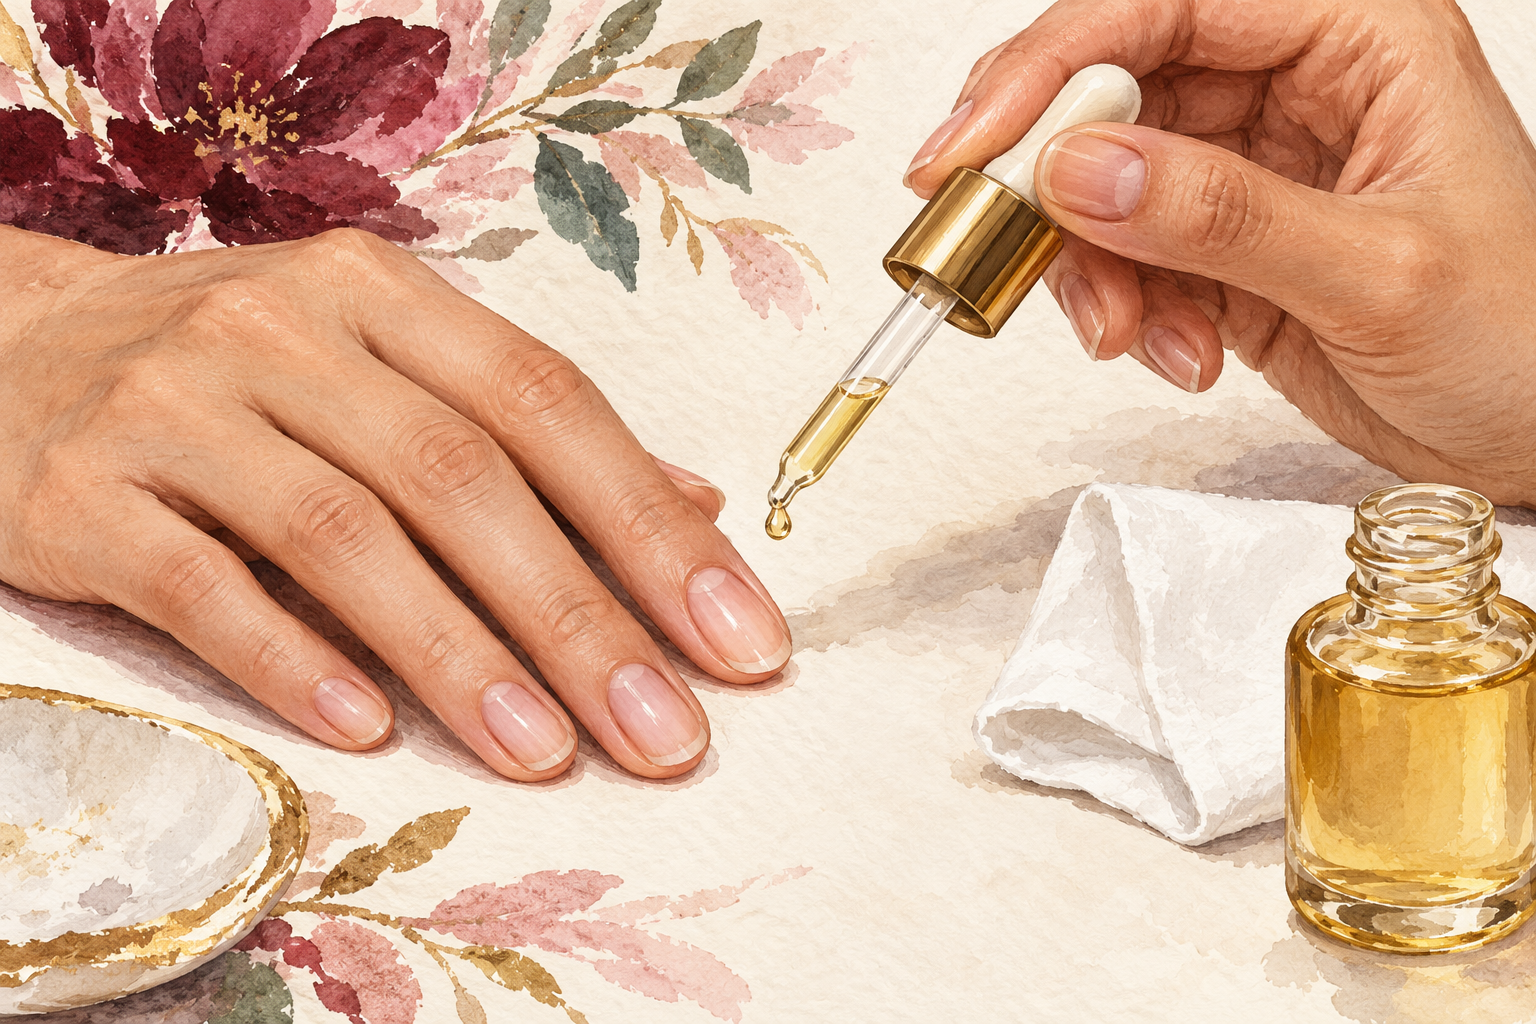
One drop per nail is the limit, and more is not better. A drowned nail turns slippery, so polish slides off and your hands leave grease on everything. Too much oil on the cuticle can also leave the skin soft and puffy. Stay away from essential oils in the bottle, because the skin around a nail is thin and reacts quickly. If you want a nice smell, put a drop on a tissue beside the bottle instead. Wipe your nails with a tissue before polish so the color has a clean surface to hold. Wash your hands before you apply, because oil on top of dirt just traps it.
12. Expect small changes by week eight

Give your serum a full month before you judge it, and eight weeks to see a real difference. At week one your cuticles feel softer and the edge catches less. By week four you may see fewer snags and less peeling at the tip. Around week eight a fresh band of nail has grown from the base, so take a photo on day one to compare. A nail that turns yellow, thick or dark, or skin that stays red and sore, is a reason to see your doctor, not to mix another bottle. Be kind to yourself if you miss a night, and carry on the next evening. Patience is the hard part, and a read on how to grow nails helps set realistic expectations.
Complete the Routine: Your DIY Nail Growth Serum Week
Tonight, fill one small bottle with plain jojoba, run the forearm patch test, and start the nightly massage once a day has passed without a reaction. Honest use over a month tells you more than any label, so pick one guide below to try this week.