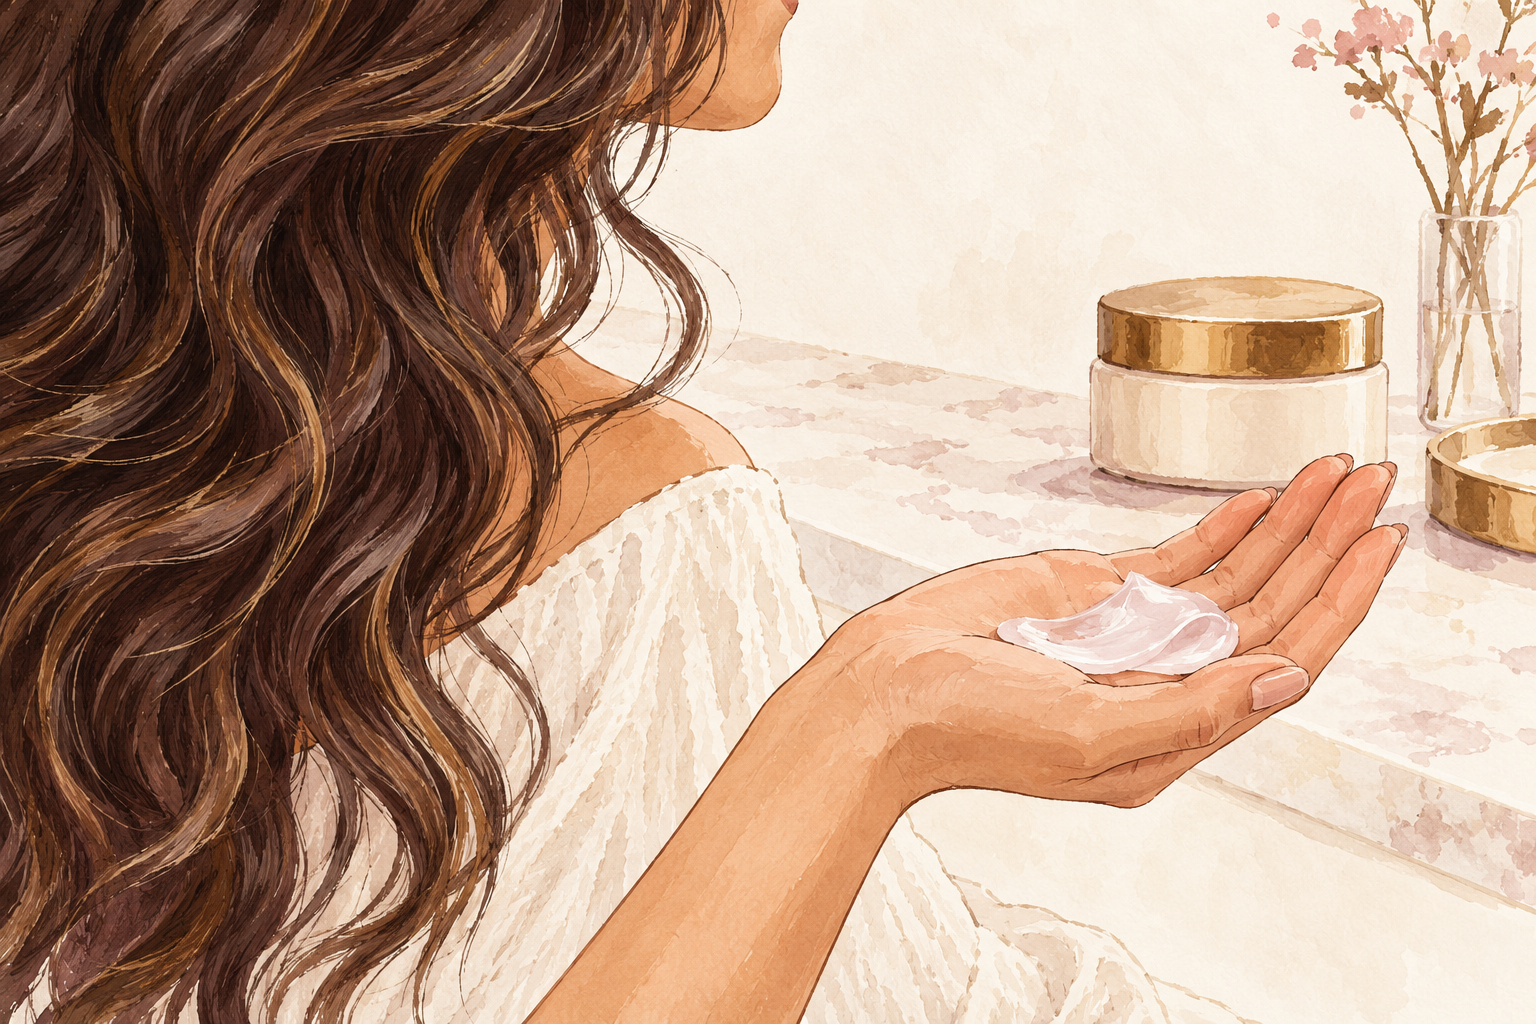
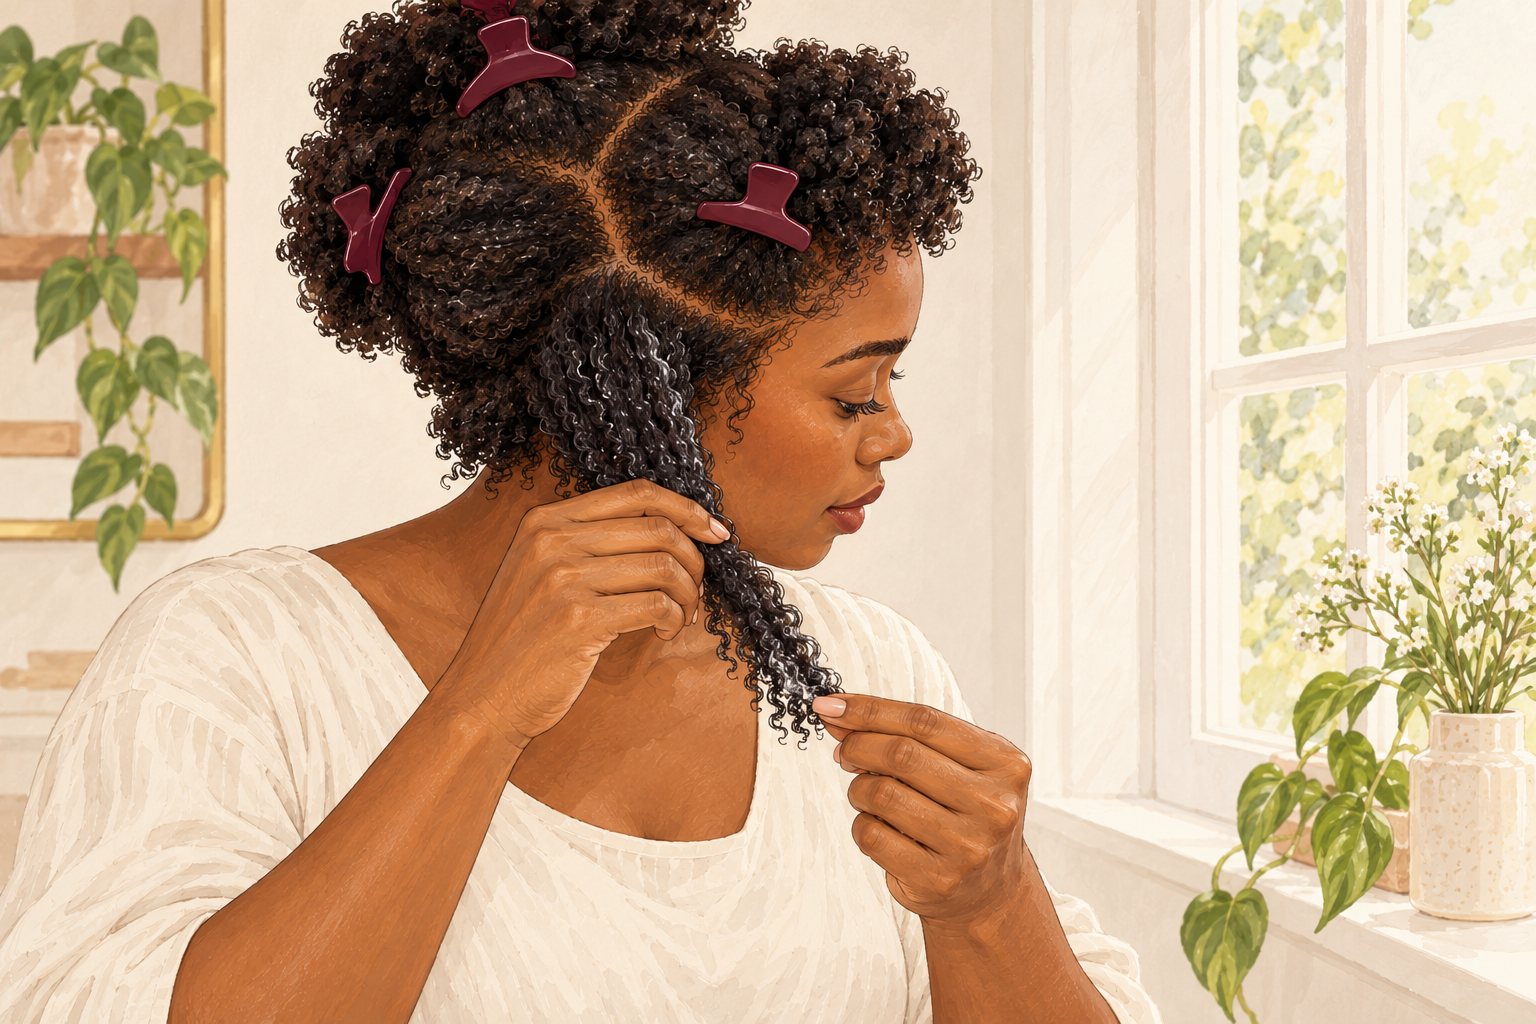
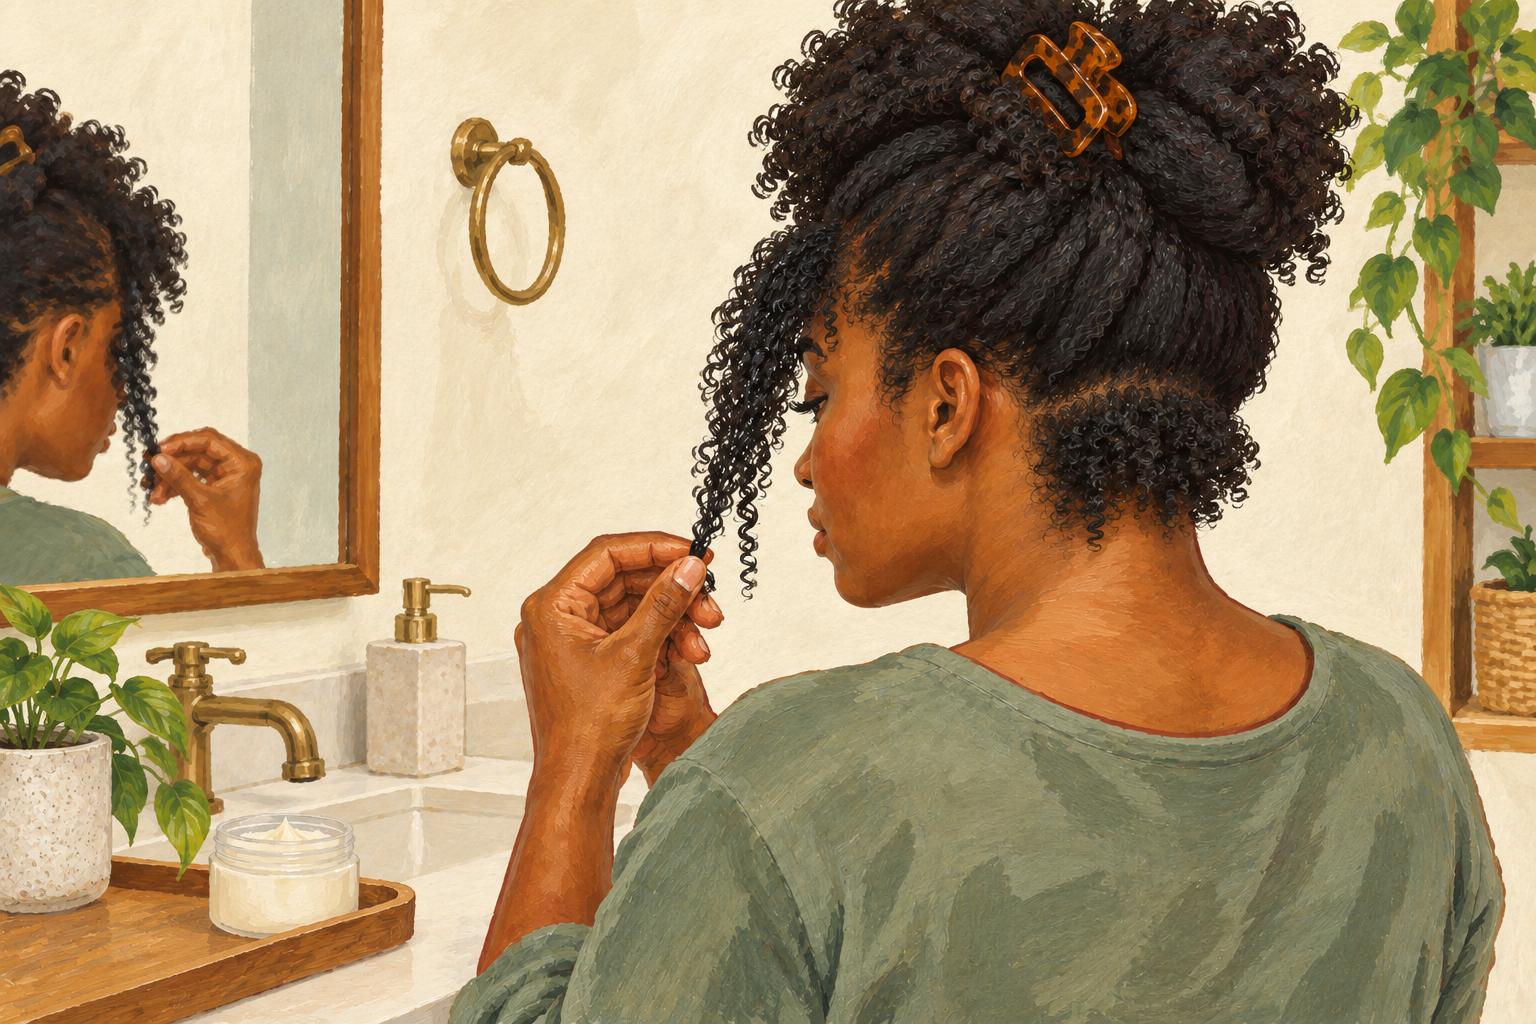
You run the flat iron down one more section and your ends feel like straw, rough, dull and fluffy no matter what you put on them. Heat damaged hair does not bounce back overnight, but it does improve once you stop adding fresh damage. These 12 steps cover the spotting, the fixing and the habits that undo it, so start at number one tonight.
1. Spot the signs

Look for ends that feel like straw, hair that stays frizzy after a fresh style, and curls that no longer spring back. Run your fingers down a section from root to tip. If the top half feels smooth and the last few inches feel rough, snagging or crunchy, heat is the likely reason. Hair that looks fine at the roots but split and see through at the tips is another clue. Check your hair in daylight near a window, because bathroom lights hide a lot. Be honest about how often the iron comes out, because that tells you the most.
2. Try the strand test
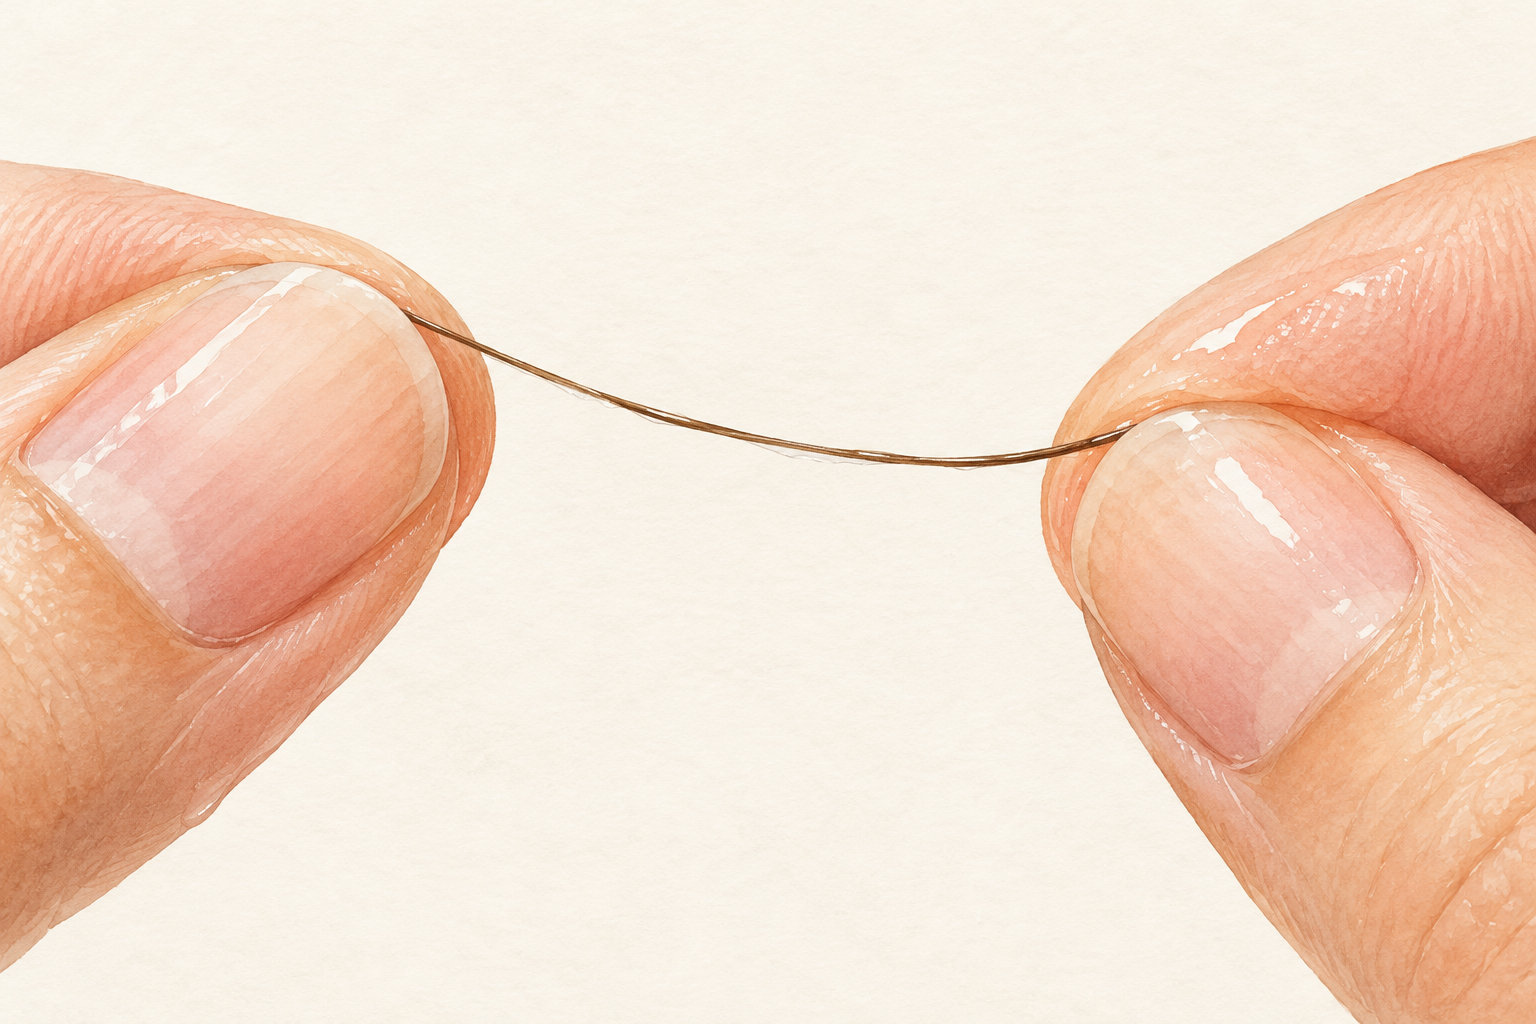
Pull one clean, wet strand gently between your fingers and watch how it behaves. Healthy wet hair stretches a little and springs back. Heat damaged strands stretch like chewed gum and then snap, or they feel mushy and never return to their shape. Test a strand from the front, where you style the most, and one from the back. Use a strand that has already shed, not one you tug from your head. If the front is worse than the back, your heat habits are the answer, not your shampoo. Do the test once a month to see whether your hair is getting stronger.
3. See what is behind it
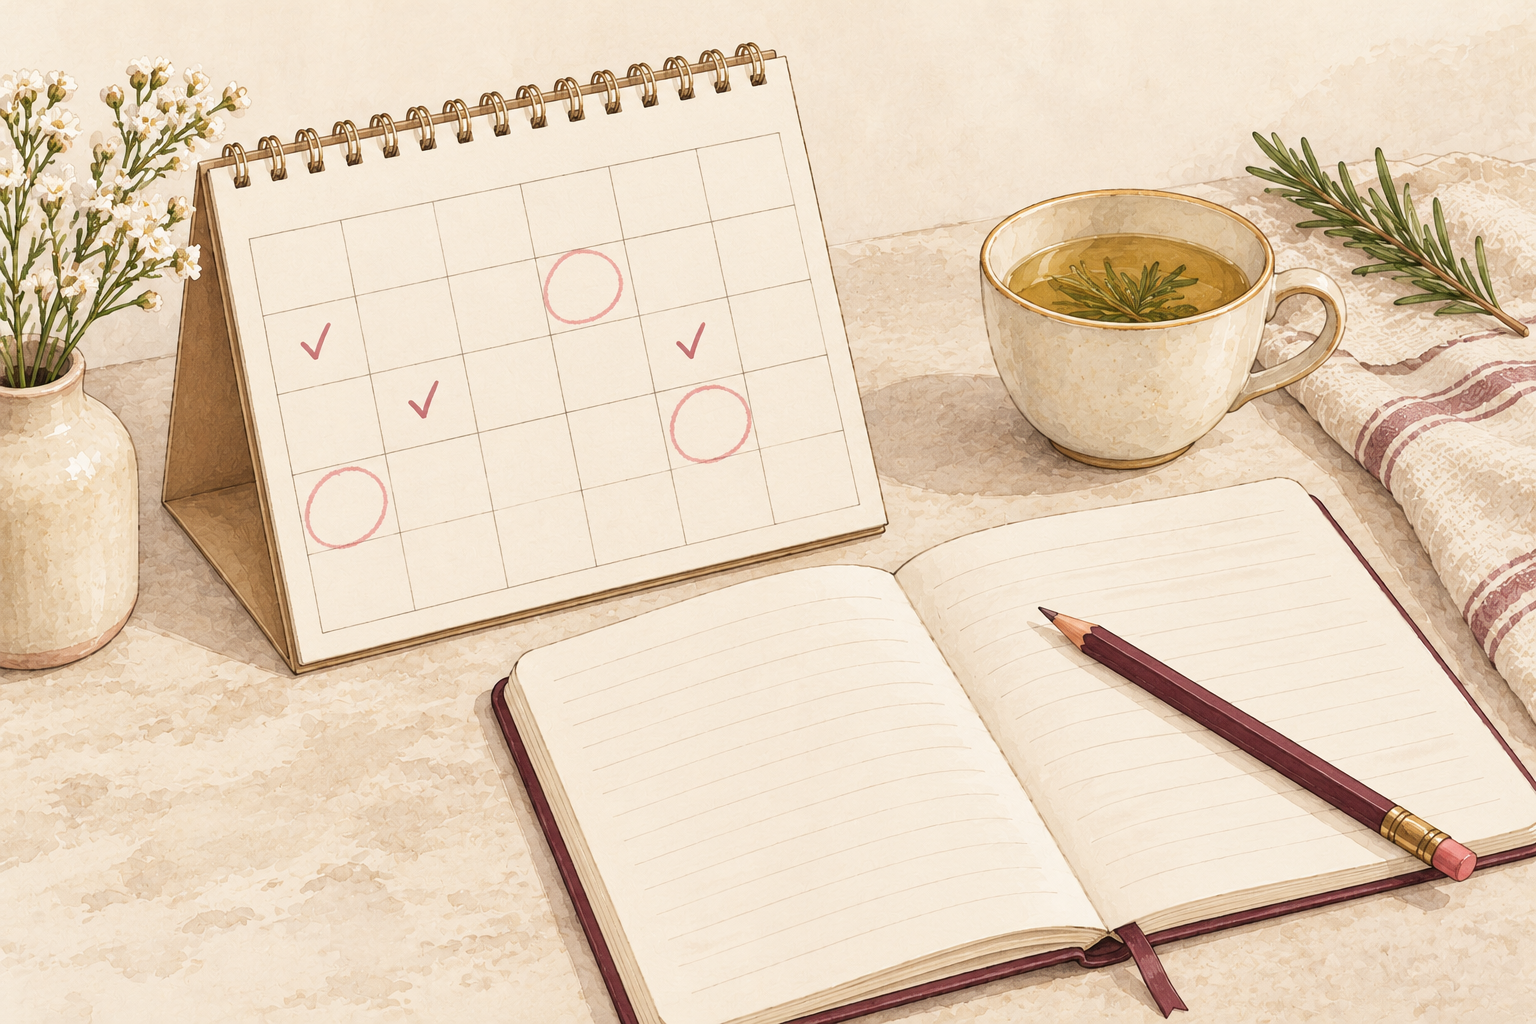
The usual culprits are very hot tools, damp hair under the iron, and going over the same section again and again. Water inside a strand boils under a hot plate, and that sizzle is damage happening in real time. Blow dryers held close to the roots and curling wands on the highest setting do the same job more slowly. Add bleach, color or tight styles on top, and the strand has little left to give. Write down which tool you use most, because that tool is the one to change first. Heat damaged hair is usually a habit problem first and a product problem second.
4. Turn the temperature down
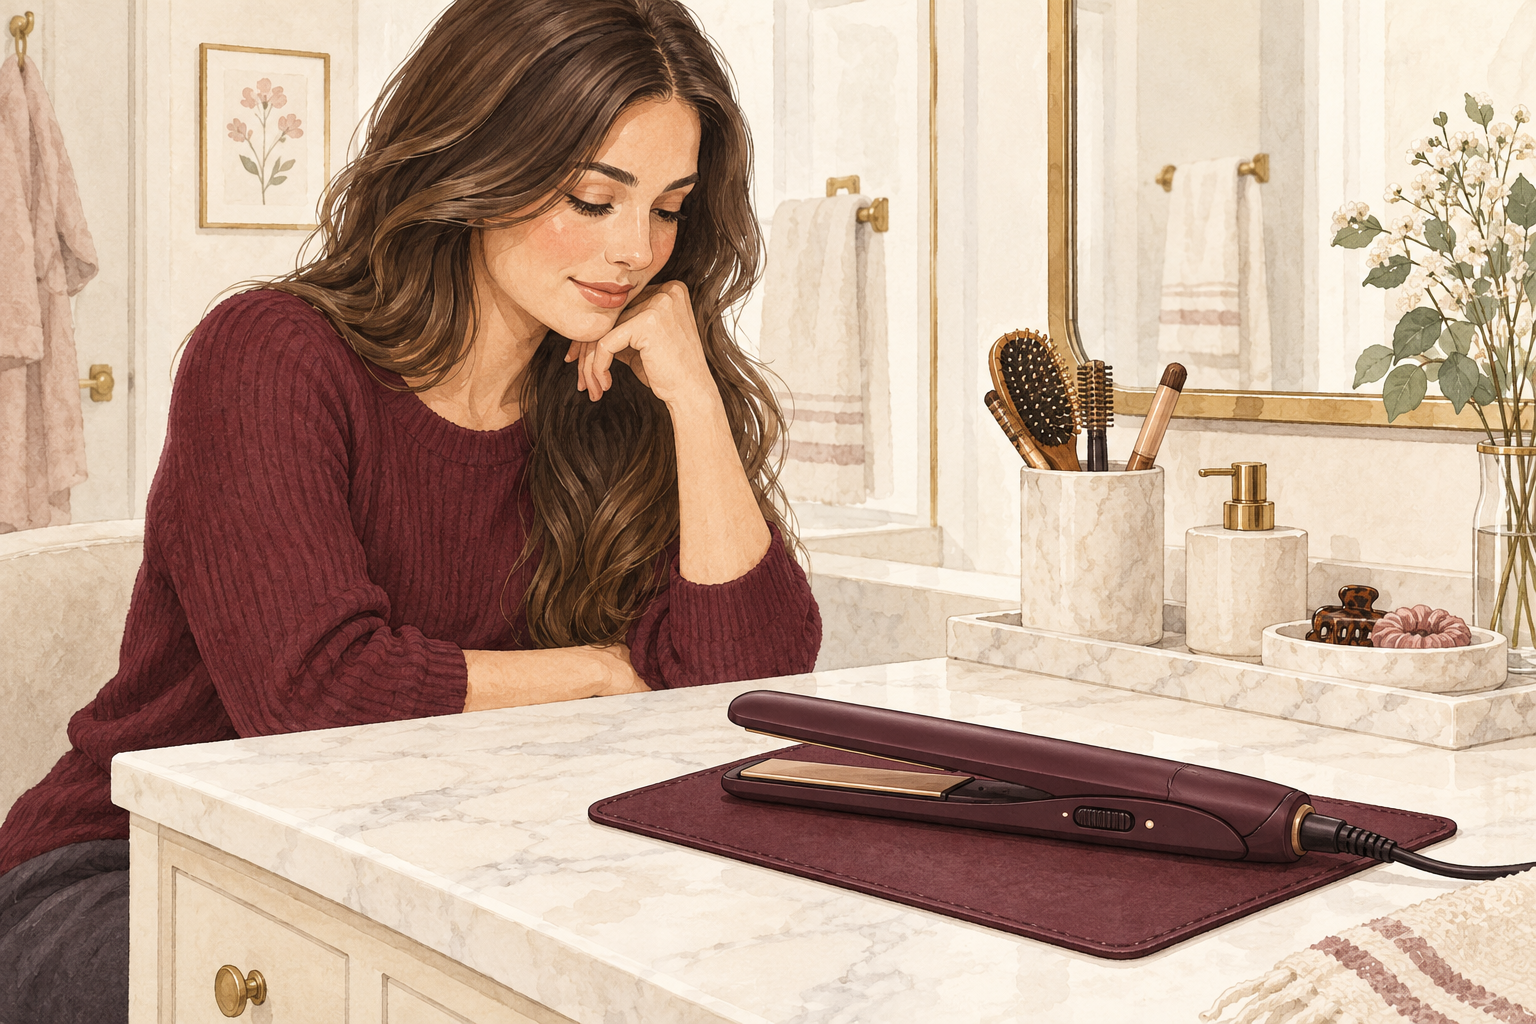
Drop your tool to a medium setting, around 180 degrees Celsius for most hair, and lower for fine or bleached hair. Most people have the dial on high out of habit, and it rarely gives a better result. Start low and raise it only until the style holds in a single pass. Never go over a section more than twice. If you hear a hiss or smell something toasty, stop, because your hair is not fully dry. Mark your best setting with a dot of nail polish on the dial so you remember it. Fine hair needs even less heat than thick hair, so adjust to your own strands.
5. Take a heat break
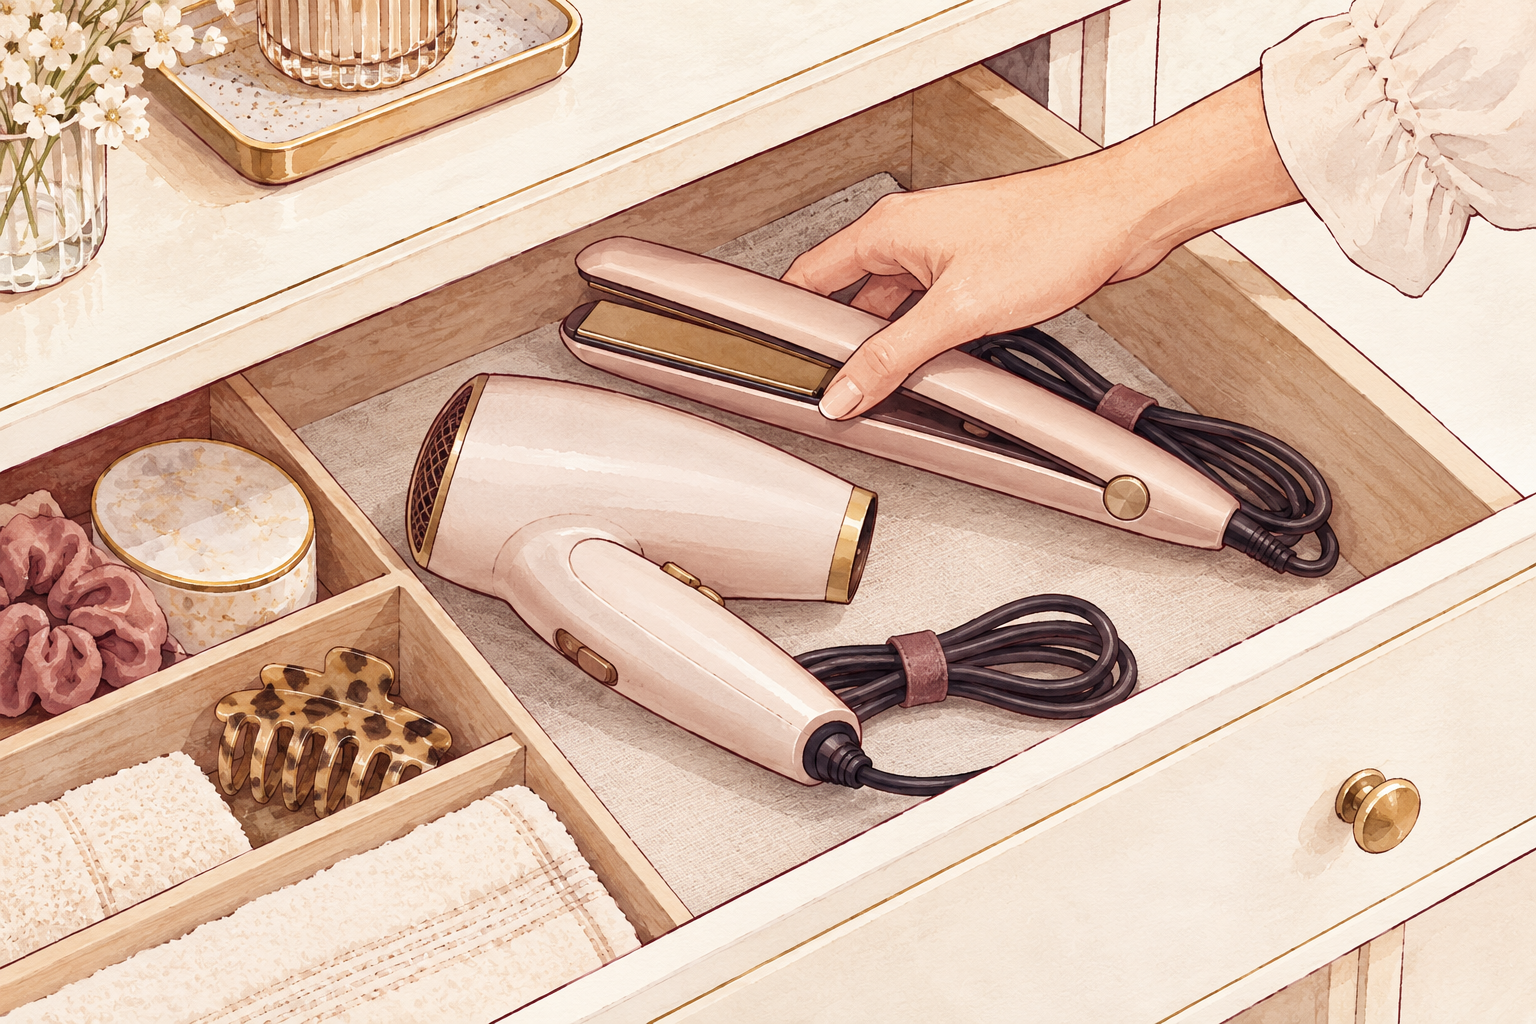
Put the tools away for two full weeks and let your hair air dry or dry on a cool setting. This is the quickest way to stop new damage stacking on old damage. Plan easy styles for those days, like braids, buns and a low ponytail. If you have a wedding or a big day coming, plan the break around it. After two weeks, you will see which parts of your hair are really harmed and which were just tired. Hair also gets noticeably softer once heat stops drying it daily. Skip hot tools, but keep conditioning during the break.
6. Trim off the dead ends
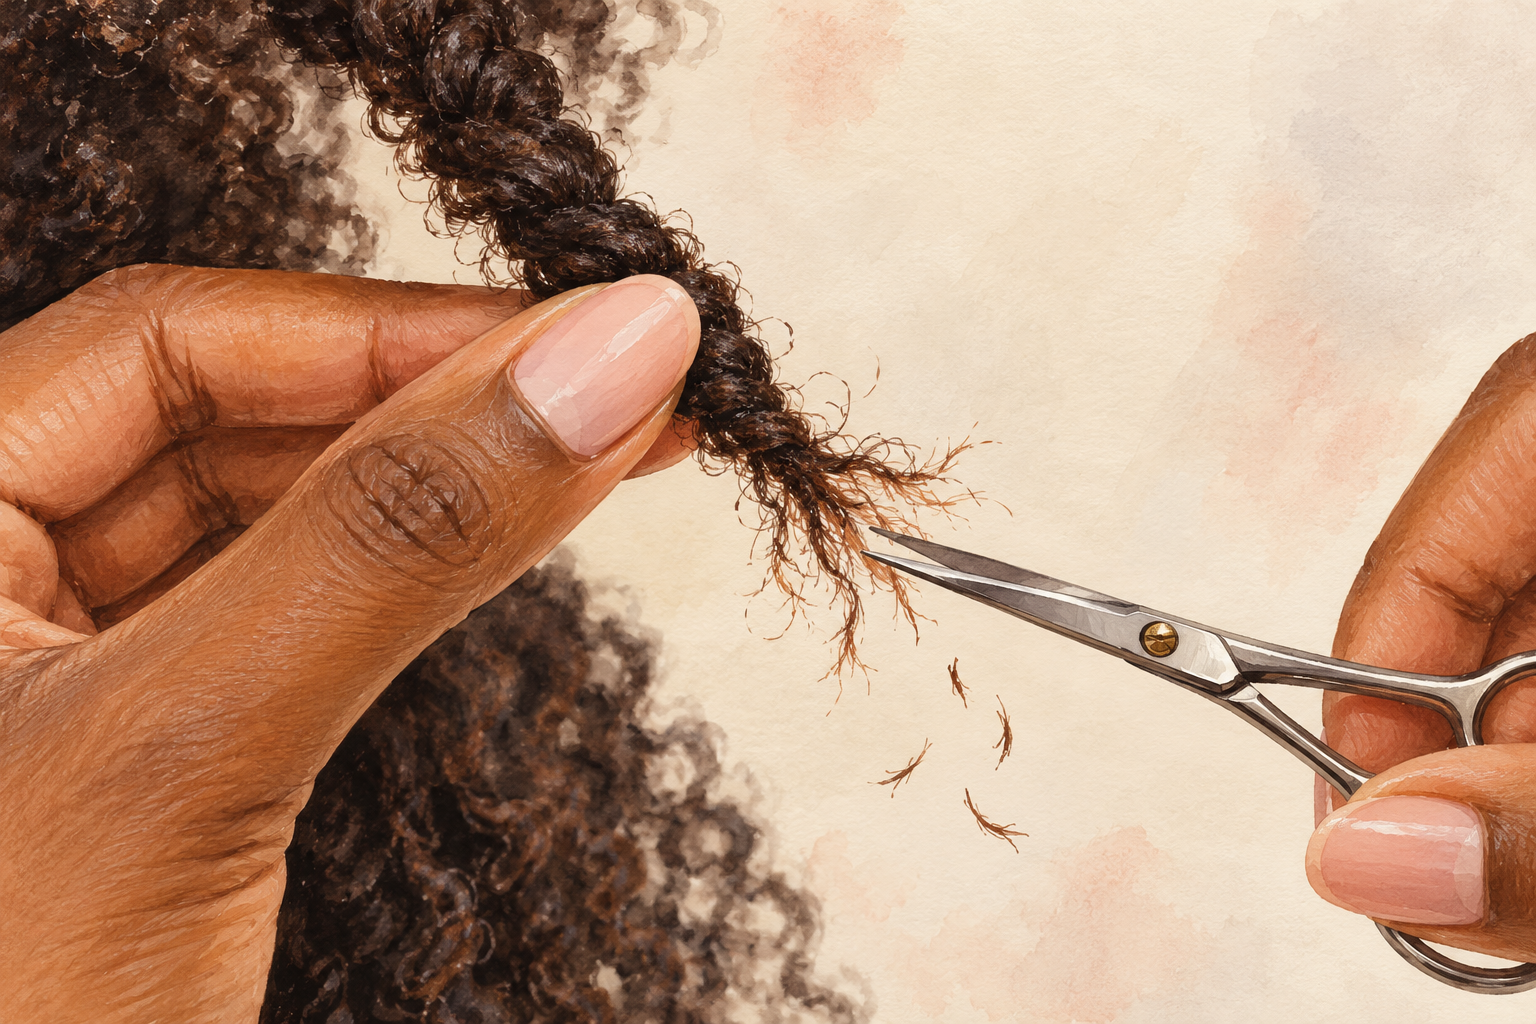
Cut off at least a half inch of the worst ends, and plan a small trim every eight to ten weeks. No cream puts a snapped end back together, and ragged ends split further up the strand every week. A small trim keeps the length you have instead of shrinking it. Ask for a dusting, which means only the damaged tips come off, and say you want to keep as much length as possible. Cut on dry hair if you can, so you see exactly where the damage starts. Hair looks fuller after a trim, even if it is shorter. Take a photo before and after, so you can see the shape improve.
7. Wash gently in lukewarm water
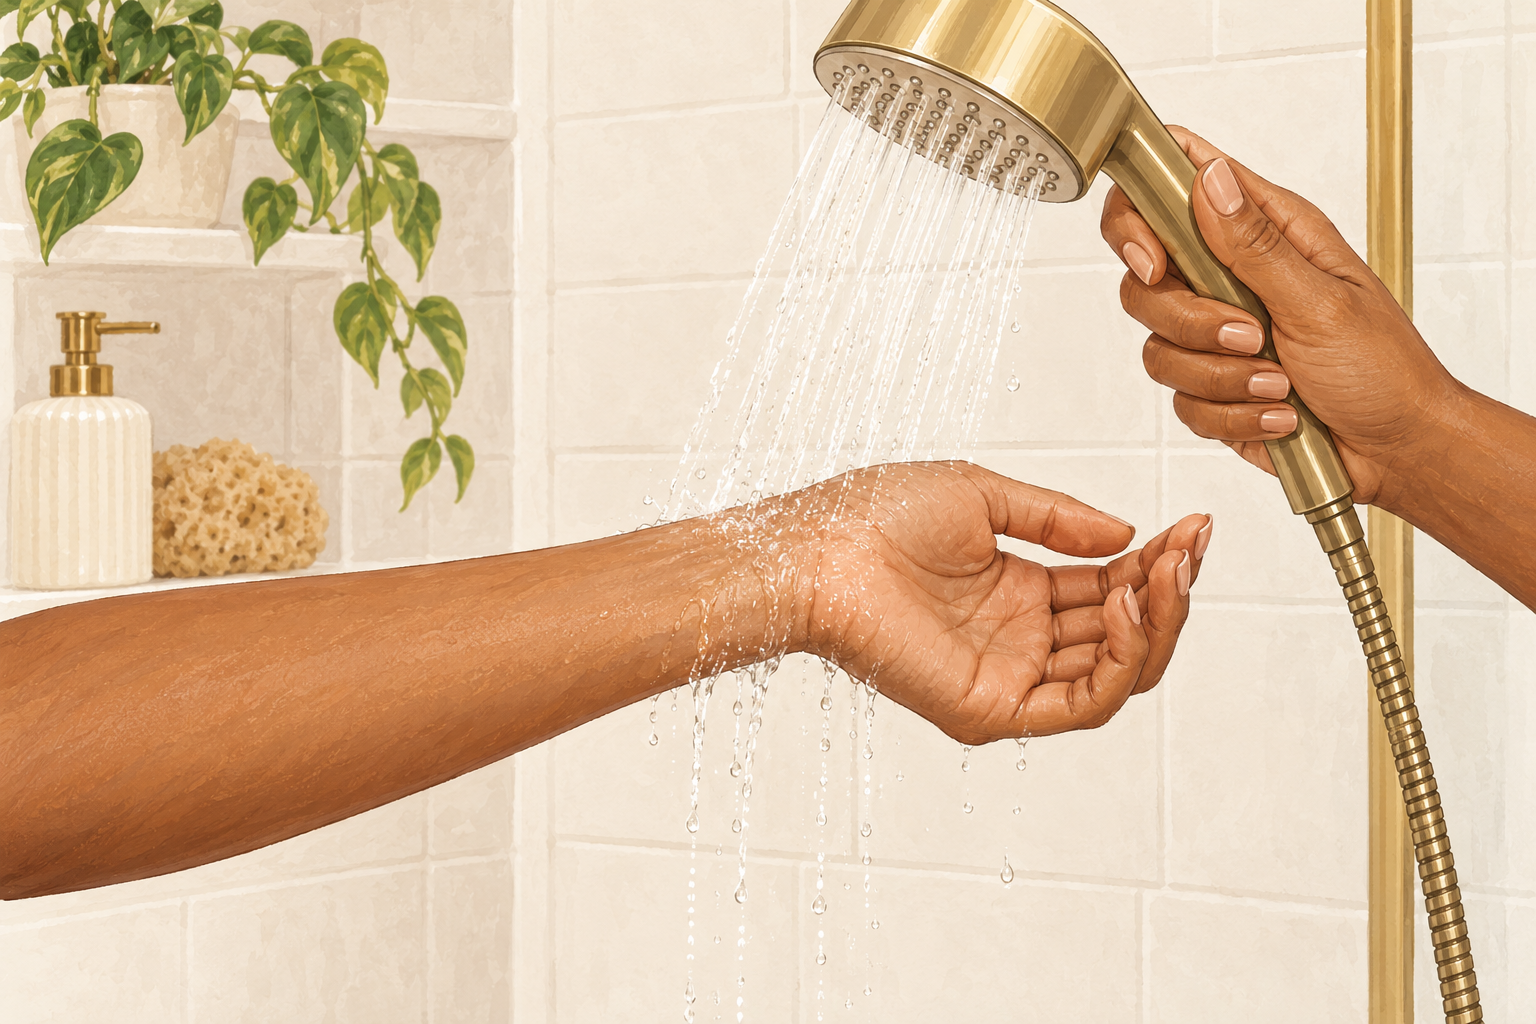
Use a mild shampoo on your scalp only, and let the suds rinse down the lengths. Hot water roughens the surface of damaged hair, so keep it lukewarm and finish with a cool rinse. Wash two or three times a week instead of daily if your scalp allows. Put conditioner on from the ears down, and leave it for two minutes. Squeeze the water out with your hands, and then pat the rest dry with an old soft T shirt or microfiber towel. A rough towel rubbed across wet hair is a quiet source of breakage. Use a wide tooth comb on wet hair, starting from the ends and working up.
8. Deep condition every week
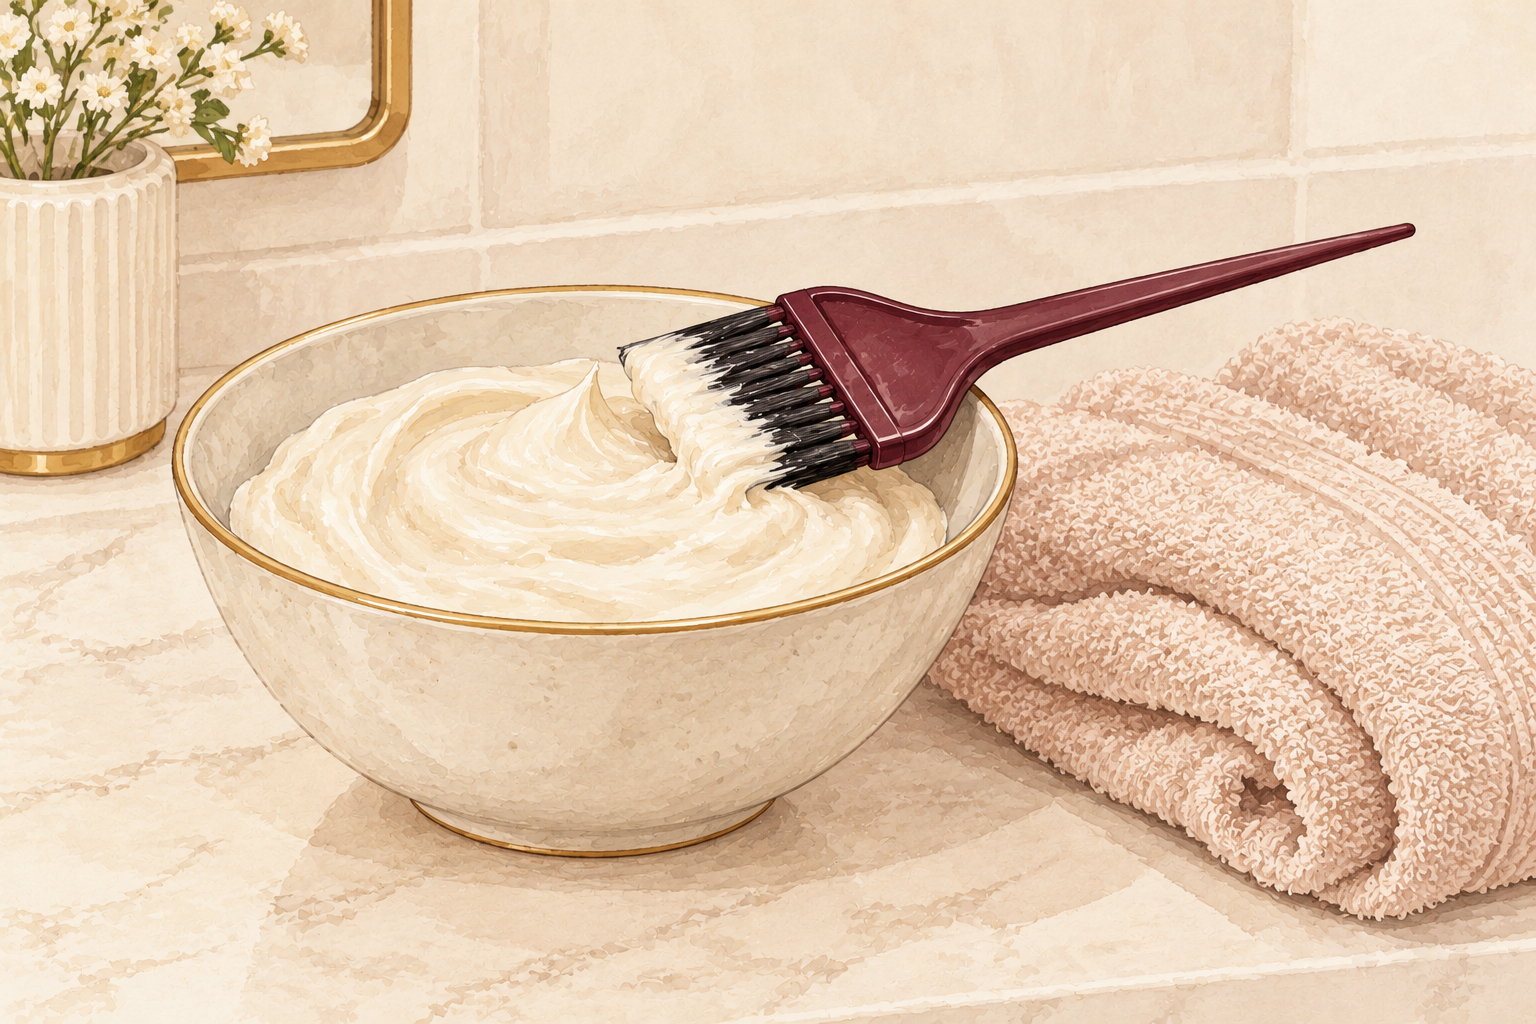
Smooth a rich mask through damp hair from the ears down, cover it with a shower cap, and leave it for fifteen to twenty minutes. Rinse until the water runs clear and your hair feels slippery. Do this once a week while your hair is recovering, and a little less often once it feels better. Look for words like repair, bond or nourishing on the label, and avoid heavy buildup near the roots. It will not mend a broken strand, but it makes the hair soft enough to stop snapping when you comb it. Wrap a warm towel over the cap to help it sink in.
9. Add a stronger treatment once in a while

Every two weeks, swap your mask for a protein treatment, and follow it with your usual conditioner. Protein fills in rough patches on the strand and gives limp, stretchy hair some body. If your hair starts to feel stiff or brittle, you have used too much, so go back to moisture for a few weeks. A kitchen option is mashed egg with a spoon of olive oil, left on for ten minutes and rinsed with cool water, never hot. Balance is the secret. Your hair needs both moisture and strength, so rotate them. Stop altogether if the strand feels hard and snaps when dry.
10. Protect every single time
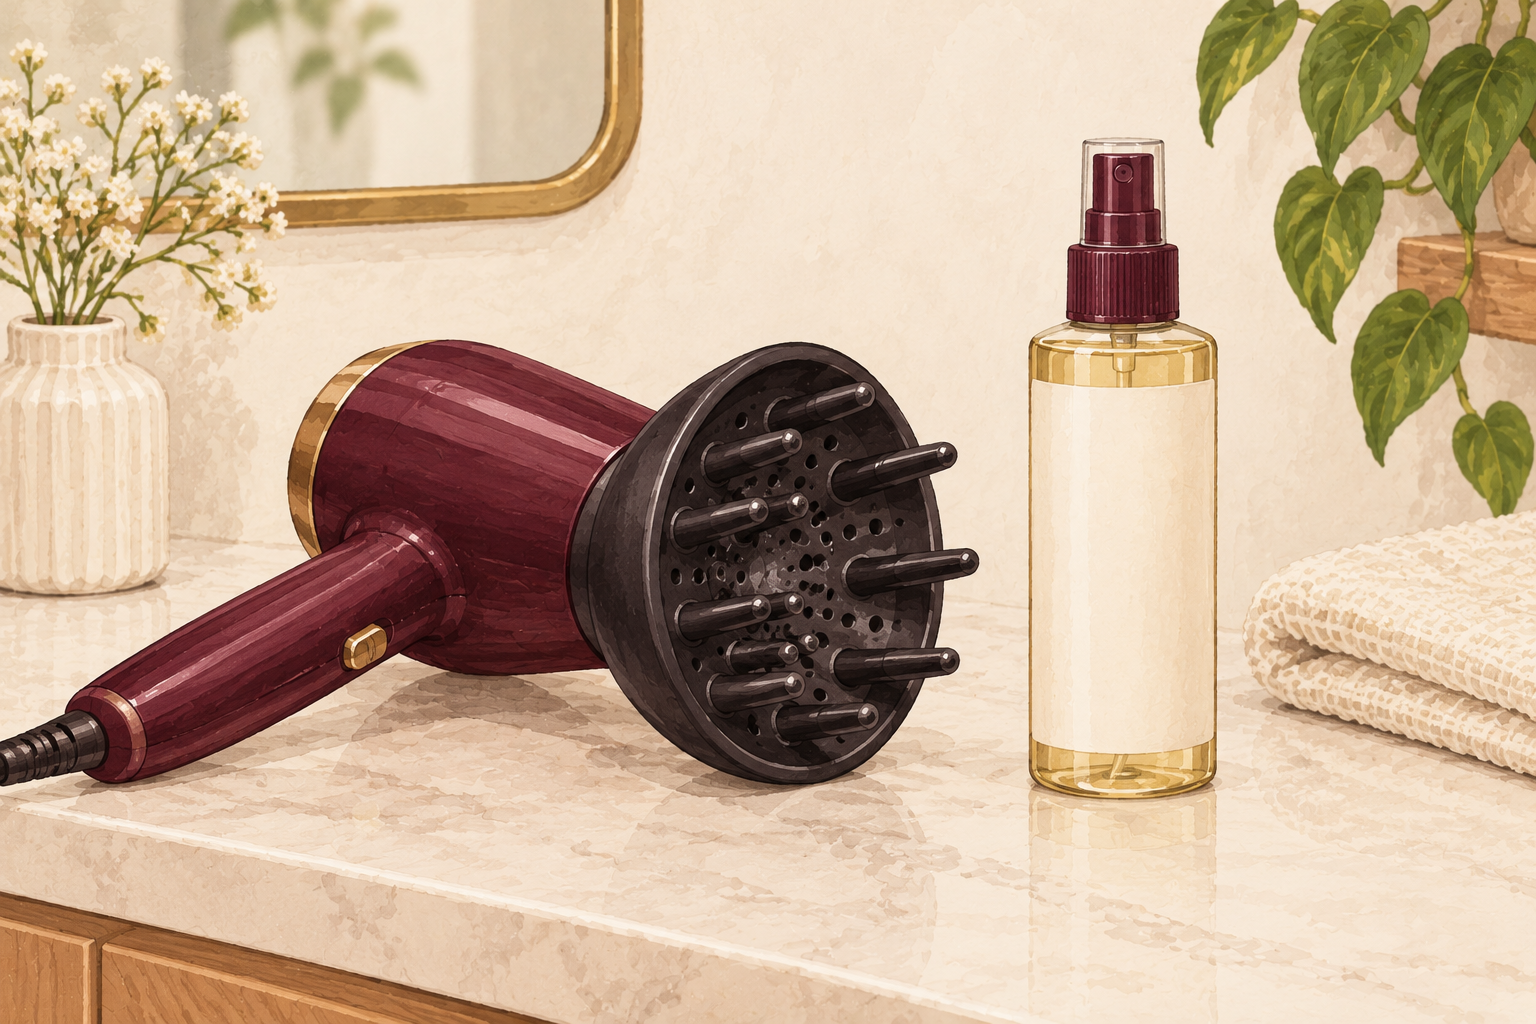
Spray a heat protectant on damp hair, comb it through, and let your hair dry about eighty percent before any tool touches it. Skipping the spray once is a small mistake, but skipping it every time adds up. Clip your hair into four sections so you work with a small amount at a time. Pass the tool once, slowly and smoothly, rather than racing back and forth. A protectant does not make heat safe, it only softens the blow. Think of it as an umbrella on a rainy day, helpful but not a roof. If you notice a burnt smell, the tool is too hot or the hair is too wet.
11. Learn a few heatless styles
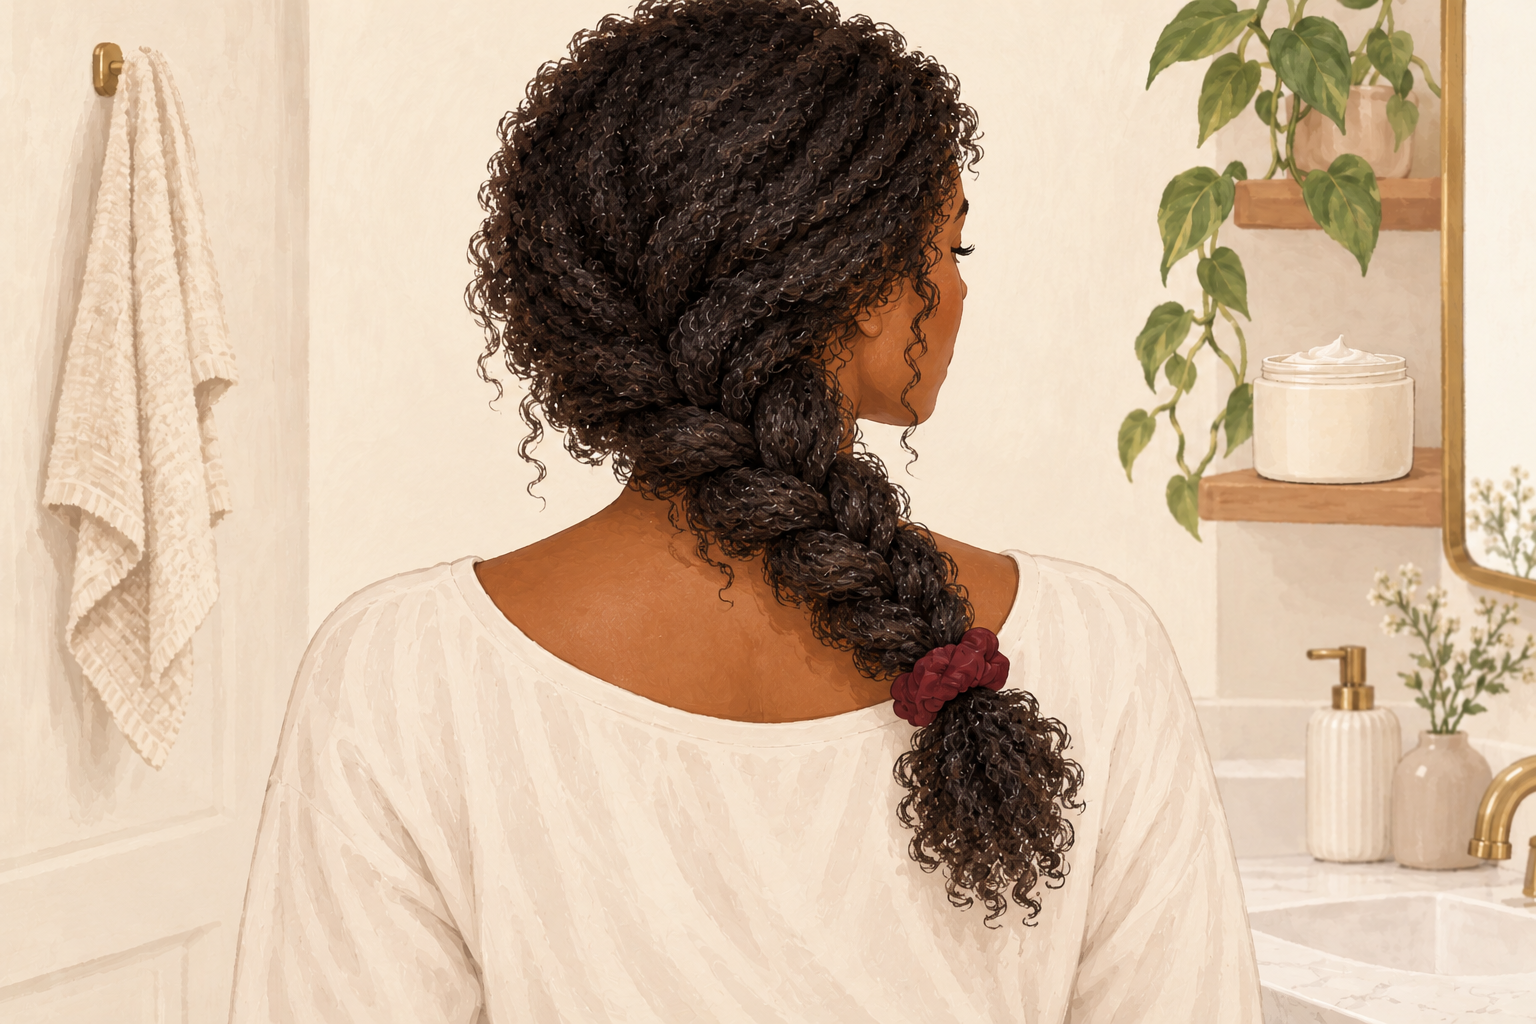
Wrap damp hair in loose braids or soft rollers at night and wake up to waves. Twist two buns on top of your head for a bend that needs no tool at all. Blow dry on a cool or low setting when you are in a hurry, holding the dryer a hand width from your head. Sleep on a satin pillowcase so the style survives without a touch up. It takes a couple of weeks to get good at it, and by then you will not miss the iron. Keep one heat day a week at most. Loose styles also give your ends a rest from tight bands.
12. Expect slow, steady change
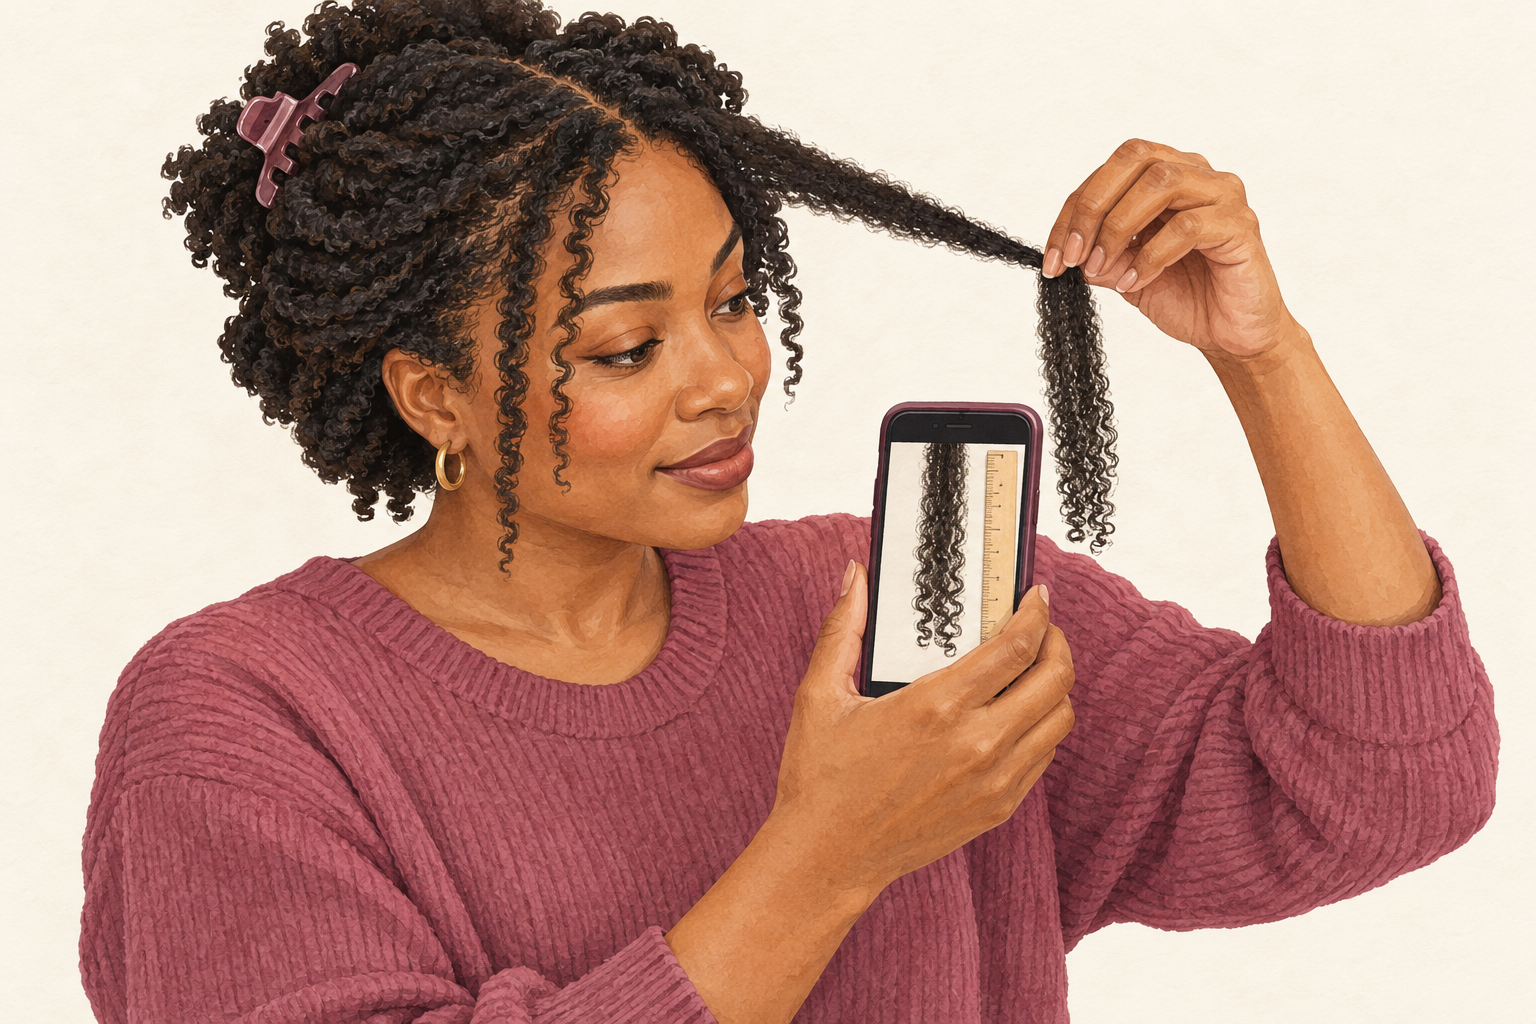
Give it two weeks to feel softer, six to eight weeks for the ends to look smoother, and several months for fresh hair to grow in. Damaged length does not truly heal, so what you see is mostly care plus trims. Take a photo of your ends today in daylight, then another each month, because you see your hair daily and miss the change. One heat day after a long break will not undo your progress, but the old habit will. Heat damaged hair recovers best when you stay patient. Keep your hands off the tools on the days you feel tempted, and your ends will thank you.
Complete the Routine: Heat Damaged Hair Care You Can Keep
Tonight, turn the dial down, put the tools away for two weeks, and start your first deep conditioning. Then read about hair mask for damaged hair and damaged hair repair for more ideas.