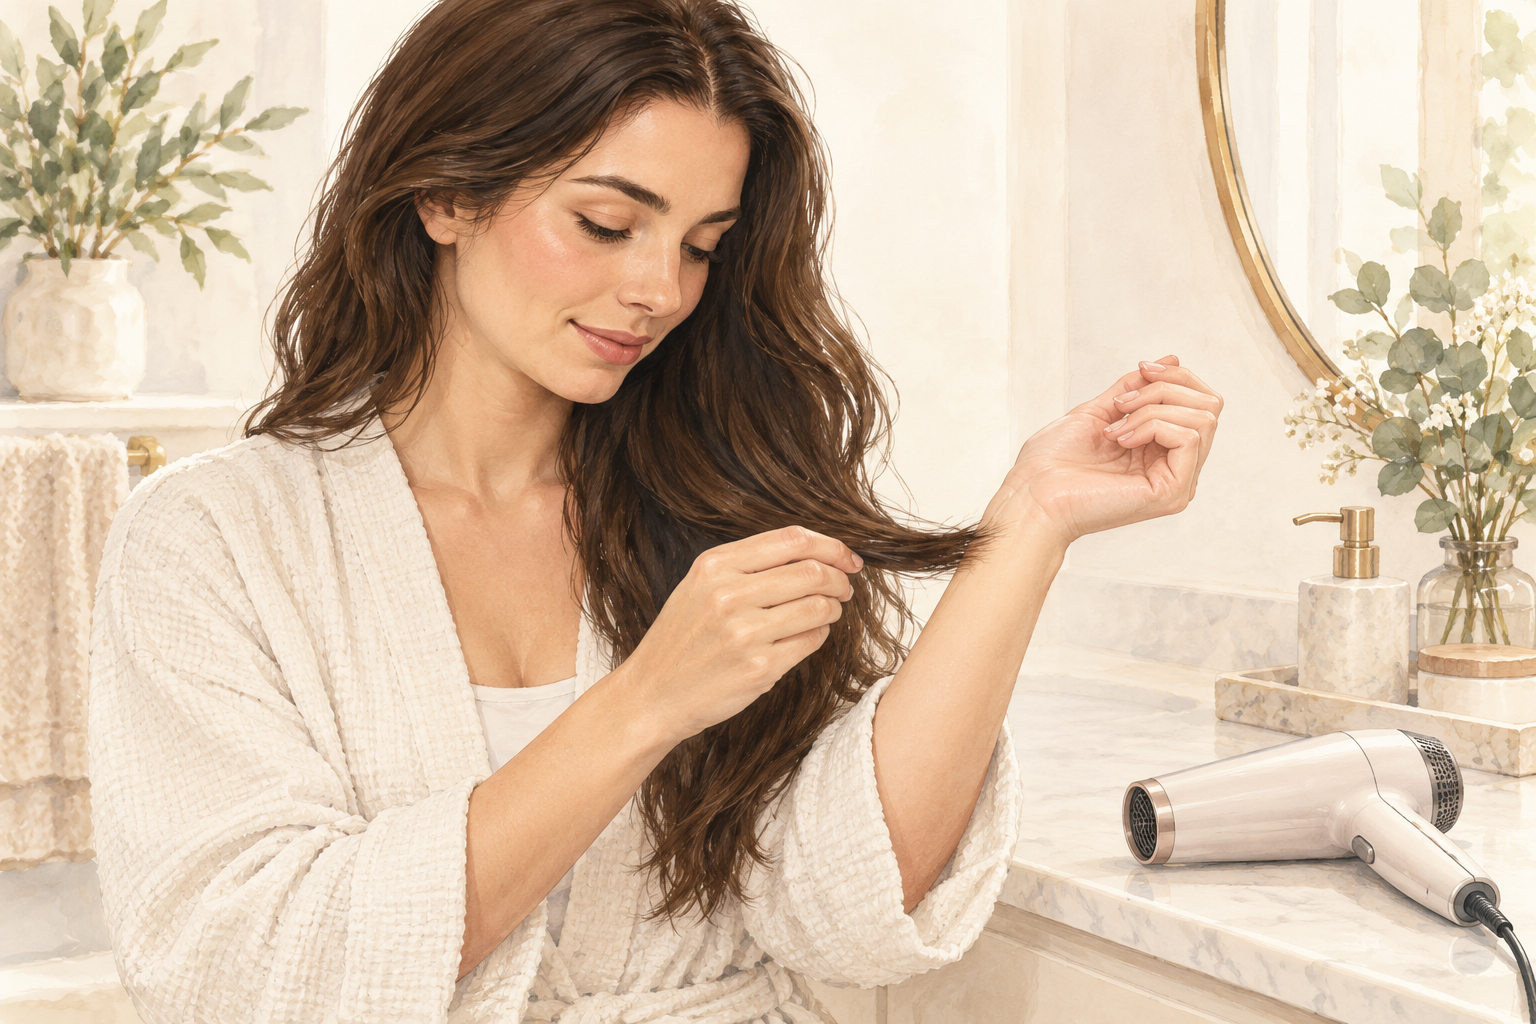
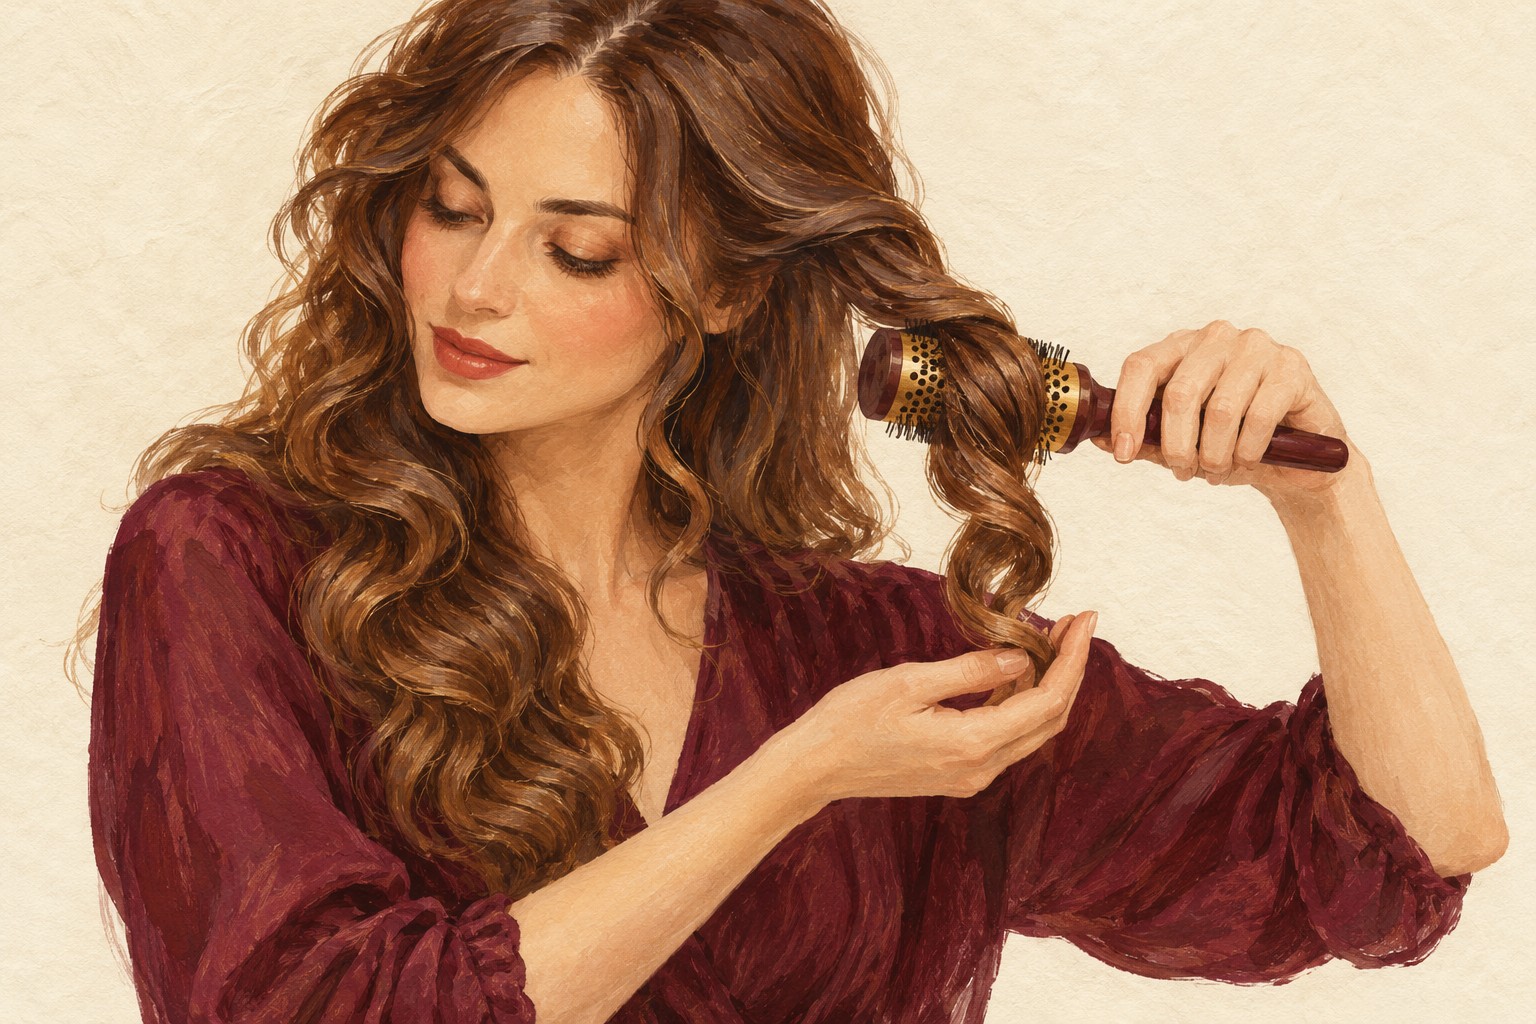
You spend half an hour with the dryer, and your hair still comes out puffy at the roots, wavy at the ends and fuzzy all over. The trouble is rarely your hair, it is the tension, the nozzle and the size of your sections. Here is how to blow dry hair straight in 12 steps, from damp hair to a smooth finish, so start at number one tonight.
1. Start with hair that is damp, not dripping
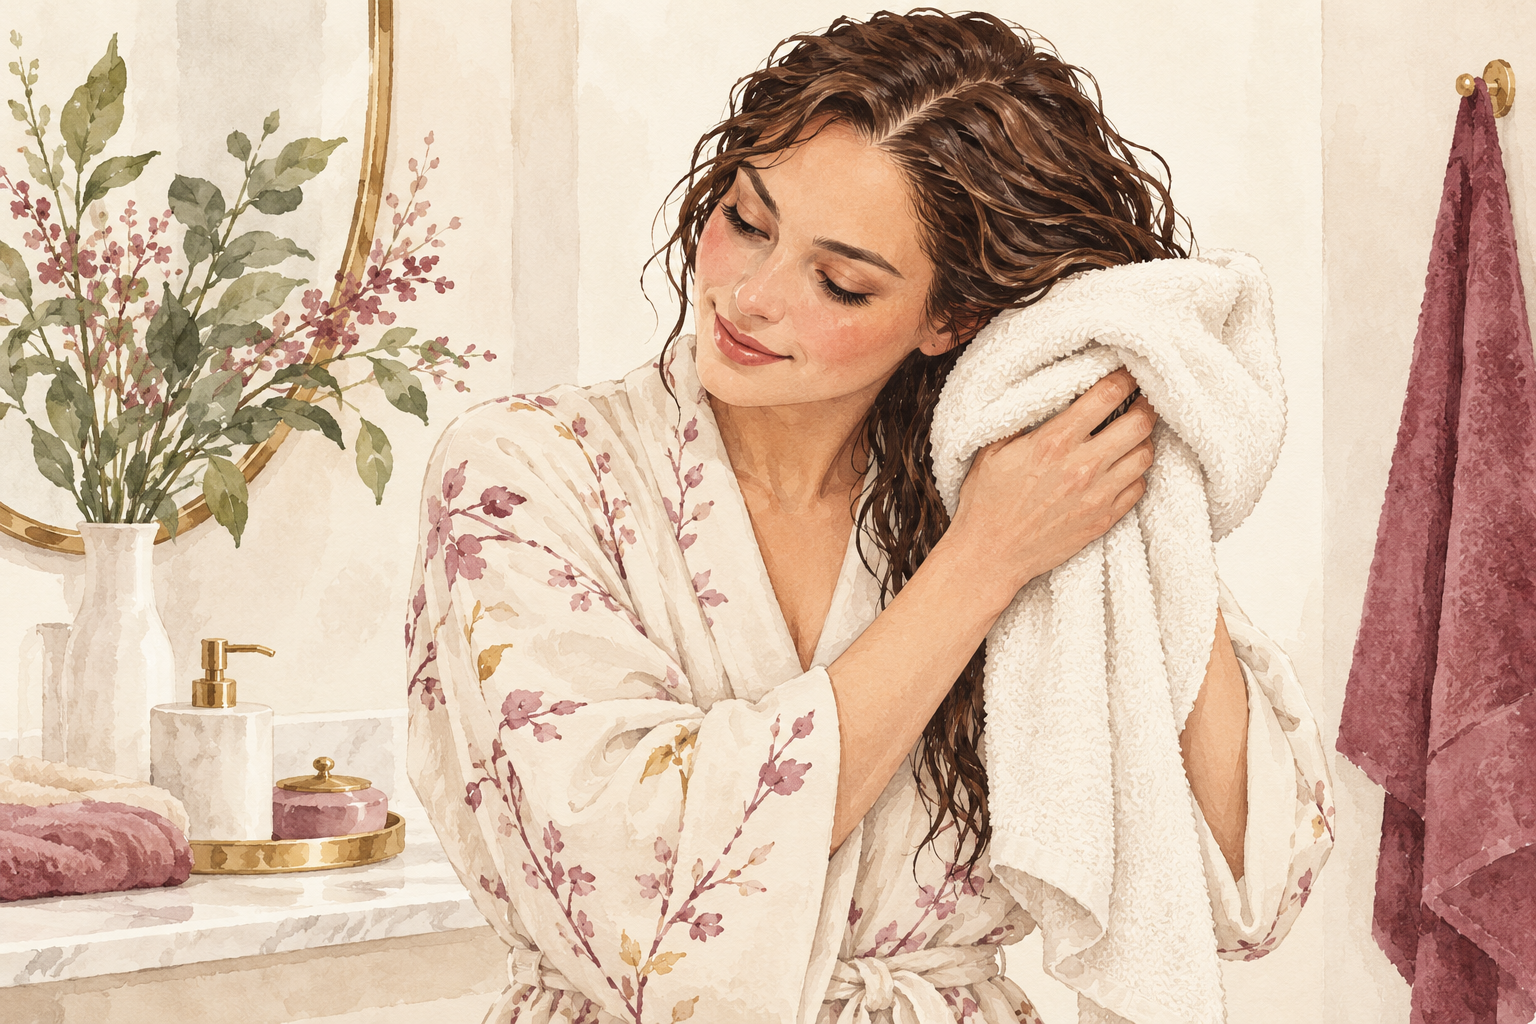
Squeeze your hair with a soft towel, then let it air dry until it feels damp and no longer drips. Blasting soaking wet hair takes forever and bakes the surface while the inside stays wet. Aim for about seventy percent dry before the dryer comes out. Press the towel into your hair instead of rubbing, because rubbing roughs up the surface and starts the frizz before you even begin. If your hair is thick, ten more minutes of waiting will save you twenty minutes of drying. Hold a strand against your cheek, and if it feels cool and slightly damp rather than wet, you are ready.
2. Comb gently and add heat protectant
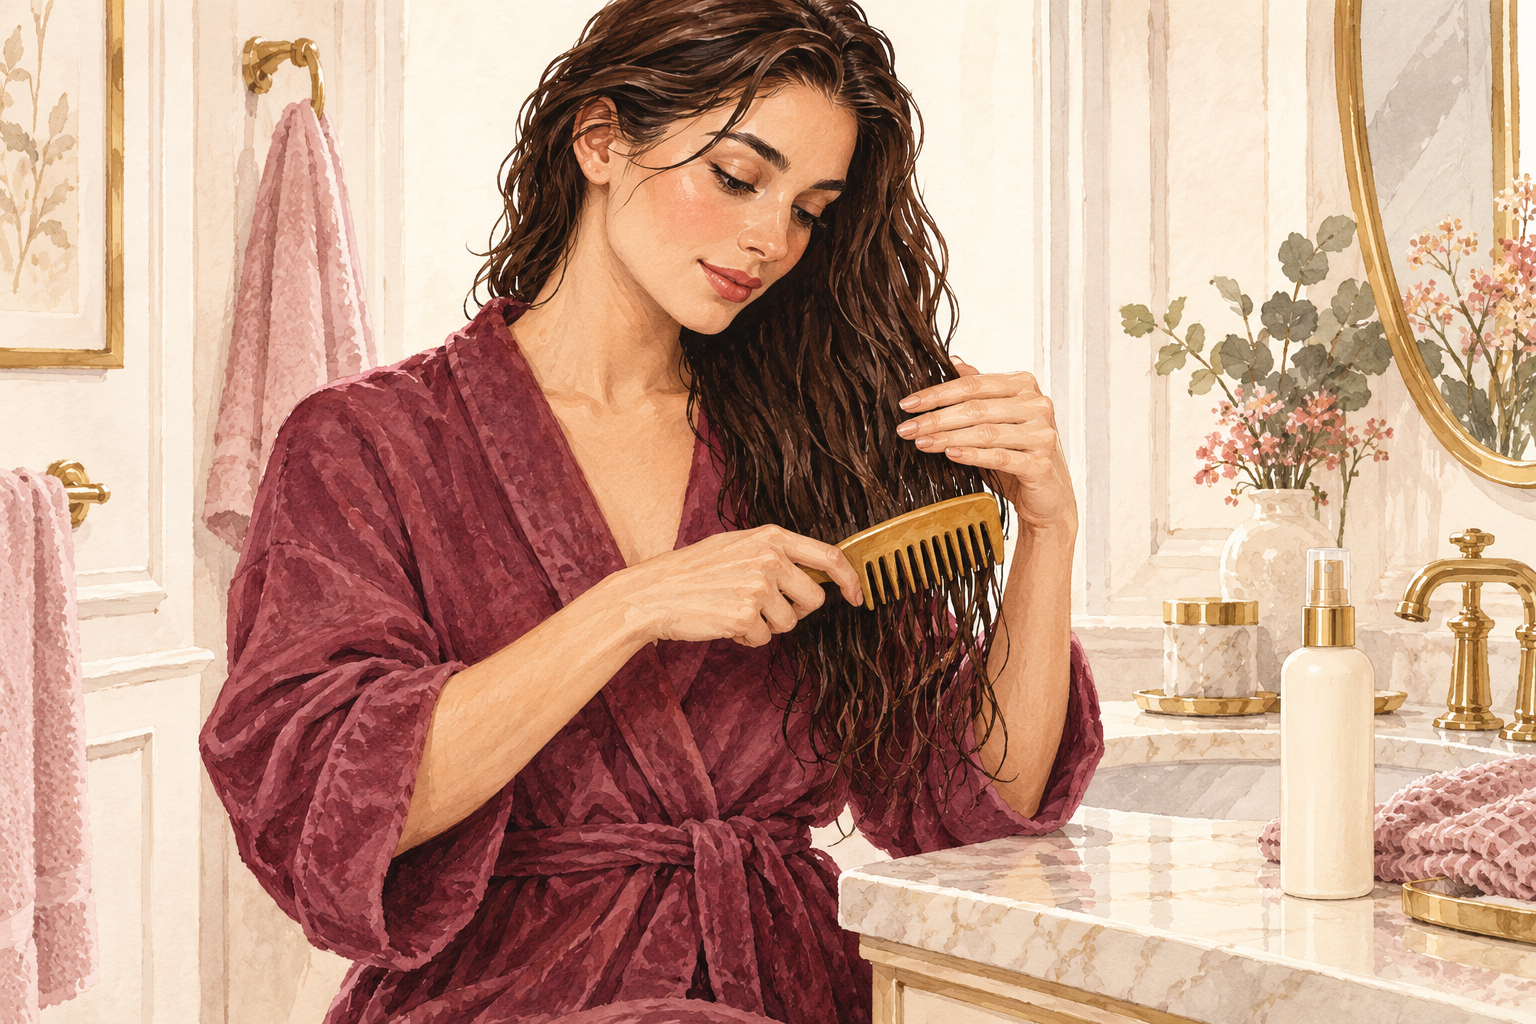
Detangle from the ends upward with a wide tooth comb, then mist on a heat protectant from mid lengths to ends. Heat on tangled hair pulls and breaks it, and heat on bare hair dries it out. Use a fine mist, about four sprays for shoulder length hair, and comb it through so every strand gets coated. Too much product leaves hair limp and greasy, so go light. Wait a minute for it to settle before you turn on the dryer. Keep the mist off your roots, since product near the scalp makes hair look flat and oily by midday.
3. Clip your hair into four to six sections
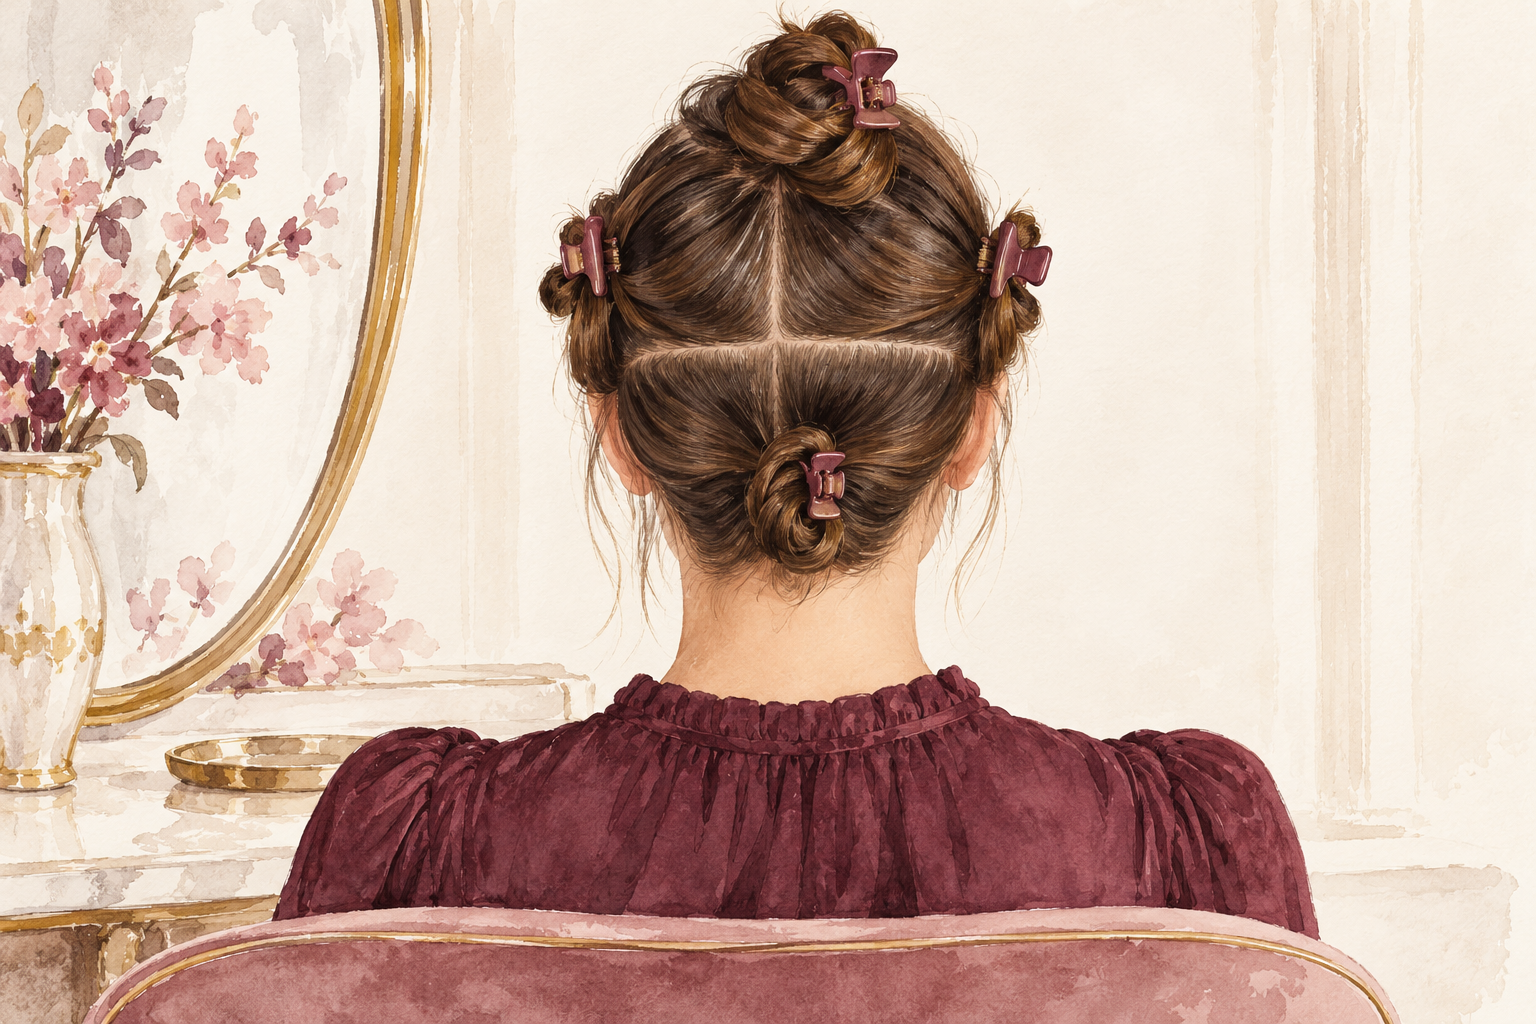
Divide your hair into a top, two sides and a back section, and clip each one out of the way. Thick hair may need six sections. Small sections give you tension and control, and they stop you from drying the same patch of hair over and over. Take the section you are working on down from the clip and leave the rest pinned. This step feels fussy, but it is the main reason pro blow dries look so smooth, and it takes one minute at home. Use sturdy clips, because a loose one slides out halfway through and ruins the section you just finished.
4. Rough dry the roots with your fingers
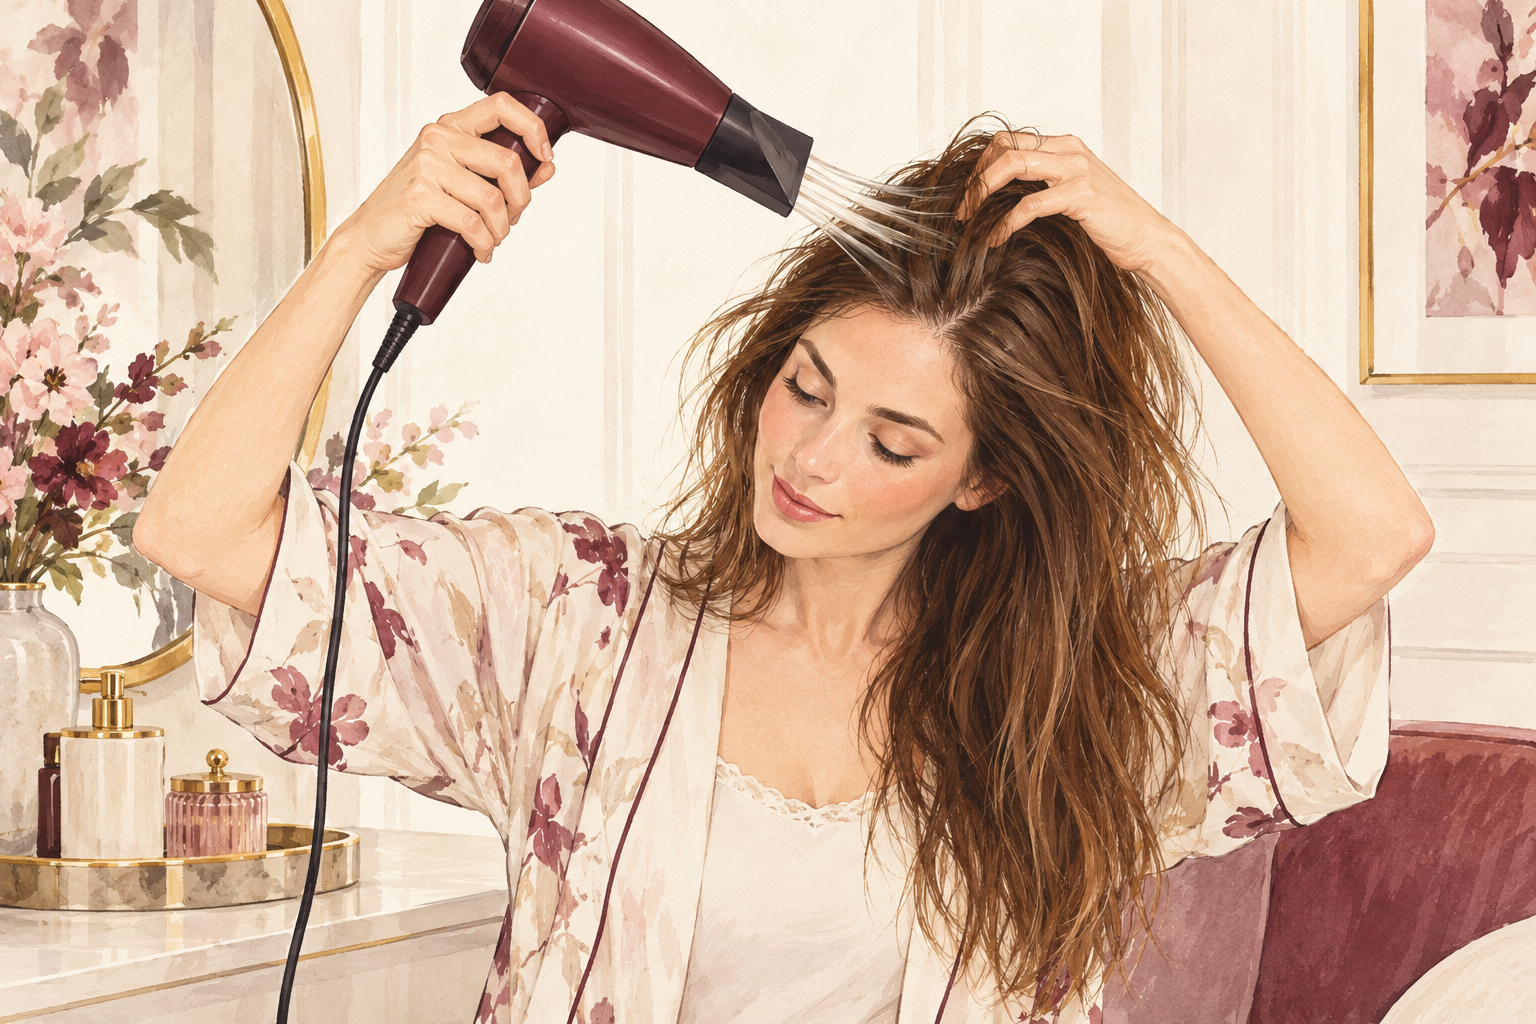
Rough dry the roots first with your fingers, shaking the hair side to side. Roots take the longest to dry and they decide your shape, so get them nearly dry before you pick up a brush. Point the dryer down toward the ends, not at your scalp from above. Dry until your hair feels cool and no longer cold on the skin. This also takes out the worst of the wetness so the brush does not drag. It takes about three minutes and gives you a flat, smooth start. You will know it is ready when the roots feel warm and bouncy and no dark damp patches show.
5. Point the nozzle down the hair, root to tip
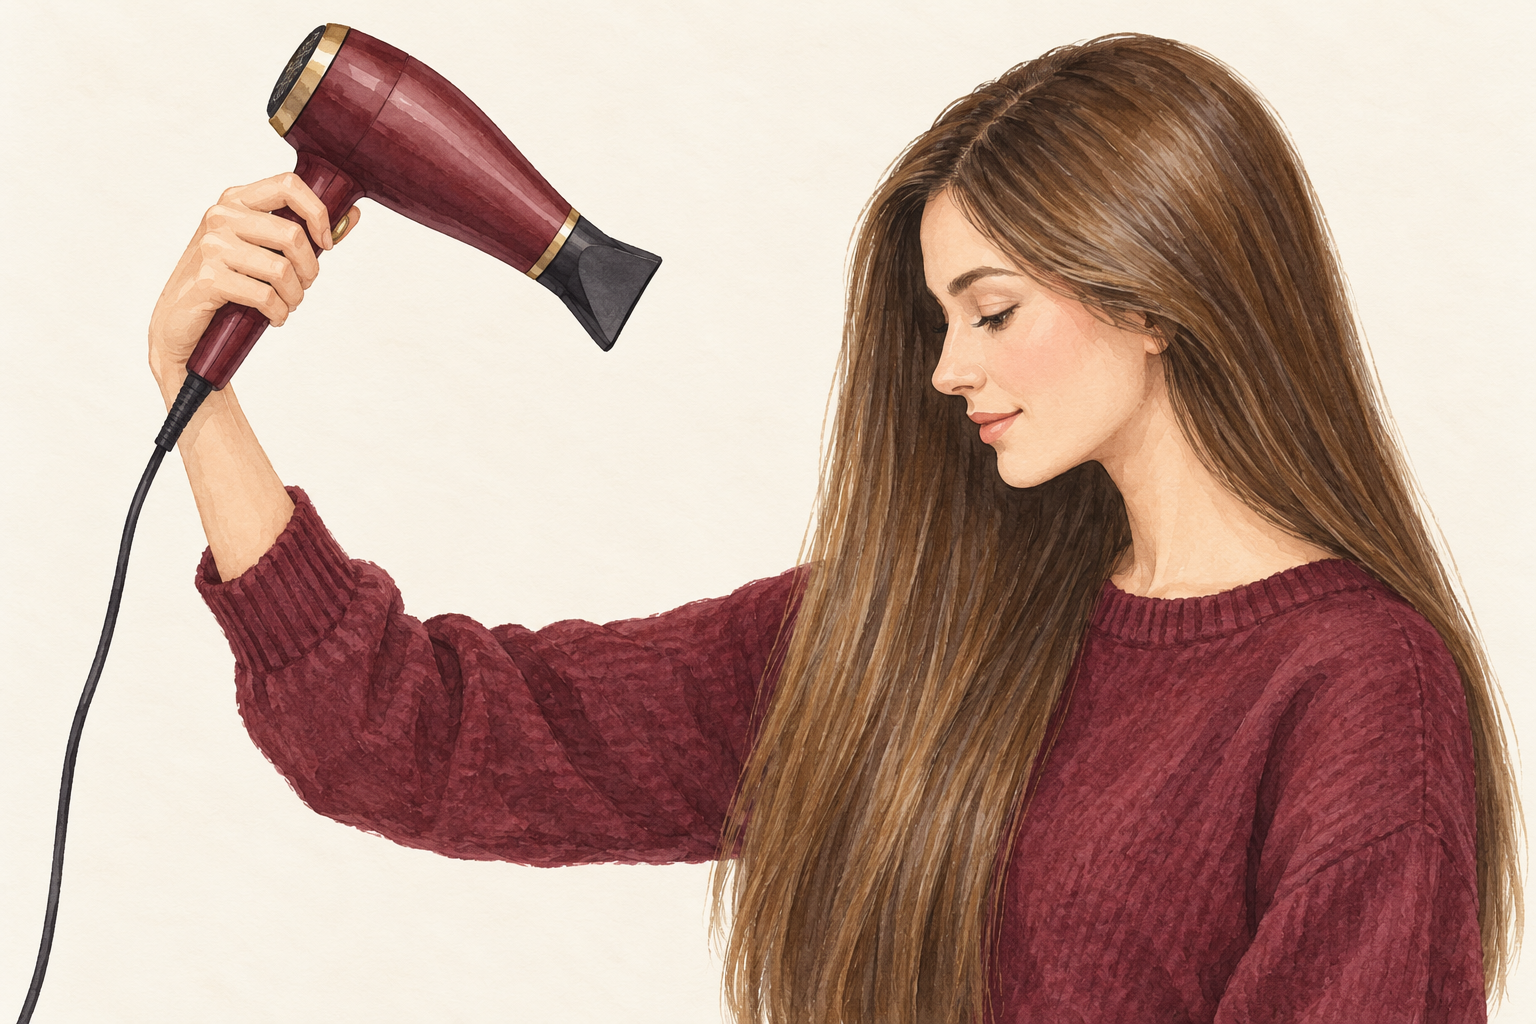
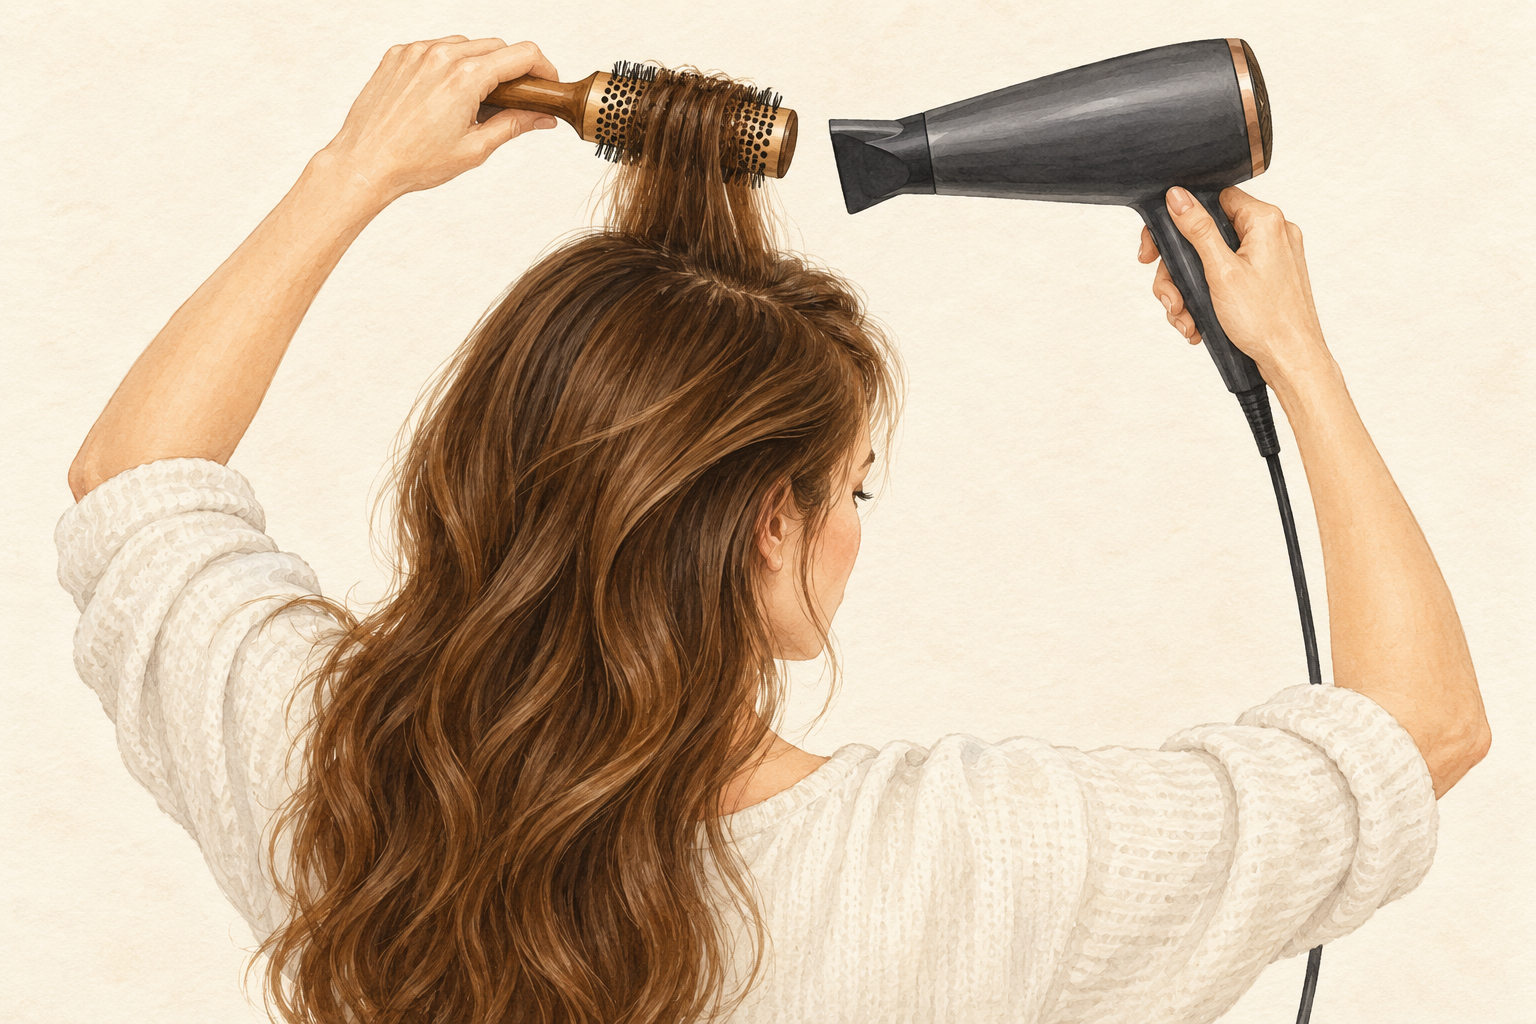
Fit the nozzle and aim the airflow from the root toward the tip, never against the grain. The air smooths the scales of the hair down in the same direction as they grow. Pointing the dryer upward or sideways ruffles them and makes frizz. Keep the nozzle about a hand’s width from your hair and keep it moving. Hold the dryer steady and let the airflow do the smoothing, which means no wobbling. A slim nozzle also keeps the heat in a narrow stream, so you don’t scorch one spot. Watch for a shine that travels down the strand just ahead of the airflow, which tells you the angle is right.
6. Pull each section taut and follow with the dryer
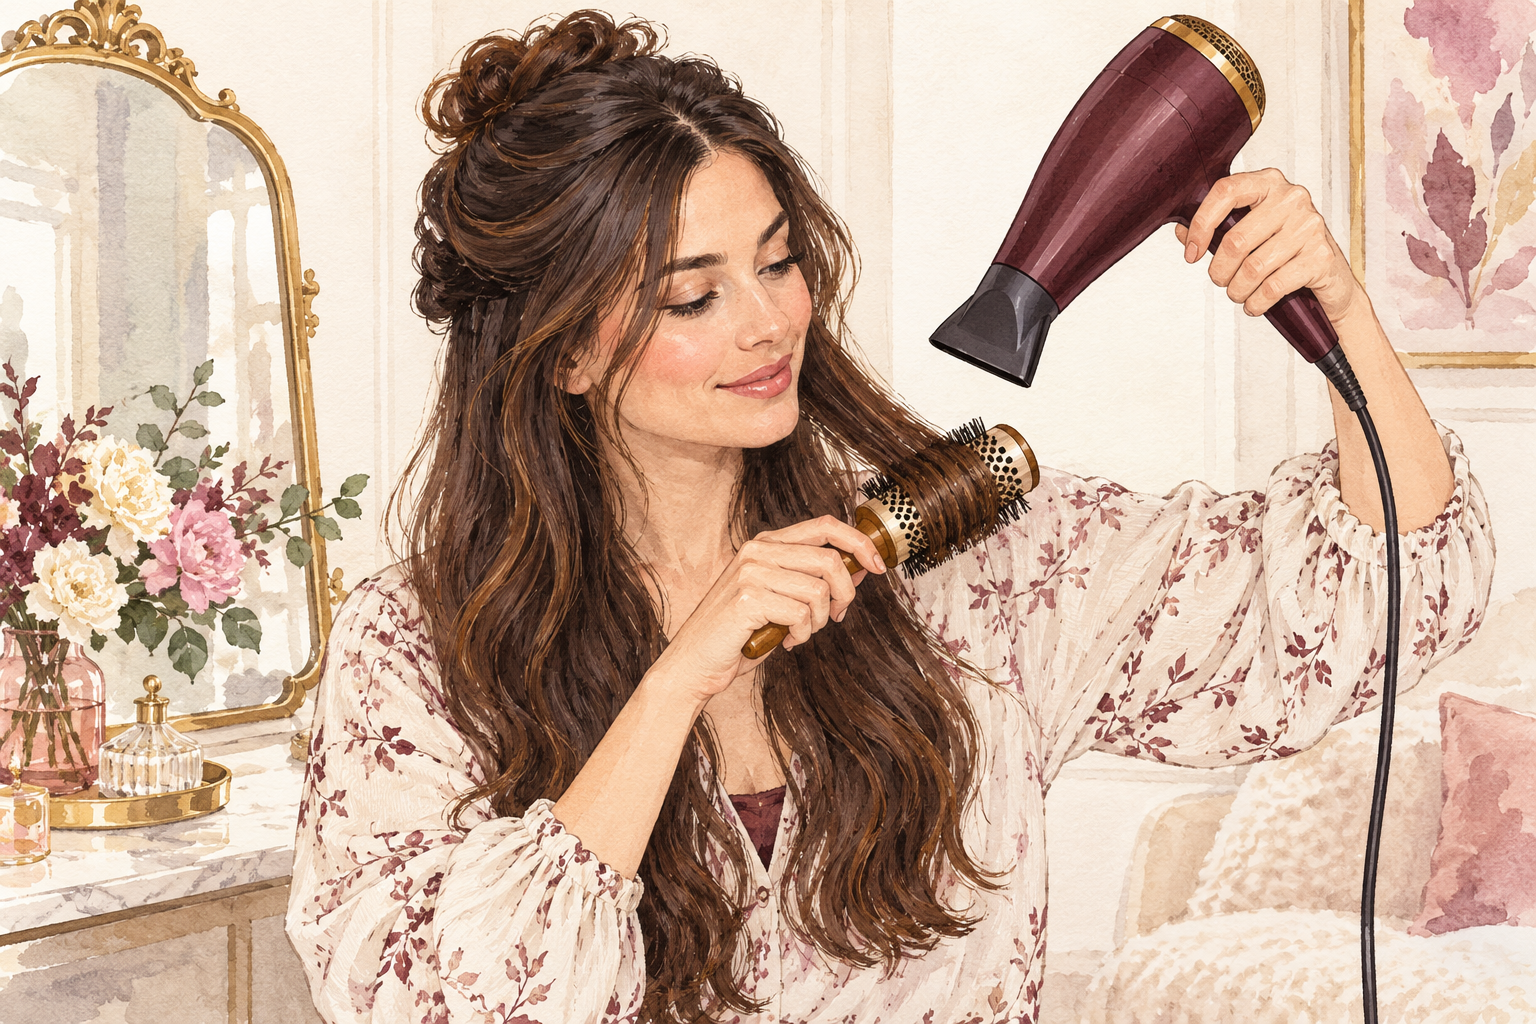
Hold a two inch section of hair firmly over the brush, and slide the brush down slowly with the dryer right behind it. Tension is what makes hair straight, so pull as if you were gently stretching a ribbon. Stop pulling if it hurts, because firm is not the same as yanking. Repeat on the same section until it looks smooth, then finish the last stretch with a blast of cool air. A paddle or flat brush works best for straight hair, while a round brush adds bend. Expect three or four slow passes per section on thick hair, and only one or two on fine hair.
7. Work from the back and the bottom up
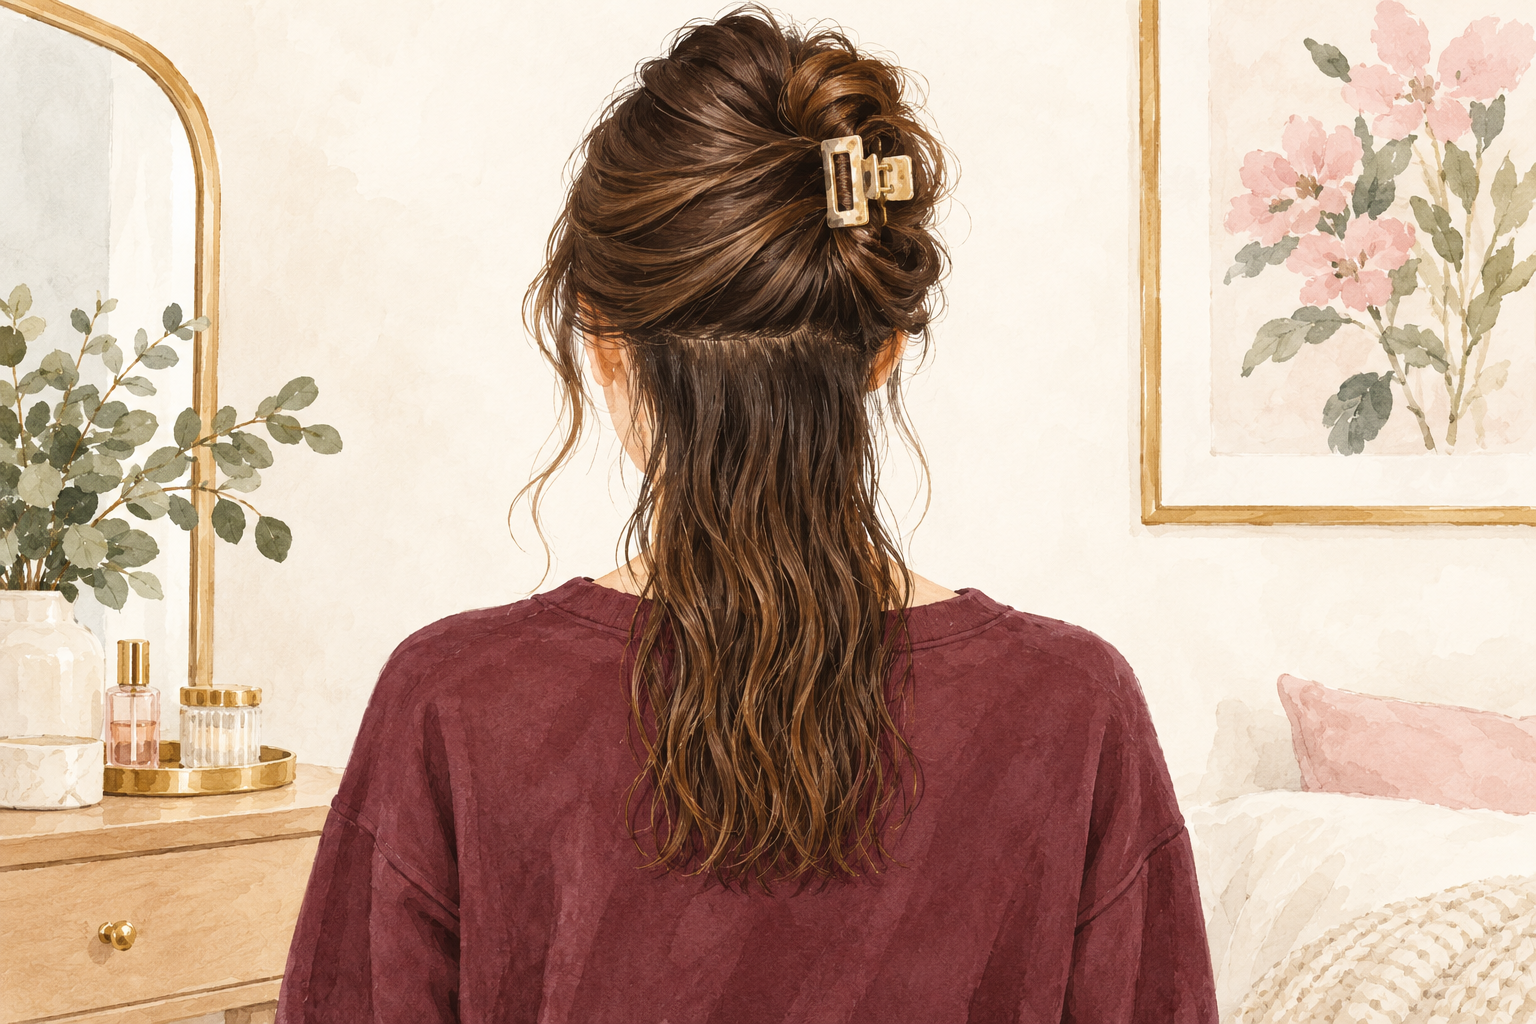
Start with the bottom layer at the nape, then bring down each higher section. The hidden underlayer dries first, so what you see in the mirror ends up flat and sleek on top. Skipping the back and drying the front only is why blow dries look good from one side and puffy from the other. Take smaller sections where your hair is thick or curly. Unclip one section at a time, so the finished hair doesn’t get ruffled while you work. Move along the back, around the sides and across the crown last. Check the back with a hand mirror if you can, because puffy patches love to hide there.
8. Use the lowest heat that works
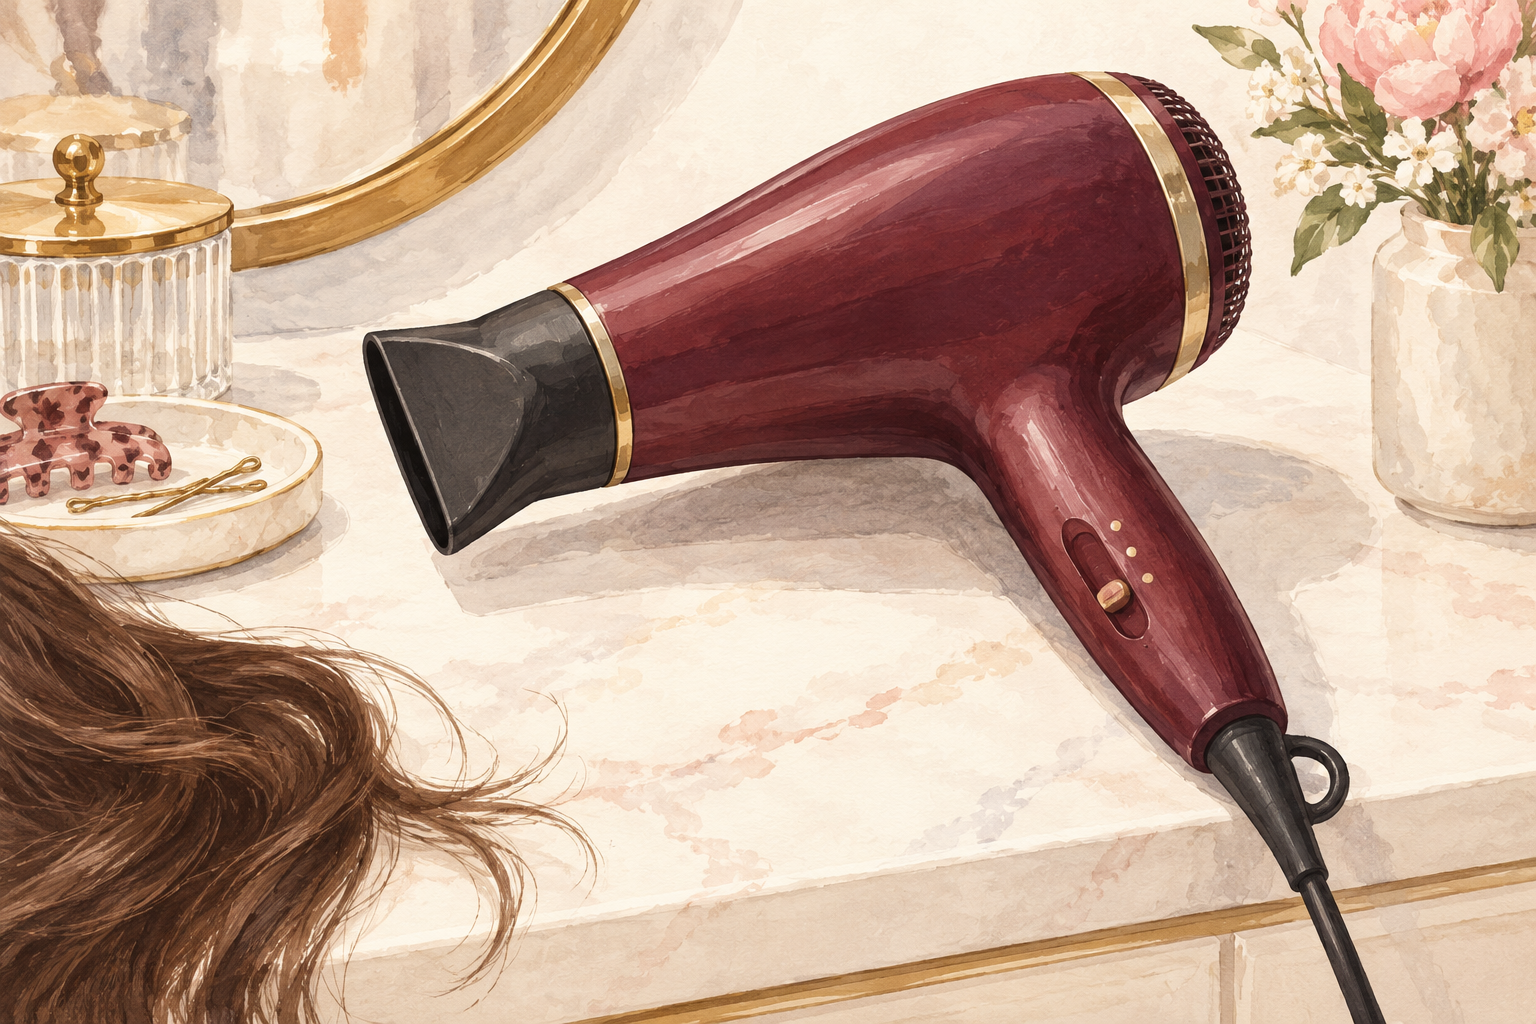
Choose medium heat and medium speed, not the hottest setting. Fine hair can straighten at a lower heat, while thick or coarse hair may need a bit more. Too much heat dries the strands out and makes them rougher and frizzier by the afternoon. If your hair is not straightening, slow down and add more tension rather than turning the heat up. You will get a smoother result with patience, and your ends will stay softer. Check by touch, and if the hair feels hot to the back of your hand, lower the setting. Hair that feels silky and slightly warm is done, while hair that feels crisp has had too much.
9. Lock it in with a cool shot
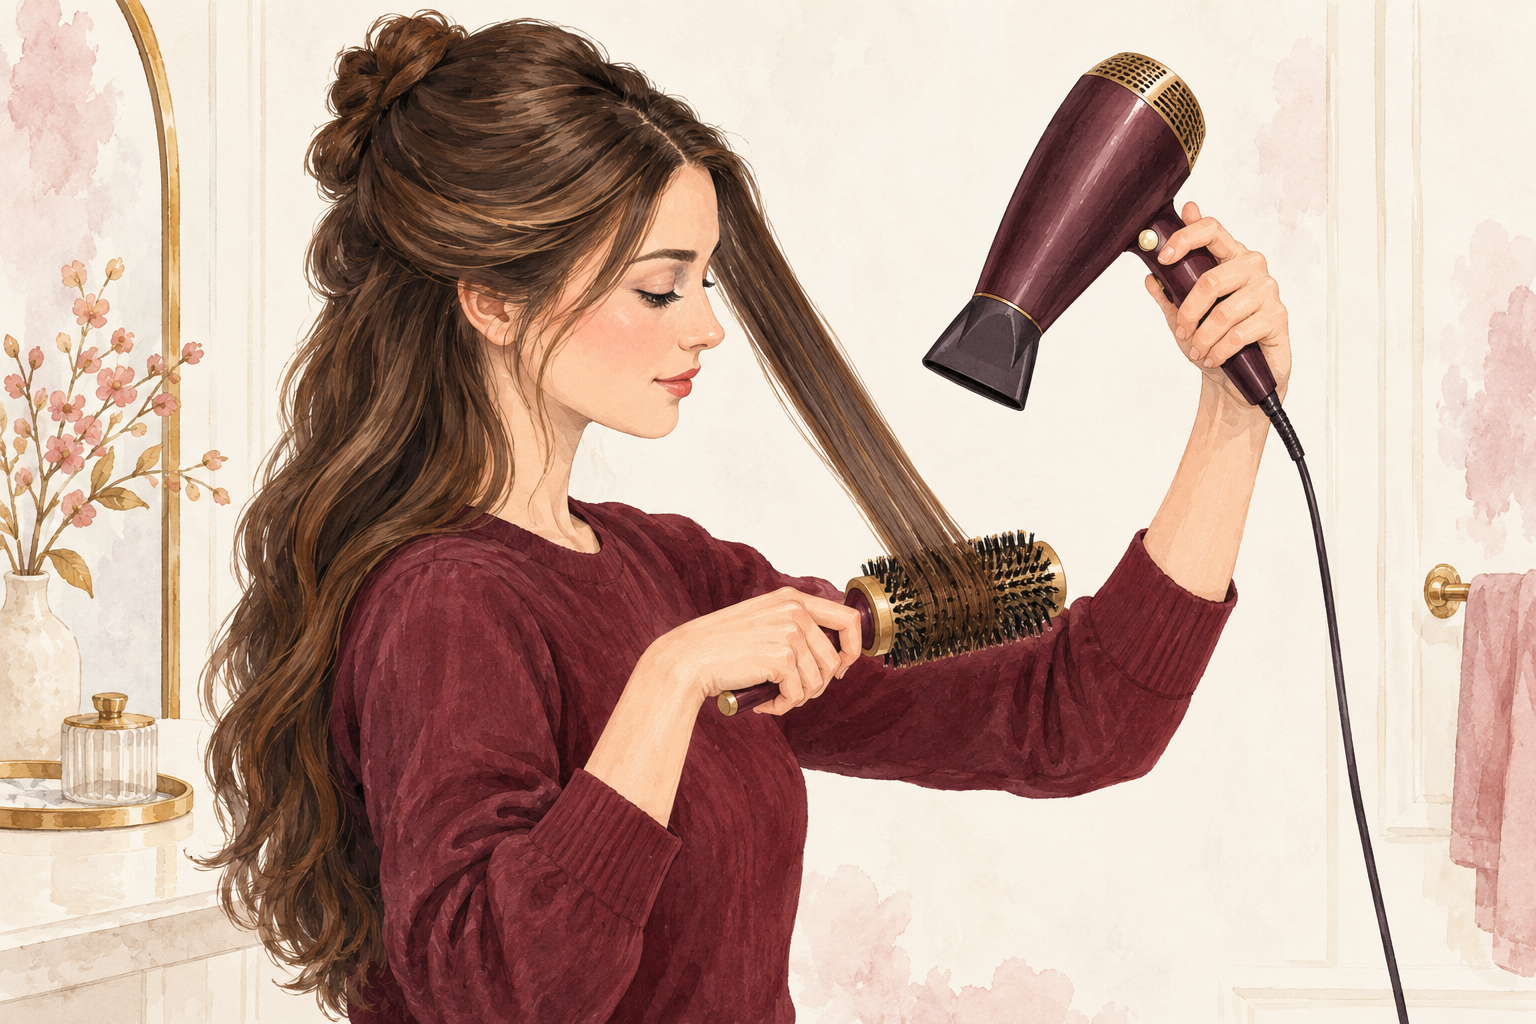
Finish each section with ten seconds of cool air while the hair is still held straight. Heat softens the hair and cool air sets the shape, a bit like letting jelly firm up in the fridge. This single step is what keeps the sleekness from dropping by lunchtime. Keep the section taut until the hair feels cool in your fingers. Release it slowly and let it fall without brushing. The shine you see now comes from the scales lying flat, not from any extra product. Skipping this is the usual reason a smooth blow dry kinks and bends again within the hour.
10. Seal and leave it alone
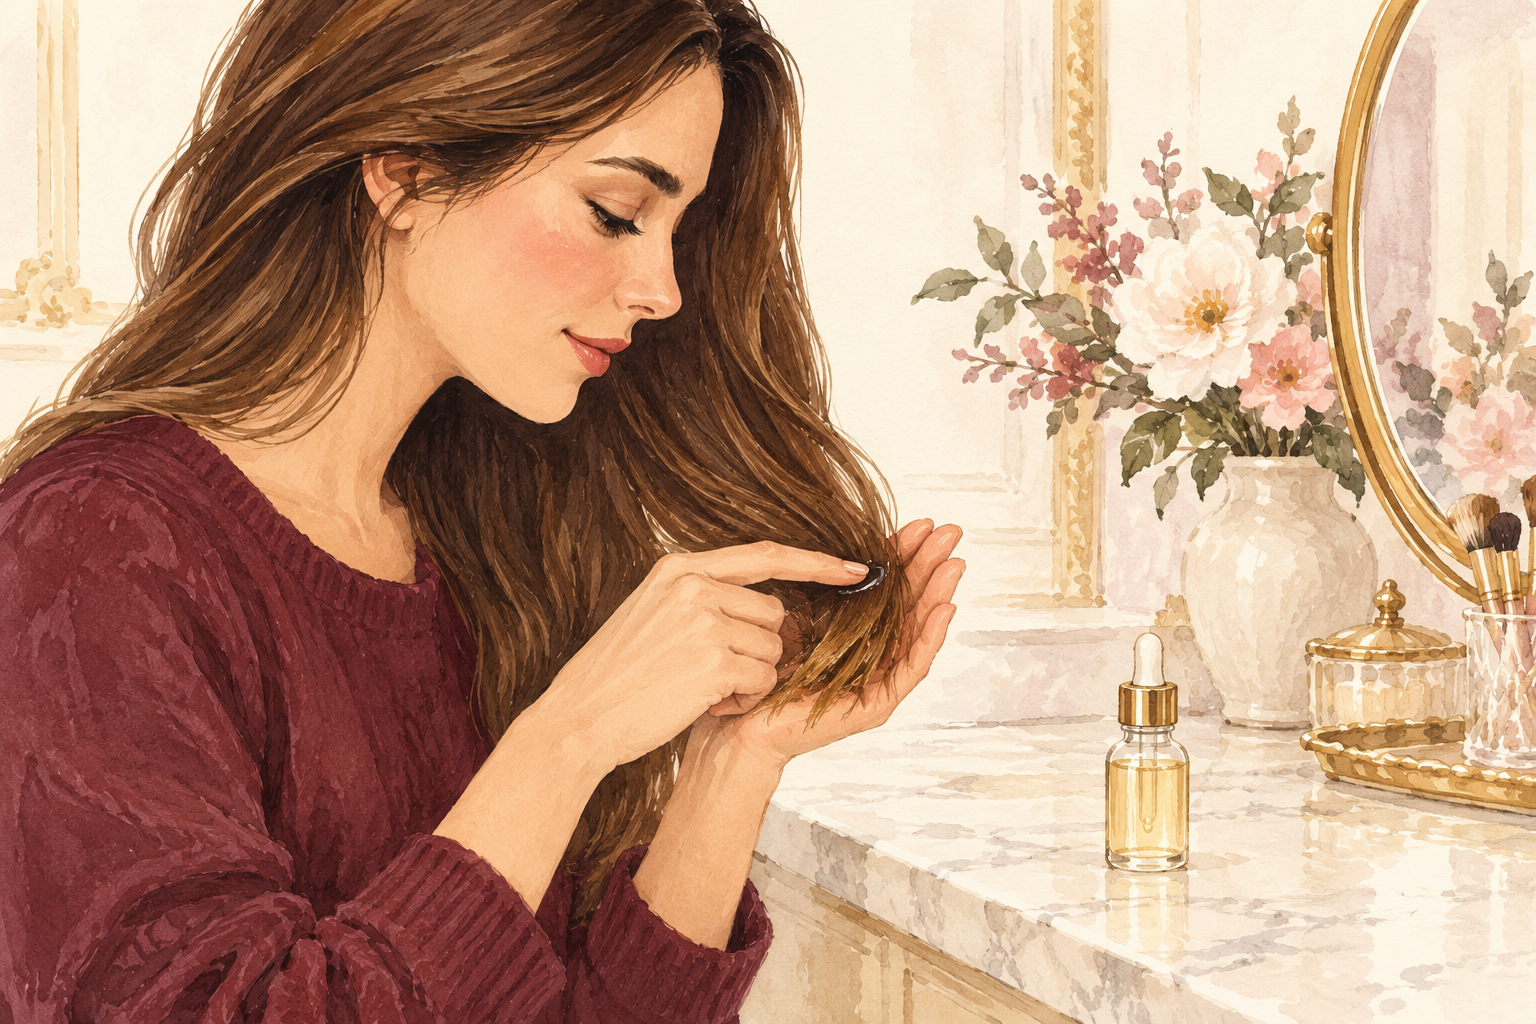
Warm one tiny drop of lightweight serum between your palms and smooth it over the ends only. One drop suits shoulder length hair, and two suit hair past your bra strap. Skip the roots, or they will go flat by afternoon. Then keep your hands out of your hair, because every touch adds oil and wakes up the frizz. Tuck it behind your ears once and leave it. If the day is humid, add a very light mist of flexible hold spray from a distance. Wait until your hair has fully cooled before you style it, and avoid running a brush through again.
11. Swap the habits that cause frizz
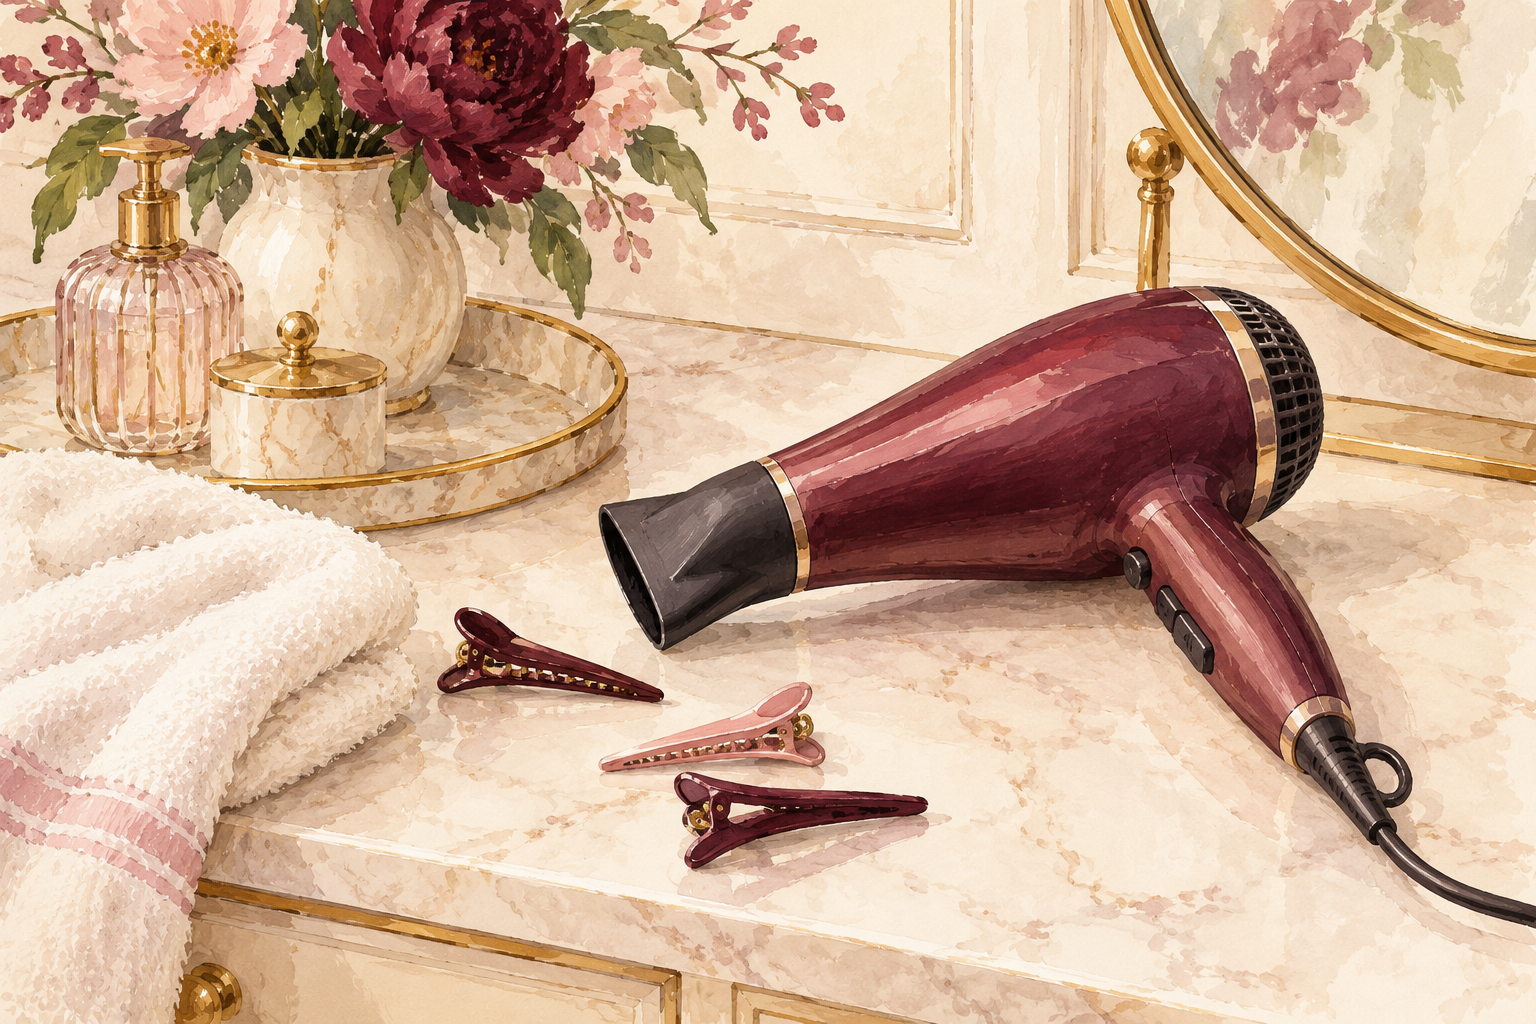
Drying too close, drying wet hair on high heat and rough towelling are what usually cause frizz. Move the dryer back to a hand’s width and keep it moving, since holding it still burns one spot. Use smaller sections when the hair is thick. If a section still puffs up after drying, wet it lightly with a spray bottle and do it again with more tension. A second pass on a damp section beats a fourth pass on a dry one. Always finish with a cool shot. A full head should take twenty to thirty minutes, and rushing it is where frizz sneaks back in.
12. Protect the finish and go easy on heat
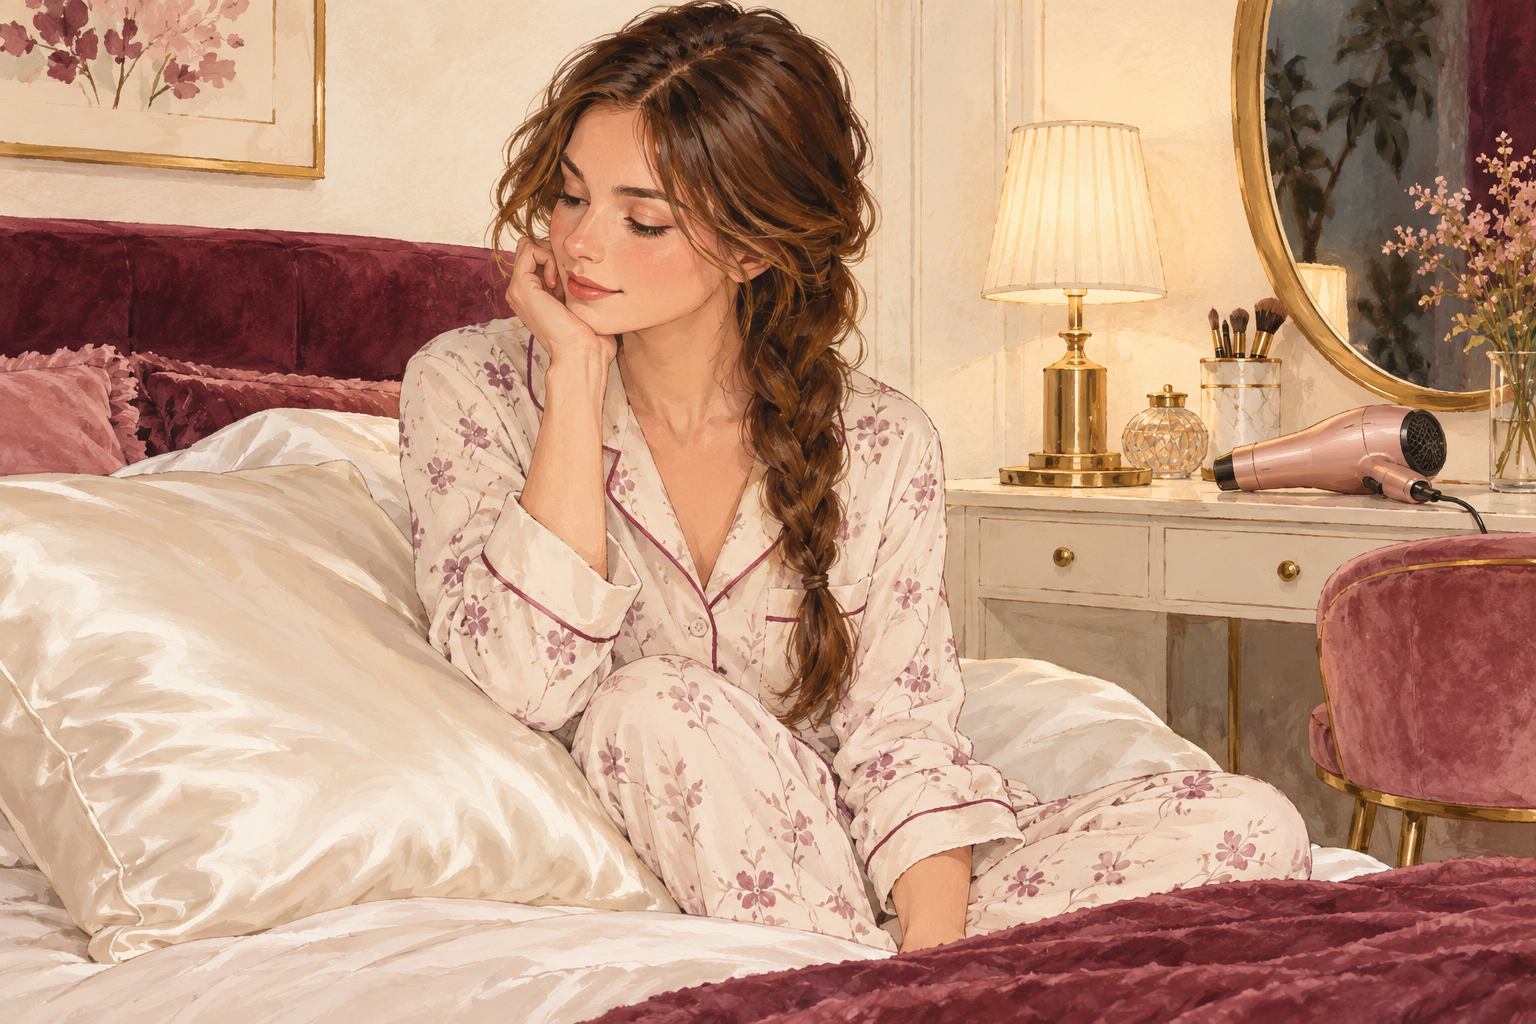
Sleep with your hair in a loose braid or a satin bonnet, and wait two to three days before the next blow dry. A good blow dry can last three to four days if you keep it dry and gentle. Brushing it once a day is enough. If your ends look rough or split, take a break from heat for a week and give them a deep conditioner. A little dry shampoo at the roots on day three stretches the finish without more heat. Learning how to blow dry hair straight takes a few tries, and your second go is always faster and neater than your first.
Complete the Routine: How to Blow Dry Hair Straight This Weekend
On your next wash day, section the hair, add the nozzle and finish every section with a cool shot. For more ideas, read about blow dry hair and how to blow dry hair with a round brush.