You open a box of press ons and the thumb is too wide, the pinky swims, and two of them are too long to type with. That is when you start wondering how to make press on nails that match your own hands. Here are 12 steps, from measuring to storing, so start at number one tonight.
1. Measure every nail across its widest point
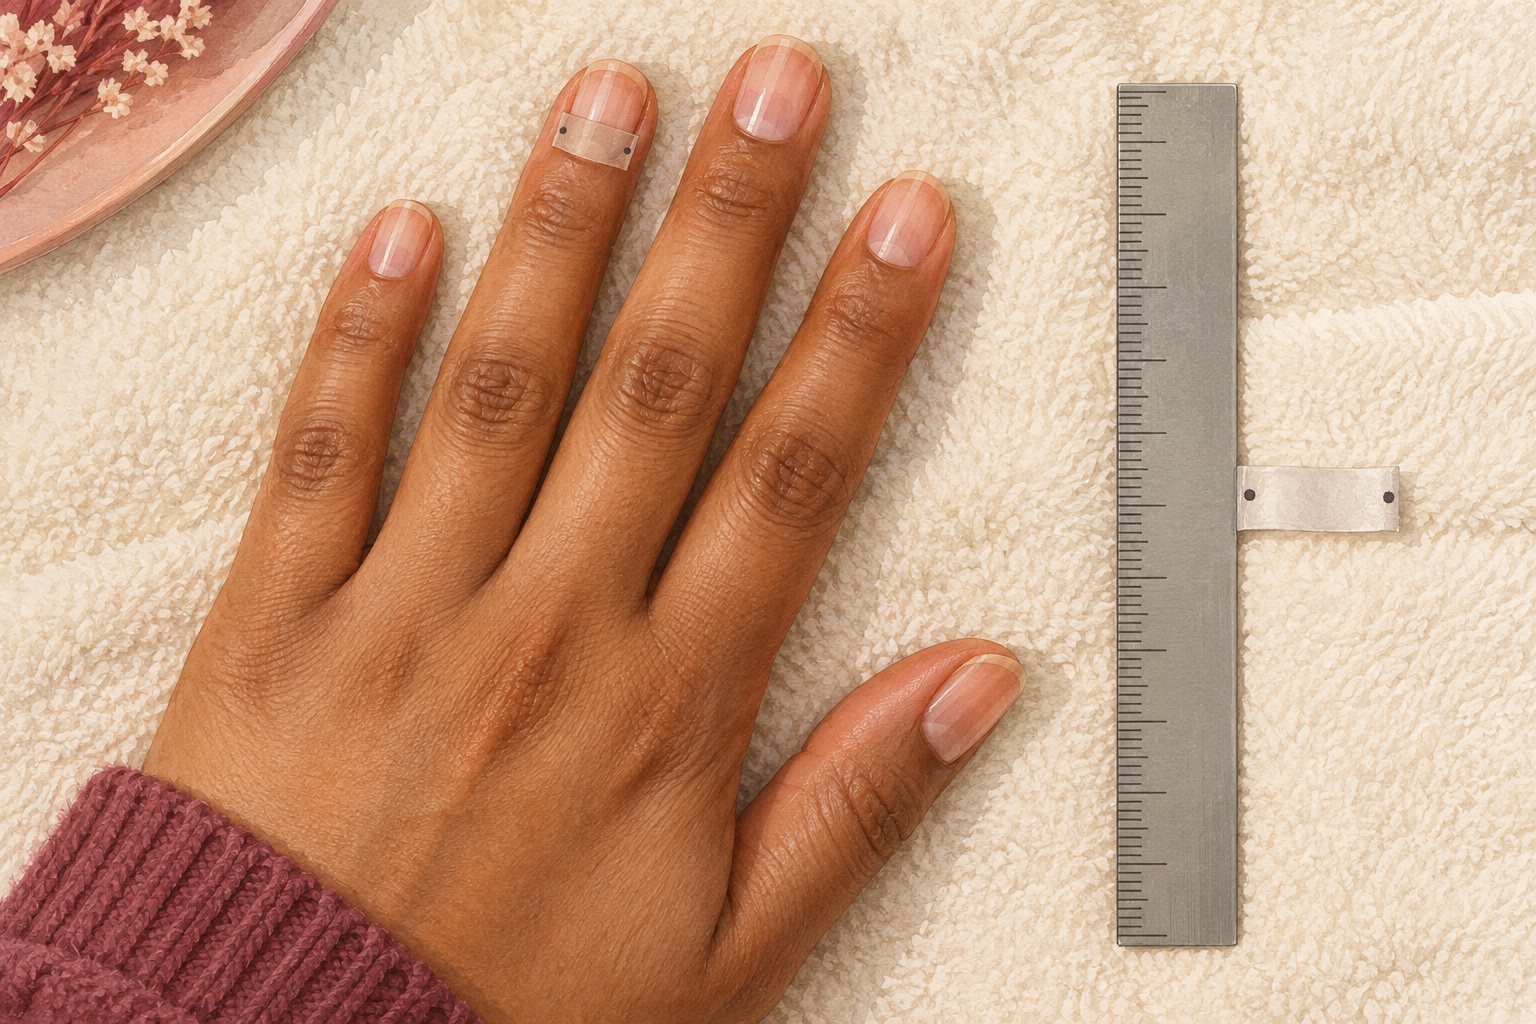
Press a short strip of tape across one nail, mark both side edges with a pen, peel it off and stick it flat on a ruler. Do all ten and write the millimetres on the tape, because your thumb and pinky will not match what you guess. Measure the nail itself and not the skin around it. A flat ruler reads a curved nail slightly small, so treat each number as a starting point. Stick the strips in a row on a sticky note, and keep it for every set you make afterwards. Measure when your nails are clean and dry, with your fingers relaxed rather than spread.
2. Match each nail to the nearest blank tip
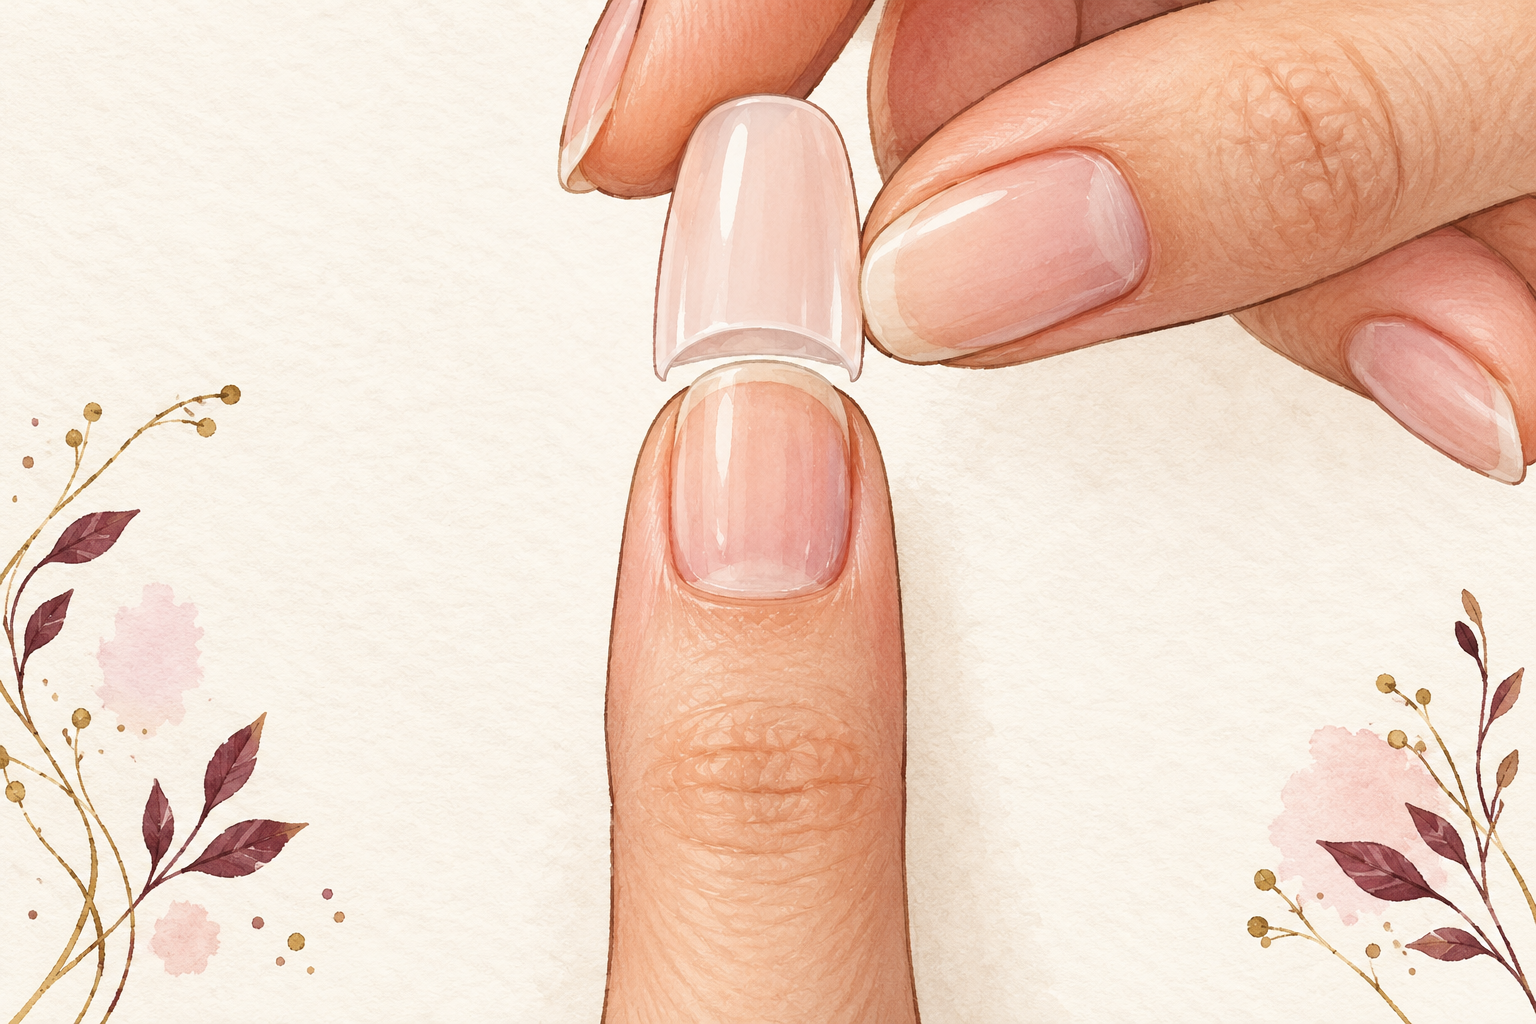
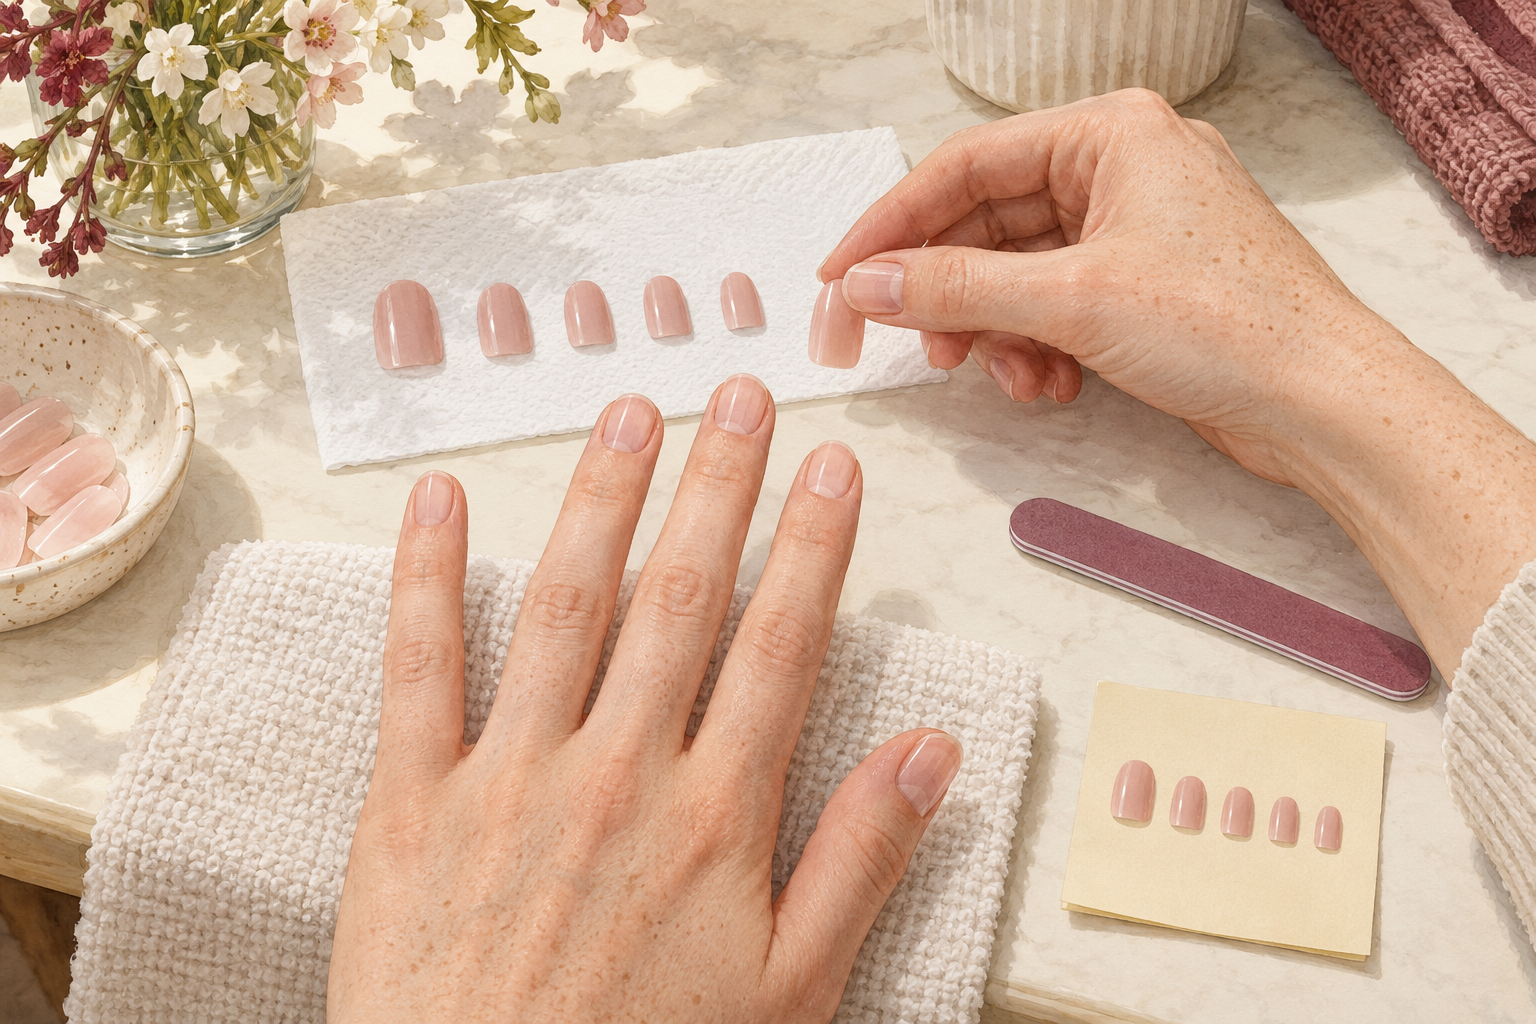
Lay the blank tips out in size order and hold each one against its nail, with no glue yet. You want it to cover the nail from one side wall to the other without touching the skin. If you land between two sizes, take the larger and file it down, because you can remove plastic but you cannot add it. Write which size goes on which finger on the same sticky note. Next time this step takes five minutes, which is most of how to make press on nails quickly. If a size looks tight on the thumb, always try the next size up first.
3. File the sides of a tip that runs wide
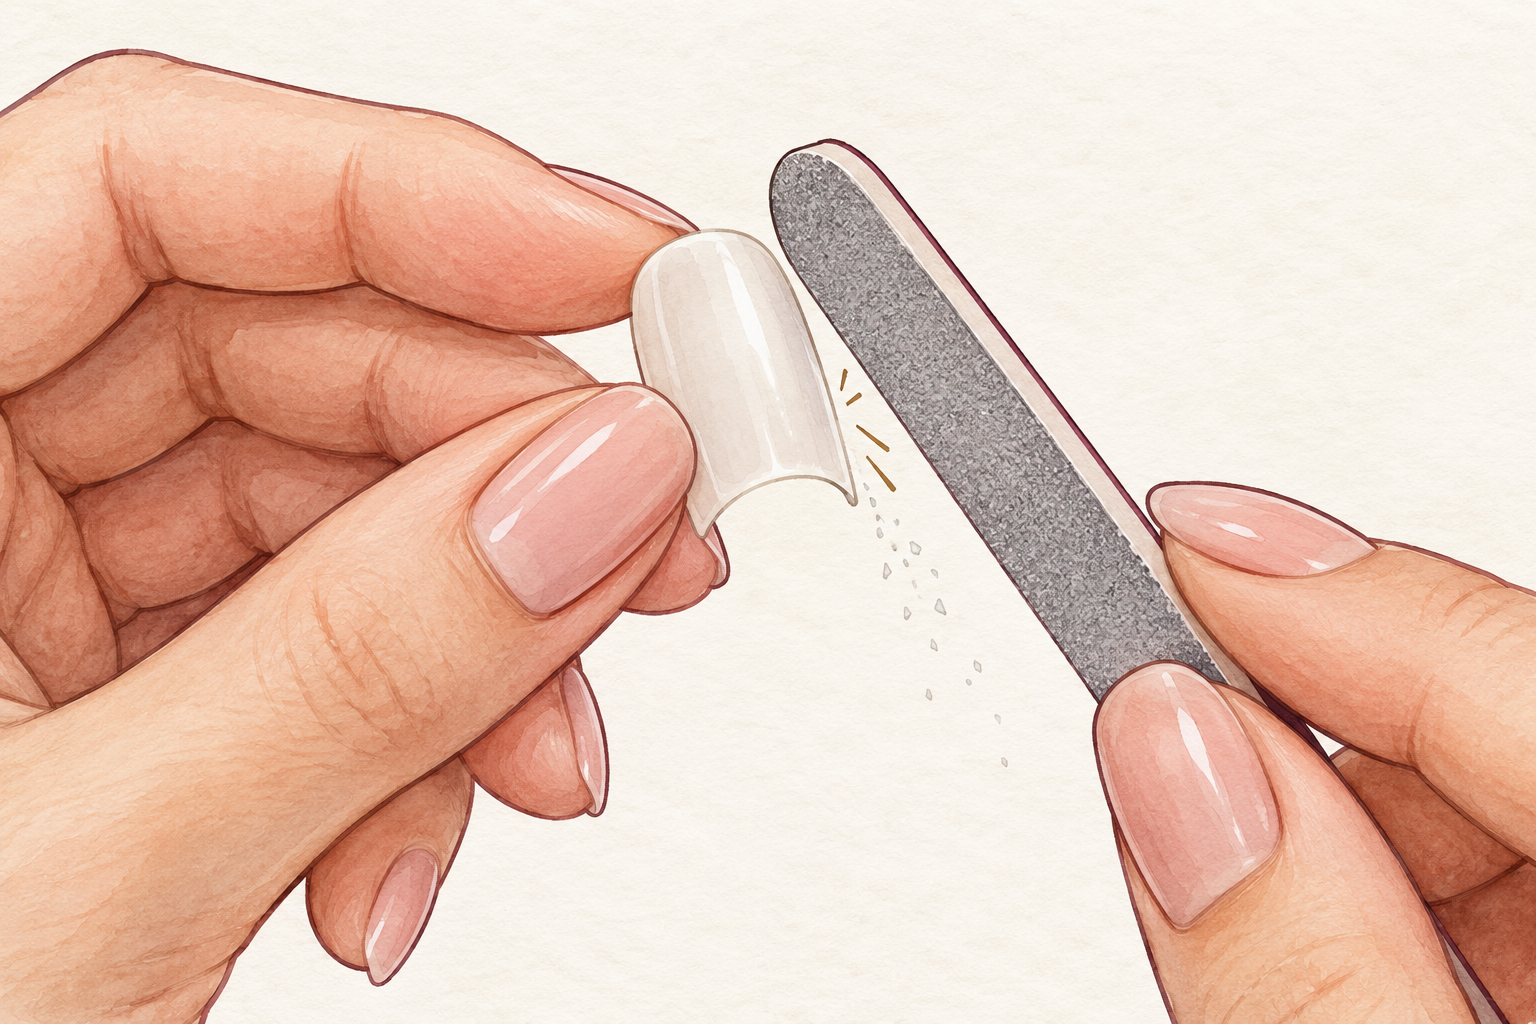
Hold the tip up to your nail, mark the overhang with a fine pen, and file only that side edge. Use short strokes in one direction and test the fit every few strokes. Filing too far leaves a gap on one side, and a gap is exactly where lifting begins. If you overshoot, set that tip aside for a smaller finger and start a fresh one. Wipe the plastic dust away with a dry pad as you go, so you can see the pen line clearly. A gentle slope at the edge fits the curve of the nail better than a hard square cut.
4. Choose a shape and length you can live with
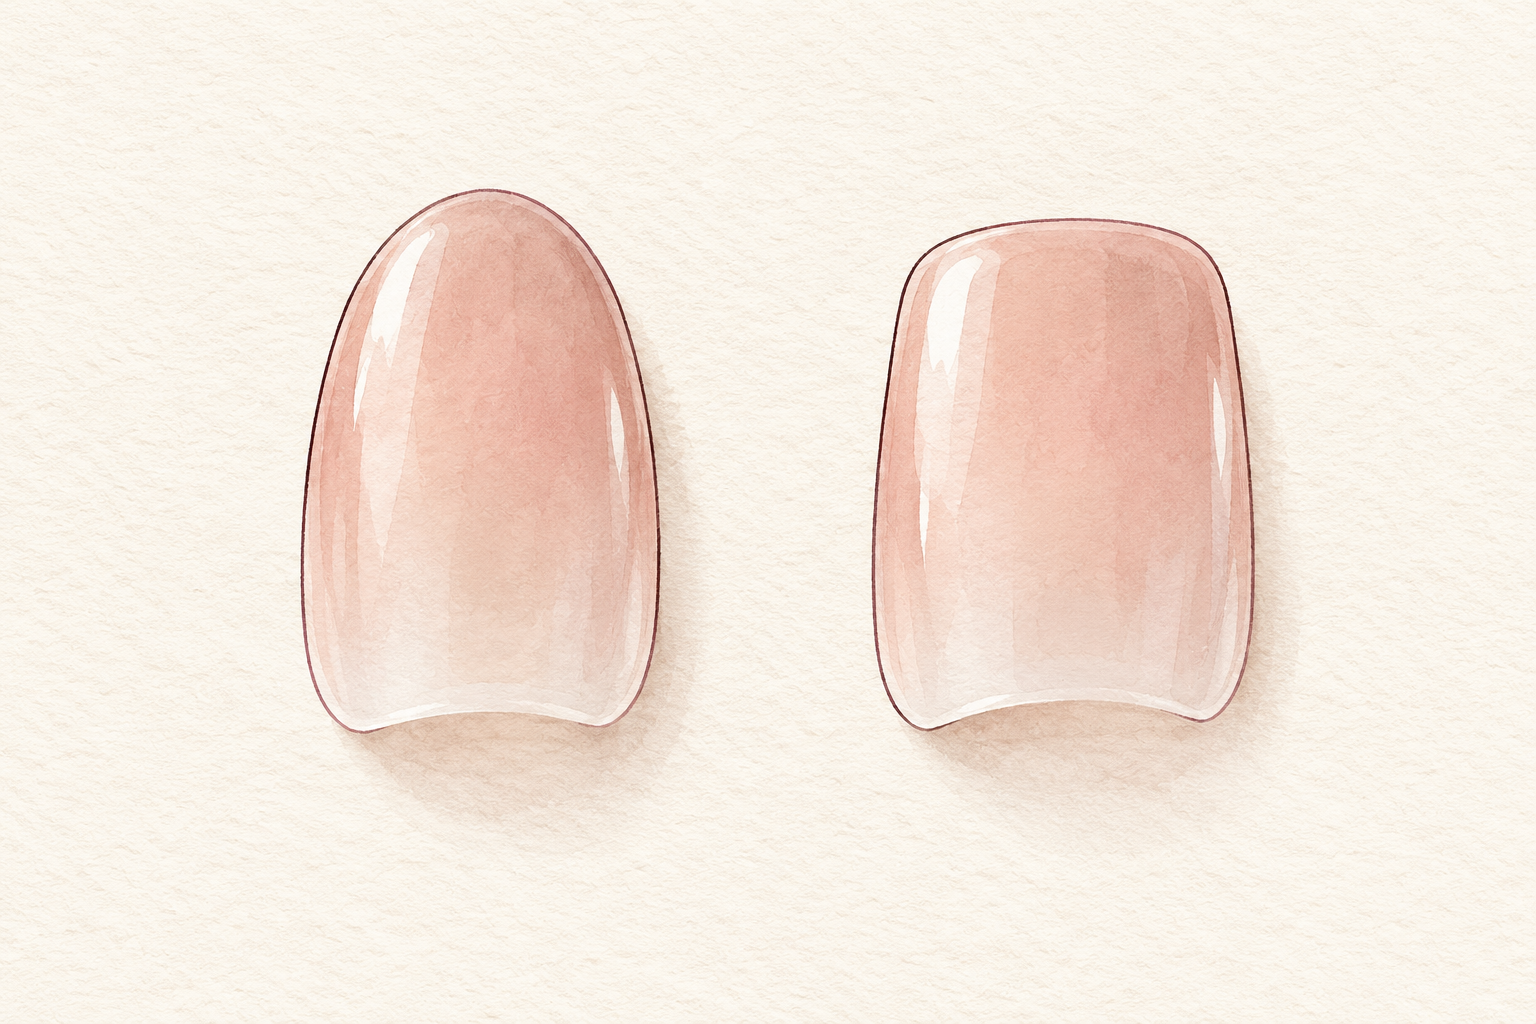
Keep your first sets short, because a long free edge acts like a lever and pries the tip off. A short oval or squoval suits most nail beds and snags less than a point. Cut the length first, then file the shape, then run a light pass over the sharp corners so nothing scratches your skin. You can always go longer on set three, once you trust your fit. A set you can type, wash and open doors in is worth more than a dramatic one that pops off by Friday. Round the free edge a little more than you think, since sharp corners are the first things to catch.
5. Roughen the gloss and wipe away the dust
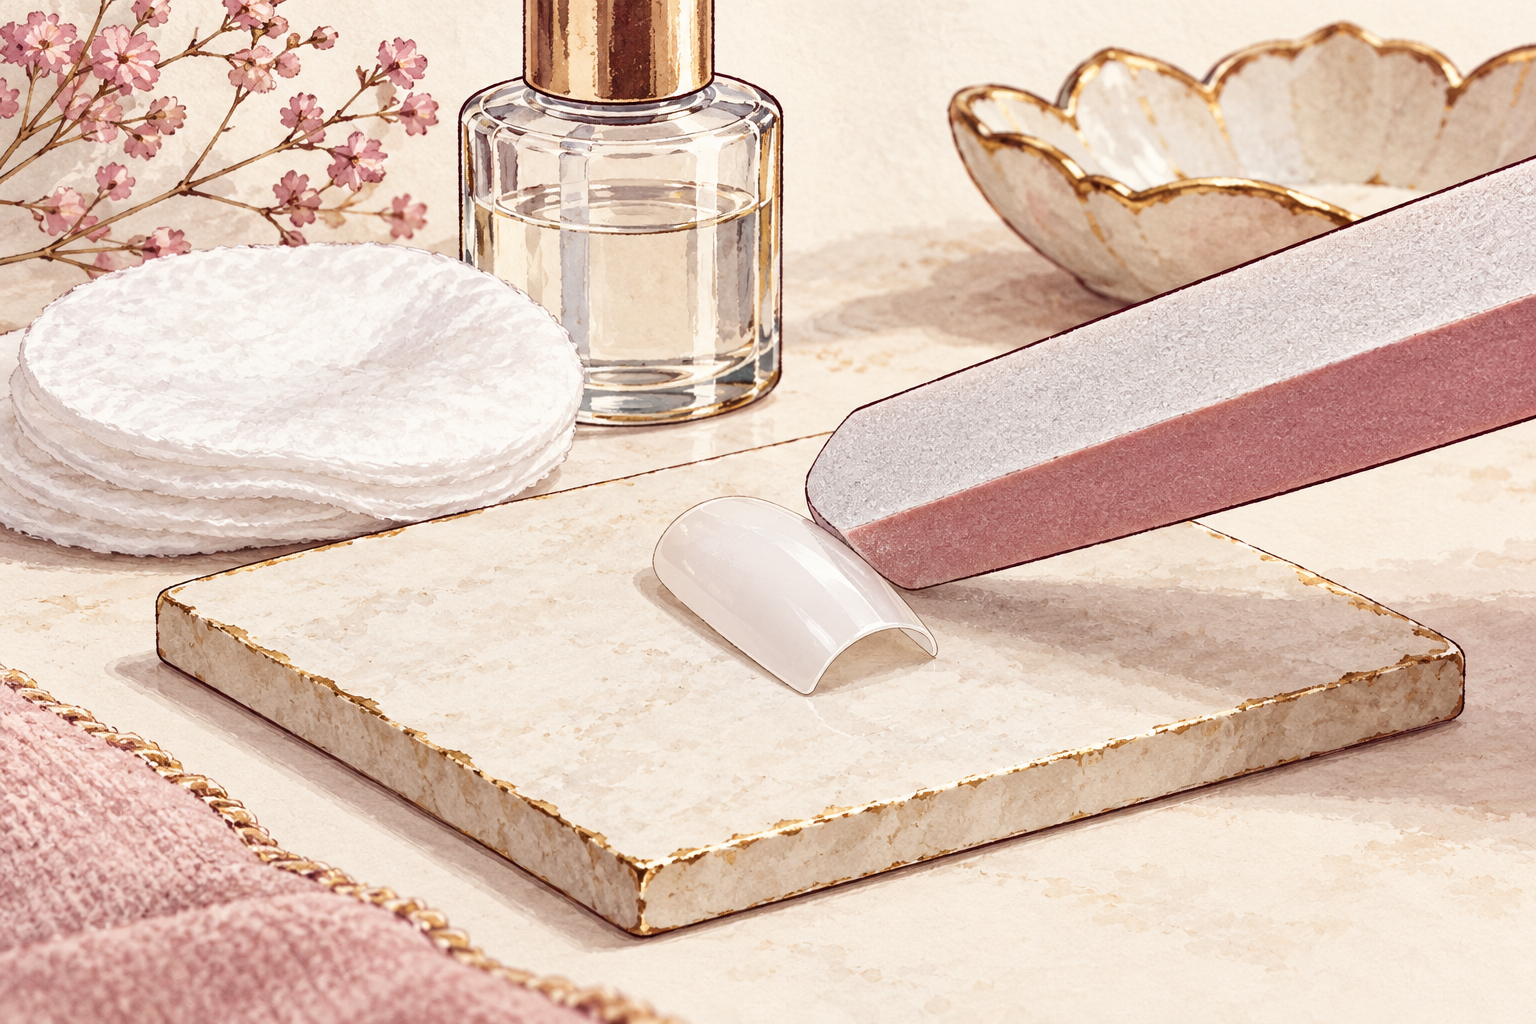
Buff the top of each blank in a few light passes until the shine goes dull. Most blanks arrive glossy, and polish slides on glossy plastic. Then wipe the dust off with a cotton pad and a little rubbing alcohol, with a window open and no flame near. Go easy on pressure, because scratching hard leaves lines that show through sheer color. Let the alcohol dry for a minute before you paint, and handle the tips by the edges so your fingers do not leave oil on them. Plastic dust left behind shows up as tiny gritty specks under the color.
6. Stand the tips up on putty
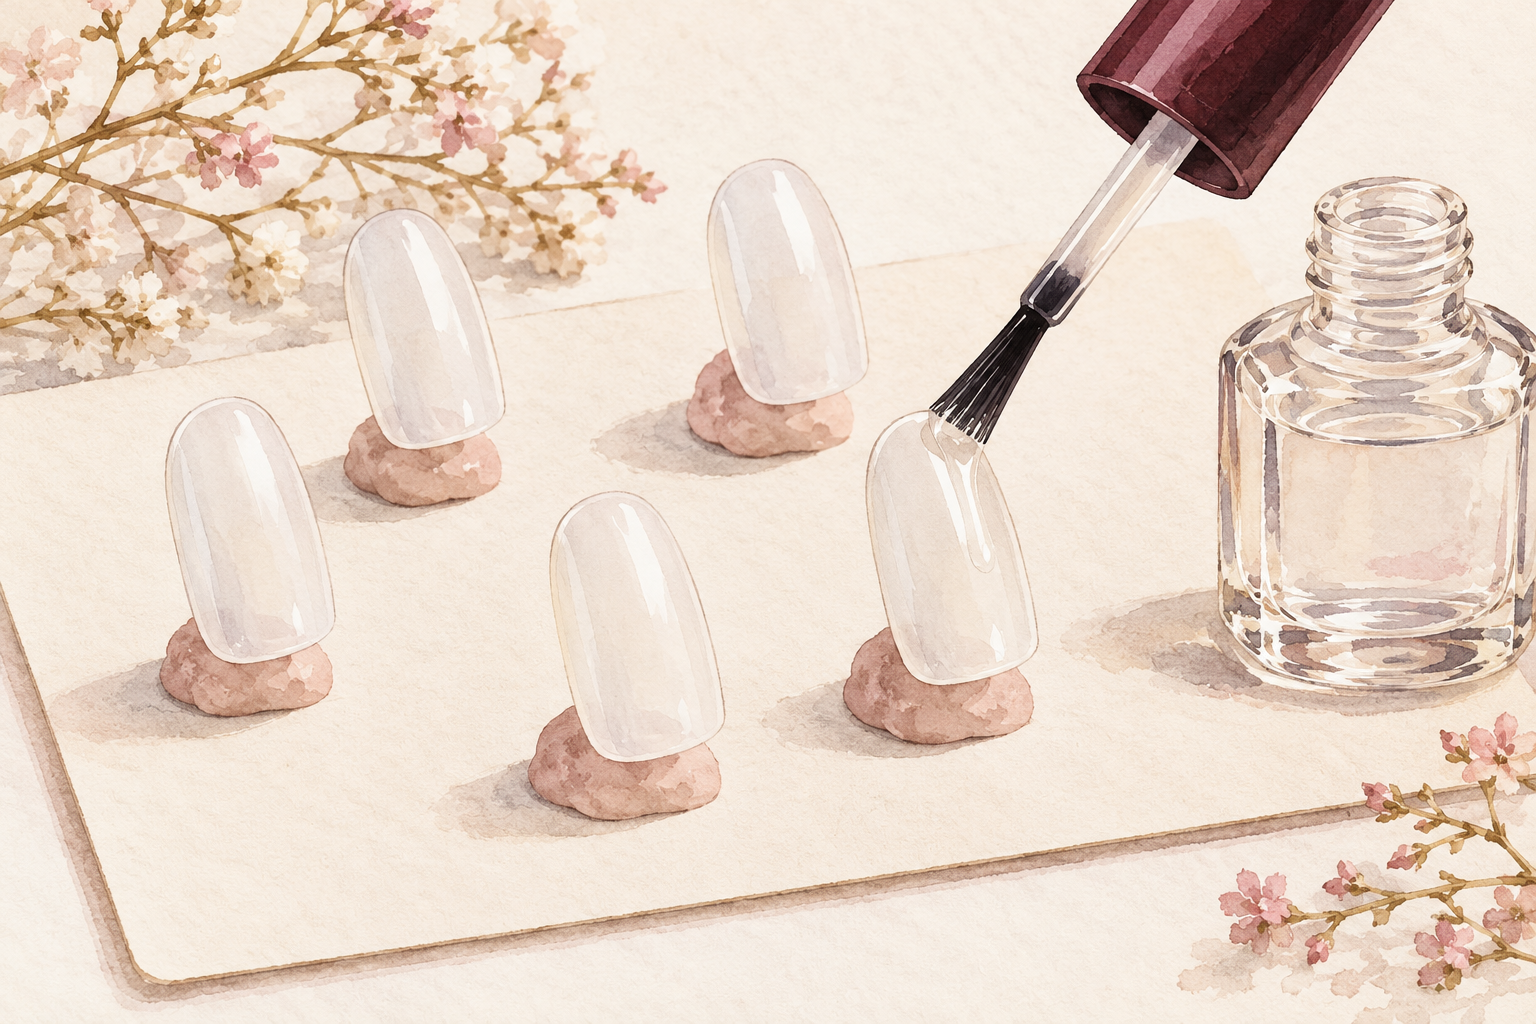
Press each tip onto a lump of reusable putty on a piece of card, so it stands up without you holding it. This leaves both hands free and keeps your fingerprints off the surface. Paint one thin coat of base, and let it dry for a full minute. Number the putty lumps with a pen so each tip finds its own finger again. It feels fussy for the first two tips and brilliant by the fifth. Keep a small cup of remover and a brush nearby for any slips on the edge. Two minutes of setting up here saves twenty minutes of fixing later.
7. Paint thin coats and wait between them
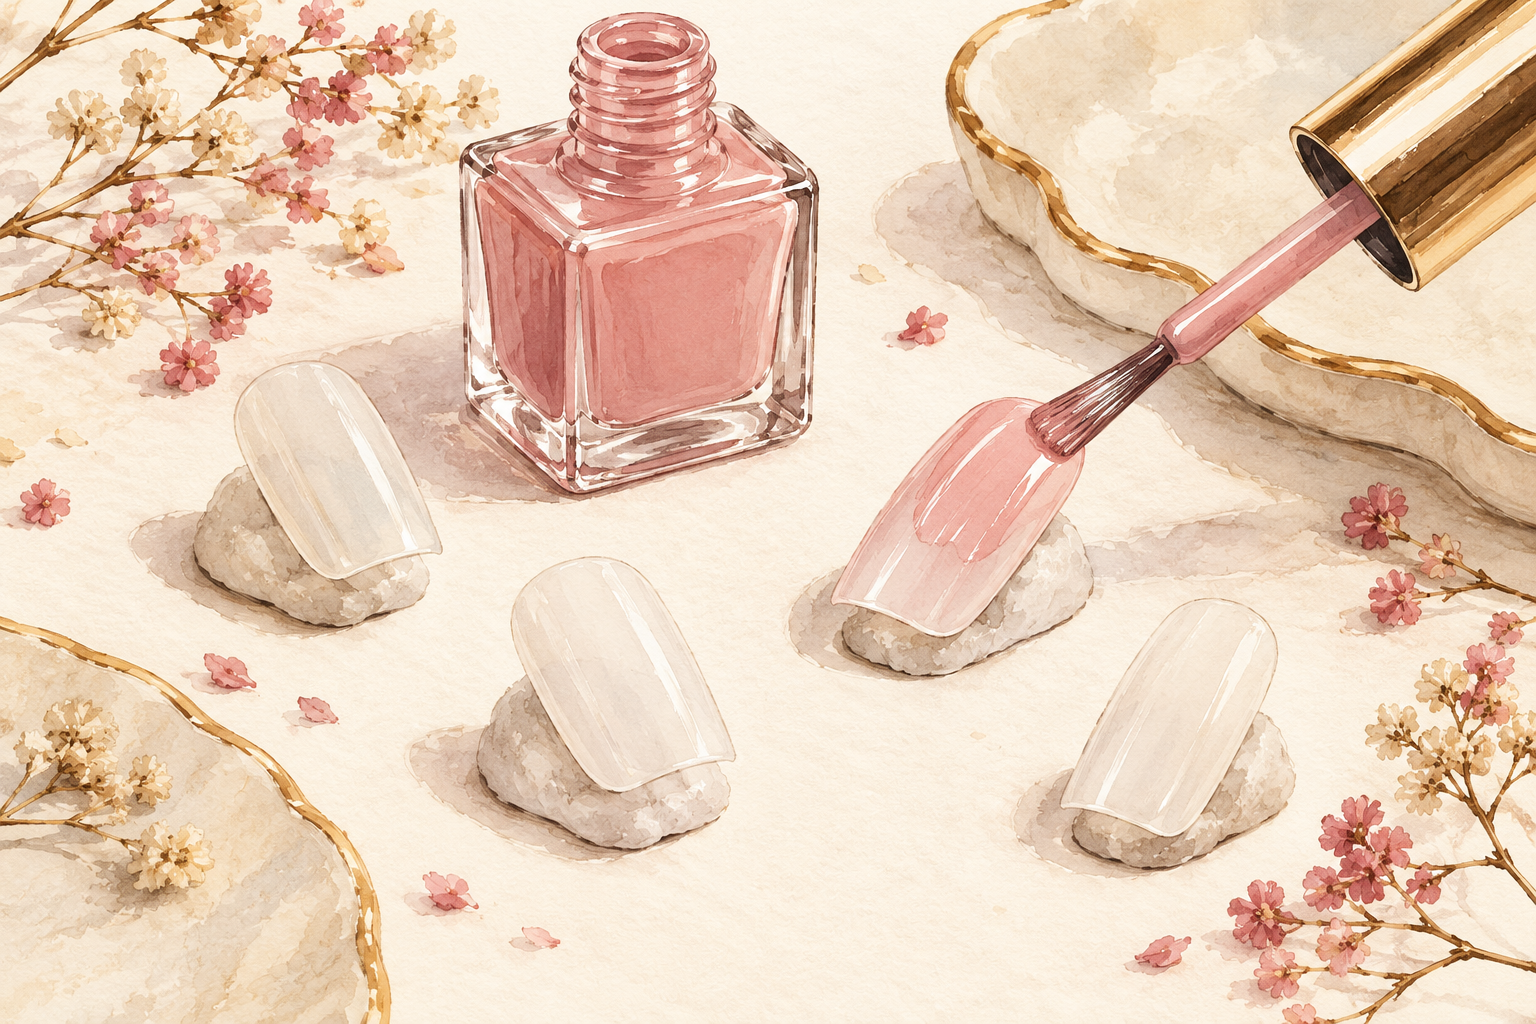
Brush on two or three thin coats, waiting until each one is touch dry before the next. Thick coats stay soft in the middle and dent when you press the tip on. Wait a full minute between layers even if the surface looks dry. Stop when the color looks even, and do not keep adding. Keep any nail art for the very end, after the color has hardened, and keep the brush light so the tip does not move on its putty. A tidy base coat saves you from sheer streaks later. If a coat looks streaky, leave it alone and fix it with the next coat. Keep this brush control in mind when you move on to how to do nails at home next.
8. Seal the edge and let the set harden overnight
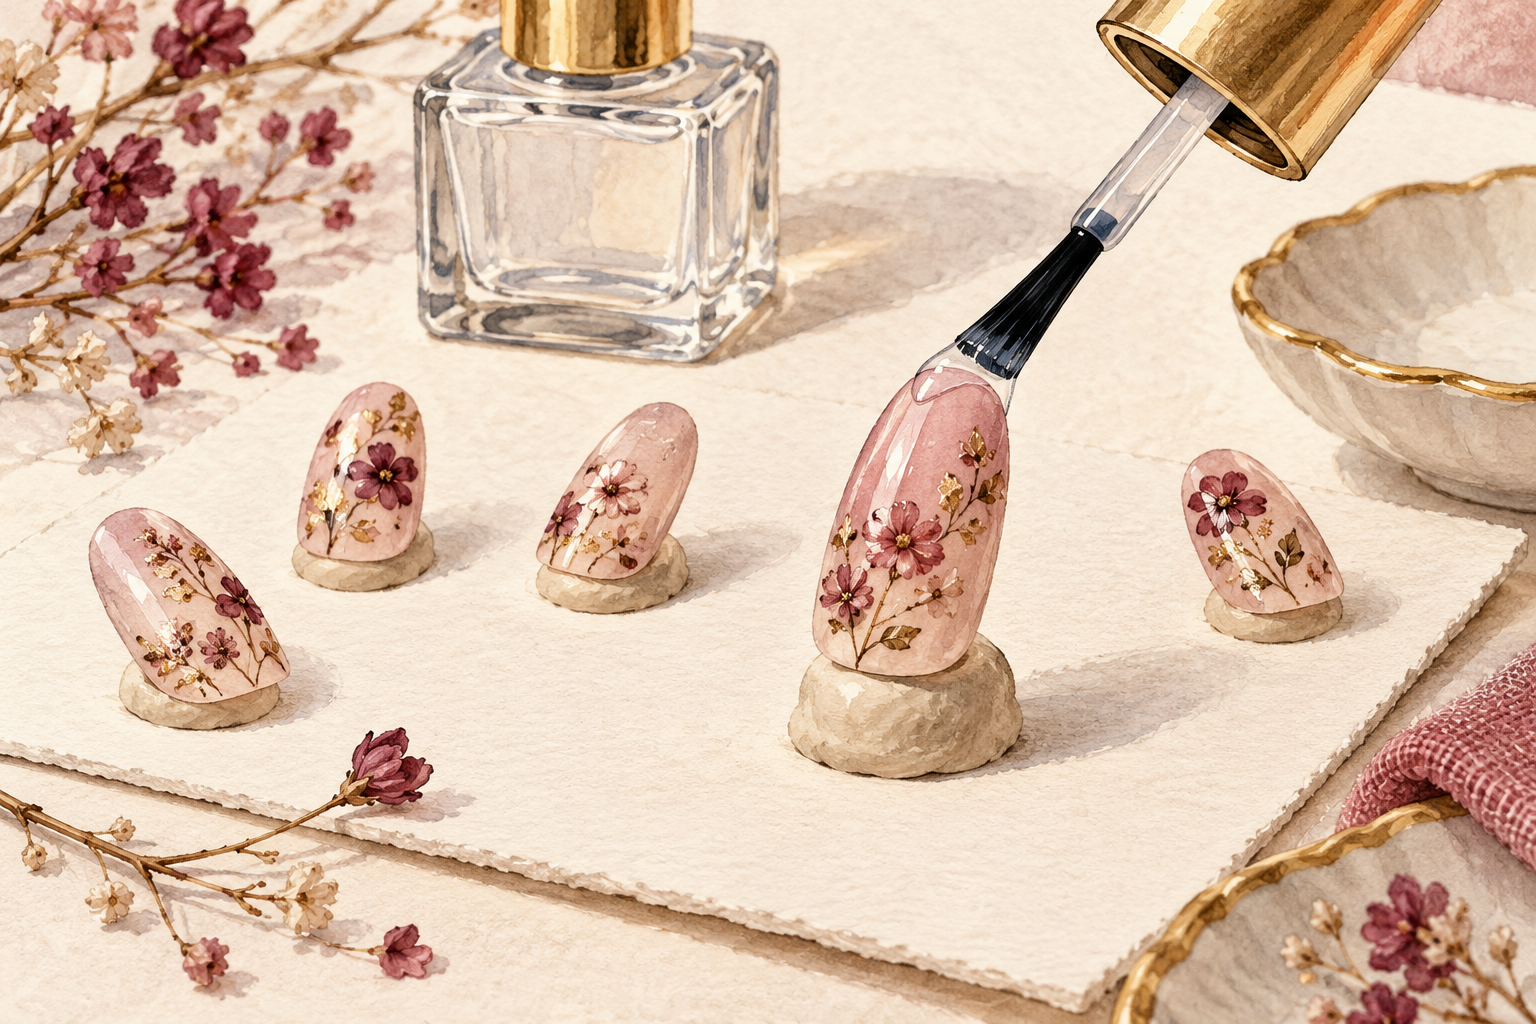
Run the top coat brush along the very end of each tip as well as across the top. The edge is where chips begin, and it is the step most people skip. Then leave the set alone, ideally overnight, because polish that feels dry can stay soft underneath. A set that has fully hardened wears longer and survives removal better. If you are in a hurry, you are trading wear time for speed, so save the rush job for a one night event. Do not stack the tips while they harden. Leave them standing on the putty, and you will wake up to a hard, glossy set.
9. Choose adhesive tabs or glue for this set
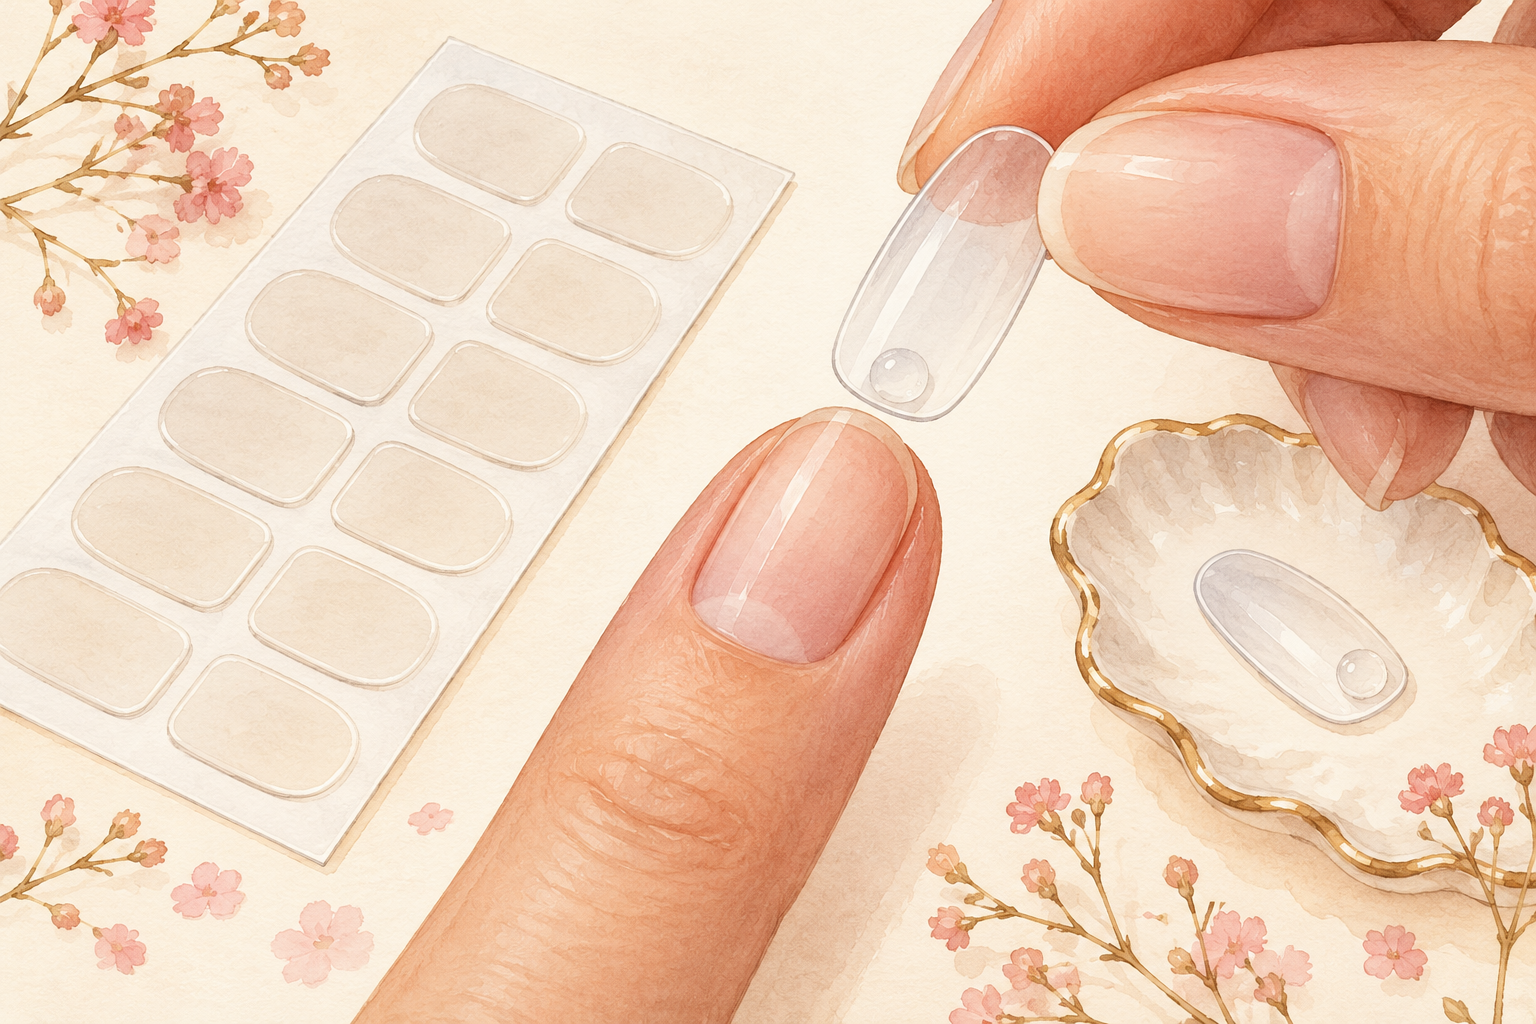
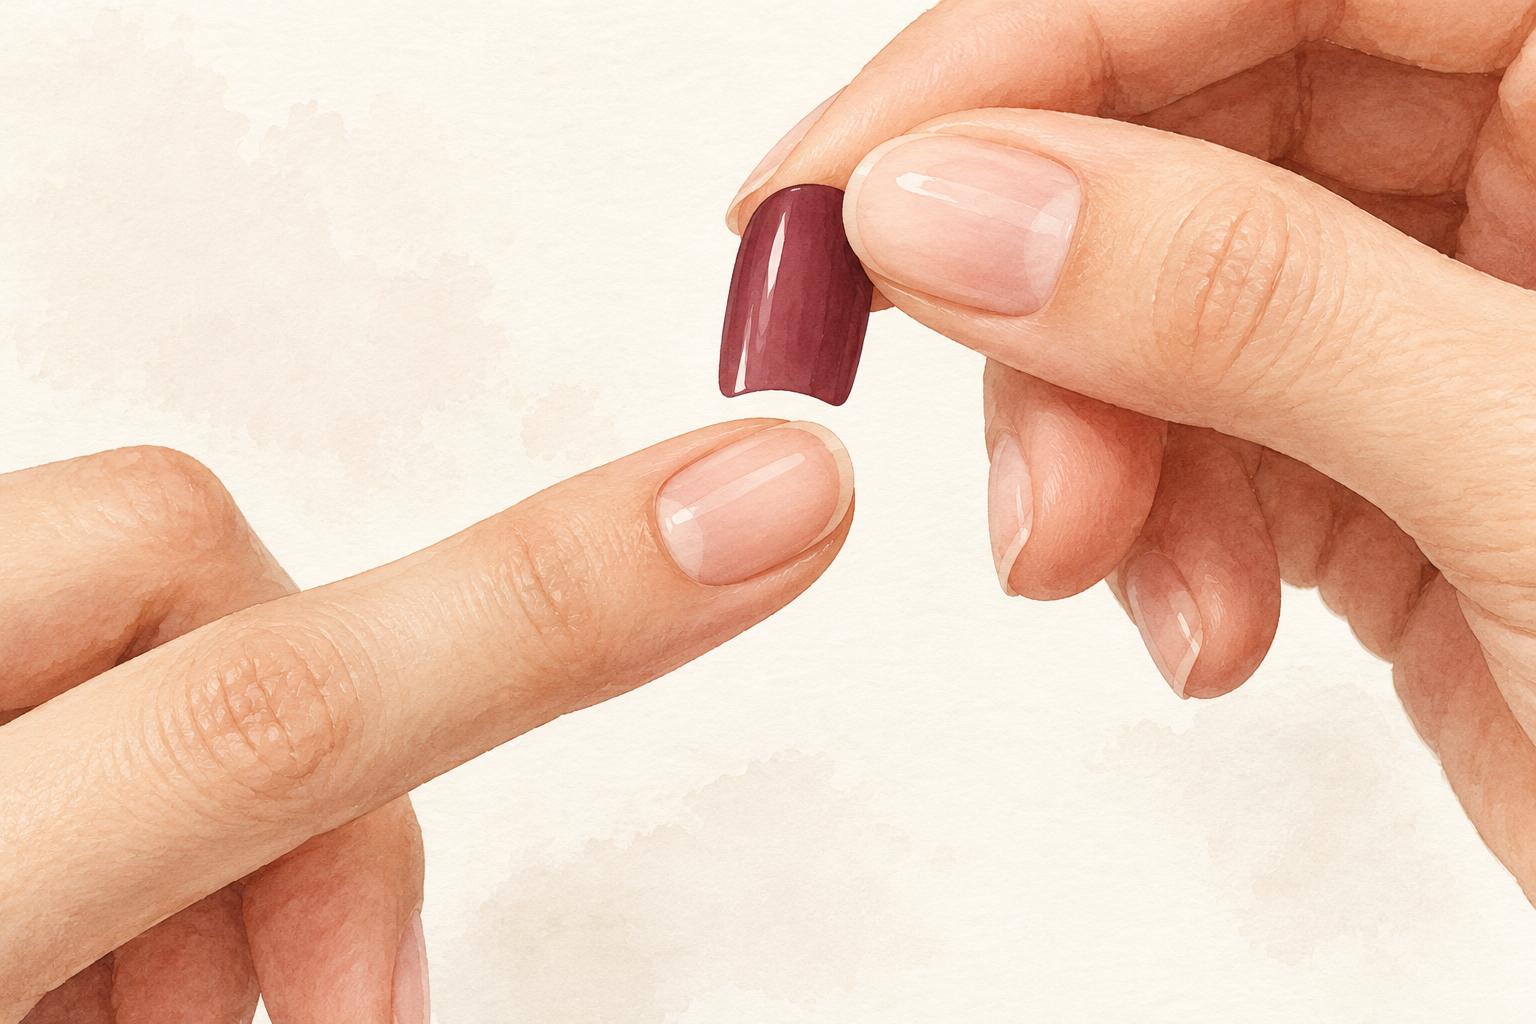
Pick tabs for sets you want to keep, and a thin dot of glue for a one night event. Tabs are gentler and let you reuse a set several times, but they hold for a few days at best. Glue lasts longer, though it makes removal harder and you may not get the set back. Press from the cuticle end down, and hold each nail for thirty seconds. If the skin around a nail turns itchy or red, take that set off, because a glue allergy can show up at any time. Rest your nails for a week before trying again. Before the next set, how to apply press on nails is worth a quick reread.
10. Fix the slips that make a set pop off
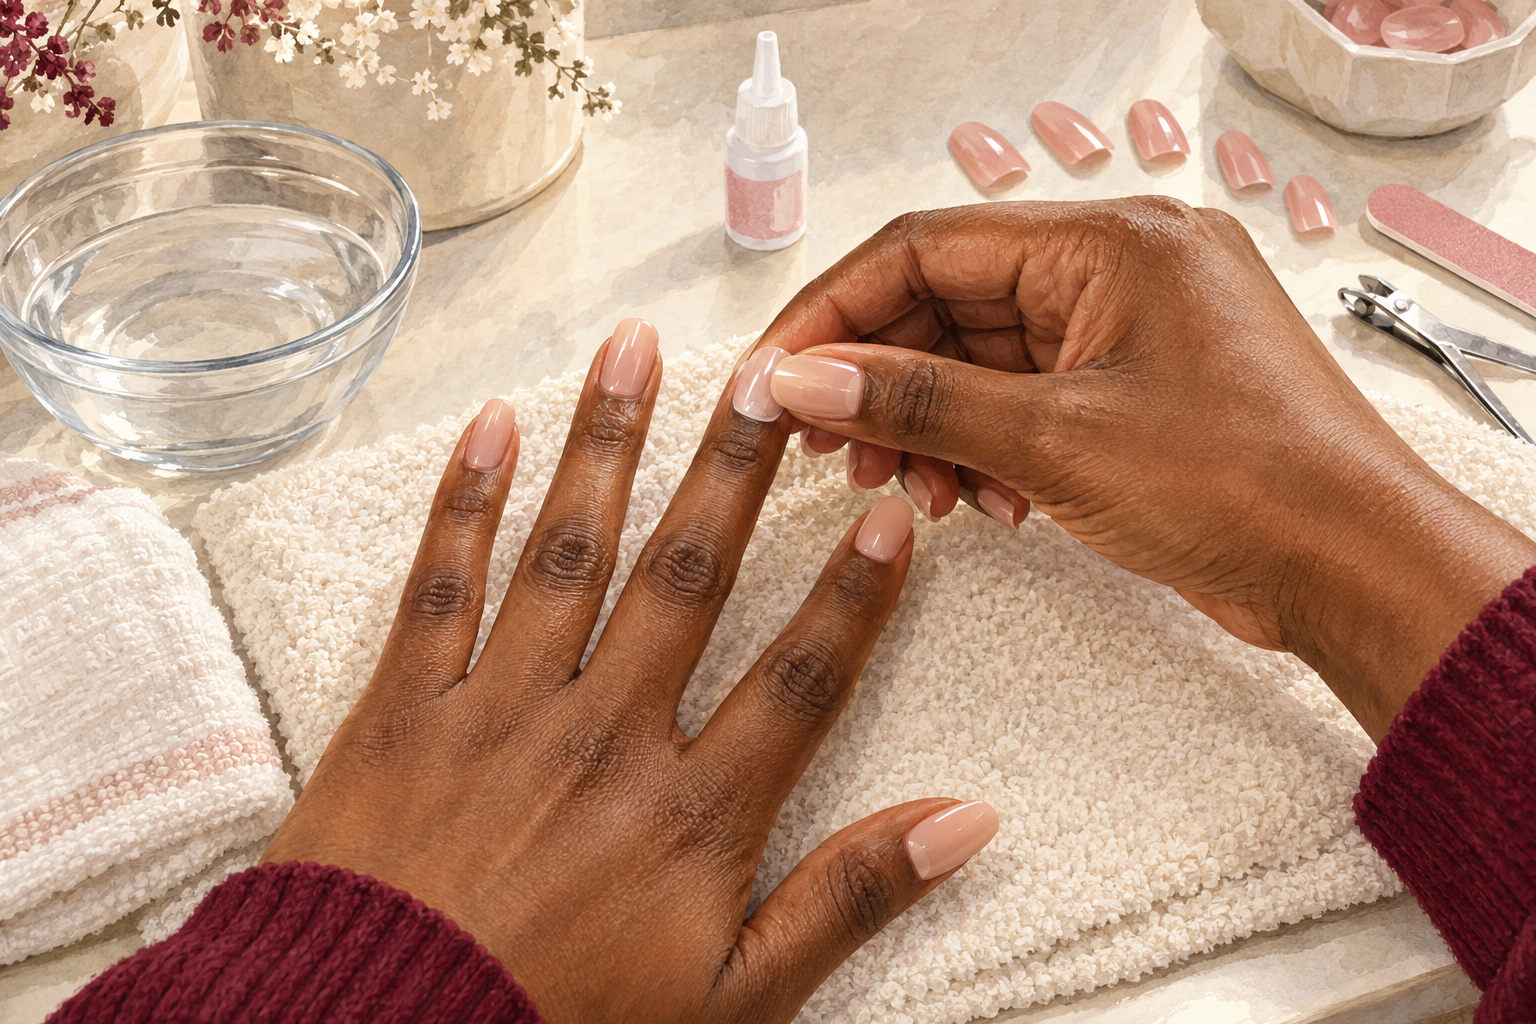
Wash and dry your nails first, because glue over oily skin makes tips pop off. Pressing from the middle traps air at the edges, so line up at the cuticle and roll down. Soaking your hands in the first hour weakens the bond, so keep them dry. Tips that are too long snag on sleeves and lift. Each fix is small, and together they add days to a set. If one tip lifts early, press it down with a fresh dot of glue and hold it for a minute. Keep a tiny file in your bag for any rough edge that catches.
11. Soak in warm soapy water and lift with oil
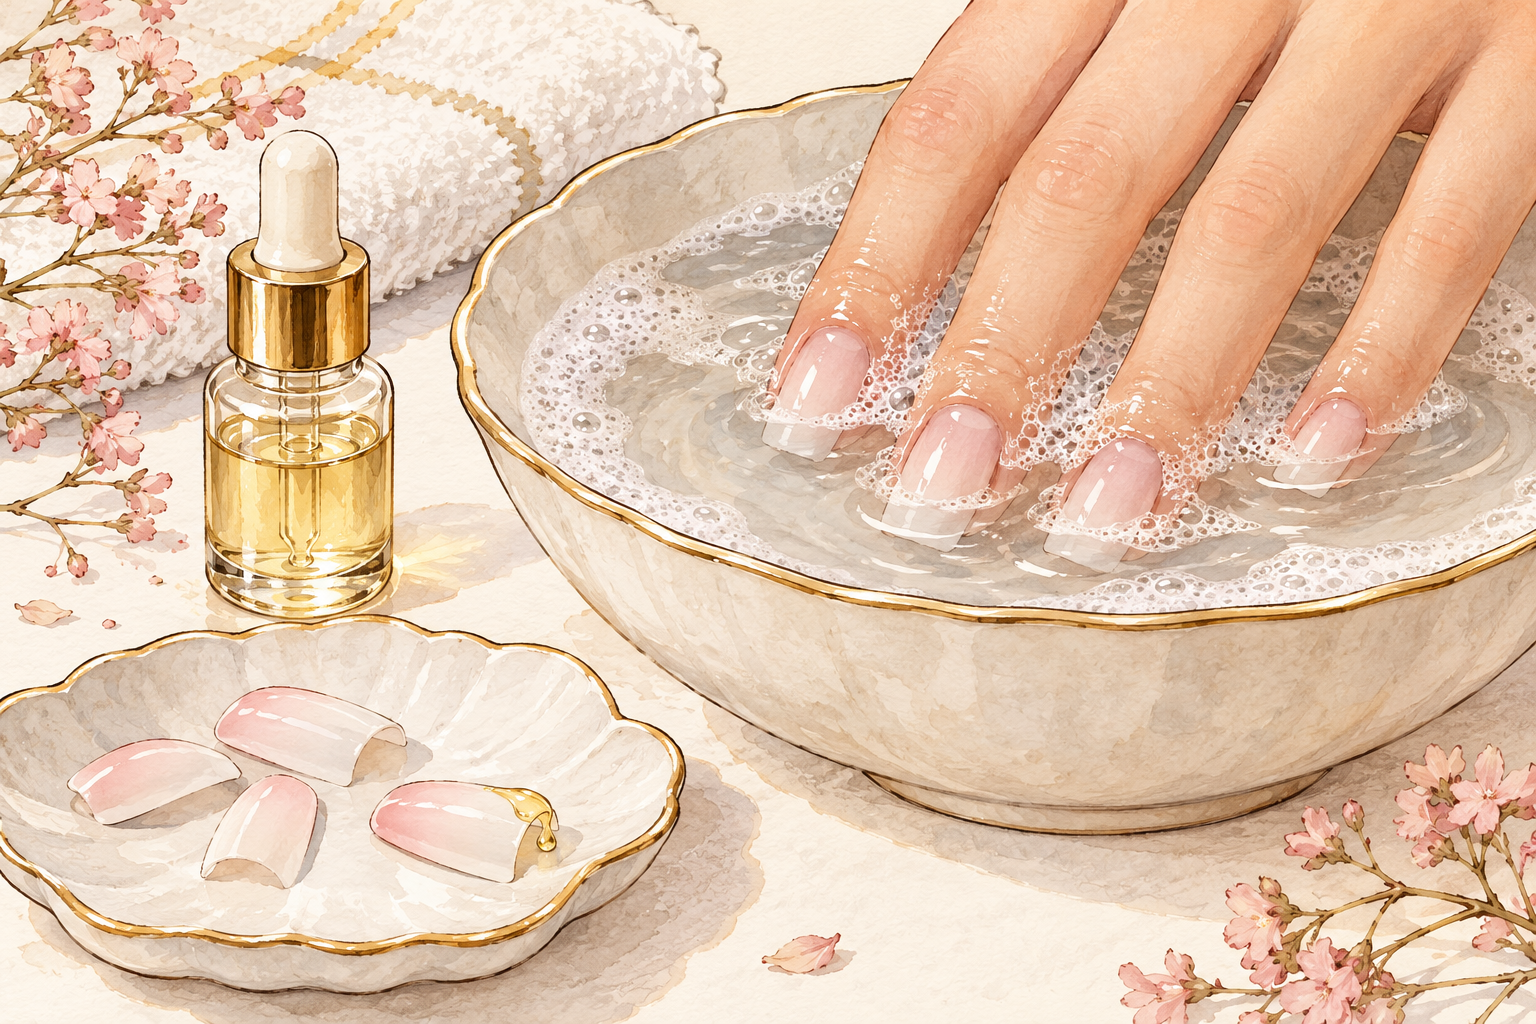
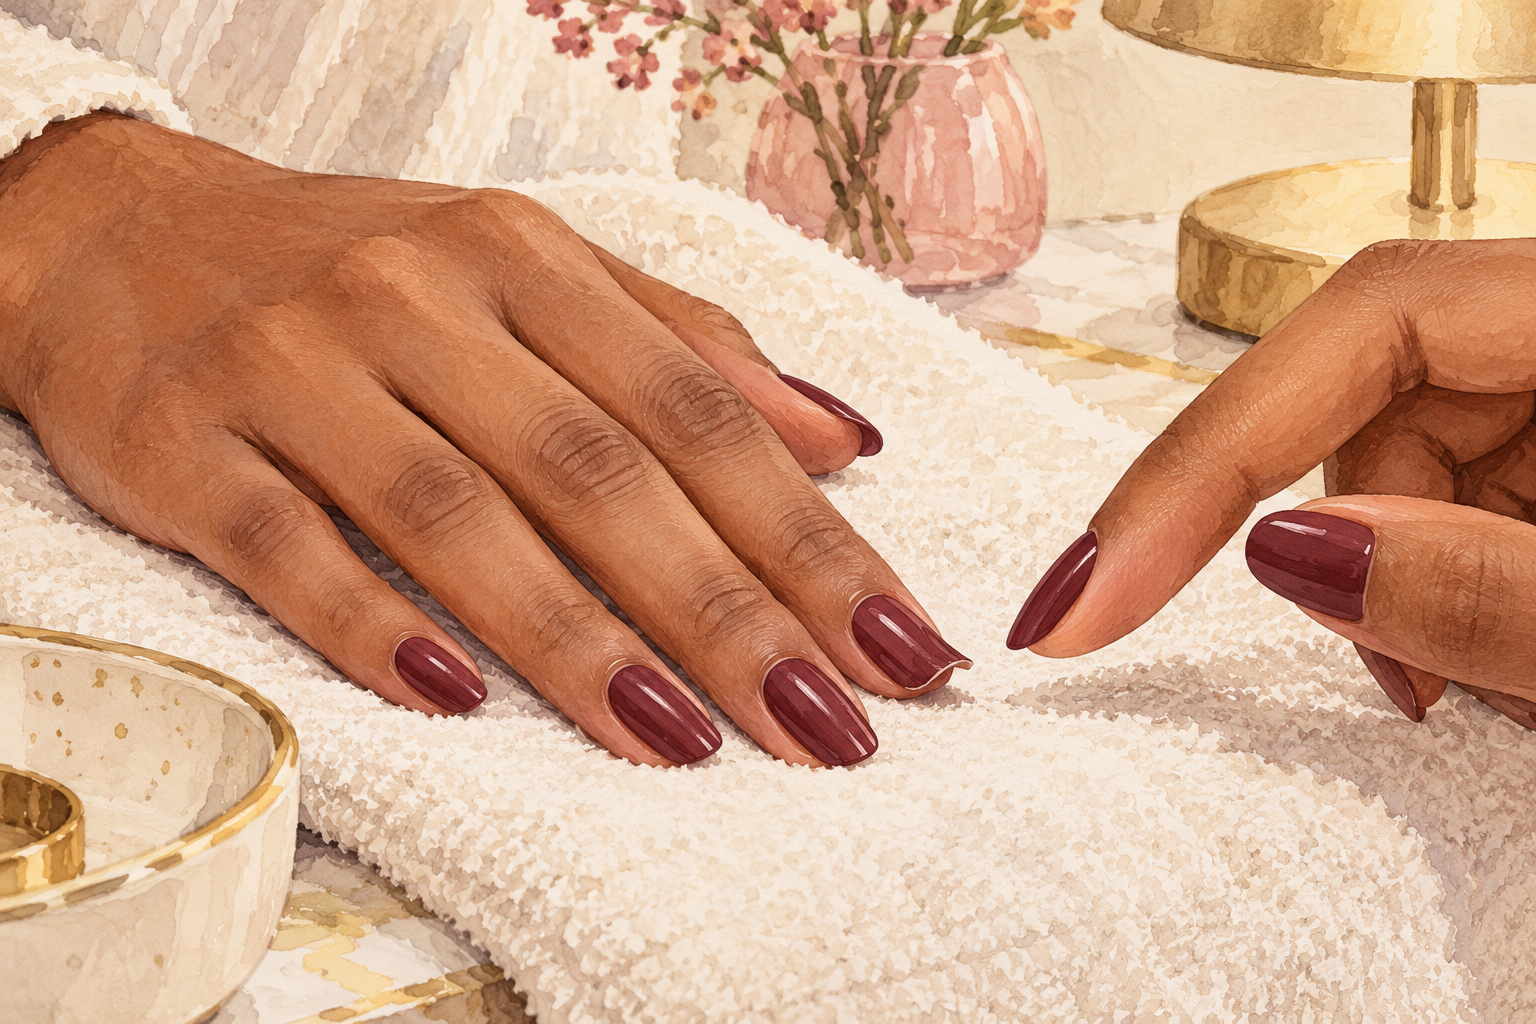
Soak your fingertips in warm soapy water for ten to fifteen minutes, then slide a little oil under the edge and ease the tip up. If it still feels tight, soak again rather than prying. Skip acetone for sets you want back, because it clouds and softens the plastic. Glue can still win, so expect to lose a tip now and then. Rub leftover tab residue off the back with a drop of oil and a cotton pad, and let each tip dry before storing. Never pull a tip off dry, because it takes a layer of your own nail with it.
12. Label and store each set flat
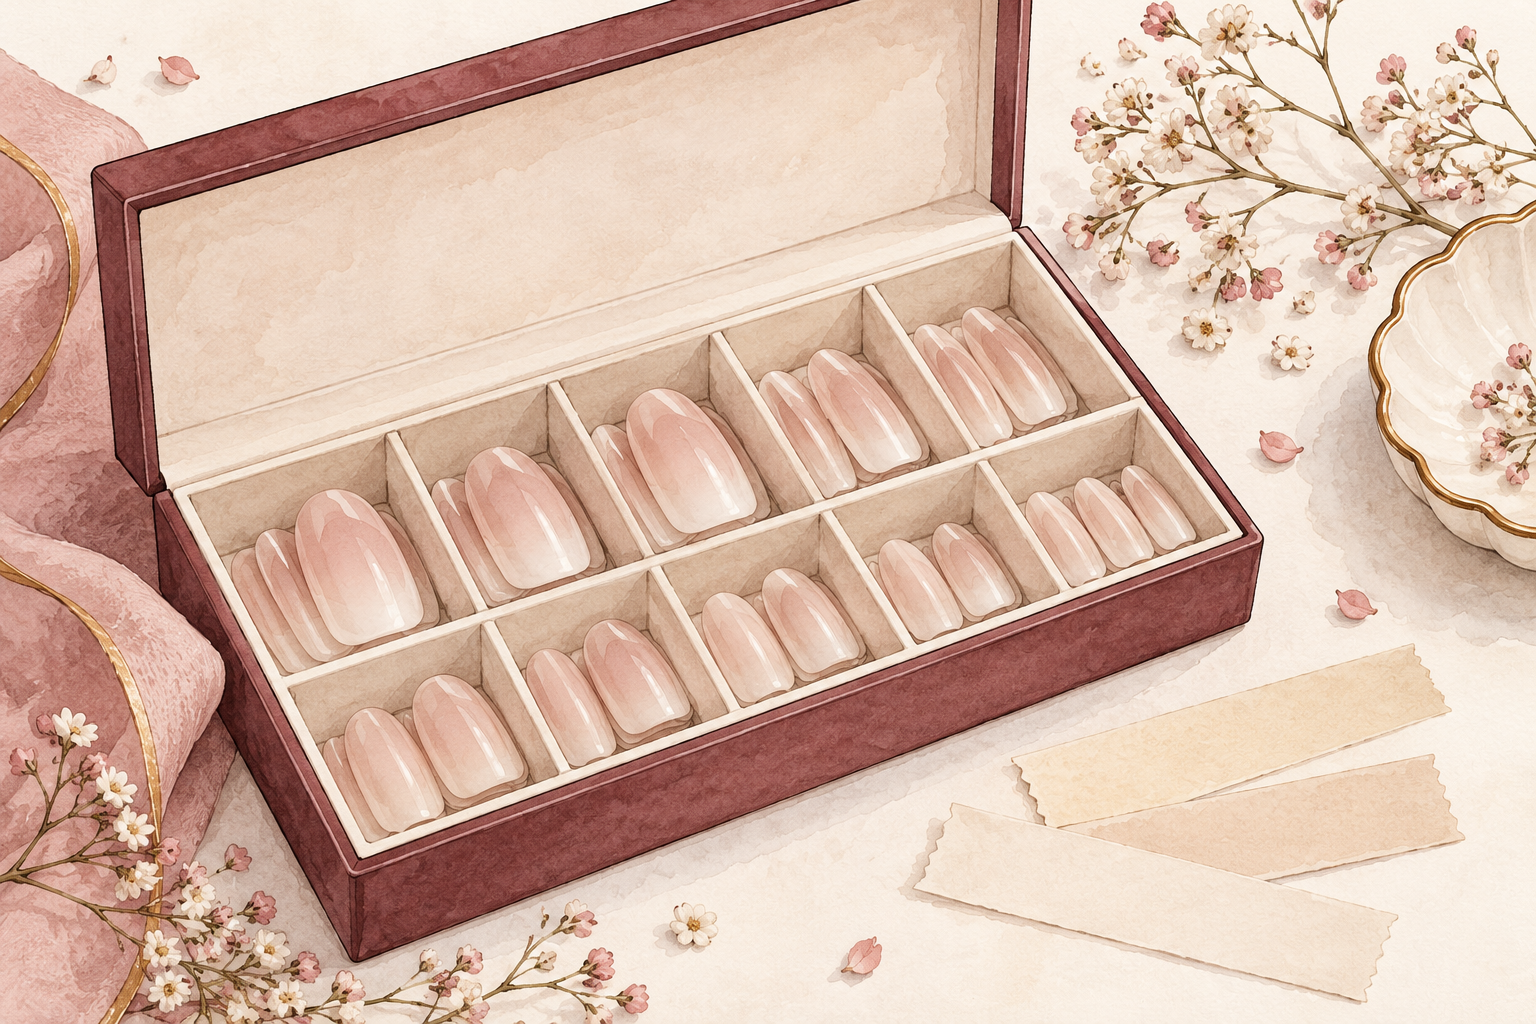
Store the tips flat in a small box with the finger names on masking tape, so nothing warps. That is the full cycle of how to make press on nails you can wear again. Give your own nails a few days bare between sets and press a drop of oil into your cuticles each night. If a nail feels sore under a set, take the set off and leave the nail bare for a week. Your own nail always comes before the manicure. Keep a note of how many times each set has been worn, and retire a tip when the edge gets cloudy.
Complete the Routine: How to Make Press On Nails Last Past the First Wear
Tonight, measure just one hand and keep the sticky note, because it saves you every set after this. Next time, let one more guide below join your week, so your nail routine grows one small step at a time.