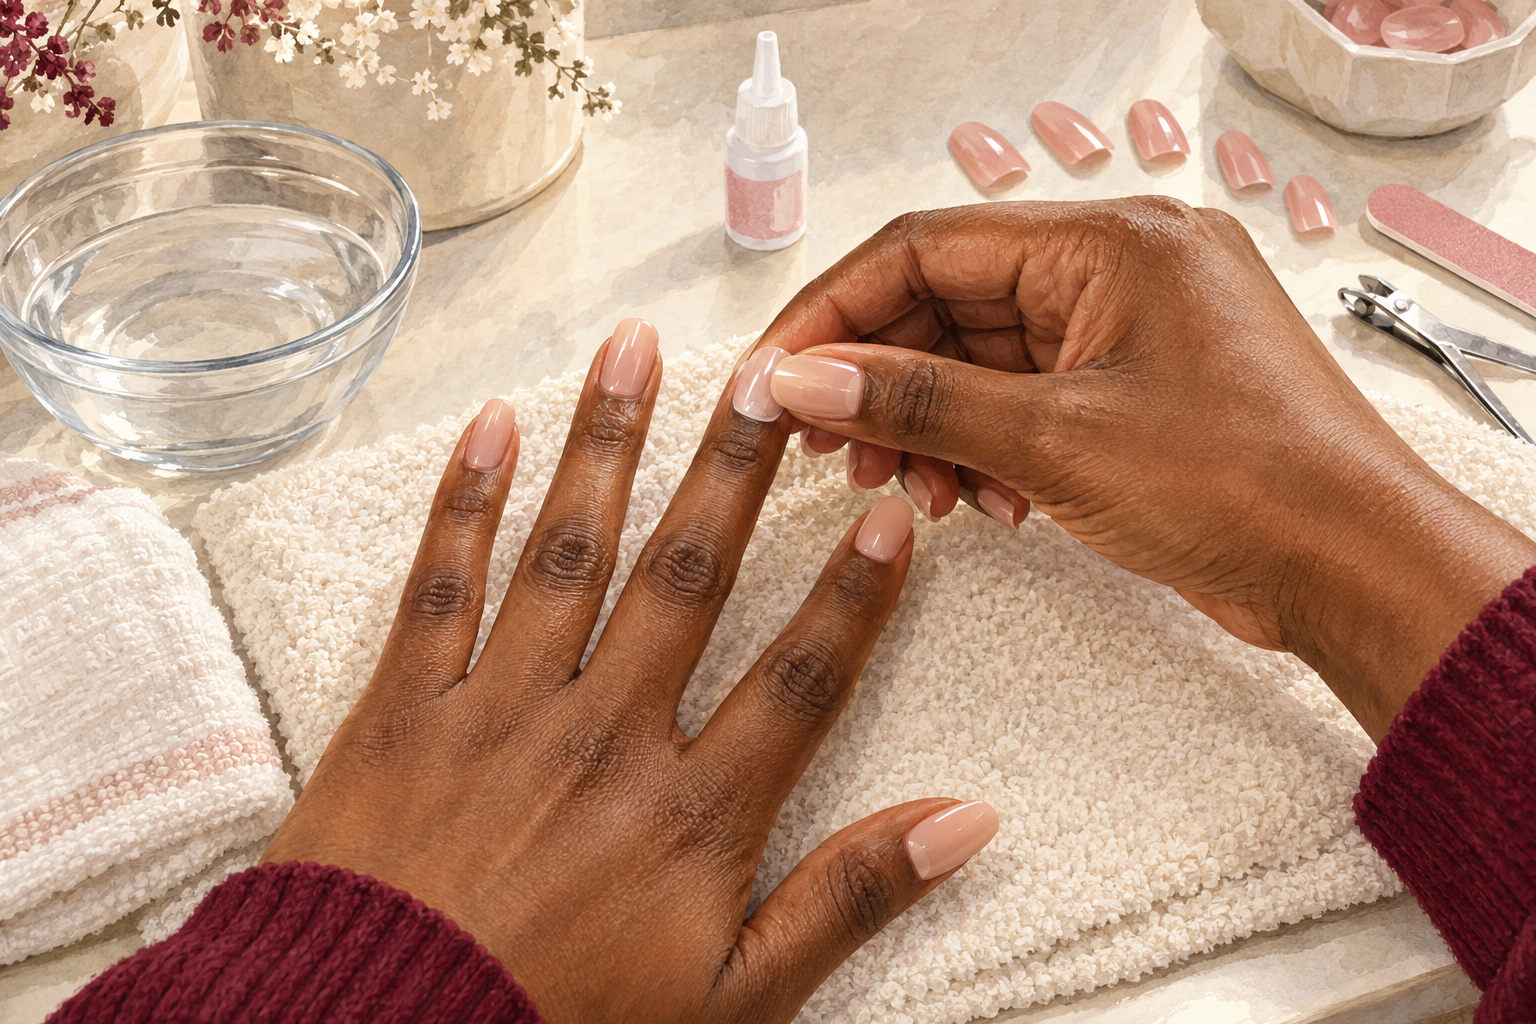
You press the set on, admire it for ten minutes, and by morning the pinky has a gap at the side and the thumb has popped off in your bag. It is almost never the nails, it is the steps before the glue. Here are 12 steps for how to apply press on nails so they sit flat, so start at number one tonight.
1. Lay out the set and match every nail
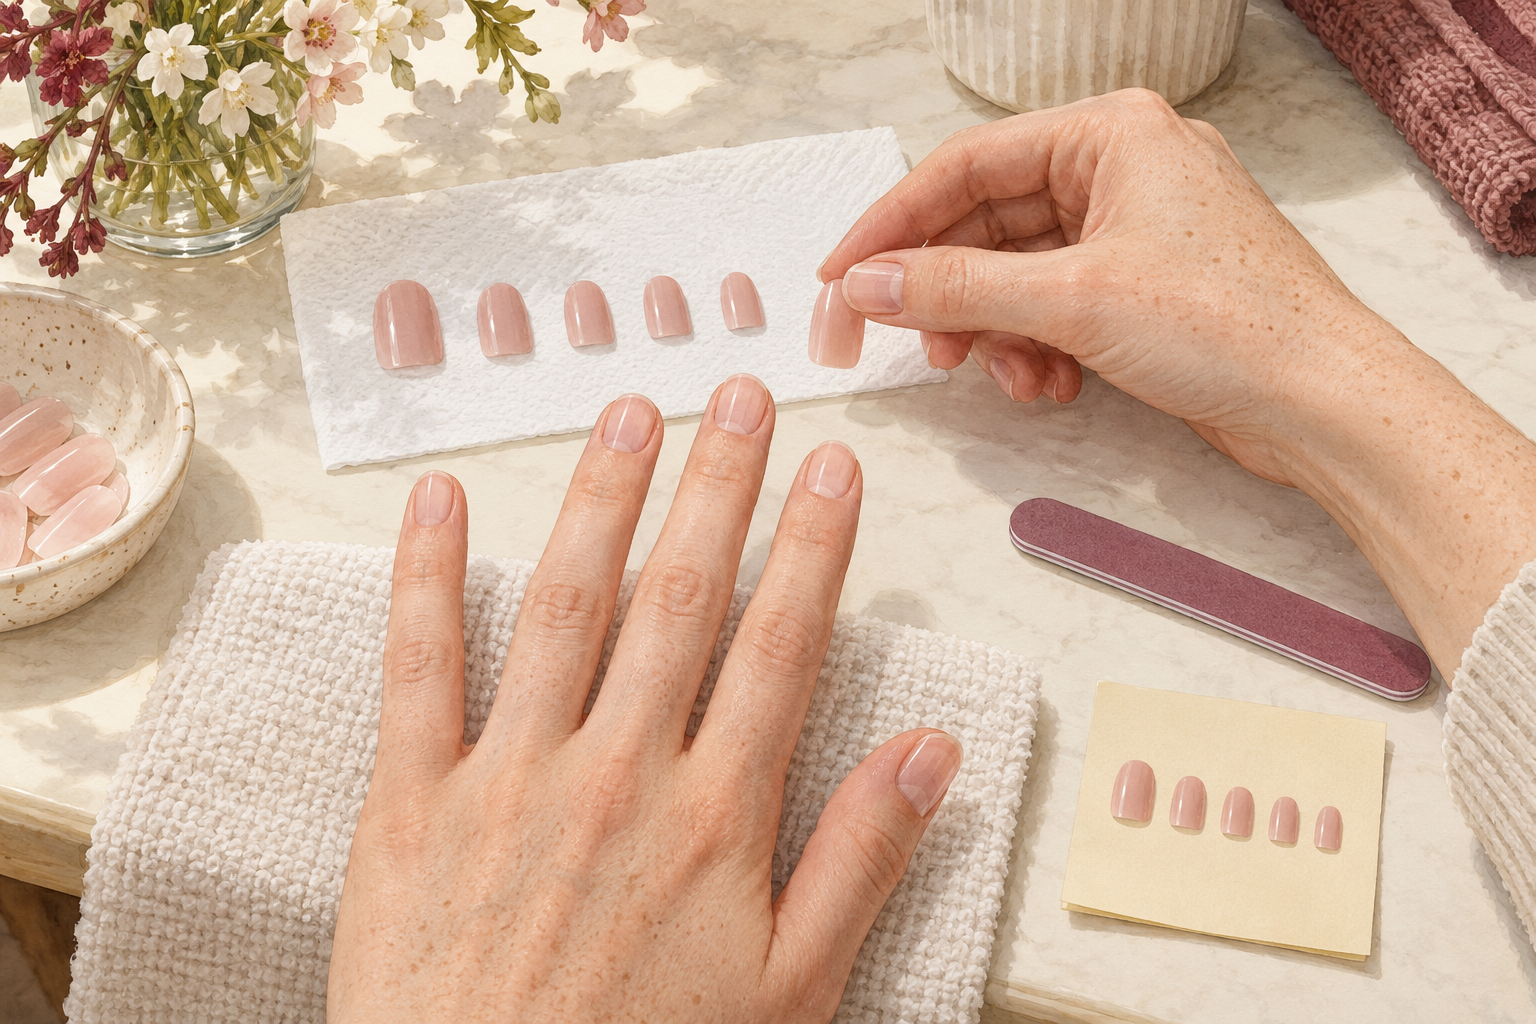
Before you open any glue, hold each tip against its nail and sort them into hand order. Pick the one that covers the nail from side wall to side wall without touching the skin. If you fall between two sizes, take the larger and file the sides down, because you can remove plastic but never add it. Put them in a row on a tissue so you can grab each one without thinking. Write the sizes on a sticky note for next time, and keep it. It turns the next application into a five minute job.
2. Check the curve and the sides, dry
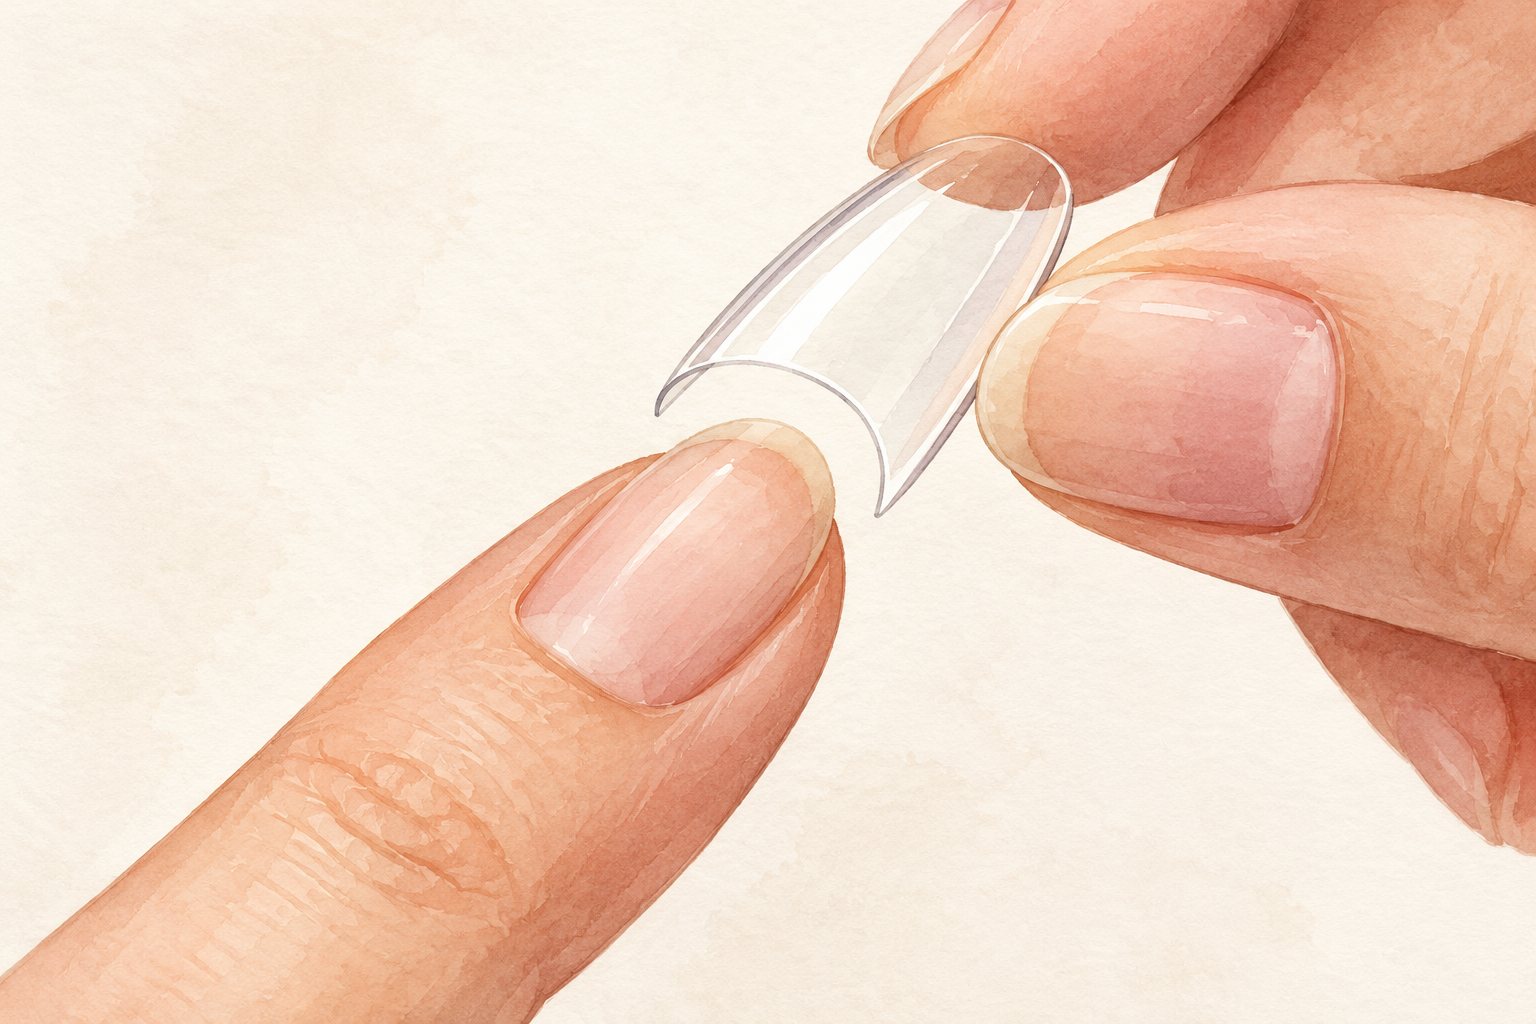
Press each tip on without glue and look at the sides from above and from the front. A good fit sits snug along both side walls and follows the curve of your nail. A tip that rocks, or leaves a gap at one side, will lift there first. Swap it for the next size or file the edge before you go any further. This check takes two minutes, and it saves more sets than any glue. Do it in good light, and tilt your hand so you see the gap. A gap you can slide a fingernail into means that tip is the wrong size. Take your time with sizing, then compare with how to make press on nails before you cut anything.
3. Shorten and shape the tips first
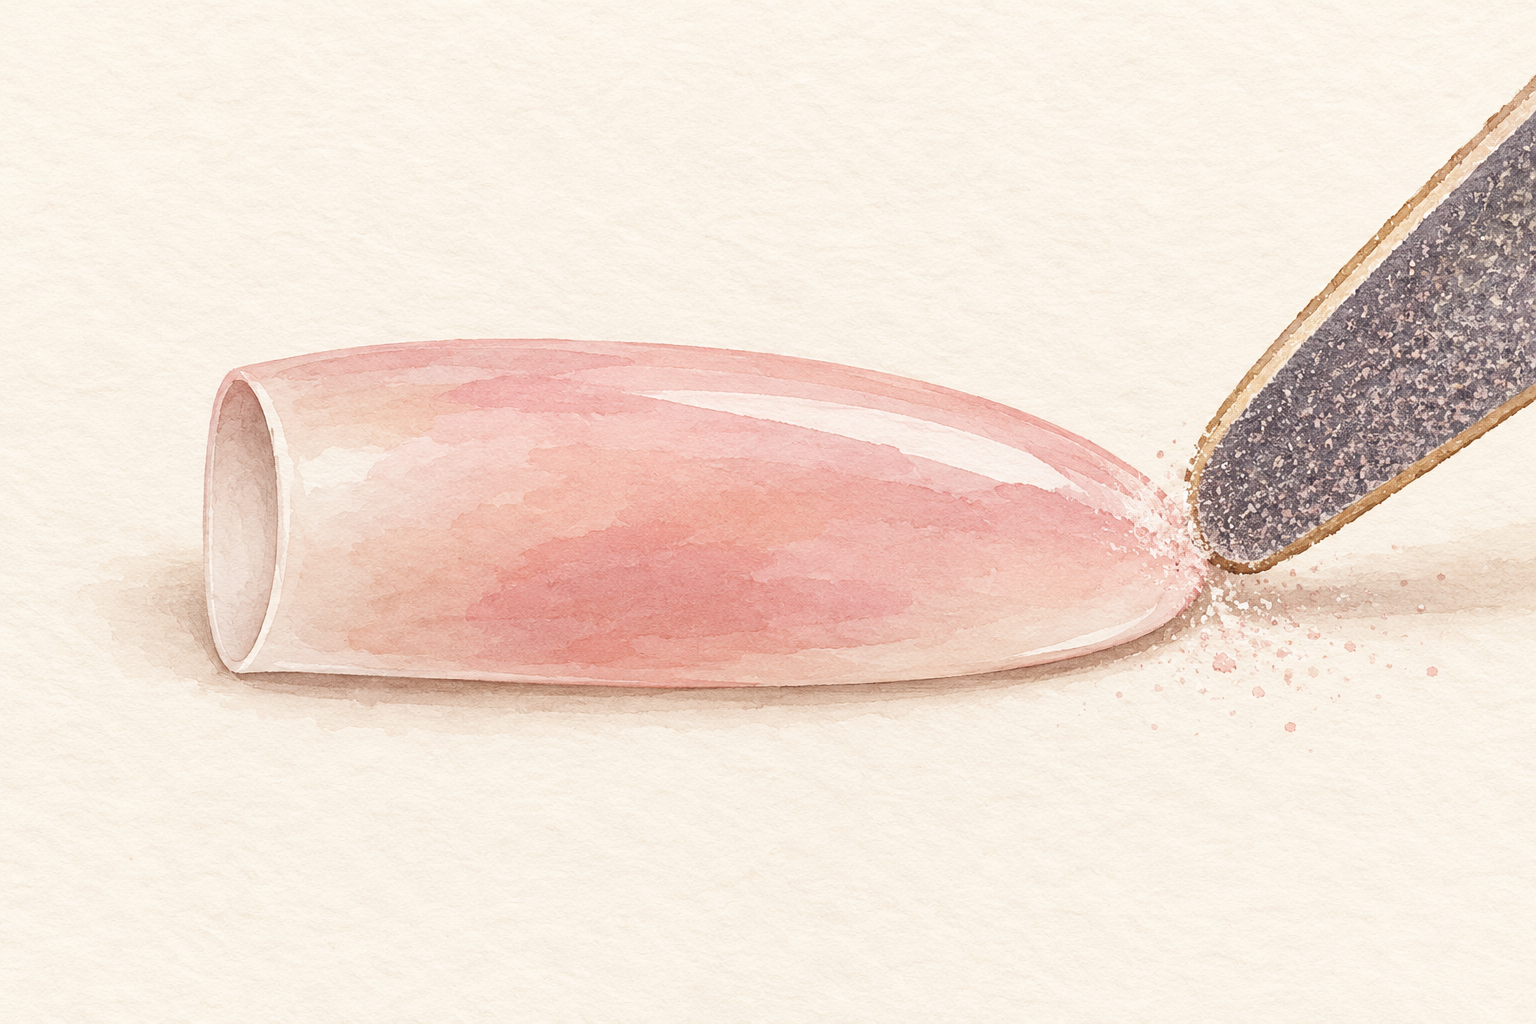
Trim the free edge before you stick anything down, and keep your first set short. A long tip works like a lever that prises itself off the nail, so longer sets lift sooner. File the shape to match your own nails and round off any sharp corners so they do not catch on clothing. A short oval or squoval is the easiest to wear. A shorter set feels less dramatic, but it lasts days longer, and you can type with it on Monday morning. Longer shapes can wait until you trust your fit.
4. Push back the cuticles, never cut them
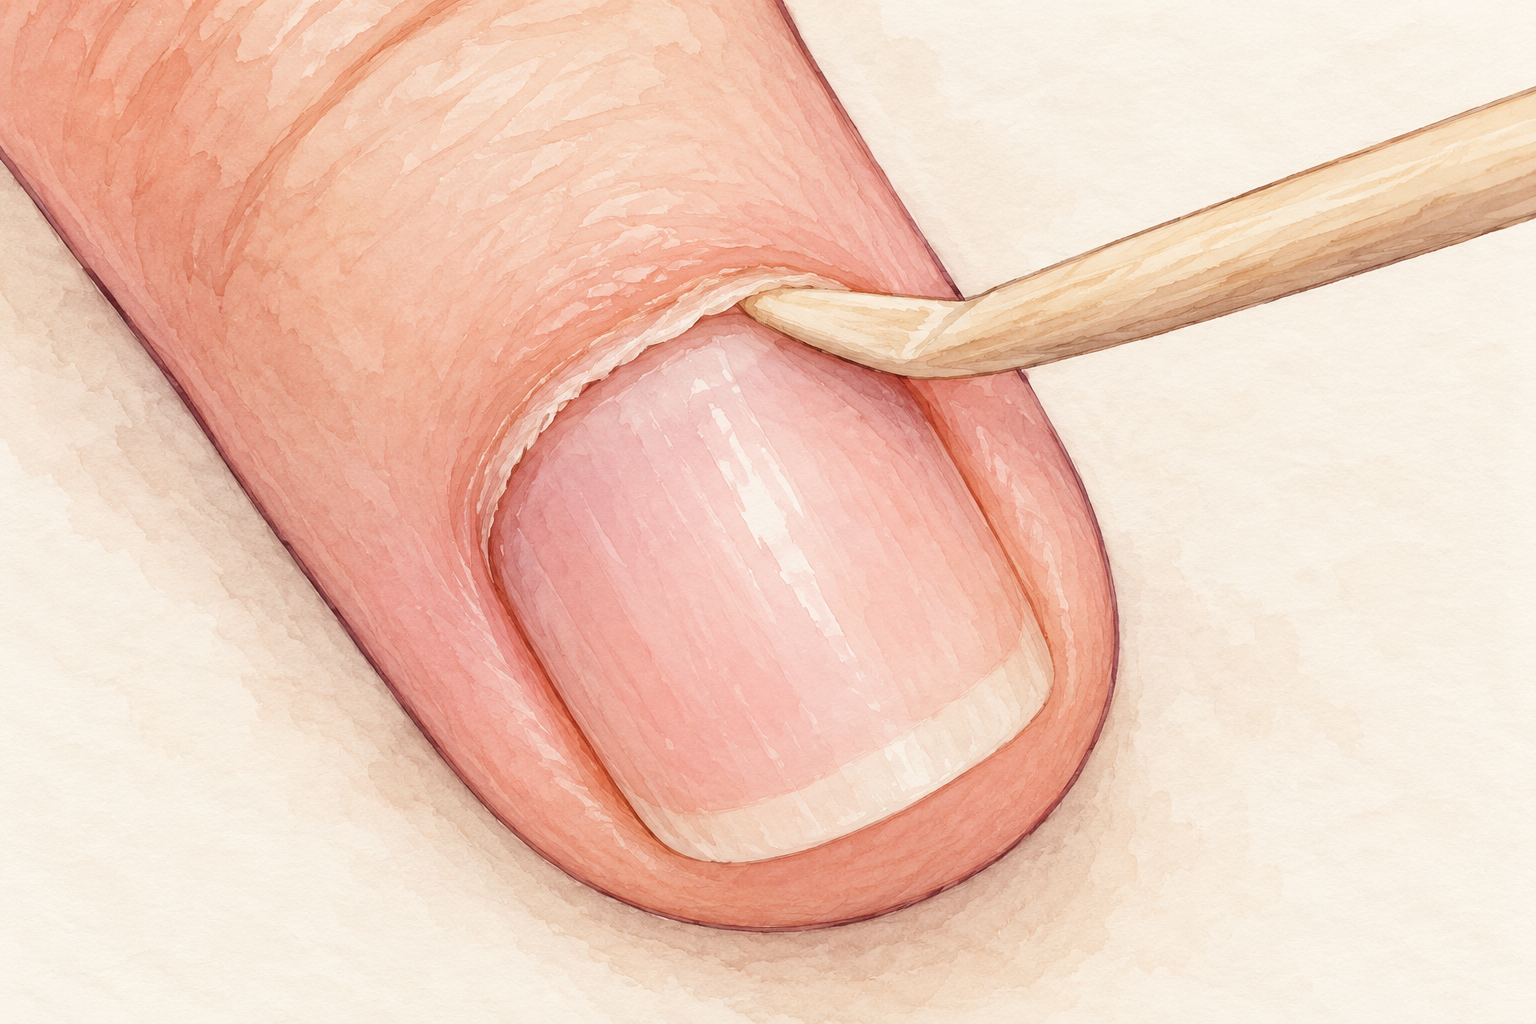
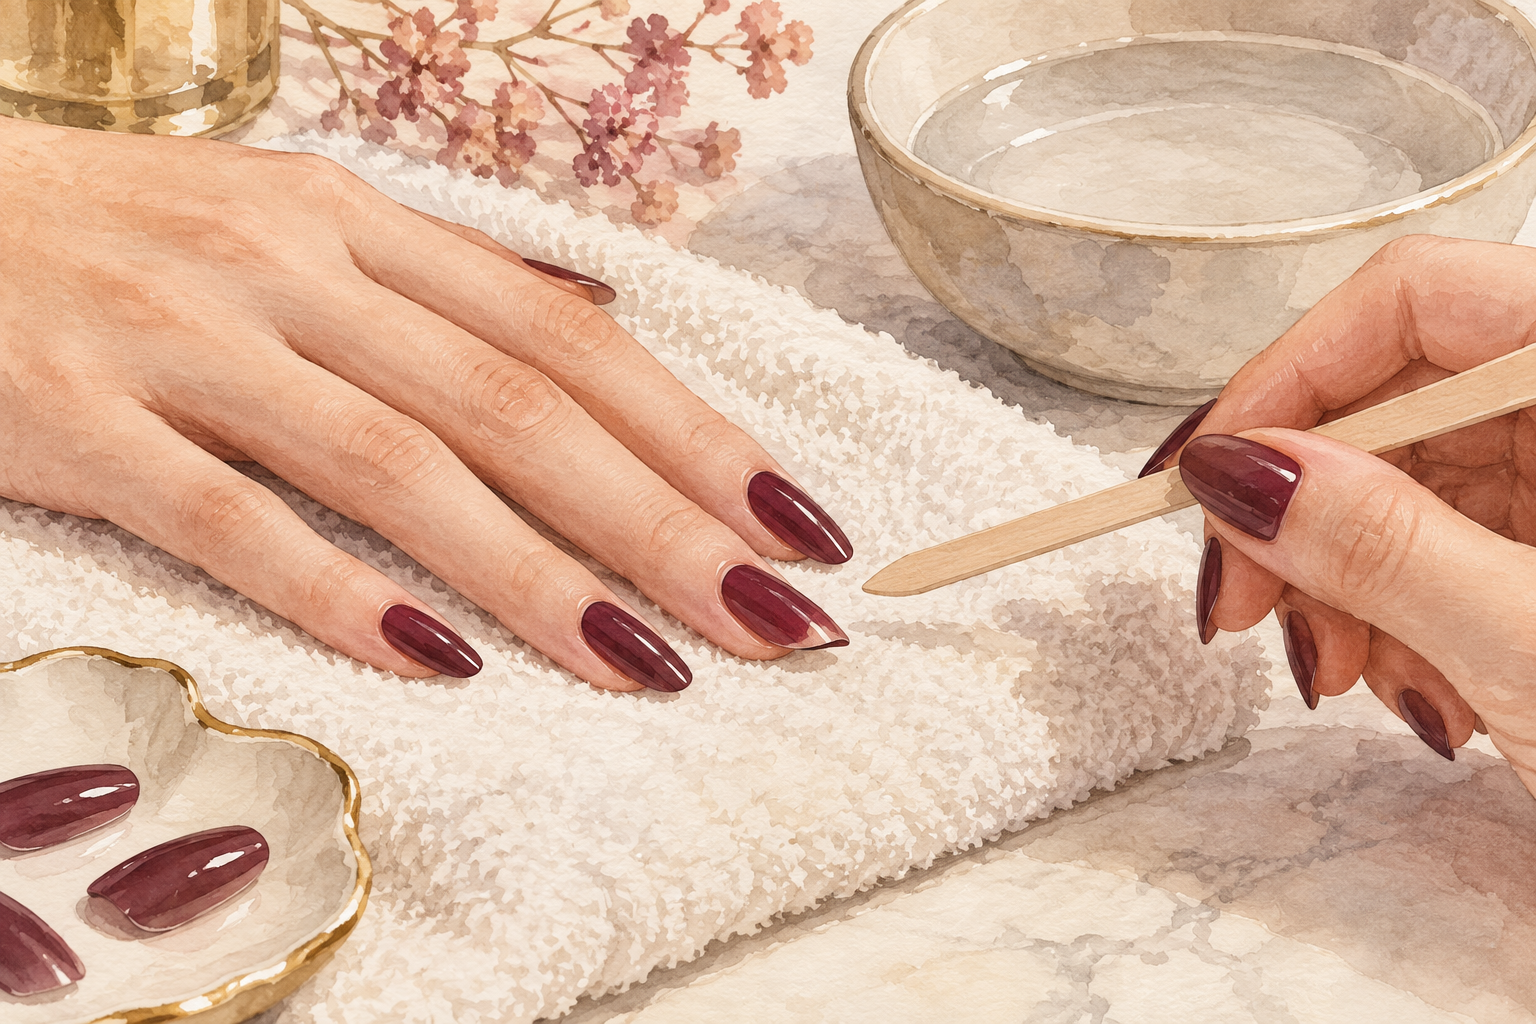
Wash your hands, then use a soft stick to ease the cuticle back while the skin is soft. Do not cut it, because the cuticle seals the skin to the nail and keeps the edge neat. Remove only the thin film that sits on the nail itself and leave the skin alone. A tiny edge of cuticle left on the nail will lift the tip, so take a minute to check each nail. Two or three light passes with the stick are plenty. Pushing hard only tears the skin and invites a sore edge.
5. Buff off the shine and wipe the nail clean
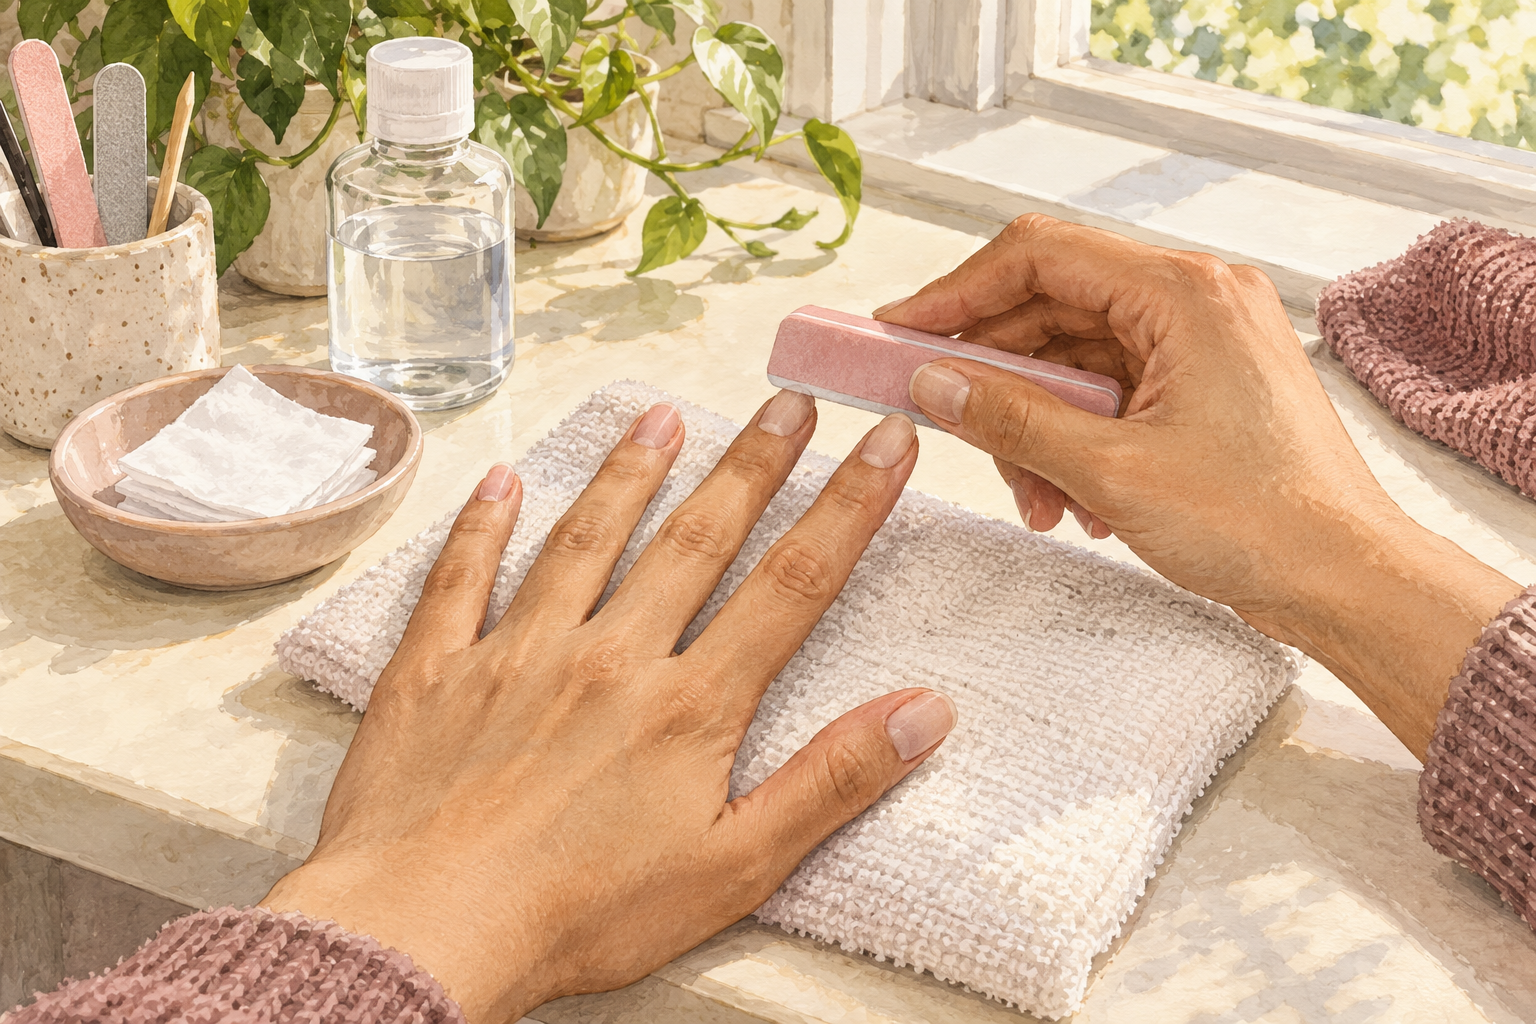
Run a soft buffer across the nail in two or three gentle passes until the gloss goes dull. Then wipe each nail with a pad of rubbing alcohol to clear the dust and oil, with a window open and no flame close by. Do not buff hard, because a thin nail peels more when the set comes off. After this wipe, touch your nails as little as possible. Your skin puts oil right back on the surface within minutes. Let the alcohol dry for a minute, and the nail should look dull and chalky. Prep done well keeps every manicure looking fresh, and the next stop is manicure at home.
6. Keep oil and lotion away until after
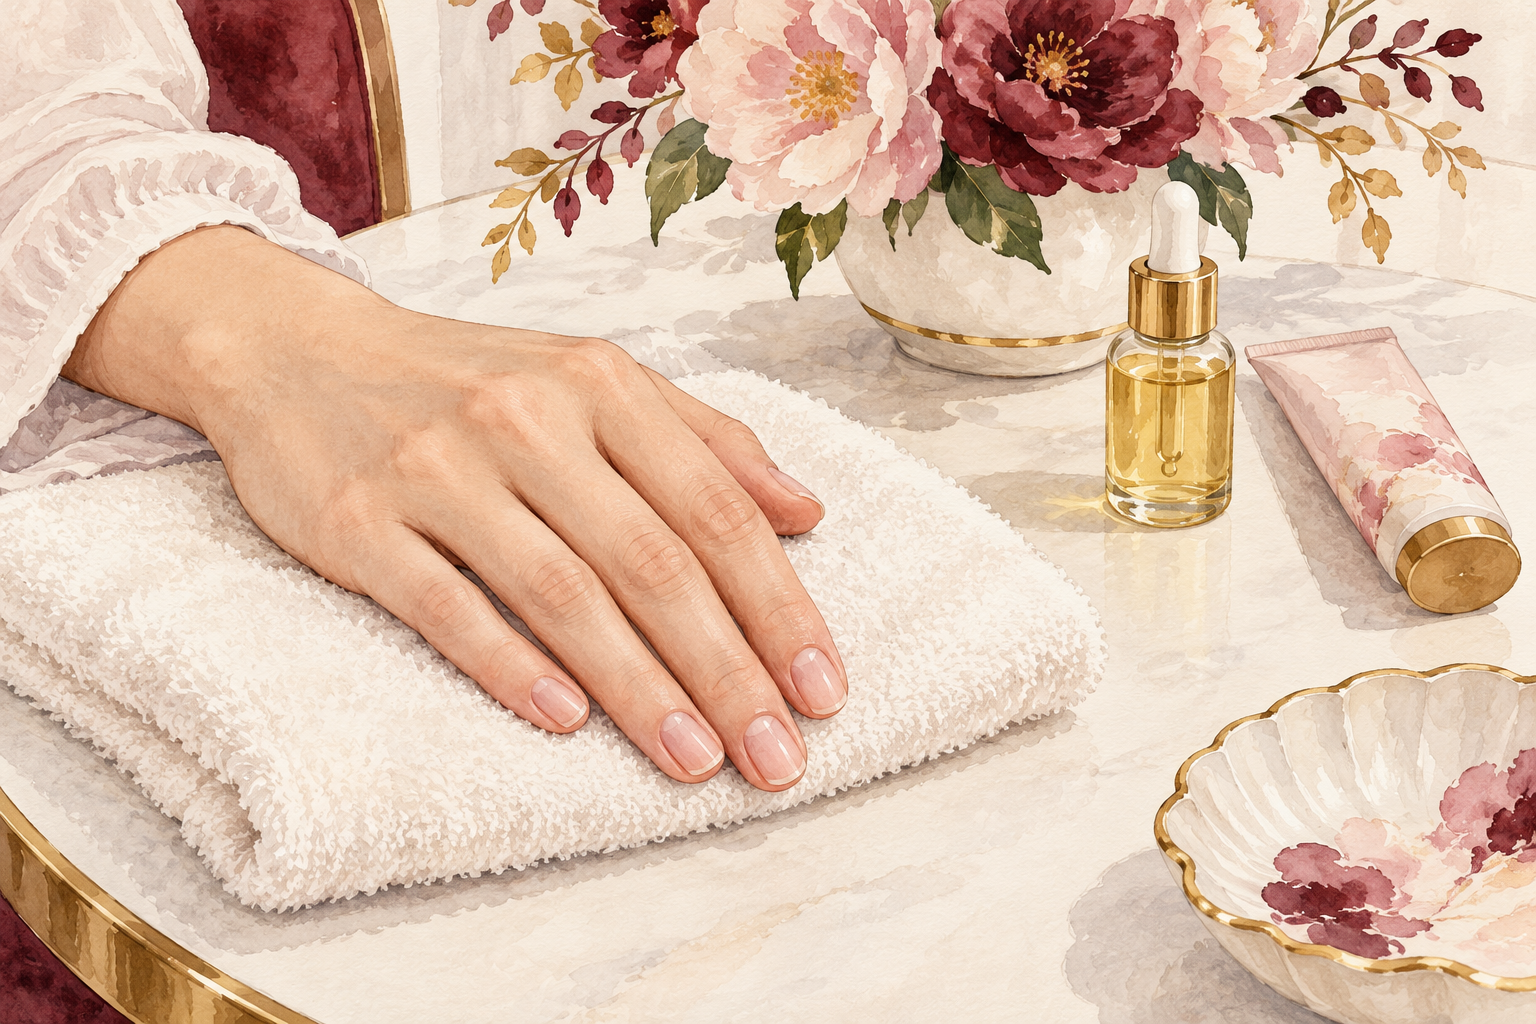
Skip cuticle oil and hand cream on the day you apply a set, because even a thin film stops glue taking hold. Wash and dry your hands well and keep them out of the water for at least an hour. Do your moisturizing the day before, or wait until the press ons are on and the glue has set. The part of how to apply press on nails nobody warns you about is oil, and this one habit solves more lifting than a different glue ever could. If you forget and touch a nail, wipe it again before you press.
7. Use a thin layer of glue or an adhesive tab
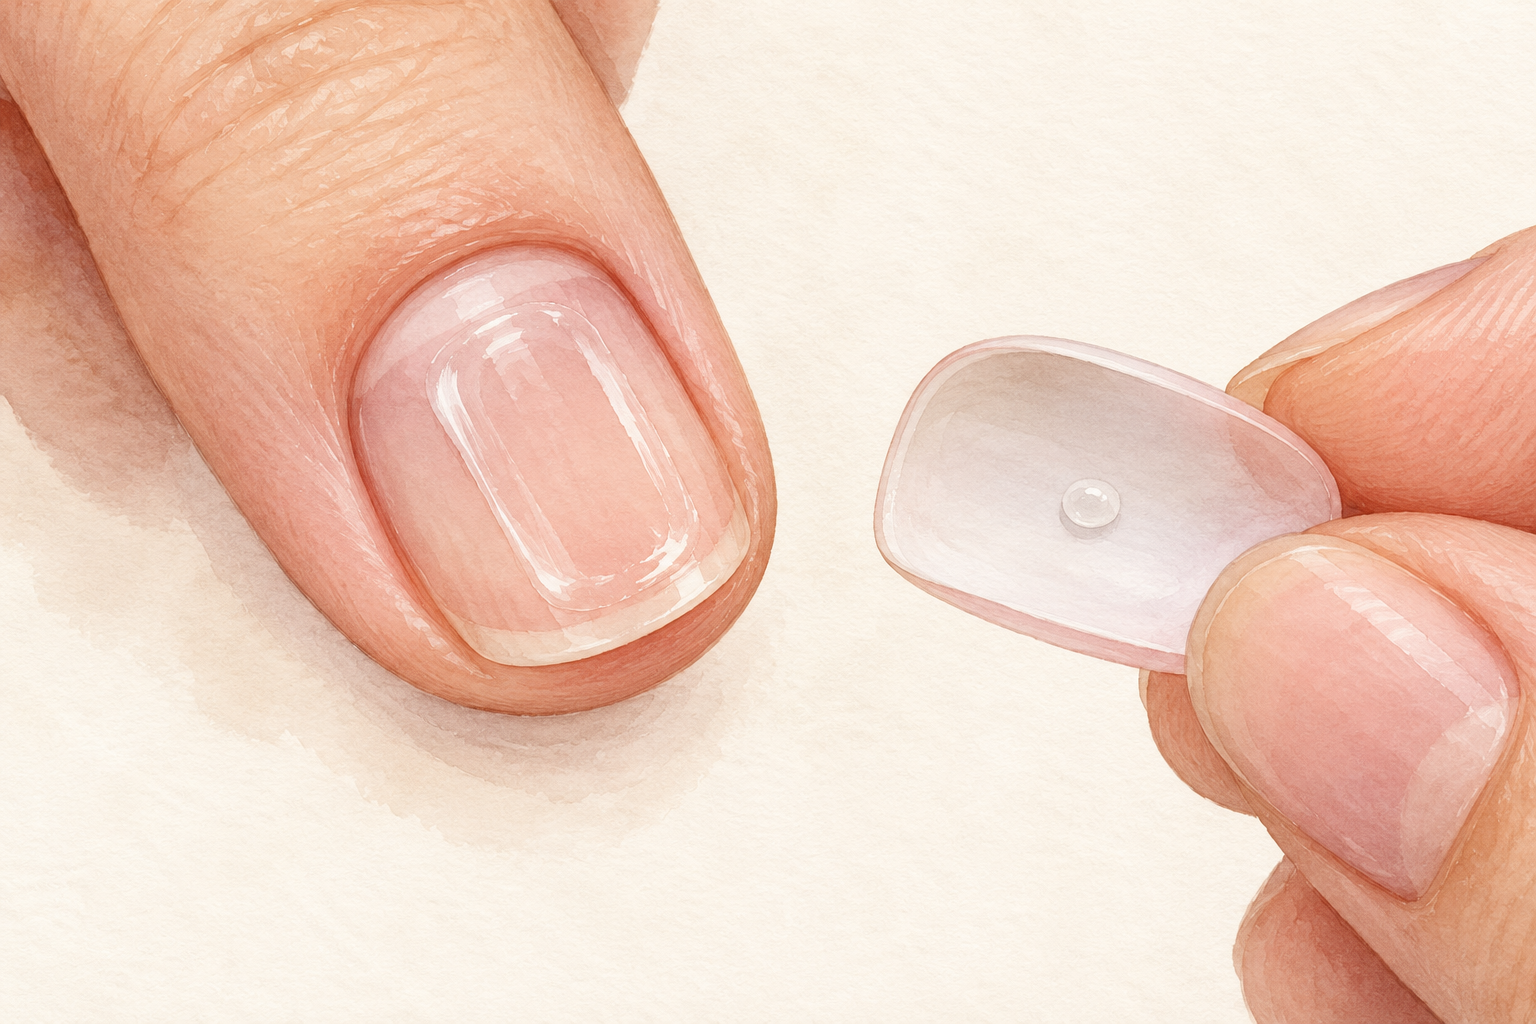
Put a thin layer of glue on the natural nail and a small dot on the back of the tip, or use an adhesive tab if you want the set to come off easily. Too much glue squeezes out at the sides and leaves a crusty edge. Tabs hold for a few days and suit special occasions, while glue lasts longer but is harder to remove. If your skin gets itchy, red or swollen near the glue, take that nail off, because an allergy can show up at any time. Dab the glue on lightly, since you can add a second dot but cannot take one away.
8. Press from the cuticle end and hold thirty seconds
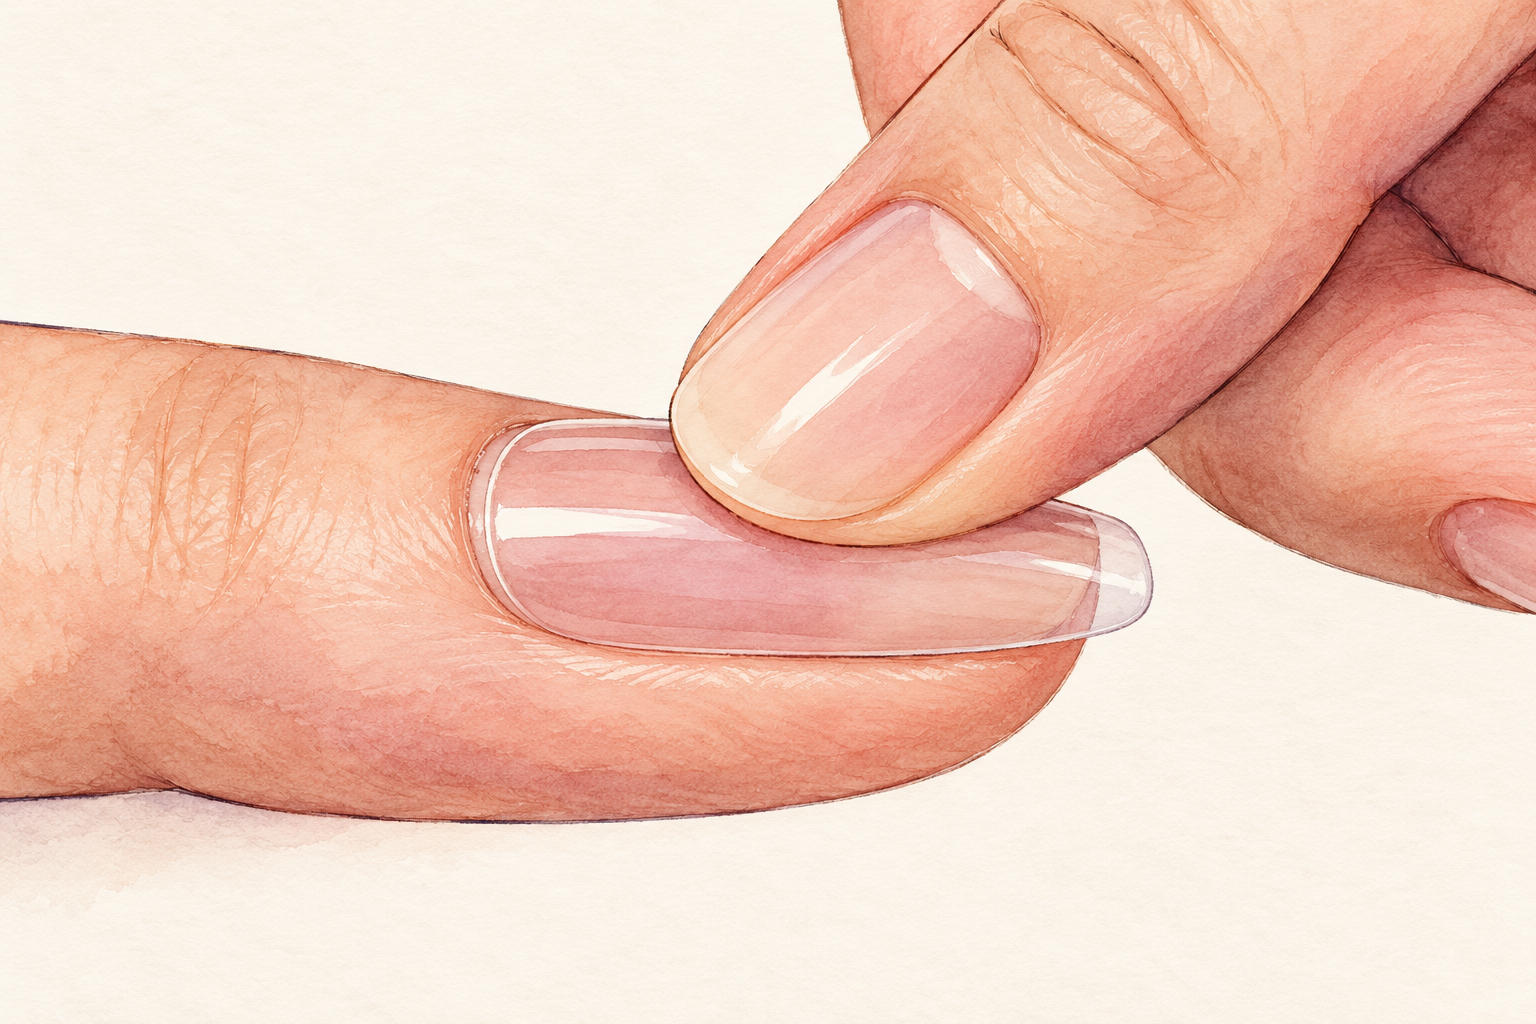
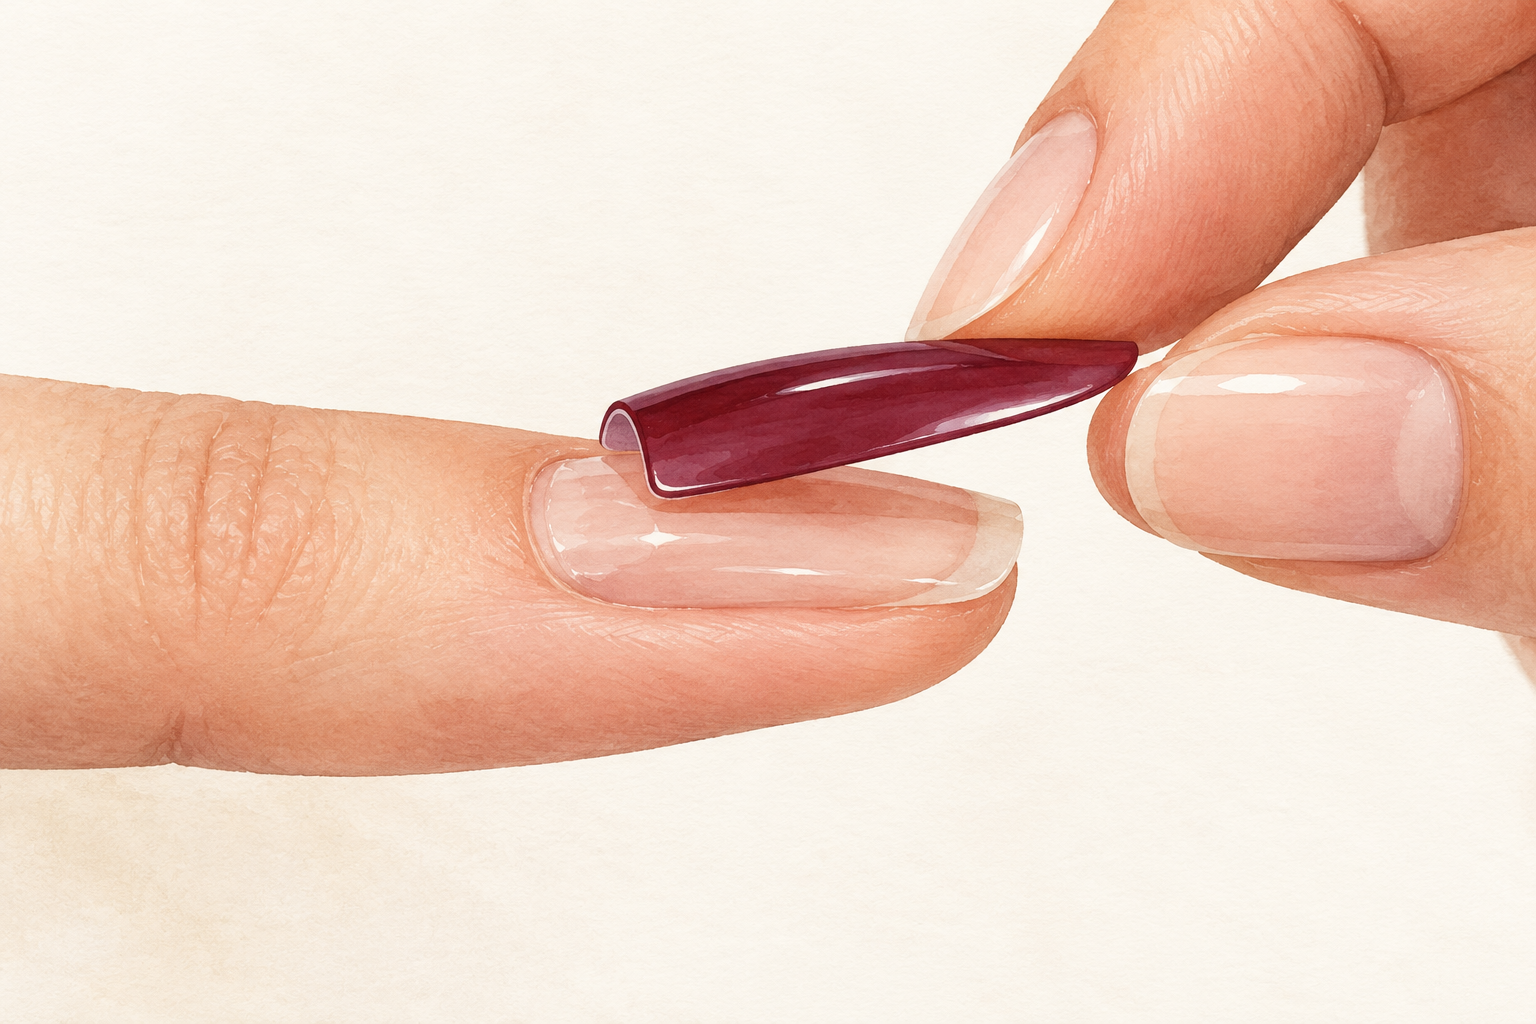
Line the tip up at the cuticle end, tilt it on at a slight angle, then roll it down flat so no air gets trapped. Press firmly in the middle first and then at the sides, and hold for about thirty seconds. Start with the thumb, the largest nail, and work toward the pinky. Check the edges before you let go, and if a corner is lifting, press it down again. Use the pad of your thumb, not your fingertip, so the pressure spreads out. Count the thirty seconds slowly, because twenty feels the same and holds worse.
9. Know what day one, three and seven feel like
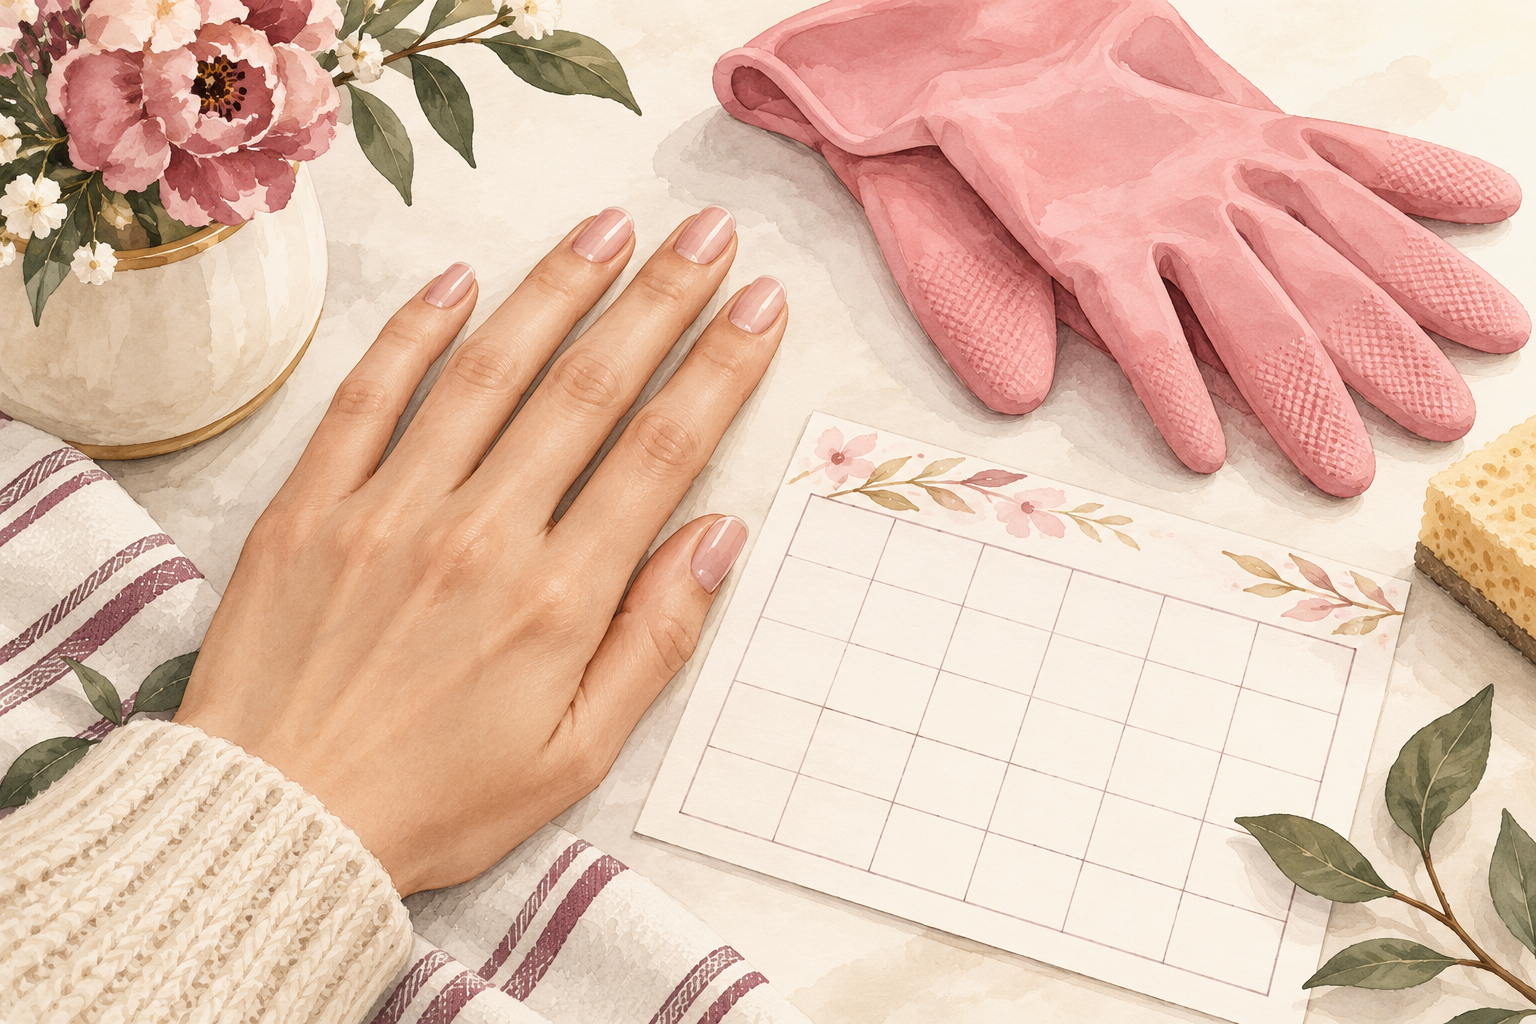
Expect the set to feel stiff and tight on day one, and your nails to feel odd for a few hours. By day three the glue has settled and you stop noticing the edges. By day seven you may see a lifted corner or two, especially on the thumbs. Learning how to apply press on nails well gets you a week, not a month, and that is a fair result. Keep your hands out of long baths on the first day, and wear gloves for dishes all week. Soaking is what loosens glue.
10. Fix a lifting edge before it spreads
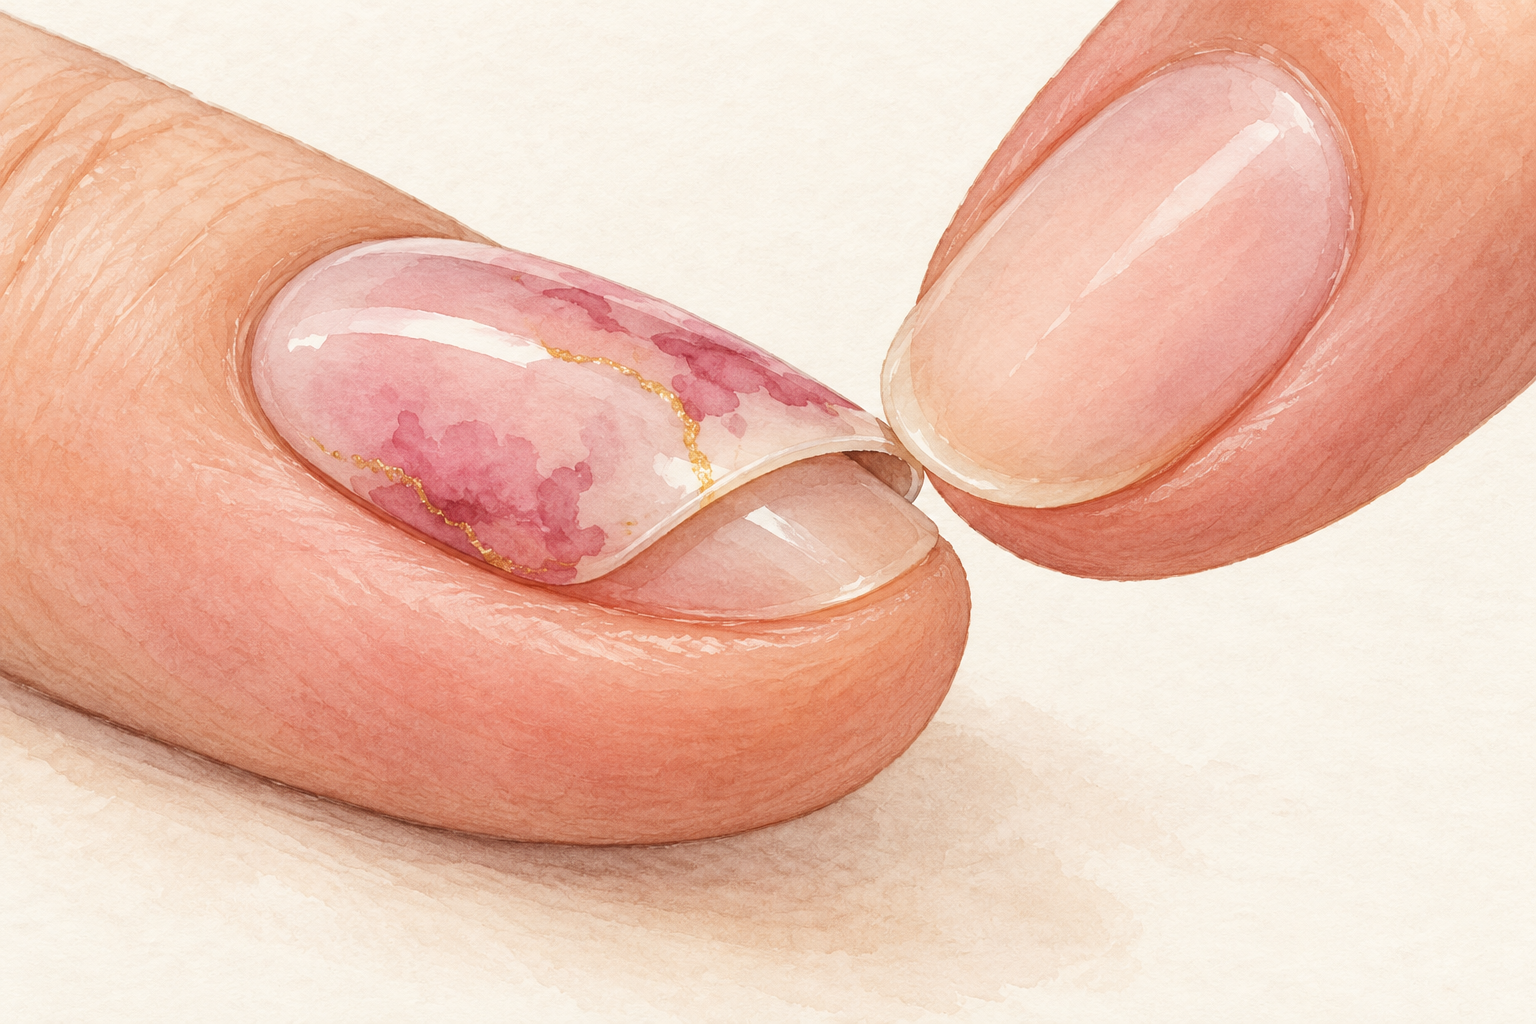
If a corner starts to lift, press it down with a tiny drop of glue underneath and hold for a minute. Do not wait, because dirt and water get into the gap and make it worse. File any rough edge so it cannot catch on clothing. If the whole tip comes loose, take it off, clean both surfaces with alcohol and reapply with fresh glue. This quick repair is how you wear a set past day five. Keep a spare tube of glue in your bag, and a little file for any corner that catches.
11. Swap the mistakes before you apply again
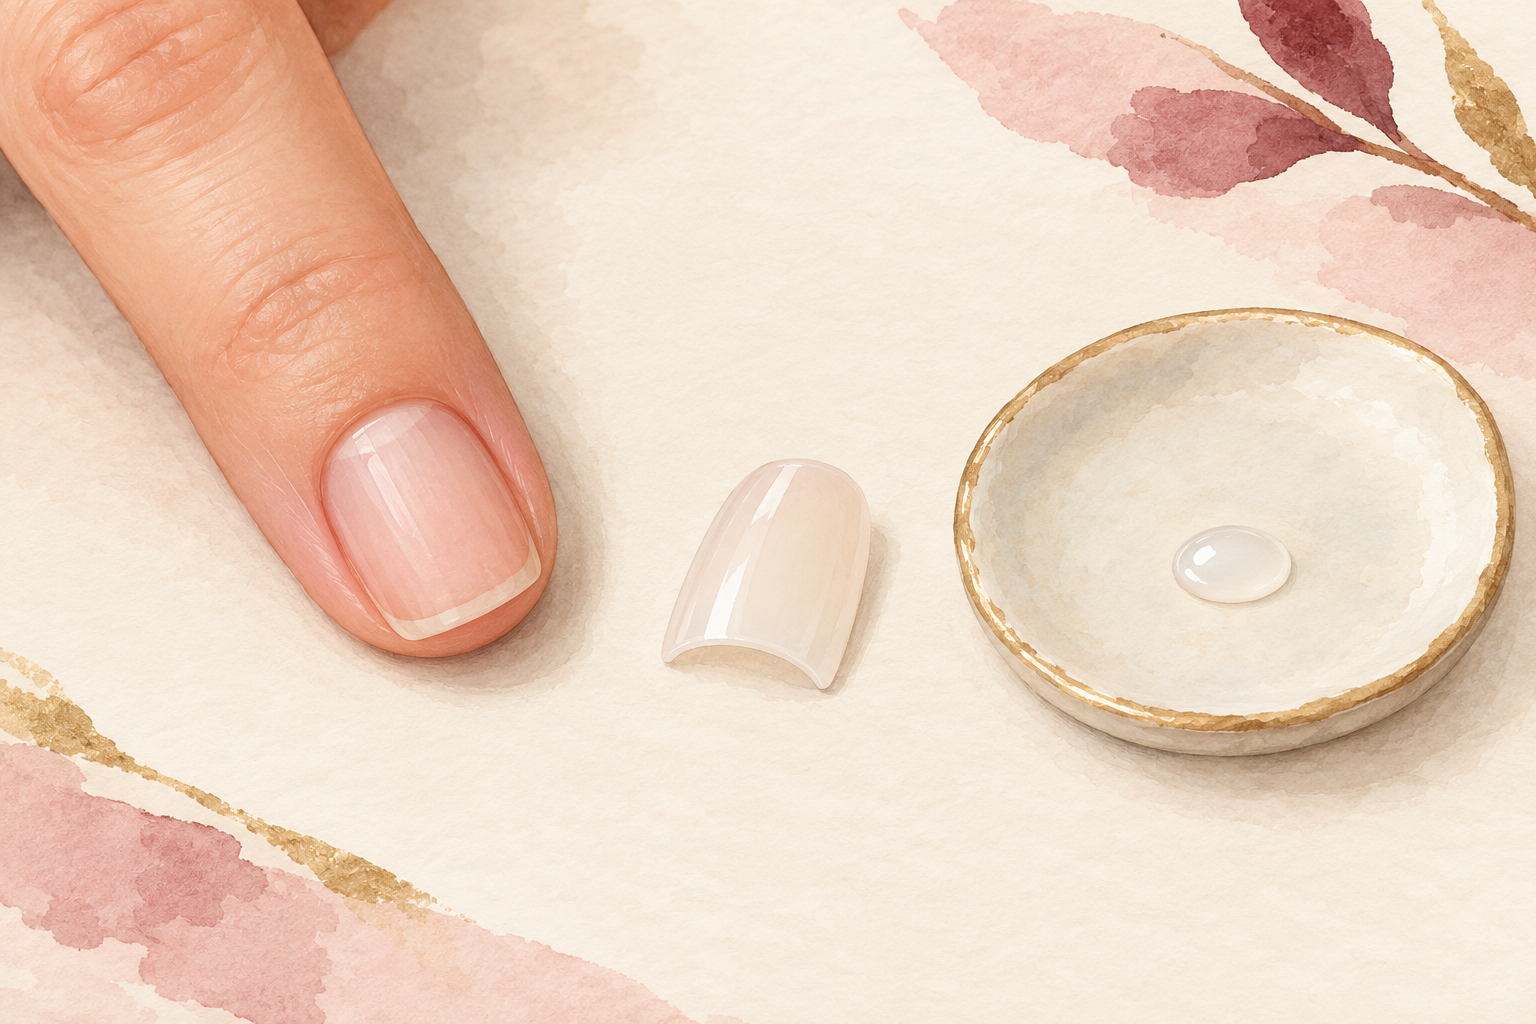
Swap oily skin for a clean, dry nail, a blob of glue for a thin layer, and a long tip for a short one. Those three are the main reasons a set fails. Pressing with your fingertips alone leaves air under the tip, so use the pad of your thumb and hold. Each of these fixes takes seconds, and together they are most of how to apply press on nails so they sit flat. Pick the one you did wrong last time and fix it first. Most of us repeat the same slip until we notice it.
12. Check under the set every few days
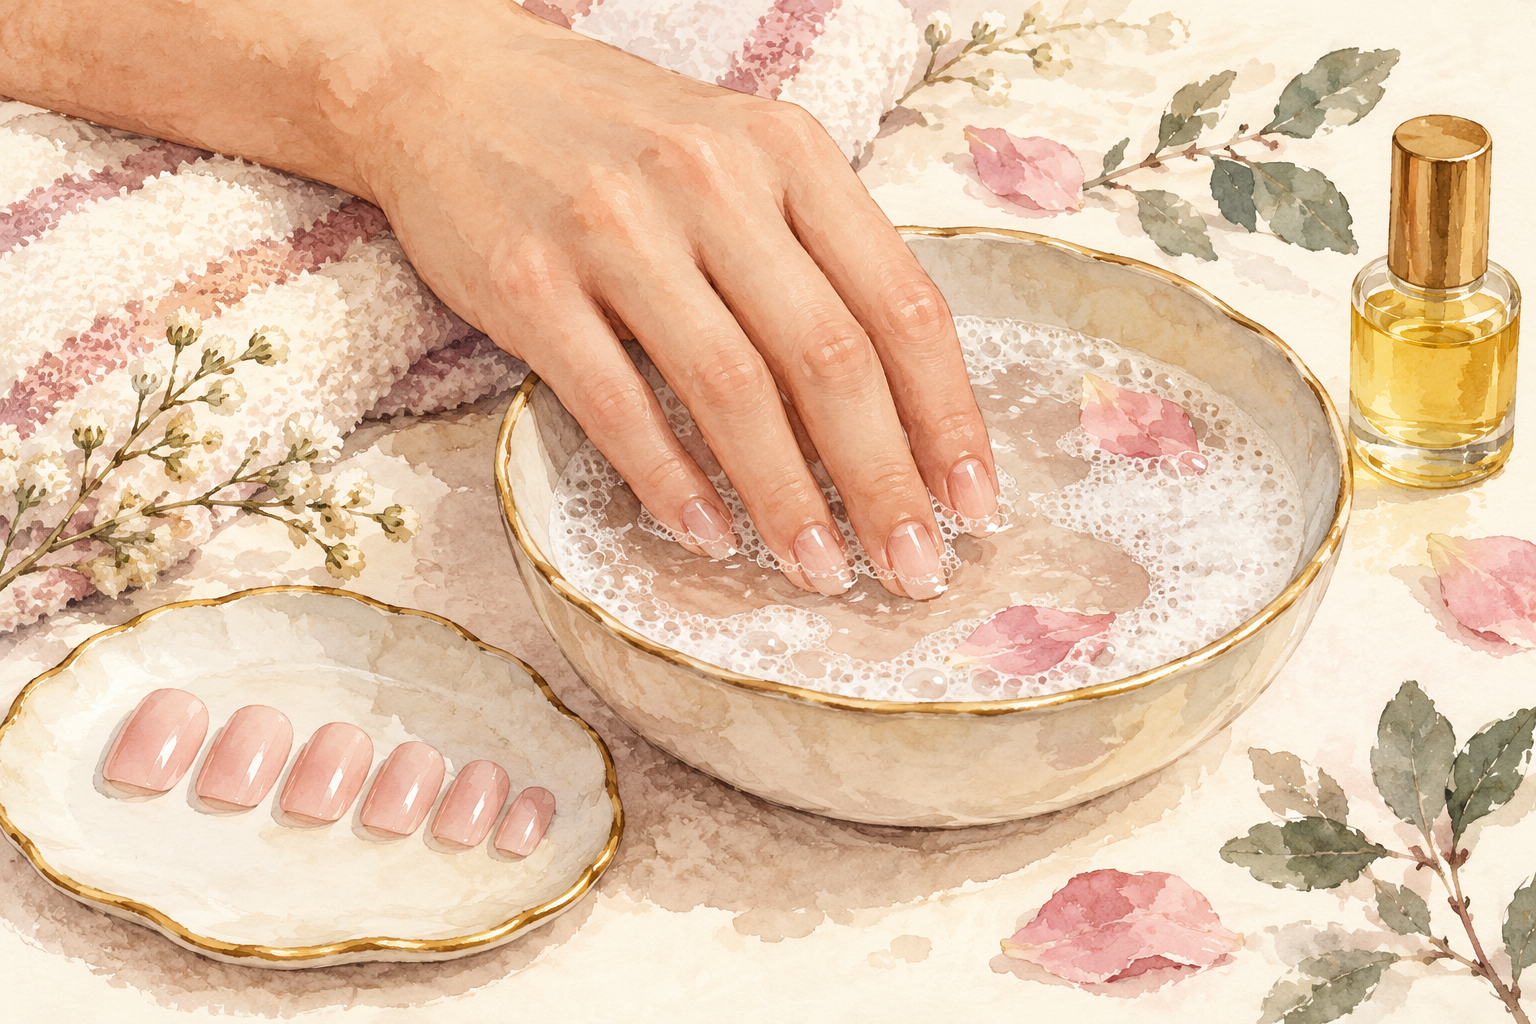
Look at the edges each evening, and take the set off if the skin looks red, sore or the nail looks changed. Press ons trap moisture next to the nail, which is why a small gap can turn into a problem. Let your nails go bare for a week with plenty of oil before the next set. When the set comes off, soak your fingertips in warm soapy water first, then lift each tip with a little oil under the edge, never by force. Prying them off dry takes a layer of your own nail with it. Short stretches protect the nail underneath, and it recovers its shine between sets.
Complete the Routine: How to Apply Press On Nails Again Next Time
Tonight, lay out your set, size each tip without glue, and write the sizes down for next time. Getting the fit right makes the rest easier, so make room for one more guide below this week and let your nails settle.