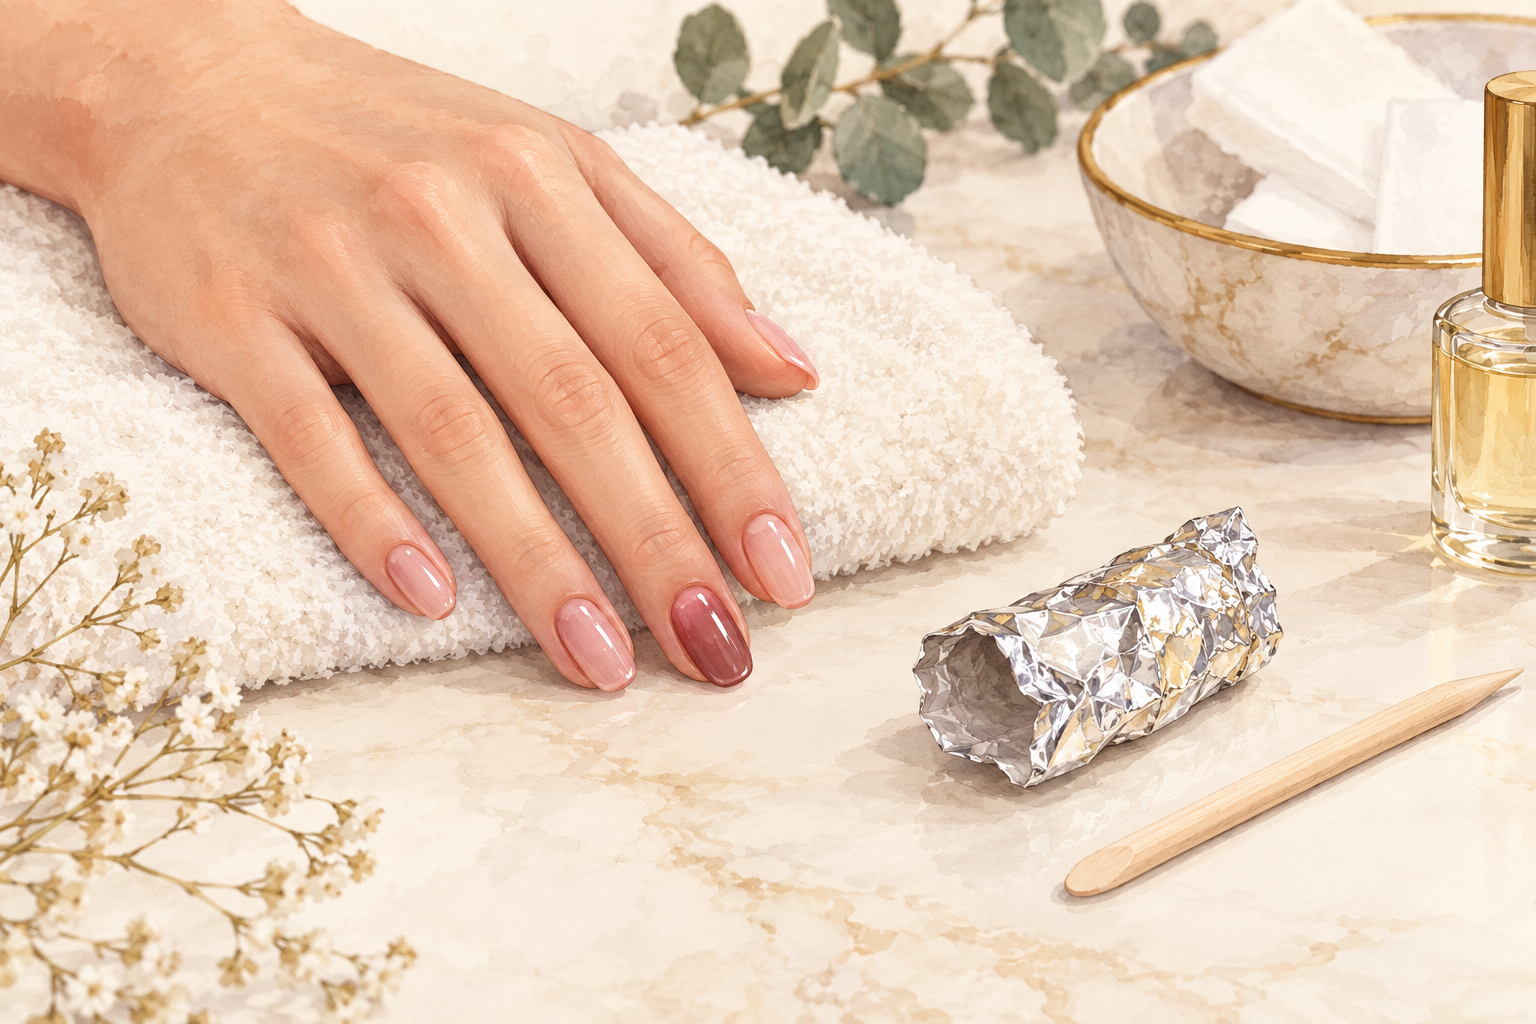
A corner of the gel has lifted on your thumb, and your other fingernail is already working at it. Deciding to remove gel nails at home is the easy part, but peeling takes a layer of nail along with the color and leaves a chalky surface behind. Here are 12 steps for a foil wrap or a soak, with recovery care after, so start at number one.
1. Pick the foil wrap if you want less mess
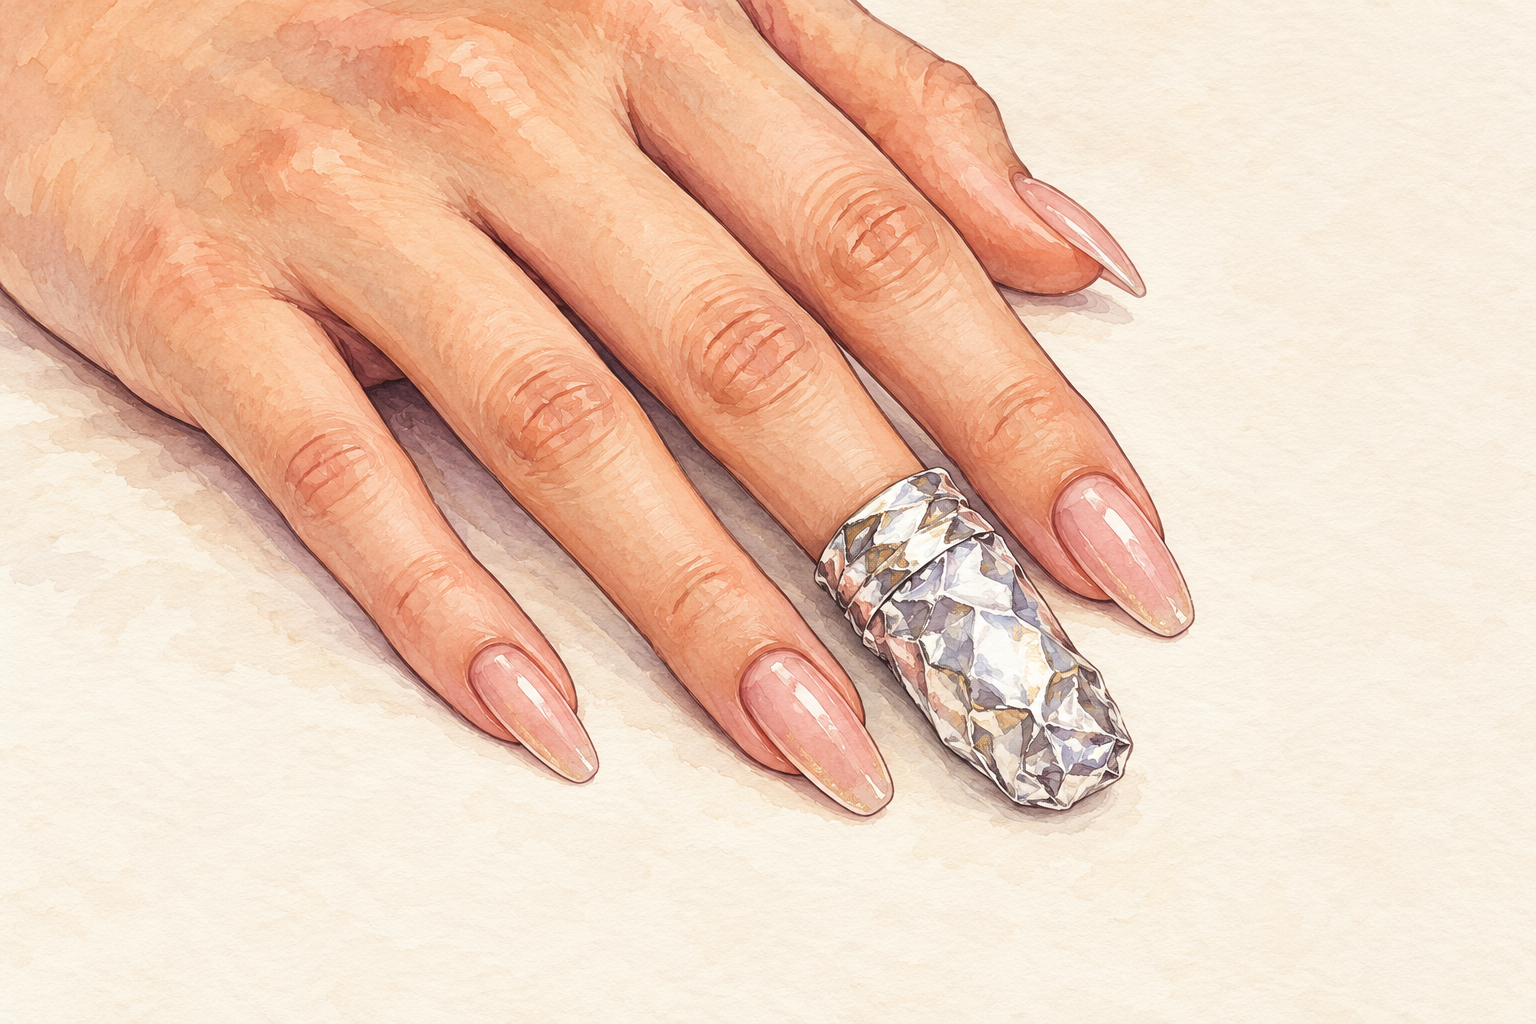
Choose a foil wrap if you want acetone on the nail and nowhere else. Each finger gets a cotton square soaked in a few drops, held in place with foil, which keeps your skin mostly dry. You can use the free hand while the wrapped one sits, so it suits a long film or a phone call. It takes more setup than a bowl, but it is kinder to your skin and uses far less acetone. Cut the foil into squares and the cotton into nail sized pieces before you start, because sticky fingers cannot do it later. Foil squares cut ahead of time make the job smoother, so keep how to remove gel x nails at home nearby.
2. Pick the fingertip soak if you want fewer steps
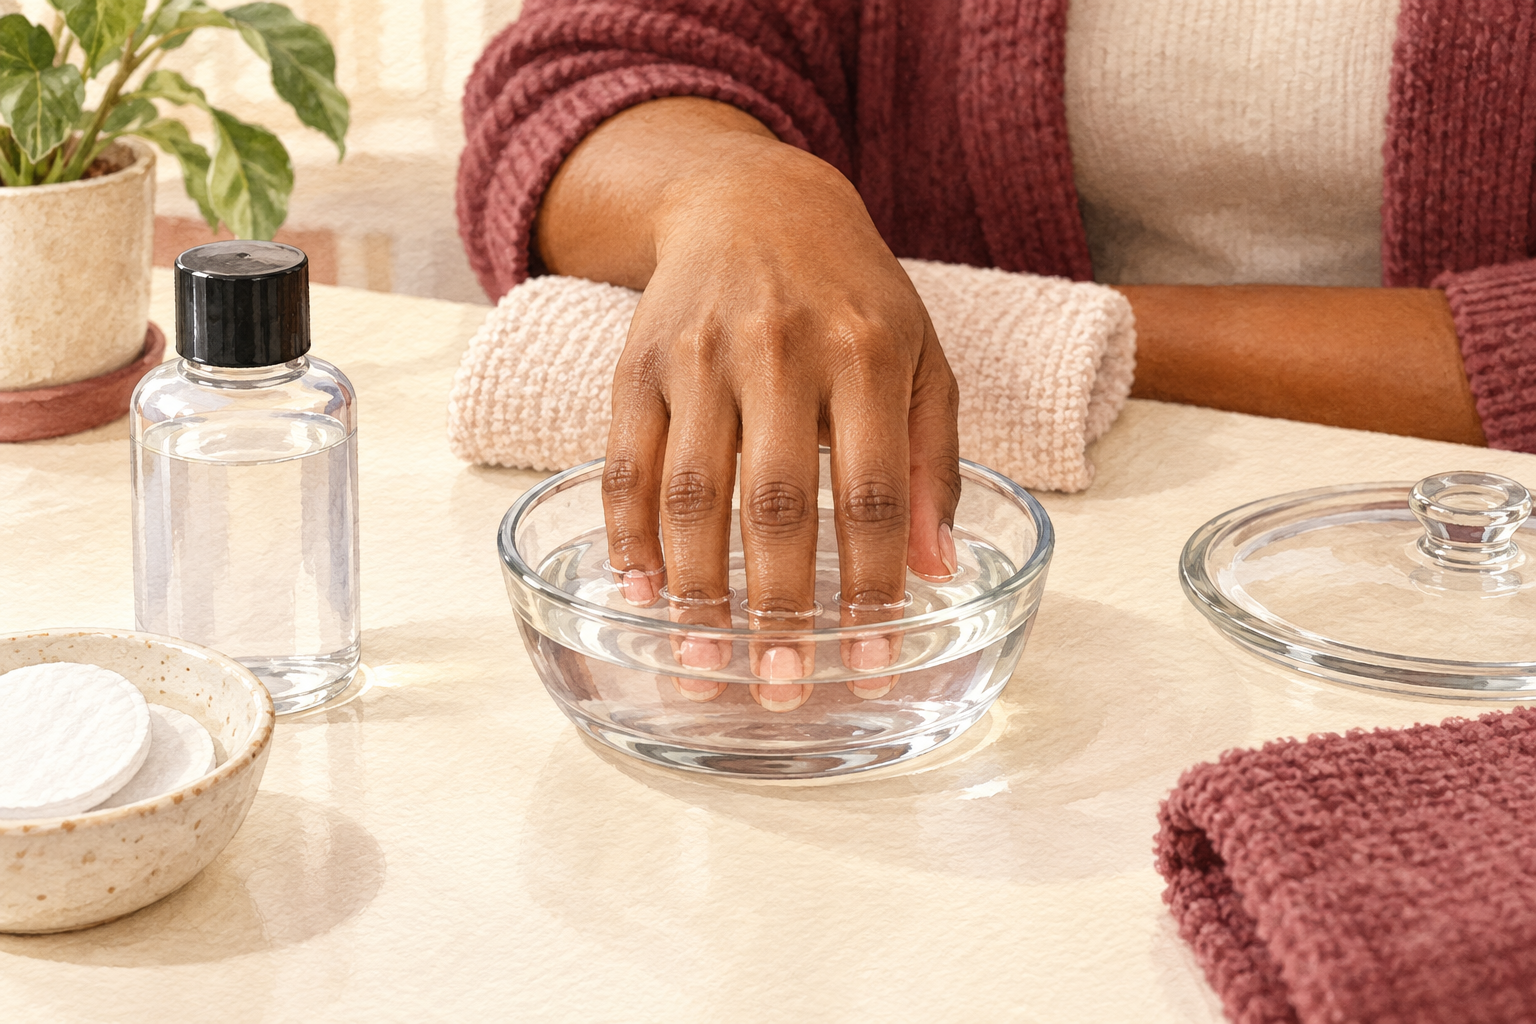
Pour a small amount of acetone into a glass dish and rest only your fingertips in it. Soaking whole hands dries the skin right up to the wrist for no extra benefit. Soak one hand, then the other, and check each nail after ten minutes. This method is quicker to set up, though it uses more acetone, so keep the room well aired and the dish covered between dips, since the fumes rise fast. Pick it if you have strong skin and a short supply of foil. Stay close to the dish, because a knocked bowl of acetone is a messy surprise.
3. Set up the room and the supplies
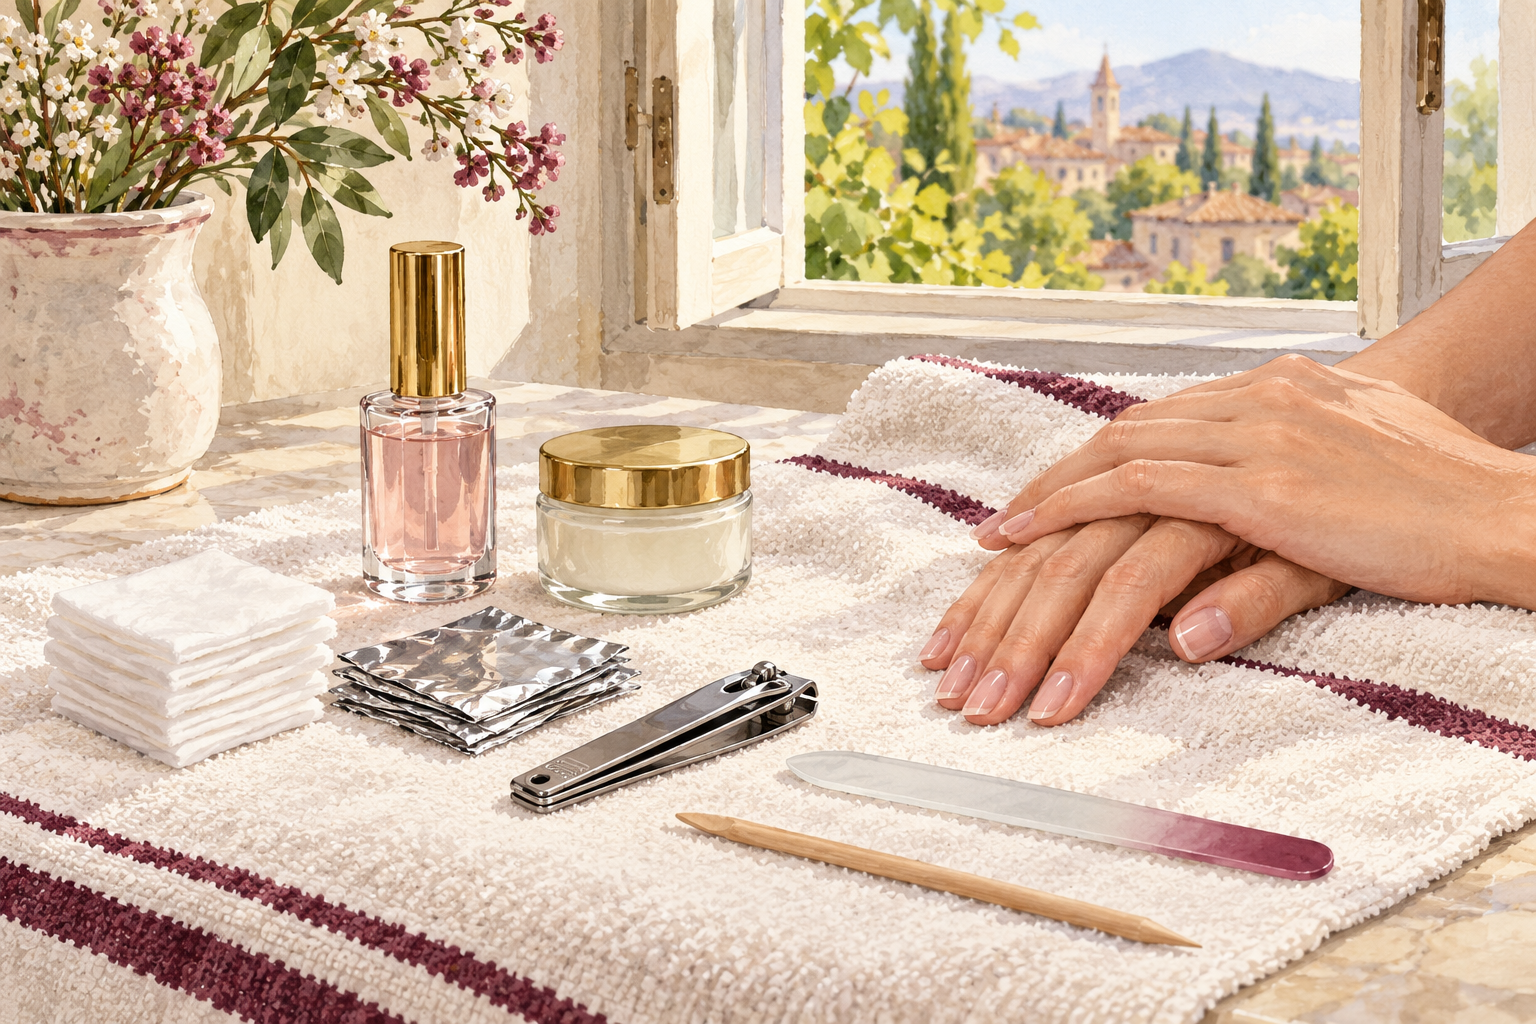
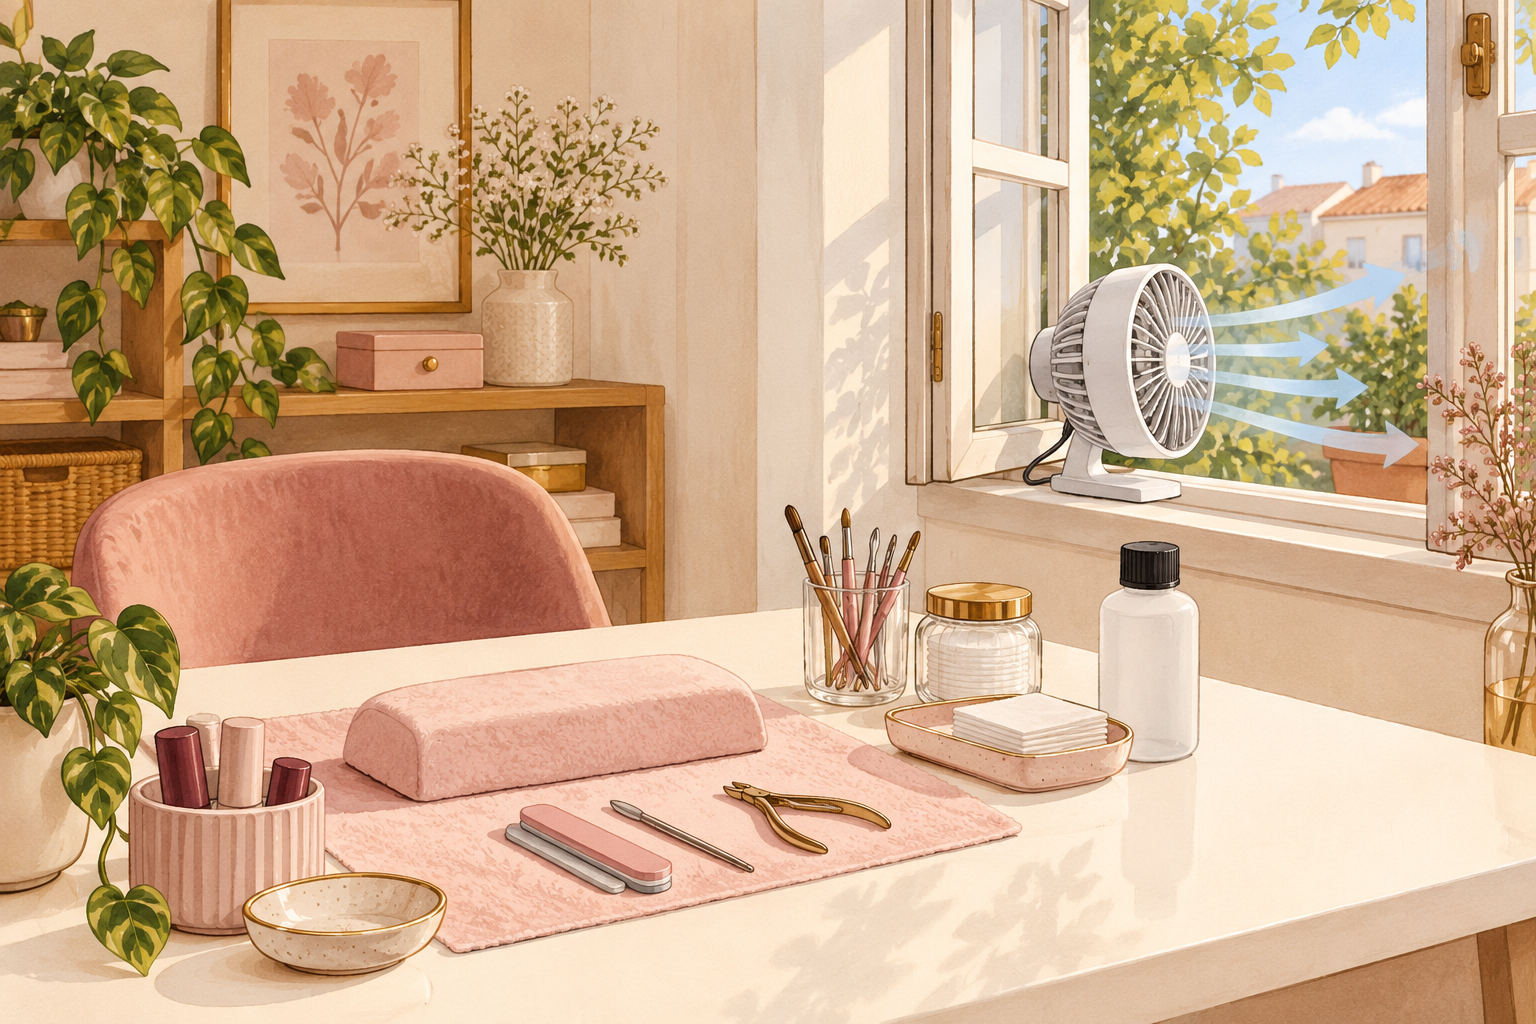
Lay a towel on the table, open a window and keep acetone away from candles and anything hot. Acetone marks plastic and varnished wood, so protect the surface first. Set out cotton, foil, a glass file, a wooden stick, petroleum jelly and a timer within arm’s reach. Pick a series you have already seen so you are not tempted to keep peeking. Wash your hands at the end, since acetone lingers on the skin. Give yourself thirty to forty minutes in total, and do not squeeze it between other jobs, because a rushed removal is when nails get torn.
4. Rough up the shiny top layer
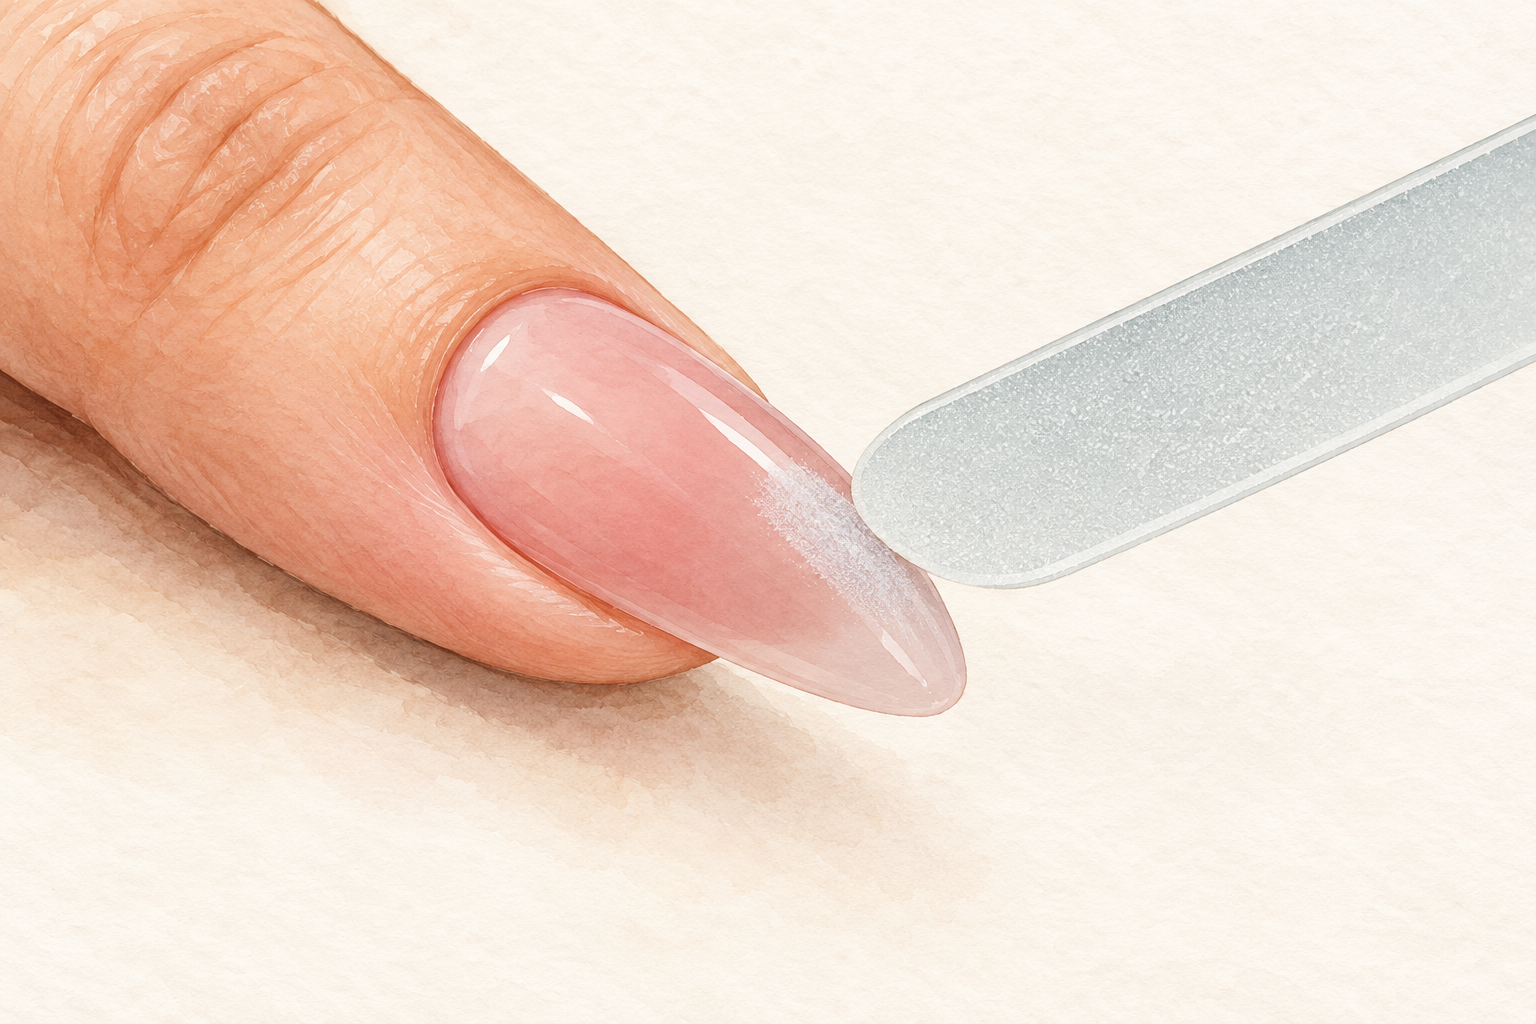
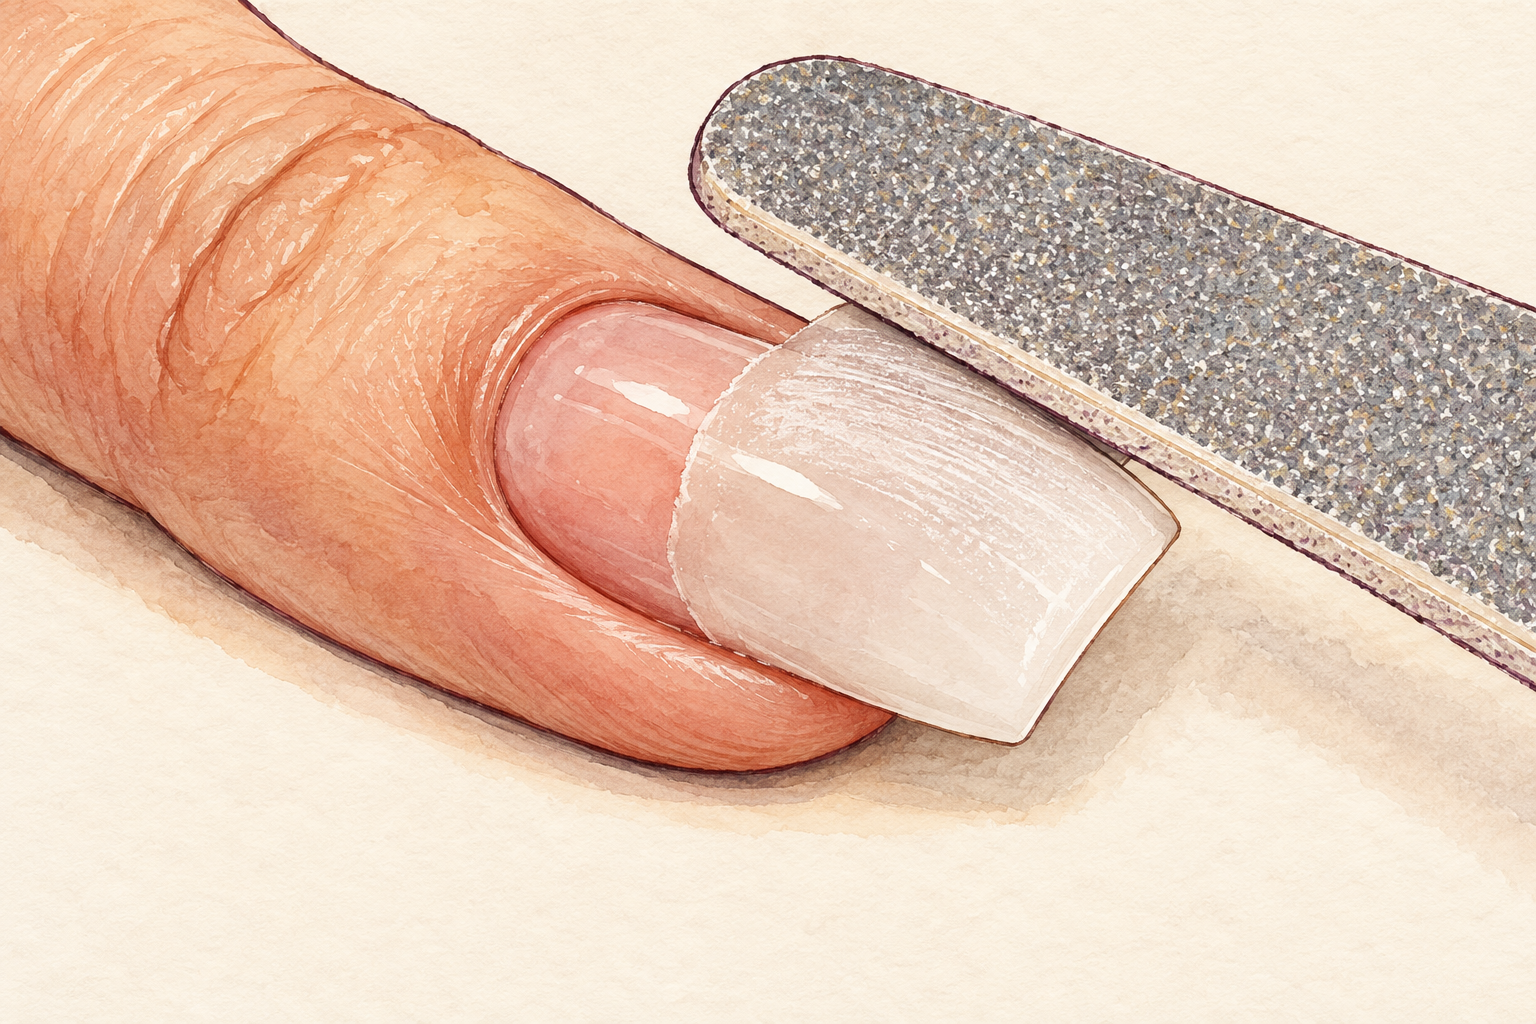
Use a glass file or a fine buffer to scuff each nail until the gloss turns dull and chalky. The glossy top is sealed, and acetone cannot get through it. This is the step that saves the most soak time, so do not skip it. Stop at the color and never file into the natural nail beneath. Ten seconds per nail is enough. If you skip it, the acetone just sits on a sealed surface, and you will be waiting twice as long wondering why nothing is happening. Brush away the dust with a clean, dry makeup brush before you wrap, so the cotton sits flat against the nail.
5. Protect your skin with petroleum jelly
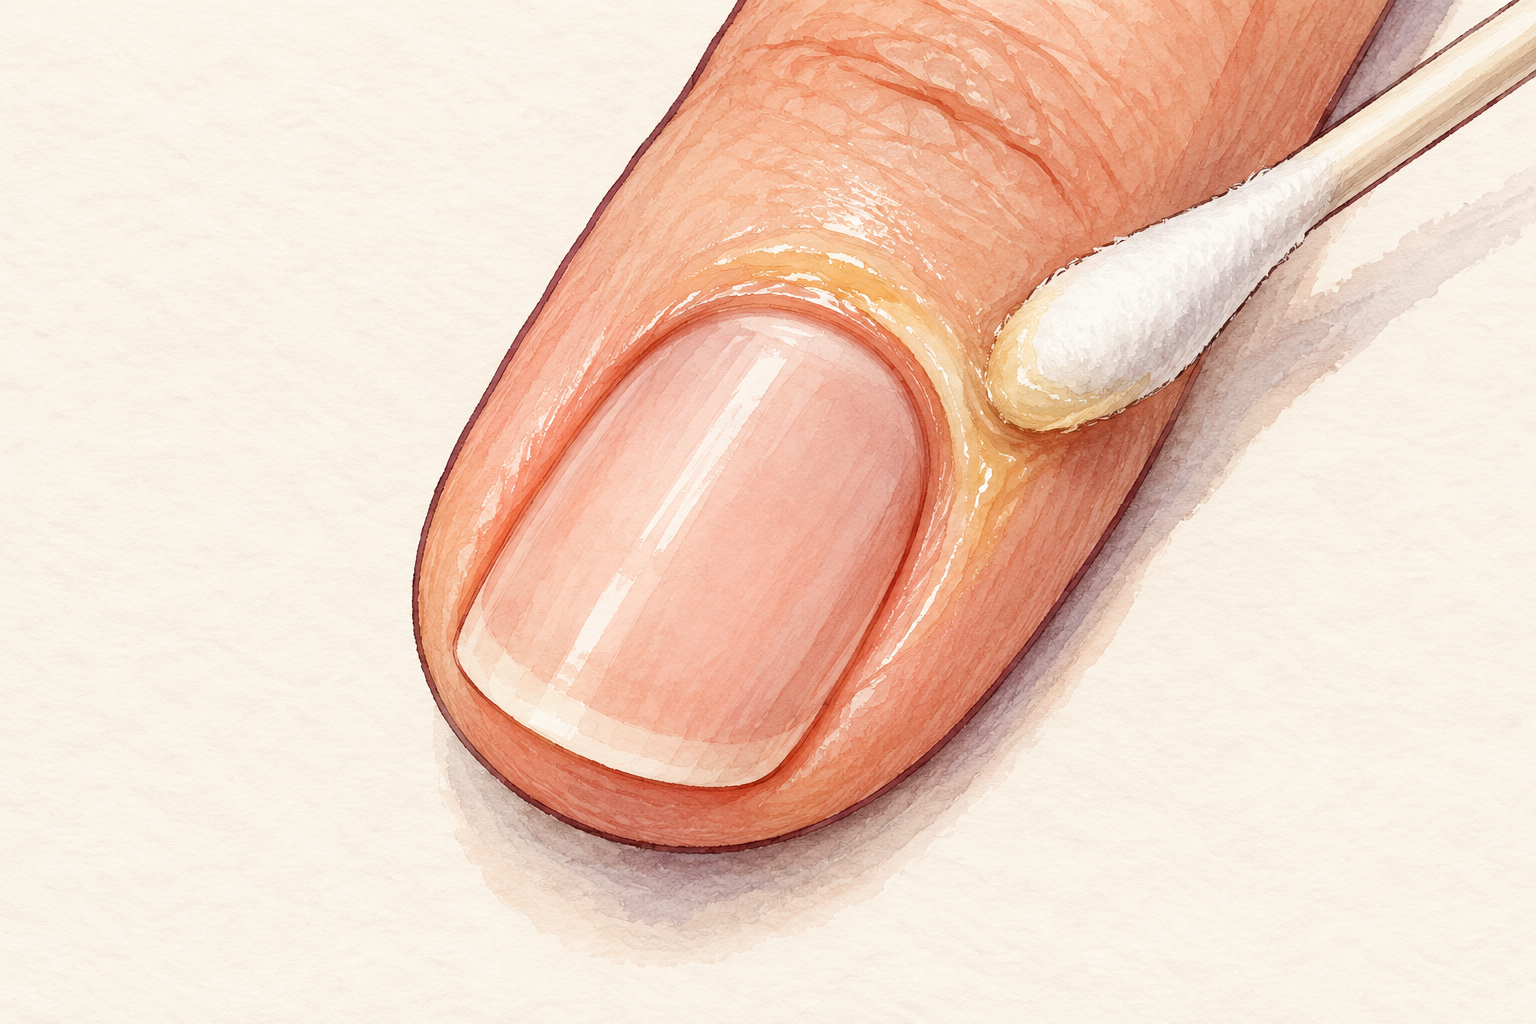
Rub a thin layer of petroleum jelly around each cuticle and on the skin beside the nail. It acts as a barrier so the acetone does not dry out and sting your skin. Keep it off the nail itself, or it will block the acetone from reaching the gel. Do not forget your thumbs, since they take the most knocks. Skin that was dry before you started will feel the soak most, so add a second dab there. A cotton bud helps you reach the corners without smearing the nail, and a thin coat is plenty for a half hour soak.
6. Wrap each nail and wait fifteen minutes
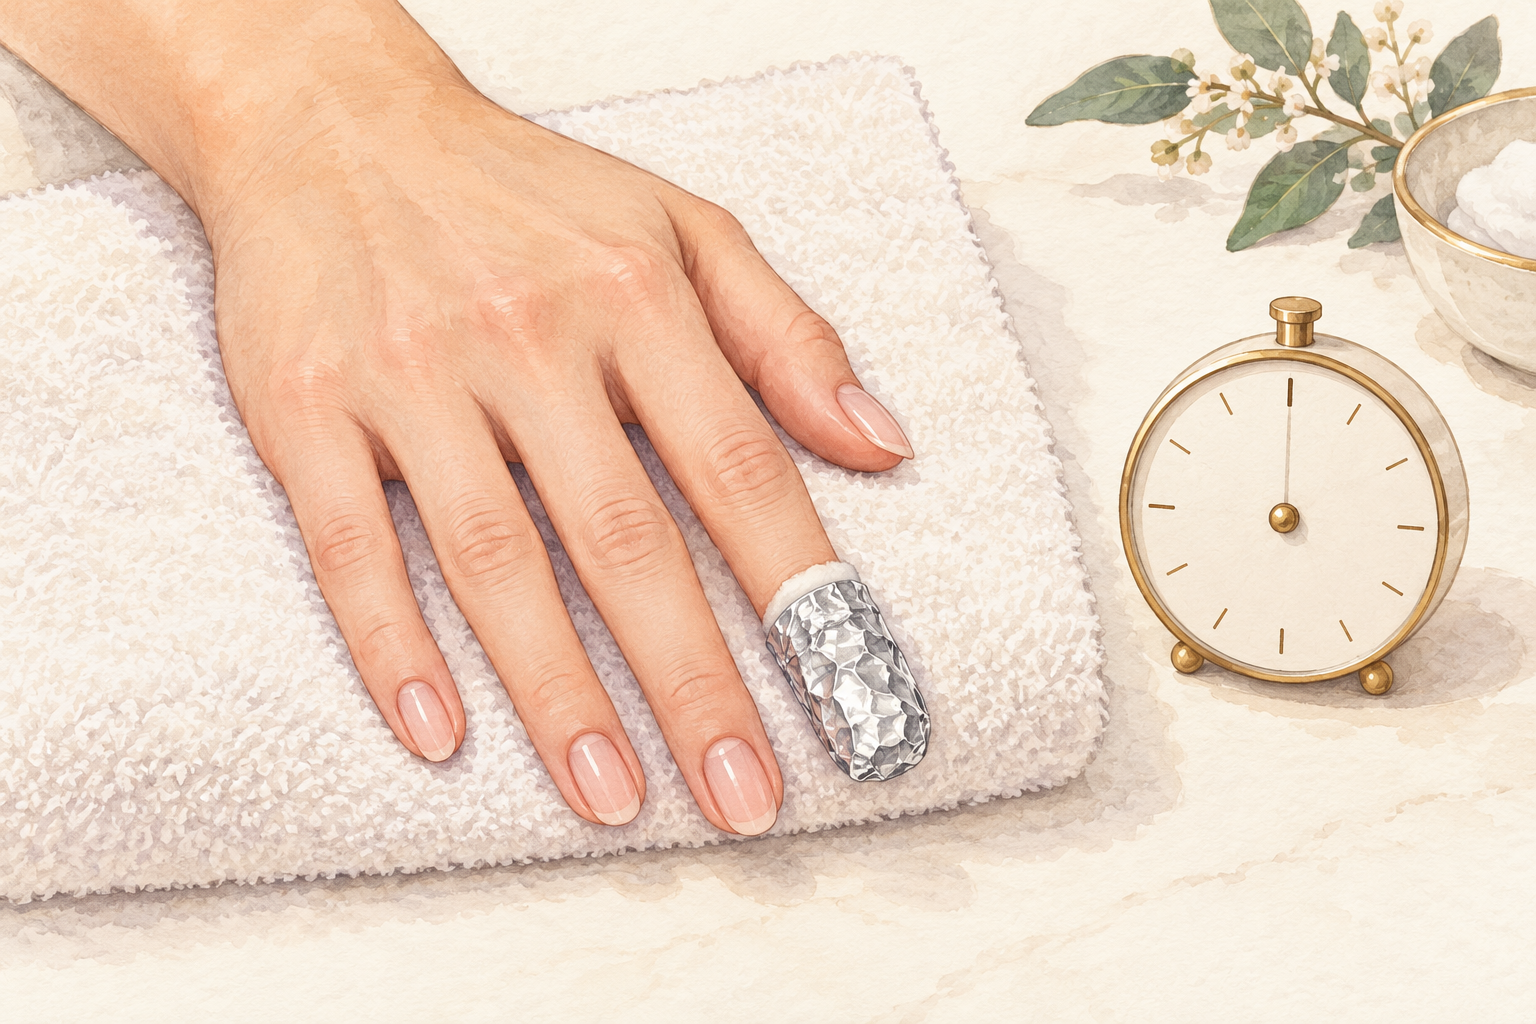
Press a soaked cotton square flat on the nail and fold a foil square tightly around the fingertip. Set a timer for fifteen minutes and keep your hand still. A tight wrap that lets in no air is what lets you remove gel nails at home without a bowl, though it should never pinch. Unwrap one finger at a time so the rest stay sealed. If the gel is still firm, wrap that finger again with fresh cotton for five more minutes. Old cotton dries out and stops working, and it is the most common reason a wrap seems to do nothing. The same wrap logic applies to acrylic, so keep how to remove acrylic nails at home handy.
7. Wipe the softened gel away
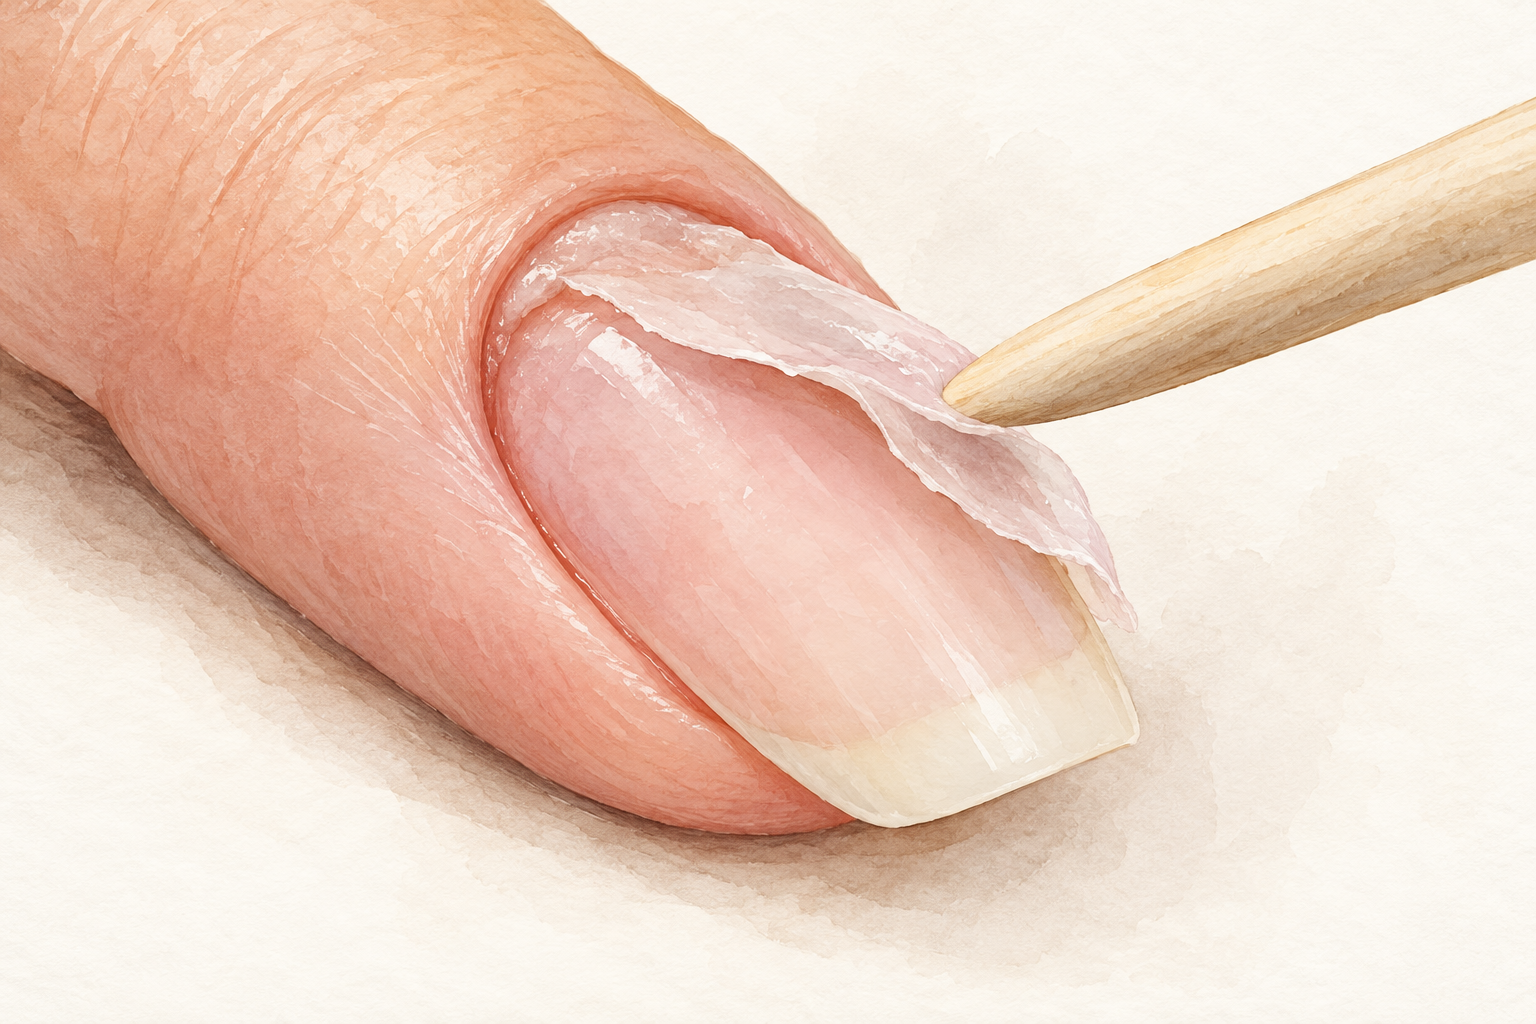
When the gel looks wrinkled and lifted, push it off with a wooden stick using almost no pressure, or wipe it with the cotton. Work from the cuticle toward the tip in short strokes. Gel that is truly softened comes away easily, so if you have to push, it needs more time. Never scrape with a metal tool, since it digs into the nail beneath. A slow wipe is still the quickest way to remove gel nails at home cleanly. Leftover patches go back under a wrap, not under your fingernail. Patience at this stage keeps the surface of your nail smooth.
8. Wrap the stubborn nail again
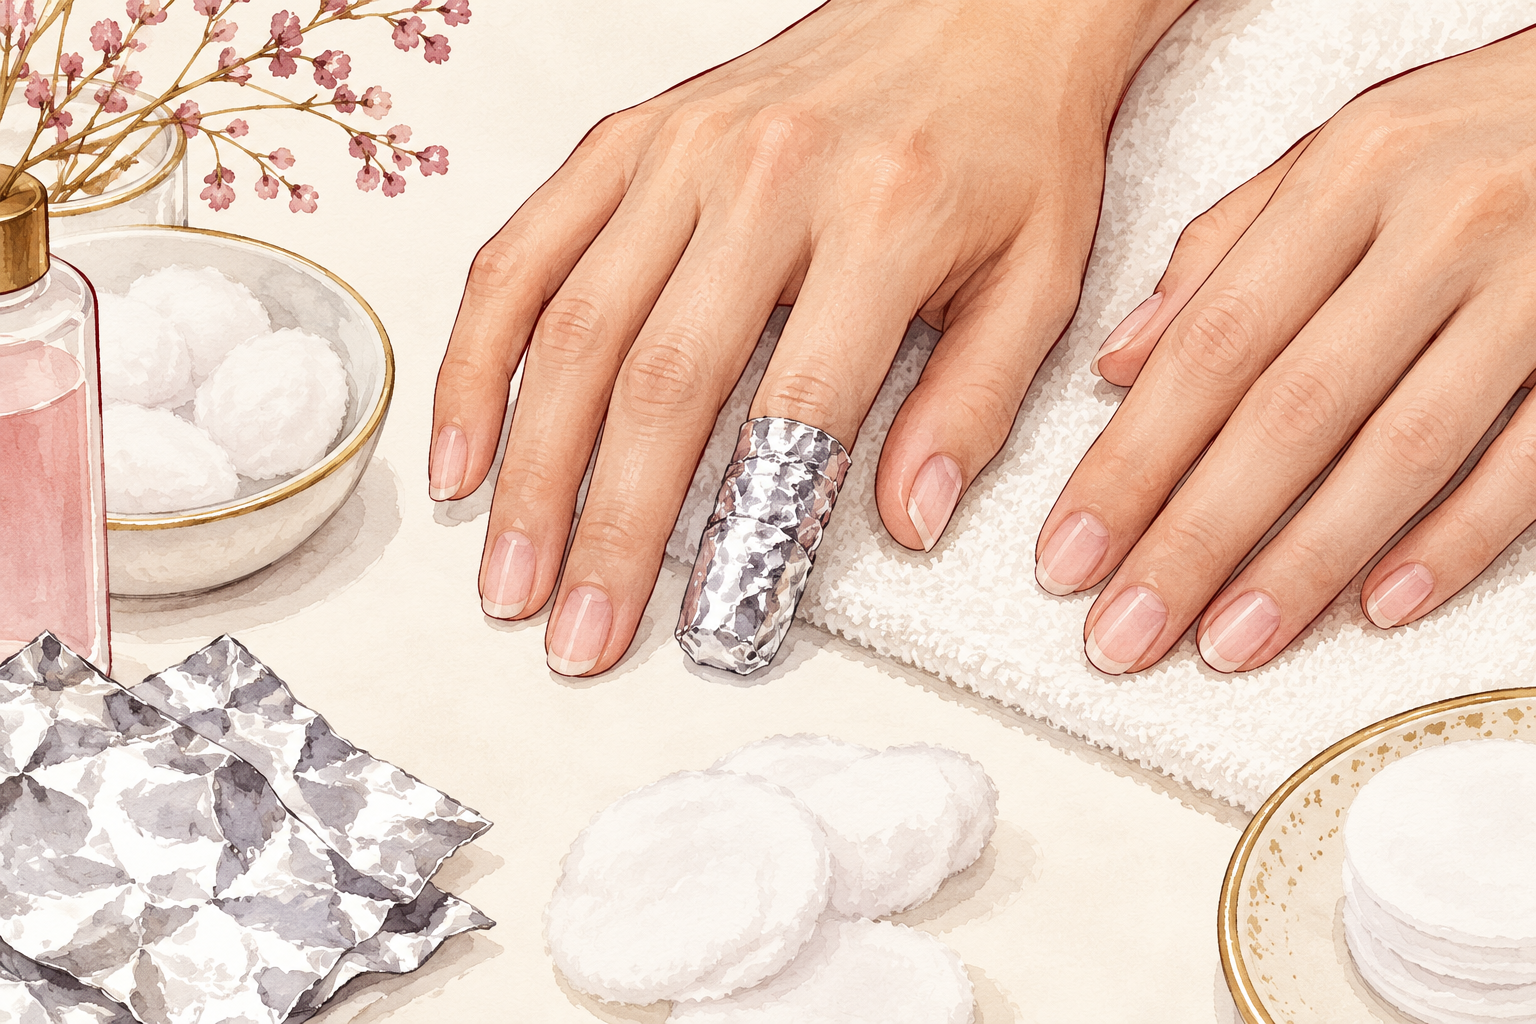
Put a fresh acetone wrap on only the stubborn nail and give it another ten minutes. Gel holds on longest around the cuticle and sidewalls, where acetone struggles to reach. A new piece of cotton matters, because the old one dries out. If it still will not lift after a second round, stop for the evening and try again tomorrow instead of forcing it. Nobody has ever regretted waiting a day here. Leave the finished fingers bare and relaxed while the last one catches up, and keep them out of the dish.
9. Wash off the residue and leave the surface alone
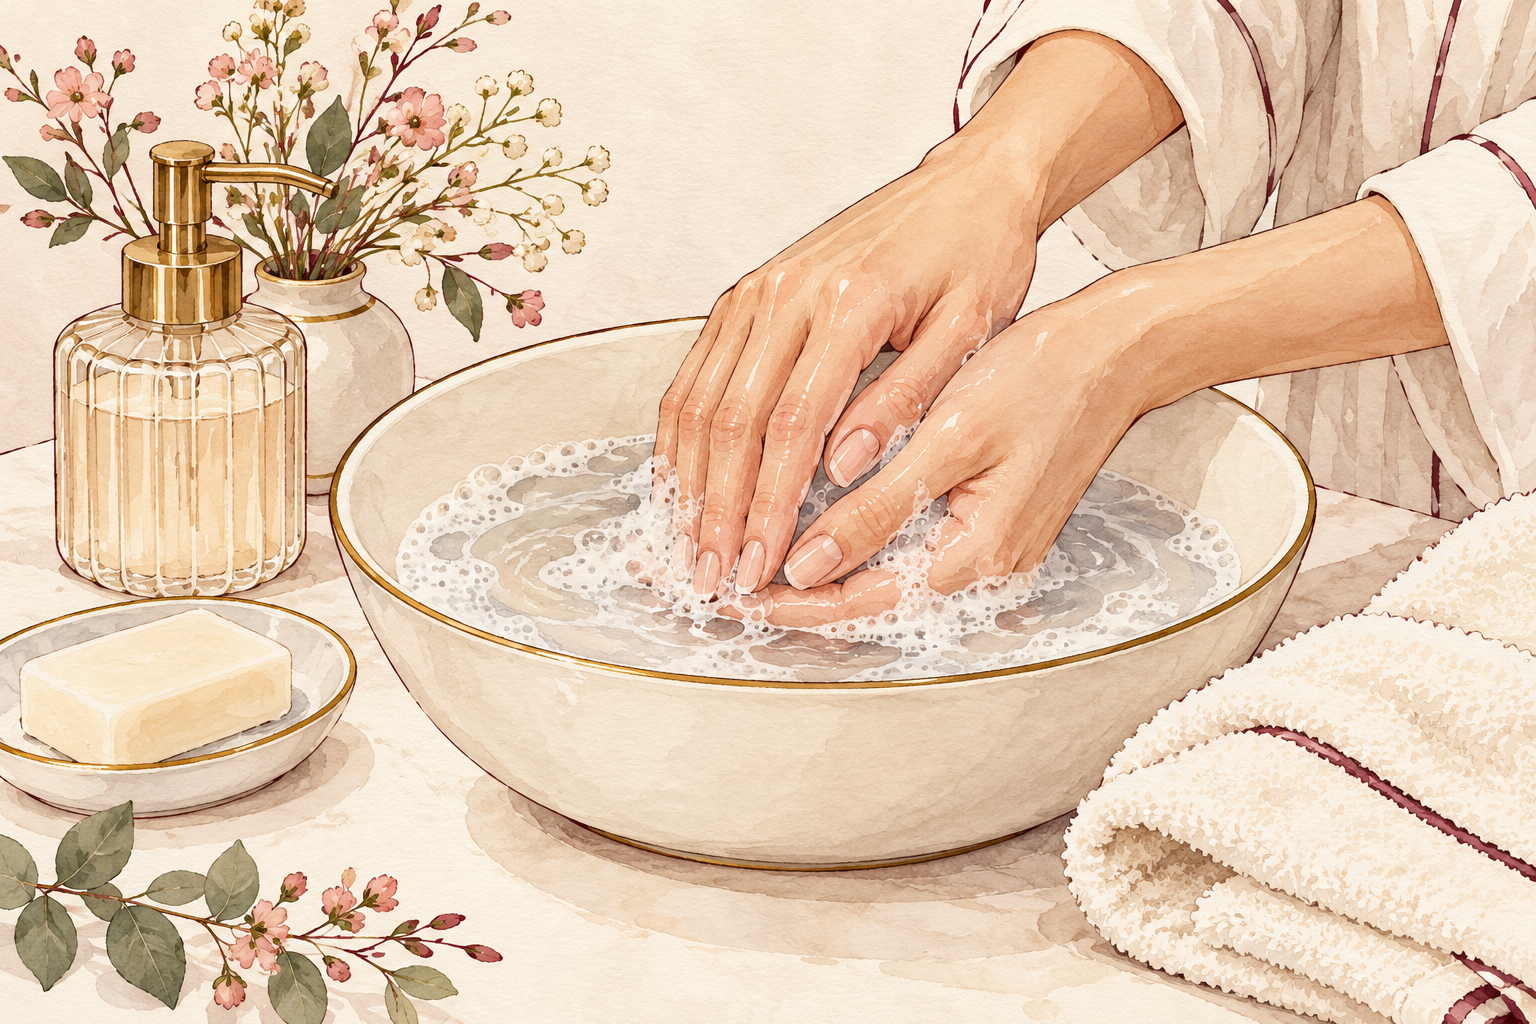
Wash each hand with mild soap and warm water, then pat dry and stop. Resist the urge to buff away the last chalky bits, because the surface is soft and thin right now. Rinse until your fingers no longer smell of acetone. A slightly shiny, pale nail is normal at this point, and it will look better in a few days. Trim any snag with clippers and smooth the edge with one or two passes of the file. Leave the rest for the oil in step eleven, which does a far gentler job than a buffer ever could.
10. Know what peeling does to your nail
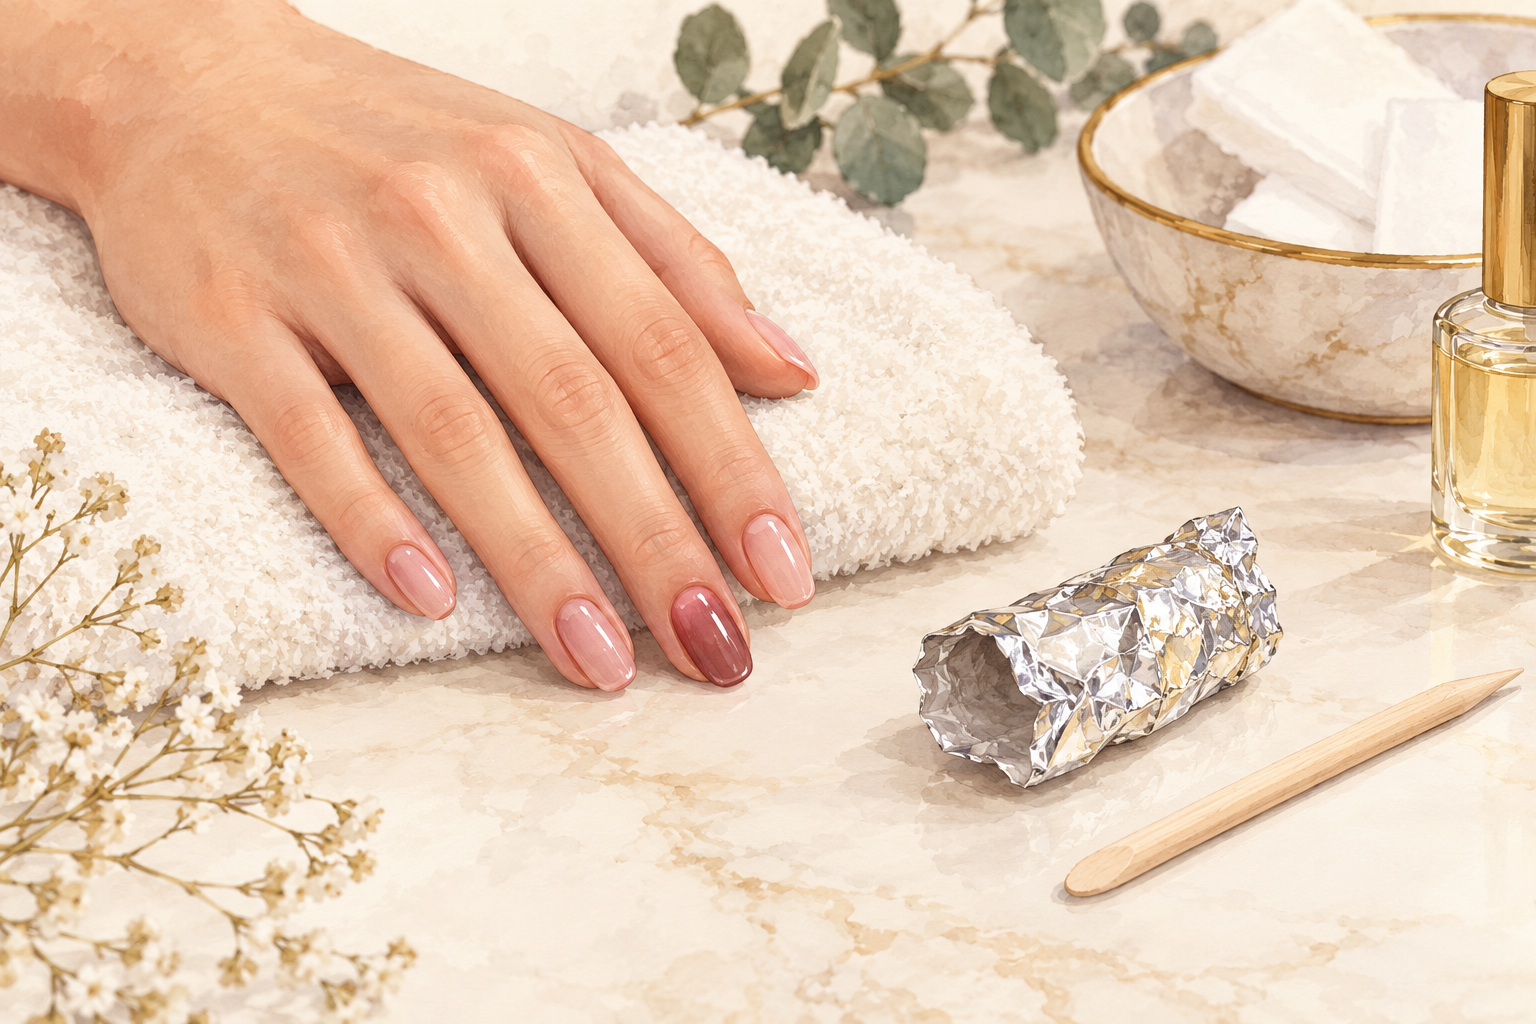
If you have already peeled a patch, stop now and wrap the rest. Gel bonds to the surface layers of the nail, and peeling brings those layers along. The damage shows as white patches, flaking and a nail that bends where it did not before. Do not pick at chipped gel between manicures, and do not rip off a lifted corner. Clip it short instead. If gel keeps lifting within days, the prep was the problem, so dry and wipe the nail better next time. That fix takes only a minute and a clean cotton pad. Wipe each nail with a little remover before your next set, so oil and dust do not sit under the gel.
11. Moisturize your nails every day
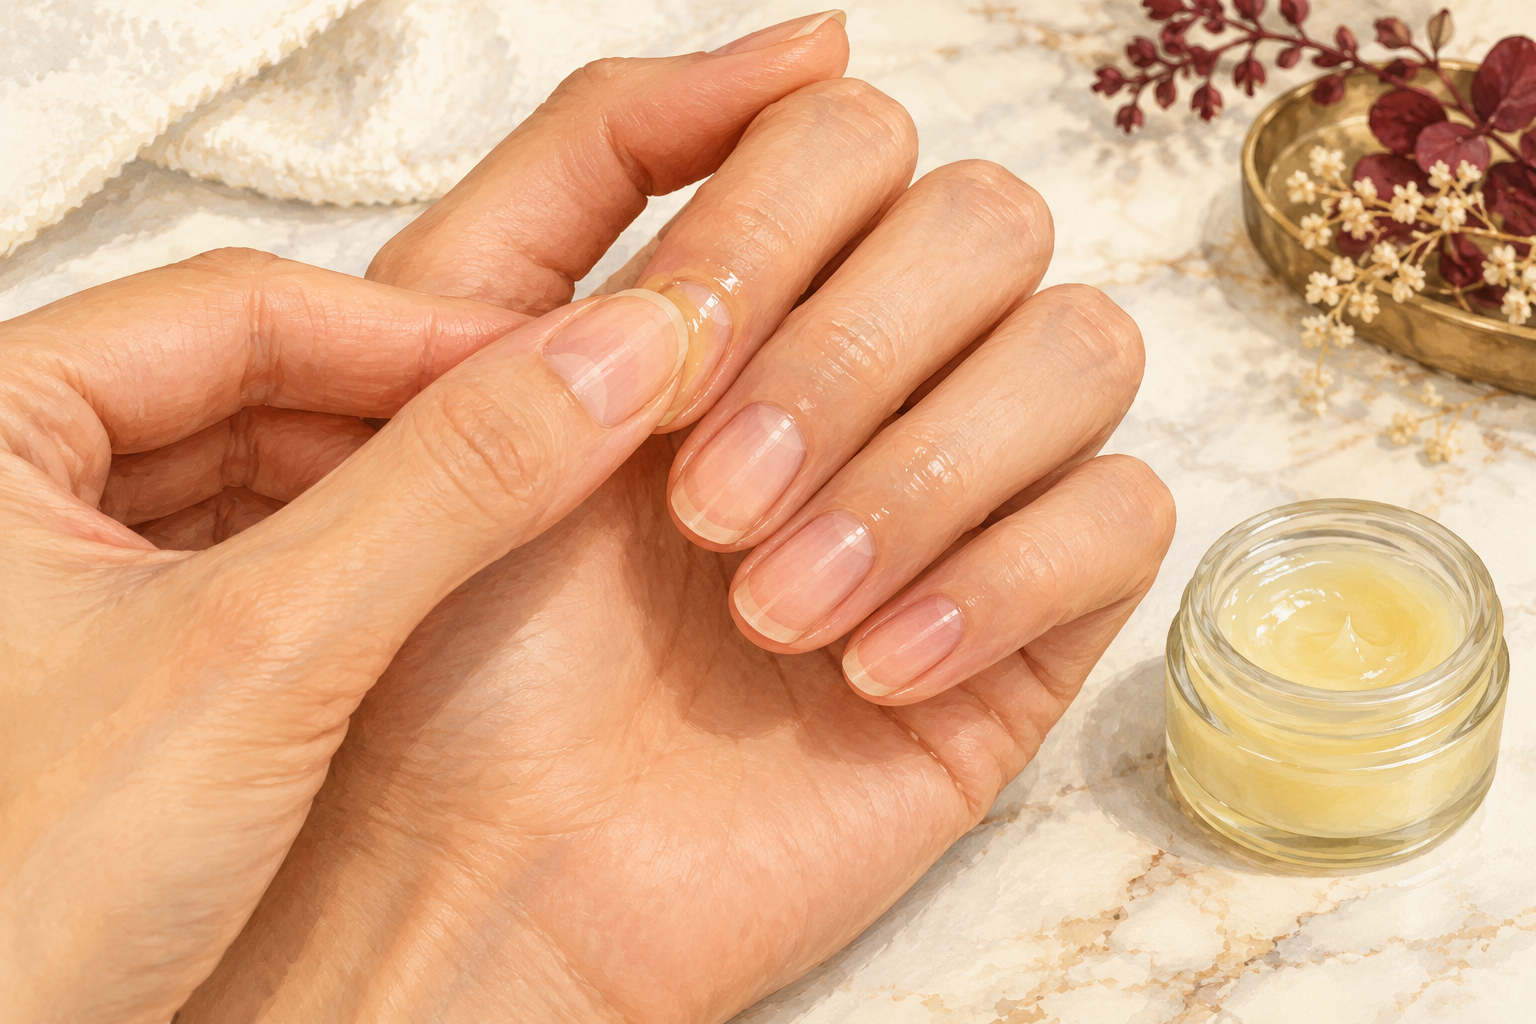
Rub petroleum jelly into the nails and cuticles several times a day for the first week, and always before bed. It does not repair the nail, but it lowers the dryness and brittleness that follow acetone. Gloves for washing up help a lot this week. Keep a small pot by the bed and another by the sink, so you actually use it. You will notice the skin around your nails looking softer within a few days, and the white patches fading a little. Wear thin cotton gloves over the jelly at night if you like.
12. Give your nails a break and track the weeks
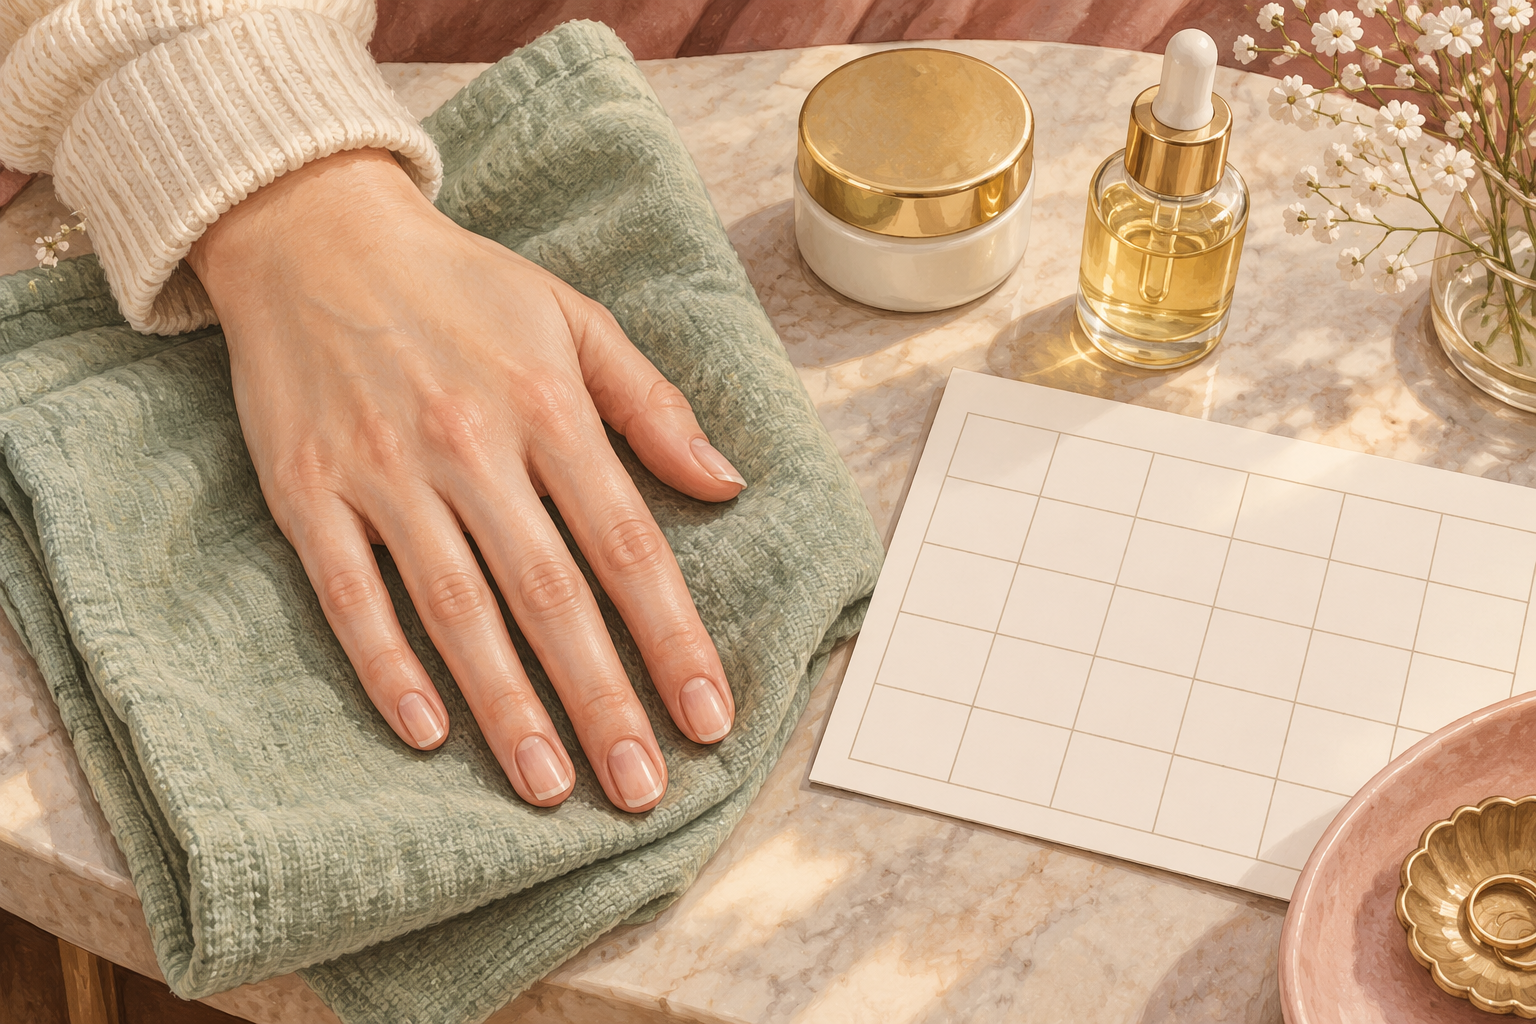
Leave your nails bare for one to two weeks after gel so they can thicken back up. At week one they are soft and may look pale. At week four the surface is usually smoother while the damaged part grows toward the tip. By week eight most of the thin area has grown out. If a nail is still sore or lifting after four weeks, stop experimenting and go back to oil and bare nails. A short break now saves you a long one later. Take a photo today and another in four weeks, and you will see the change.
Complete the Routine: Remove Gel Nails at Home and Rest Them
Tonight, rub petroleum jelly into each nail before bed and keep the polish bottles in the drawer for another week. Natural nails rebuild at their own pace, so there is no need to rush the next set. When you feel like it, the guides below will show you what comes after.